


Easy & Affordable DIY Checkered Accent Wall

There’s something so timeless yet trendy about a checkered wall. It’s the perfect way to take an empty wall to the next level. And the best part is how simple and inexpensive it is to DIY. You can create this look yourself with just paint, painter’s tape, and a little patience! Here’s exactly how to get that perfect checkered pattern using only paint and tape.
What You’ll Need:
- Painter’s tape (we used Scotch Painter’s Tape)
- Paint in two colors (we chose a neutral tan and creamy white)
- Level and measuring tape
- Pencil
- Utility knife or box cutter
- Paintbrushes or rollers
- Patience (trust us, it’s worth it!)
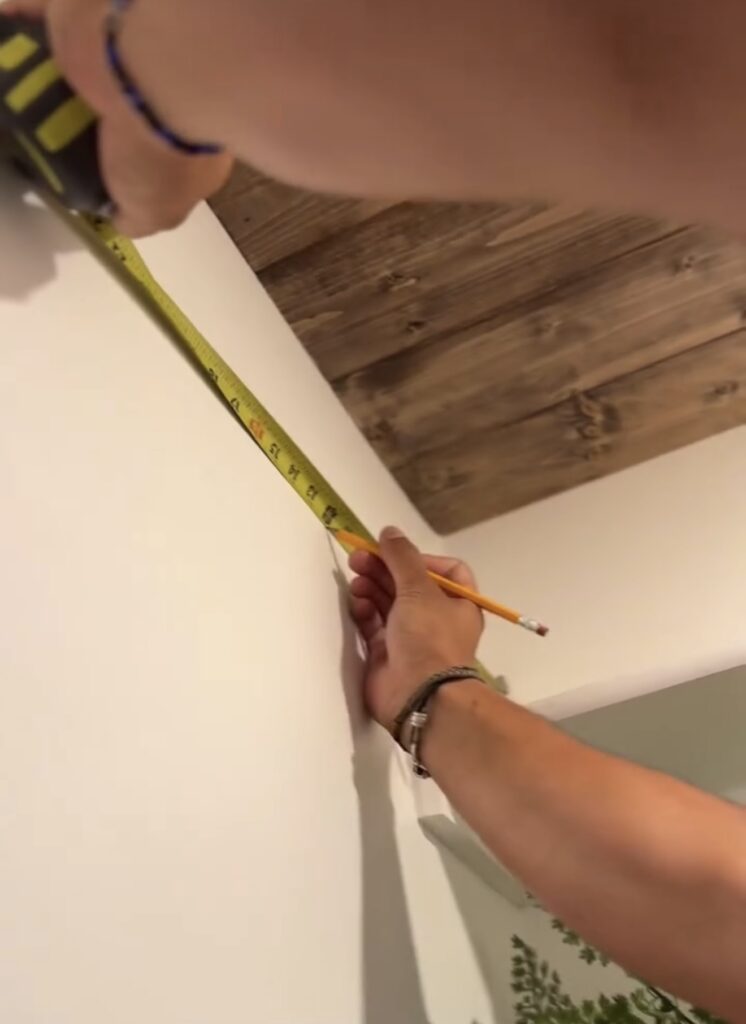
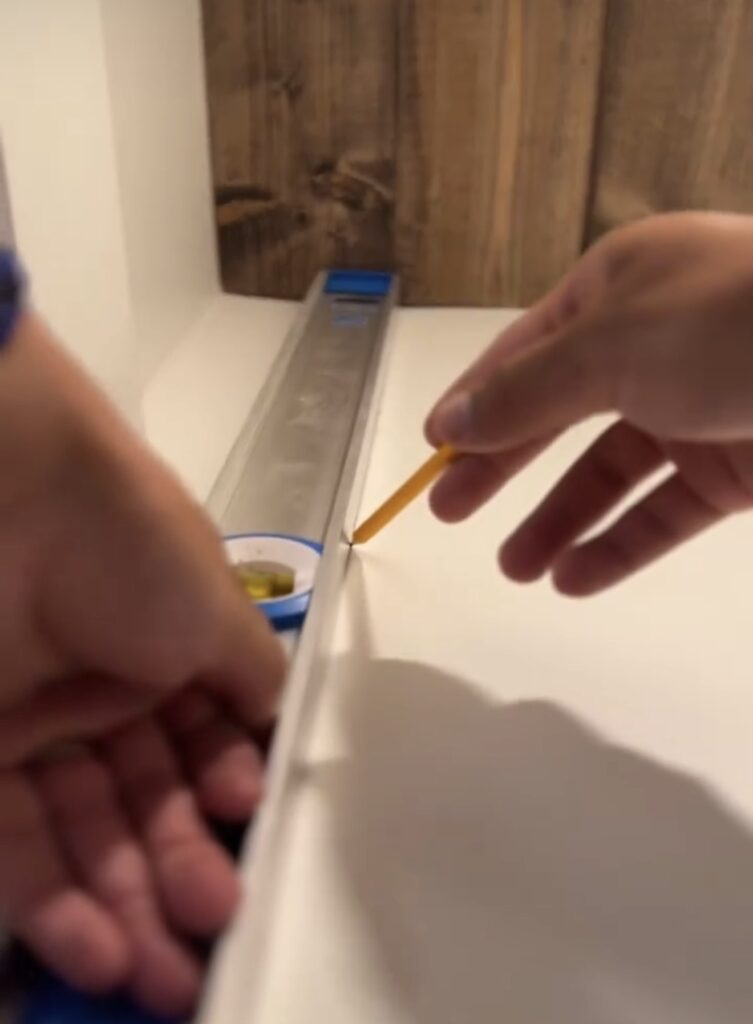
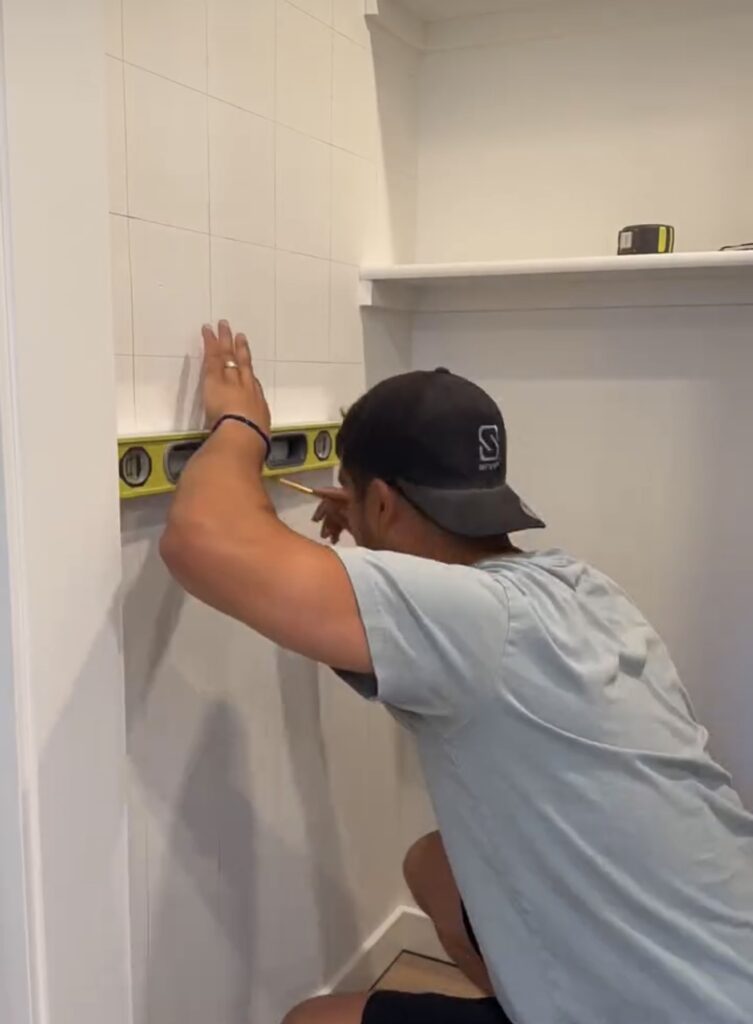
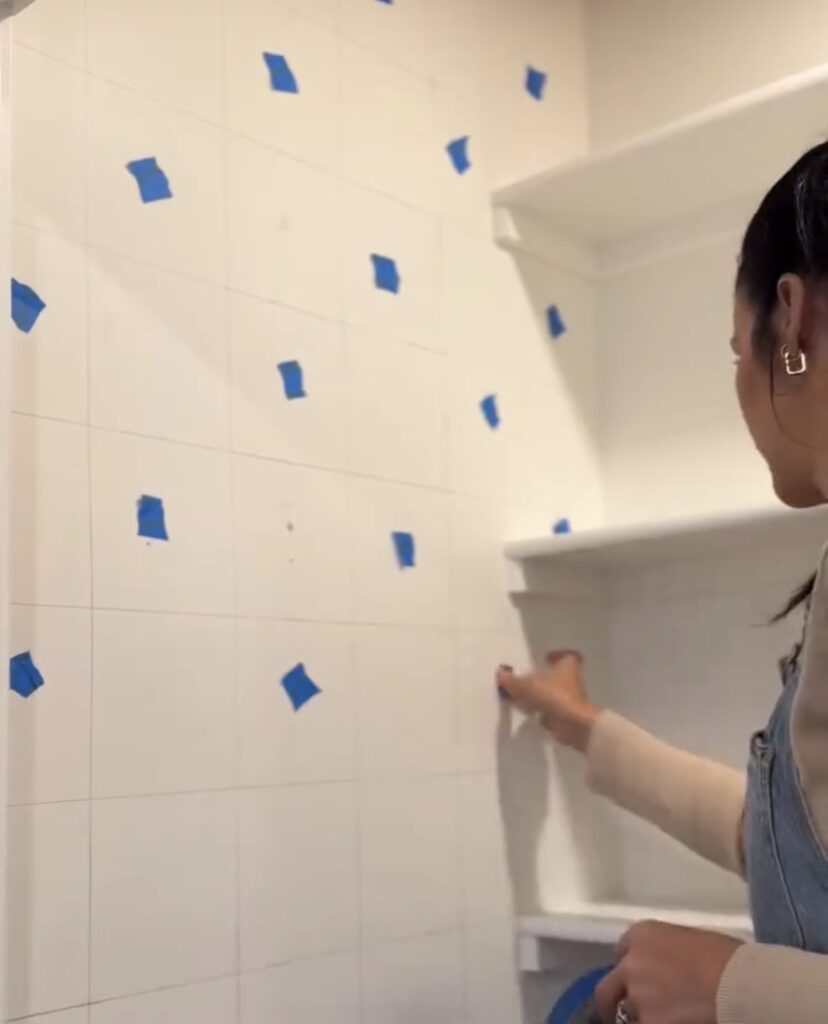
Step 1: Measure and Mark Your Grid
Start with a clean, dry wall. Decide how large you want your squares to be (we went with roughly 6×6 inches).
Using a level and pencil, lightly draw your grid lines across the entire wall, both vertically and horizontally.
Pro tip: Use small pieces of tape to mark every other square so you can visualize your pattern before painting.
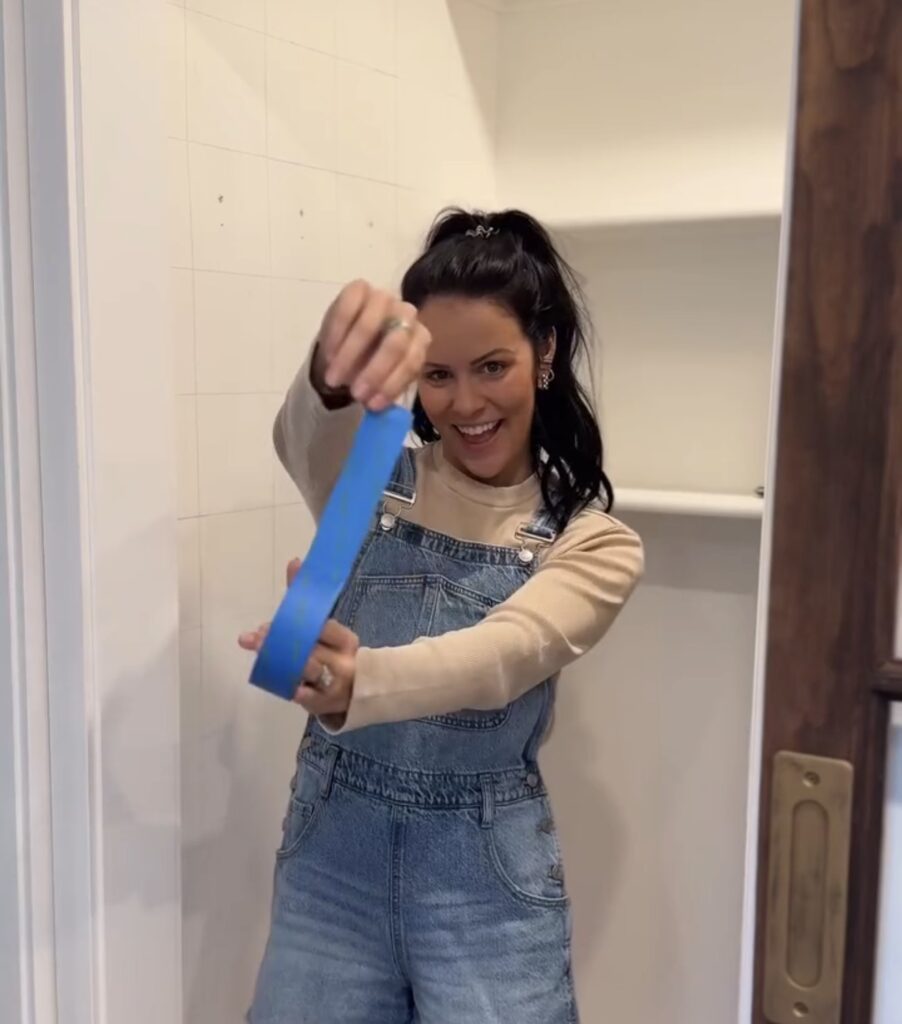
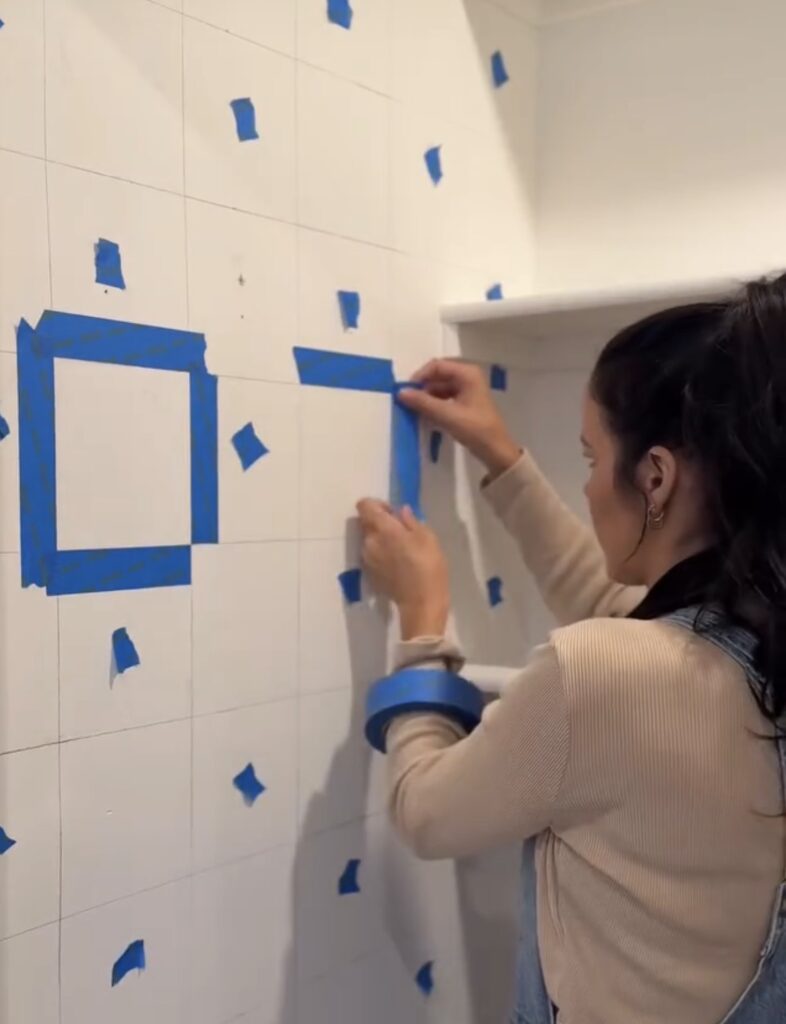
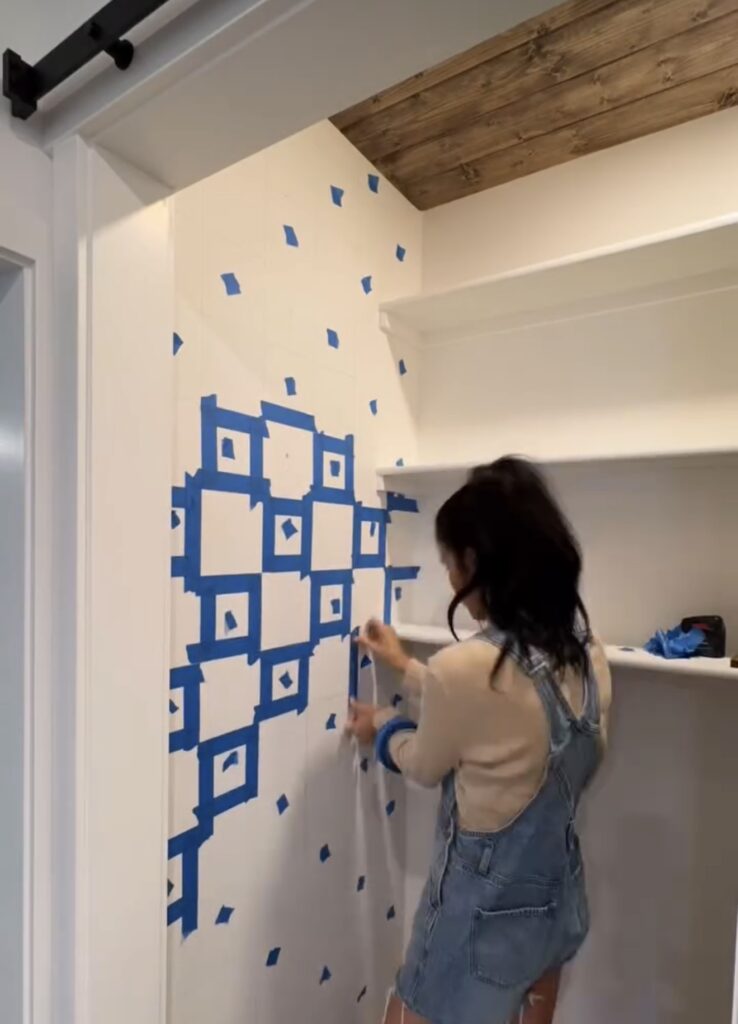
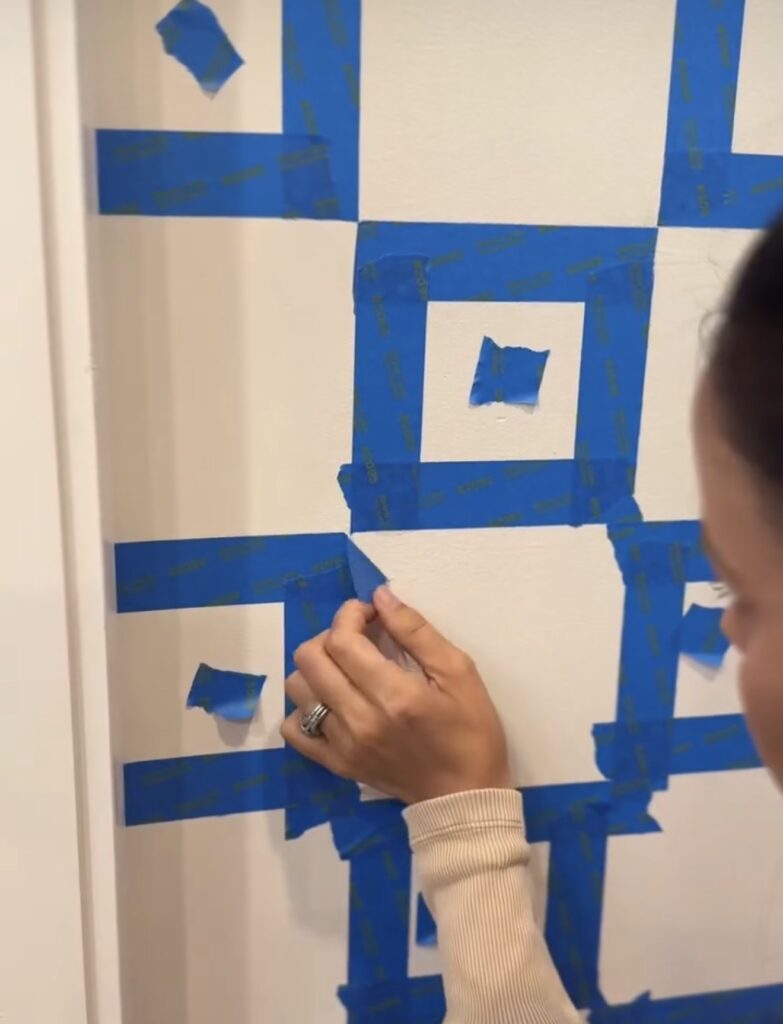
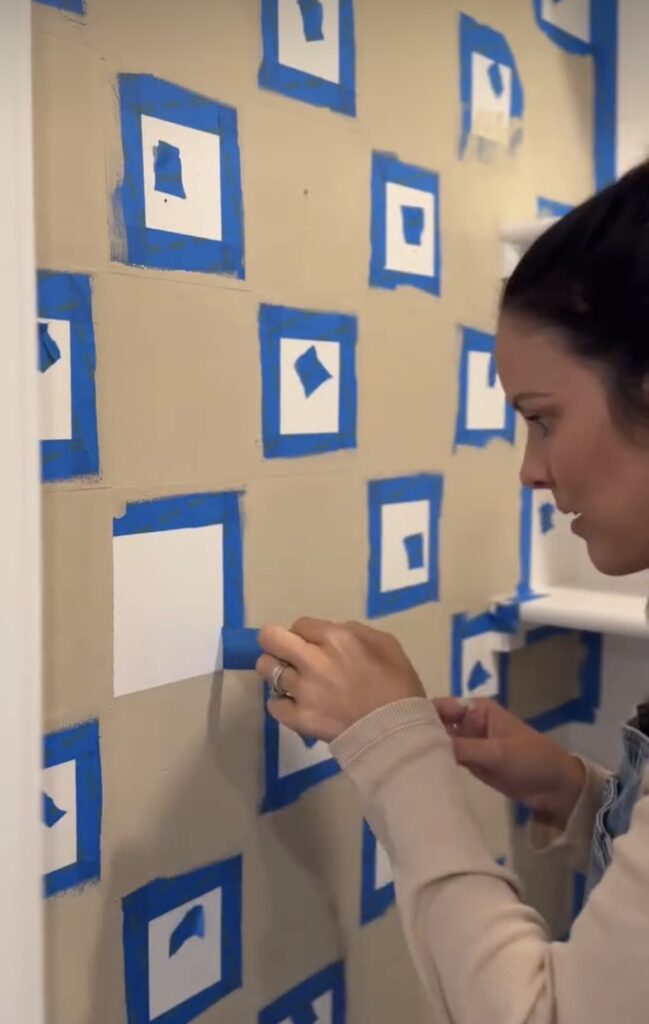
Step 2: Tape Off the Squares That Will Be Painted
Once your grid is marked, start taping off the squares that you plan to paint.
In our project, we first marked the squares that won’t be painted, that way we knew exactly which areas needed to be taped off. Then, we carefully applied painter’s tape around the squares that will be painted.
This step takes some time, but precision here makes all the difference for clean lines later!
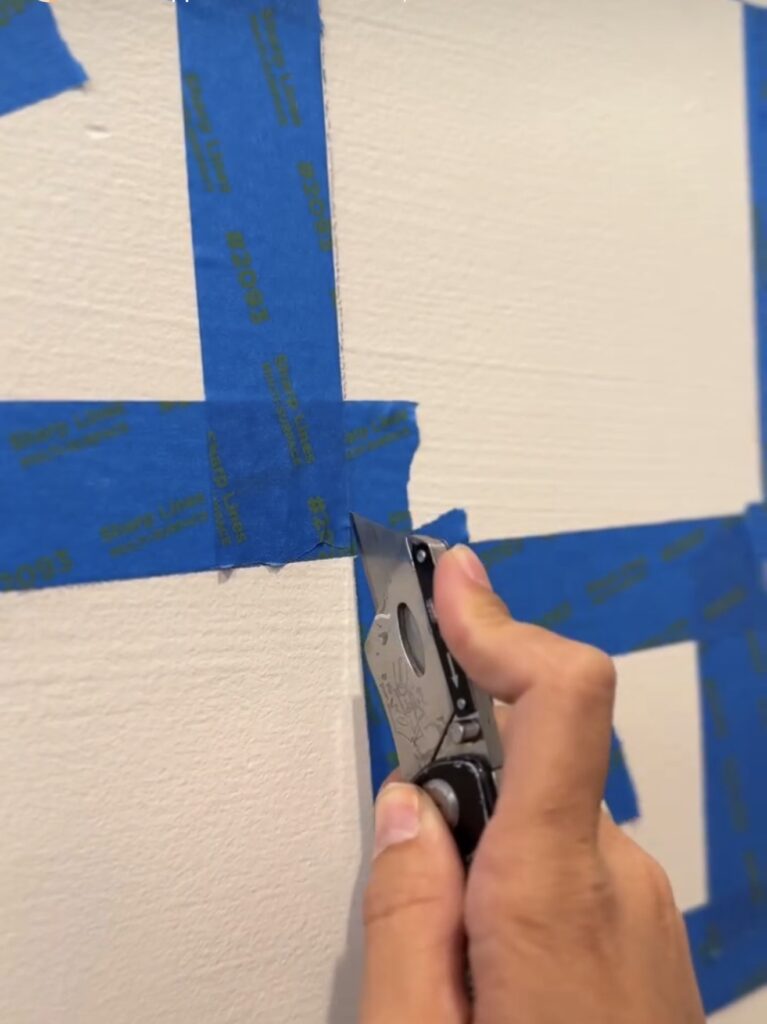
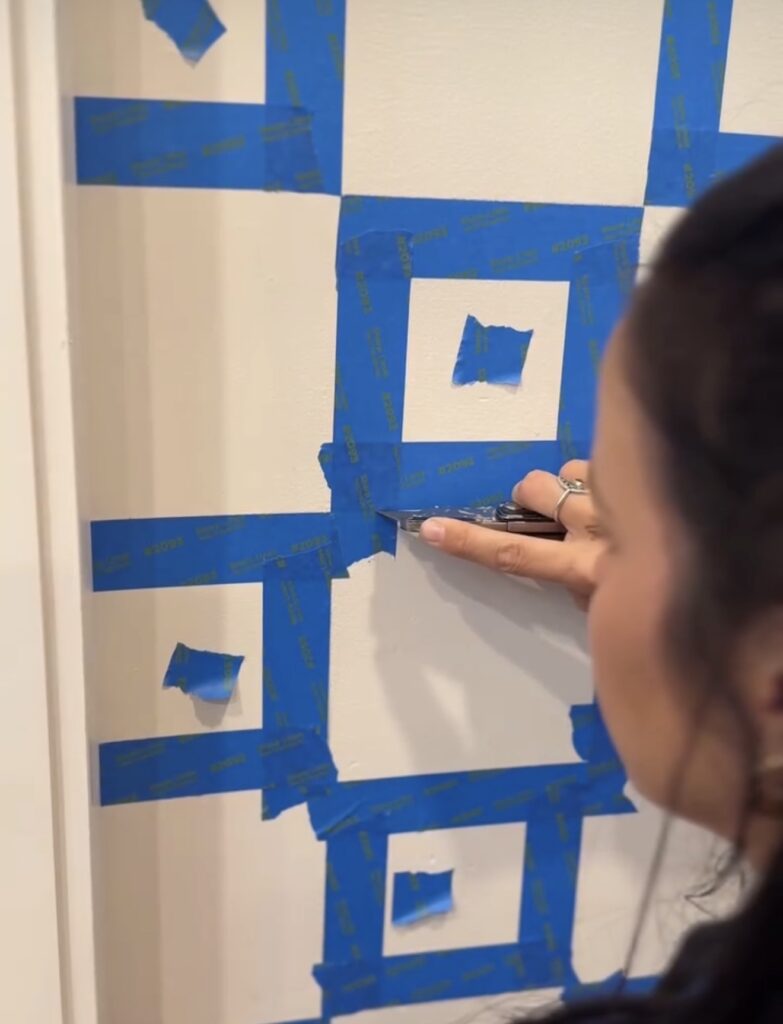
Step 3: Perfect Your Tape Lines
Now comes the satisfying part…trimming the tape.
Use a utility knife or box cutter to carefully cut off any overlapping pieces of tape where the lines meet. This will make all your squares perfectly even and crisp.
You’ll start to really see the checkered pattern taking shape!
Step 4: Paint Your Squares
With everything taped and trimmed, it’s time to paint!
Use a roller or small brush to fill in the taped-off squares with your chosen accent color. Be sure to apply thin, even coats to avoid paint bleed. Depending on your color contrast, you might need two coats.
Allow the paint to dry completely before removing the tape.
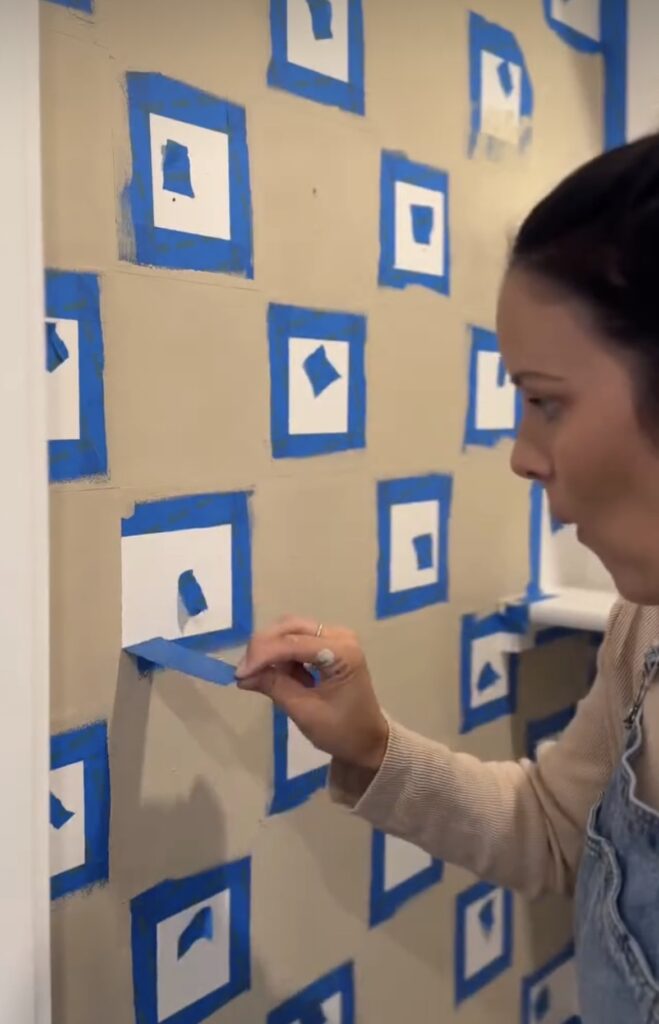
Step 5: Peel and Reveal!
Once the paint is dry, gently peel off the tape…and prepare to be amazed! Seeing the wall completed is always worth the tedious process of taping and painting.
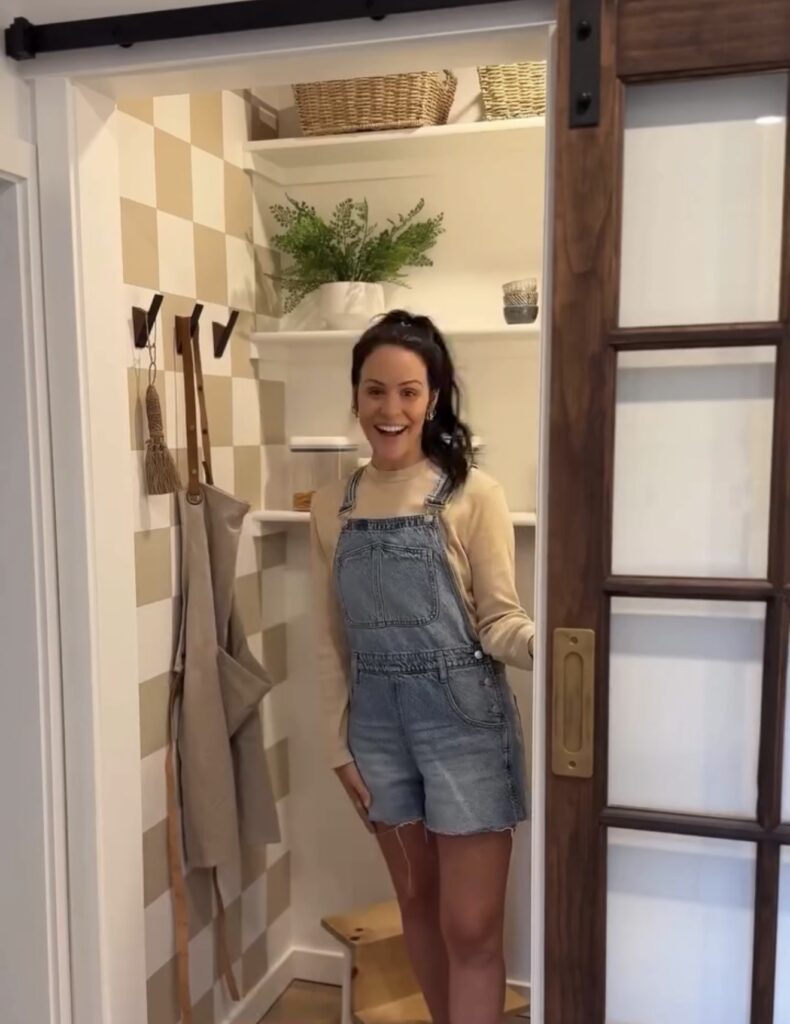
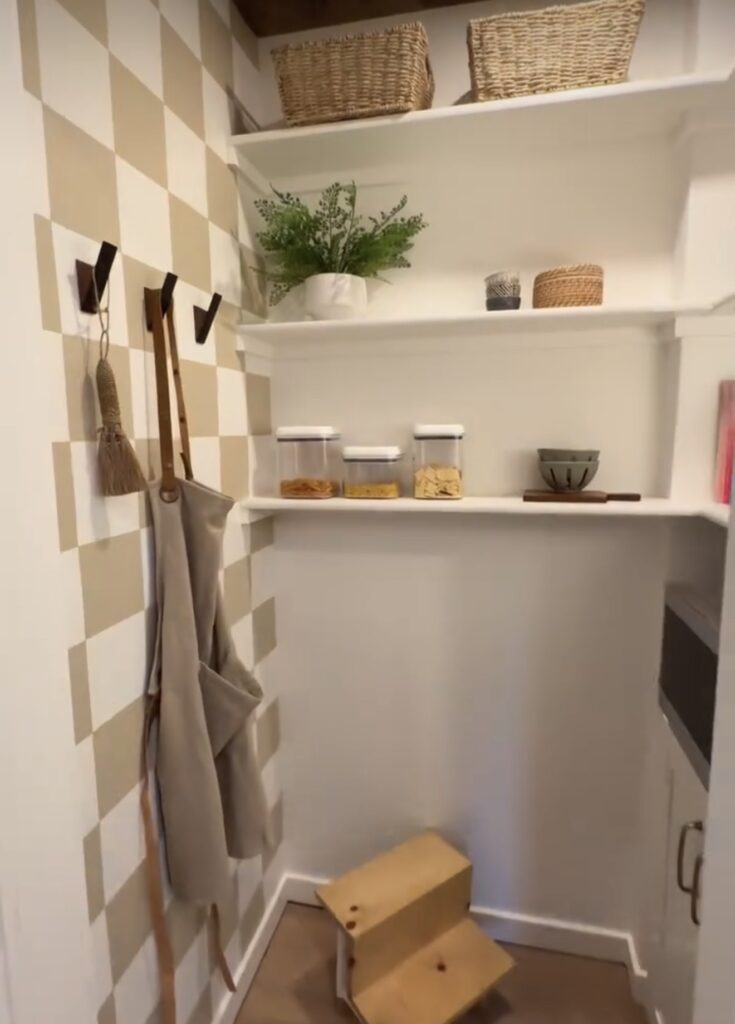
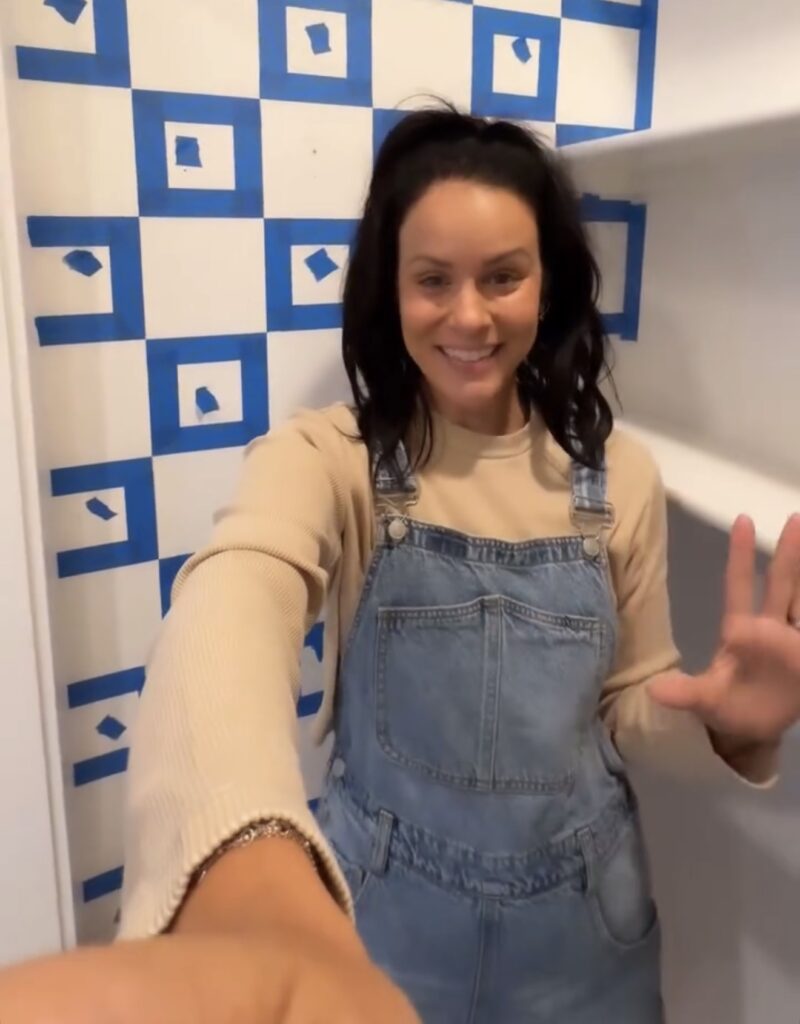
Step 6: Style and Admire
We decided to stop at just one accent wall to keep things simple and not too busy since the space is small, but you could absolutely continue the pattern on multiple walls if you want more impact.
Add some cozy accents, like woven baskets, greenery, or wood tones, and you’ve got yourself a perfectly styled space with a big visual payoff.
This checkered wall project is a perfect weekend DIY and it’s so affordable since no wallpaper is required! Whether you go bold with a pop of color or keep it neutral like we did, this technique gives you that transitional or vintage-inspired vibe that’s everywhere right now.
Leave a Reply
Grab our FREE download
Wanna know the 5 must have tools you need before you start?
Considering a DIY Project?


Be the first to comment