


DIY Shiplap Fireplace

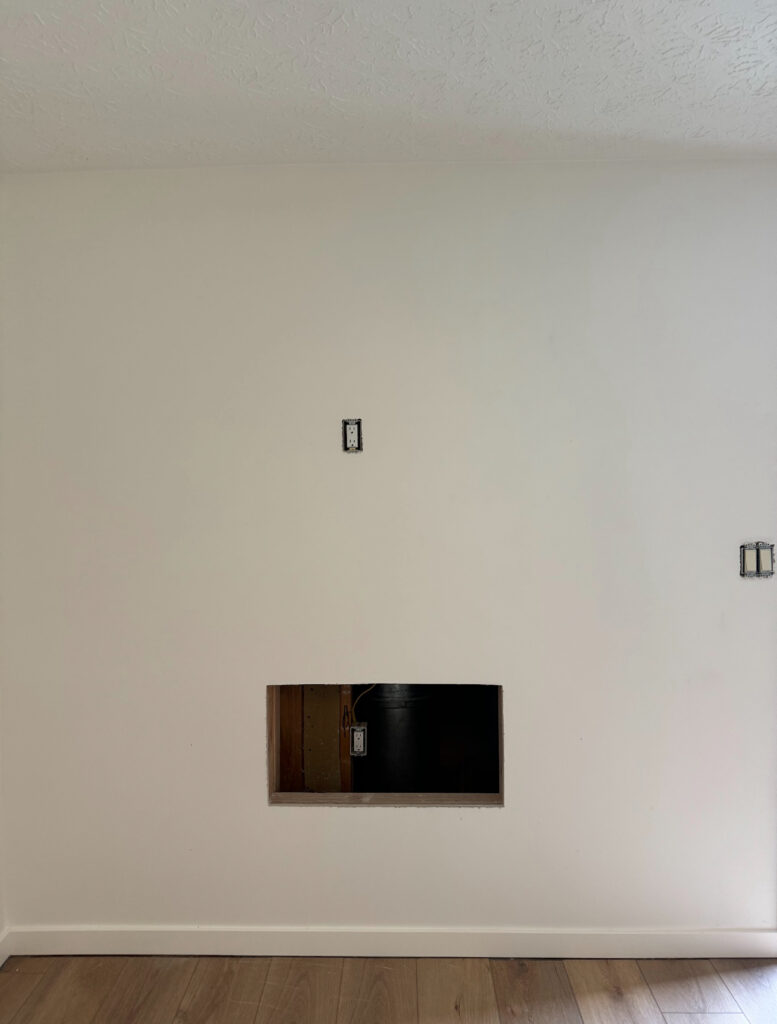
When we bought our flip house it did not have a fireplace. So we wanted to be sure to add a one somehow because we knew it would increase the value of the home. Our solution was a super beginner friendly DIY project, but totally transformed the space!
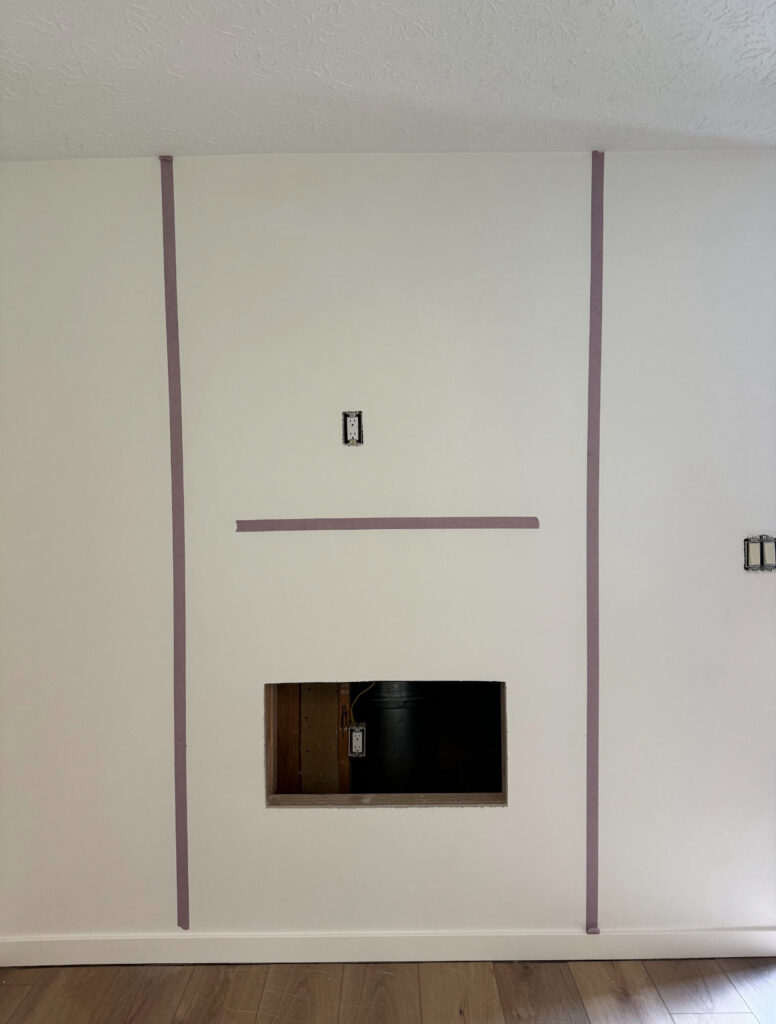
The fireplace insert was already measured and cut out so we taped the wall get an idea of where the paneling would go and where we would install the mantel.
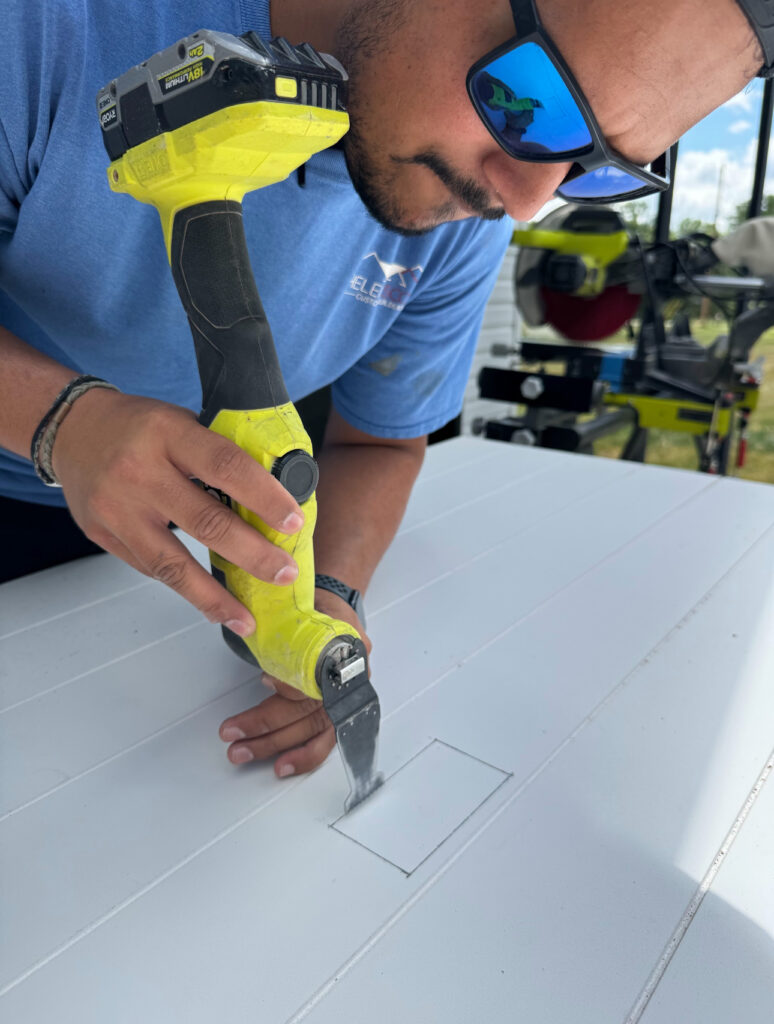
We used a 4x8ft sheet of shiplap paneling for the fireplace. The only cuts we had to make to the paneling was some off of the bottom to fit the height of the wall and the holes for the fireplace and outlet. We didn’t take anything off the sides so it was a very easy job!
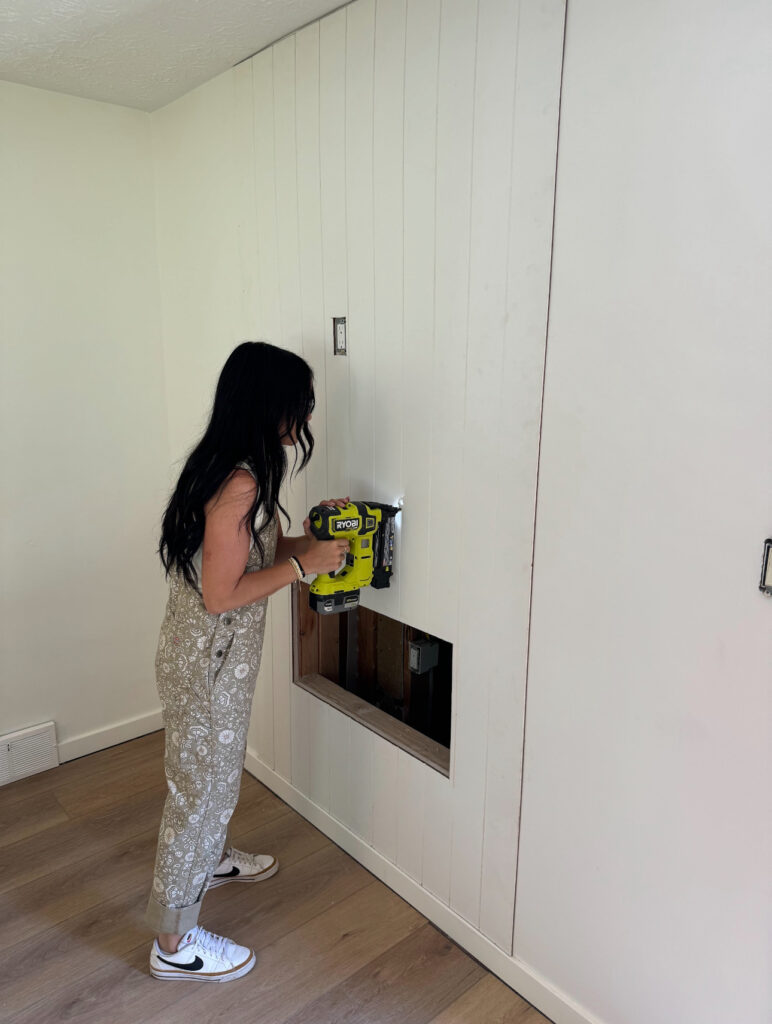

We nailed the paneling up with our 18 gauge brad nailer. I shot the nails into the cracks between each panel to make them less visible.
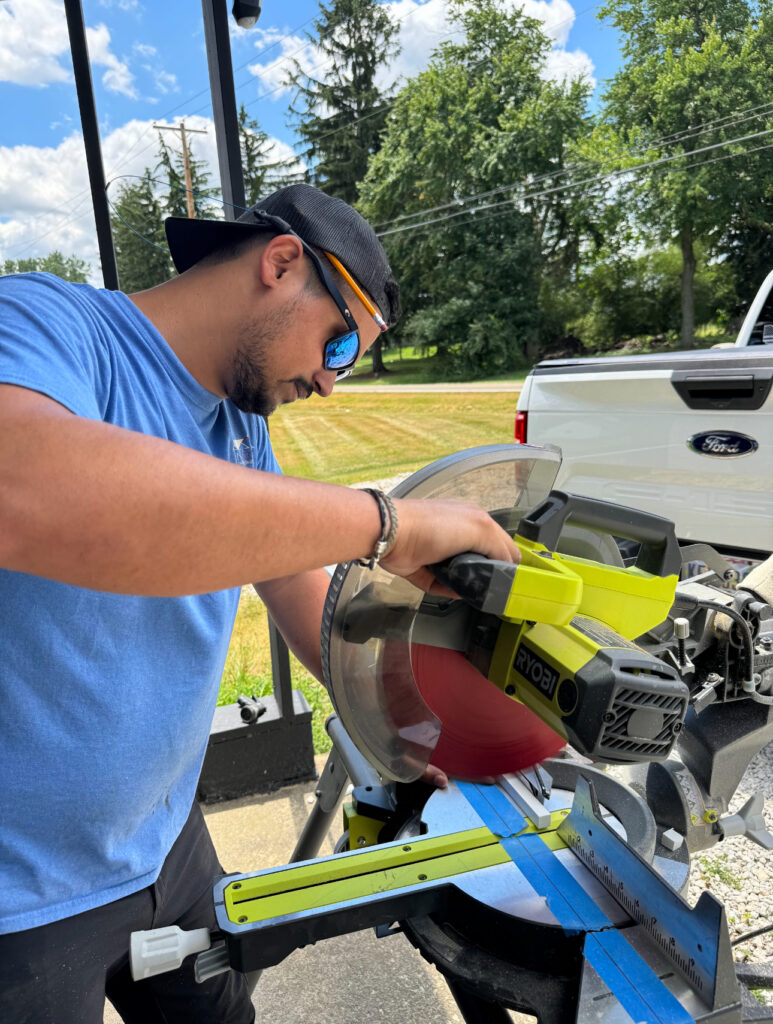
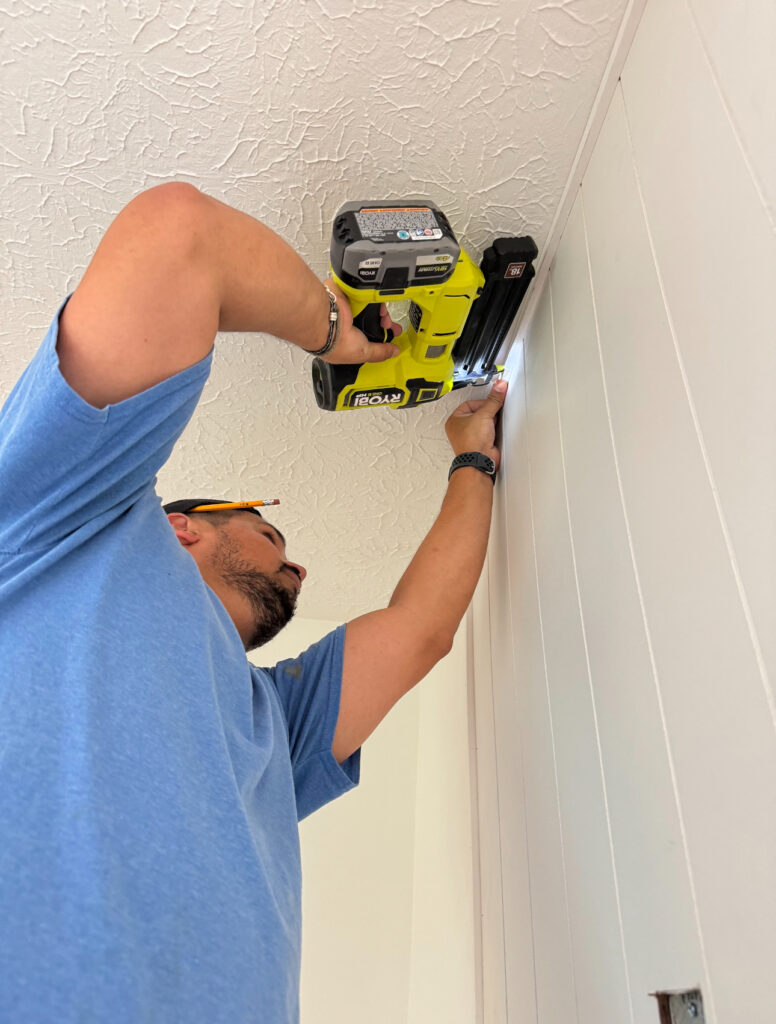
Then we used 1×1 square trim to frame out the sides and top.
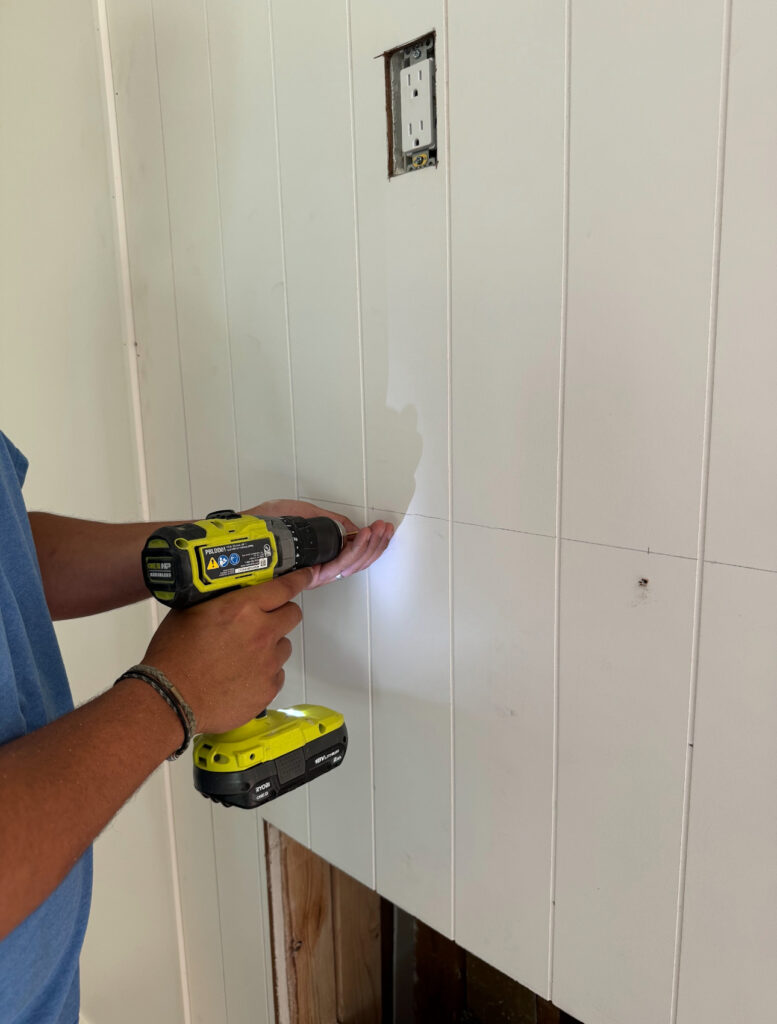
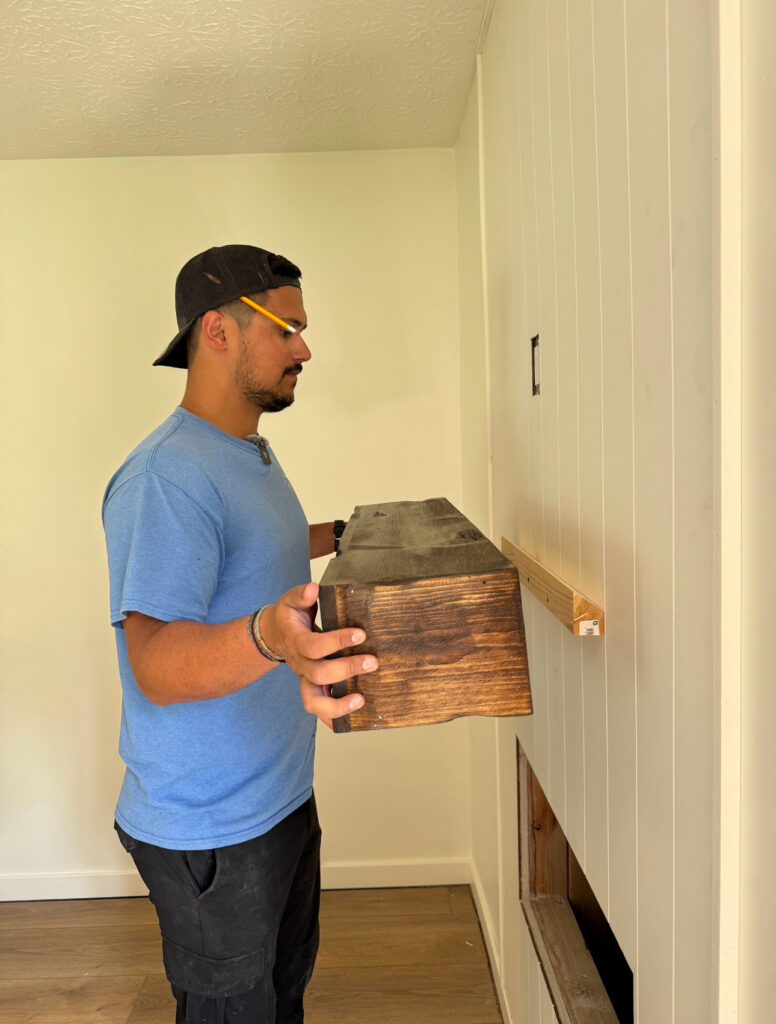
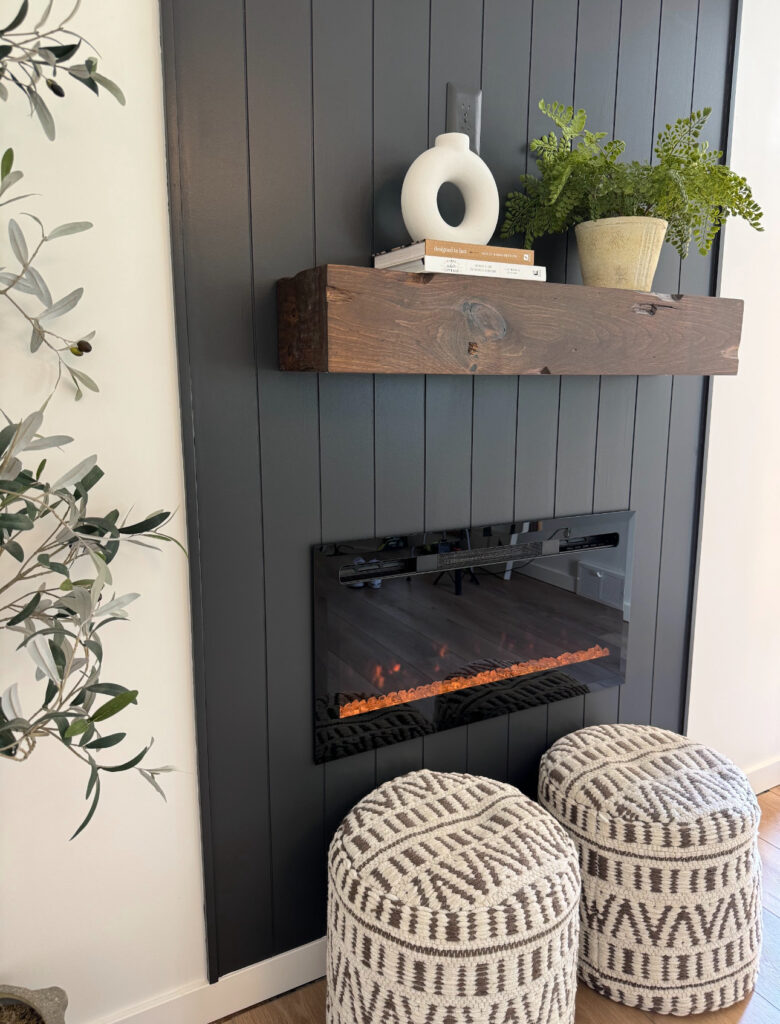
Once we had the paneling up, we could add the mantel. We got the mantel pre-made online. It comes in a bunch of stain colors/sizes and was a super good price! We chose the provincial stain and 36″ size. We installed the cleat before painting the paneling so we don’t mess it up. We will install the mantel after we paint.
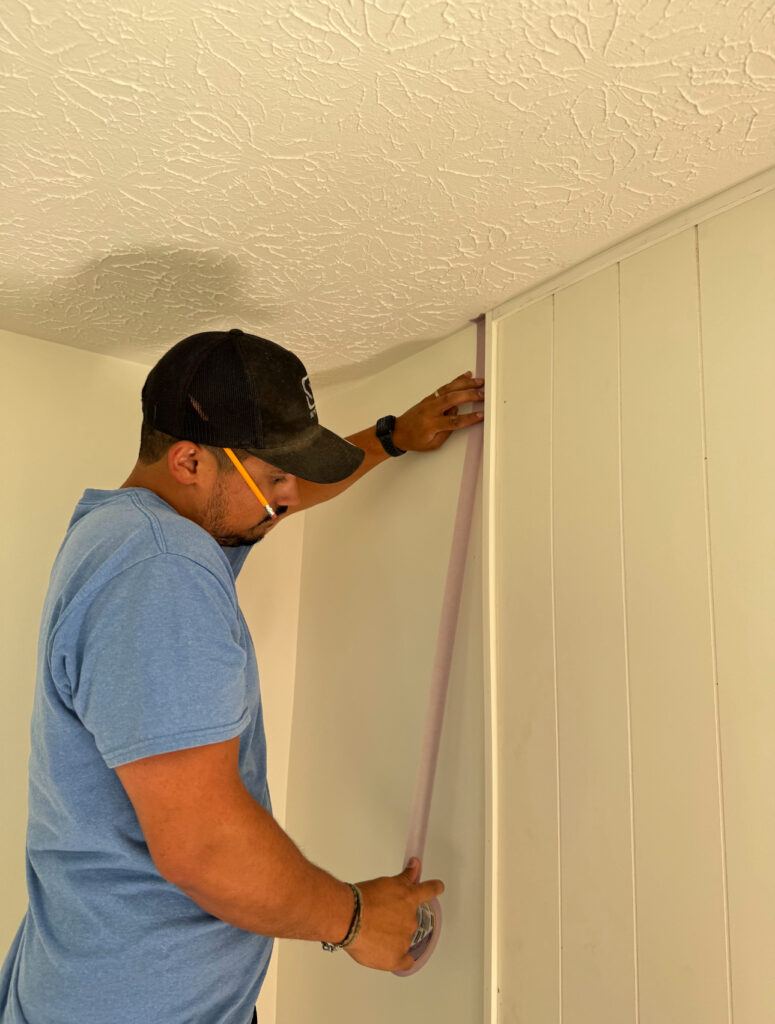
After we installed the cleat we filled the nail holes and caulked the seams. Then we taped everything off before painting.
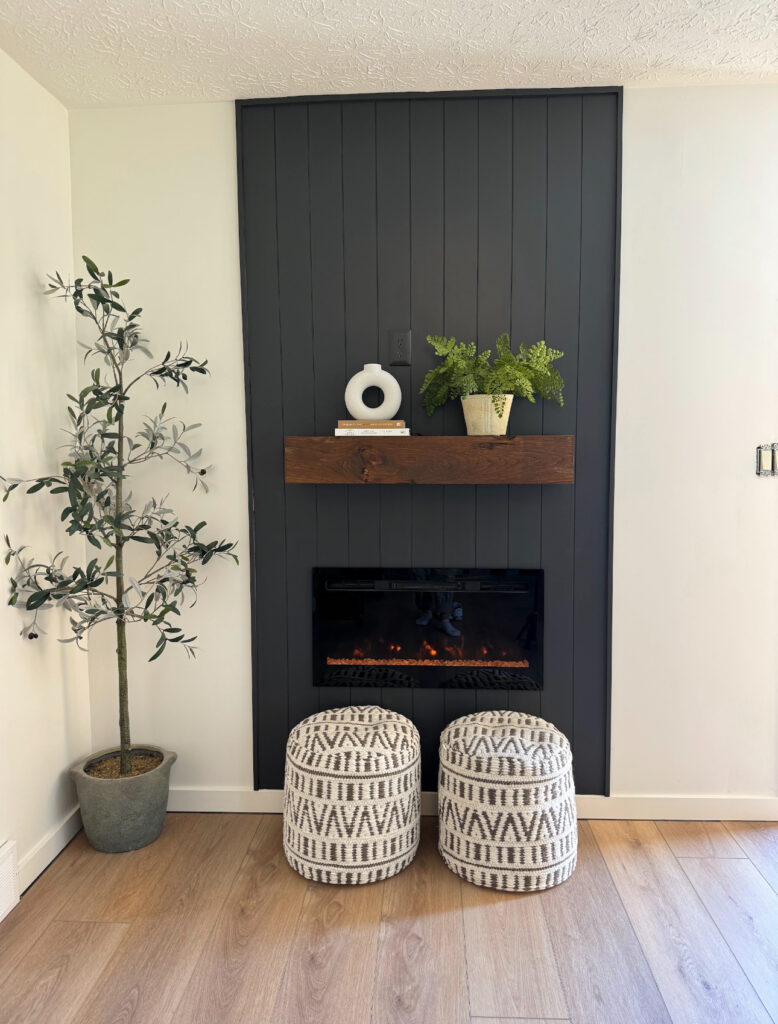
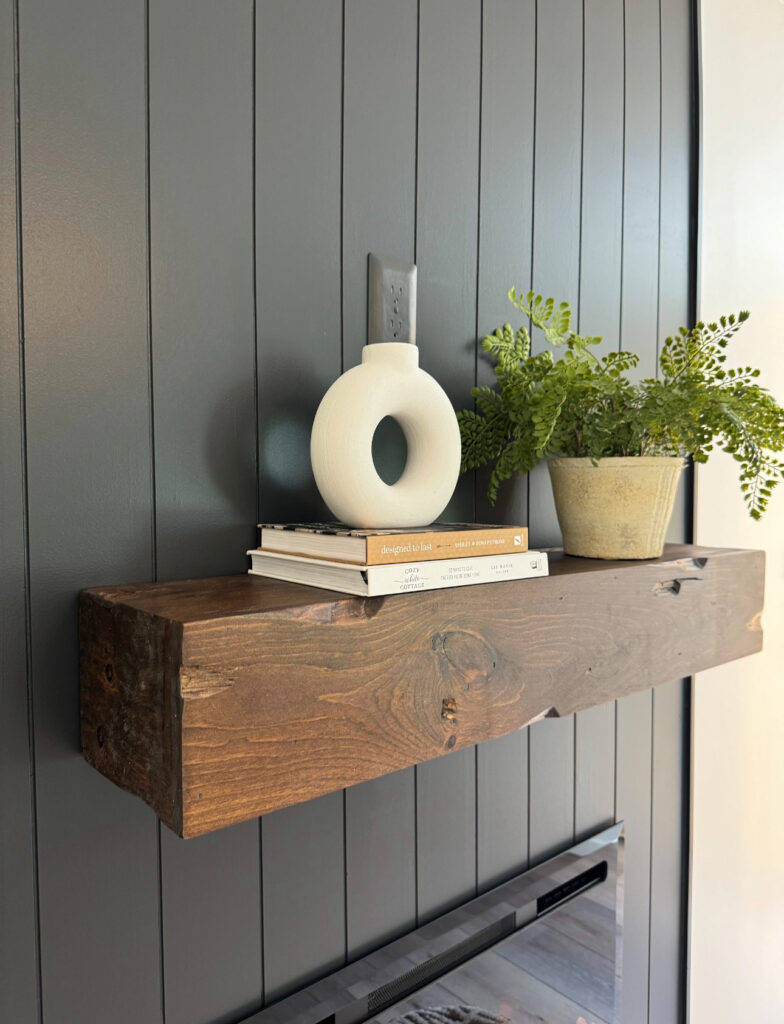
After painting the paneling to give it some depth, we installed the mantel and added some decor.
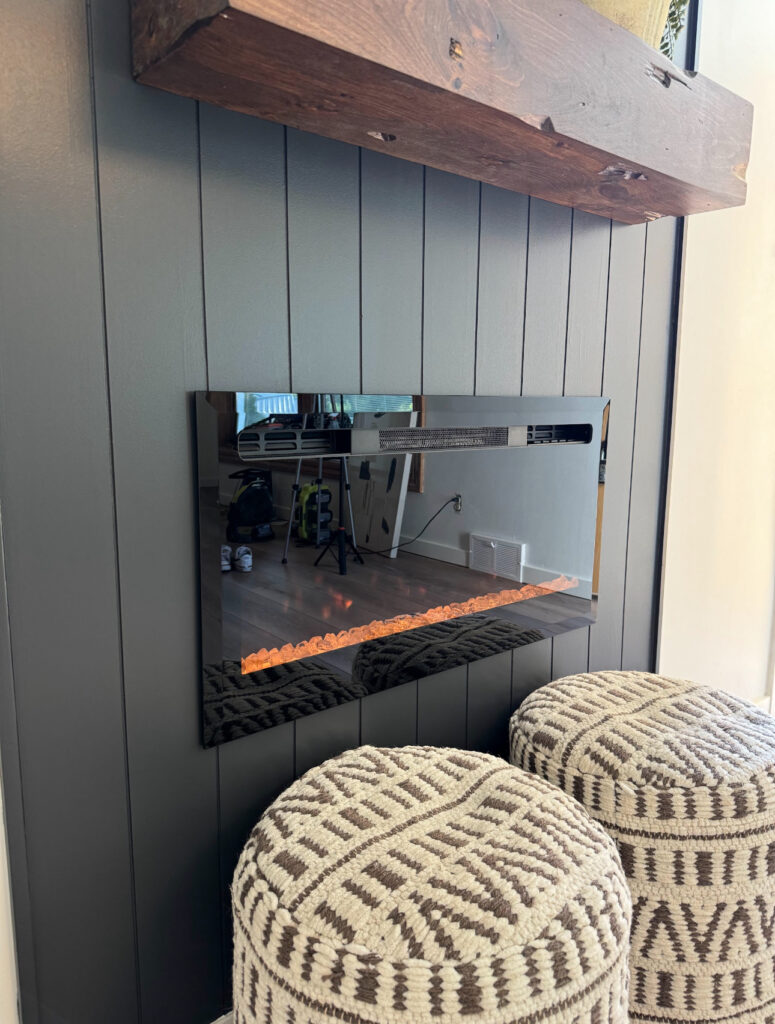
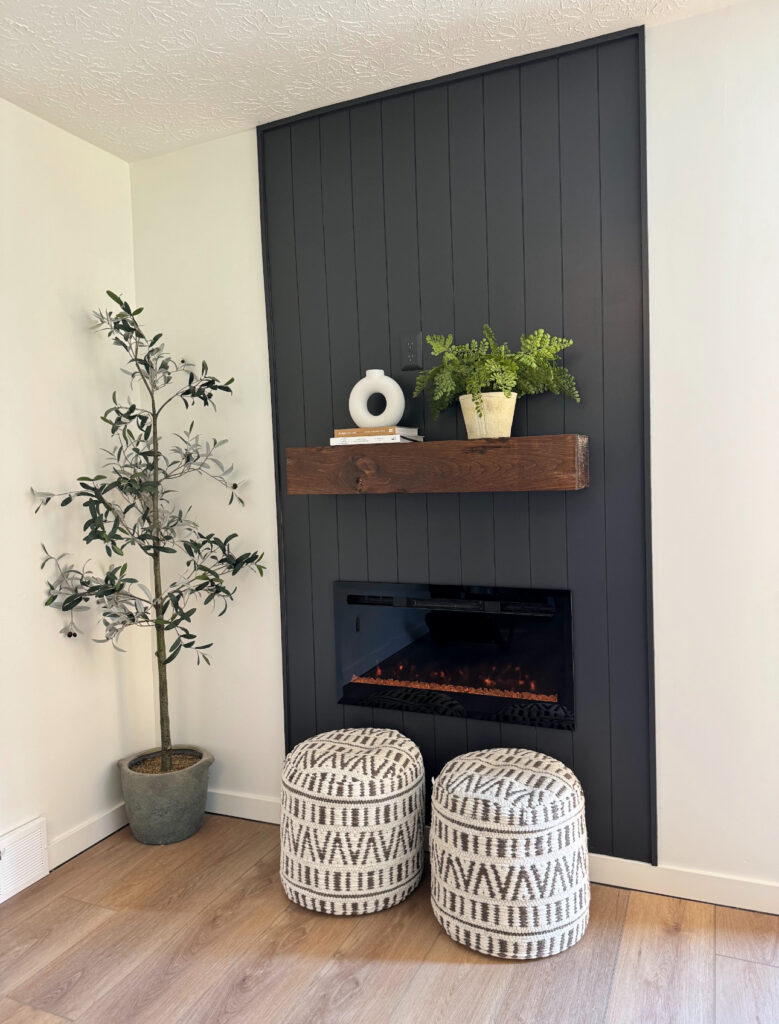
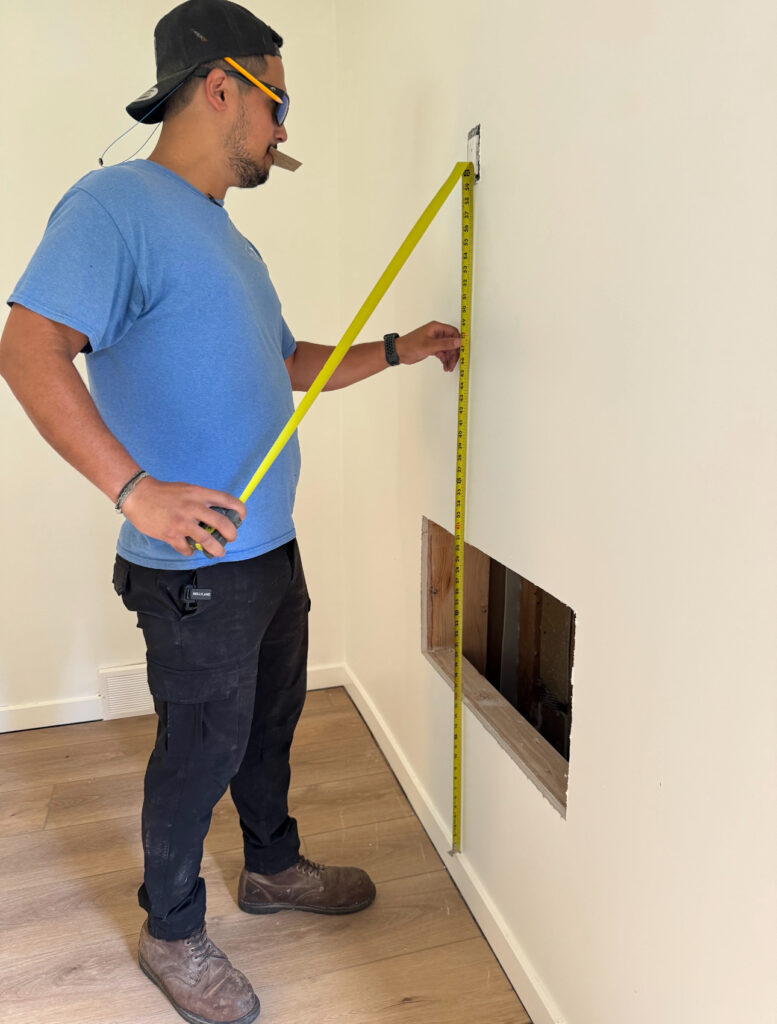
Fireplace is 18″ off ground and 12″ away from the mantel. It had to be for safety purposes. The mantel is 47″ off the ground.
The final result blew me away for it to have been such a simple and inexpensive project! If you are wanting to add a fireplace to your home but don’t have a big budget or a lot of experience, this is the perfect option!
Leave a Reply
Grab our FREE download
Wanna know the 5 must have tools you need before you start?
Considering a DIY Project?


Be the first to comment