


How to Make Painted Book Bricks for Your Garden or Patio
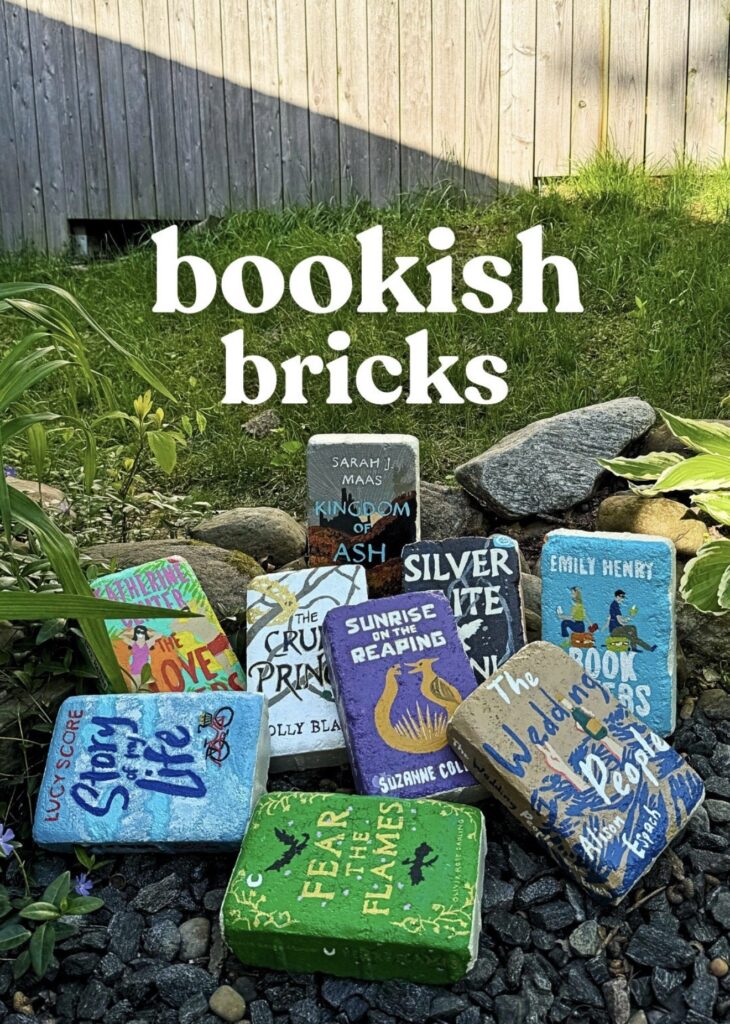
If you’re a book lover and a DIY lover, this project combines both in the best way possible. These painted bookish bricks are such a cute way to add a little personality to your garden, flower bed, or patio area. And they’re surprisingly easy to make! Here’s a step-by-step look at how to create your own stack of bookish bricks. This blog contains affiliate links.
What You’ll Need:
- Landscaping bricks (these are the perfect book shape!)
- Acrylic paint or interior paint samples (whatever colors you need for your books)
- Graphite or carbon transfer paper (white and black)
- Paint brushes
- Fine tip paint pens
- Artist brushes and super tiny artist brushes (really important for smaller details, I used both)
- Mini projector (optional)
- Sealing spray (the most important part!)
Step 1: Prep Your Bricks
Start with clean, dry landscaping bricks. I recommend setting up to paint these outside if you can, the sun and wind will help everything dry faster. You can use a damp rag to wipe away dust or debris before painting. Once they’re clean, let them dry completely. Most of your bricks will need to be painted a base color to match your book, so go ahead and paint your base color at this time. Like I mentioned above, you can use any acrylic paint or interior paint to do this. I like to get the sample size paint from Lowes or Home Depot since there’s so many more color options.
*TIP: I like to take the books with me to the store to compare the paint for the closest match. If you want an EXACT match, get interior paint samples from Lowes & Home Depot and have them color match the book.
Step 2: Trace Your Design
There are two ways to transfer your book cover designs onto your bricks:
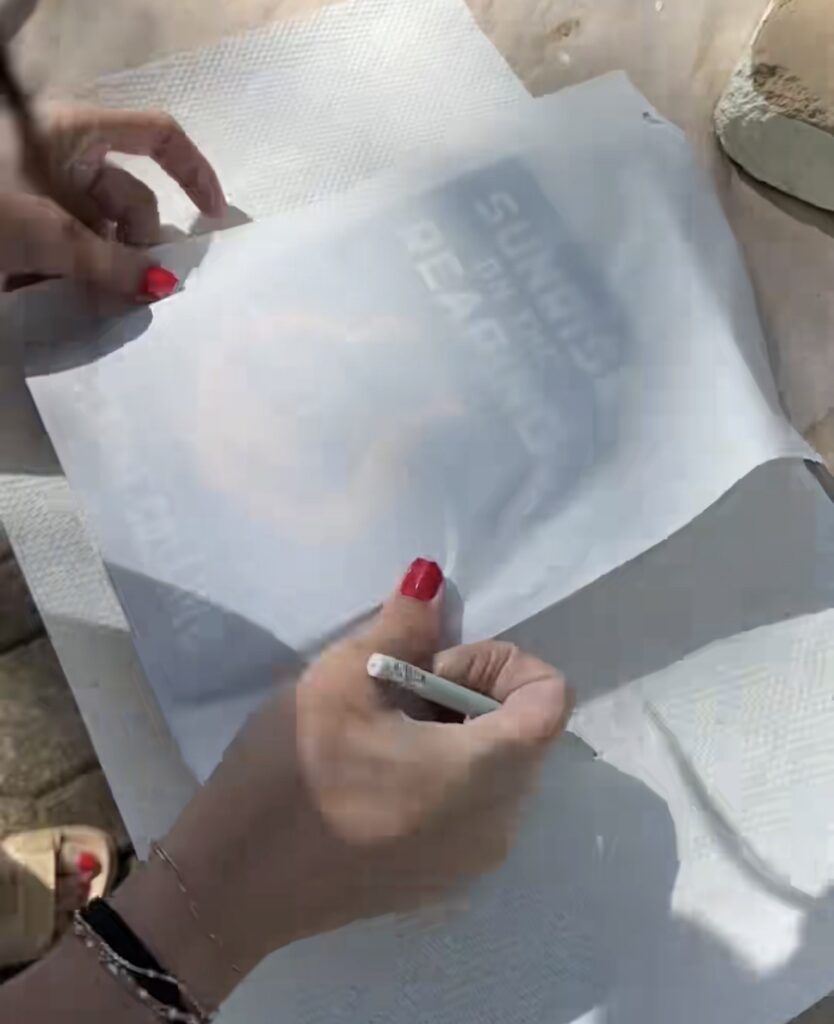
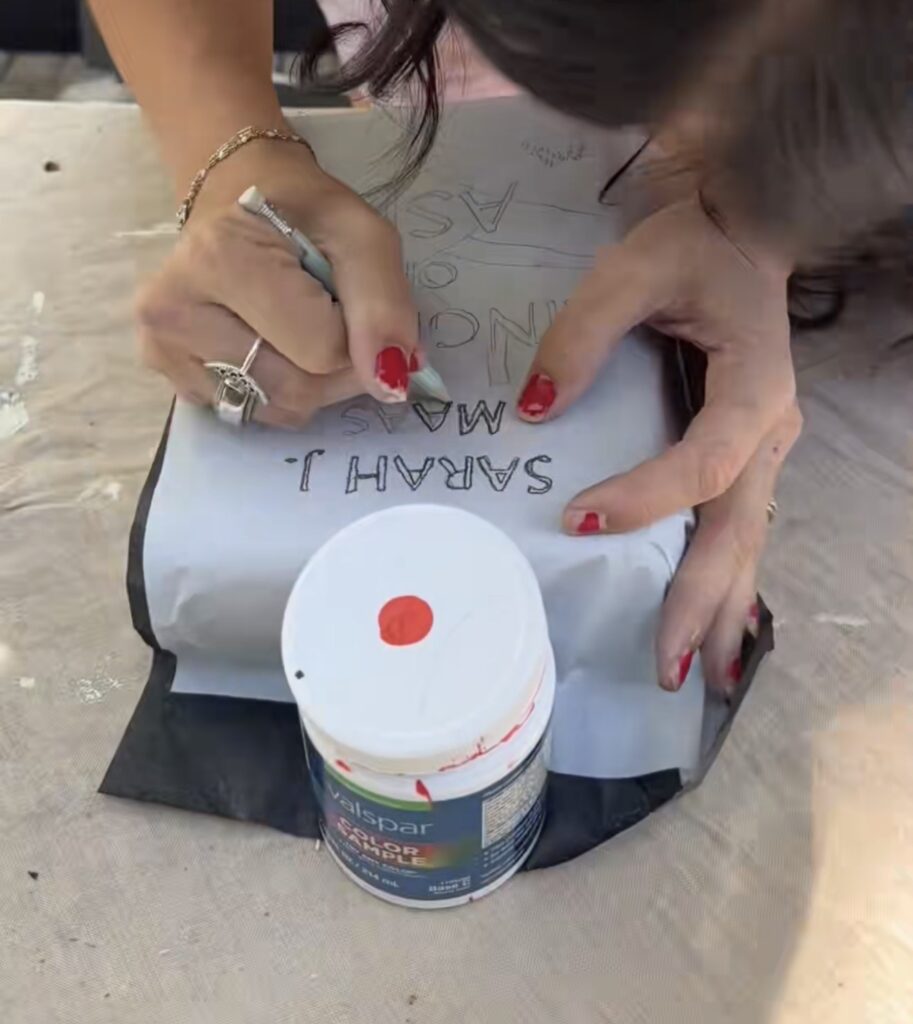
Option 1 – Transfer Paper:
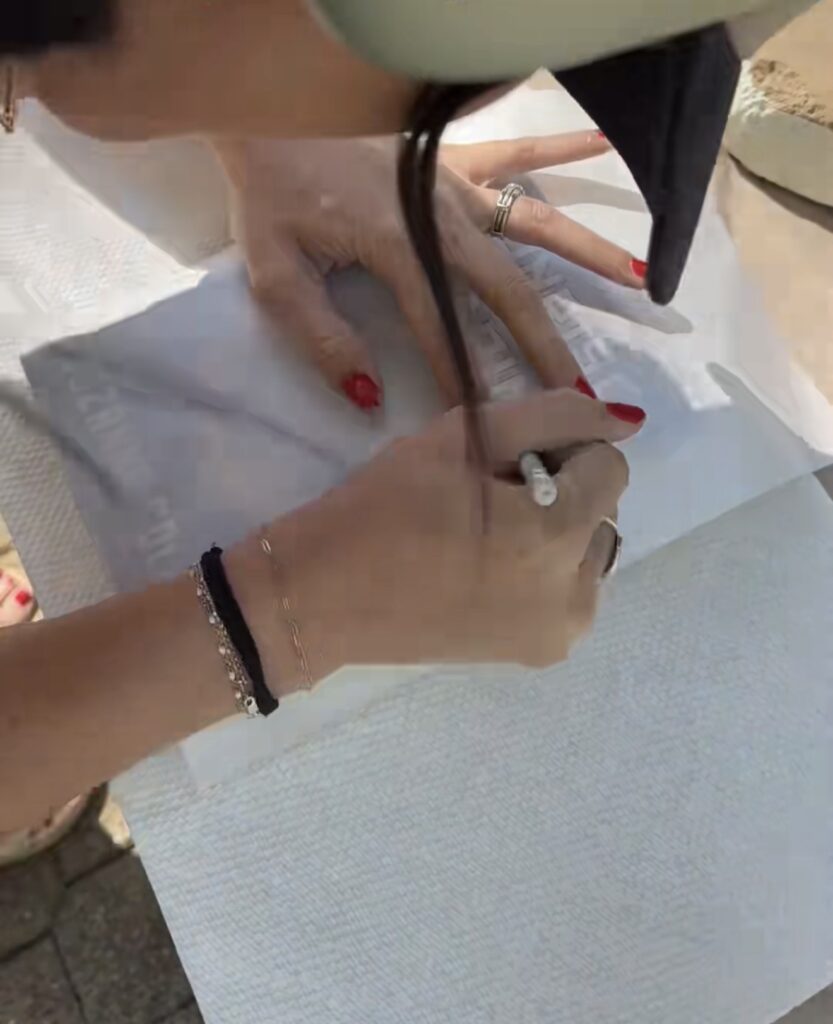
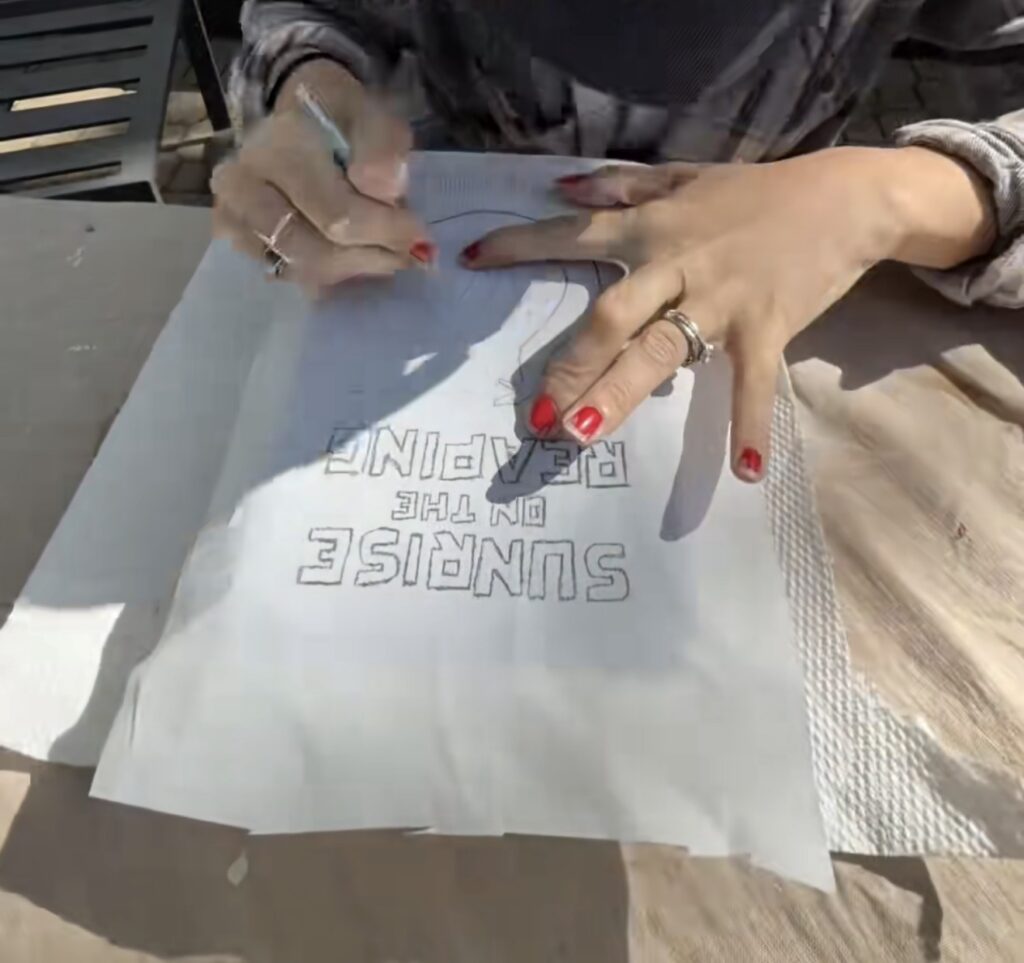
This is my preferred method, it’s SO easy and quick. First print out the cover or design you want to use on the brick. Lay a sheet of graphite tracing paper (white paper for dark painted bricks, black paper for light painted bricks) on top of the brick, and then lay your printed design over top of the tracing paper. Then with a pencil, trace over the design, pressing down firmly. The design will lightly transfer onto the brick which makes it perfect for painting. Make sure you have the correct side of the tracing paper down on the brick, you’ll be able to tell which side needs to be facing down, it feels kind of waxy.
*NOTE: You can also trace an actual book cover instead of printing it out, I did this for the books I had. In this case you will need to take white tracing paper over top of the book and LIGHTLY (and I mean lightly) trace the design of the cover. Then once the design is fully traced, place a second piece of tracing paper on the brick (either white or black depending on color you painted the brick) and the sheet you just used to trace over top of that, and trace again over top of what you already traced pressing down firmly this time to transfer it. It sounds difficult, but it’s not!
Some details will be too small to see to trace, and that’s ok, it doesn’t have to be 100% exact, its a brick!
Option 2 – Projector Method:
If you have a mini projector, look up the cover on google images and project the book cover directly onto the brick and lightly trace the outlines with a pencil. This method works especially well for more detailed designs, but would be more difficult I think. I did this for the book table I painted and it worked out great, but that was a different project.
Step 3: Start Painting
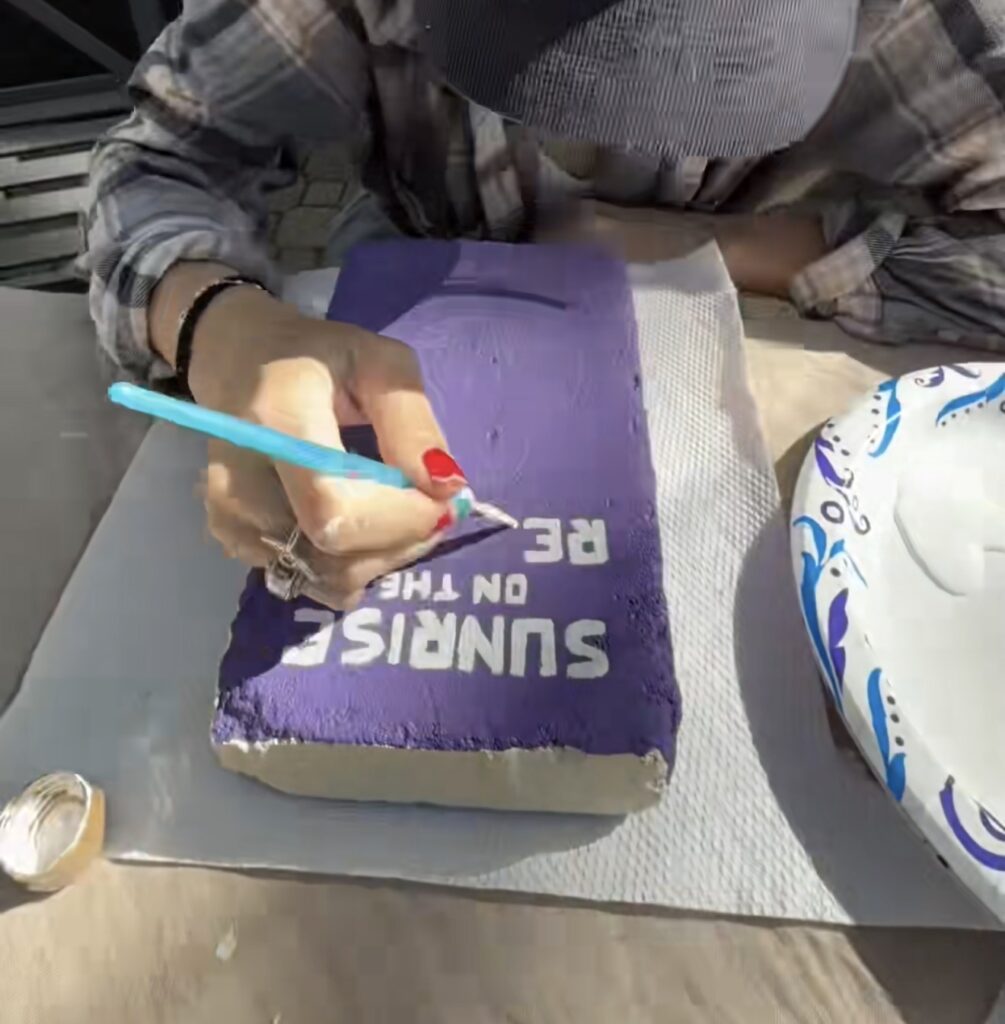
Once you have your designs traced onto the brick, you can start painting! Using acrylic or interior paint samples, fill in your design. You can mix colors, layer details, or keep it simple. It’s totally up to you how detailed you want to make the book covers. The paint type doesn’t matter as much as sealing it well at the end, so use what you have on hand!
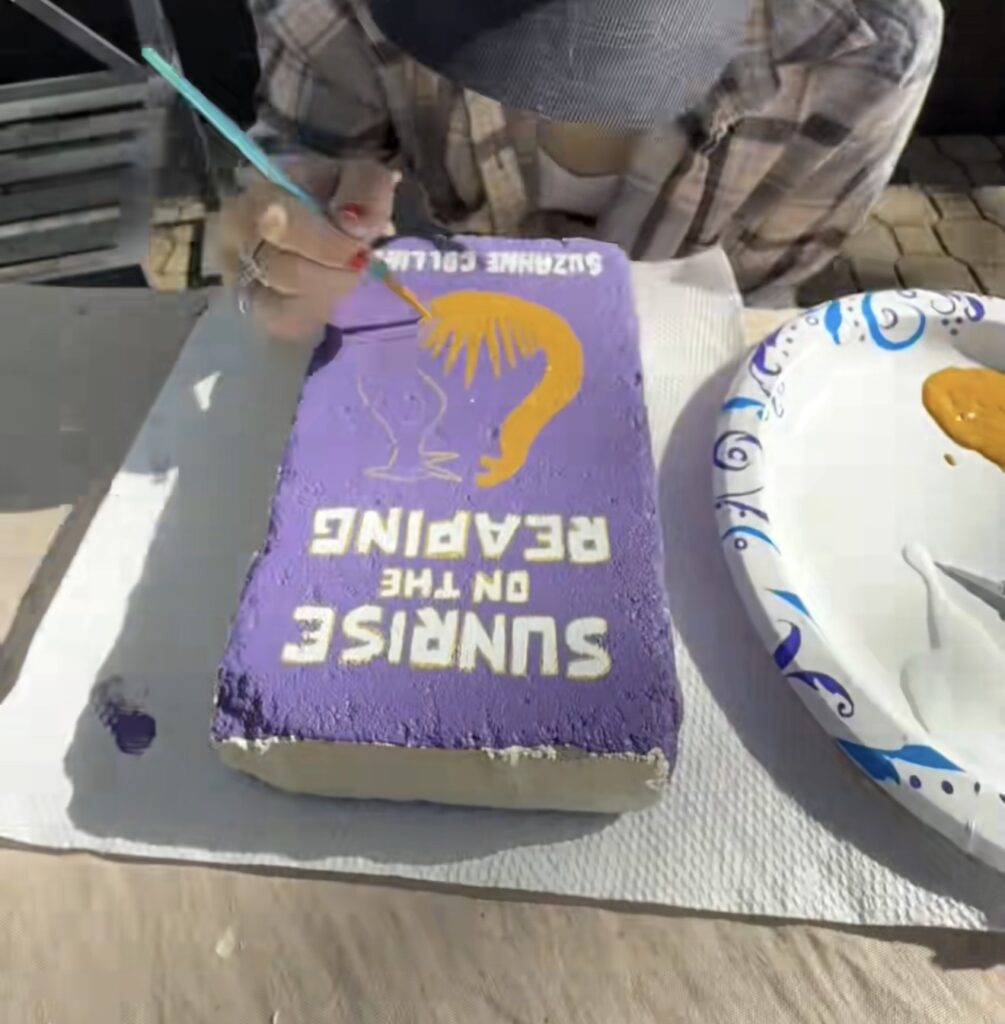
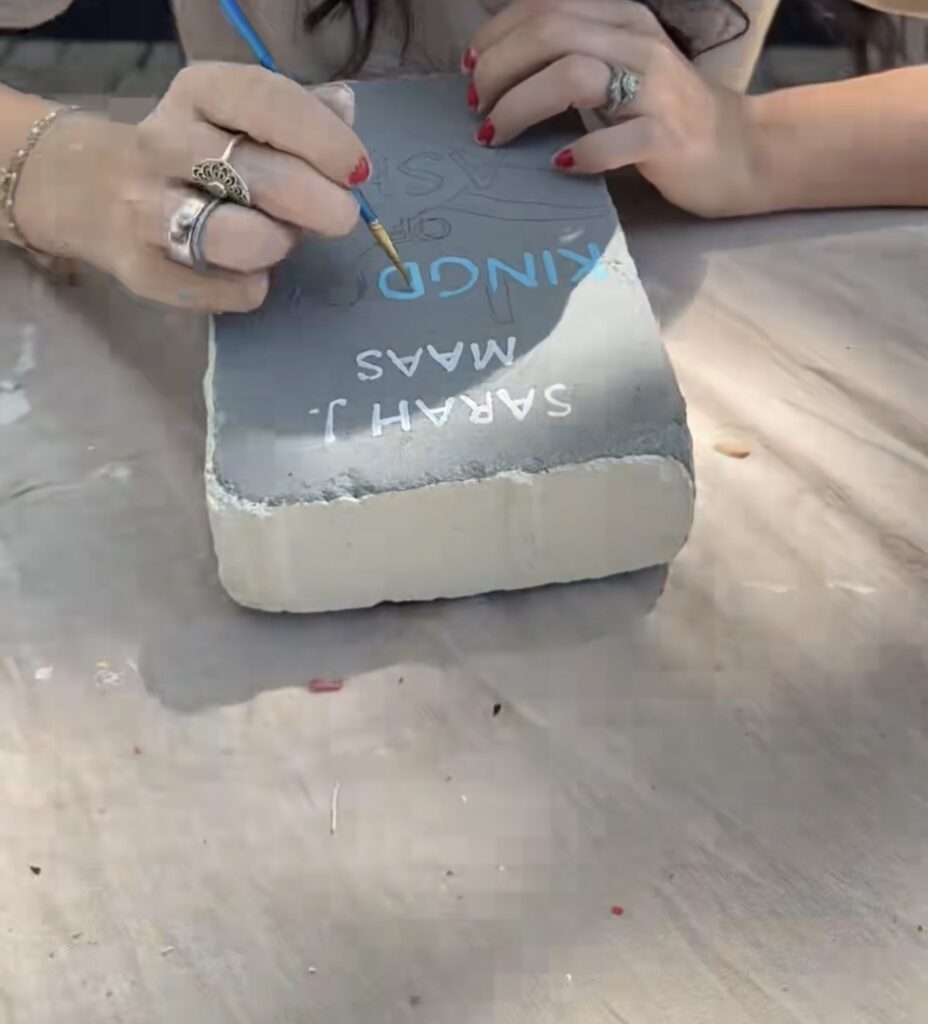
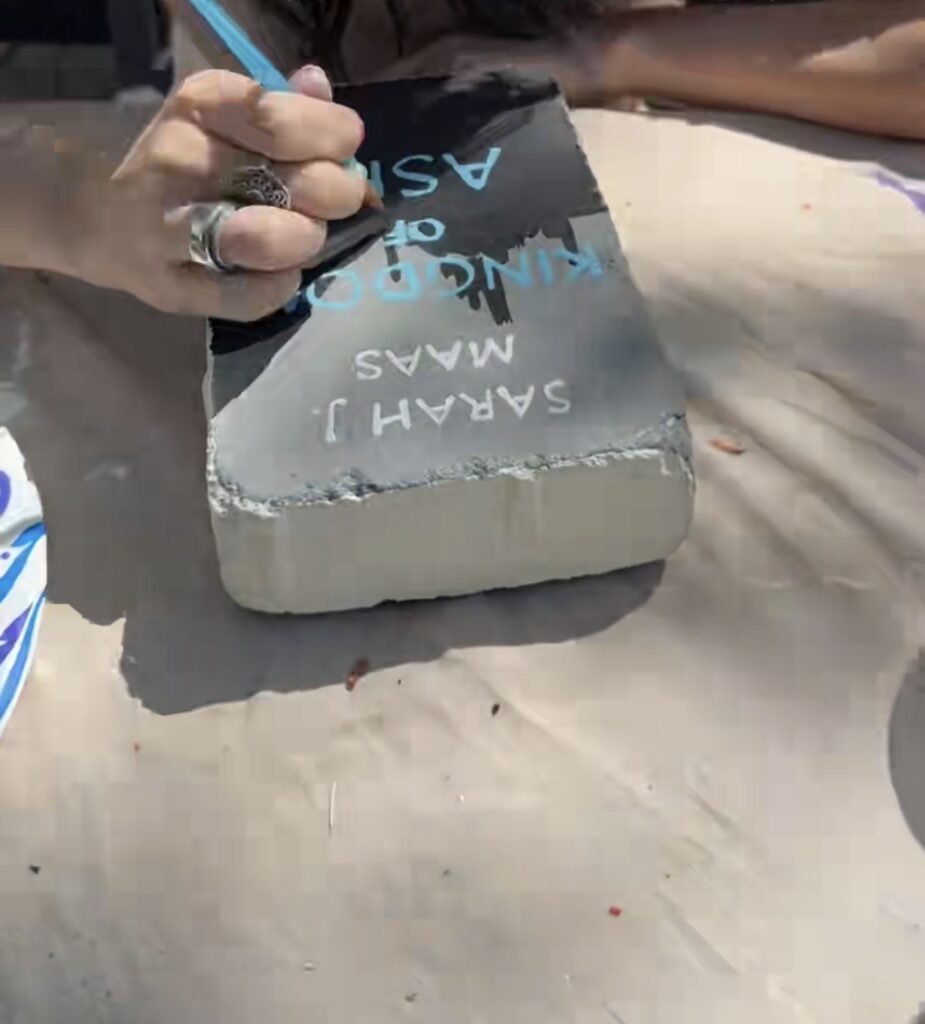
Step 4: Add Details & Touch-Ups
This is there the artist brushes come in handy, I used these superrrrrr tiny ones. Once the first part of your design dries, go back in with a smaller brush or paint pen to add fine lines, lettering, or highlights. Some parts may need to be freehanded, especially smaller details like faces or small patterns that don’t transfer clearly. Take your time and have fun with it! I did the spines of the books too, and I traced the spines the same way with the books I had on hand, but I freehanded a lot of the designs.
Step 5: Seal Your Bricks
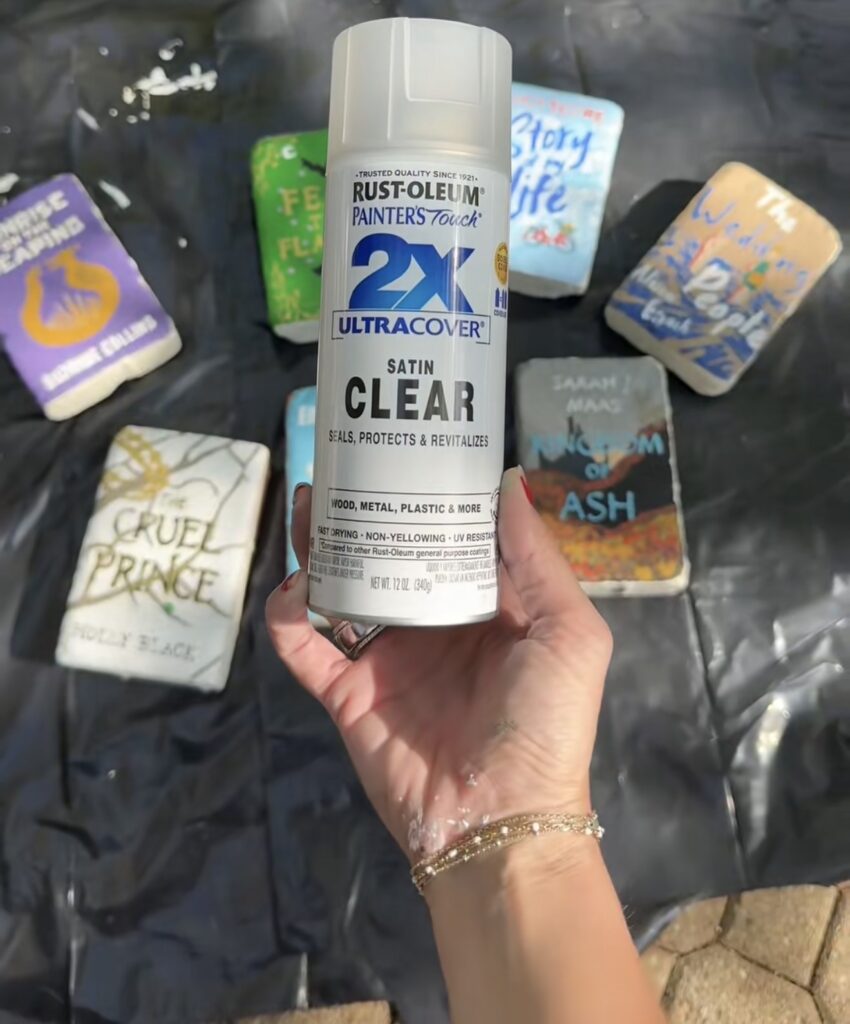
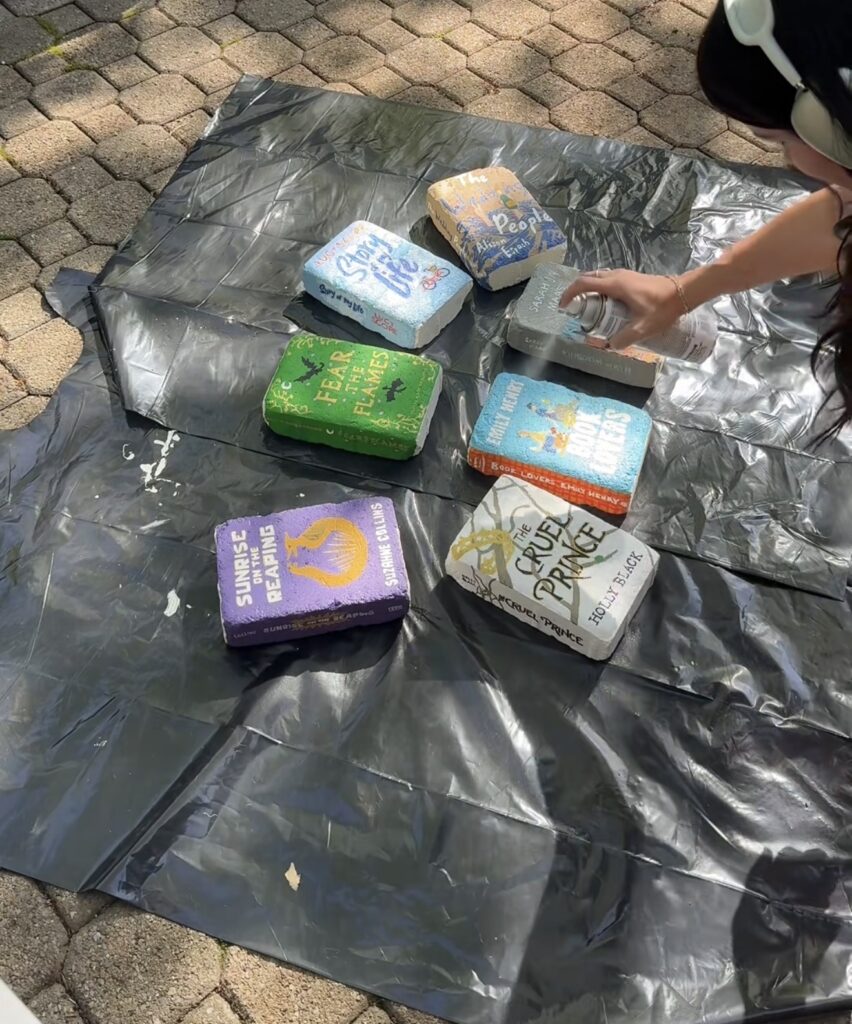
This step is key to keeping your bricks looking fresh and lasting a long time through all types of weather! Once the paint is fully dry, spray each brick with a clear coat, like this one. This seals the paint, protects against weather, and gives a nice finished look. I prefer a satin clear coat so it wipes clean and gives it a little shine, but not too much. I did SEVERAL coats of this, and my books have been outside in the rain for several months now and haven’t faded, they wipe perfectly clean.
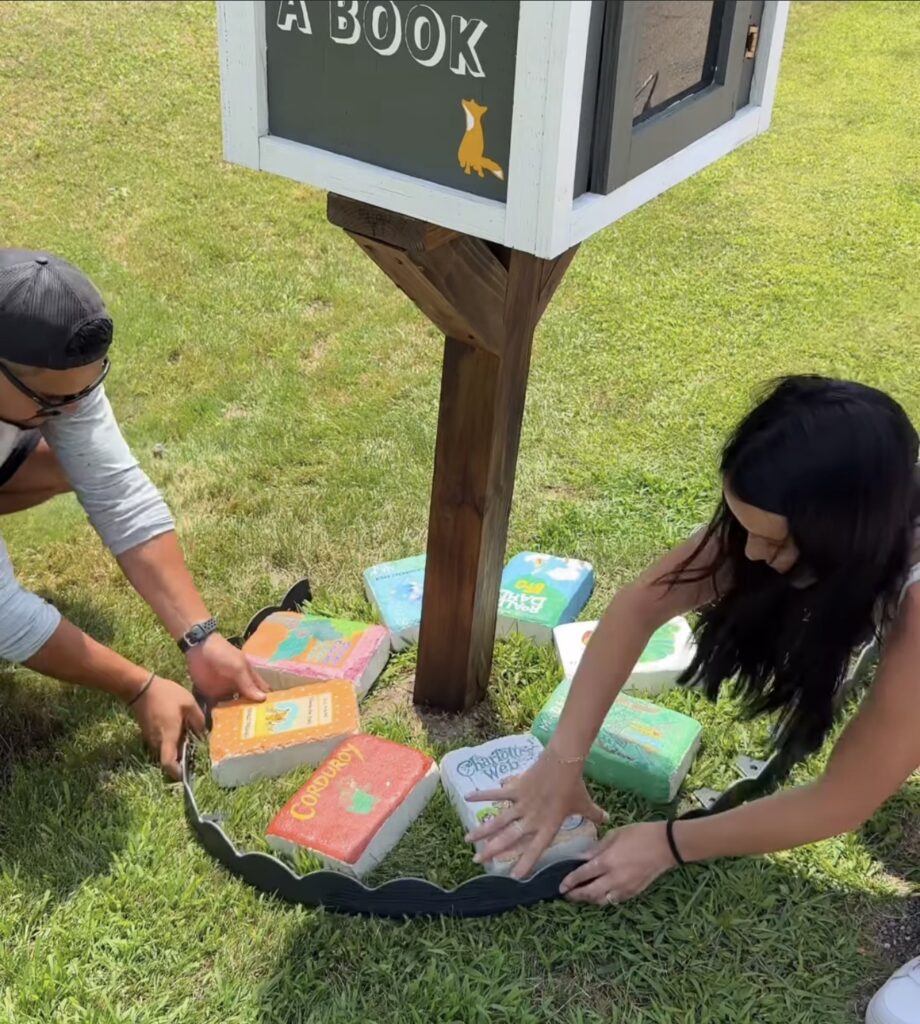
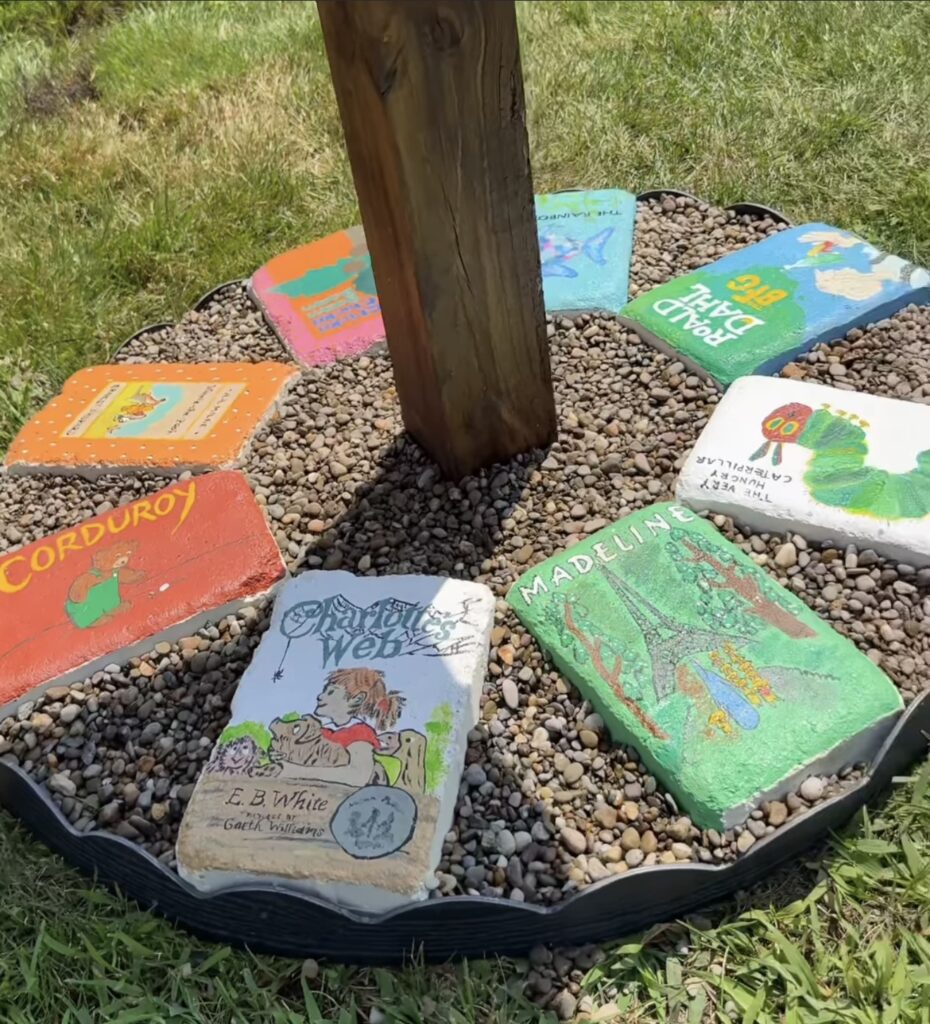
Step 6: Display Your Book Bricks

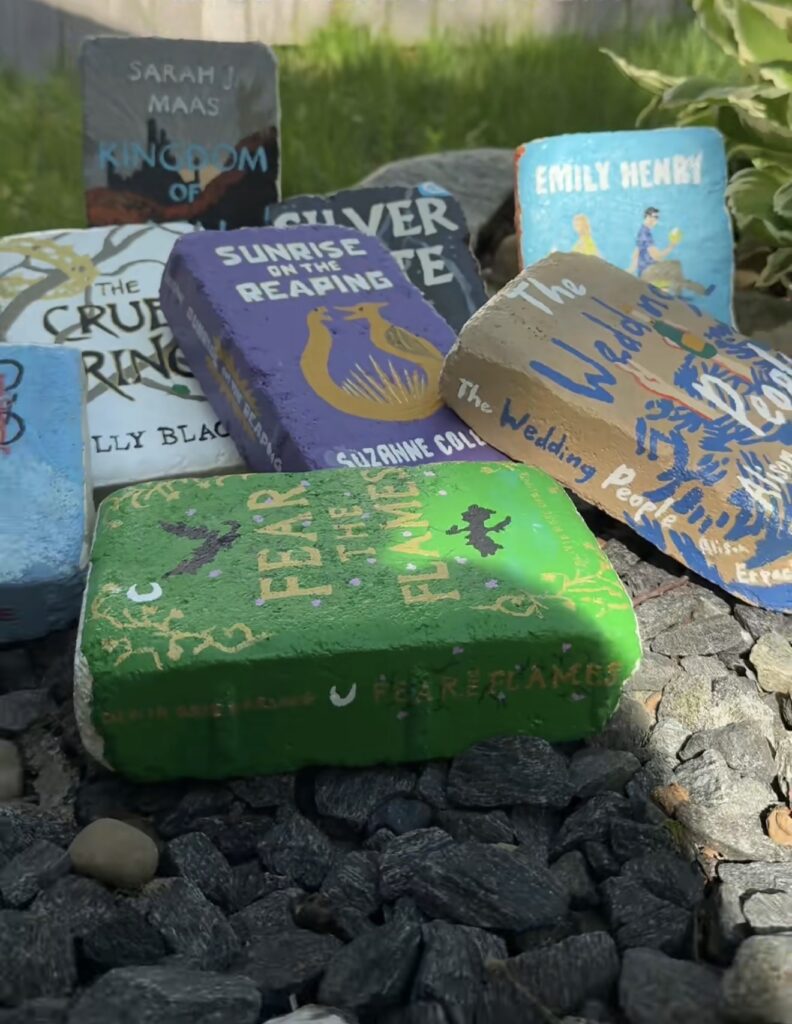
Arrange your finished “books” in your garden, on a patio shelf, or around your flower bed. They make the perfect personalized outdoor decor and are such a fun conversation piece, especially if you choose your favorite titles!
A Few Extra Tips
- Mix up the “spine” colors and designs for variety.
- Use a fine-tipped paint pen for smaller text or lettering.
- Let each layer of paint dry before adding details or outlines.
- If your bricks will be fully outdoors, consider doing multiple coats of sealer.
Let us know if you paint your own bookish bricks, or have any other questions! We have some videos on our Instagram & TikTok of this project too. Happy Painting!
Leave a Reply
Grab our FREE download
Wanna know the 5 must have tools you need before you start?
Considering a DIY Project?


Be the first to comment