Quick & Easy Stair Riser Makeover
When we first moved in to our house we made over our stairs with CoreTec stair treads and then did a super simple update using peel & stick wallpaper on the risers. It was super simple and a great way to add some interest to the stairs but I got an idea to elevate them even more and I couldn’t wait to do it!
What You Will Need:
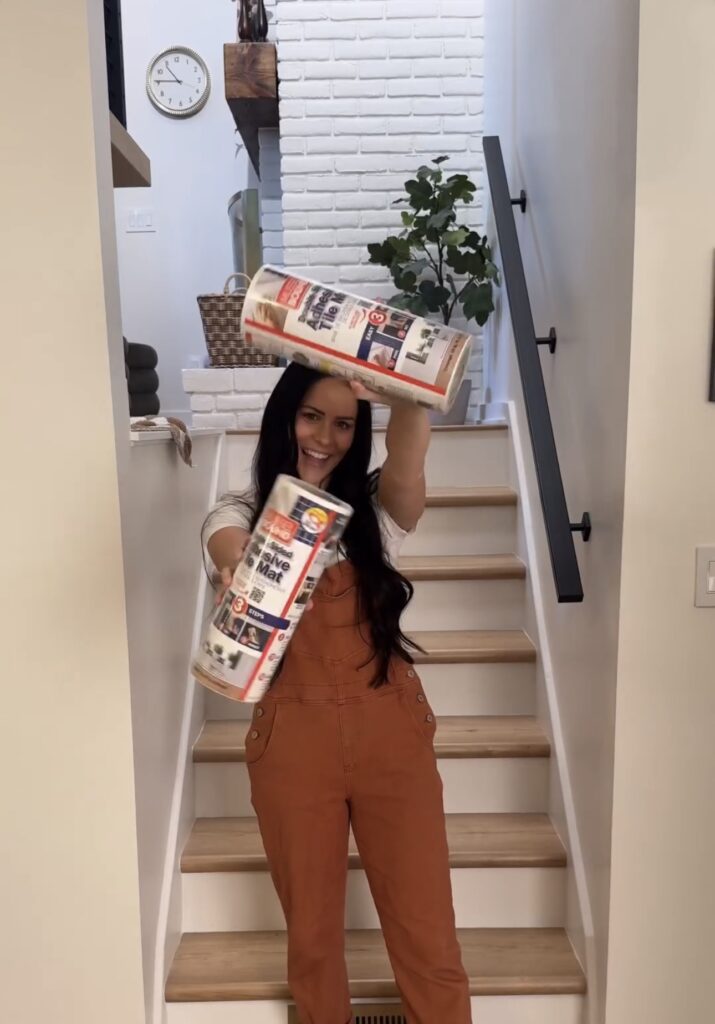
- MusselBound Adhesive
- Knife
- Tile of your Choice
- Tile Snapper
- Wet Saw
- Laser Level
- Premixed Grout
- Grout Float
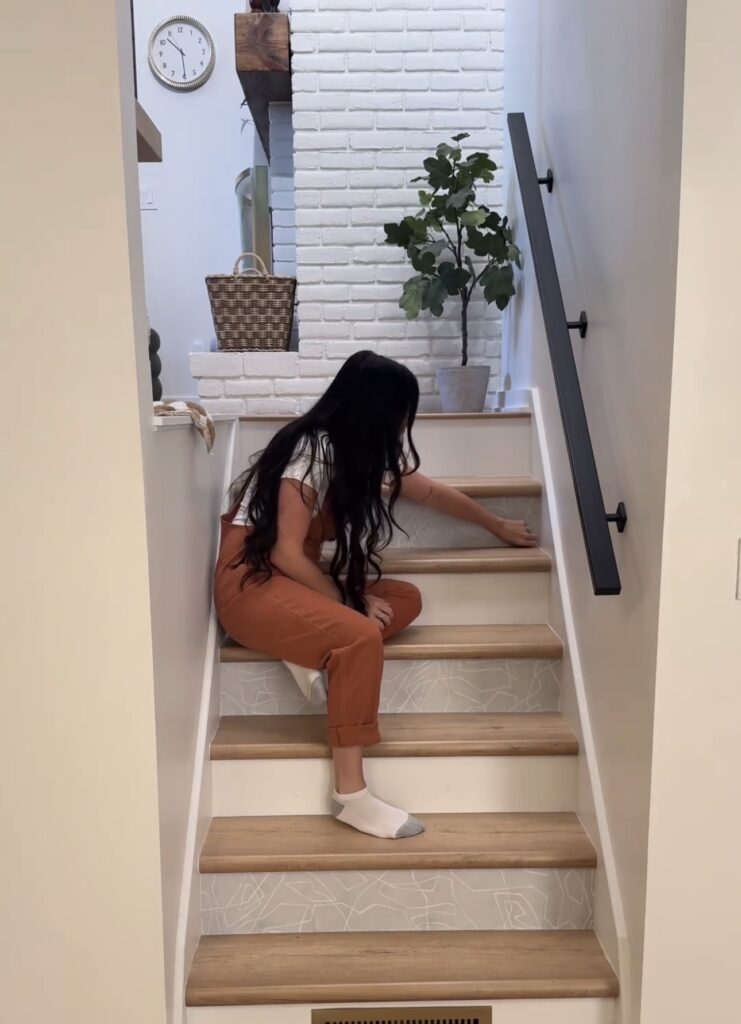
We started by removing the peel and stick paper and cleaning off the risers really well.
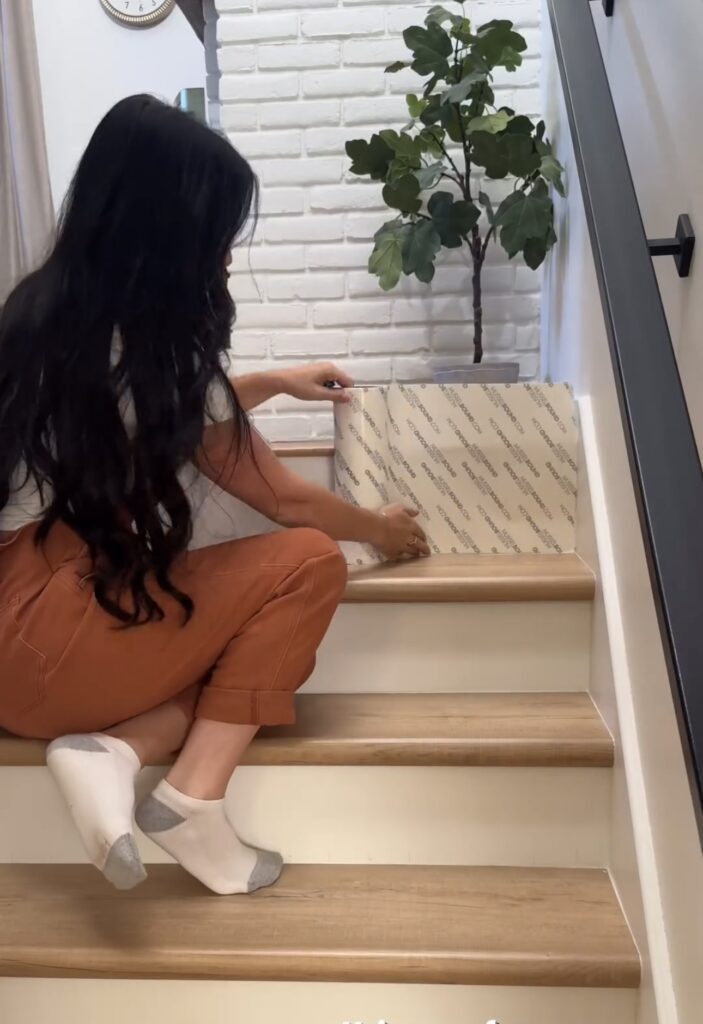
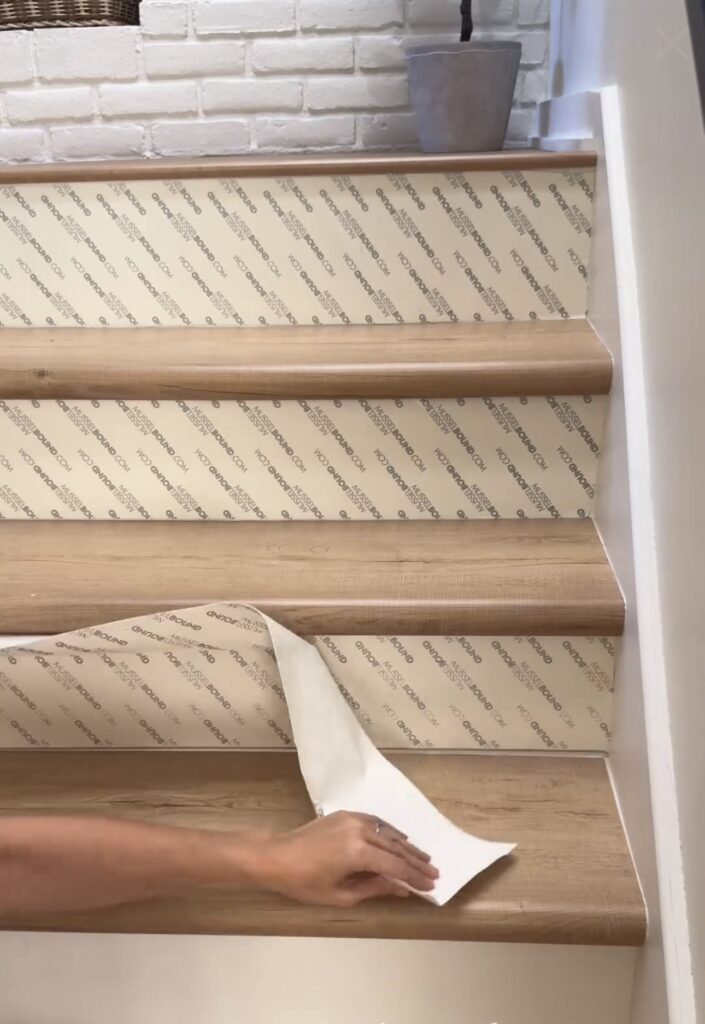
We used my favorite MusselBound Adhesive on t risers to adhere the tile. I rolled the adhesive onto each riser and used a knife to score right under the lip of the tread and pulled off the excess.
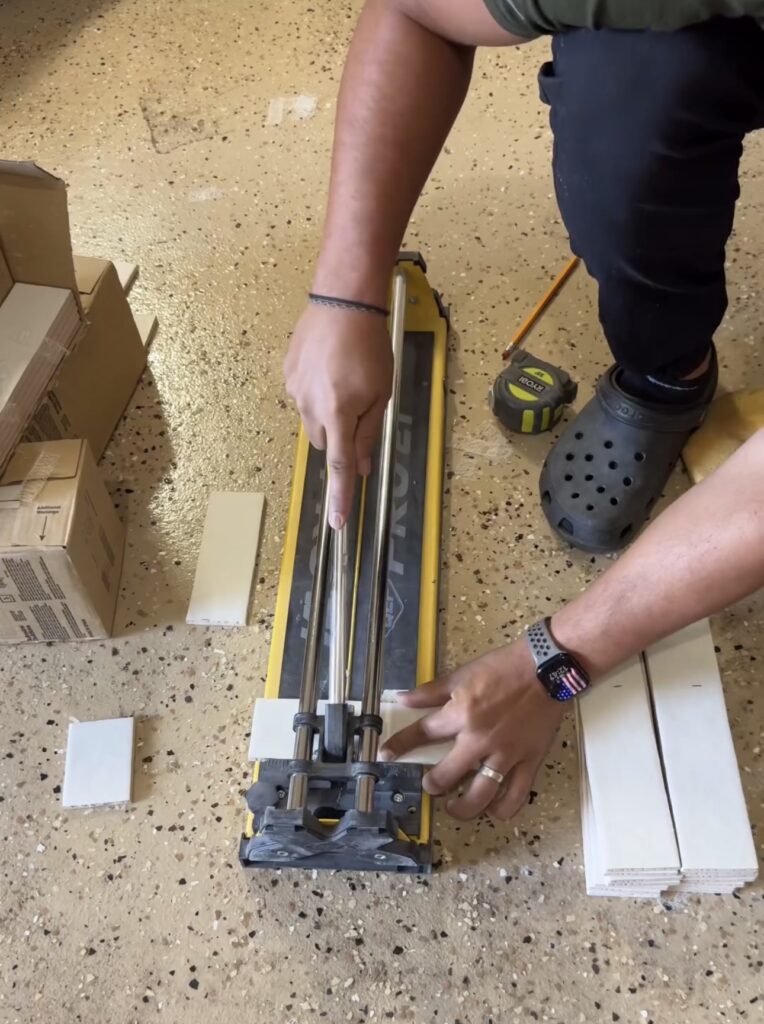
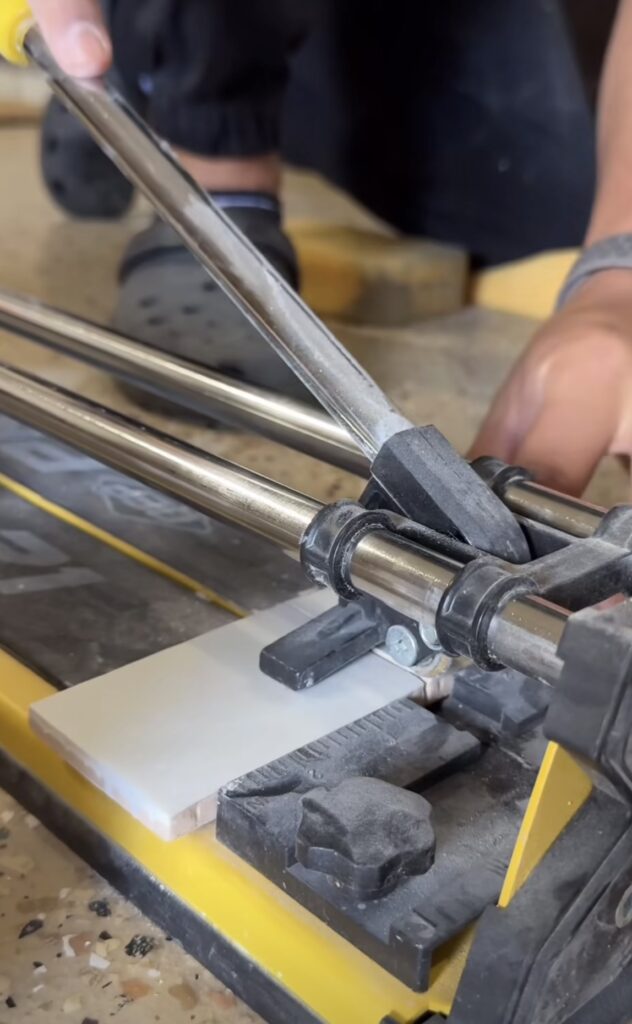
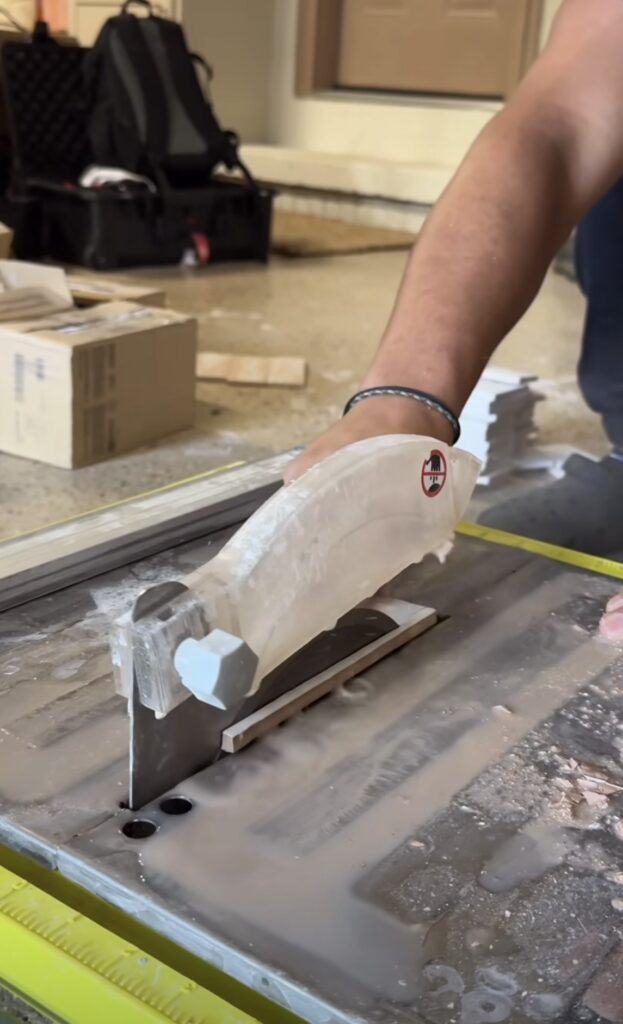
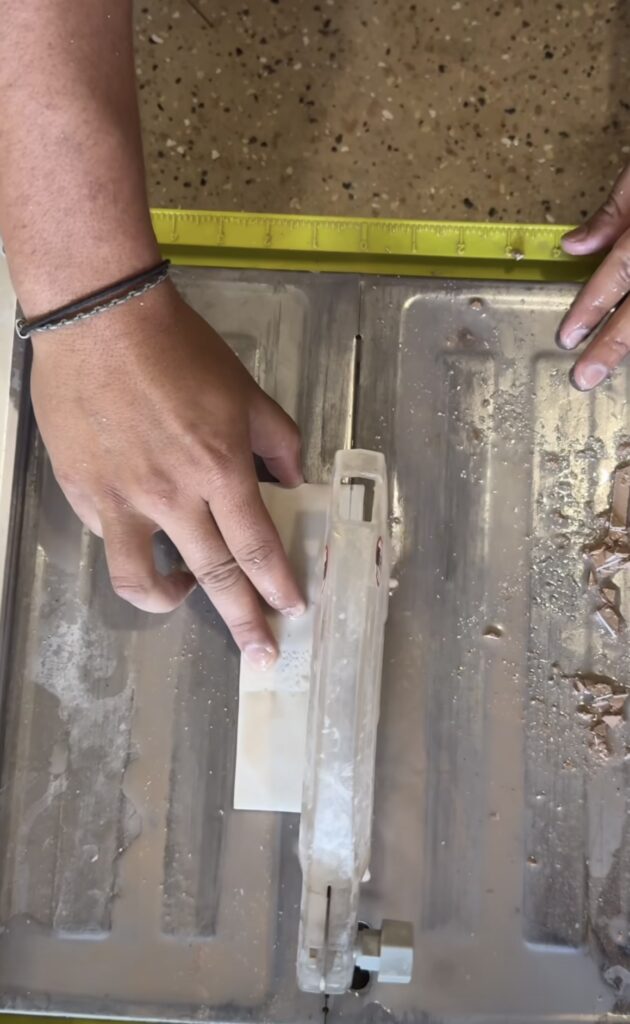
Once the adhesive was added to all of the risers, we used a tile snapper to cut the tiles to the length of the riser and a wet saw to cut the tiles on each end of the riser.
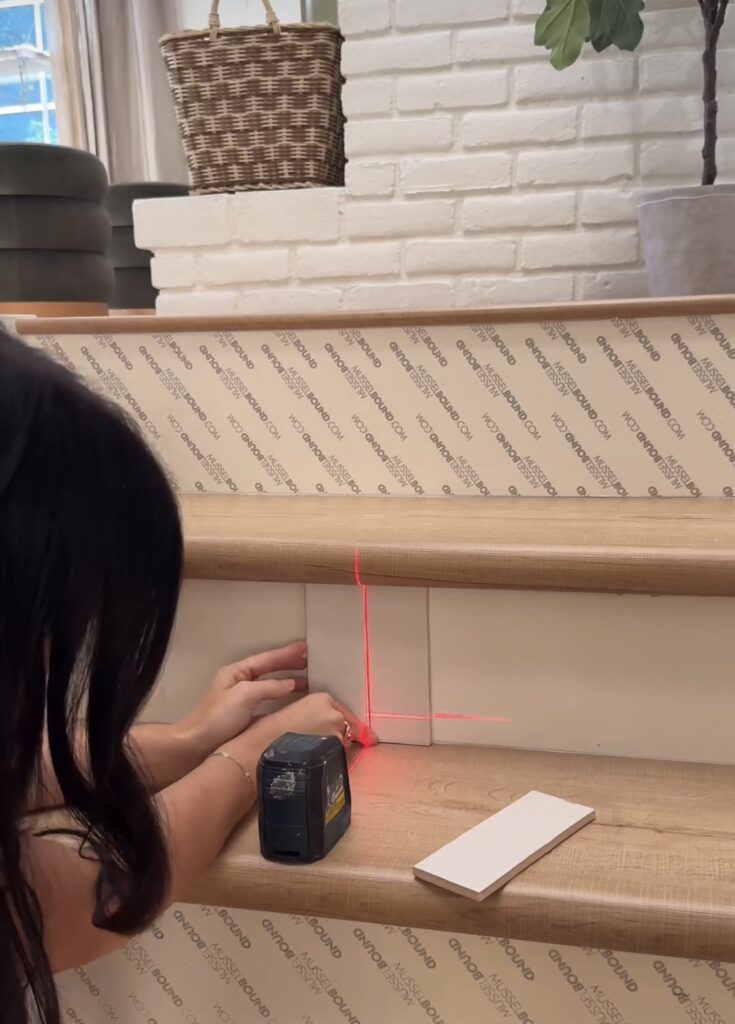
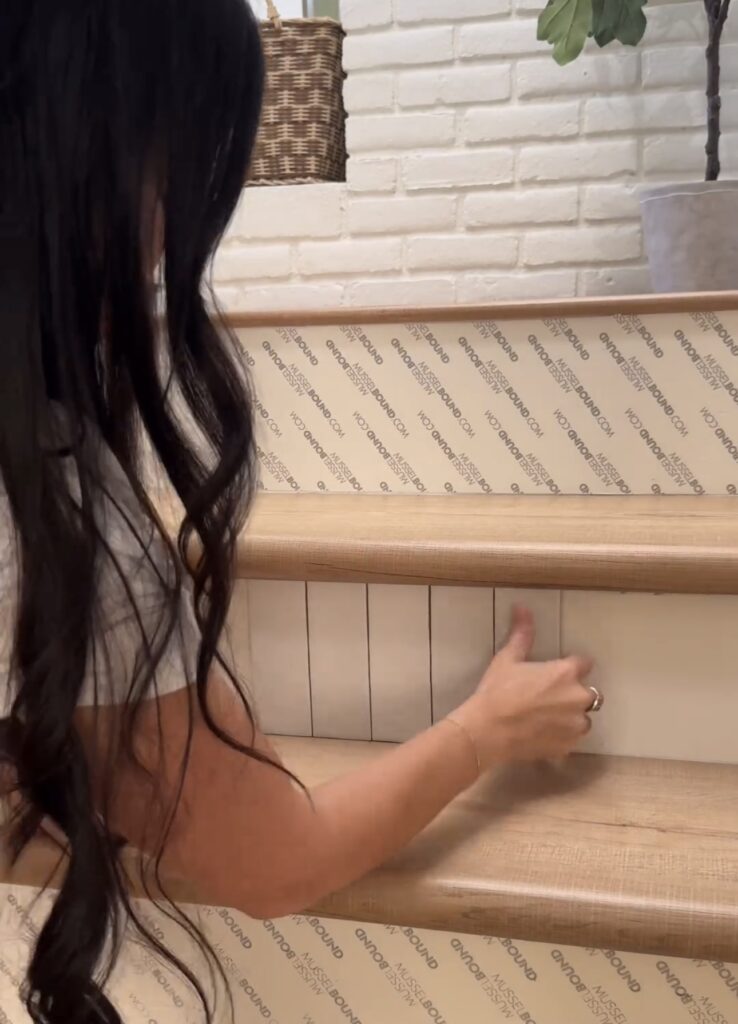
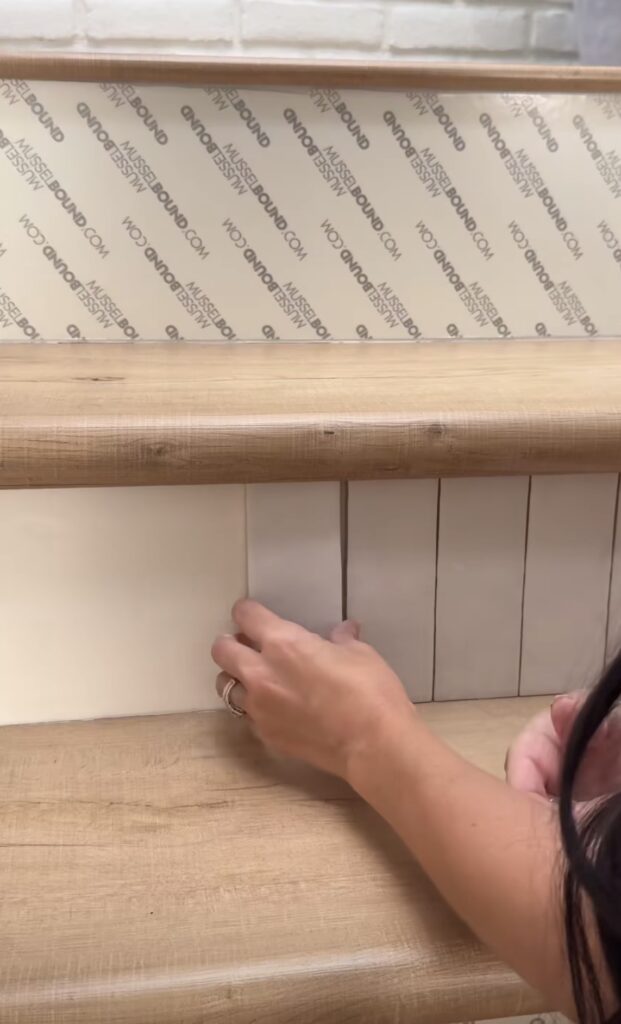
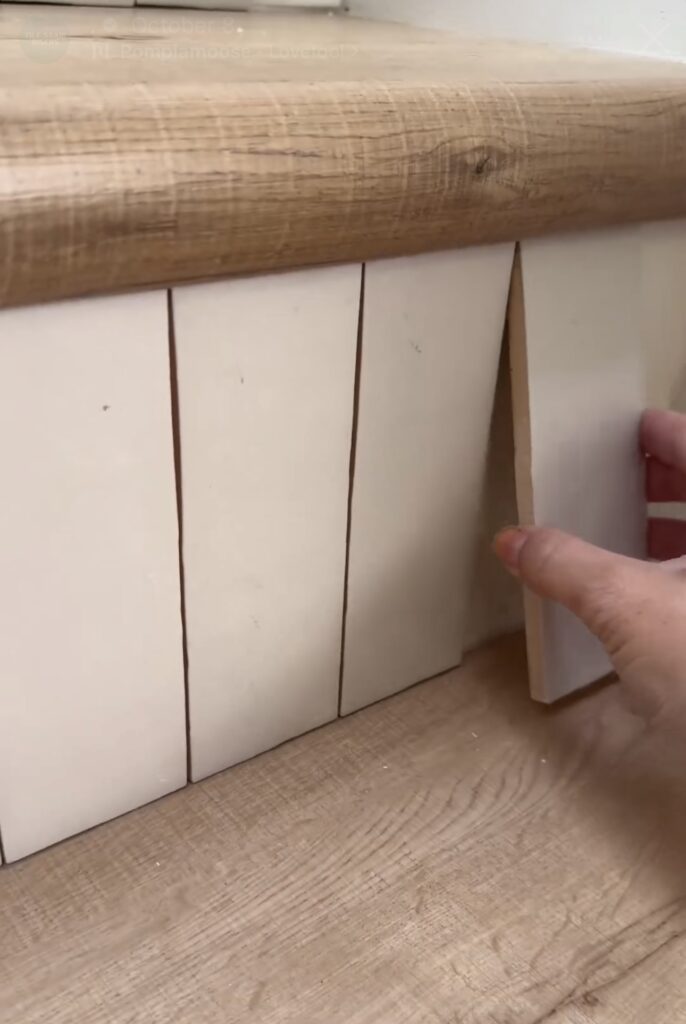
I used a laser level to make the center of the riser so the tiles would line up straight and be spaced across evenly. Then I simply pushed the tiles under the lip of the tread and then pressed it really well into the riser. We didn’t use any spacers and just lined the tiles up against each other.
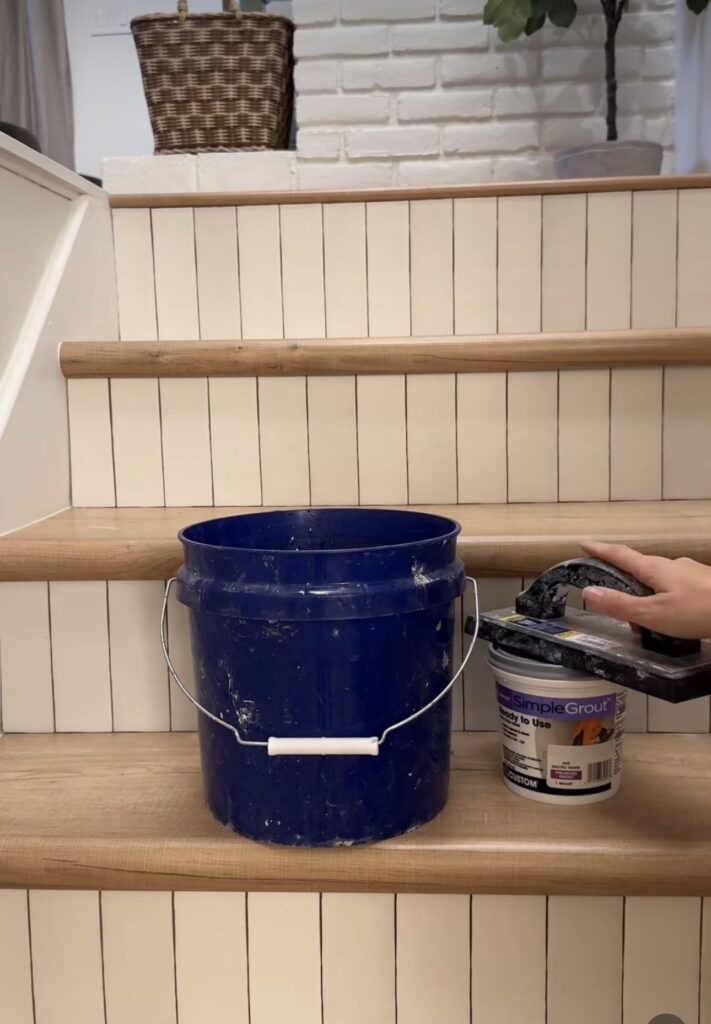
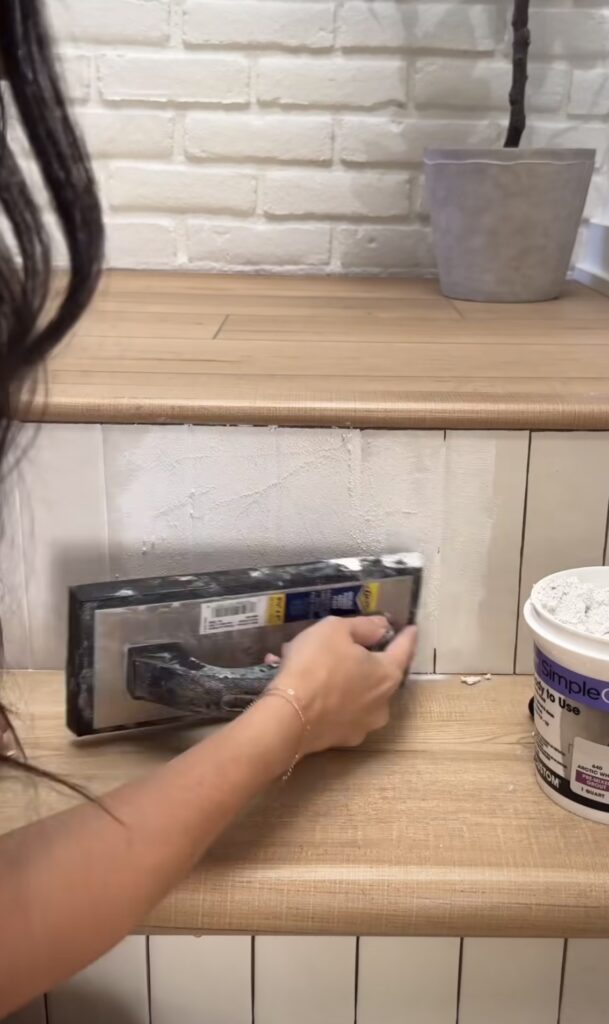
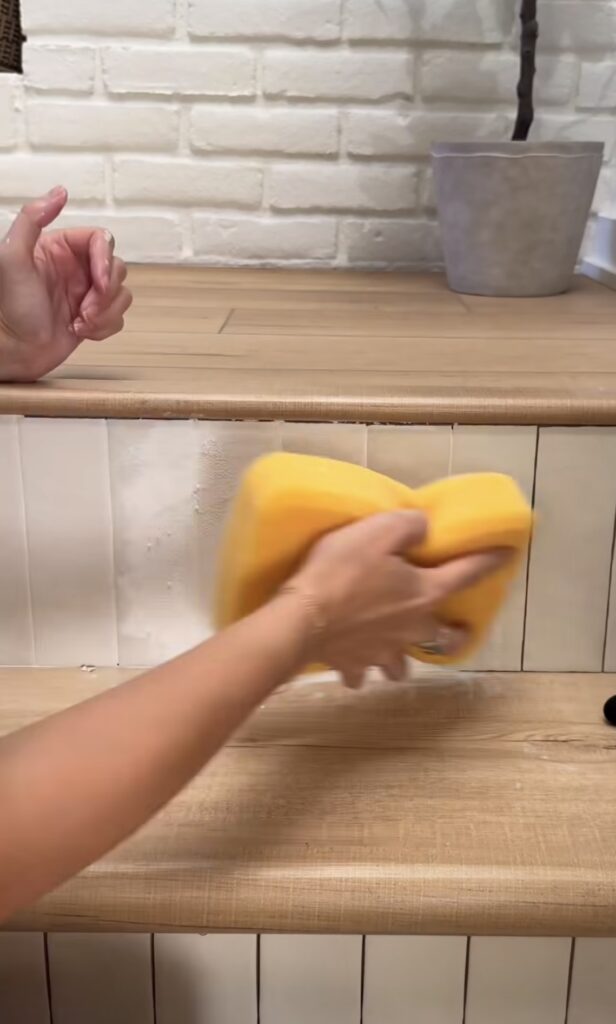
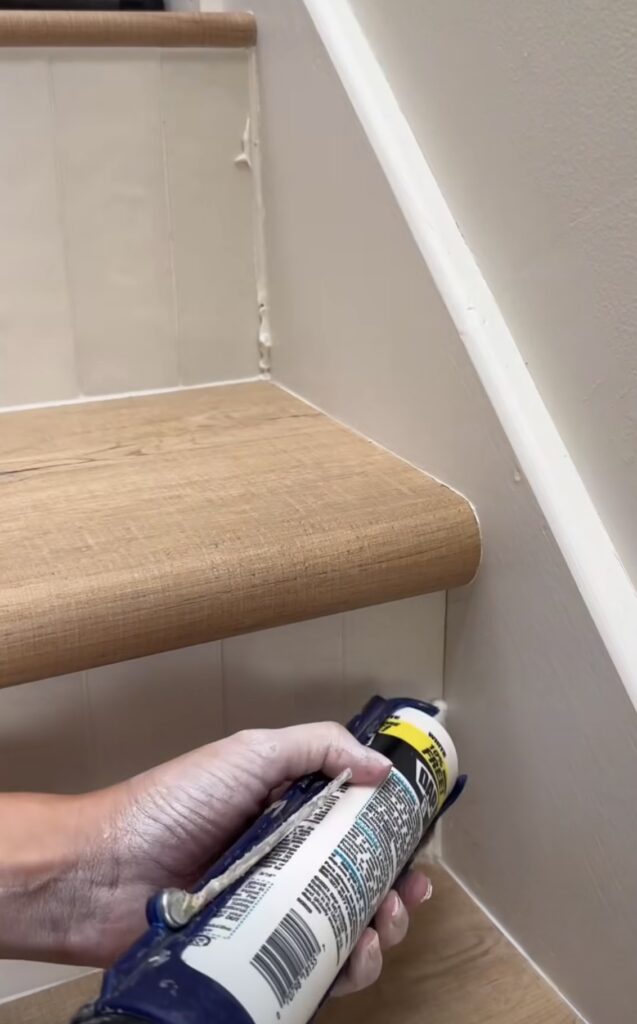
After all of the tiles were placed, I used a premixed grout and grout float to grout the tiles. Then I used water in a bucket and damp sponge to wipe off the excess grout. Once all of the riser were grouted, I used a caulk gun to caulk the edges of the risers and along the top of the riser (under the tread lip) and the bottom of the riser where the tile met the next tread.
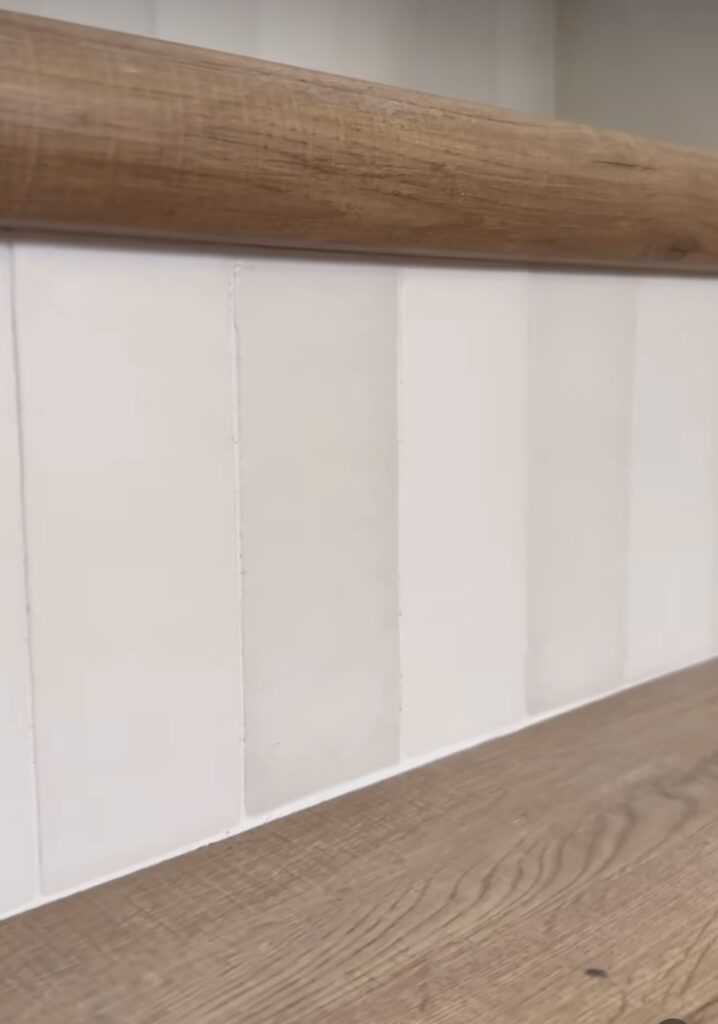
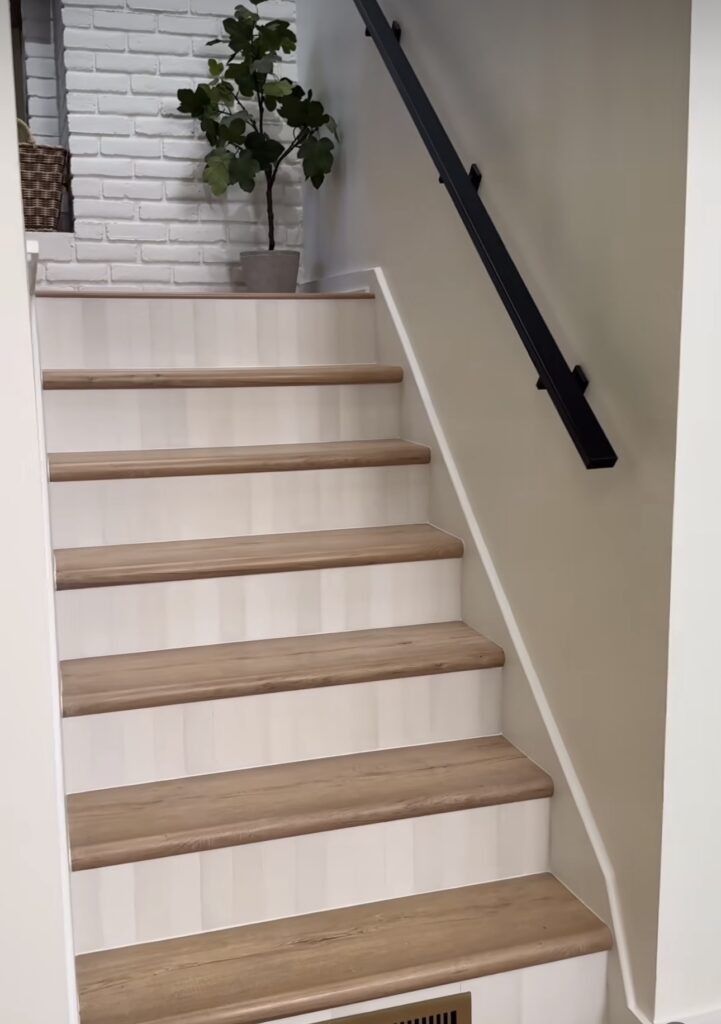
The end result ended up being so much better than I imagined! This was such a simple project and a beginner DIYer could totally do this!
Leave a Reply
Grab our FREE download
Be the first to comment