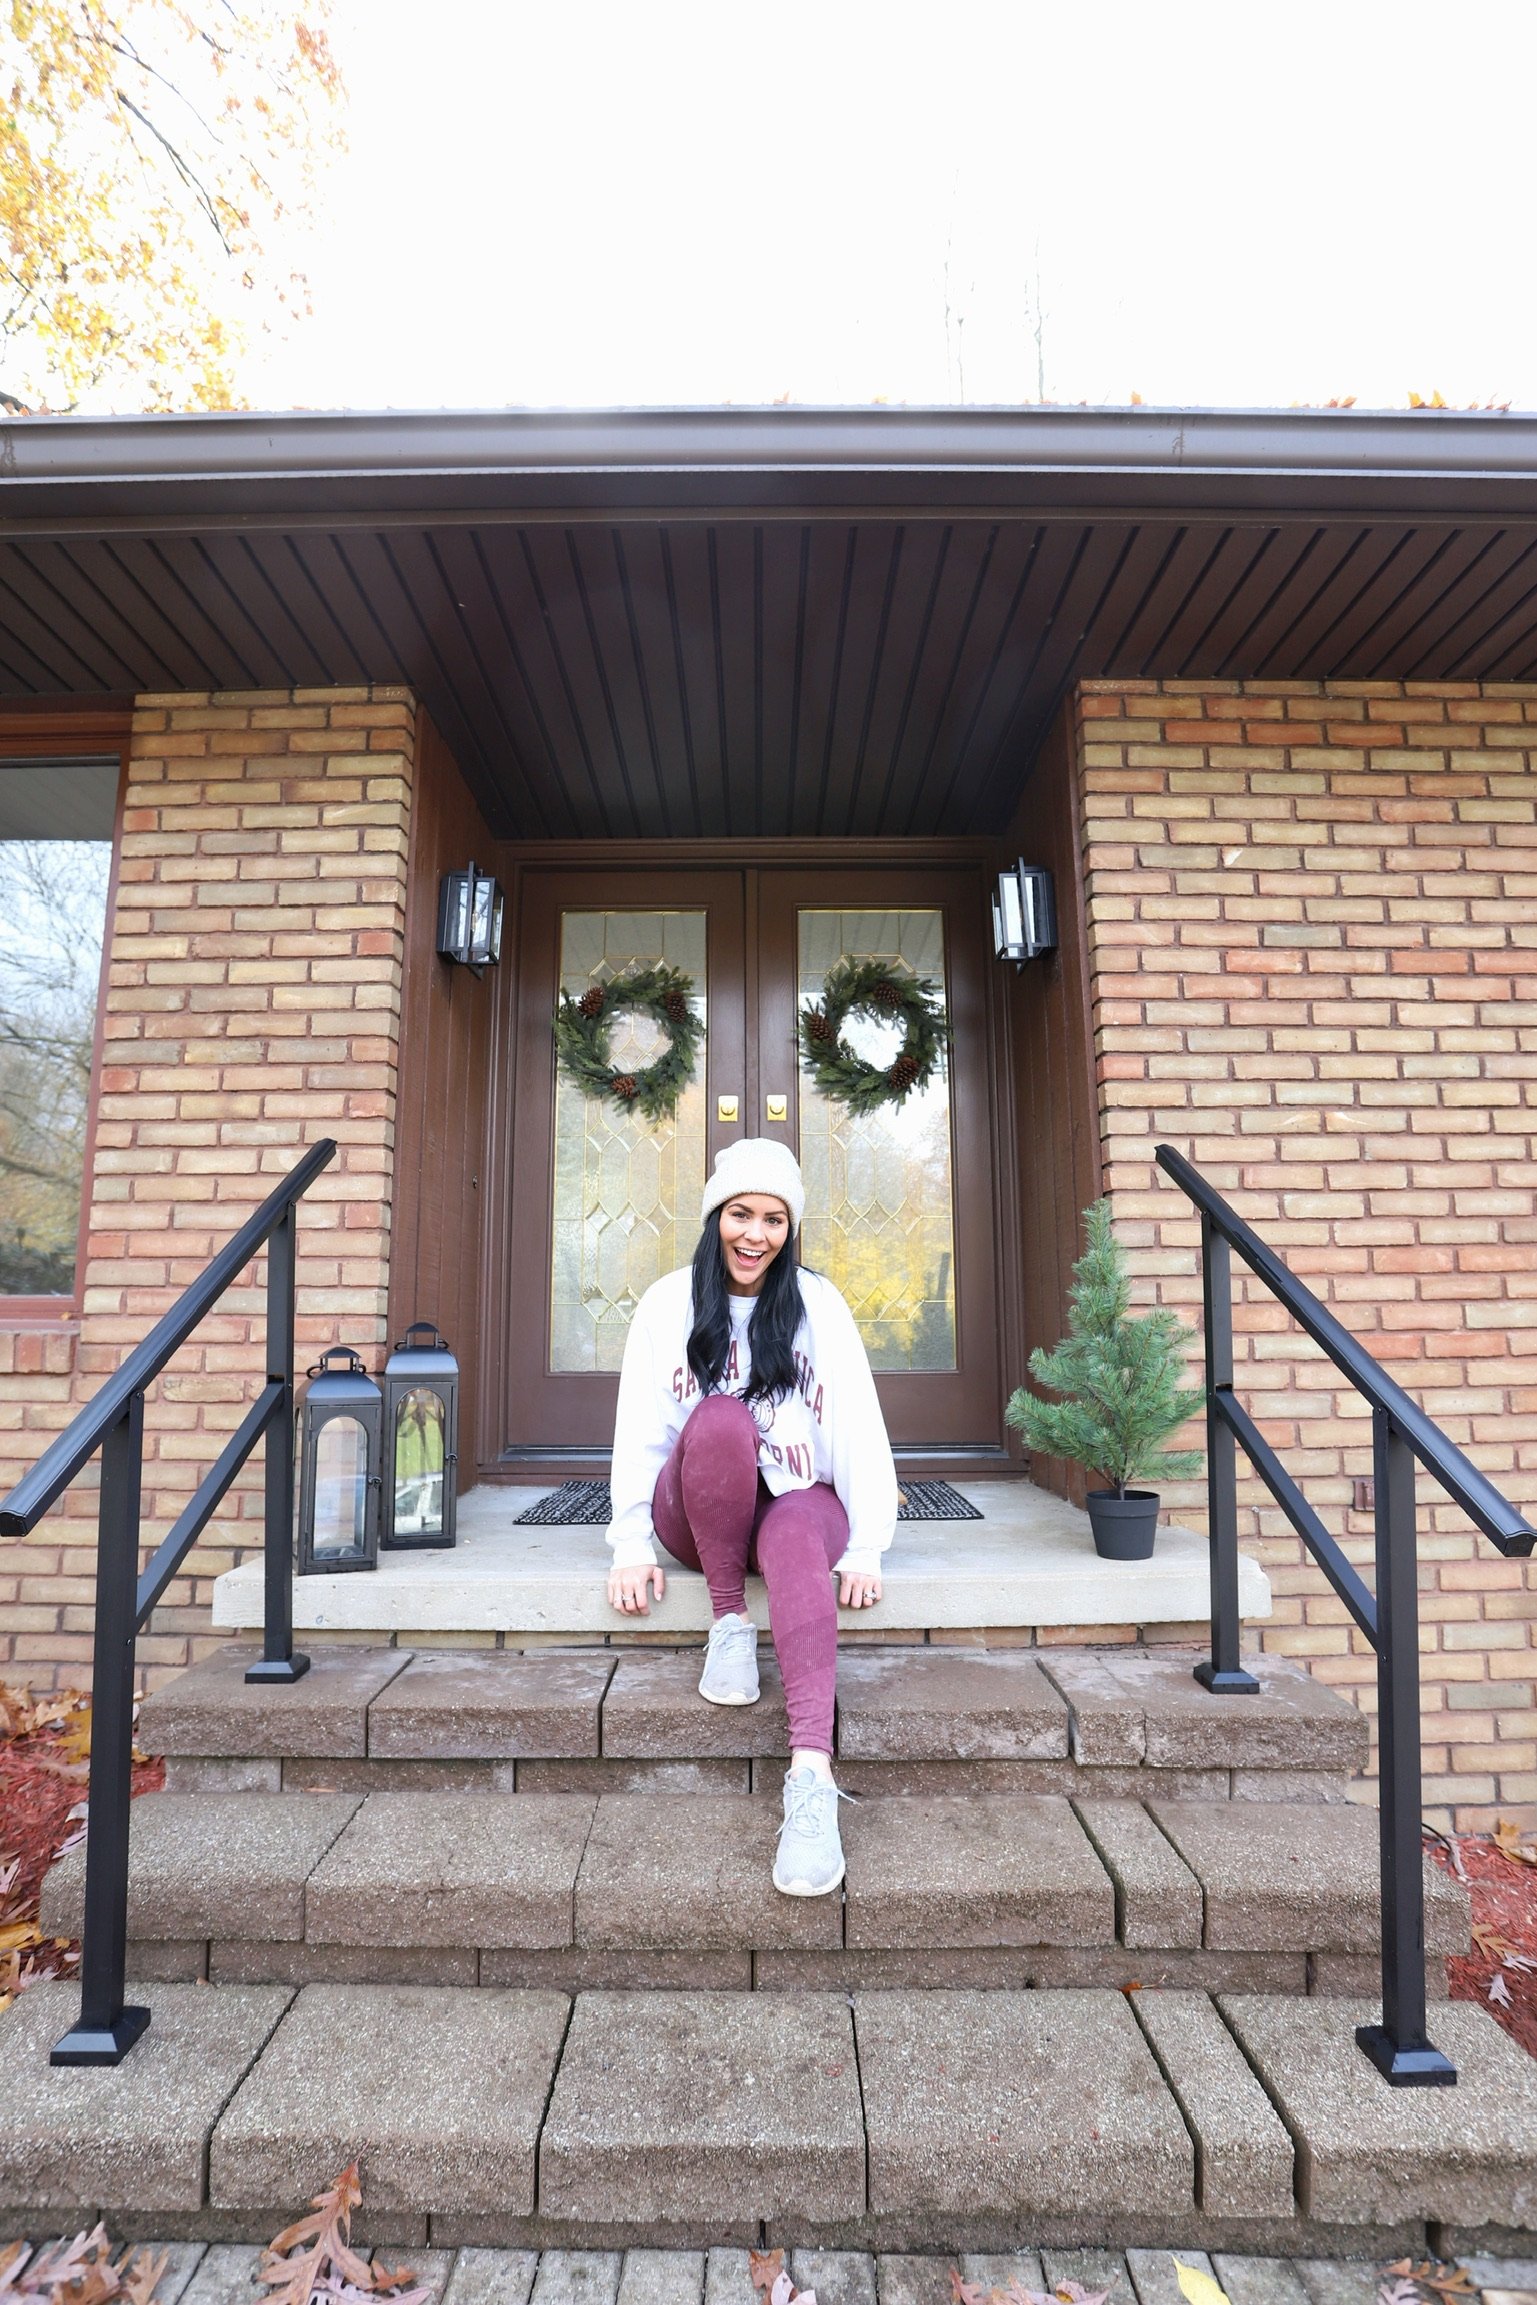
Heathrow Aluminum Rails
*This blog post contained sponsored content, but all opinions are our own.
Time for another DIY friendly project with Freedom Outdoor Living! If you remember, we worked with them on a project at our old house in Florida, I’ll link that blog post here if you want to read it. But this time around, we’re working on the front of our house!
Our house was built in 1974, and was pretty outdated, including our exterior, in more ways than one. We plan to update other aspects of the exterior of our home, but up first was our front porch. We learned pretty quickly that when it snows and gets icy here in Northeast Ohio, our front steps are very dangerous, and that’s where Freedom Outdoor Living came in! We decided to add two of their Heathrow Aluminum Rails, one on each side of our steps.
The Heathrow kit includes everything you need to assemble your rail – posts, rails, trim covers and screws, but if you’re like us and installing on concrete, you’ll need a concrete drill bit and concrete screws also! These handrails are so versatile and can be installed on not only level surfaces, but on stairs too up to a three step span,, which is what we did! They are also powder-coated and rust resistant, so they can withstand the different elements of our crazy Midwest weather! The matte black design of the Heathrow Rails will compliment our other exterior updates still to come- like new lighting, a new front door and new windows!
This project couldn’t have been any easier, the handrails were quick to assemble by following the directions. Ryan assembled the railings with the provided screws, we figured out placement on our steps, and predrilled the mounting holes using our concrete drill bit. And quick tip- use chalk or a marker to mark the holes of the mounting plate, so it’s easier to know where to drill. We purchased the required 1/4” x 3-1/4” concrete screws to mount the plate to our steps, and it was easy as that! Also provided is a cover for the mounting plate, so you won’t see the concrete screws after installation- this gave the railings a sleek/seamless look!
I am so impressed with these rails and am blown away by the difference they make to our front porch! And the best part? They not only look good, but they also make our steps safer for us and all of our guests. This project was such an easy upgrade, and I wish I had more places in our home to install the Heathrow Rails now! If you want to check them out, click here, or head to Lowe’s.com. Thanks to Freedom Outdoor Living for another great project and helping us upgrade our home!
Leave a Reply
Grab our FREE download


Kelsey and Ryan I am so impressed with everything you do. You both make it look so doable for us all to do upgrades of our own. I’m learning so much. Each step of this upgrade is so exciting and I look forward every day to see what is next. Thank you so much for allowing us to follow along. I can’t wait to when you move in but then sad that I won’t have anymore renovations to watch on a daily basis.
I am just fascinated with how easy you make it all look when I know it’s not! I’m can not wait to see what’s next. You both are amazing. Thank you for sharing your journey 💜
Great job!! Love following you all and look forward to what you do next!
I have to say y’all are the hardest working couple I’ve ever seen. I love the railing it looks so great. I’m very impressed by everything y’all do. You and Ryan are amazing with everything. I love your personalities as well. I’m a fan for life.