


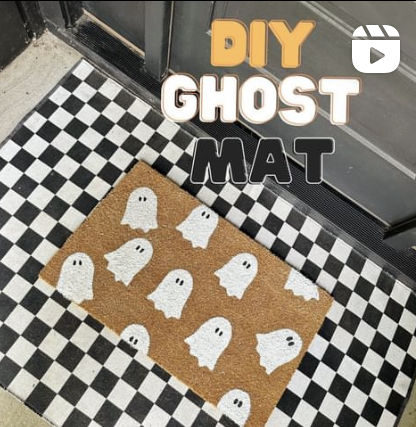
Easy & Inexpensive DIY Halloween Door Mat
I started putting out our fall decor a couple of weeks ago and I noticed we didn’t have a door mat for our front door.
I considered buying one but then I got the idea to do a simple DIY and make one myself.
This was a super easy DIY that can be done in so many different styles and can be a great option for switching out with all of the holidays and seasons without breaking the bank!
What I Used:
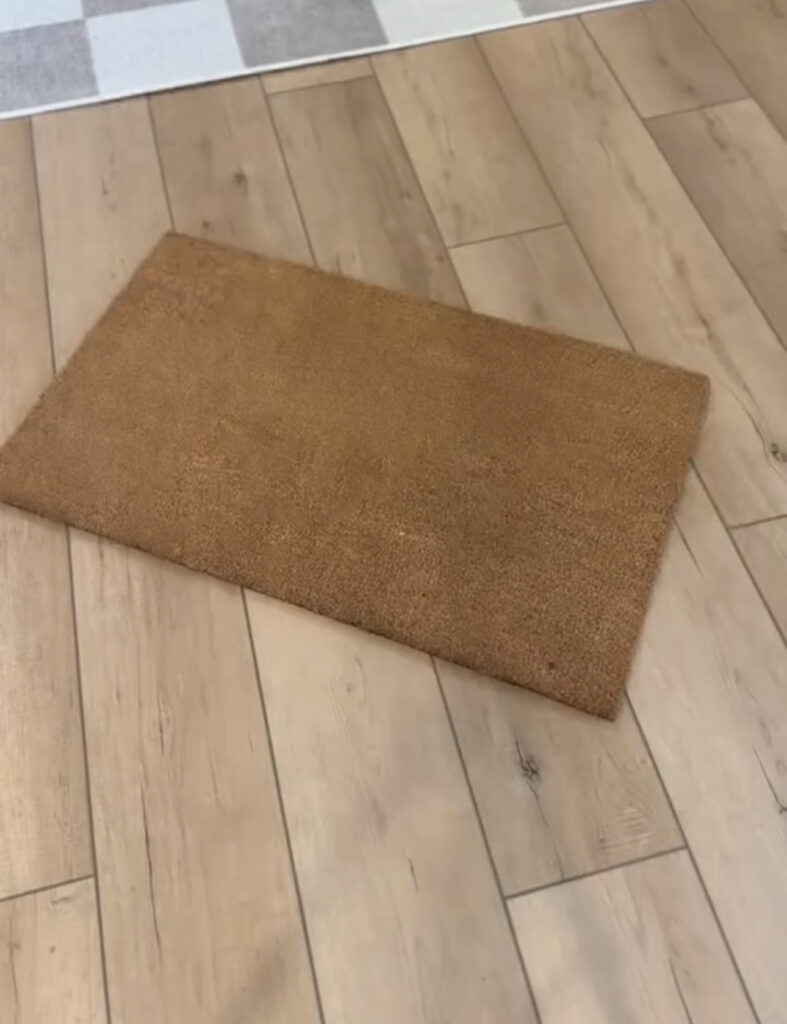
- Coir Doormat
- Stencil
- Flat Chip Household Paintbrush
- Acrylic Craft Paint in Matte Finish (I used white and black)
- Acrylic Matte Spray Sealer
- Larger Doormat for underneath
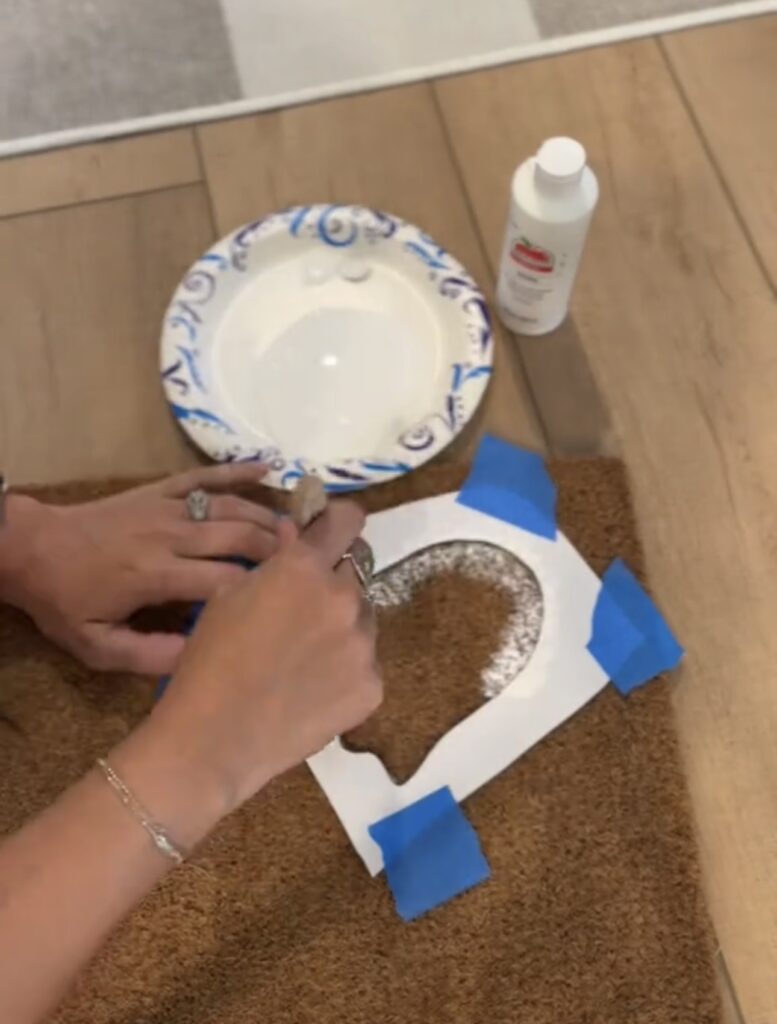
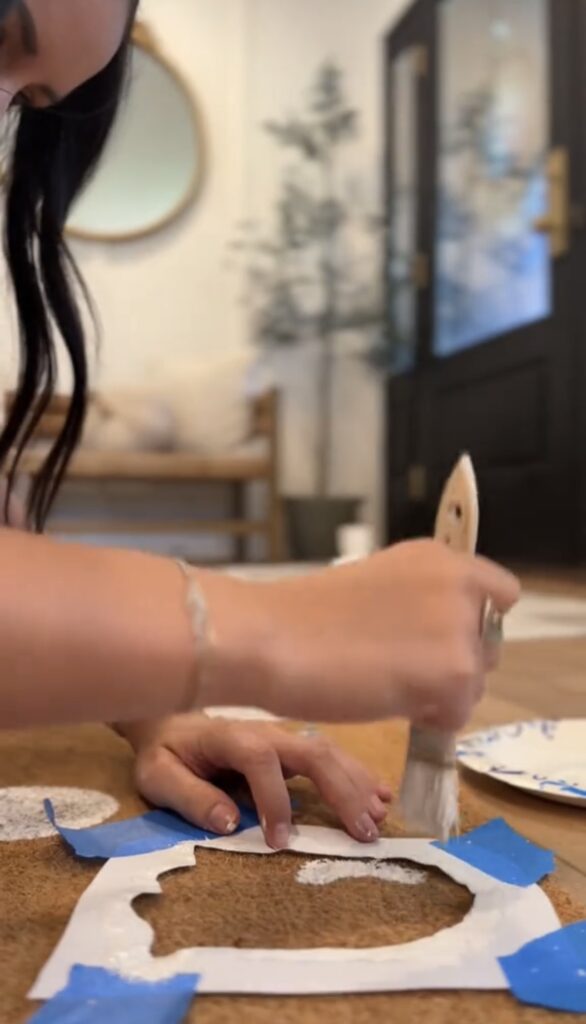
I chose a ghost stencil for this but you can use any kind that you want. I started by laying the stencil on the mat and taped down the edges. I focused first on painting around the edges of the stencil and then filled in the center.
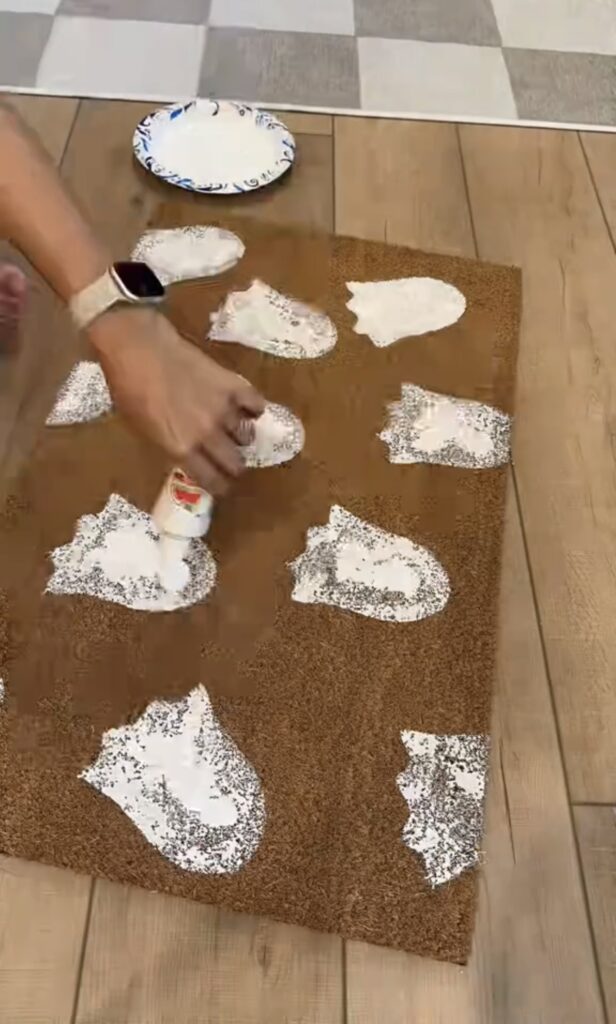
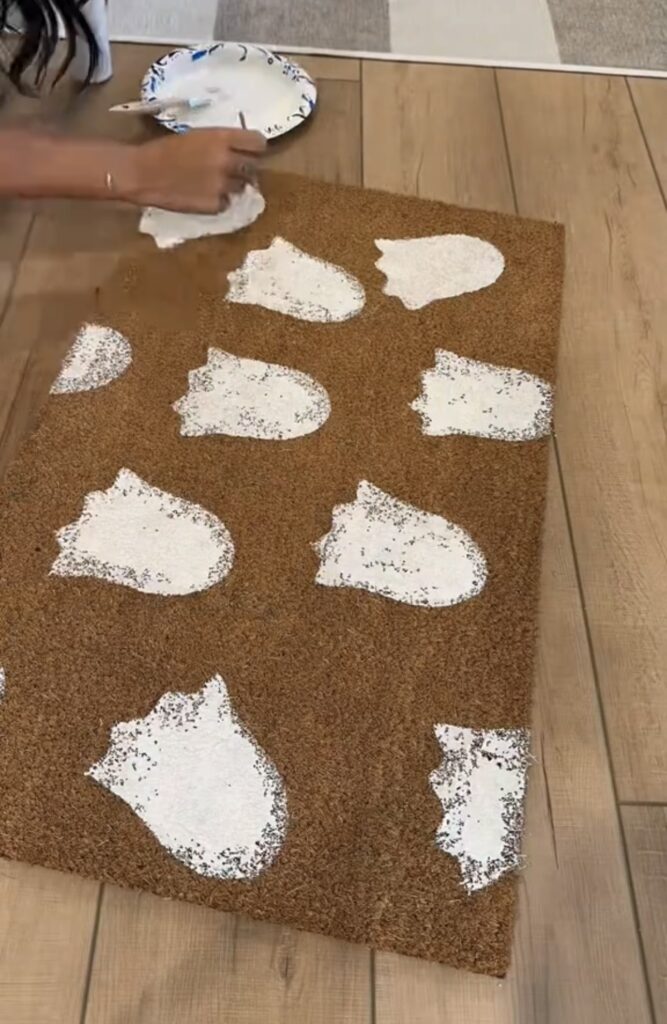
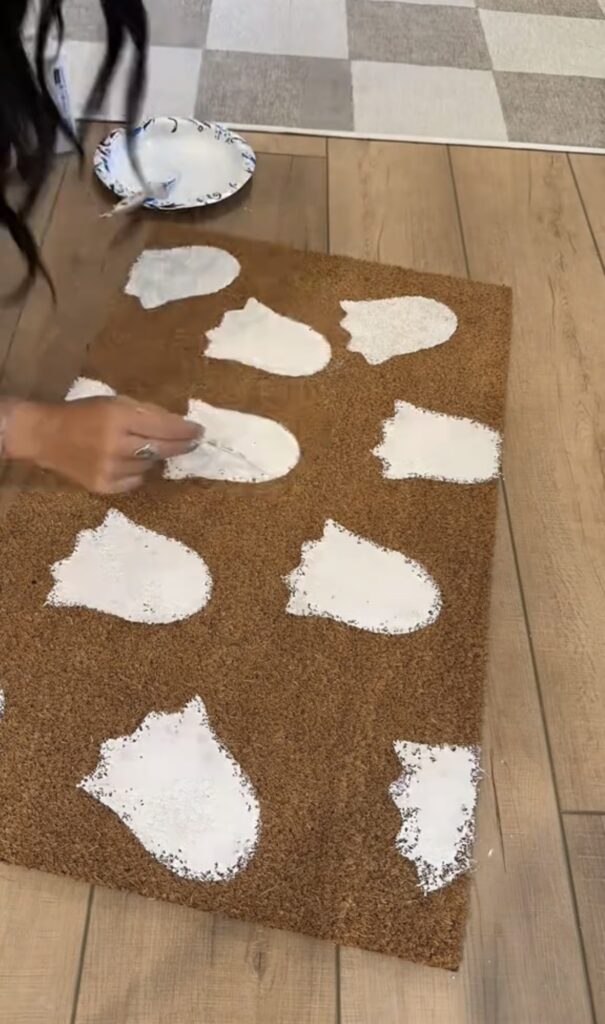
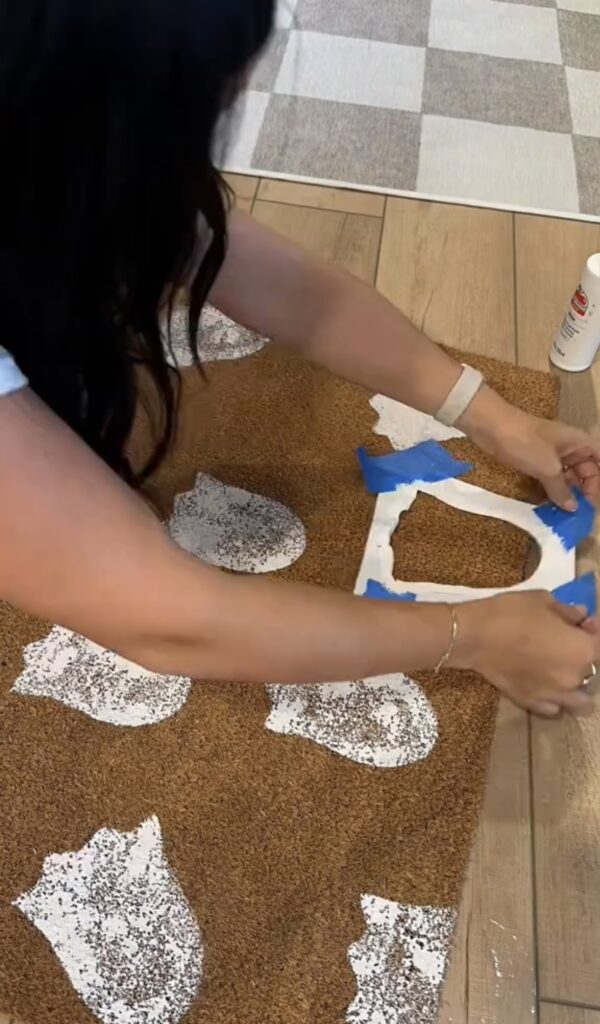
I followed this same technique for the entire mat, using a random pattern with the stencil. Since the mat is textured, one coat won’t give full coverage so after I got the first coat done for each one, I put a drop of paint in the center and spread it around with the paint brush. Then I used a thinner paint brush to go back around the edges and clean up the lines.

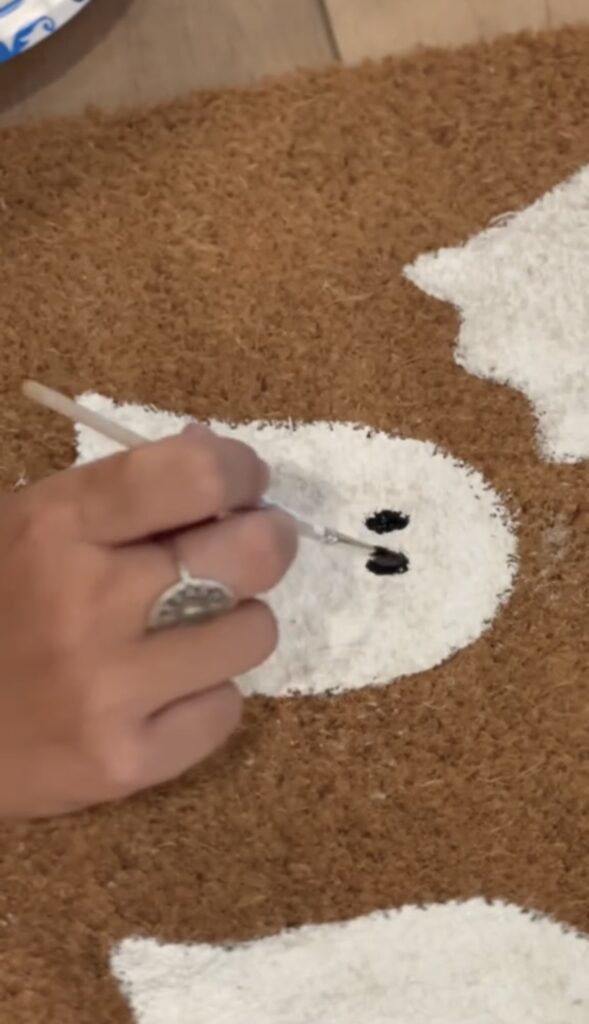
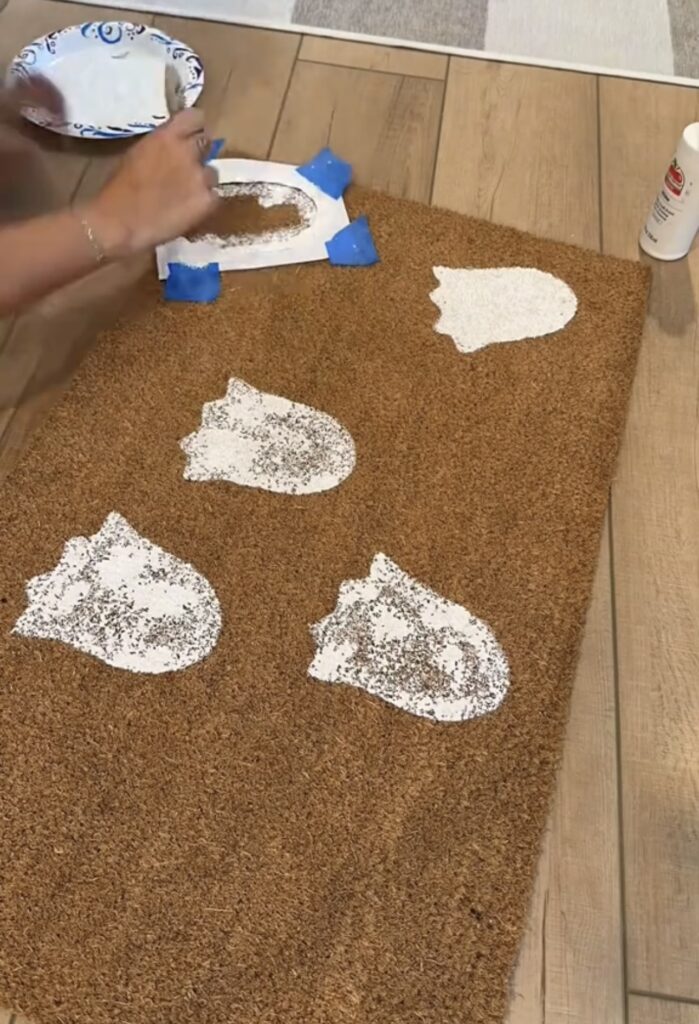
Once all of the ghosts were filled in, I used the black paint and a smaller paint brush to make eyes on each one.
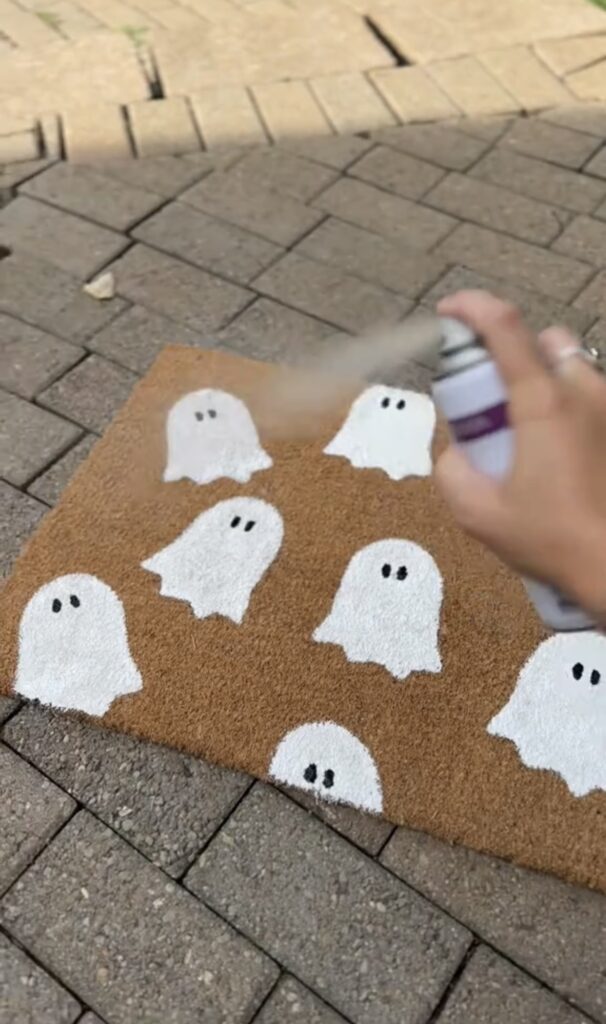
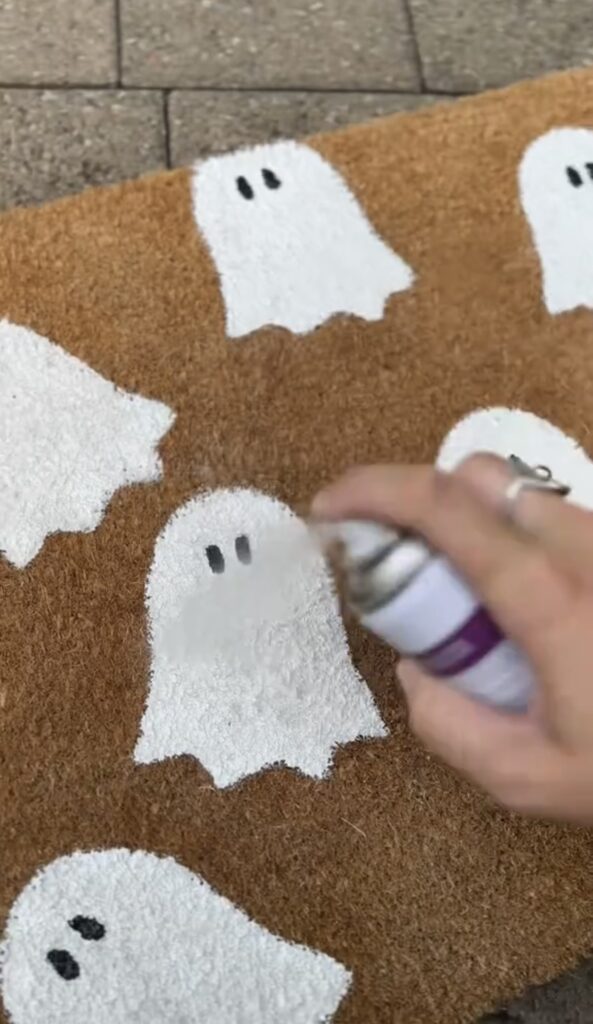
I let the mat sit while the paint fully dried and then sprayed a generous layer of the acrylic sealer over the mat, really focusing on each ghost.
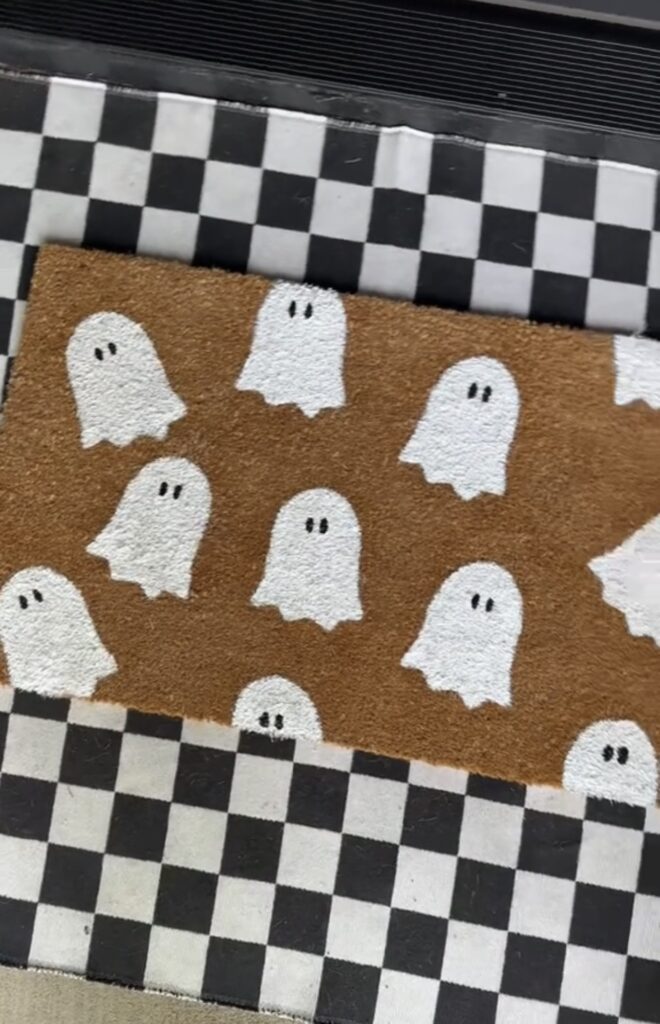
And that’s it! This was such a quick and easy DIY project that anyone can do! I can think of so many cute ideas for how you can use this for other holidays: leaves for Thanksgiving, flowers for spring, hearts for Valentine’s Day! And this would be such a fun idea for a group get together that would be inexpensive but fun!
If you make one, be sure to tag so we can see!
See it in action on our YouTube channel!
Leave a Reply
Grab our FREE download
Wanna know the 5 must have tools you need before you start?
Considering a DIY Project?


Be the first to comment