


Stair Treads & Riser Installation
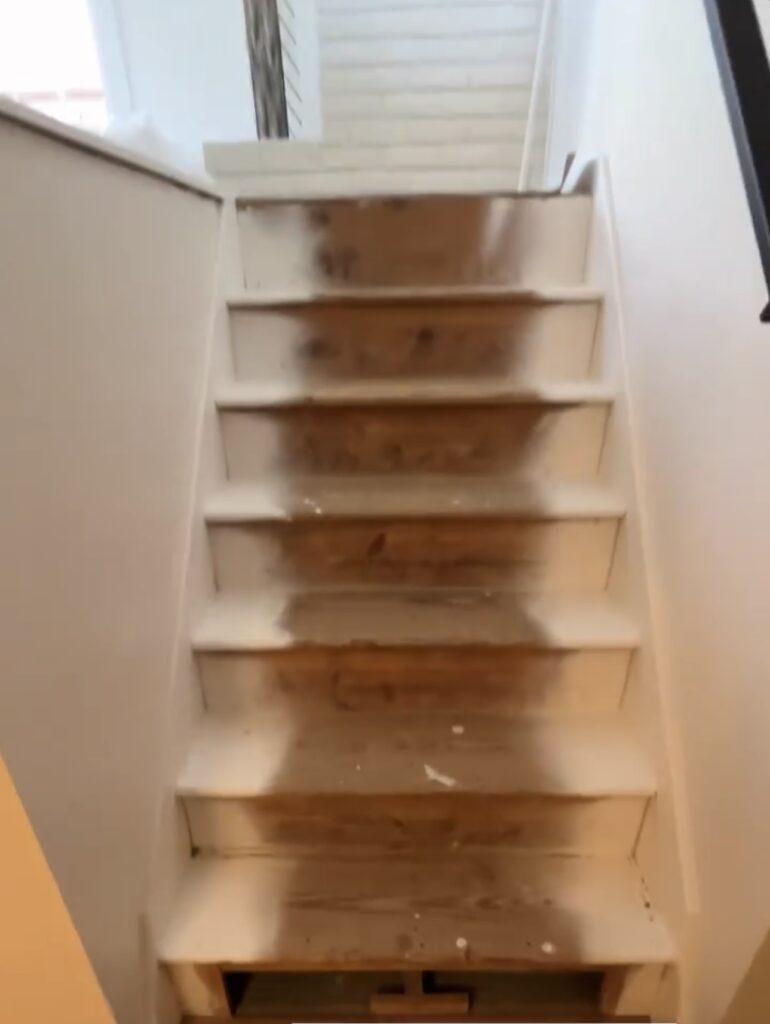
When we first got our house, the stairs were super outdated and really unsafe. We tore them out and wanted something that would be simple and functional but beautiful at the same time.
Here’s how we updated our stairs on the lower levels of our house in just a few days!
What We Used:
- RetroRiser White Poplar Stair Riser
- Coretec Stair Treads
- Construction Adhesive
- 18V Brad Nailer
- Caulk & Nail Filler
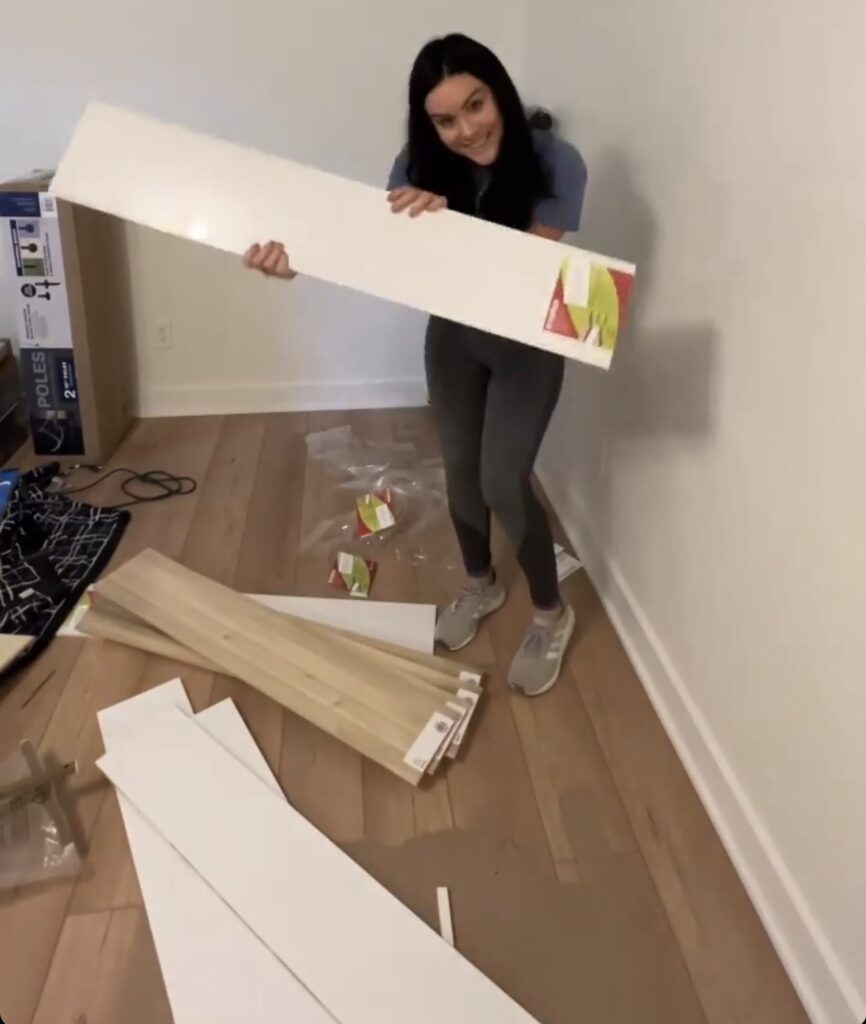
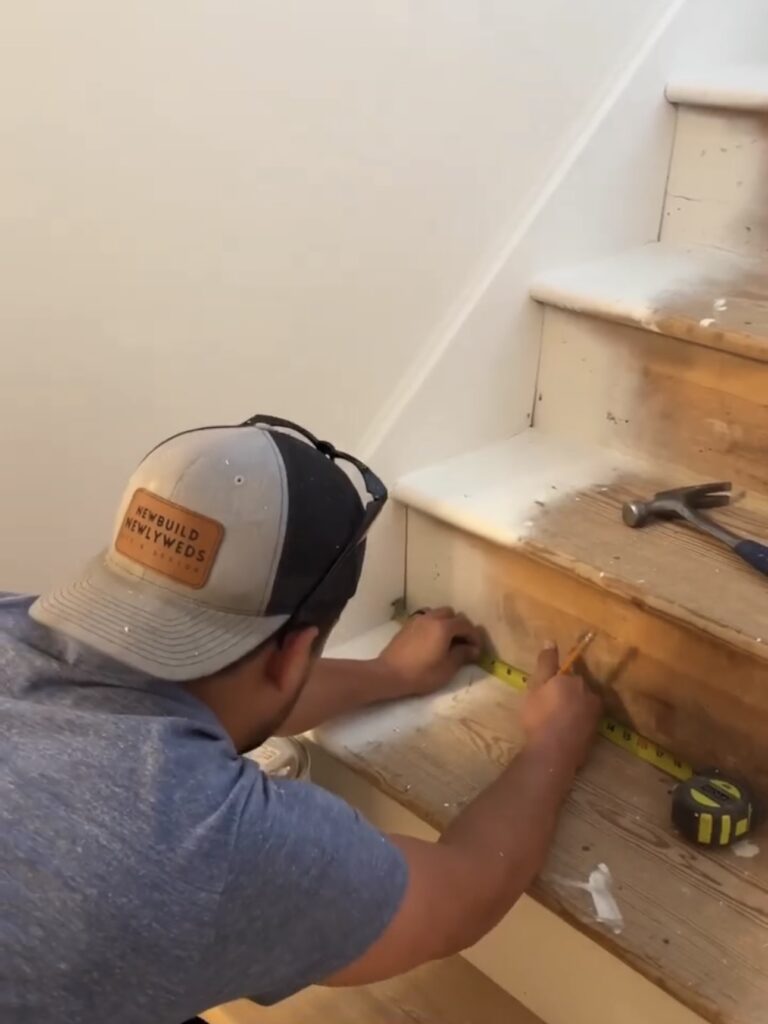
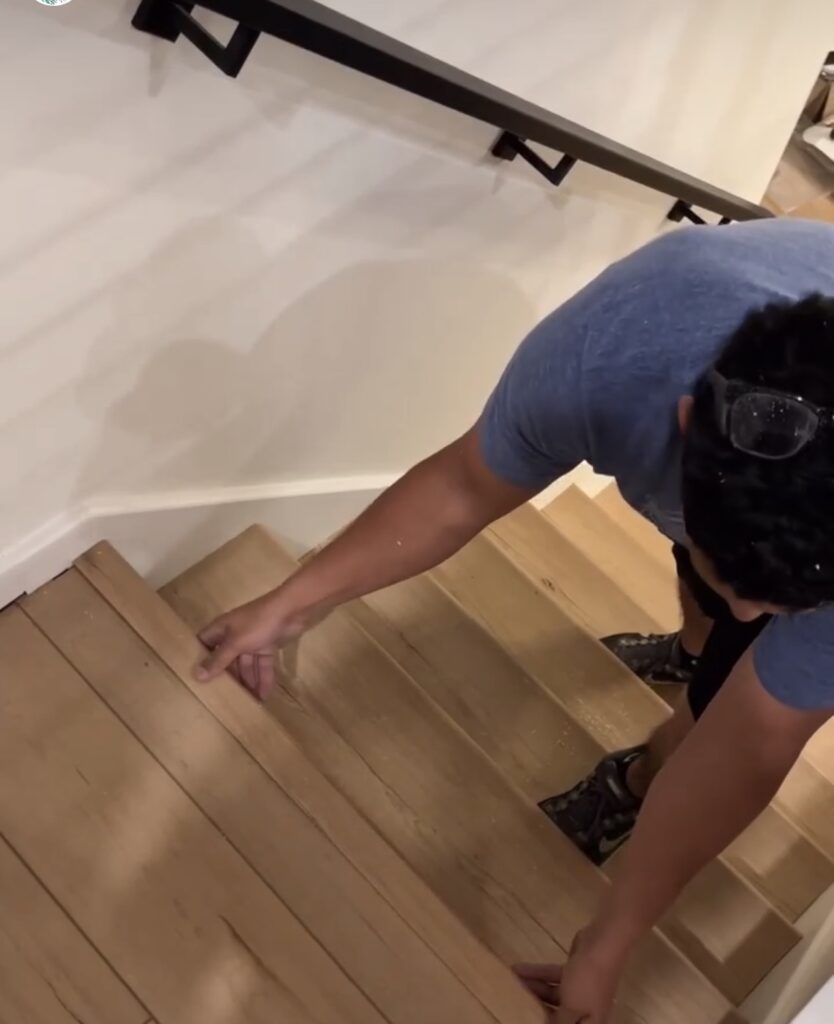
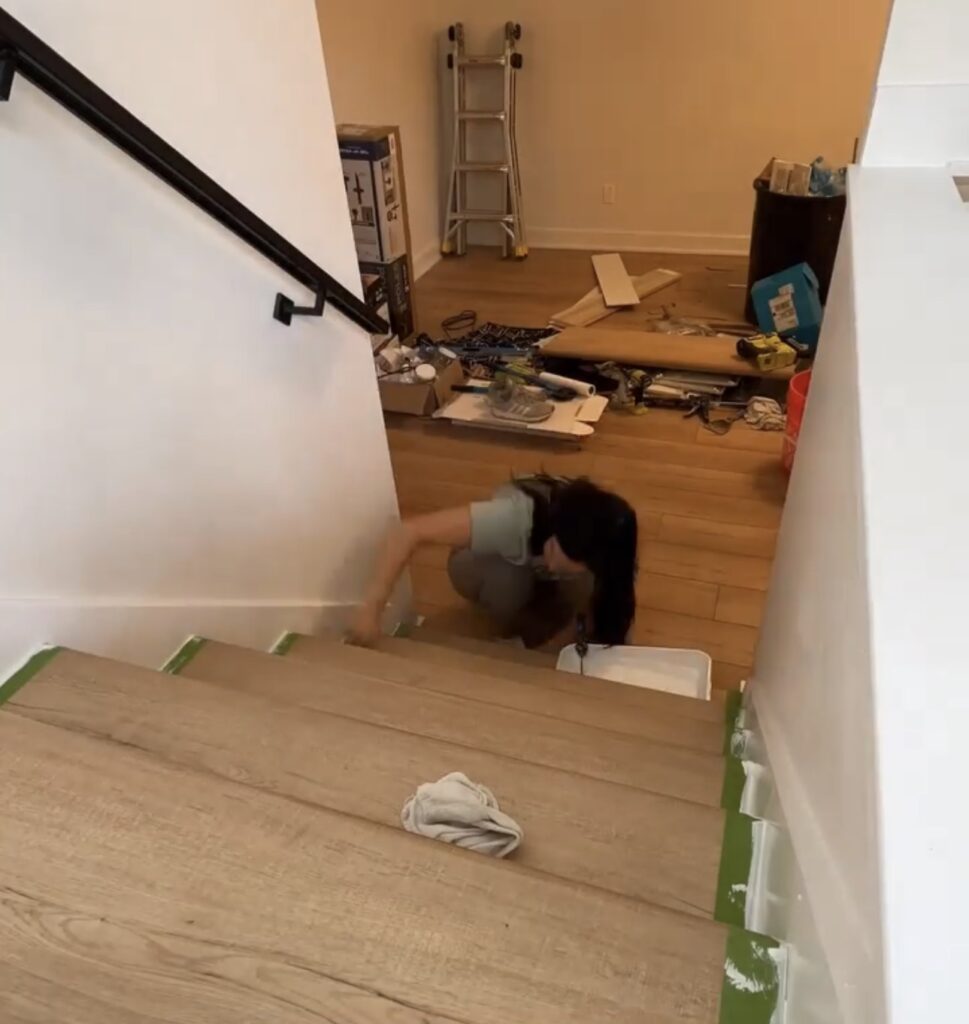
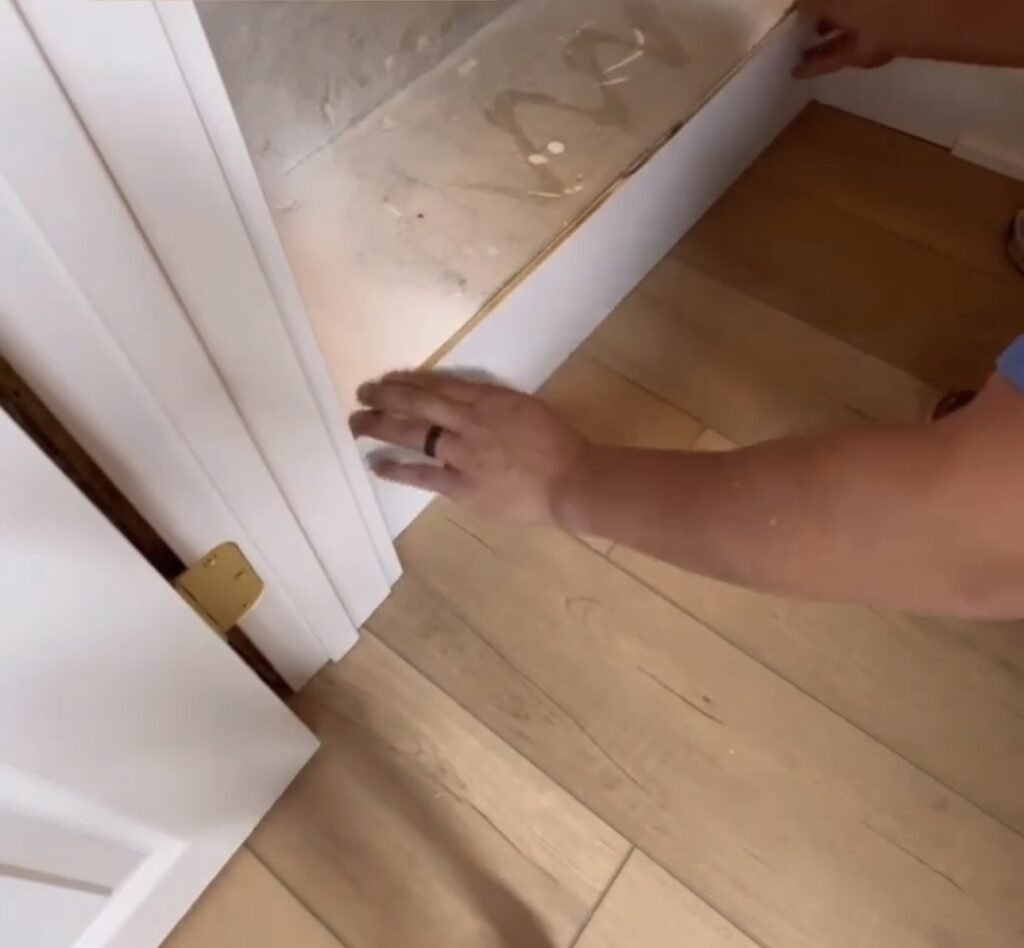
Before we got started, we cleaned off and vacuumed the stairs so we’d have a nice surface to work with. You always want to start at the bottom when you install treads & risers. The risers sit on top of the tread and the stair tread nose overhangs the riser. And then you’ll alternate between riser & tread as you go so it’s all consistent and risers sit on top of treads.
We used the RetroRiser premade stair risers from Home Depot because they make the job so much easier. They are poplar like all of our baseboards & shoe mold. The fronts come primed so after we install and fill holes, all I’ll have to do is paint them to match our trim.
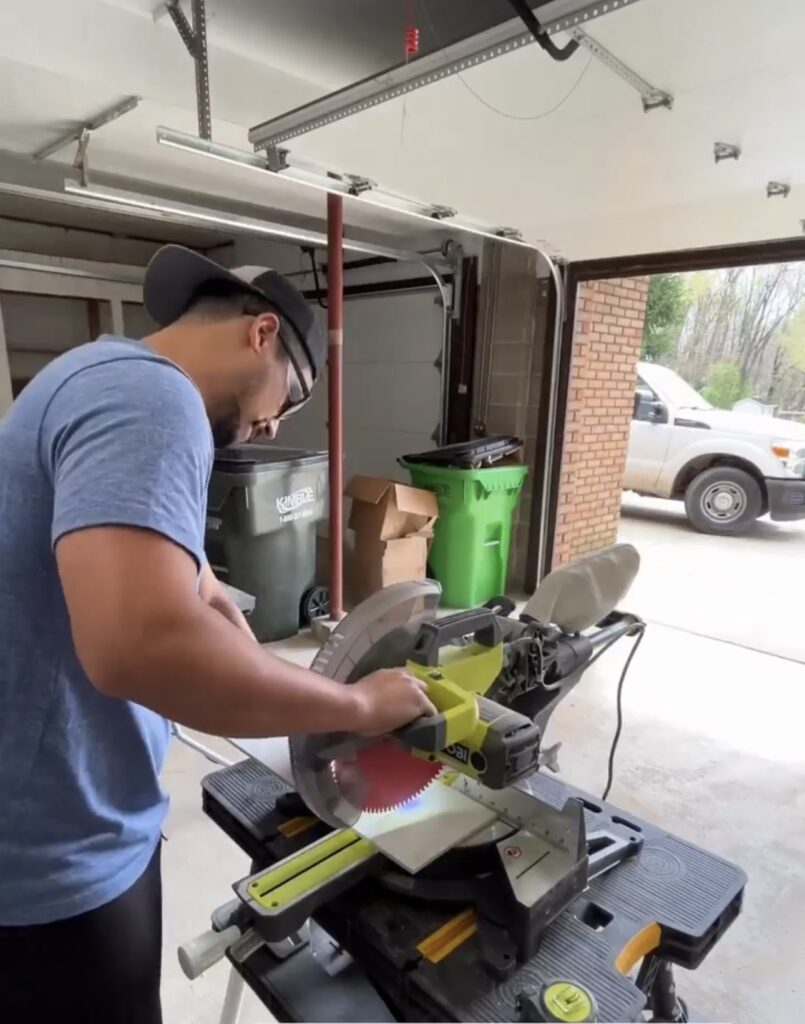
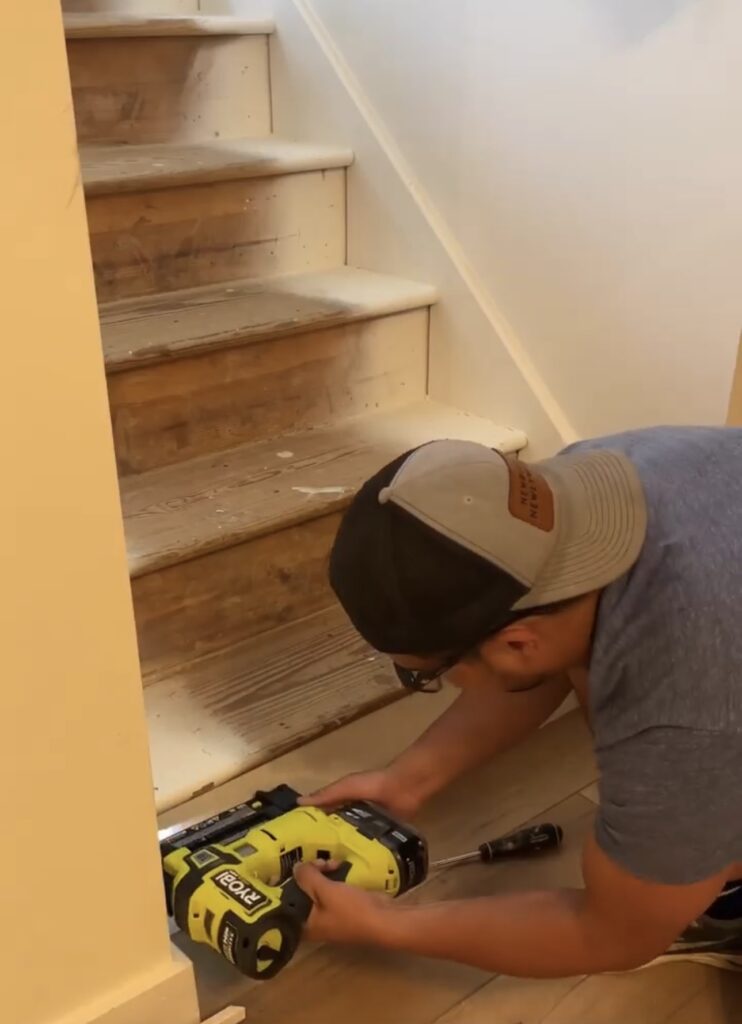
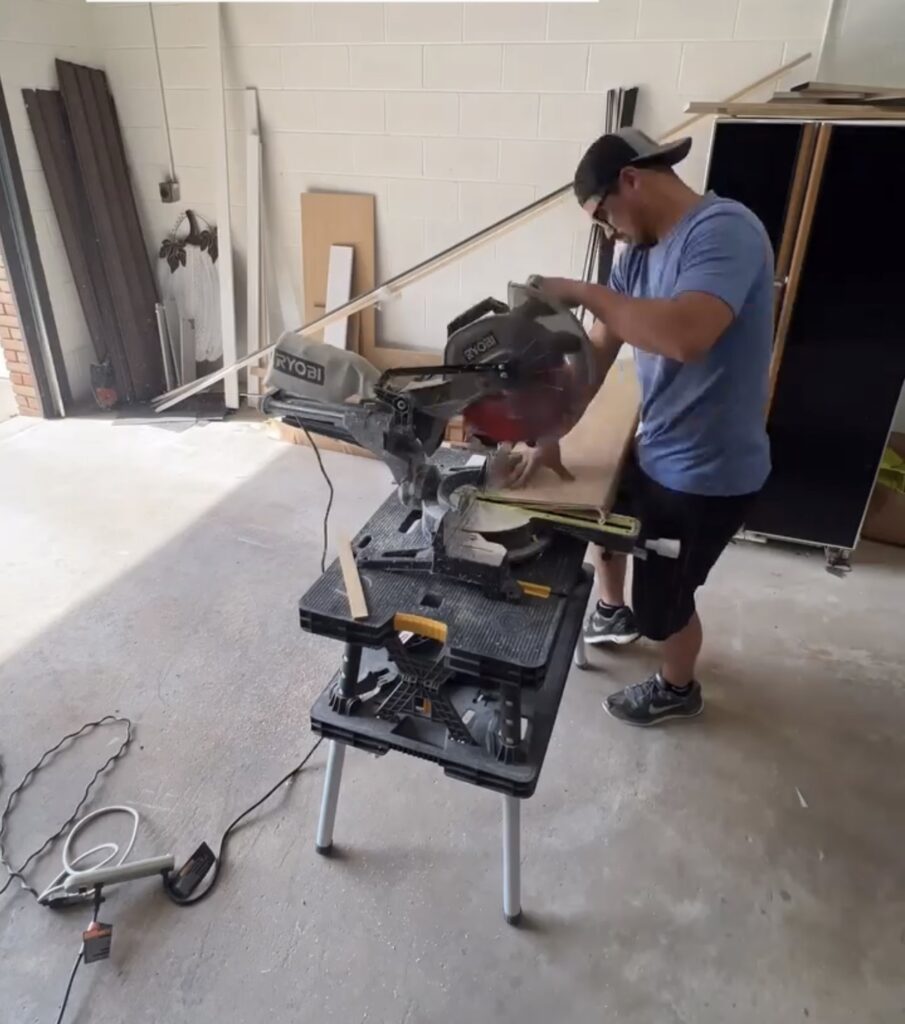
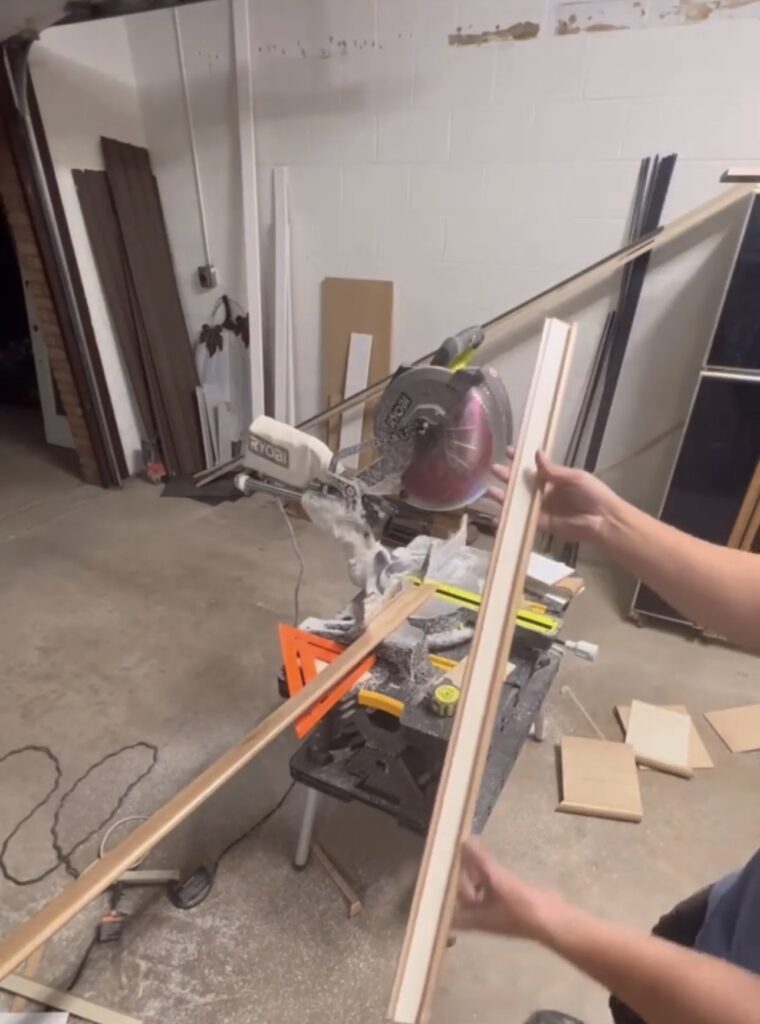
Ryan took all of the measurements needed cut the riser to size with the table saw. We used used out 18V brad nailer to secure the riser to the existing wood. The first riser is where our air return vent is and unfortunately we couldn’t relocate it. We nailed the riser in and then went back with a rotary tool to cut out the air return vent.
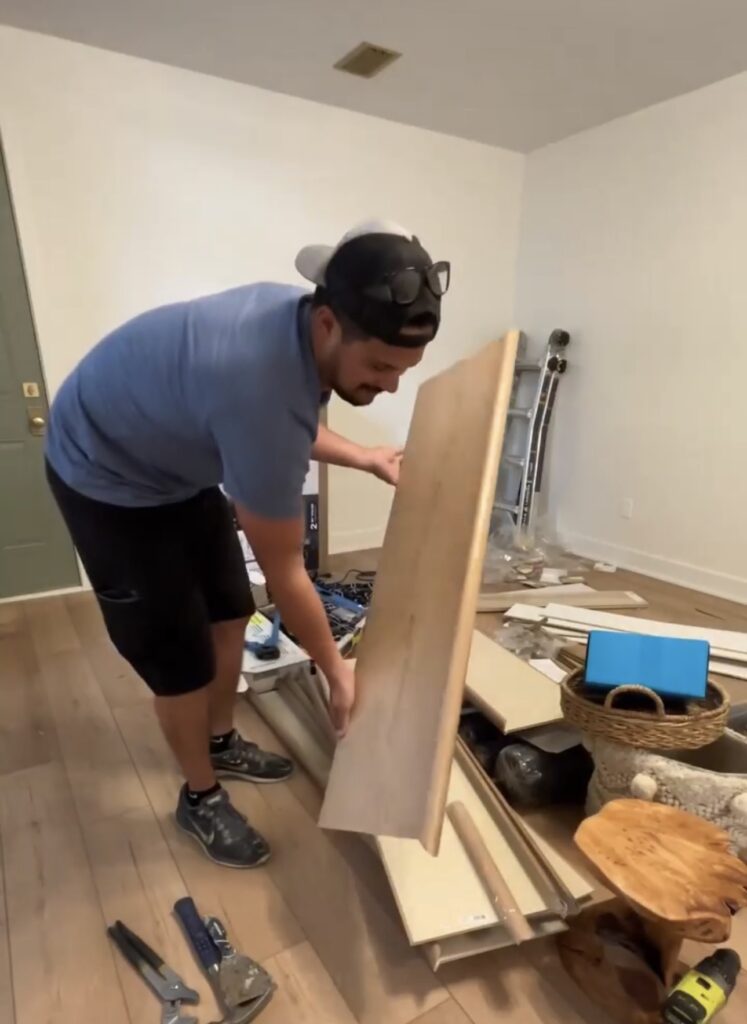

For the stair treads, we used CoreTec Floors which is the same brand we used for our floors so they match perfectly! It comes with a finished edge for either side incase your staircase is exposed on one side. Since our stairs are walled off on both sides we won’t need them.
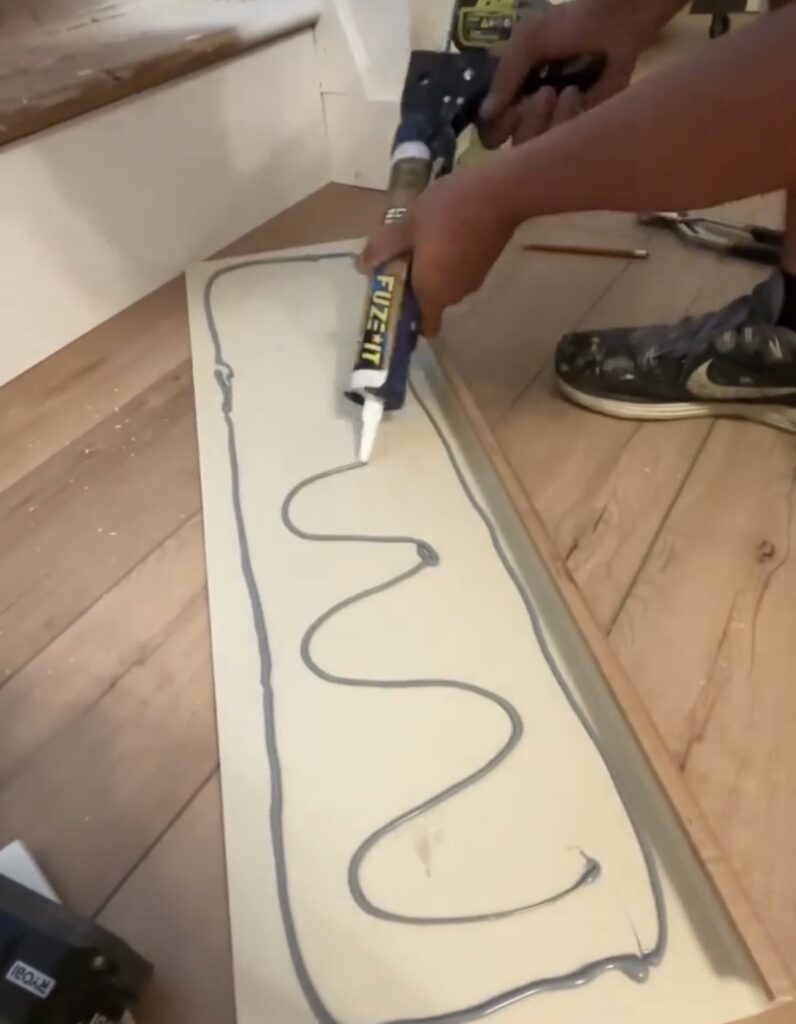
Just like with the riser, Ryan did the measurements and then cut the tread to size with the table saw. We used glue to attach the CoreTec tread to the existing wood tread. We didn’t want to nail it down because there wouldn’t be a way to cover the nail holes. The glue will provide a strong hold when used properly. We pressed down across the tread and then put weight on the tread (we used two cans of paint on both ends) to hold it in place while the glue dried.
Once we got the first riser and tread done, it was smooth sailing. We just repeated the same process for each riser and tread, going on step at a time. It was a lot of measuring and cutting because we wanted to measure each riser and tread carefully because they were not all the same and we didn’t want to make any wrong cuts, especially on the treads. We only had one extra tread so Ryan would always cut them a little long and then trimmed off a little at a time, as needed, until it was perfect so we didn’t mess up and waste one.

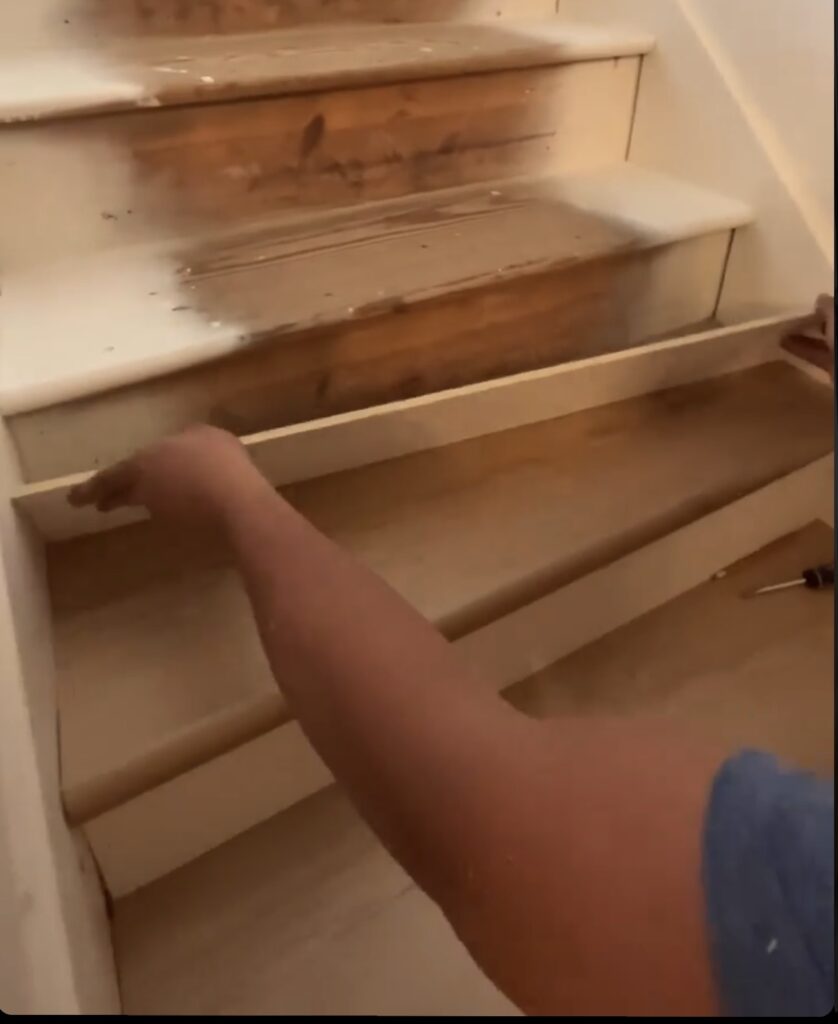
Once all of the stairs risers and treads were done, we finished by adding a stair nose transition piece that CoreTec offers. It’s made to cap off the top step and matches our flooring! We had to just cut a little bit of flooring off for the transition piece to lock in properly. We glued it down like the rest of the stair treads and uses tape to hold it in place while it dried.
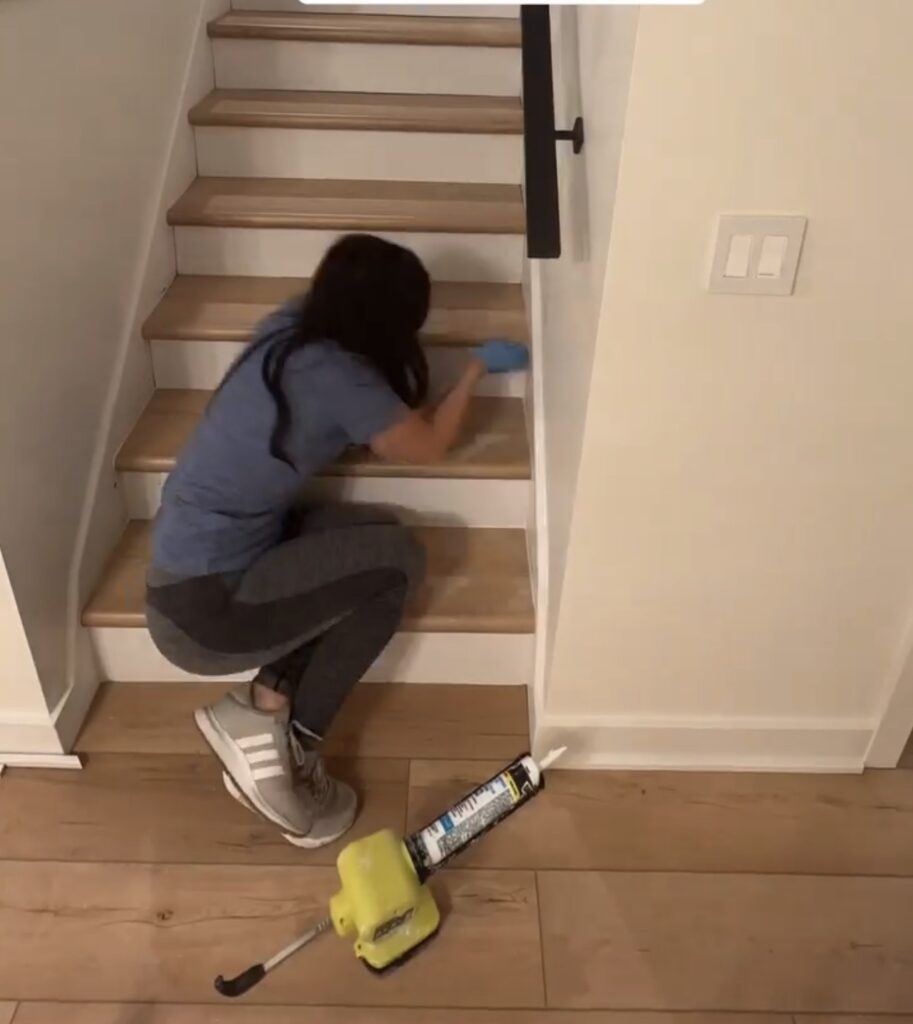
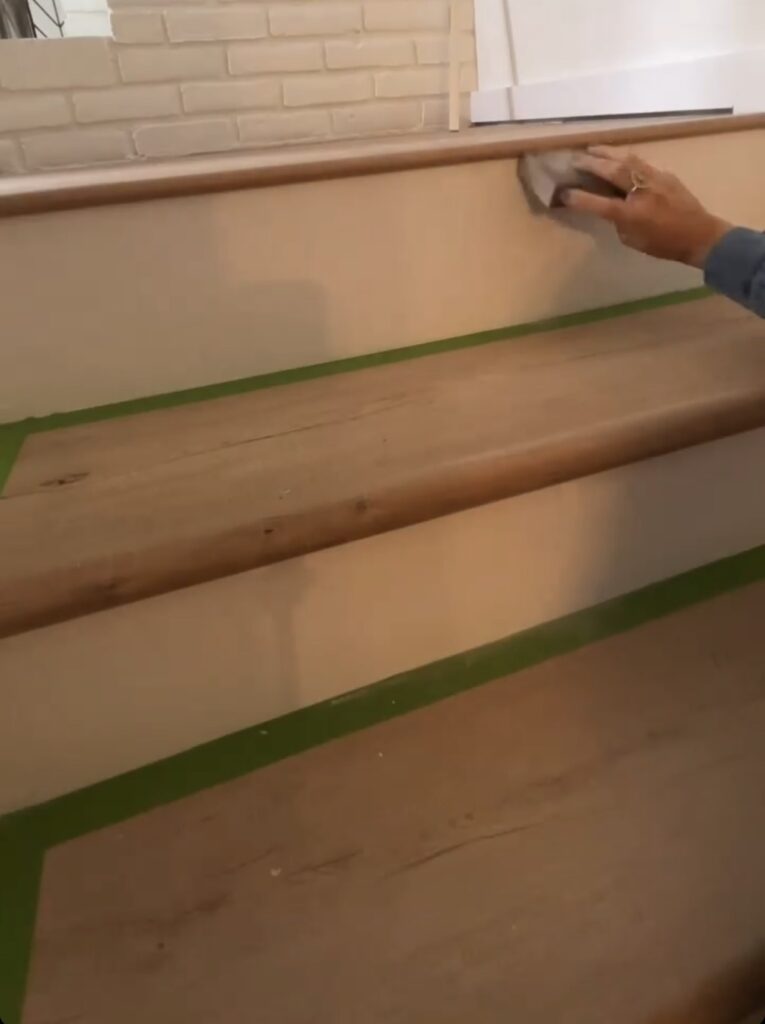
After we got all of that done, I was able to caulk all of the sides of the risers and the seams where the riser and tread meet. Then I filled the nail holes on all of the risers with DryDex Wall Repair. I didn’t want to use the FilStik because these holes are more noticeable than the ones on shoe mold and I want them to look perfect.
After filling the holes, I sanded each riser to prep them for paint. I used Sherwin Williams Emerald Trim Enamel in Pure White (which is the same color as all of our trim) to paint the risers.
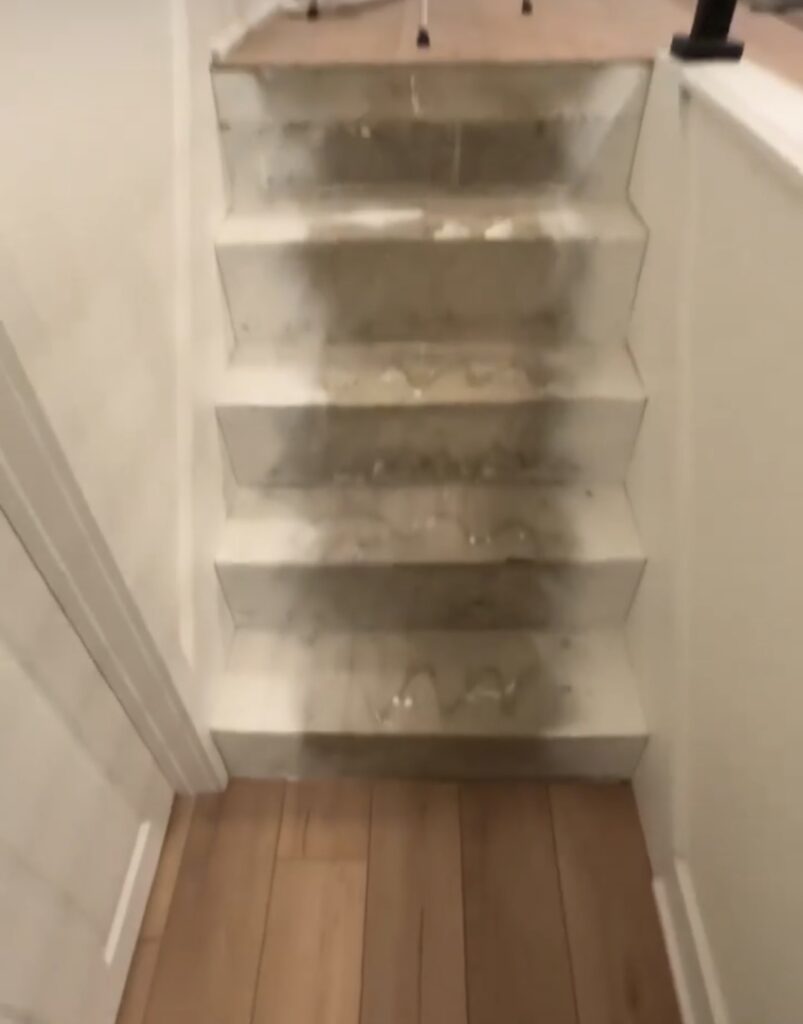
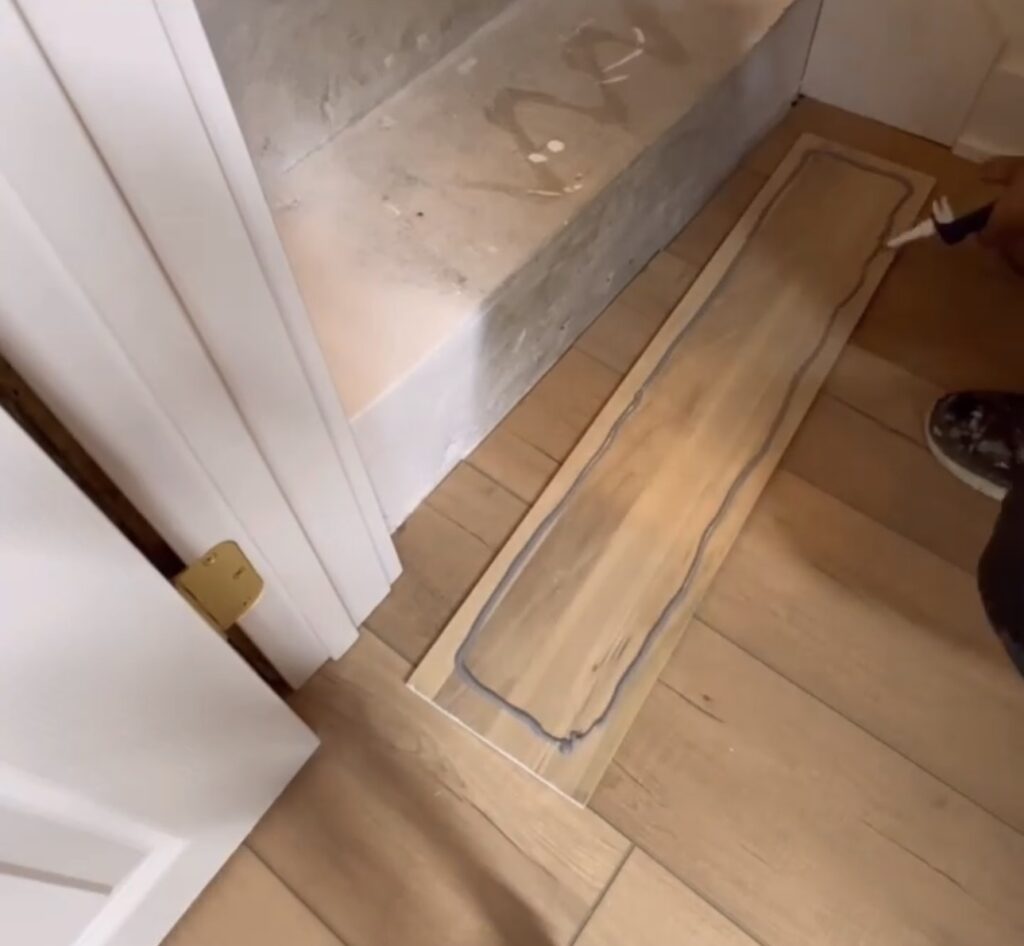
Once we had the first step of stairs done, we had to do the lower set which lead from the den to the laundry room. These steps are all concrete so we had to use construction adhesive for both the risers and treads for these. Other than the adhesive, we used the same process for installing these. They required a lot of measuring because they were pretty out of whack and the sizes and angles weren’t all the same.
I caulked the seams, sanded the risers and painted them just like with the upper set of stairs.
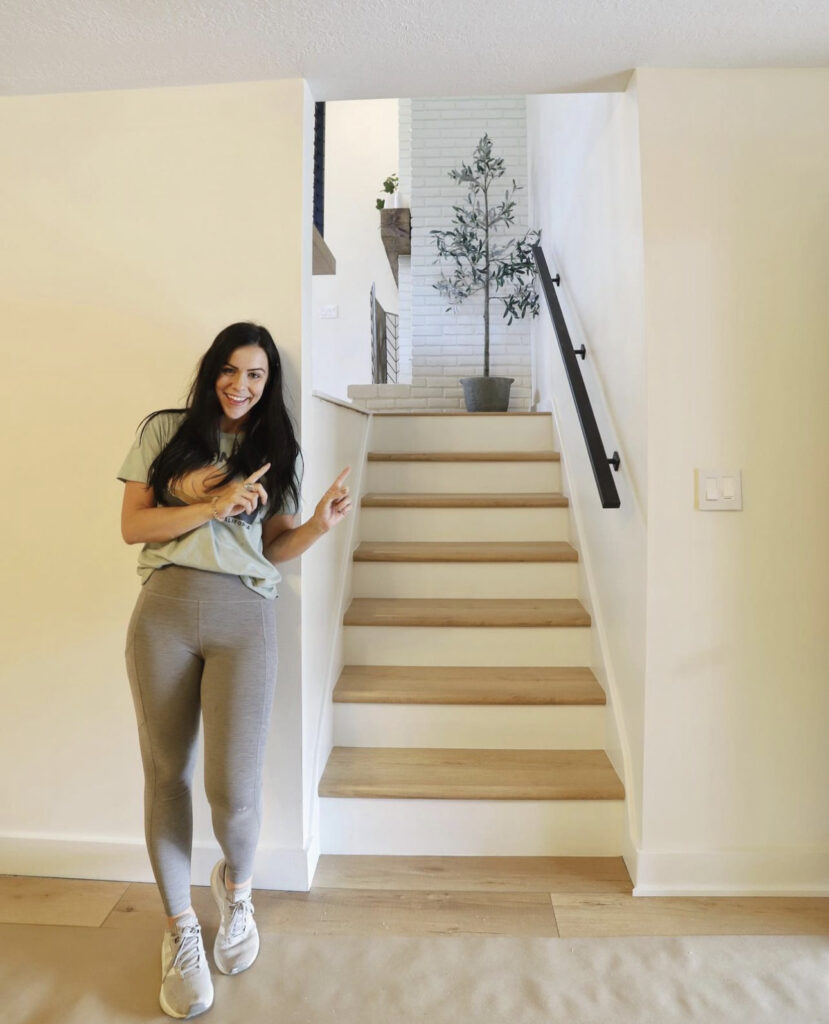
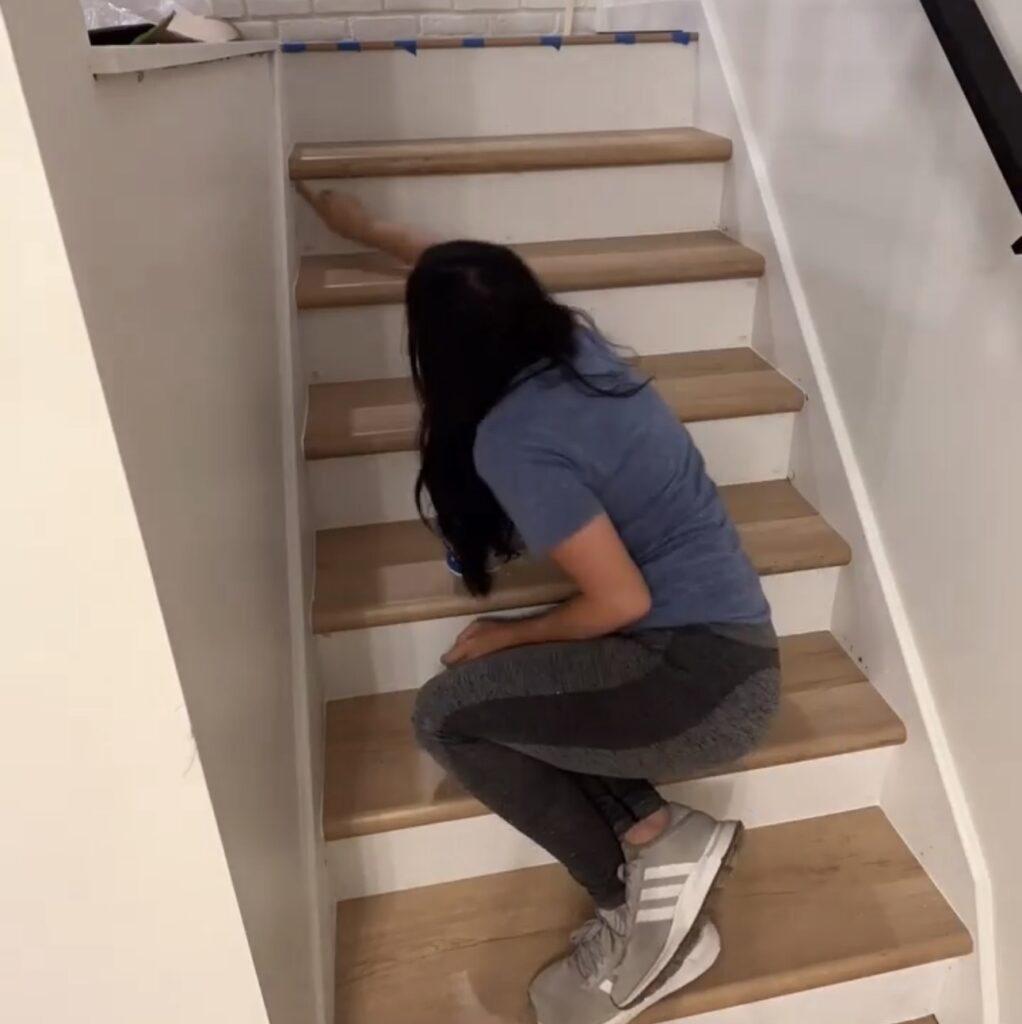
The finished product is so good! It was such a simple project that made a major impact.
You can also see how we updates these stairs even further after this install by adding decals to the risers.
Leave a Reply
Grab our FREE download
Wanna know the 5 must have tools you need before you start?
Considering a DIY Project?


Can you share any tips or tricks for maximizing storage space in a small room while also incorporating a functional Murphy bed?