


Beginner-Friendly DIY Wall Plate Rack
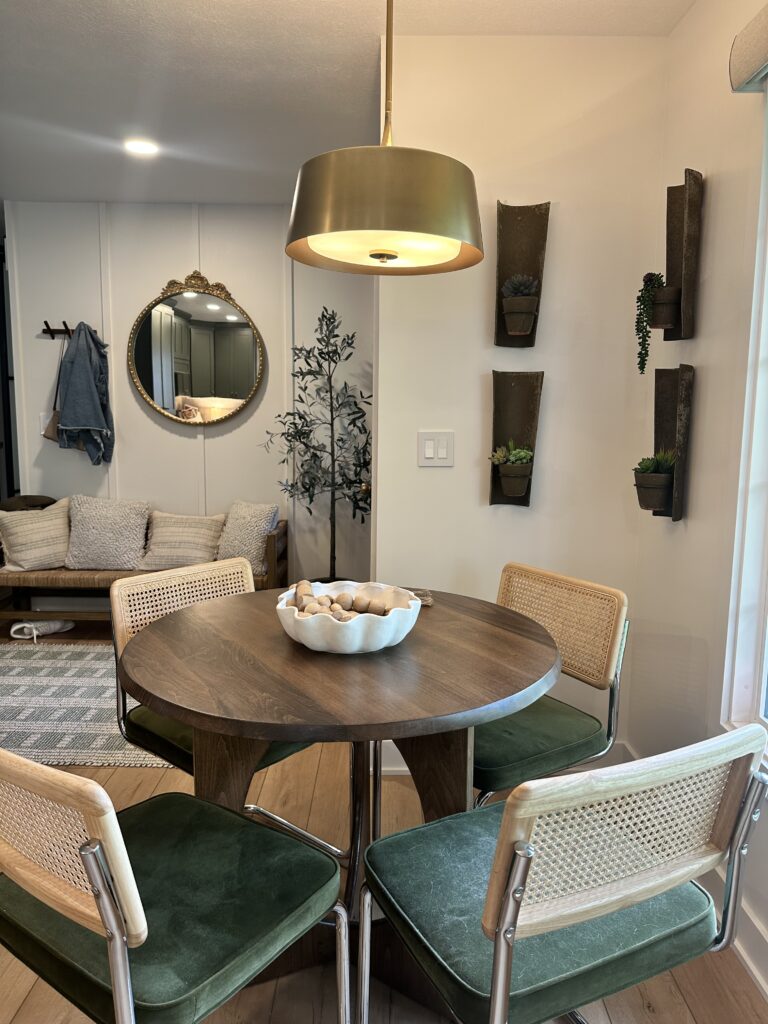
We have a corner in the dining area of our kitchen that has felt a little empty and I couldn’t decide what exactly to do with it. We had some plant holders there that helped to fill the space but I knew we could use that space even better. I got the idea to do plate racks but I wanted a custom look so instead of just buying some, we did what we do best and DIYed it so we could bring my vision to life.
The wall has just enough space to make a nice sized wall rack and the perfect space to display things like plates, cookbooks and cutting boards and will actually take up less space than the planters that were there.
What We Used:
- 1×3 Select Pine
- Primed Shiplap
- 18V Brad Nailer
- Table Saw
- Nail Hole Filler
- Caulk & Caulk Gun
- Behr Marquee Paint in satin finish
- Decorative Items for Plate Wall Rack
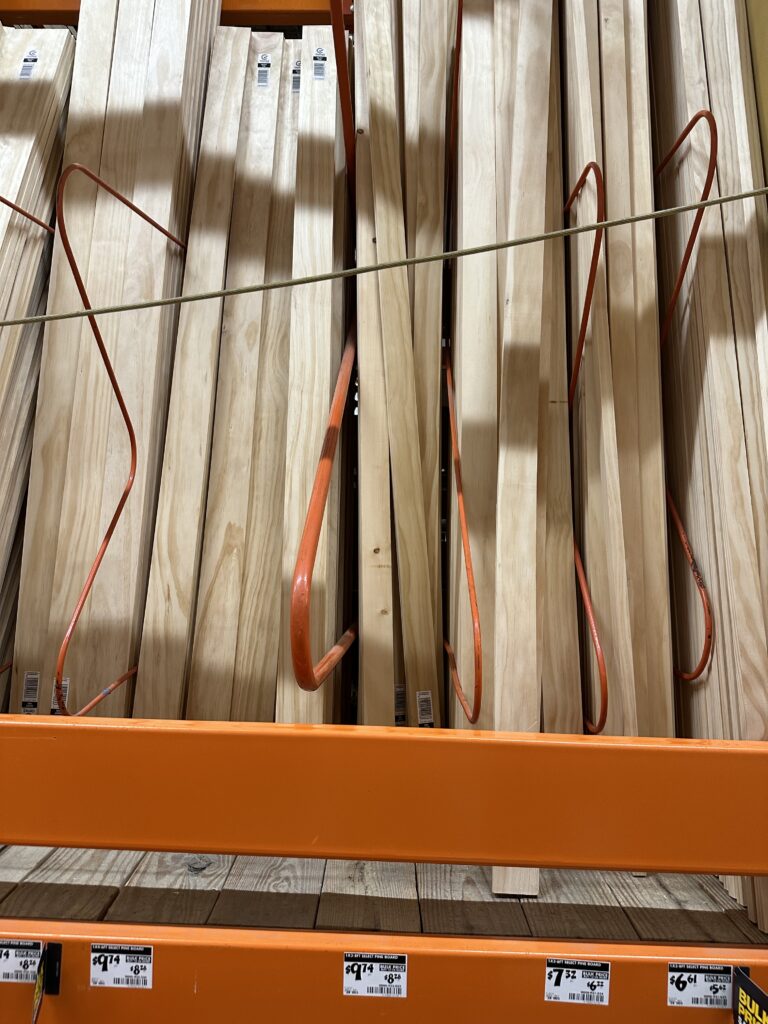

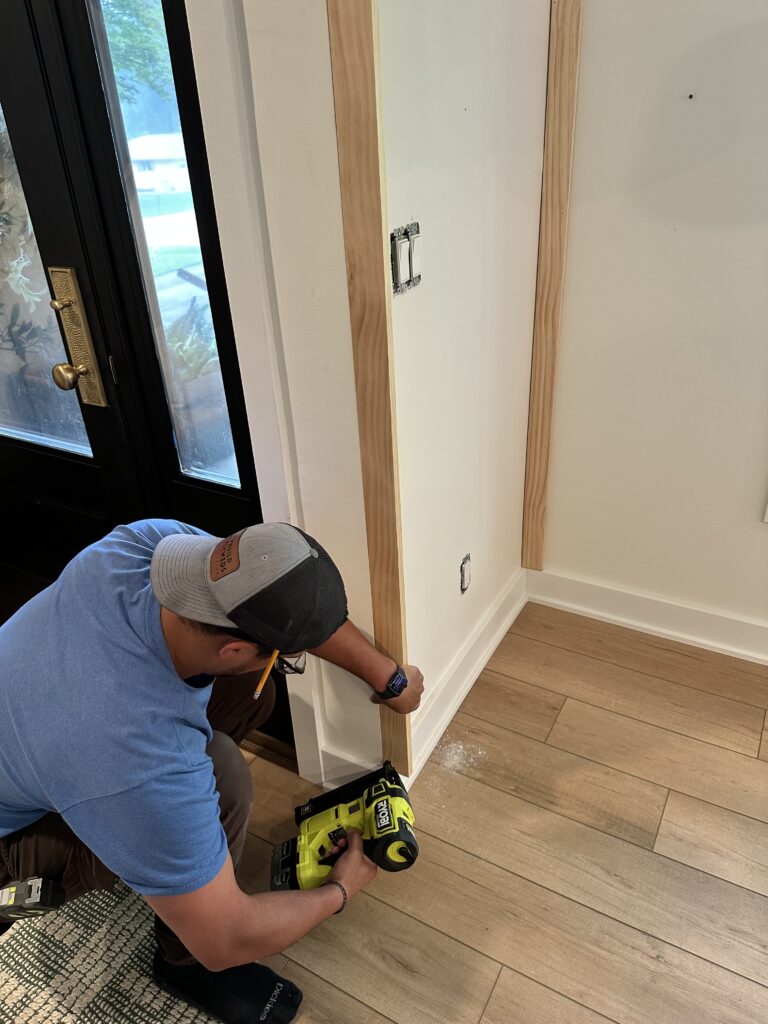
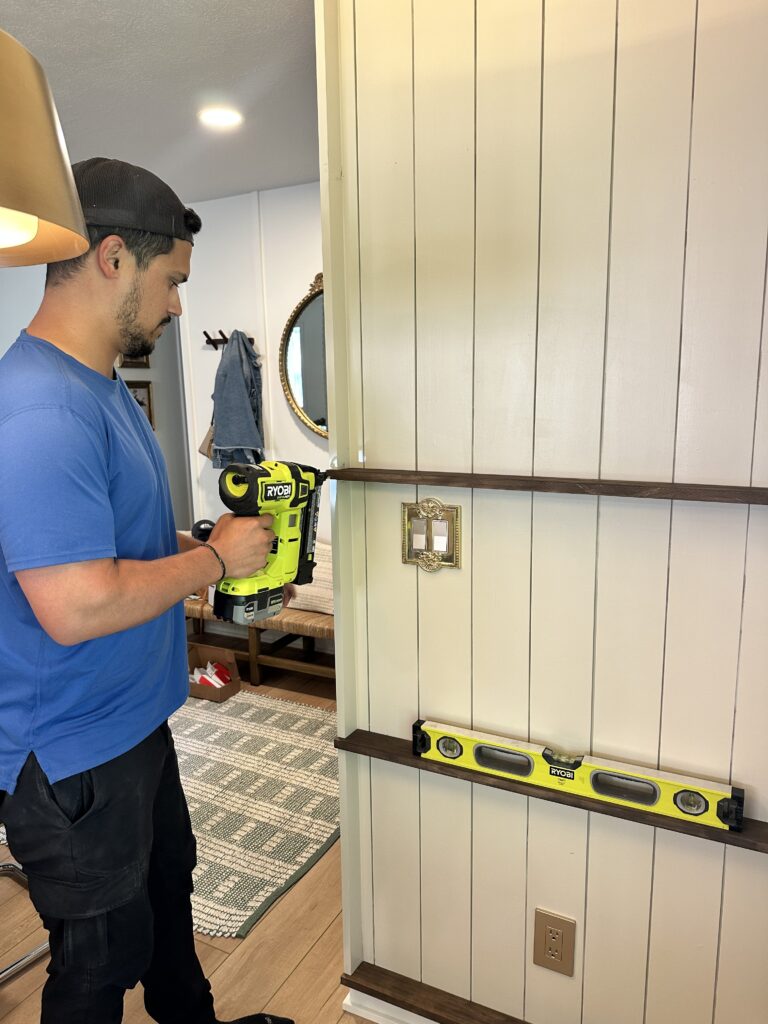
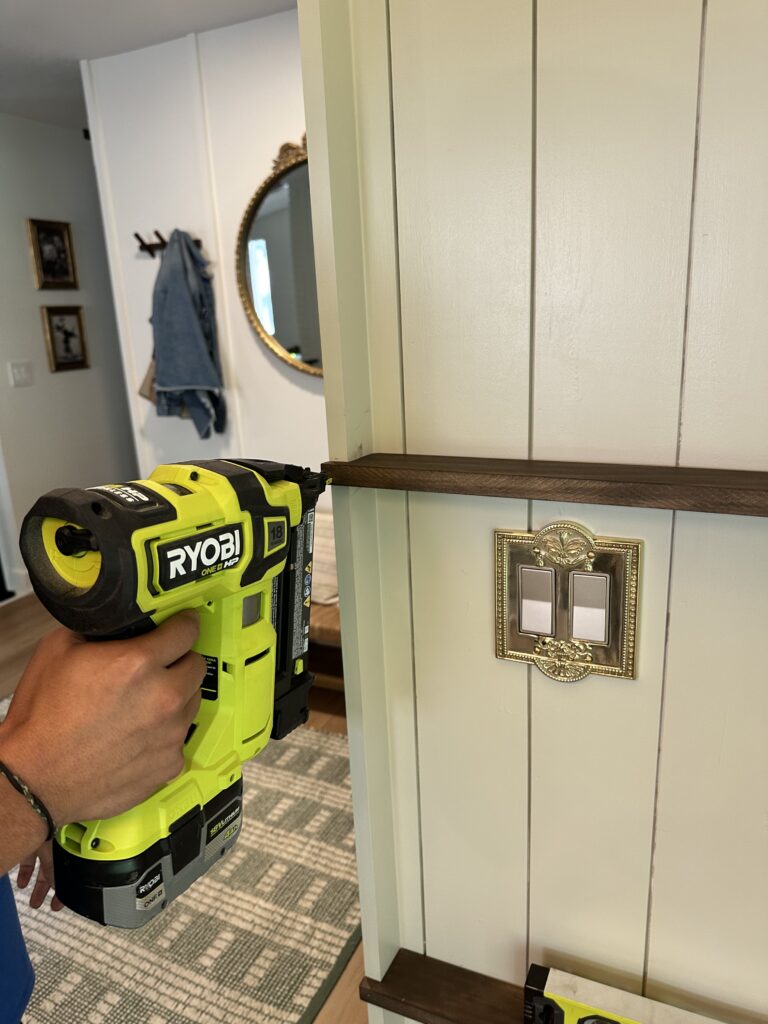
The only wood we’re using for this project is 1×3 select pine and primed shiplap. We started off by building the frame for the rack out of the 1×3 pine. We nailed in a board across the ceiling, one board to the corner of the wall and another one opposite it on the edge of the wall. The 1×3 pine will be just wide enough to hold the thin items we want to display. We’ll be added a shelf to the bottom of the wall just above the baseboard but it will be stained.
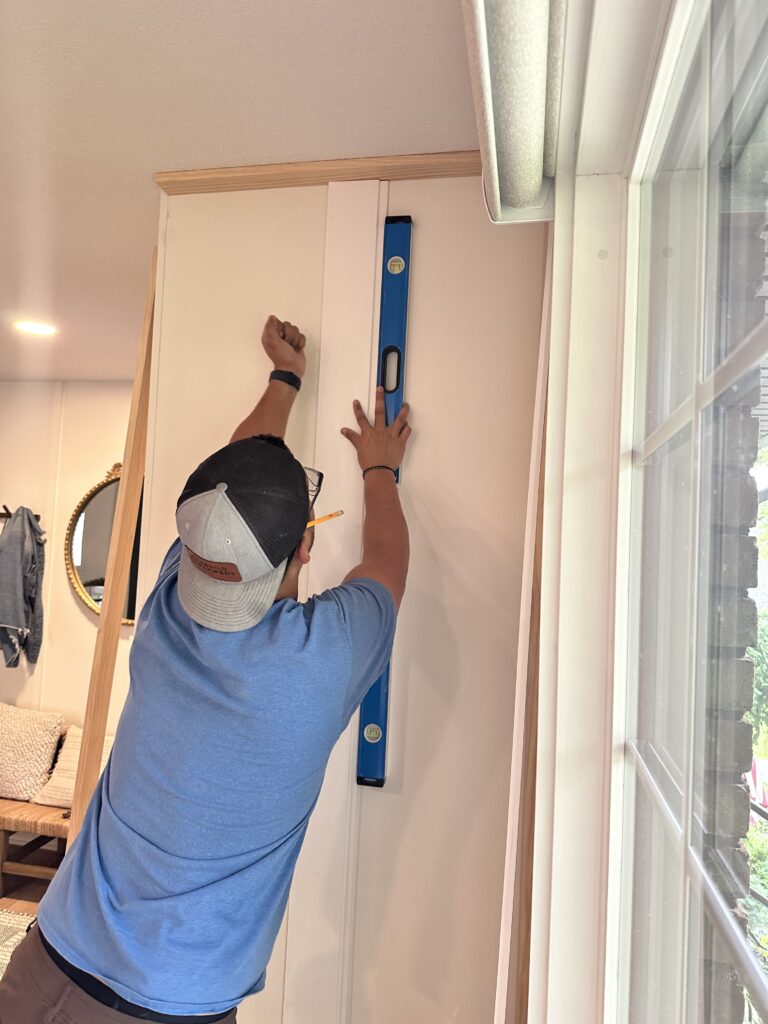
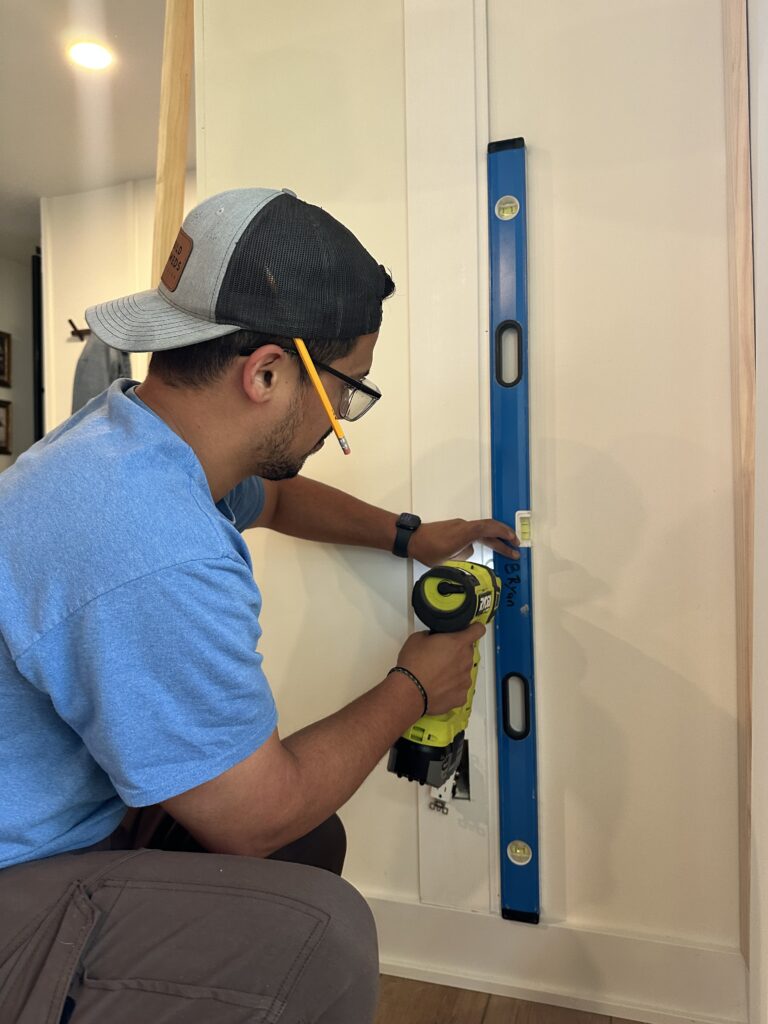
Once the frame was up, we started on the shiplap wall. This step wasn’t necessary but we wanted the back of the wall to have something more than just a plain wall. We cut the shiplap to size and nailed in with our brad nailer. In order to make sure the shiplap would be even all the way across we started in the middle of the wall and worked our way to the edges. We used a level to make sure the boards were straight as we nailed them in.
Once all of the shiplap was done, I used my hole filler to fill the nail holes. When I don’t have a lot of nail holes to fill, I love using this. It is paintable and great for stained projects too with all the color choices. Then I used the Ryobi 18V caulk gun to caulk all of the gaps between the frame and shiplap boards.
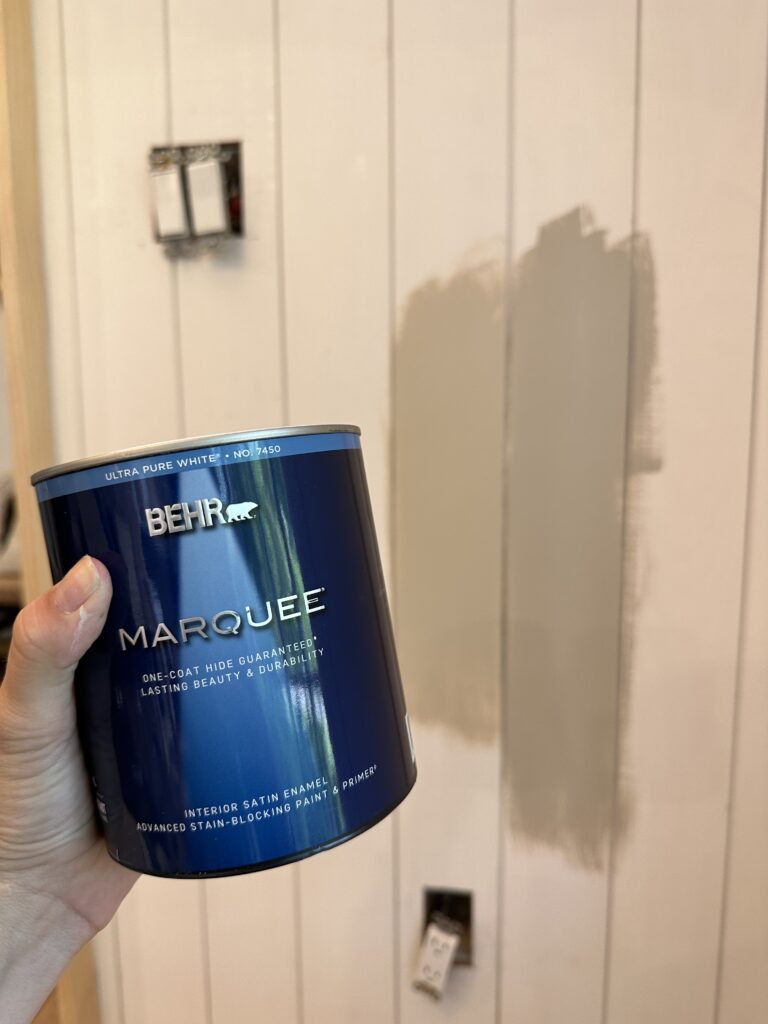
After doing filling the nail holes and caulking, it was time to paint! We wanted a neutral color because of the green cabinets we have in the kitchen. We decided between two similar colors and ended up going with Behr Better Beige in a satin finish. I love Behr Marquee’s line of satin paint because it’s durable, wipeable and a good stain blocker which is perfect since this will be close to our front door and kitchen areas.
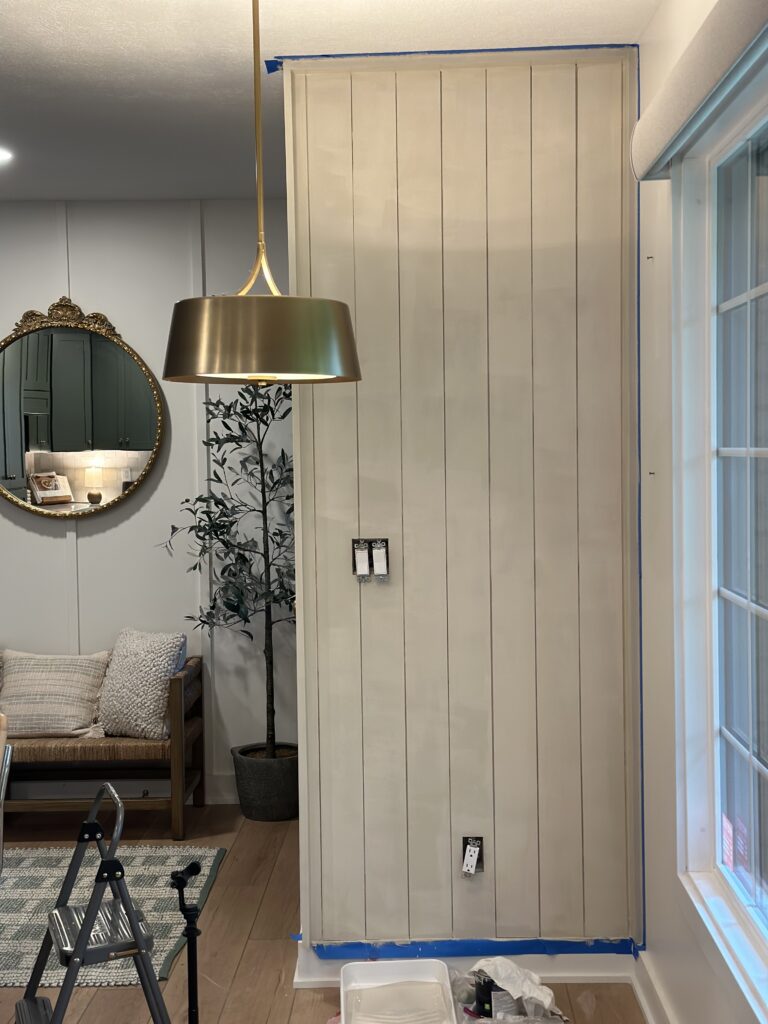
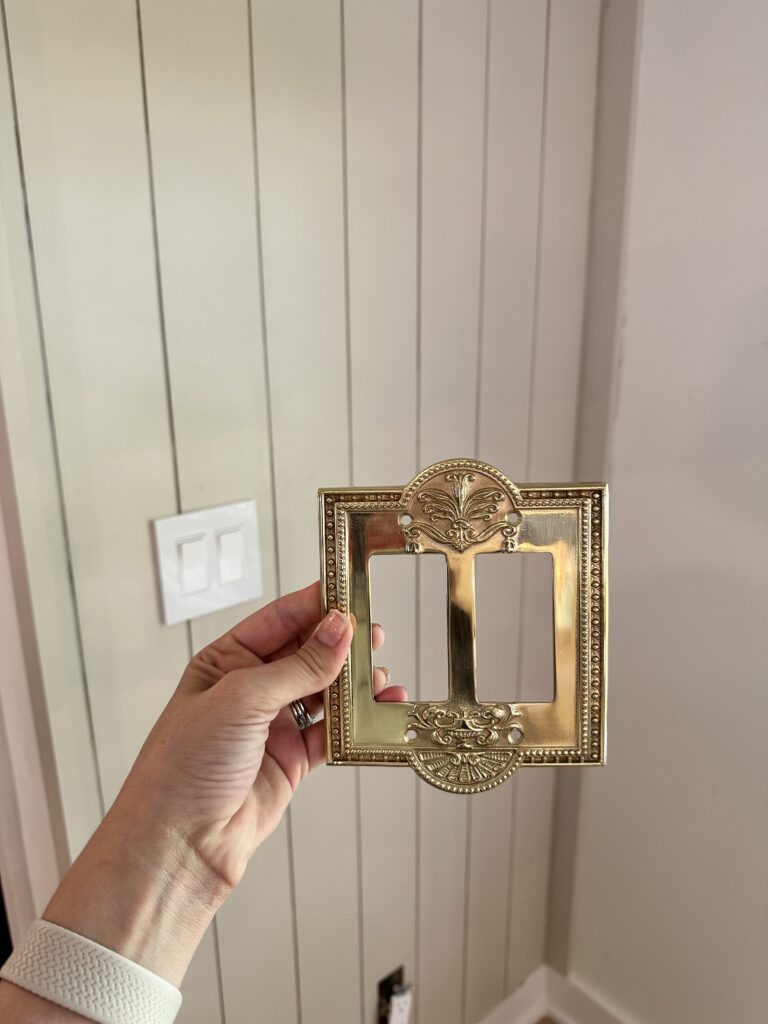
I used a brush in between all of the boards first and on the edges. I used a foam roller on all of the rest of the wall for a smooth finish. I added a second coat for extra durability and plus the raw wood needed it. We added an extra touch by changing out the light plate with a gold ornate switch plate.
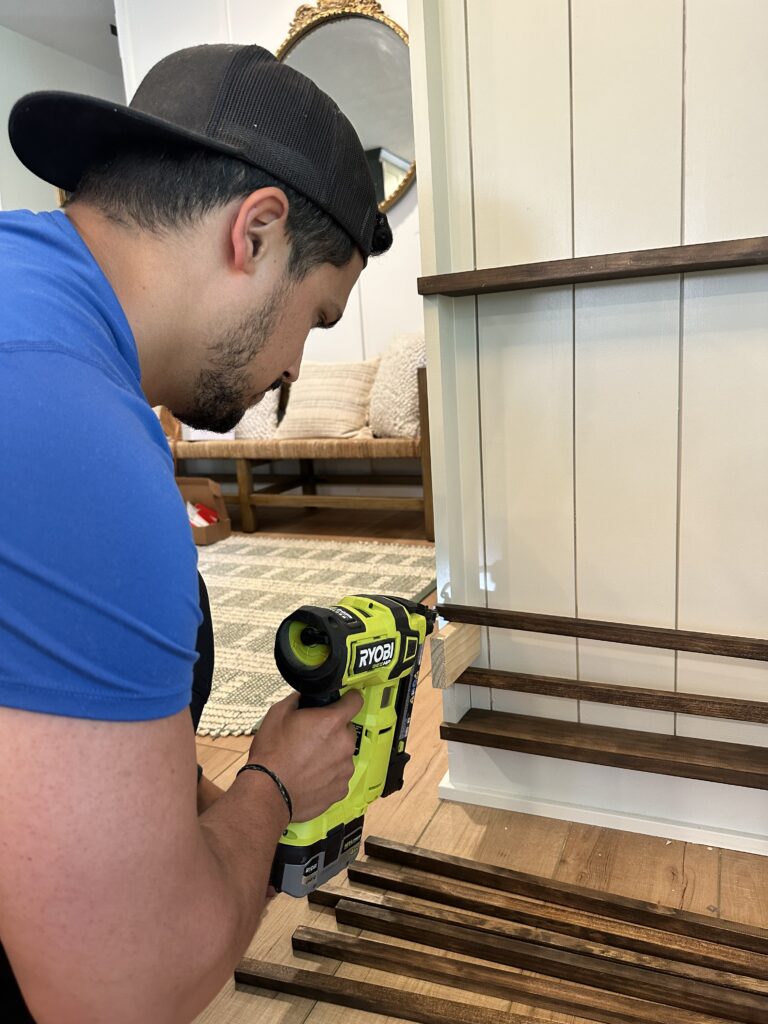
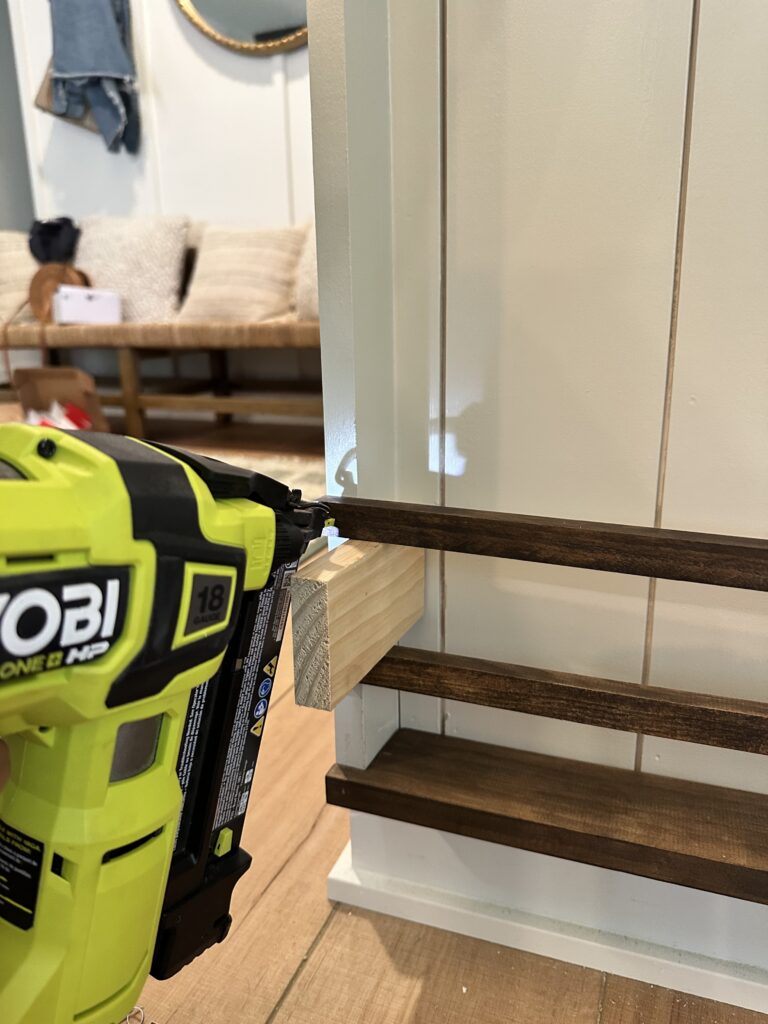
While the paint dried Ryan started cutting all of the shelves out of more 1X3 select pine. He notched out the sides so they sit into the frame. He also used the 1x3s to make the cross bracing boards for the front of the shelves too and ripped them down to 1/2″.
Then I sanded all of the shelves and bracing boards before staining so that they’ll have a smooth finish. I used the some of the leftover custom mixed stain from our beams and mantel. It was made by our cabinet maker so it matches our kitchen island & dining table too, which is perfect! It was almost empty but I made it work.
Ryan used the brad nailer to put up each of the shelves first. They were all cut with notches on the edges so they would sit on the outside of the framing. Once the shelves were up, he then added the bracing. He used a 1×3 as a spacer and nailed them into the frame. We used two bracing boards for each shelf.

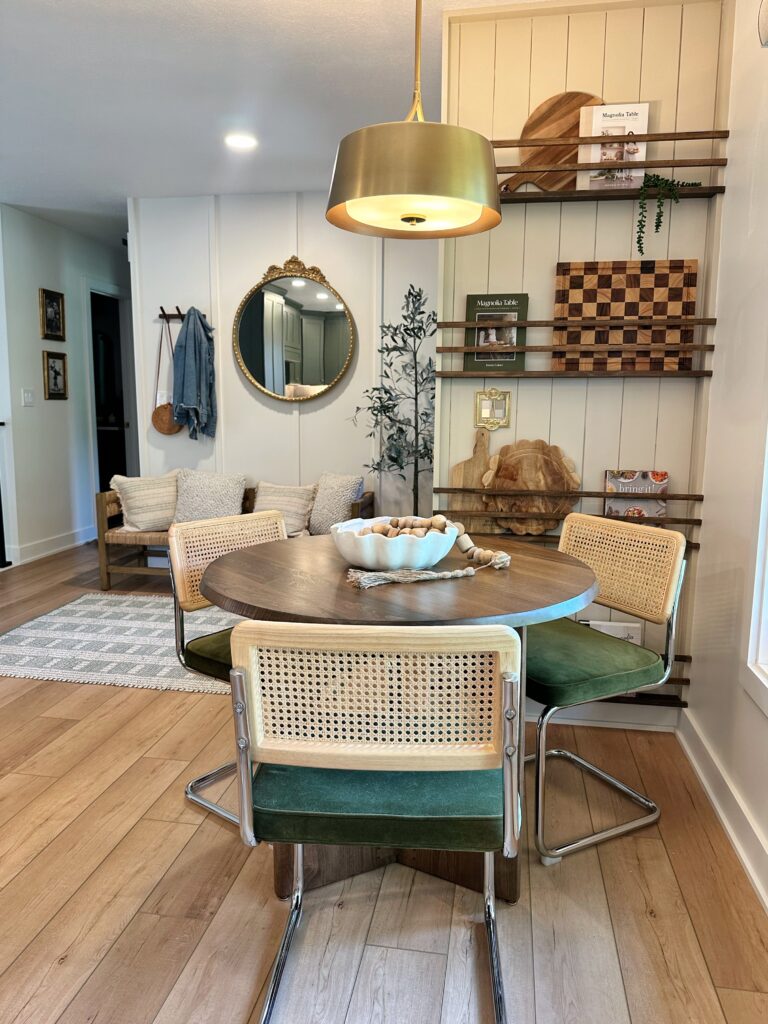
I am obsessed with finished product! It is just what this space needed and I am so happy to have a home to display all of my cookbooks and cutting boards now.
This was one of my favorite projects and it’s a great beginner friendly DIY!
Let me know what you think! Do you have a space you could do something like this in your home?
Leave a Reply
Grab our FREE download
Wanna know the 5 must have tools you need before you start?
Considering a DIY Project?


Be the first to comment