


DIY Brick Wall
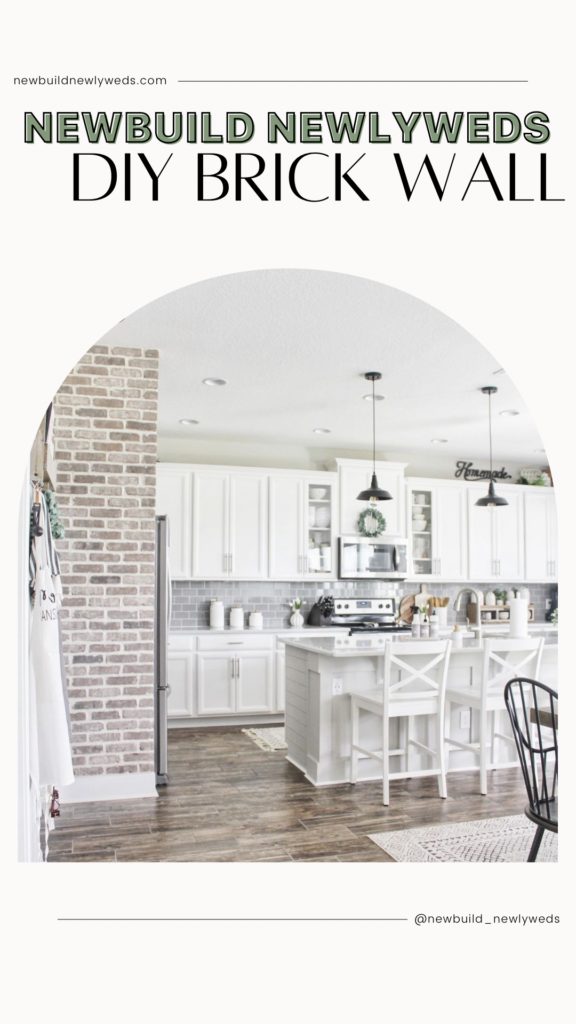
Our first home was a builder grade new build in Florida that we spent a lot of time adding our own personal touches to.One of our all-time favorite DIY projects was the brick wall we did there. It fit the modern farmhouse theme we had in the home so well and added so much character to the space.

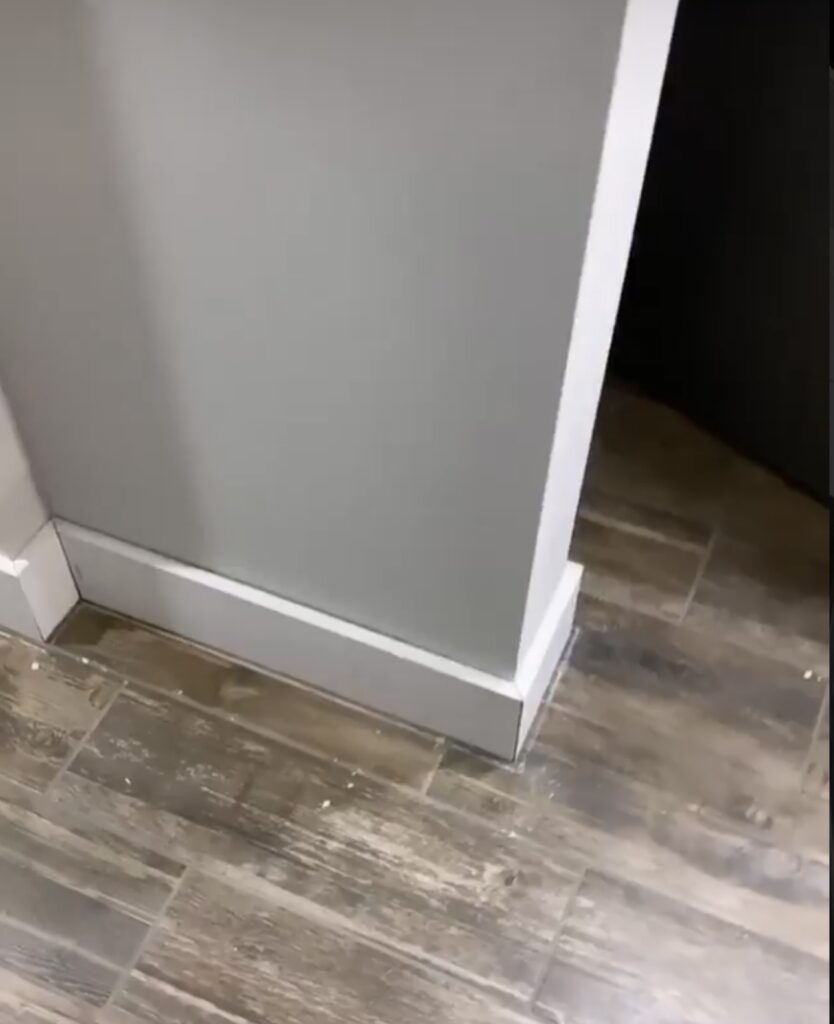
We didn’t want it to look too busy so we decide to do the small wall bump out next to fridge. Before we started on the brick, we removed the baseboards and replaced them with a taller and wider baseboard so the brick could sit on top of it.
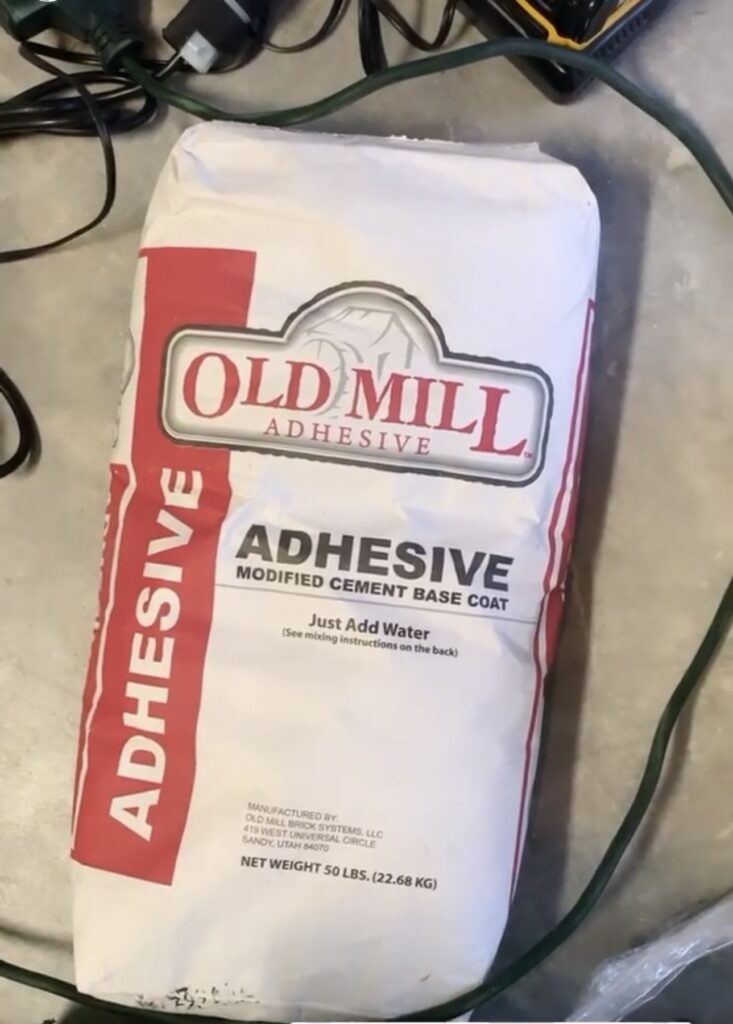
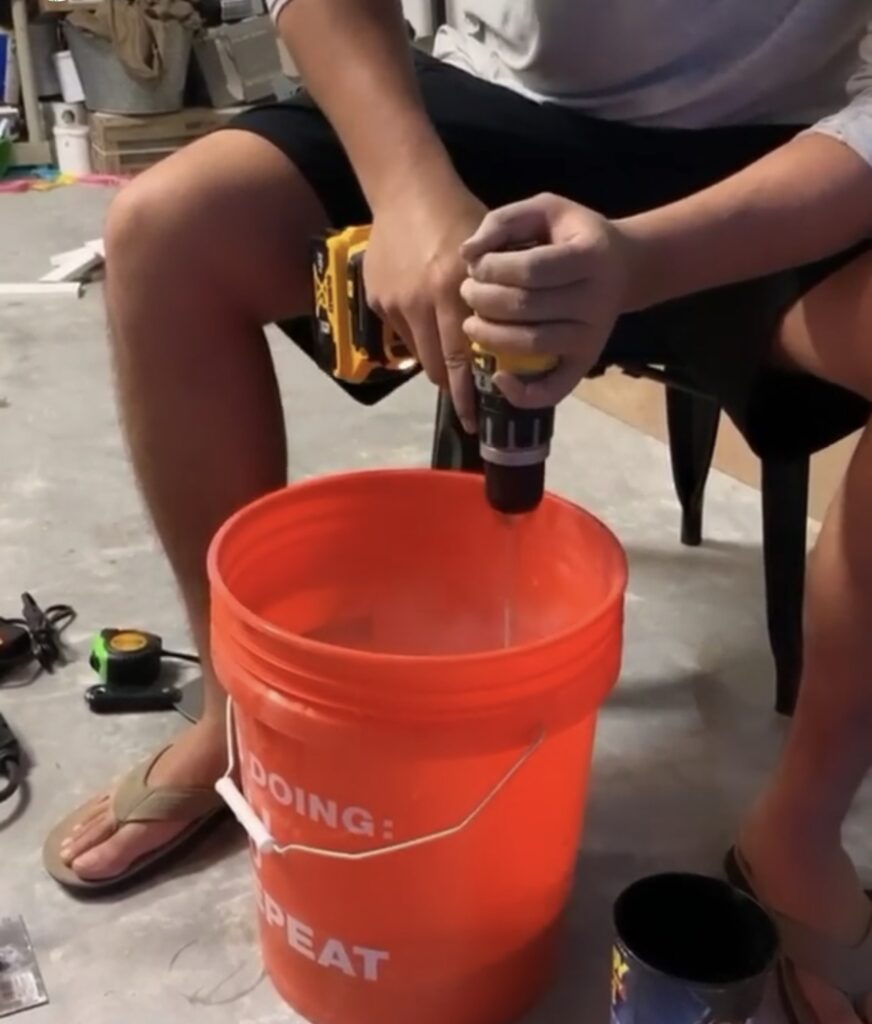
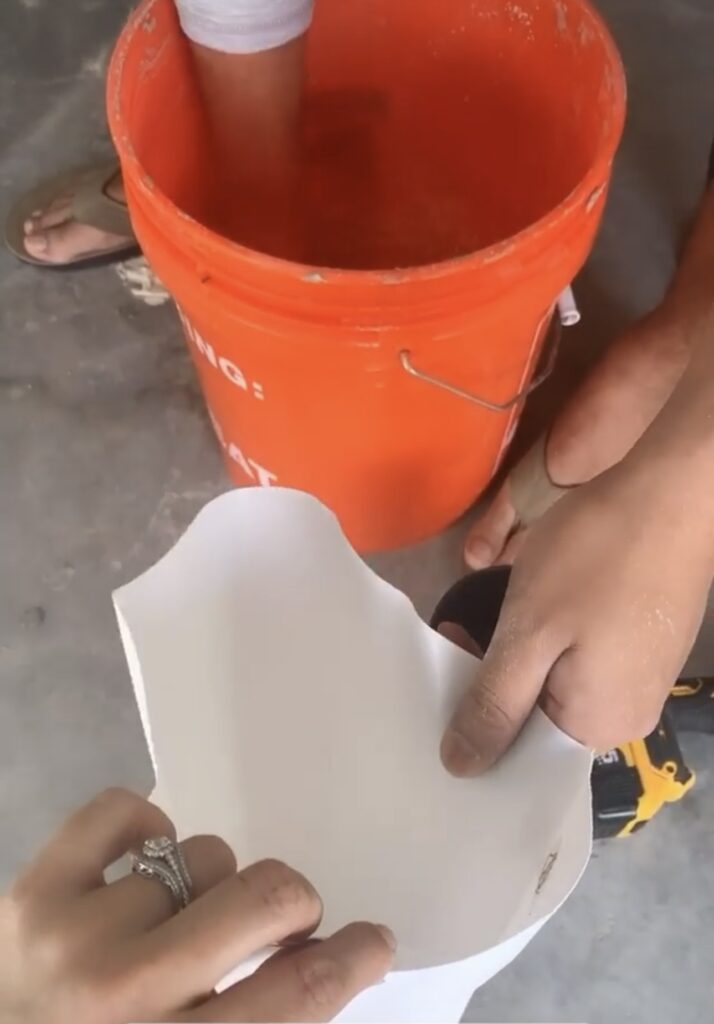
We followed the directions to mix up our cement adhesive from Old Mill. We only mixed up a little at a time because we didn’t want it to cure while we were working.
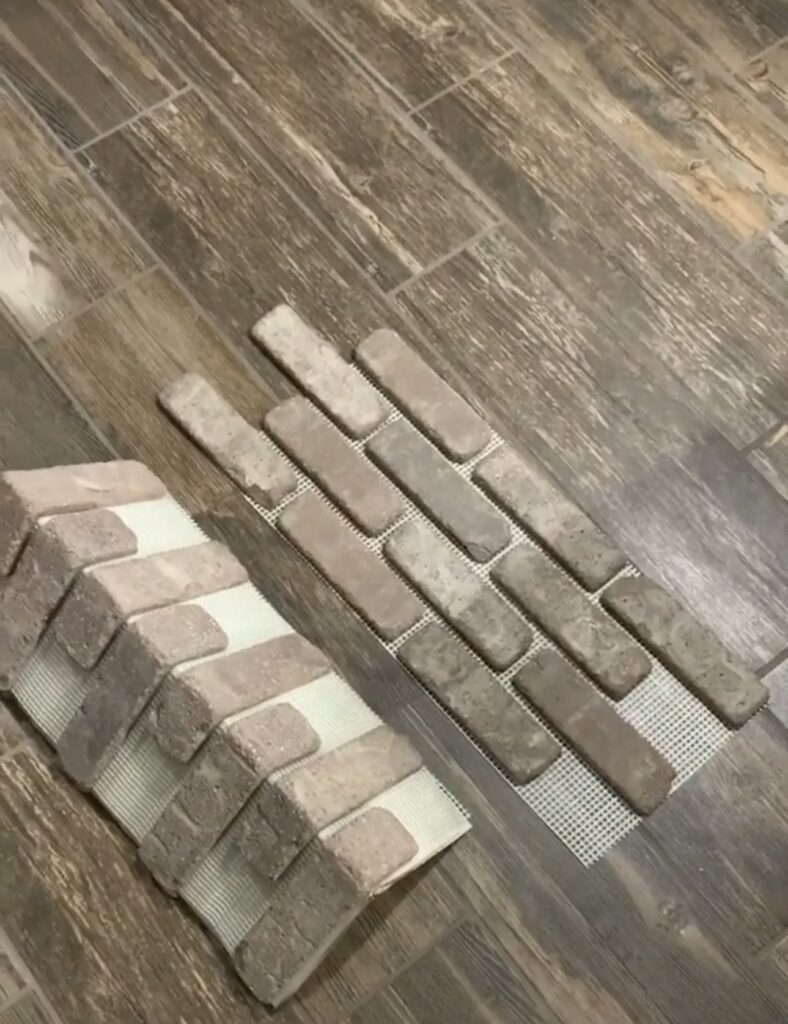

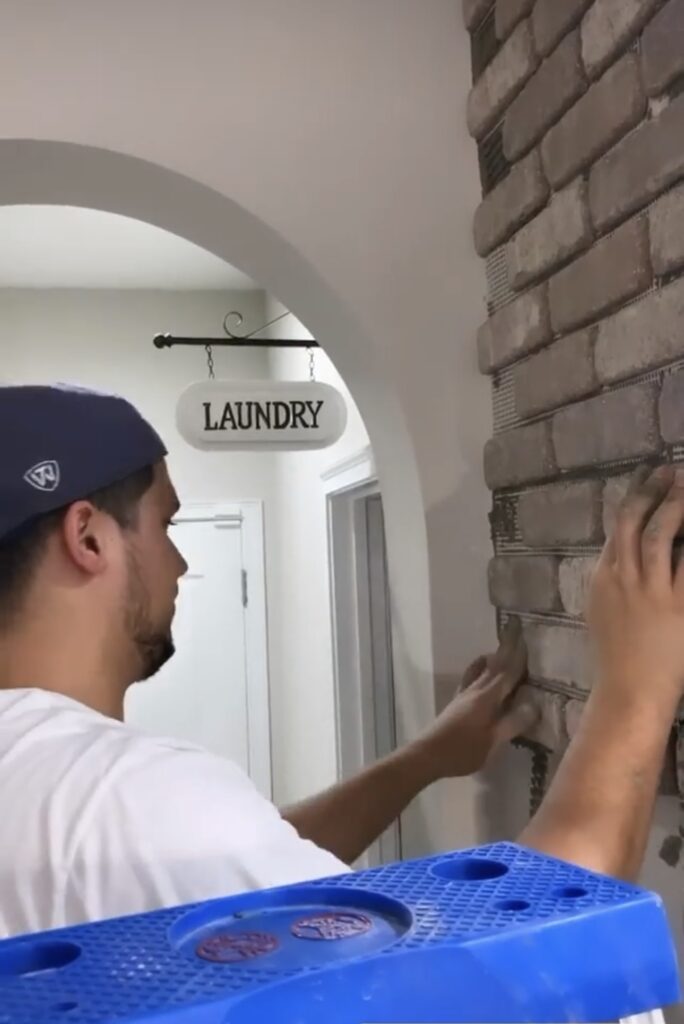
We used Old Mill Brick’s thin brick web panels for this project. It uses real brick but they are much thinner than a normal brick so it is perfect for covers existing walls.
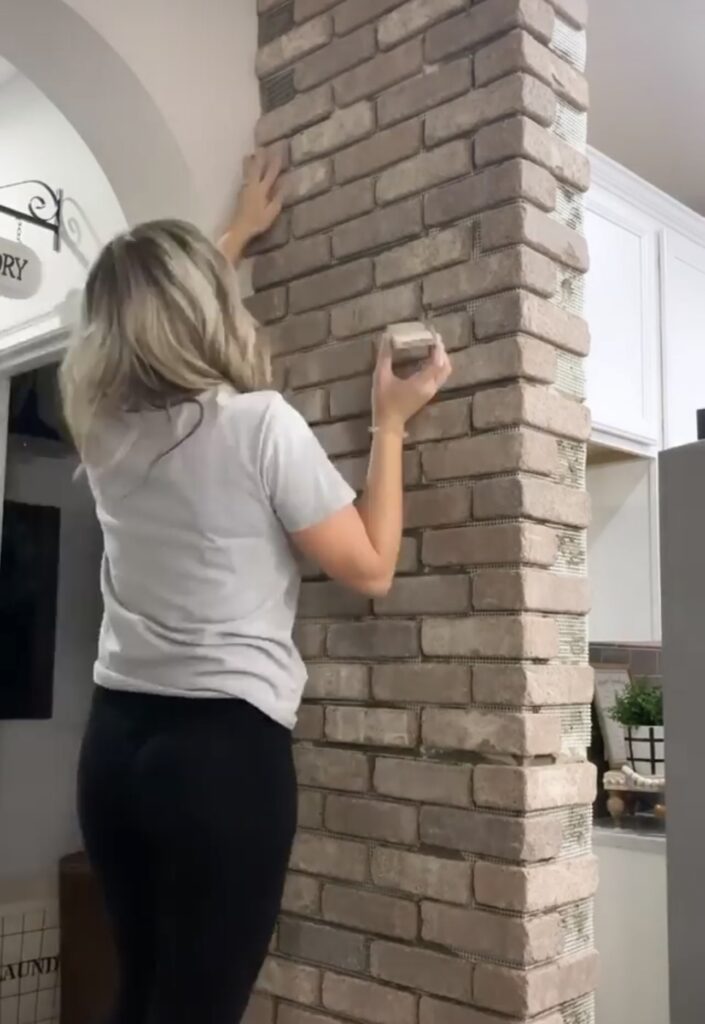
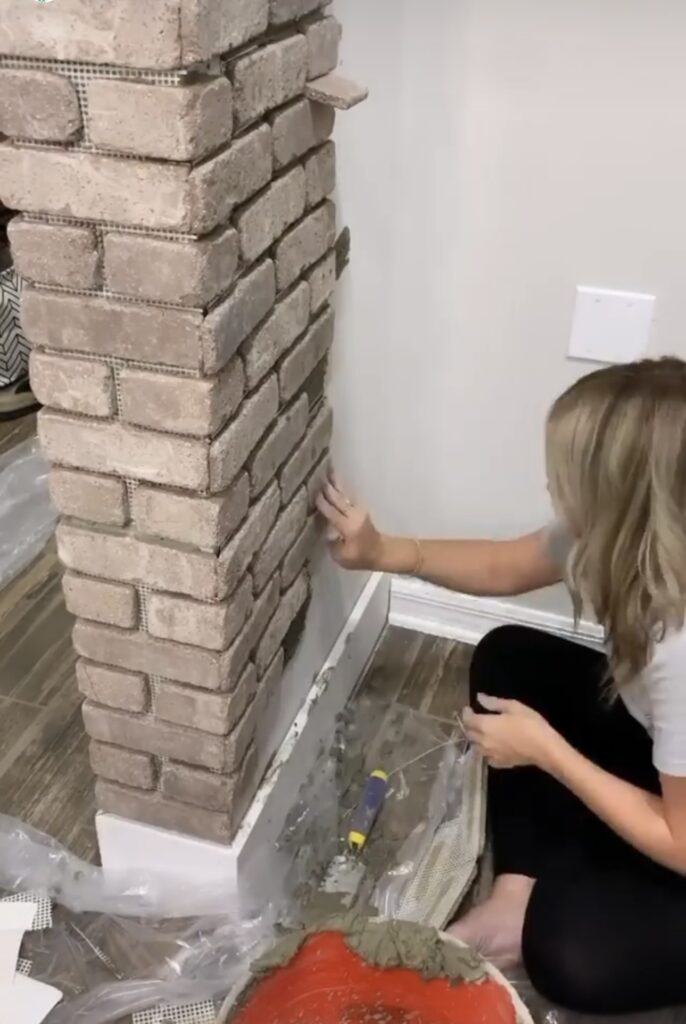
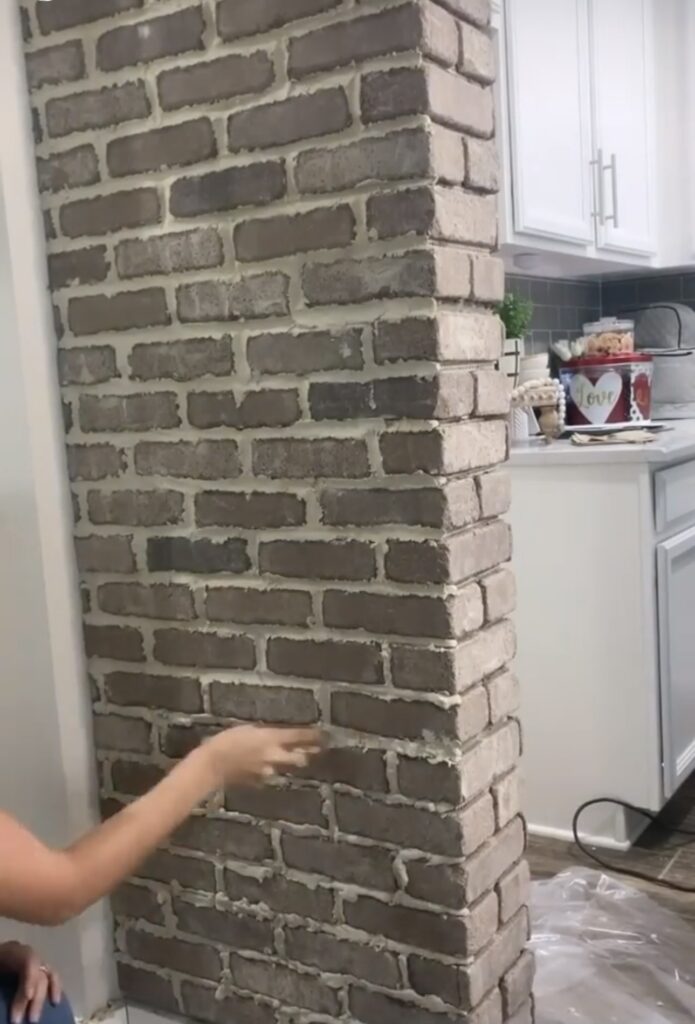
They have cover panels and flat panels to help keep the look of real brick on the edges. We started with the corner pieces so we could be sure everything lined up correctly.
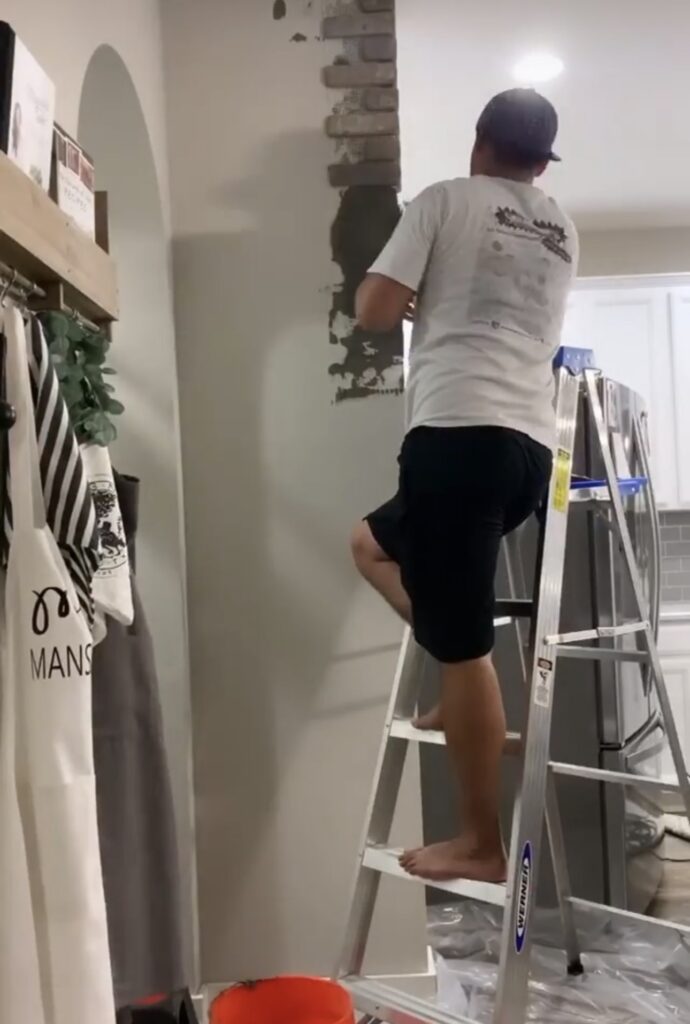
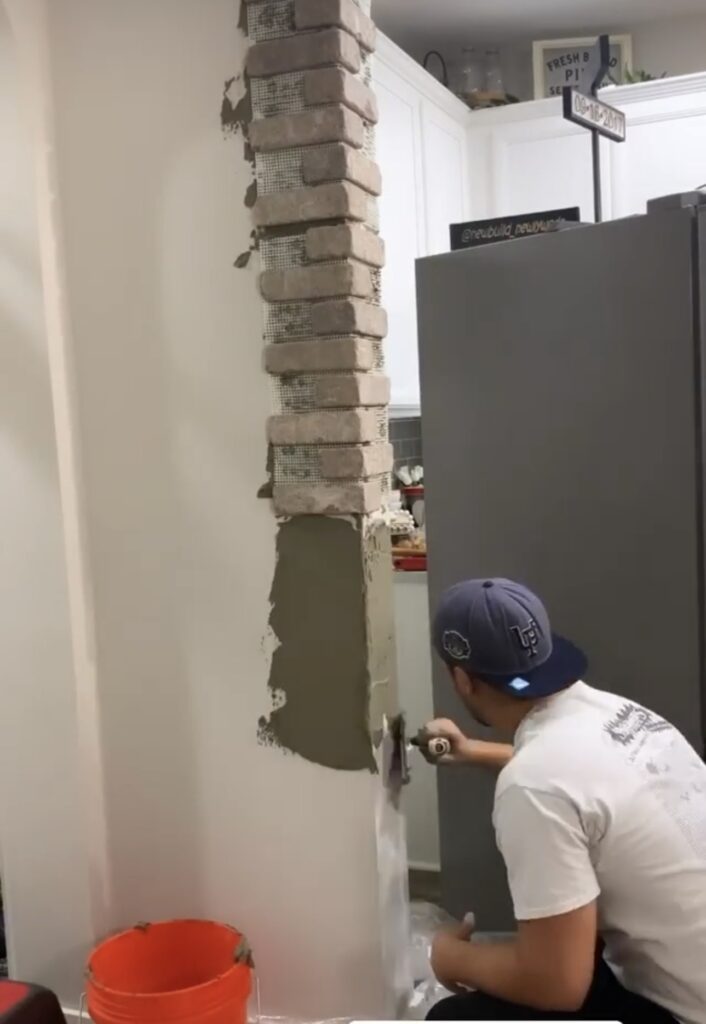
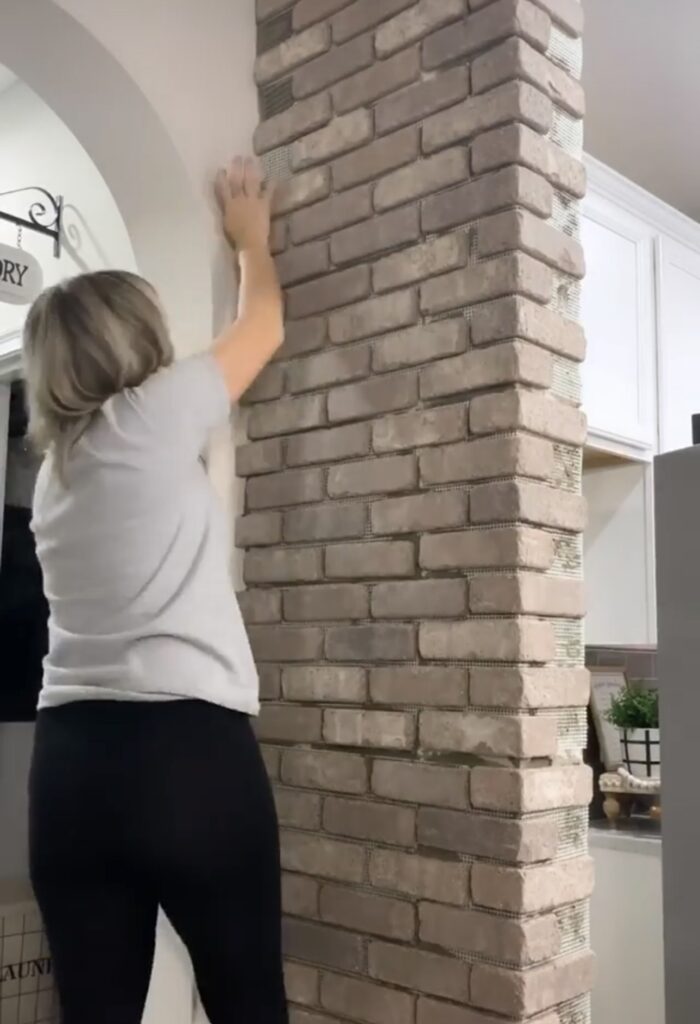
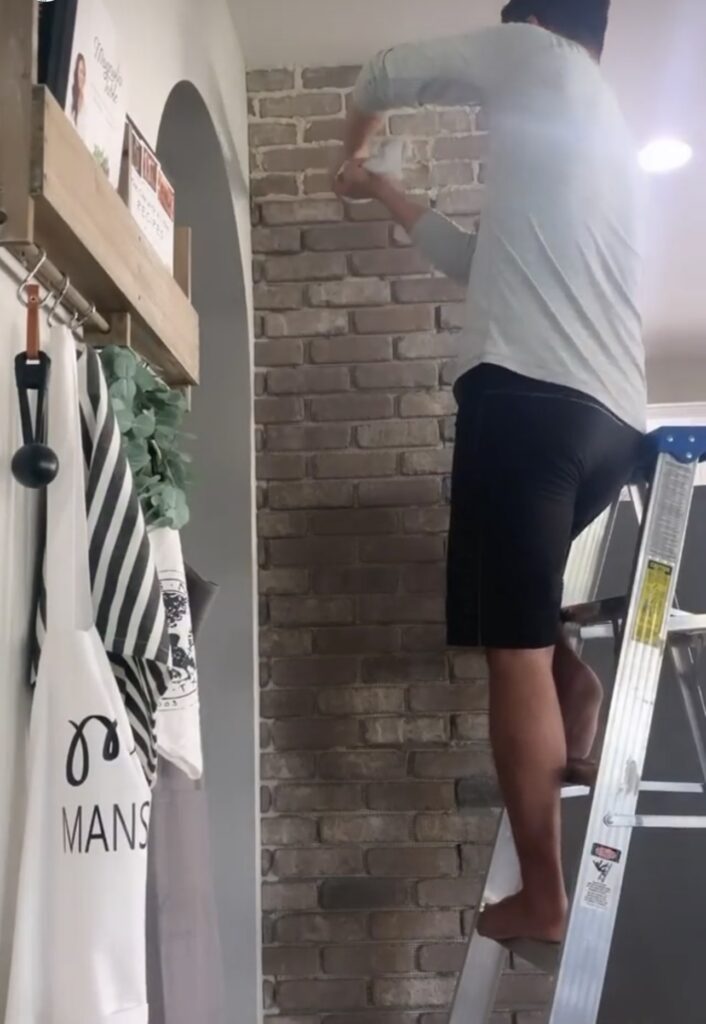
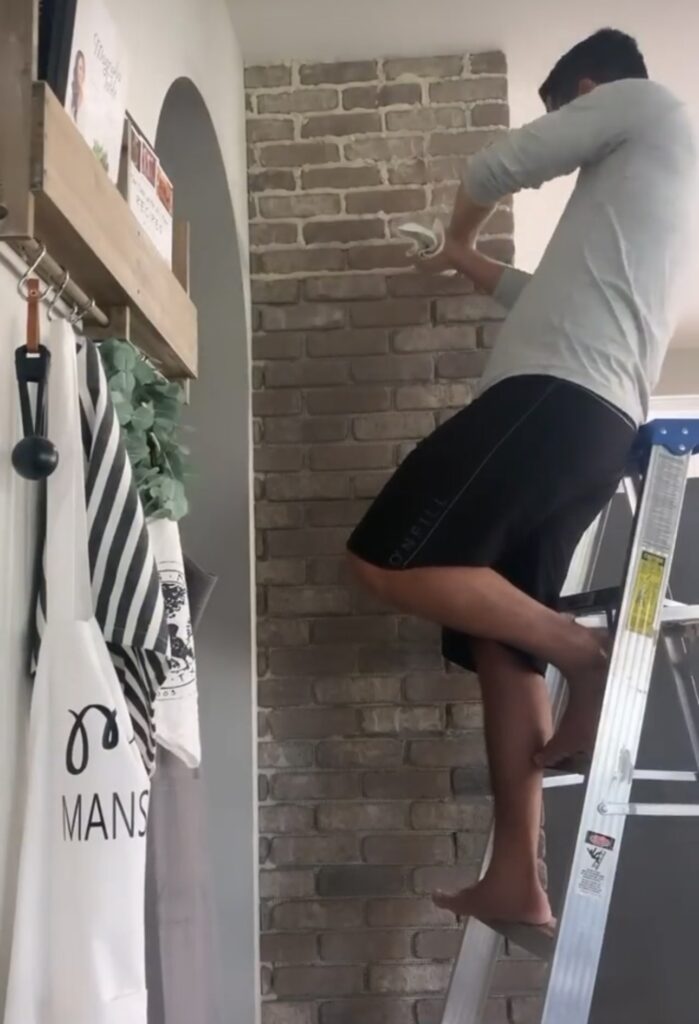
We used a trowel to smear the adhesive directly onto the wall and then placed the panel into the adhesive really well to be sure it stuck well. Each panel measured 21 inches so we measured and marked the wall each time so we would know how much adhesive to use. Putting the adhesive too far down could make it cure before we added the panel.
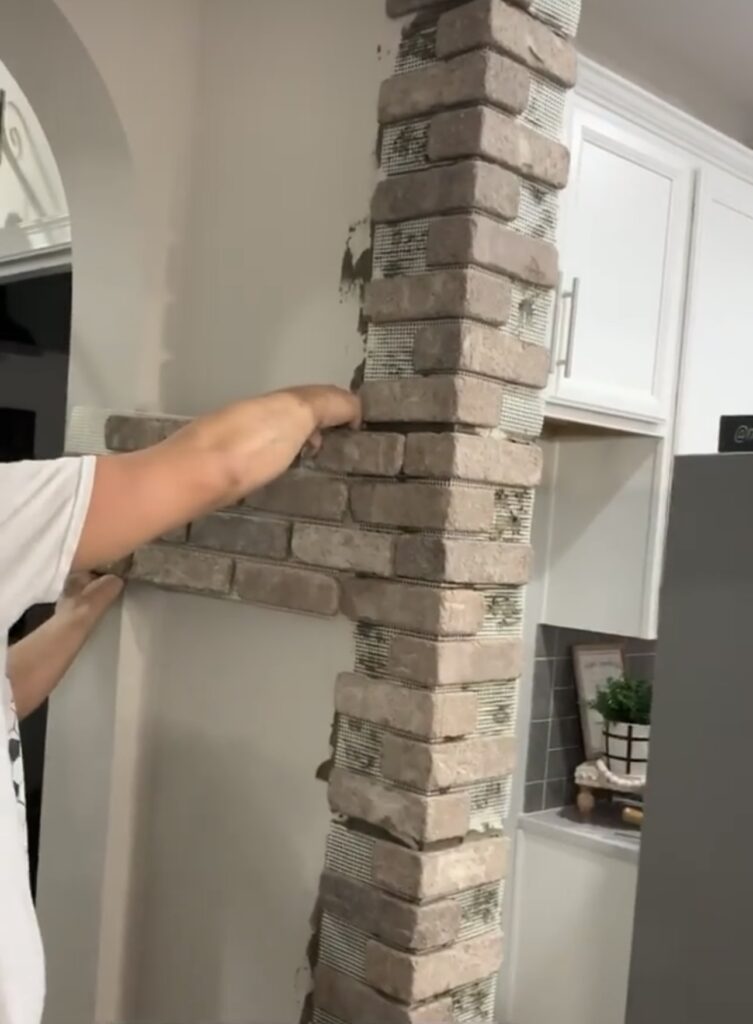
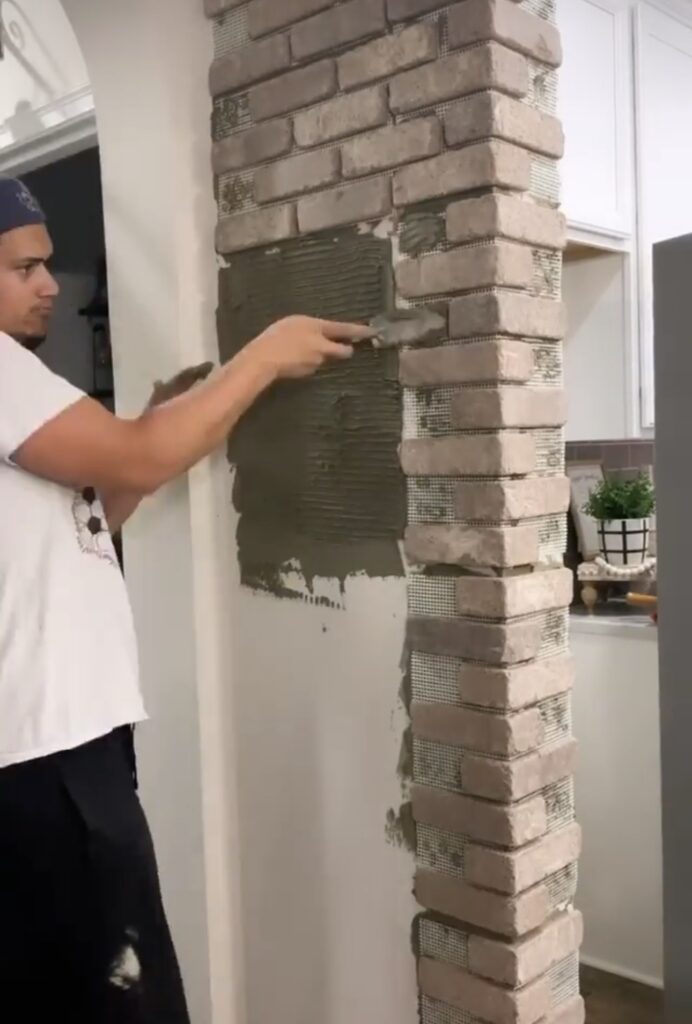
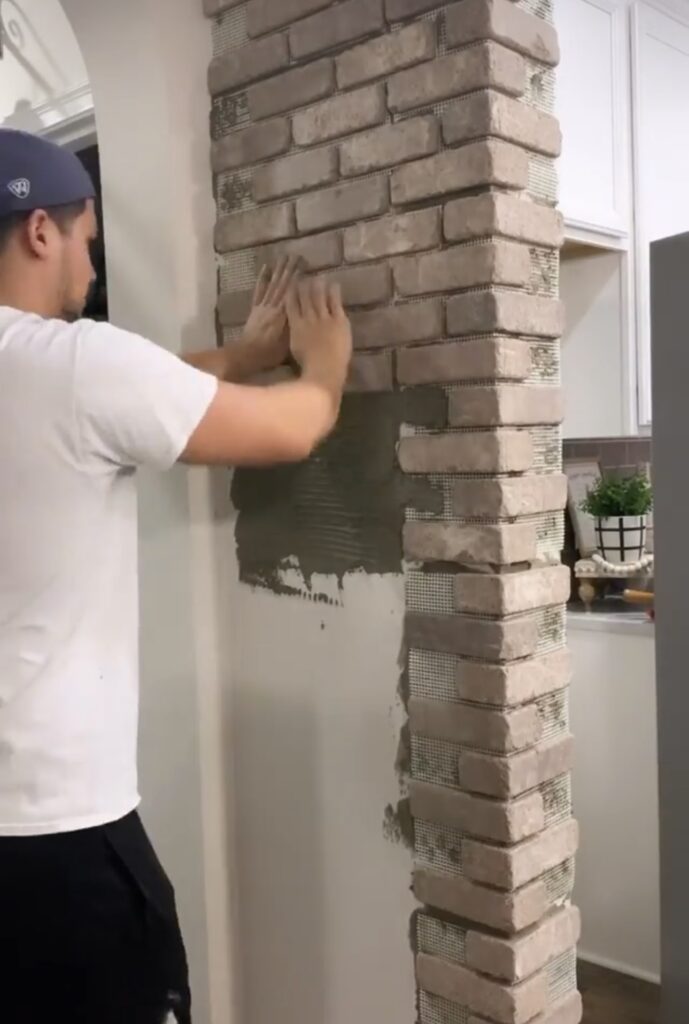
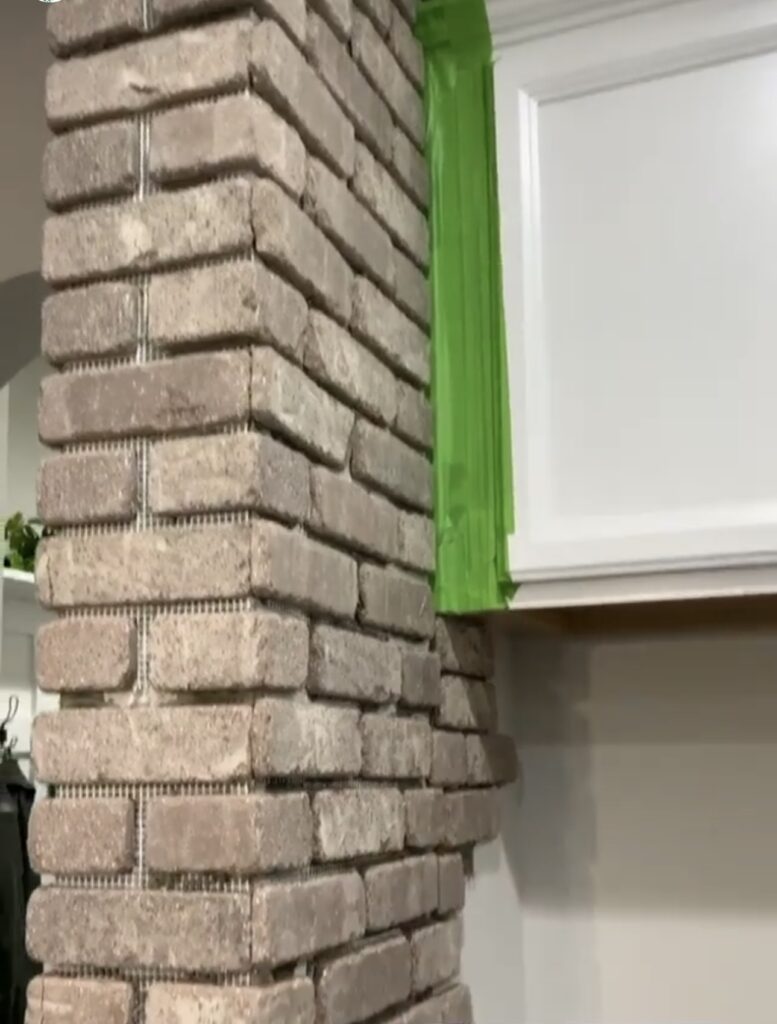
Once we had all of the cover pieces adhered, we moved on to the sides using the flat panels. We followed the same process of smearing the adhesive onto the wall and then pressing the panel into the adhesive really well. We also made sure to get the adhesive into the spots between each brick on the corner pieces so the flat panels would line up correctly.
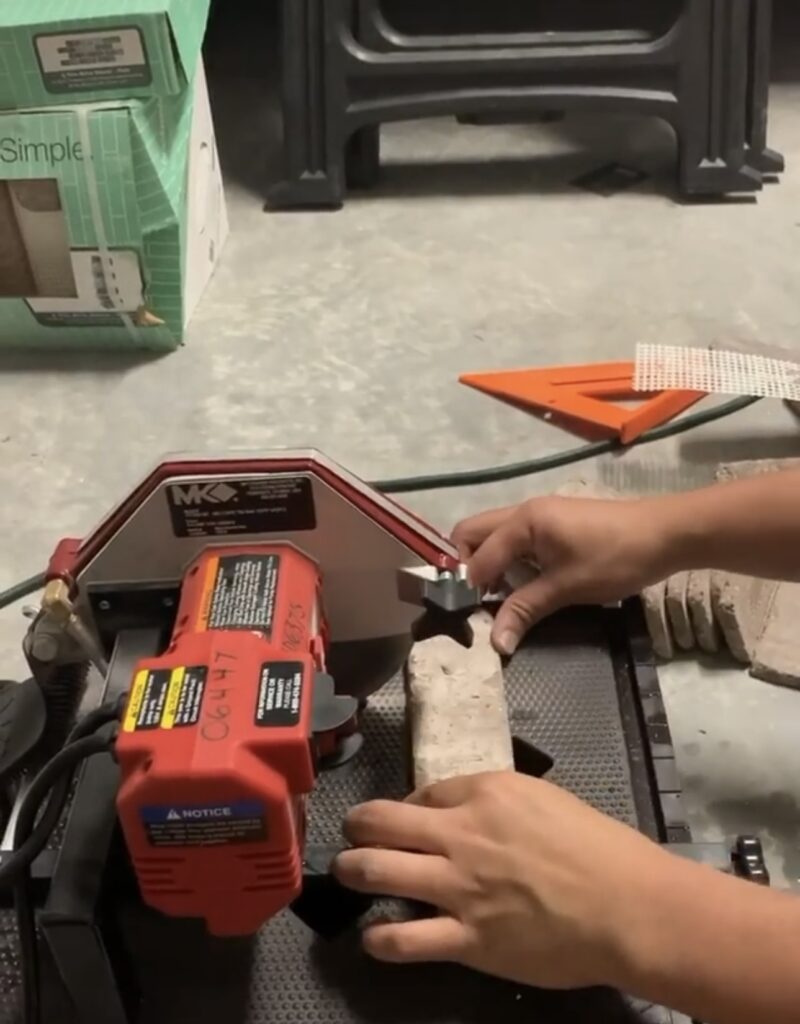
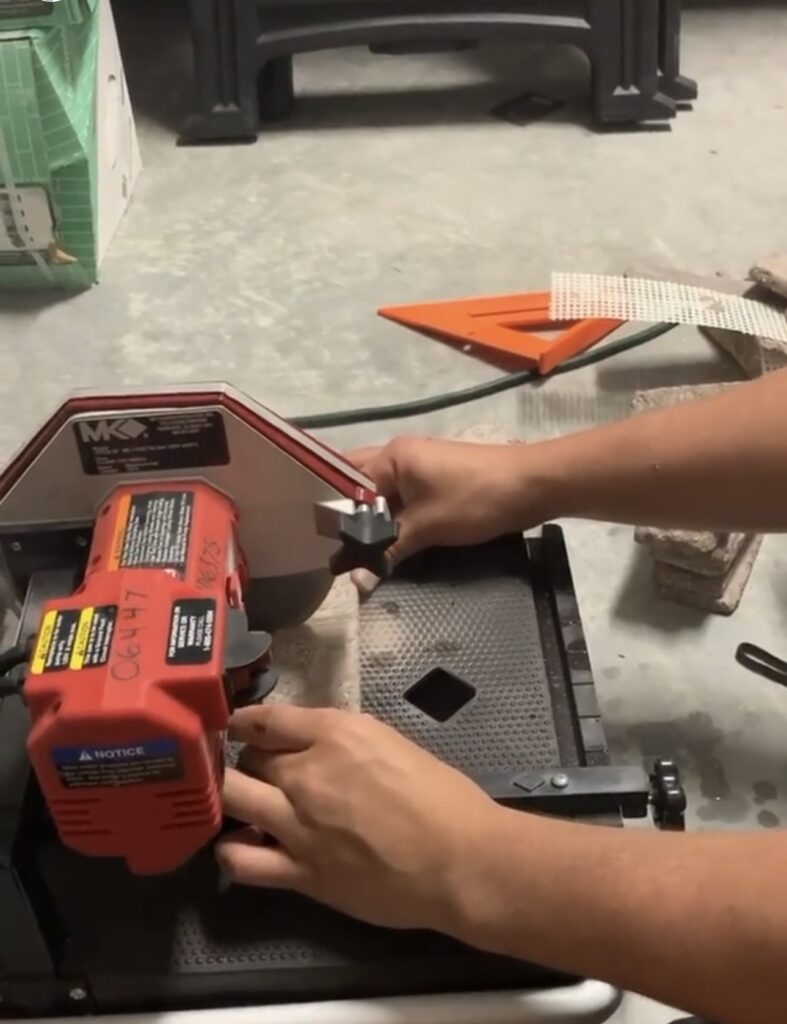
After all of the full flat panels were done, we had some spots along the wall that required some cuts to the brick. We cut individual bricks from the web and used a wet saw to make the cuts for these pieces.
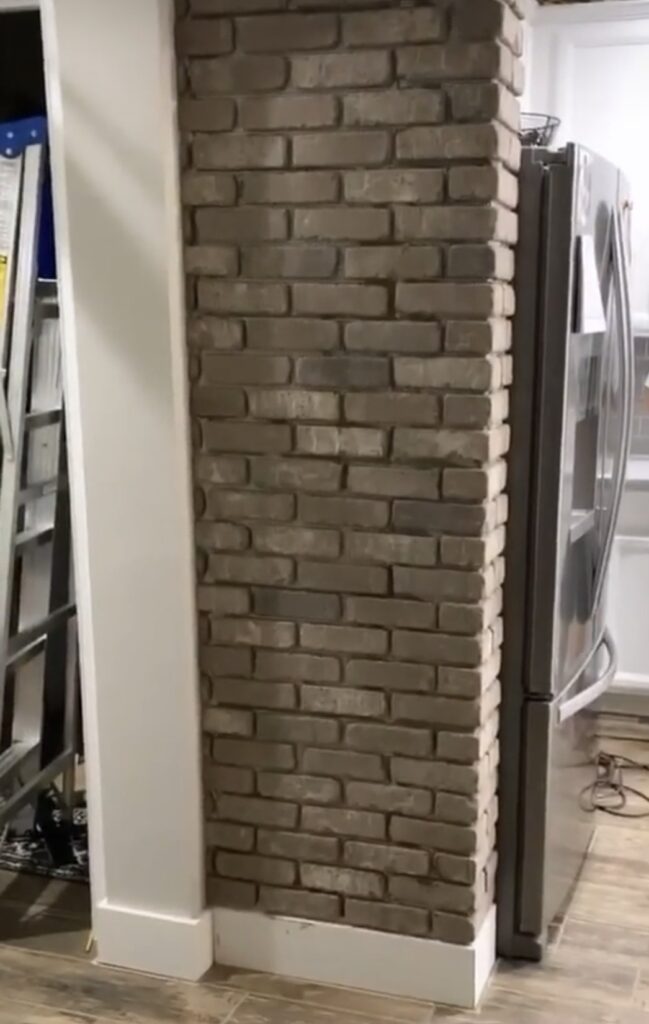
After we finished the front of the wall, we went to the back of the wall. This is where the fridge goes so we didn’t put brick all the way to the back of the wall.
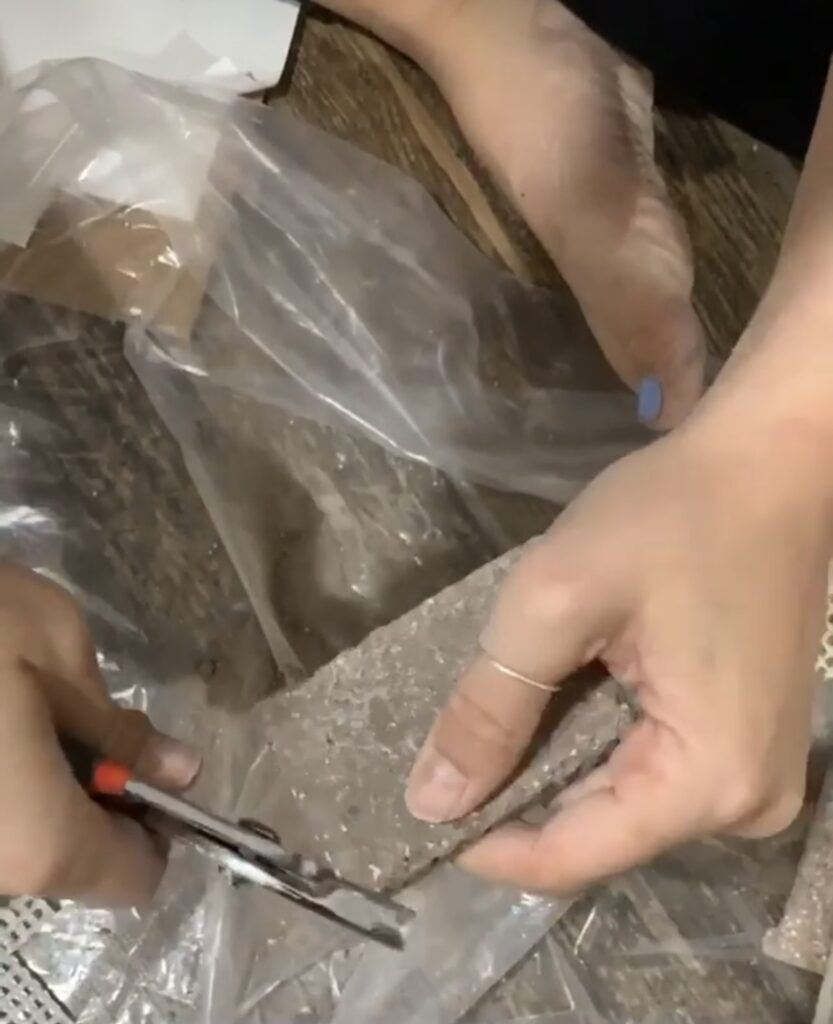
We needed more corner pieces for this side so we cut individual corner pieces away from the mesh webbing and Ryan used the wet saw to cut them to the size we needed. Since the wet saw left us with pieces that had a straight edge, I used pliers to distress them so it would look more authentic. Once we got the corners done, we finished the rest of the wall. We went around the cabinet and back about halfway on the wall where the fridge will go.
Once we had all of the bricks placed, we used a sanded grout to fill between the bricks. We mixed up the grout and scooped it into a grout bag with a spout. You squeeze it out like icing into the grout lines. For the look we were going for, we needed to overfill the grout lines because we wanted the grout to go over the brick slightly.
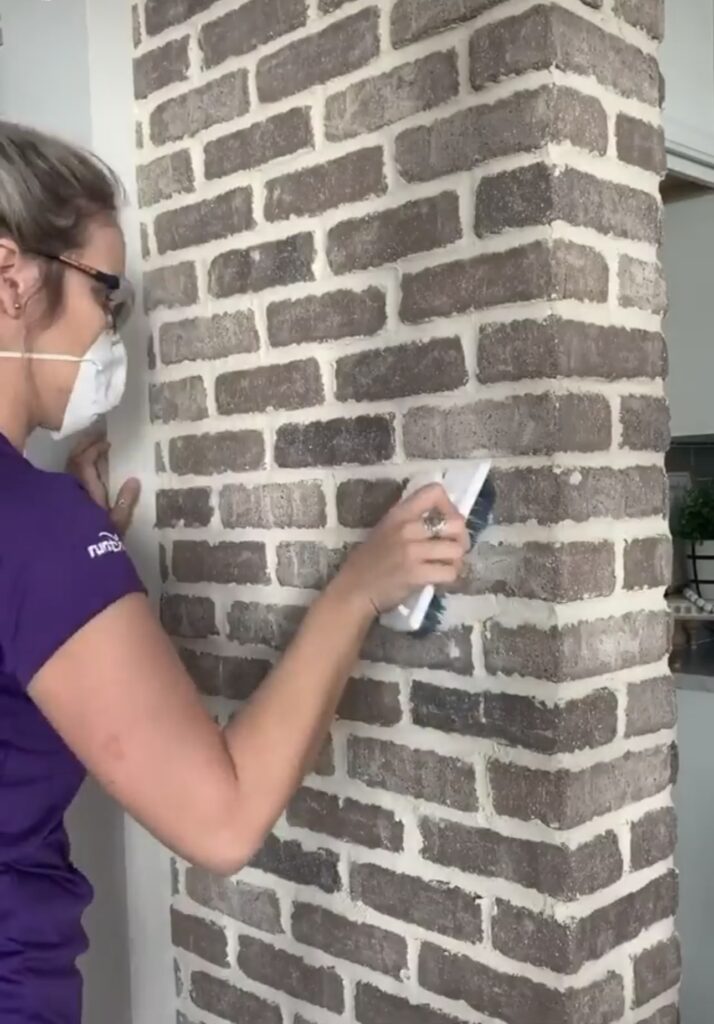
We did a little of the grout at a time before going back through to smear it in. We would normally use a jointer for this, but couldn’t find one so I used a plastic spoon and it worked just fine. This just pushes the grout into the lines really well and will get rid of any excess grout.
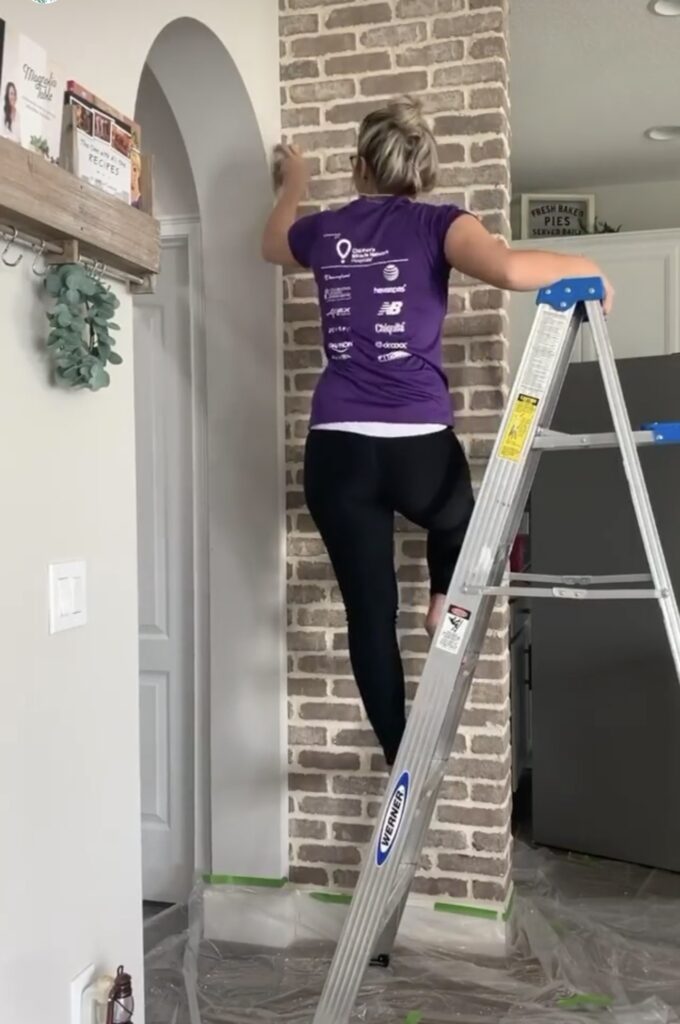
After doing all of the grout, I went back over all of the bricks with a brush to scrub off any of the remaining excess grout and clean them up.

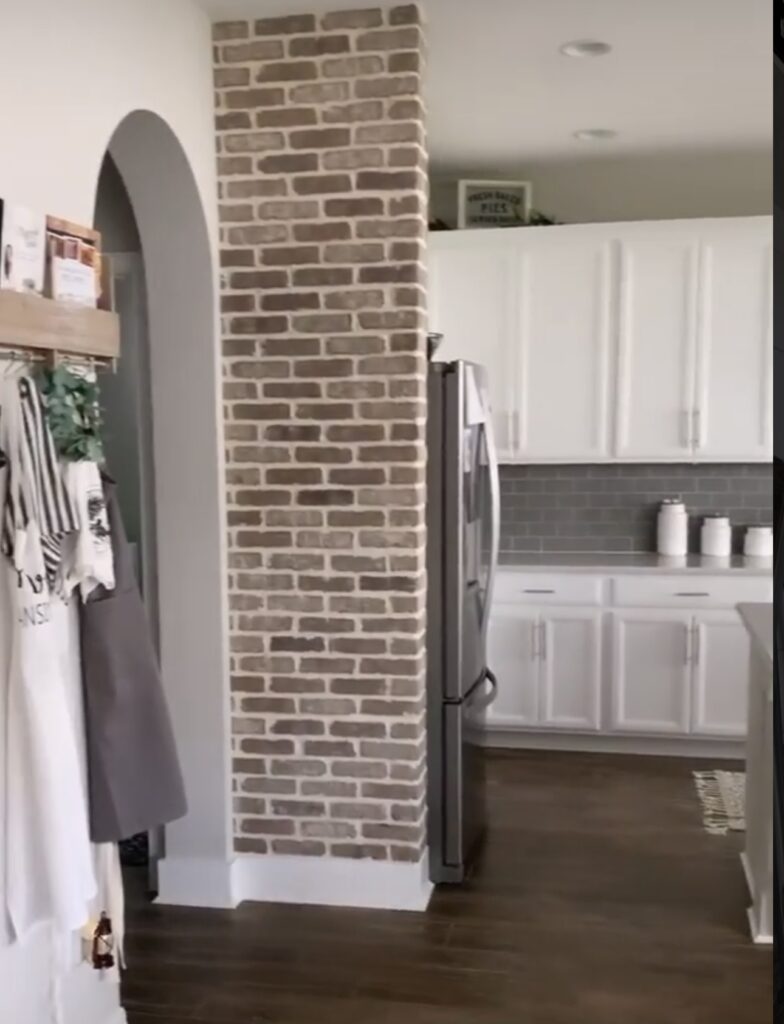
The end result was better than I could have ever imagined! This project was way easier than we were expecting it to be. This is definitely something everyone can handle!
Leave a Reply
Grab our FREE download
Wanna know the 5 must have tools you need before you start?
Considering a DIY Project?


Be the first to comment