


DIY Backyard Putting Green
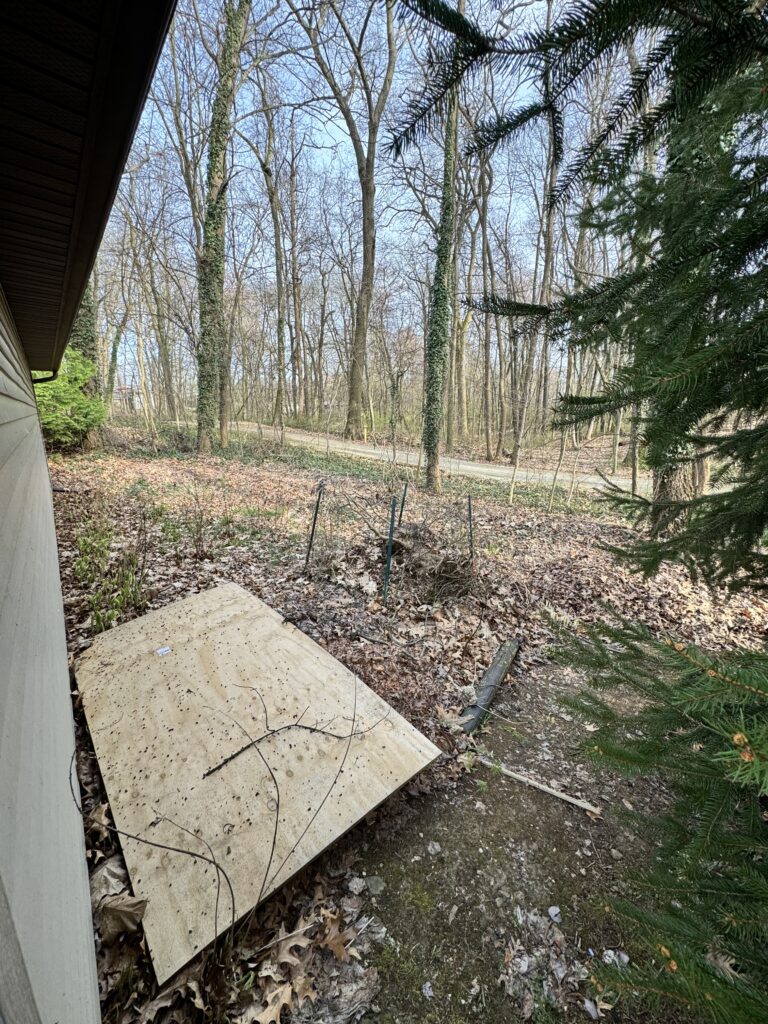
When we bought our house one of the things we loved most about it was all of the land. Coming from a new build neighborhood at our first home in Florida to a home with a big yard and a lot of space was really exciting. One particular piece of our yard that we’ve always wanted to do something with was an open area behind our workshop. It’s a long strip of grass next to a walking trail that we had just been using as an area to dump our leaves and compost. I got to create my own little oasis with our garage gym makeover and the cats have their own space with the room we created from the closets inside the house, but now it was time to create a space for Ryan. So we decided this was a perfect spot to make a putting green.
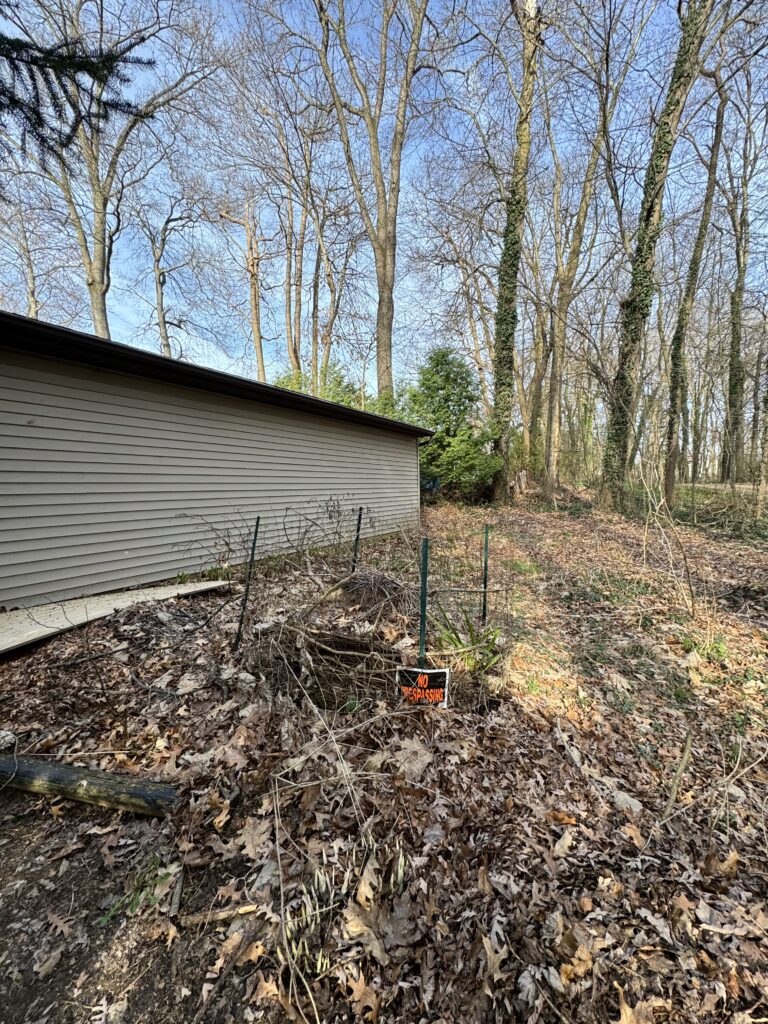

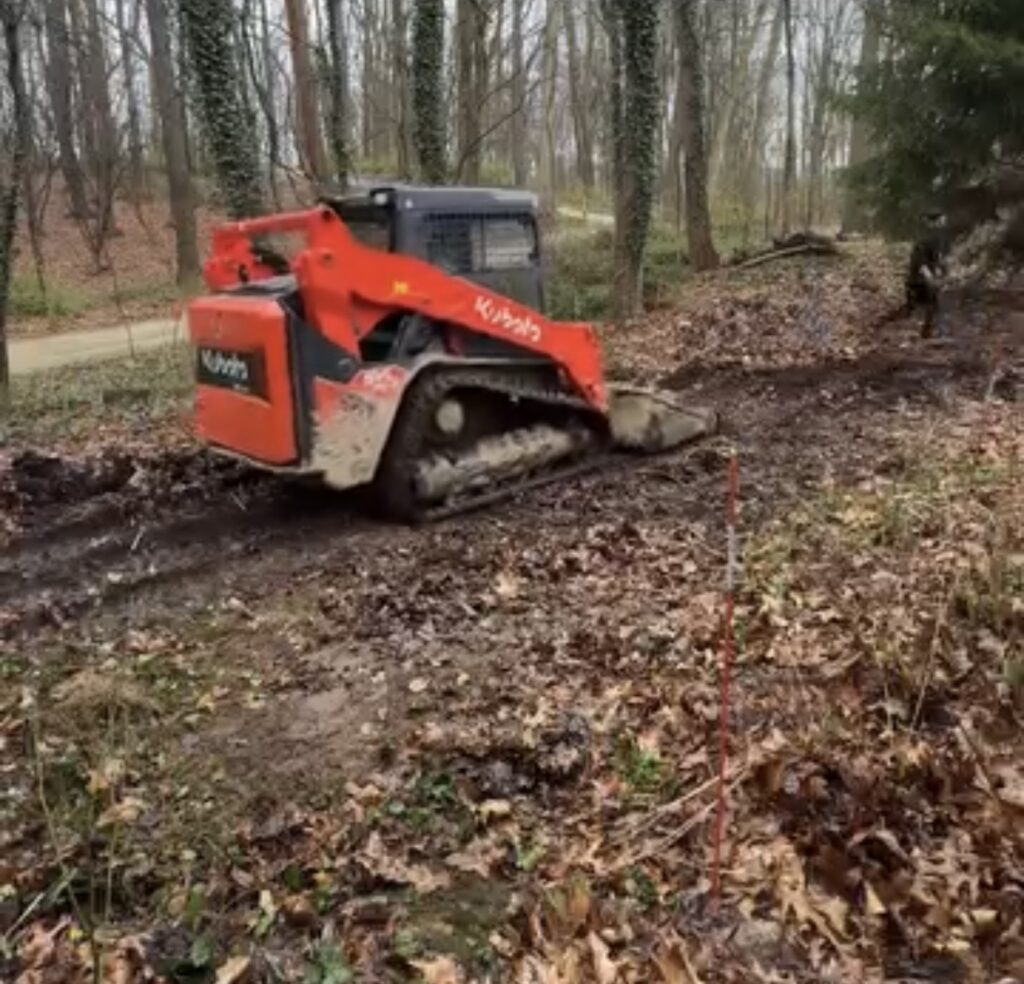
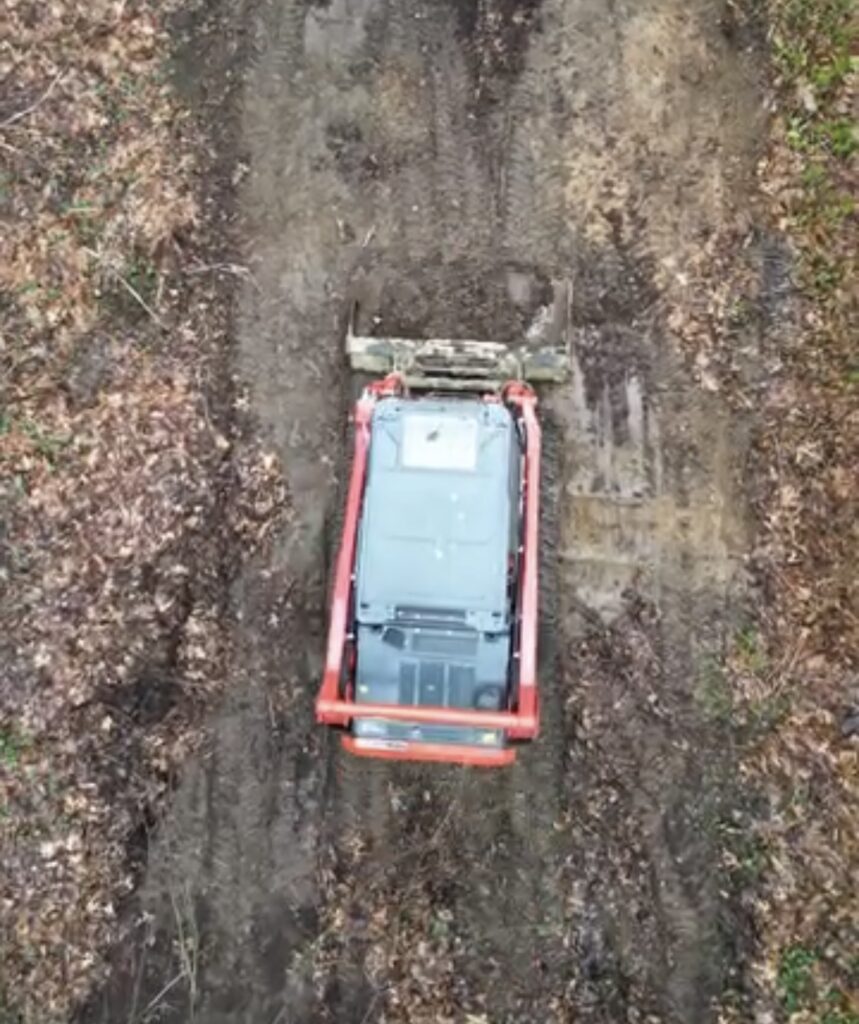
Since we had been using the area mostly as a little dumping area for leaves and scraps of wood from other projects, it needed a lot of cleaning and clearing before we could even get started. We got to work moving as much of it as we could. My dad then came with his skid steer and dump truck to remove all of the dirt, leaves and everything we didn’t get up. We took everything we collected to a local landscaping place that will turn it all into top soil. For most people doing a project like this, you would not need a skid steer, but we just had a lot of decomposing leaves, weeds and things in the area that we needed to get rid of and it would have taken us forever to do it all by hand. Our yard was also not level at all so the skid steer helped to level out the ground more. We dug pretty far down below the top soil.
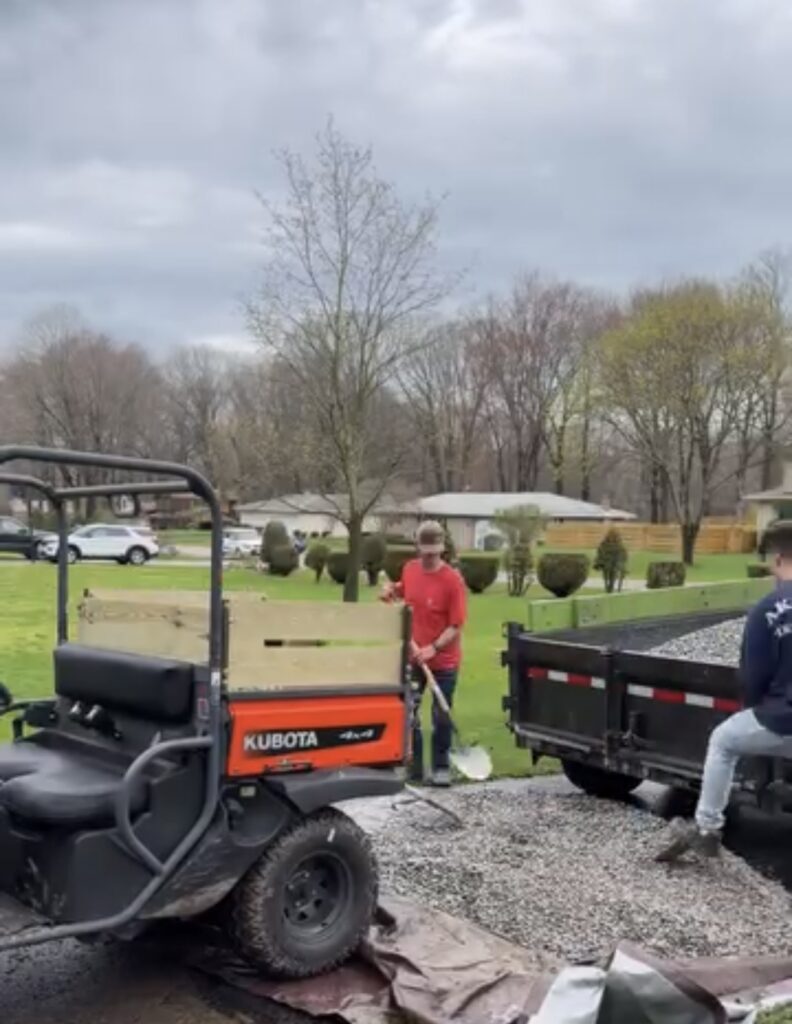
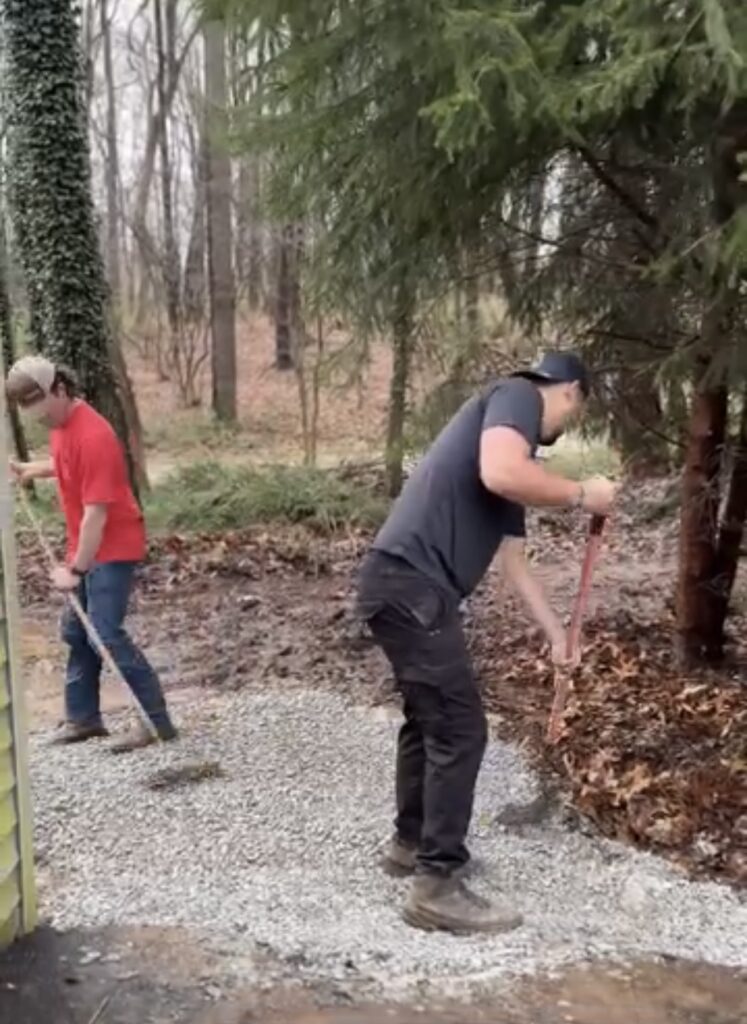
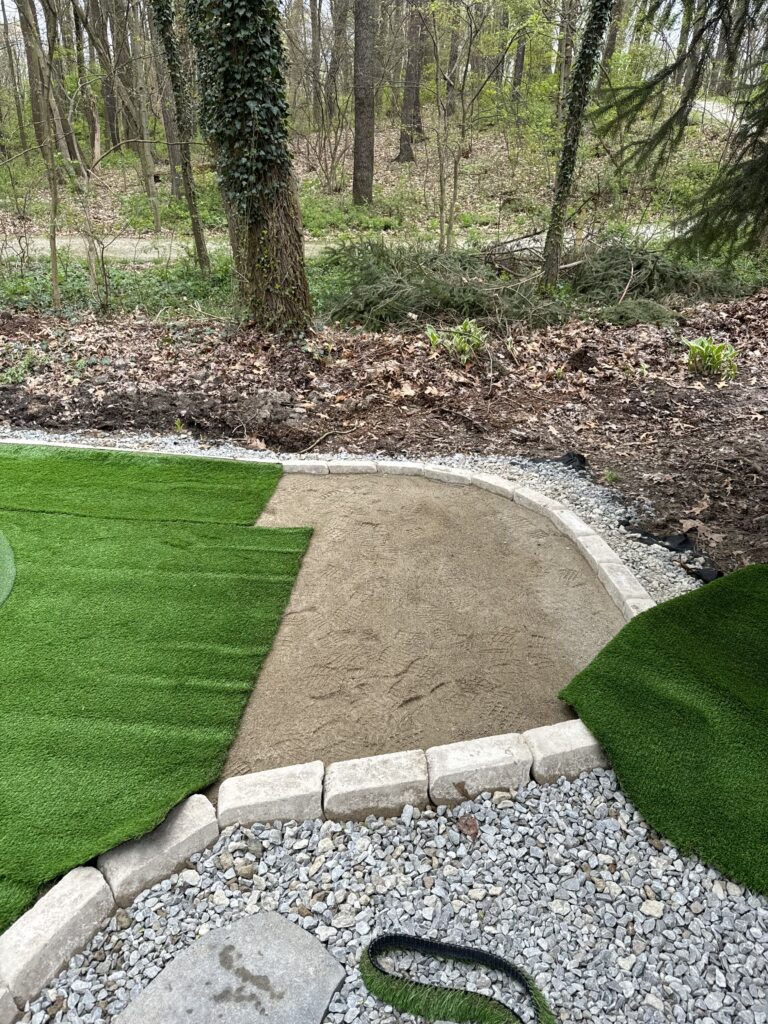
Once we had everything cleared and mostly flattened, we used limestone gravel to make a layer on top of the area where we will but putting the turf. This will help level out the putting green and also help with drainage. As the gravel was being dumped, we used a rake to push the gravel around to create an even and level layer. We also added a thinner layer of crushed concrete on top of the gravel for a top layer so the sand we add before the turf doesn’t fall through the gravel. We wanted to make sure there was a good base layer for drainage and a solid foundation.
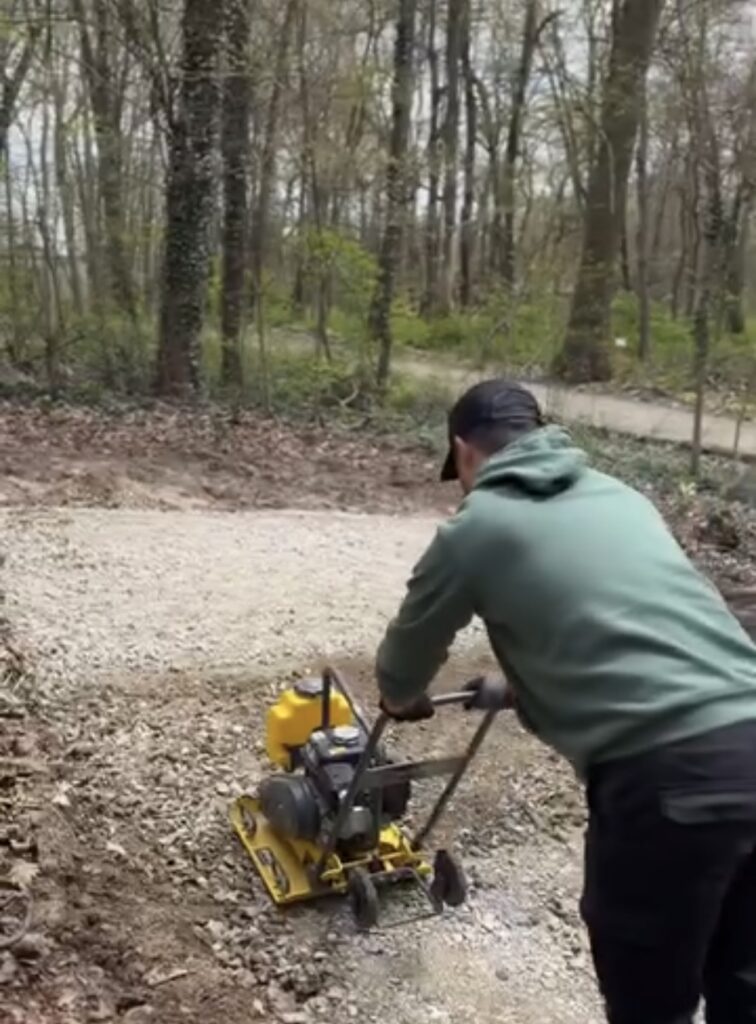
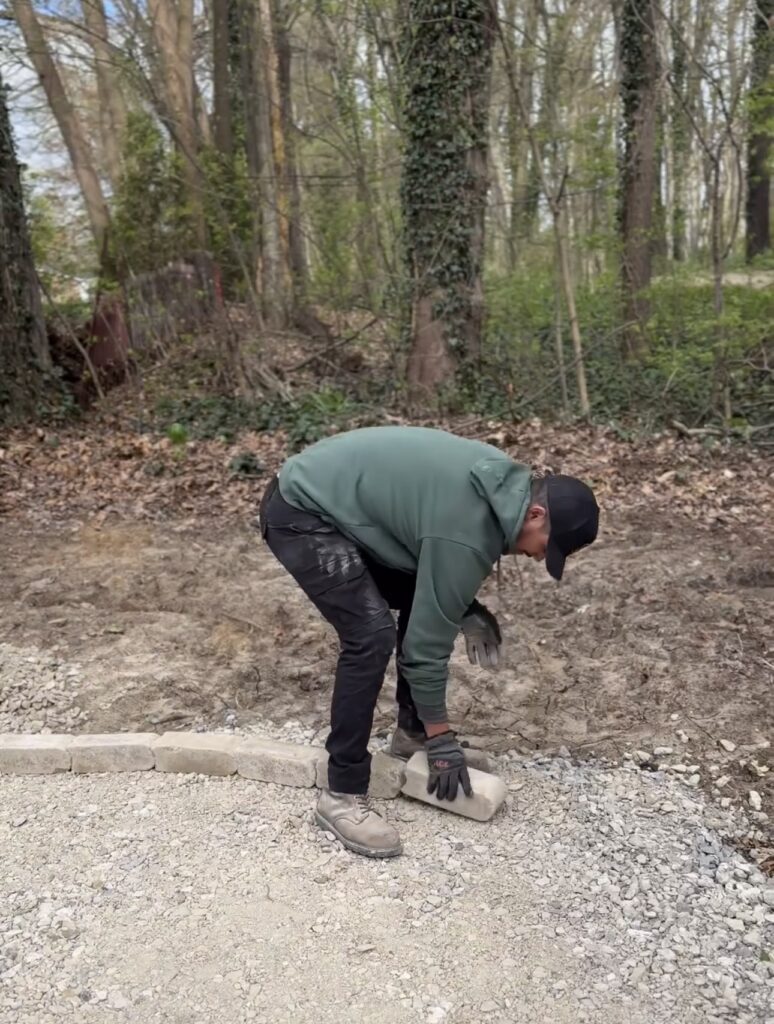
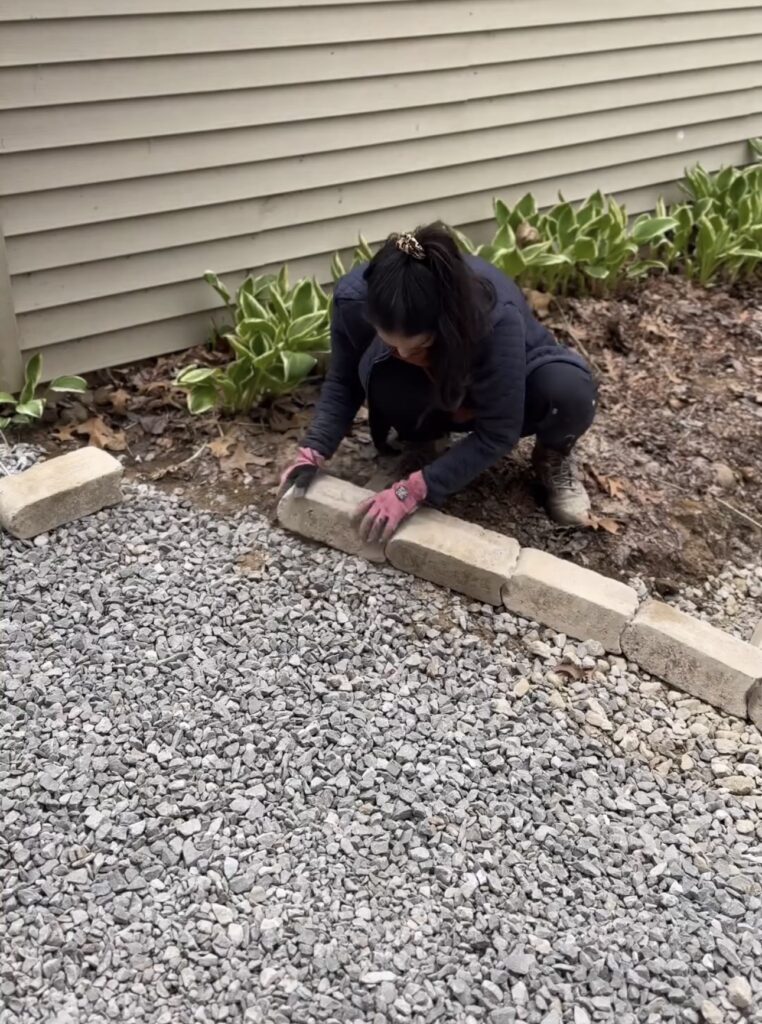
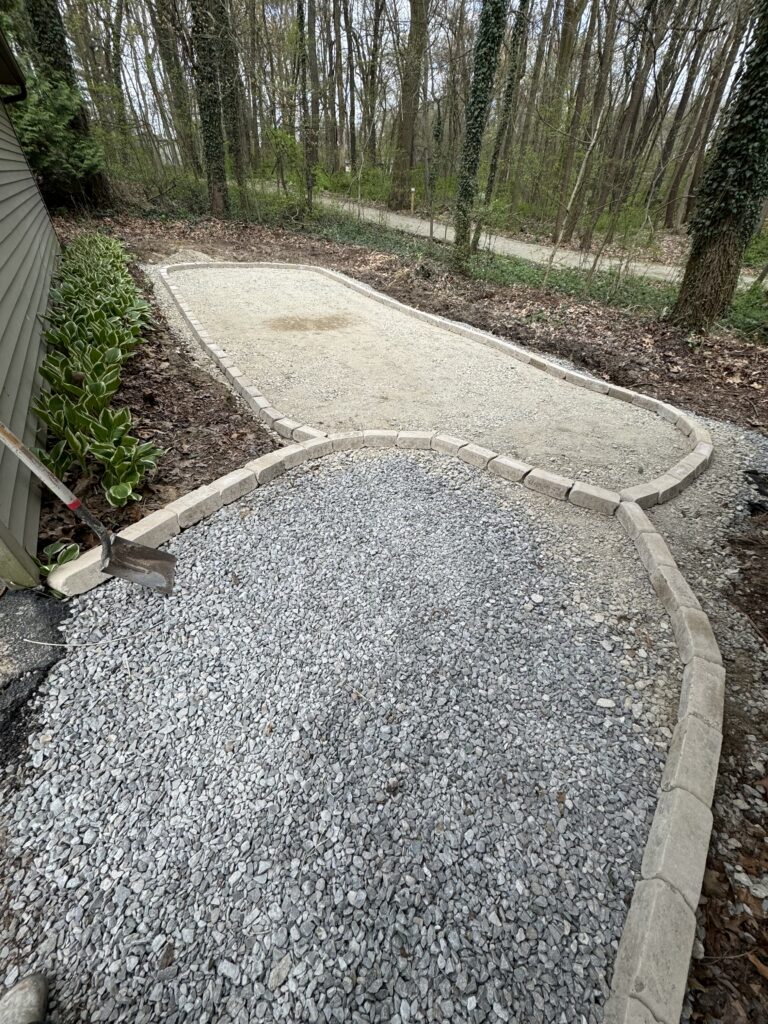
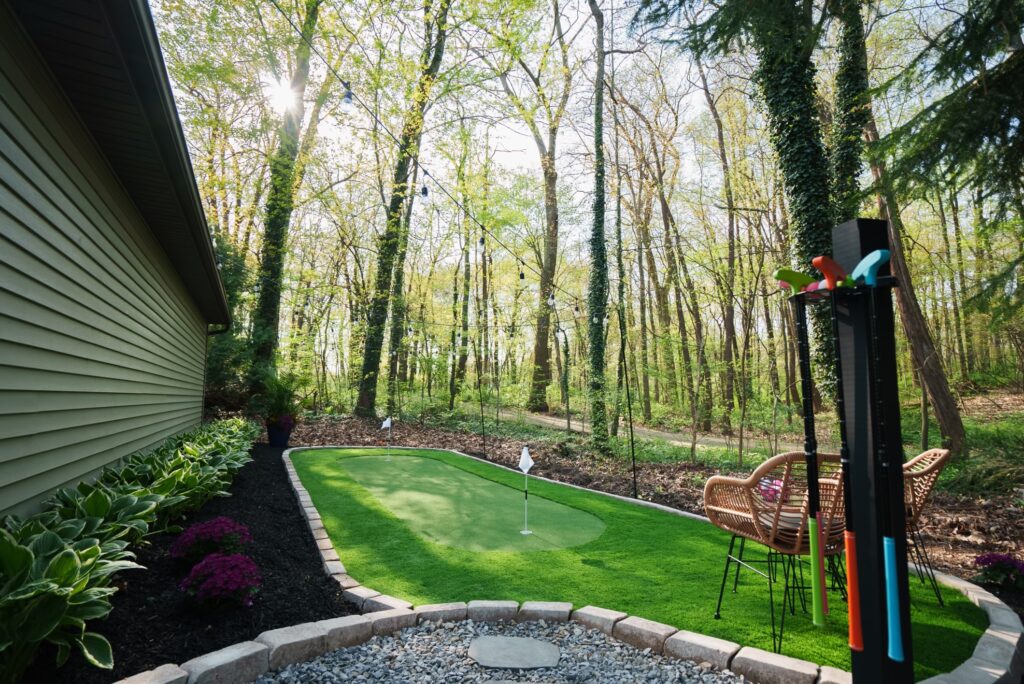
After the gravel and crushed concrete were spread pretty evenly, we went an extra step and rented a compactor from Home Depot to really make sure everything was really packed down, flat and smooth. Then we used pavers, turned on their sides, to create the outline of the putting green. We decided to do a rounded design.

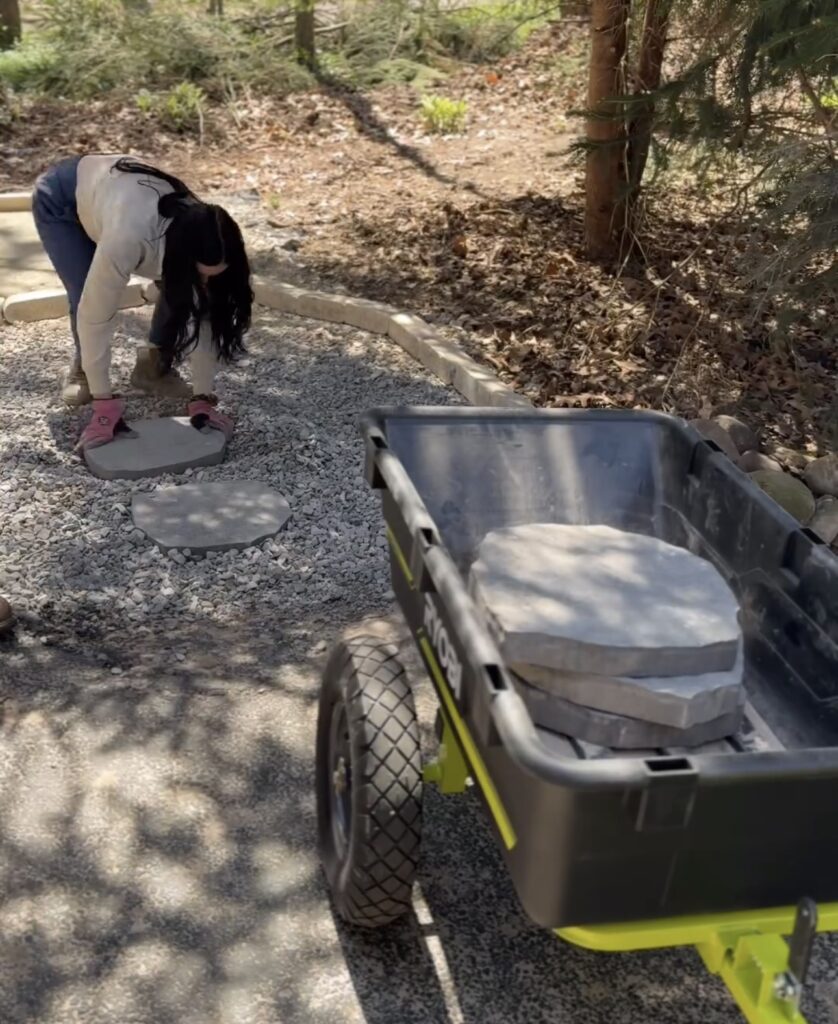
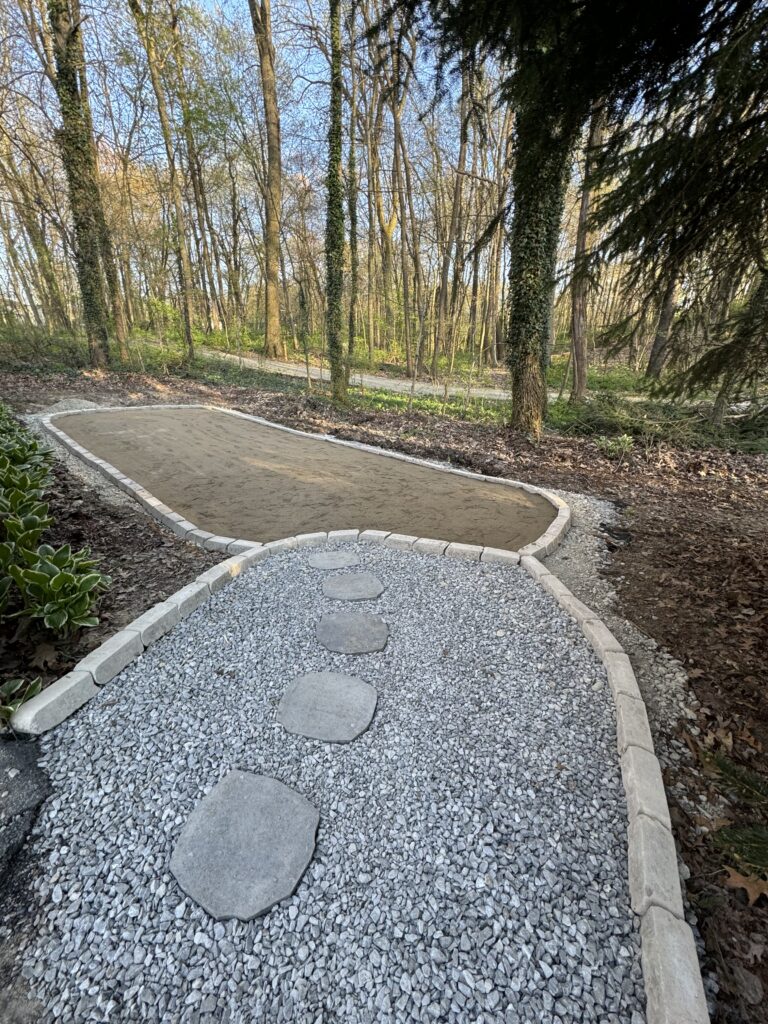
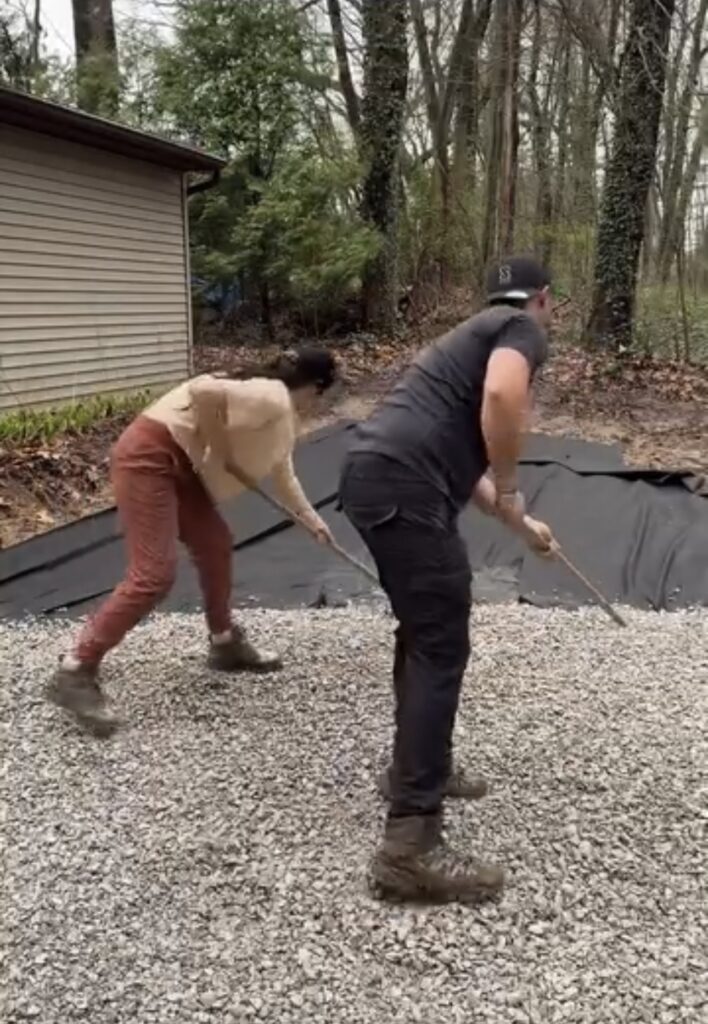
Once all of this prep work was done, we were able to really start putting it all together. We started by adding the stepping stones that will lead from the driveway in front of the workshop to the putting green. We used a tamper to flatten out the gravel where each step would go and then laying the step down.
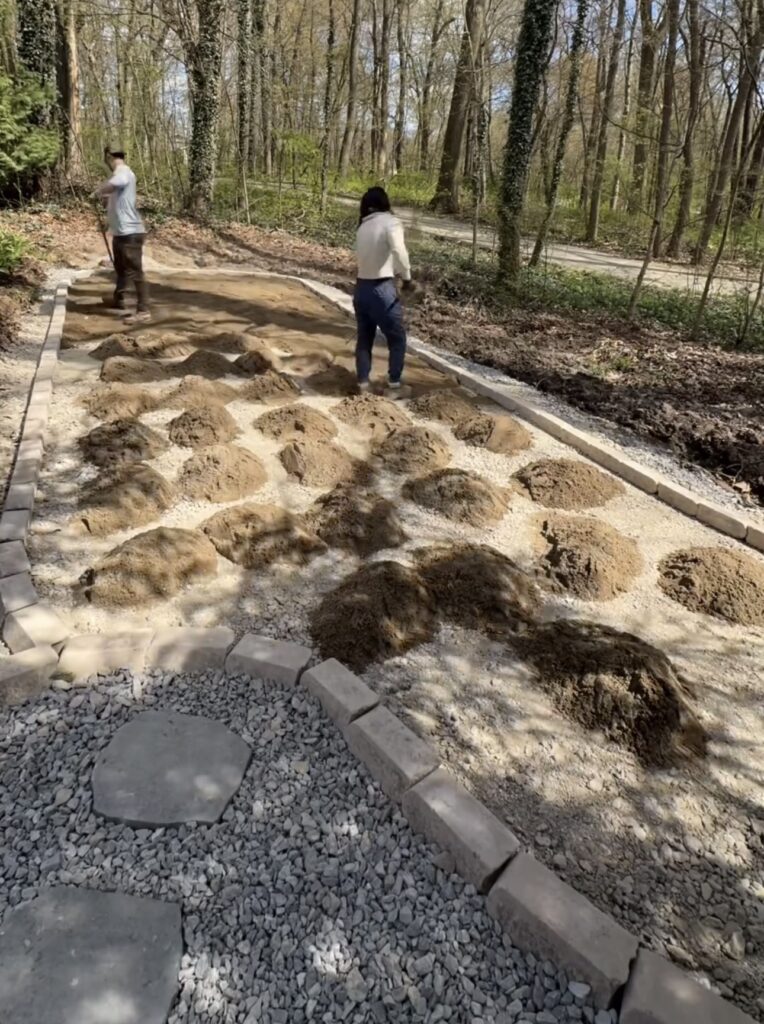
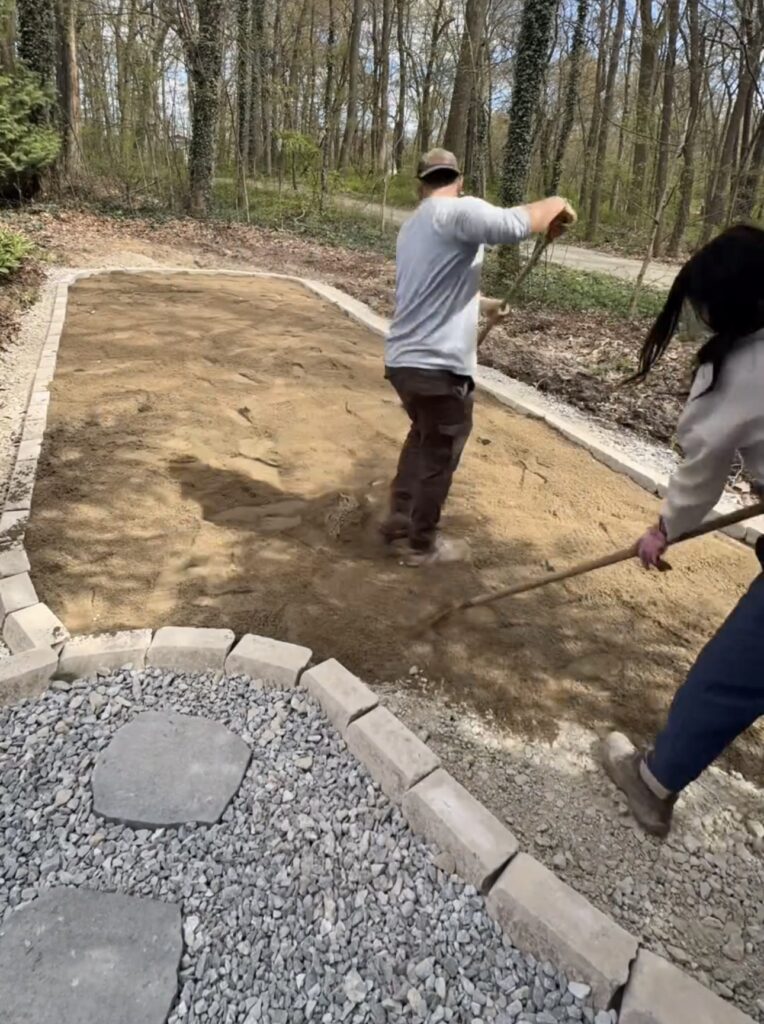
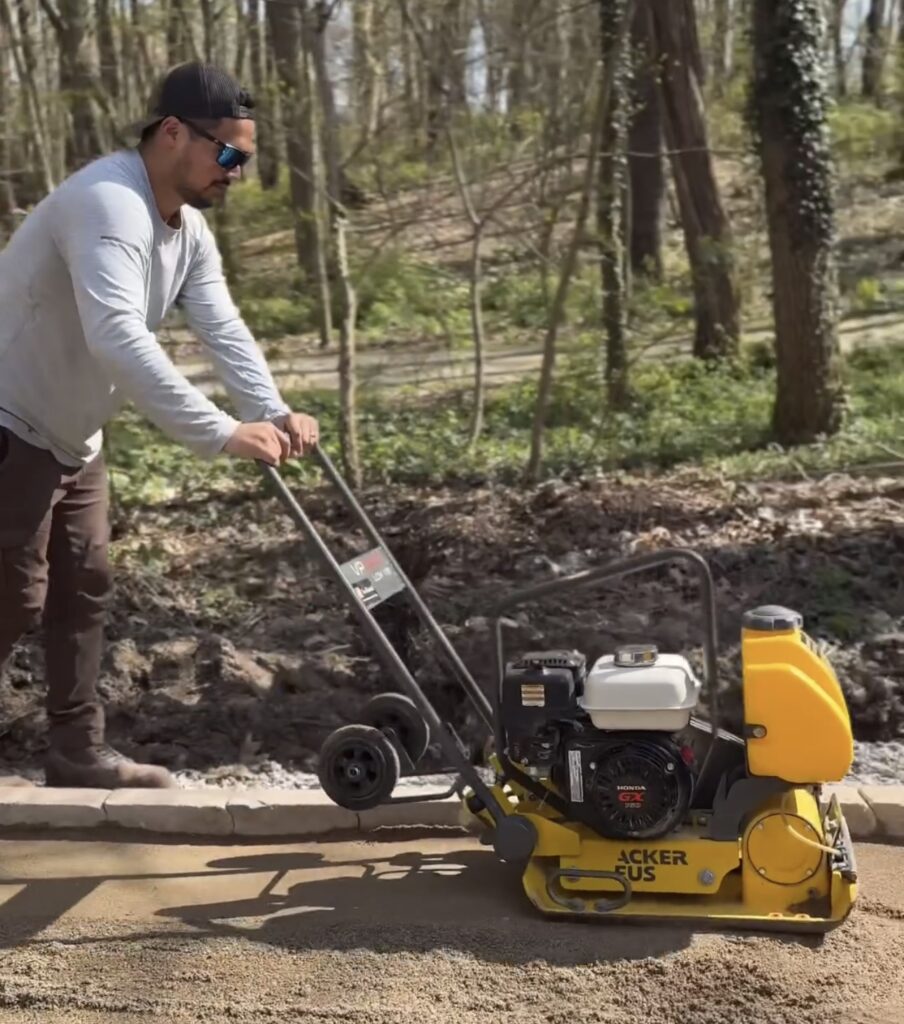
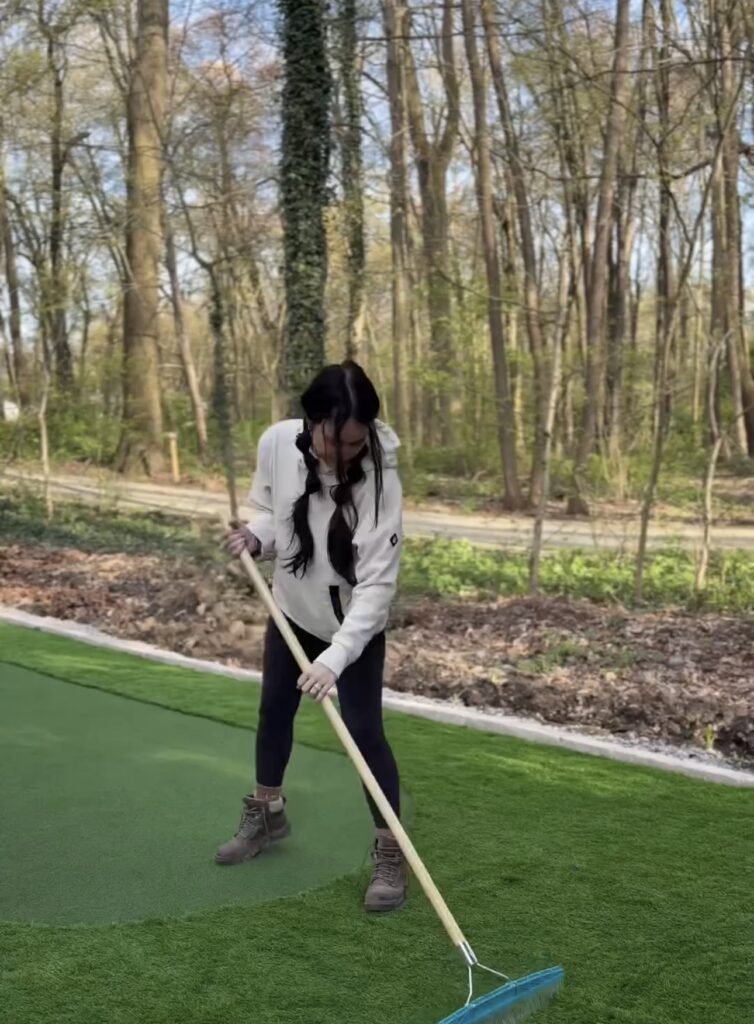
Next, we laid out all of the bags of sand around all the putting green area (we used 65 bags) and then opened and poured out each bag. We then raked out each of the bags to spread it out and get it as even as possible. Then we used the gas powered compactor again to pack down the sand and get it smooth and leveled out. This step is really important because after this we will lay down the turf and need it to be flat so it is not lumpy looking.
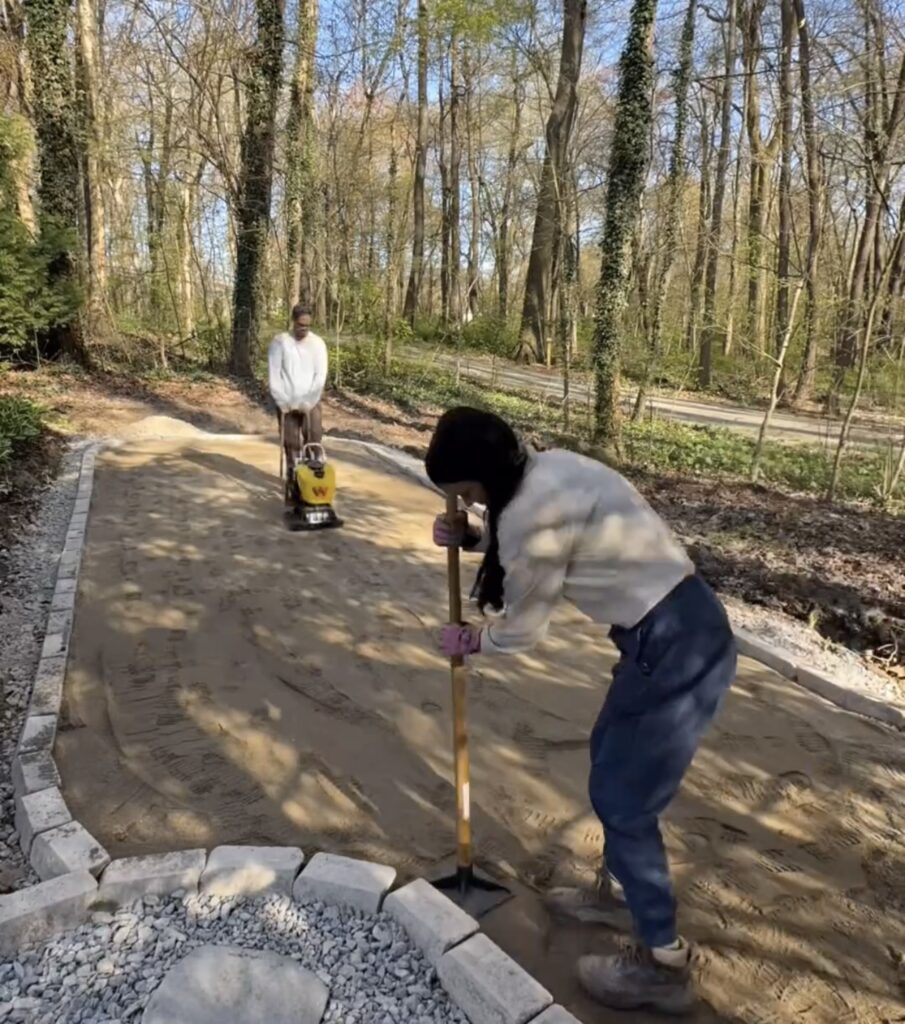
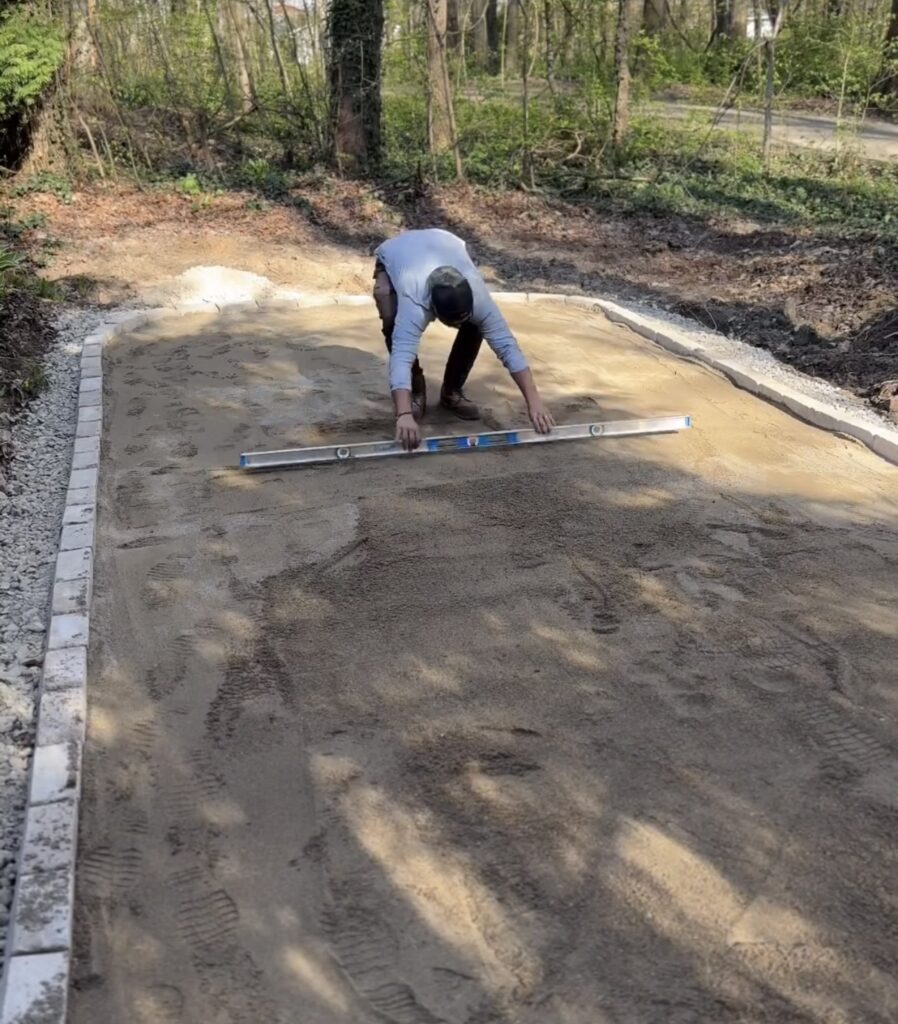
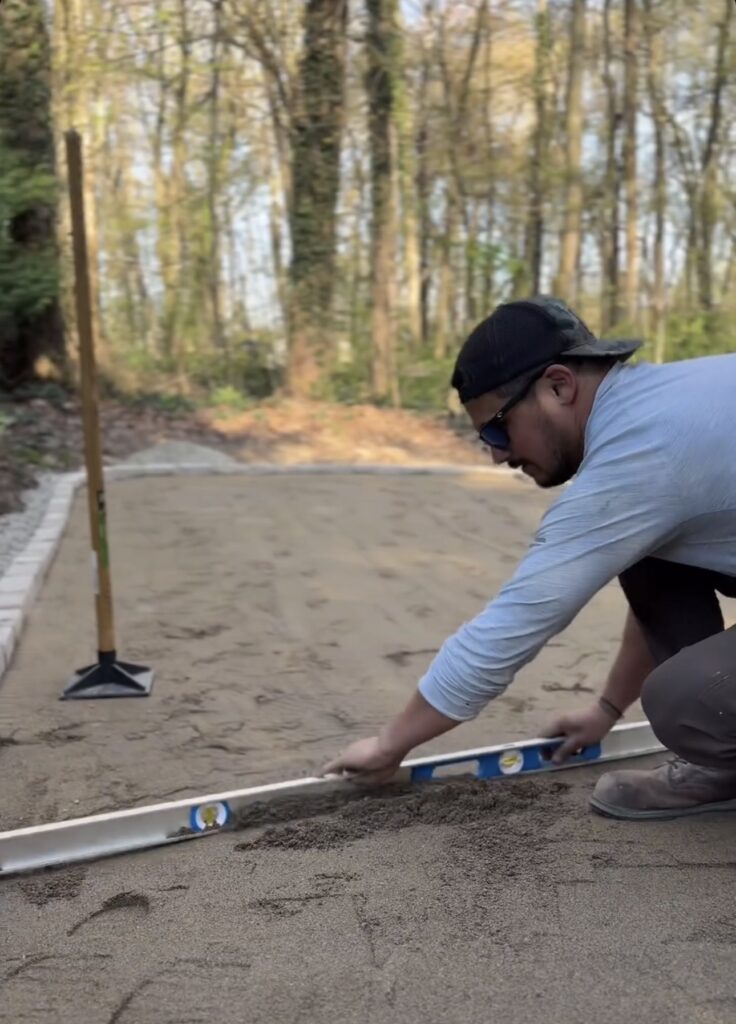

I also helped out by using the tamper around the edges and Ryan took it a step further by using a long level across the whole putting green area. We created a small natural slope in the sand to add a little more difficulty when putting and to help with drainage.
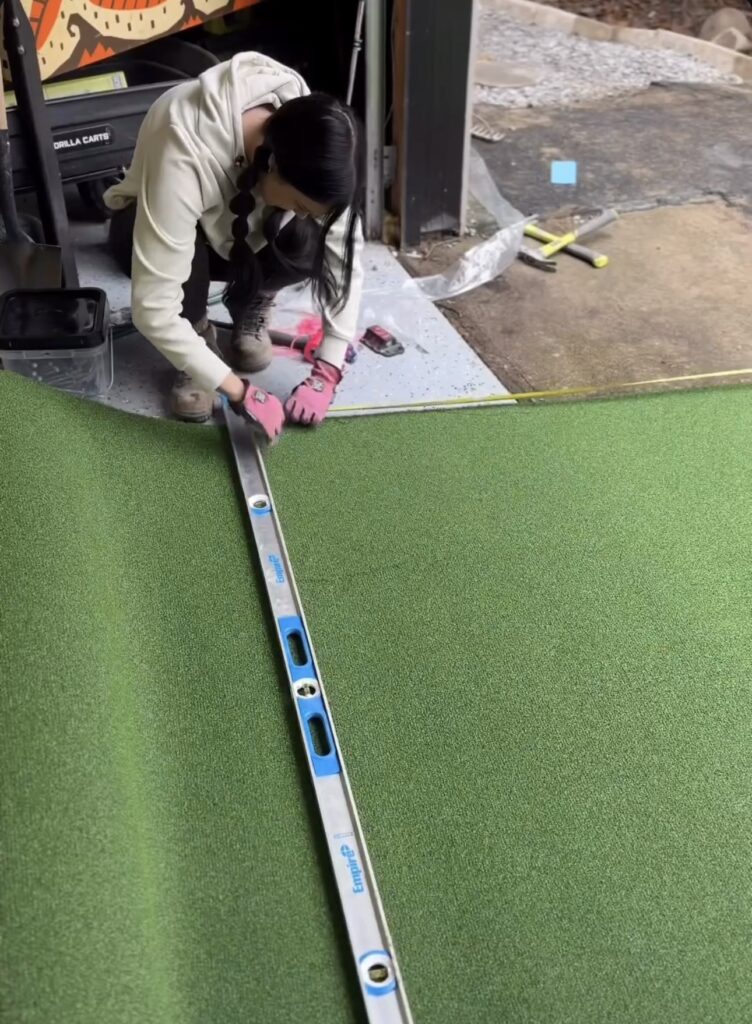
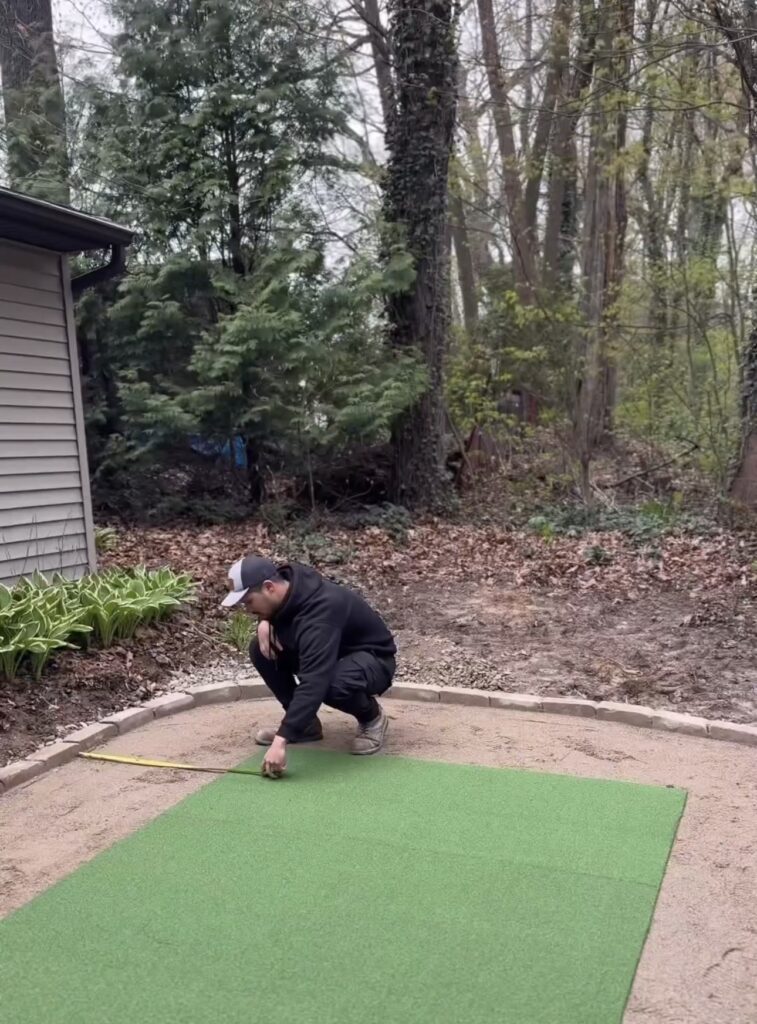
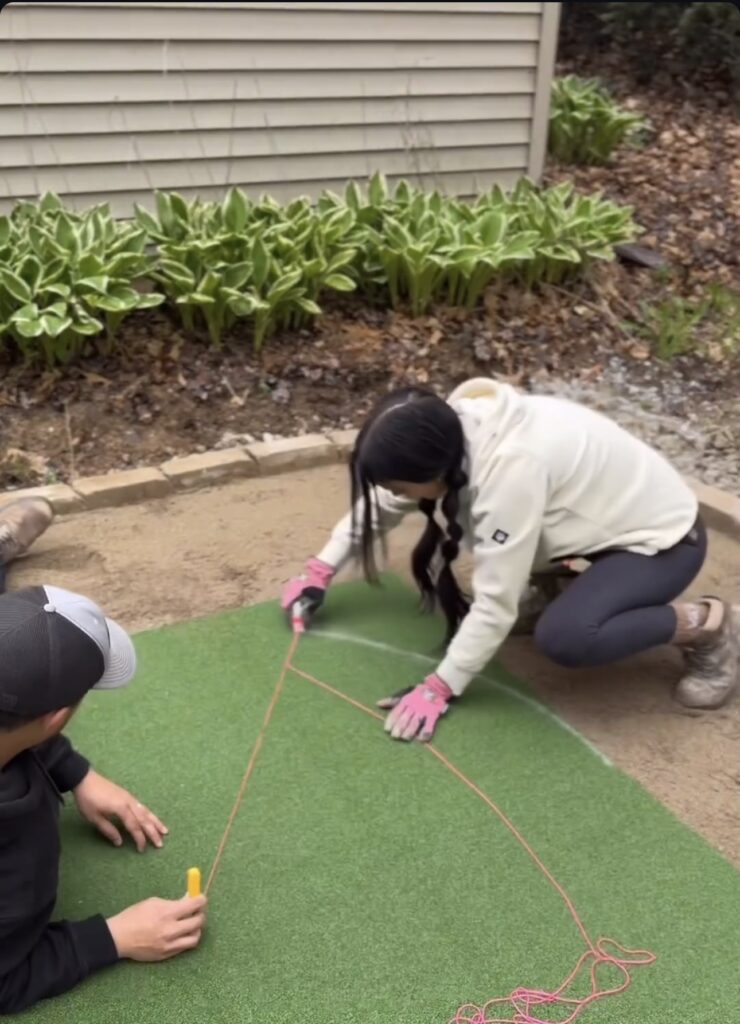
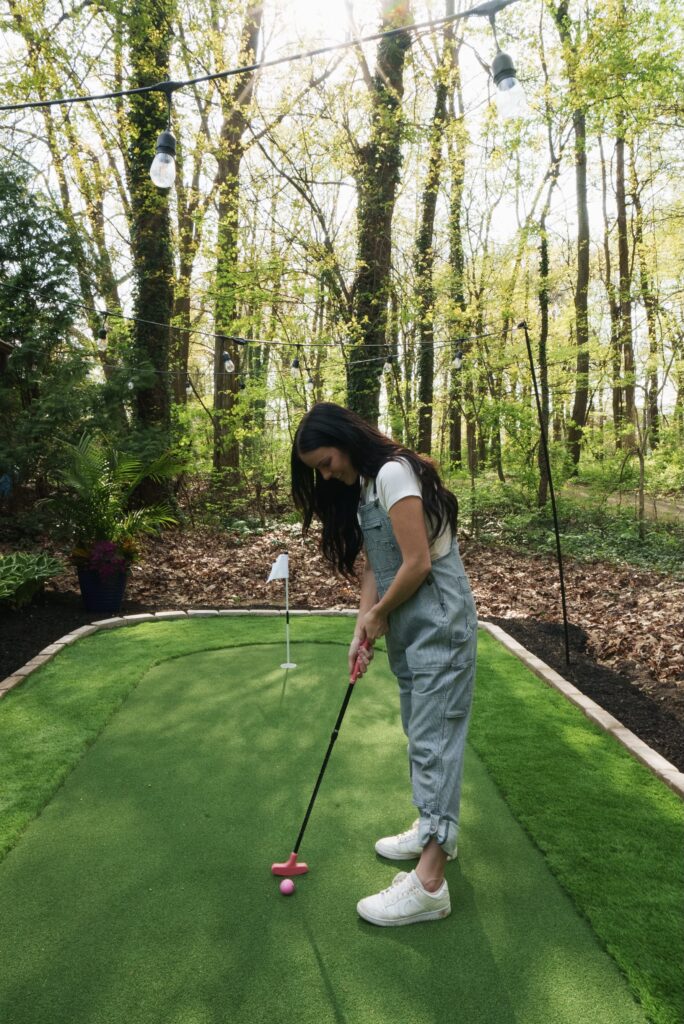
It was then time to do the putting green and turf! We rolled out the putting green area first and got it centered in the area. We used a string with chalk to draw out the rounded curve of the putting green and then used scissors to cut it.
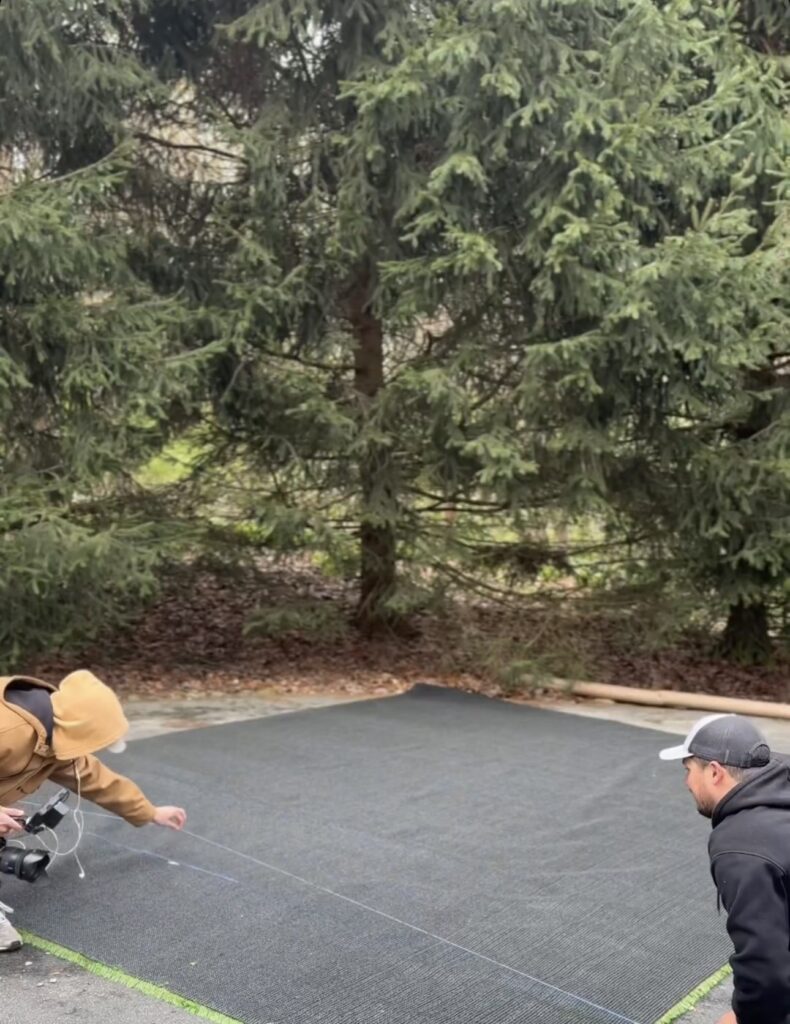
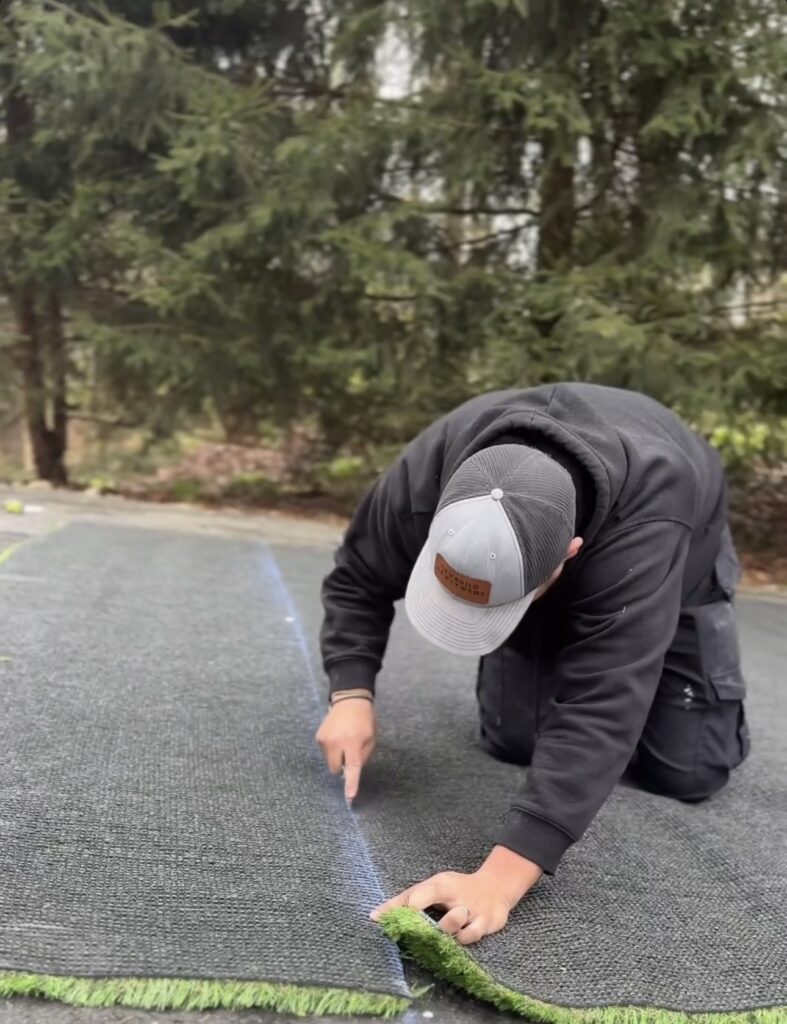
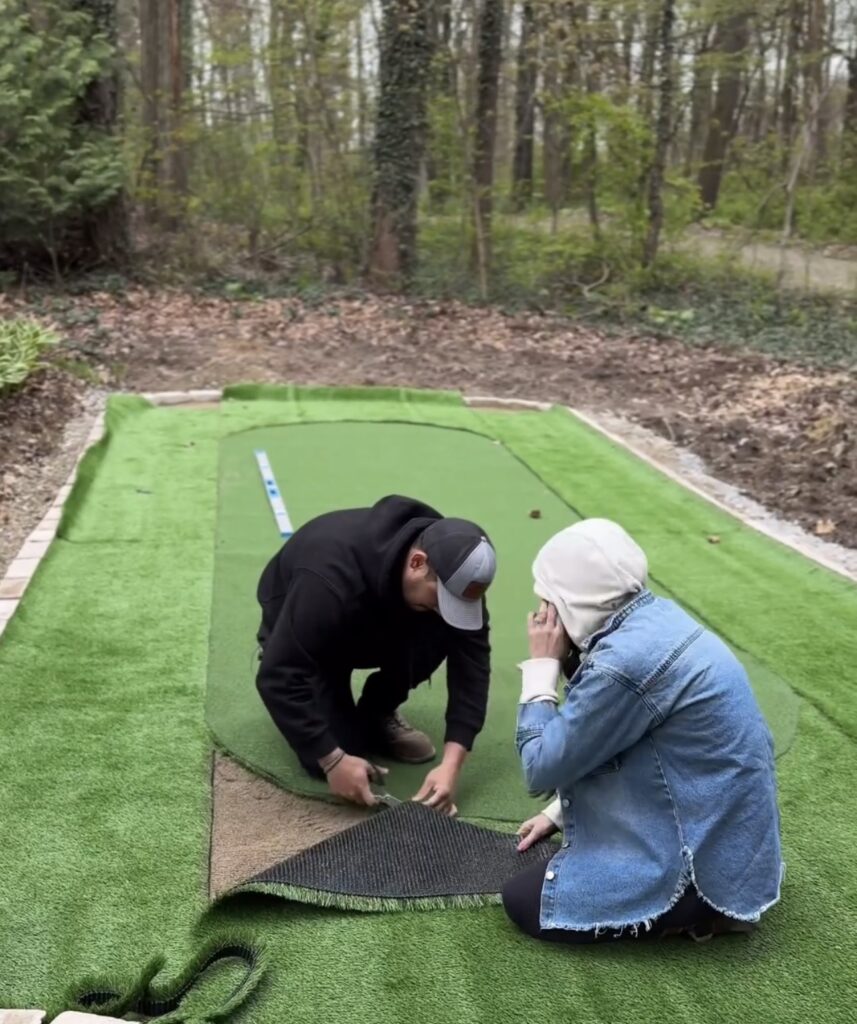
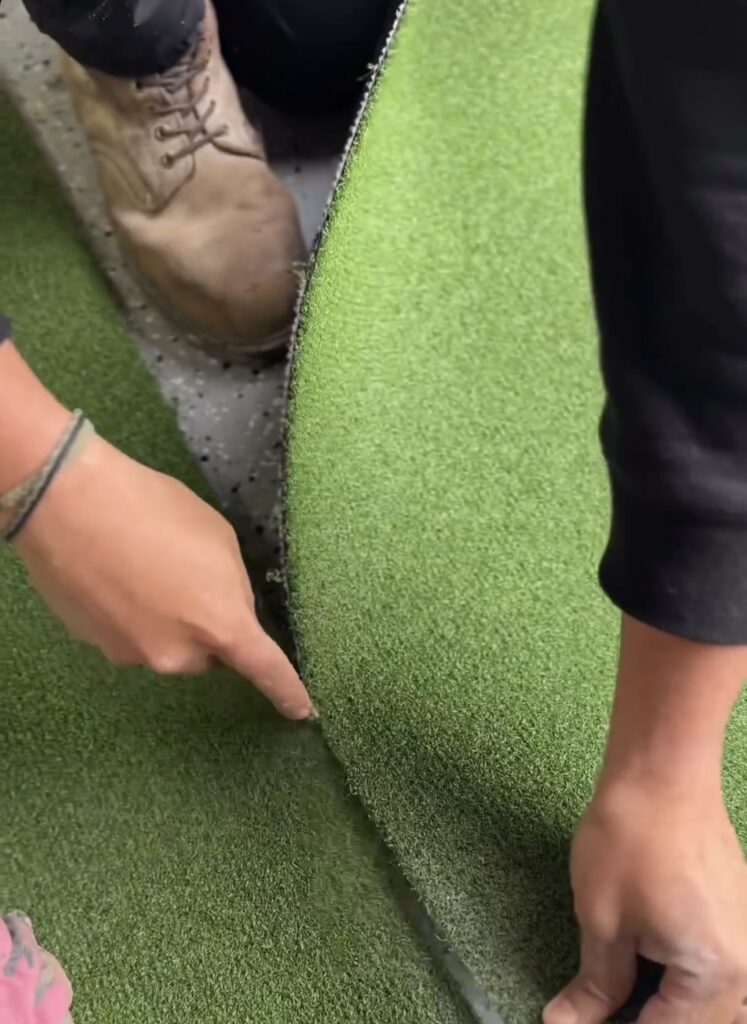
Once the center piece was in, we laid out the artificial turf for the rough of the putting green around the outsides.
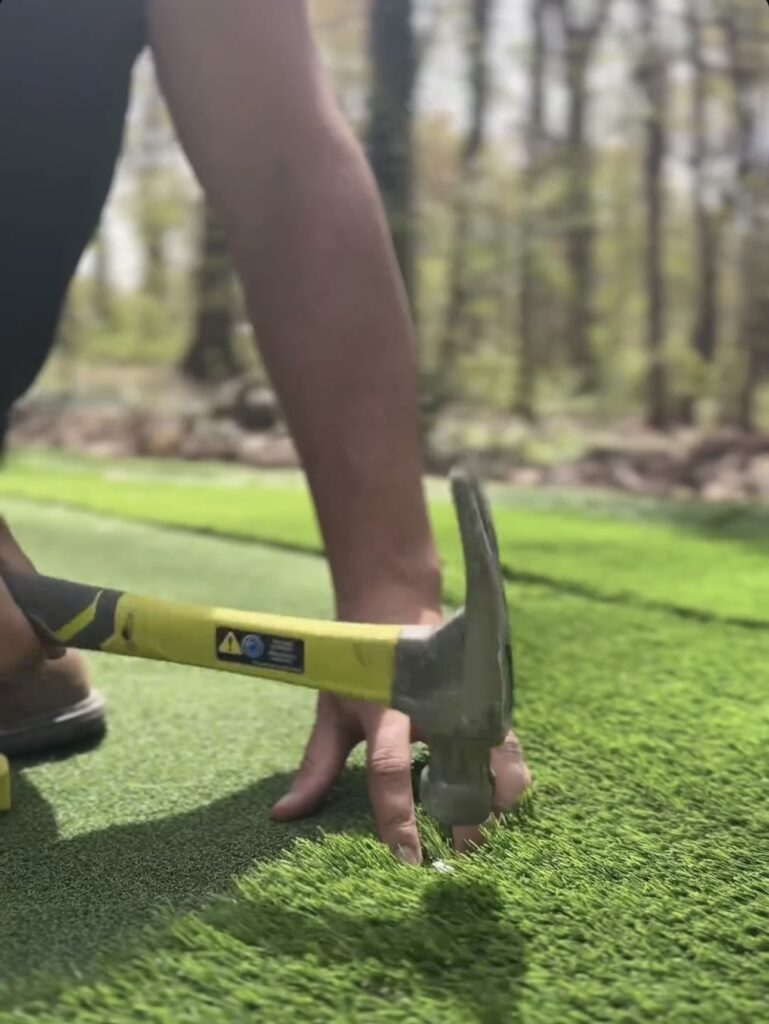
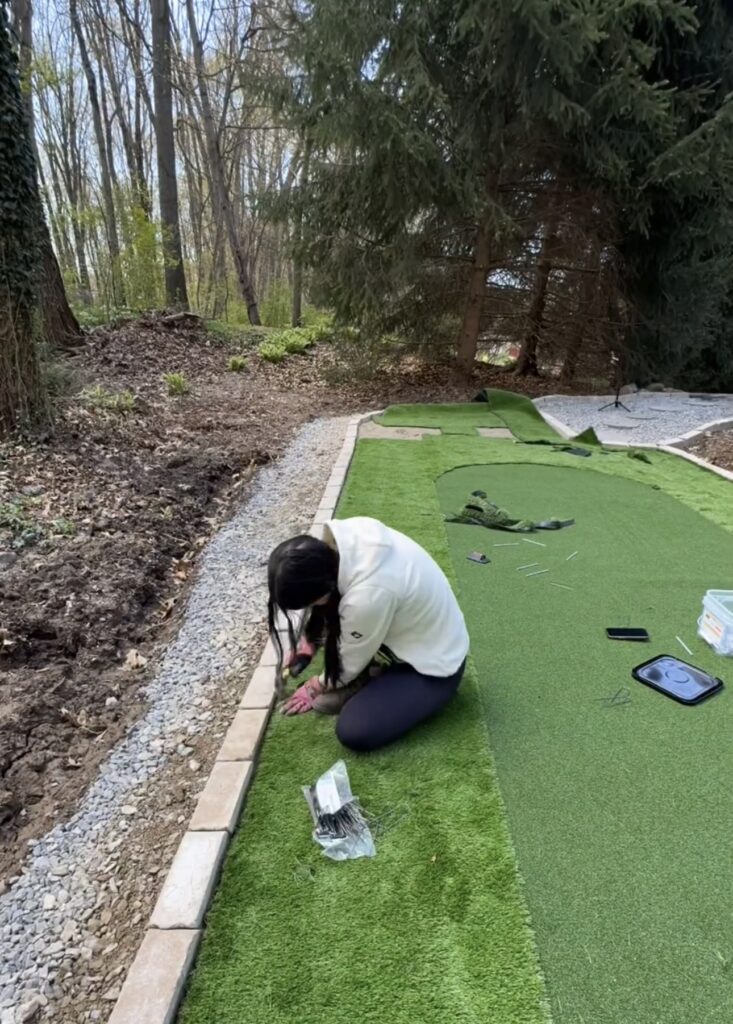
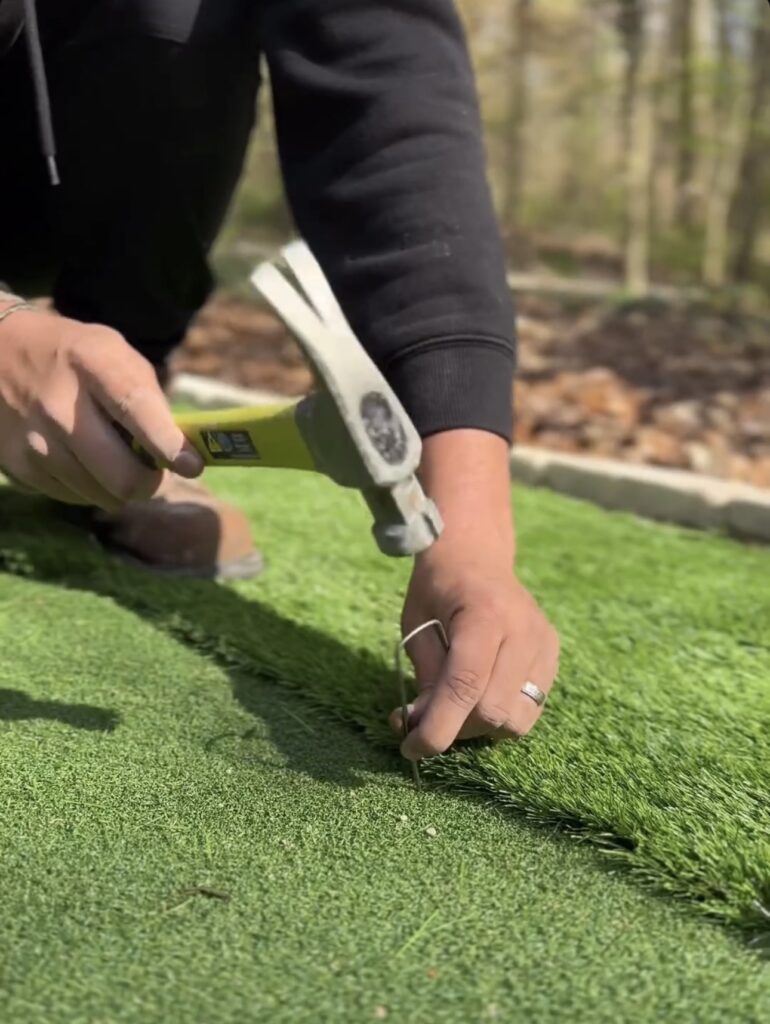
After all of the turf was cut and laid down, we used 6″ landscape nails to secure the rough into the ground. We spaced them 3-4″ apart along the edges. Then we stretched the turf and put nails in as we moved across to the opposite end. We also placed a mail every 12-24″ throughout the center of the rough. We used landscape staples to fasten together the seam of the green and rough and spaced them 2-3″ apart. We also put them along the edge for a little extra insurance. When installed properly, the staples “disappear” and you won’t see them in the turf.
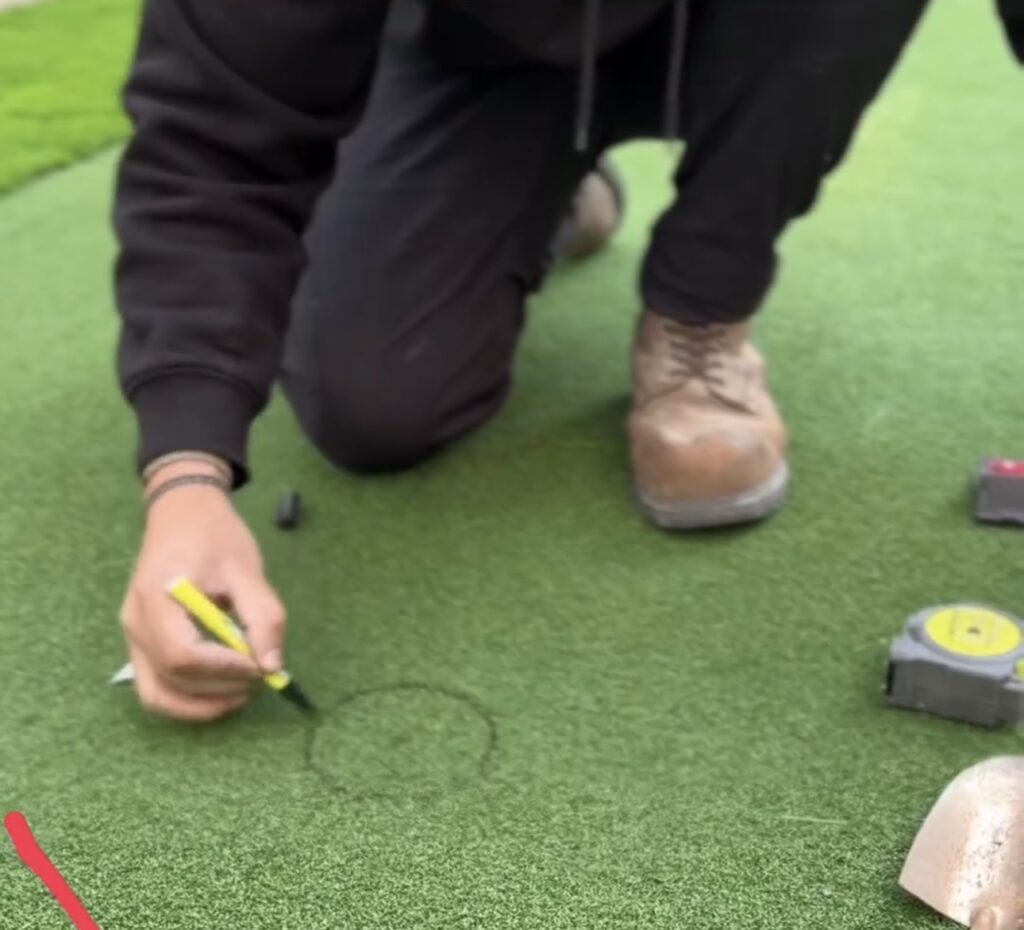

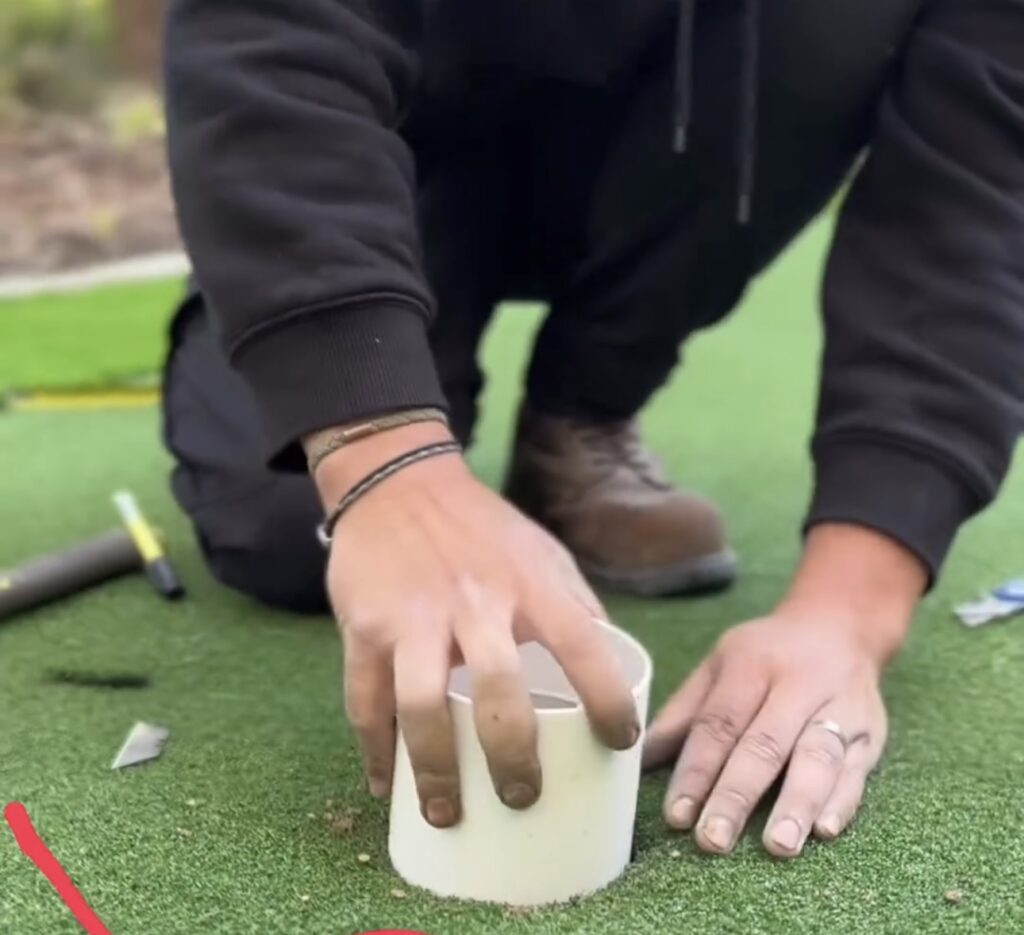
Next we used infill to help keep the blades of the rough upright and it’s antimicrobial. Then we couldn’t forget about the holes. We measured where we wanted the holes and drew it out. Then we used a knife to cut out the hole and a small shovel to dig the hole up before putting in the plastic cup for the hole.
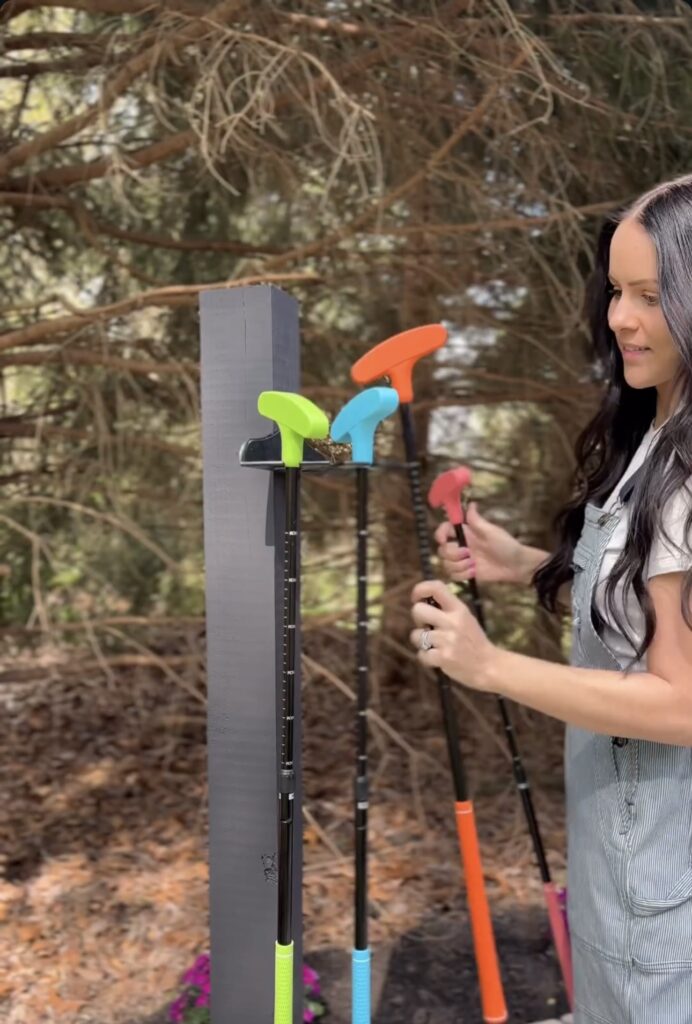
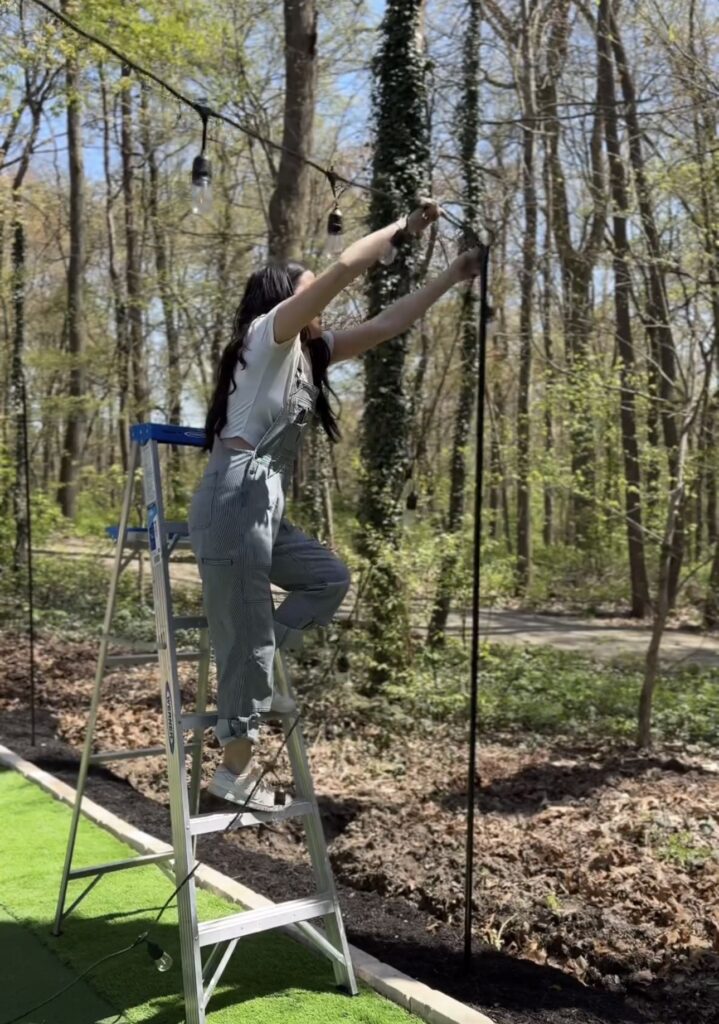
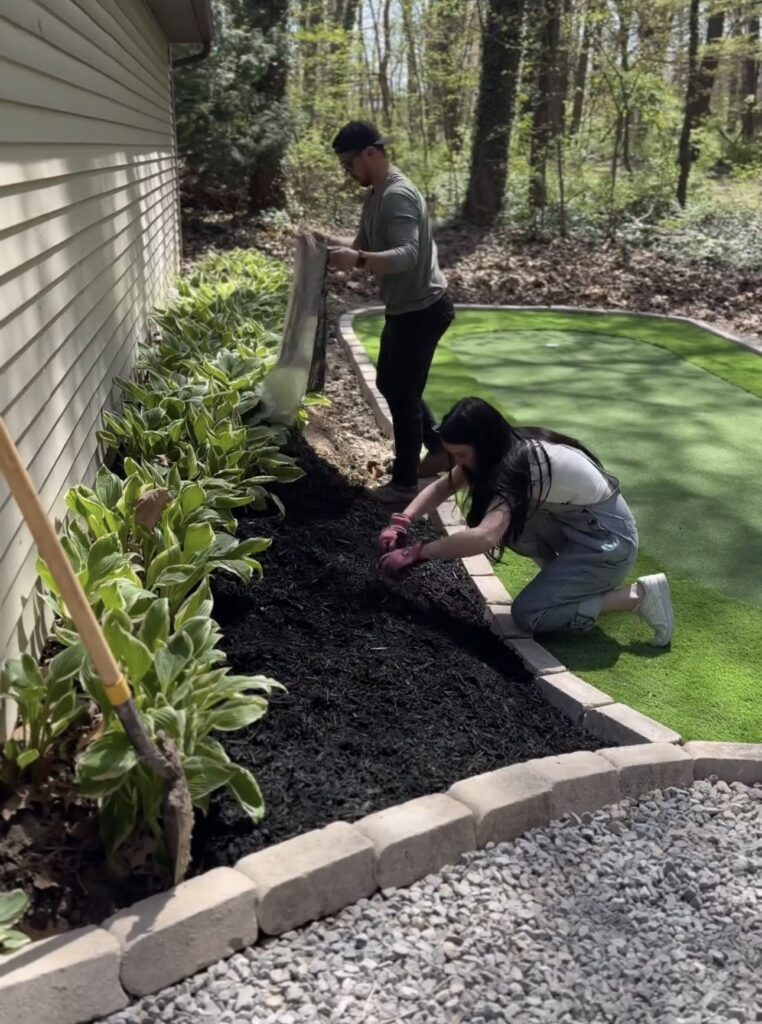
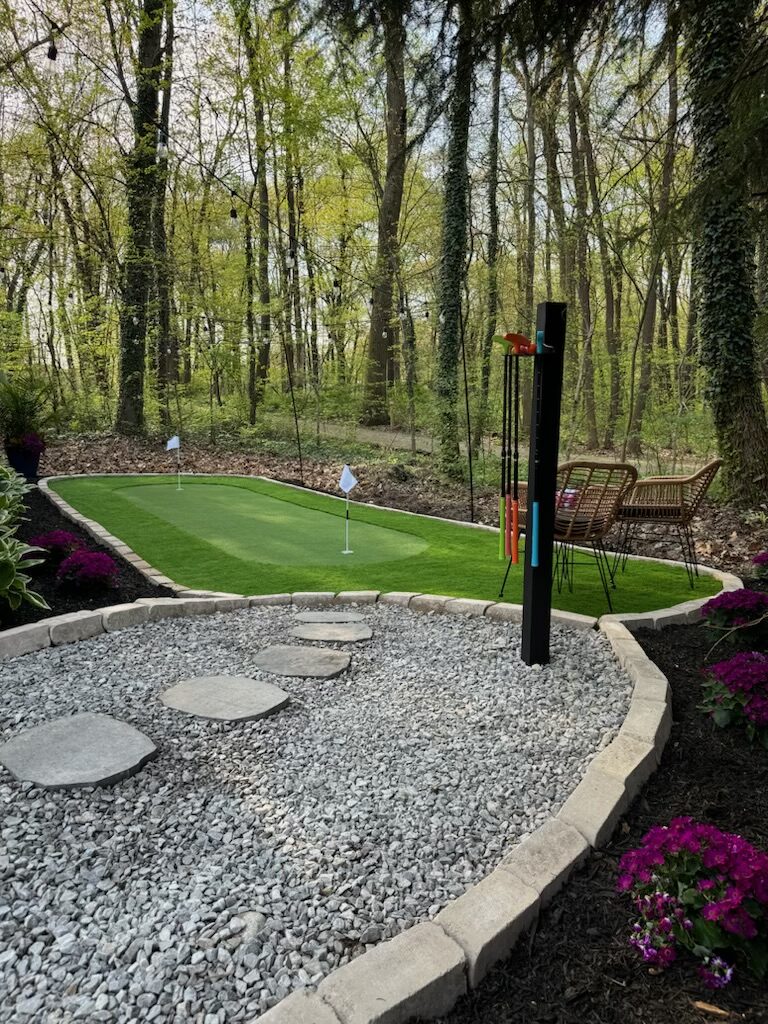
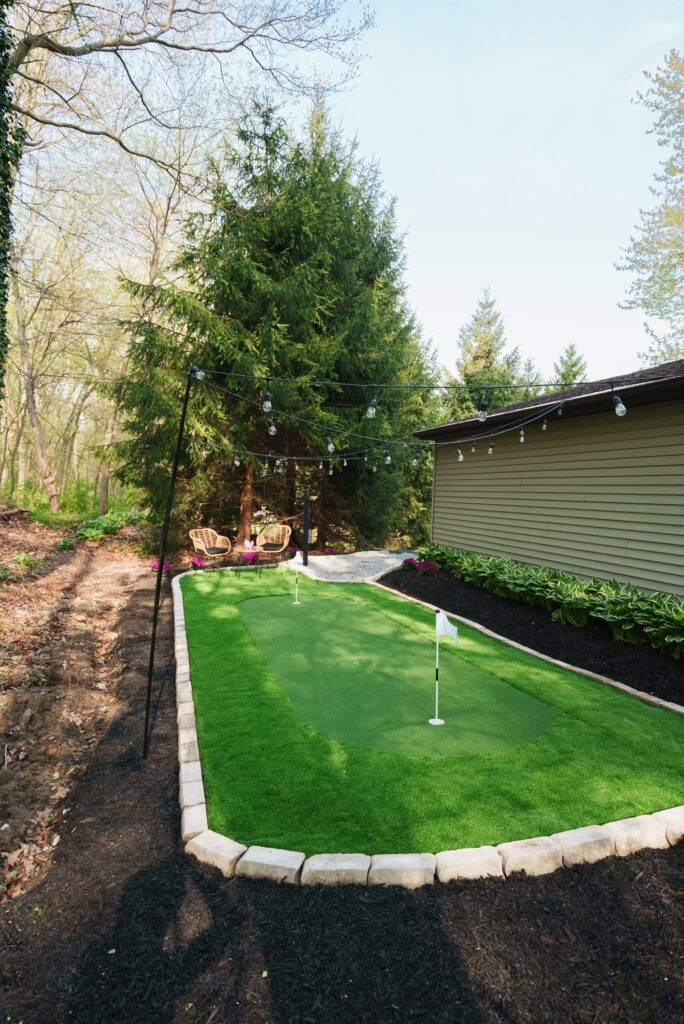
We also added a few extra touches like a pole for a club holder in the gravel and string lights across the putting green. We also set out a little table and a couple of chairs so you can sit and chat while waiting for your turn to put. The finishing touch was the black mulch in the landscaping that goes all around the putting green.
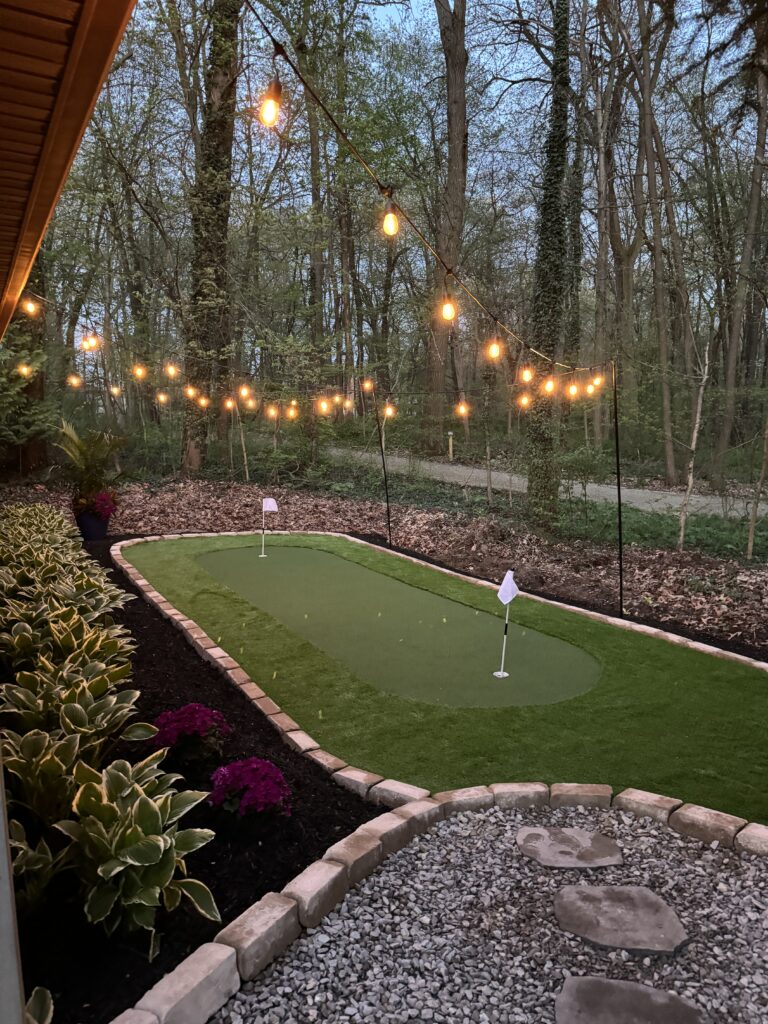
It all came together so perfectly and it looks awesome! We can’t wait to use this space and have so much fun.
Leave a Reply
Grab our FREE download
Wanna know the 5 must have tools you need before you start?
Considering a DIY Project?


I discovered your blog site on google and check a few of your early posts. Continue to keep up the very good operate. I just additional up your RSS feed to my MSN News Reader. Seeking forward to reading more from you later on!…
Neat blog! Is your theme custom made or did you download it from somewhere? A theme like yours with a few simple tweeks would really make my blog stand out. Please let me know where you got your theme. Kudos