


How We Added a Laundry Room During Our Home Renovation
When we bought our flip house, it did not have a laundry room. The lower area of the home was one big open space with a closet and I knew it had potential to be something really great. The laundry was in the basement and I had a vision to tear down the closets and make them into a half bath and laundry room, with the rest of the open space being the dining room.
We had to do a full gut on the entire room including the nasty carpet and knocking down the closets. We then framed out the half bath and laundry room which will go where the closets previously were.
Once the rooms were framed, electrical and plumbing was installed and drywall was put in, we were able to start turning the blank space into a beautiful new laundry room.
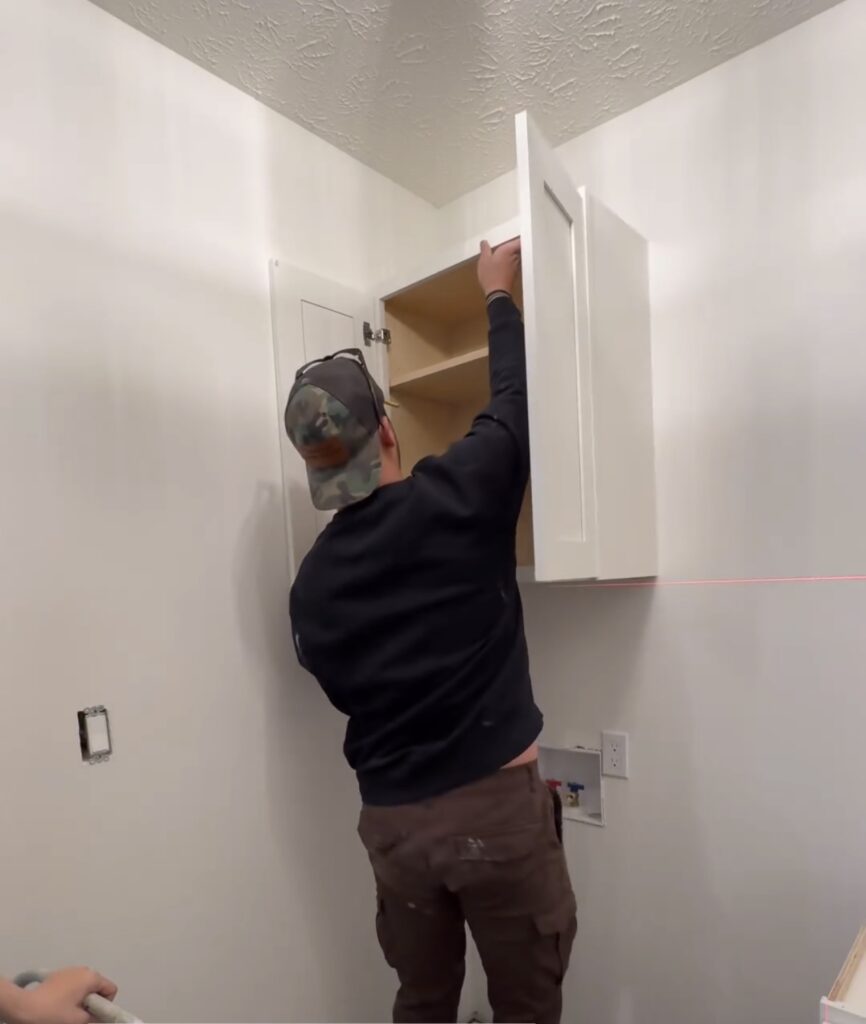
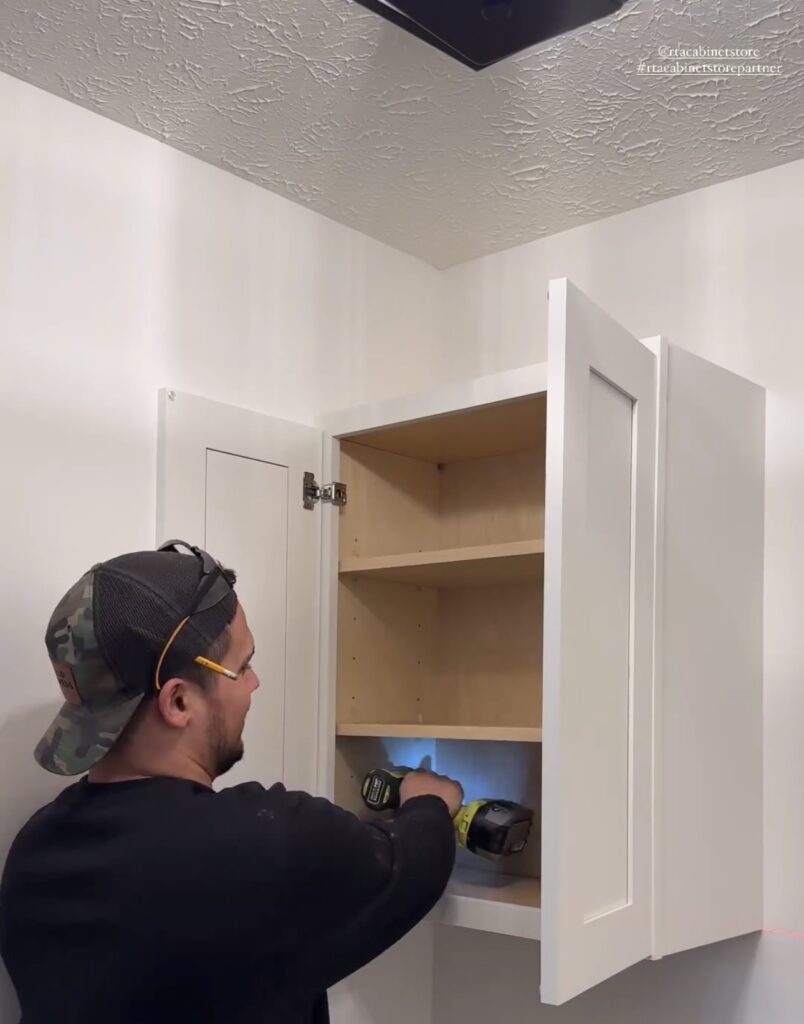
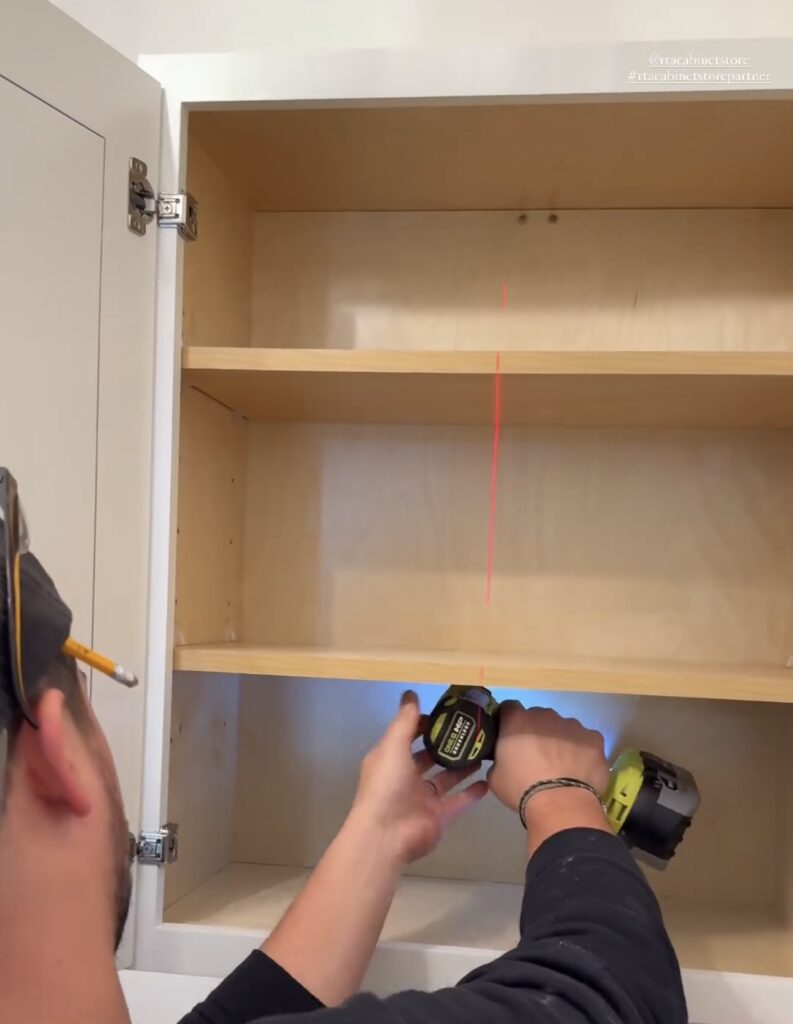
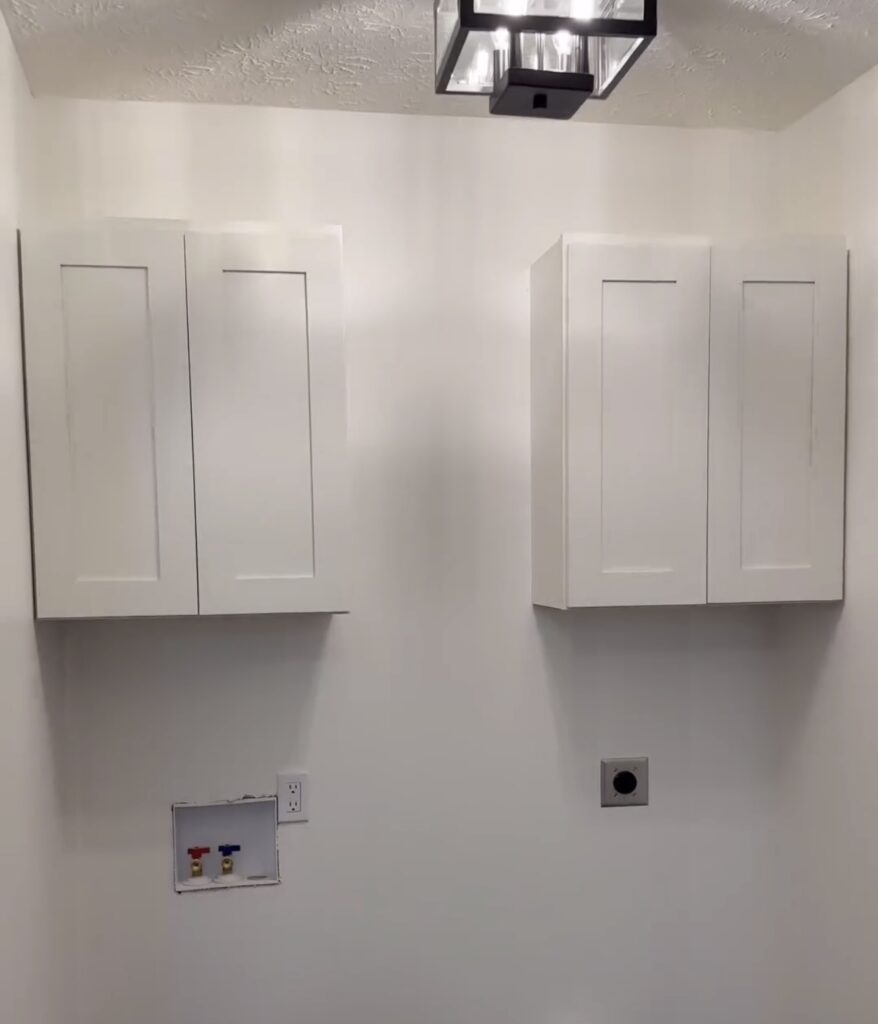
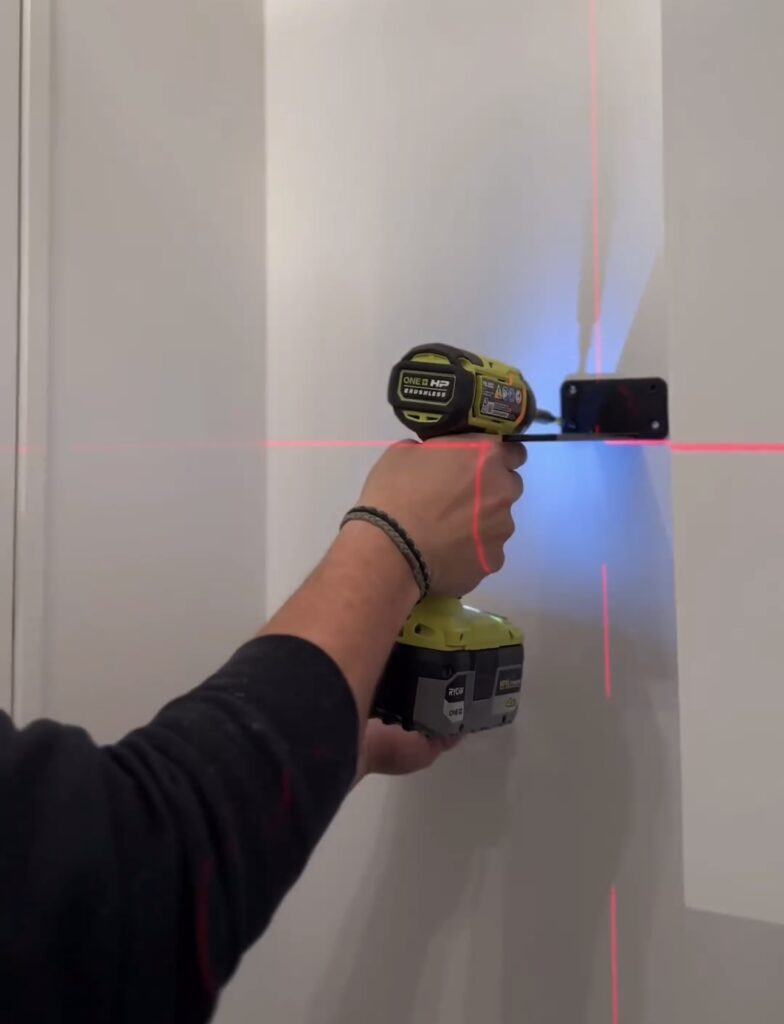
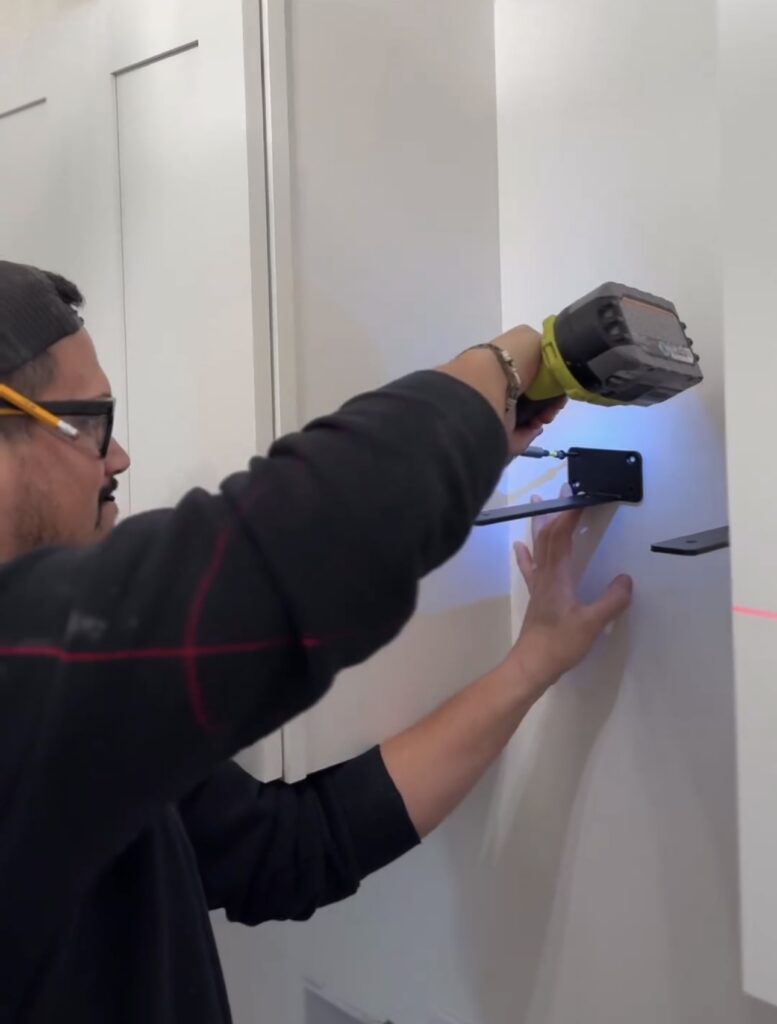
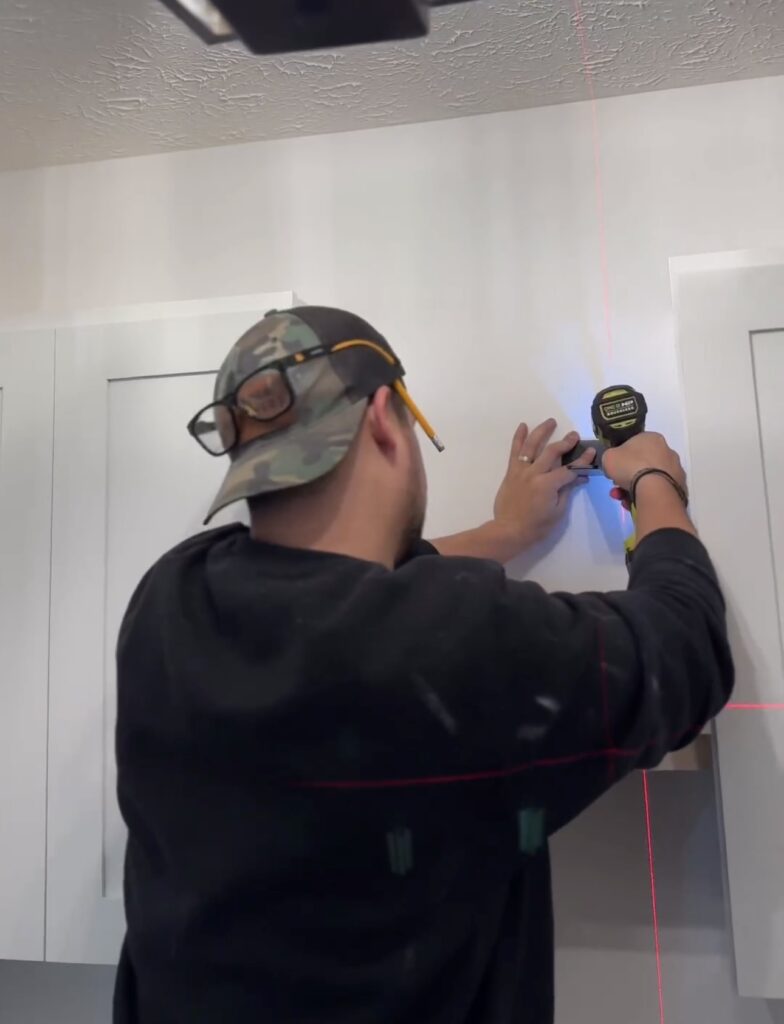
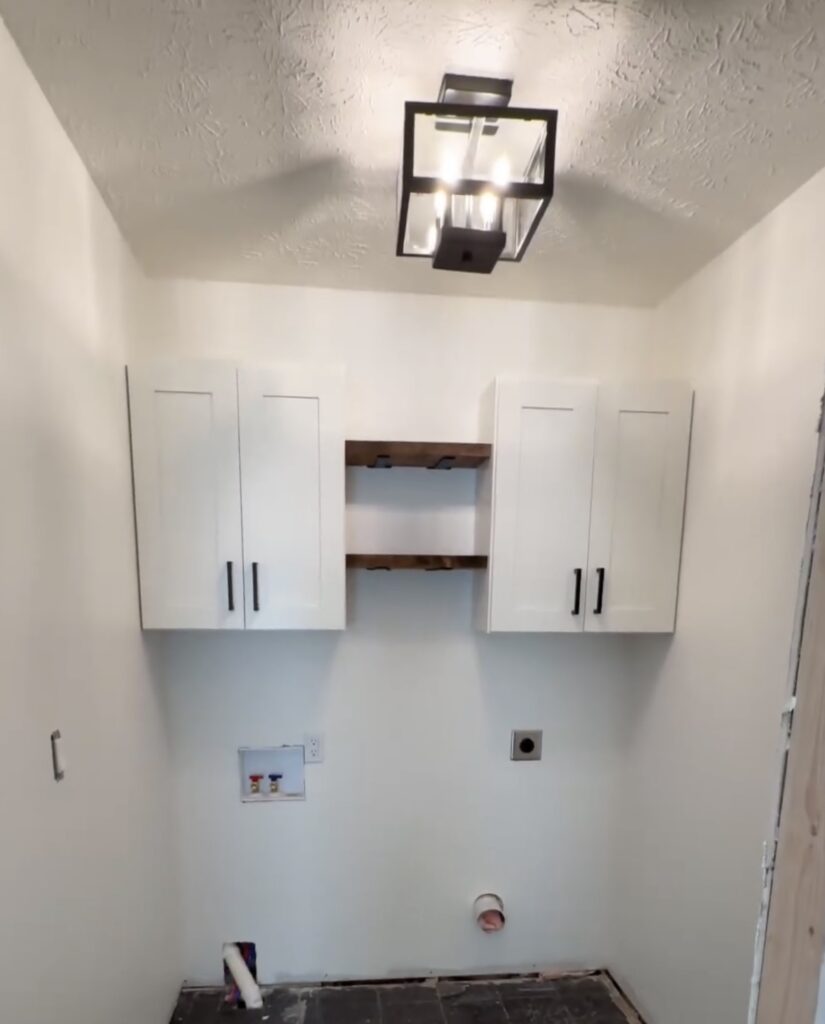
We started by getting the two upper cabinets installed. We got the cabinets from RTA Cabinets and built them ourselves. We screwed them into studs to make sure they were really sturdy and used a laser level to make sure everything was level.
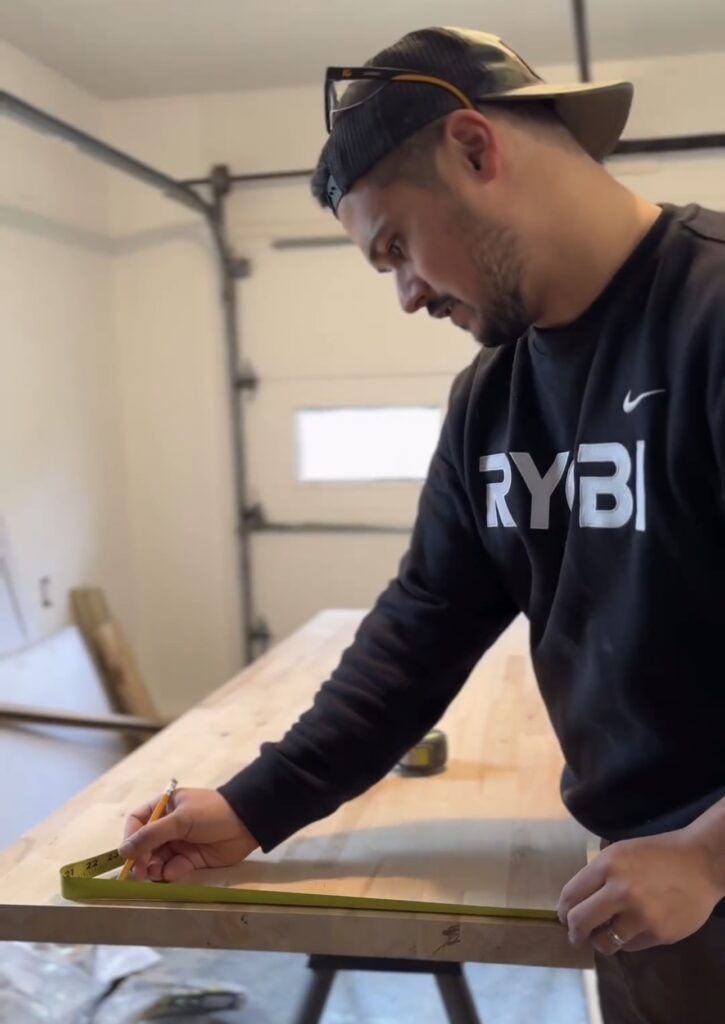
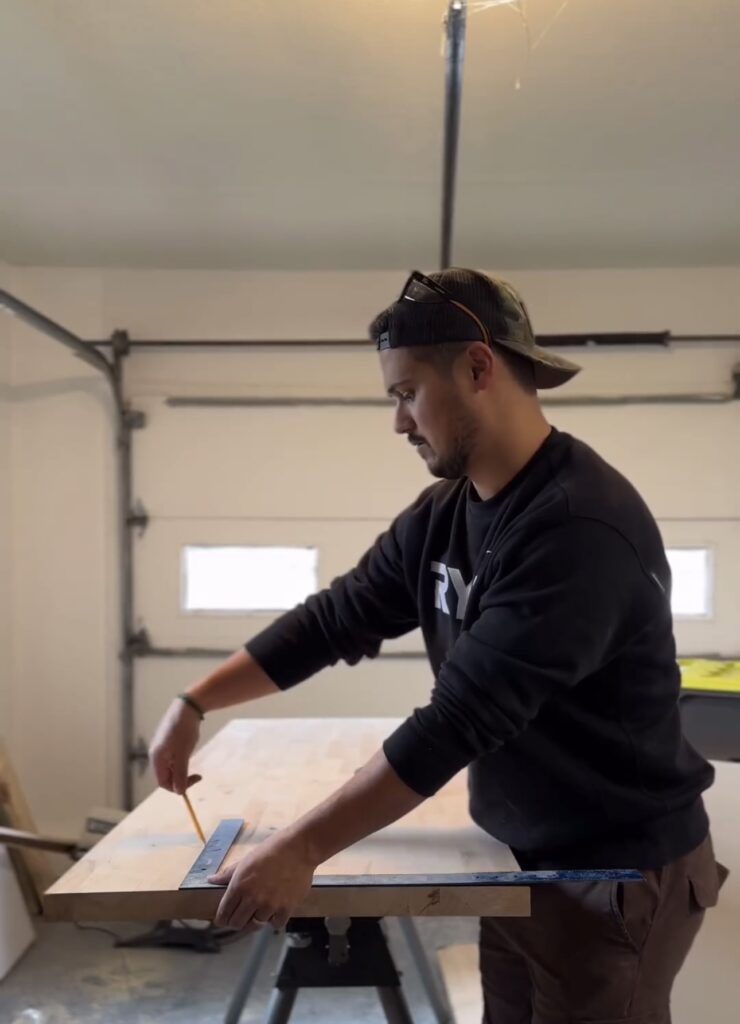
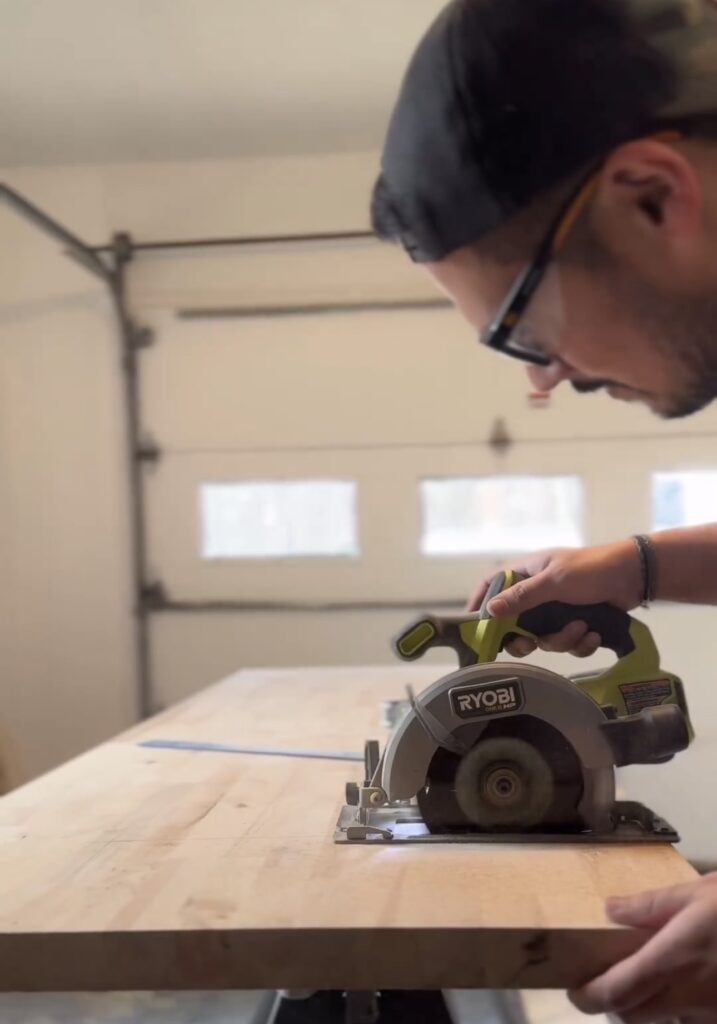
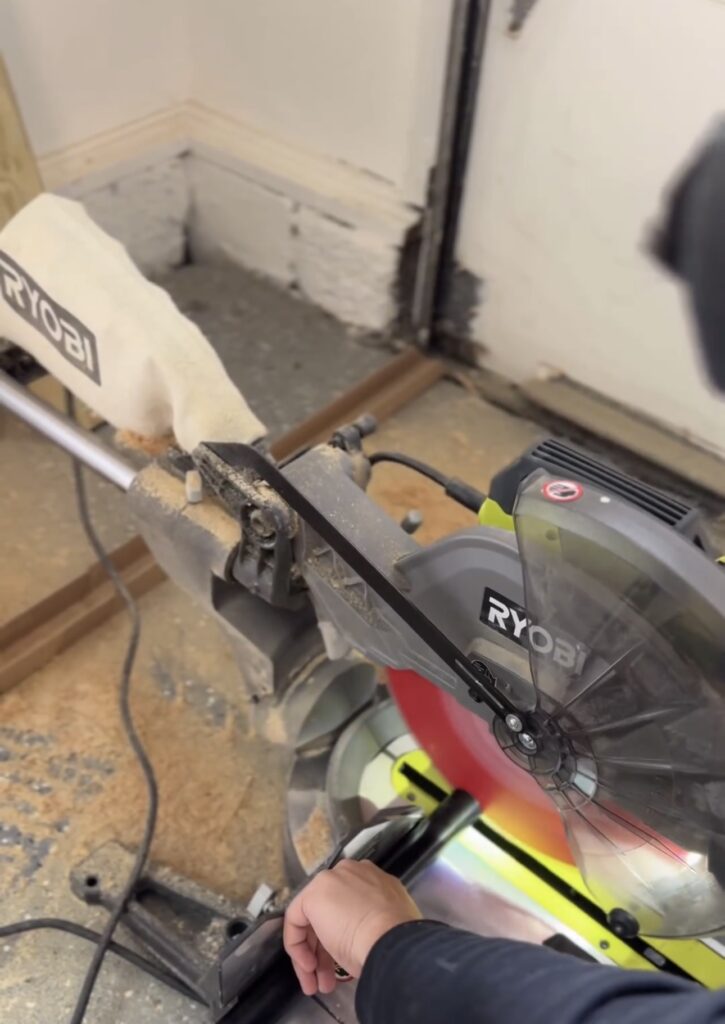
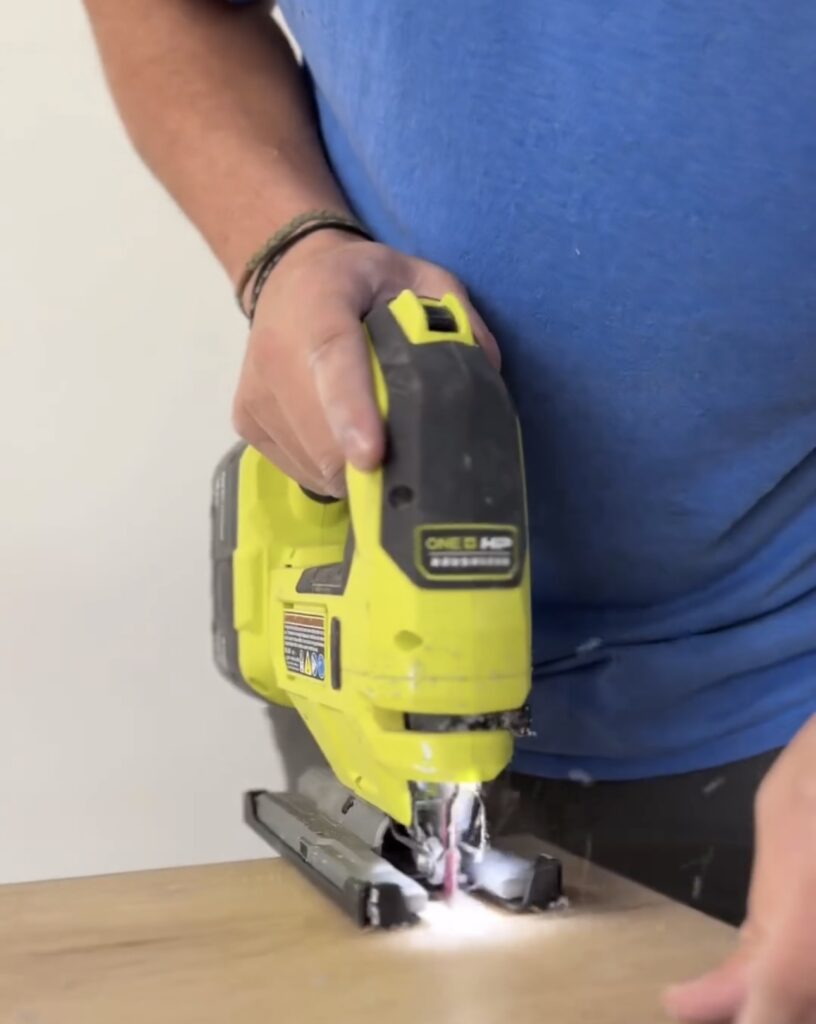
Once the cabinets were installed, got started on the open shelves that will go between each of the cabinets. We bought a butcher block countertop for the shelving and the leftover will be used as a countertop. Ryan measured and used a circular saw to cut the butcher block to the specifications that we needed.
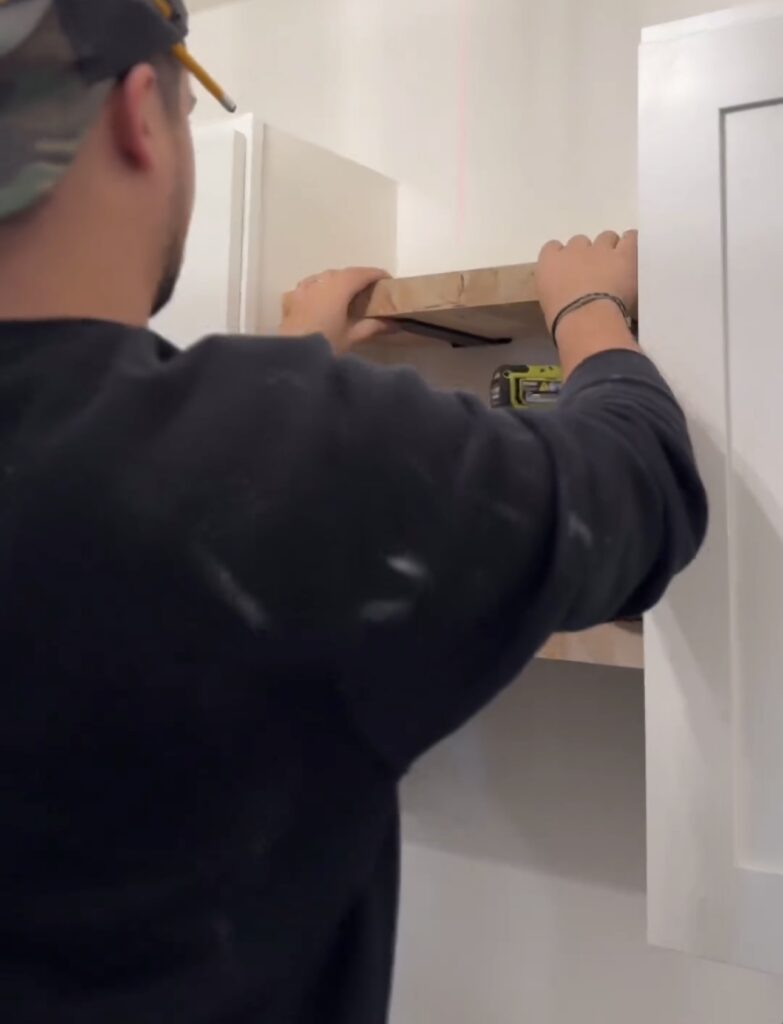
Then, we installed brackets between the cabinets to hold the butcher block to make the shelves. We tested the butcher block on the brackets to make sure everything fit and was cut properly. I was originally going to make all of this upper space open shelves but I’m so glad we did cabinets instead! These look great and are going to be so useful!
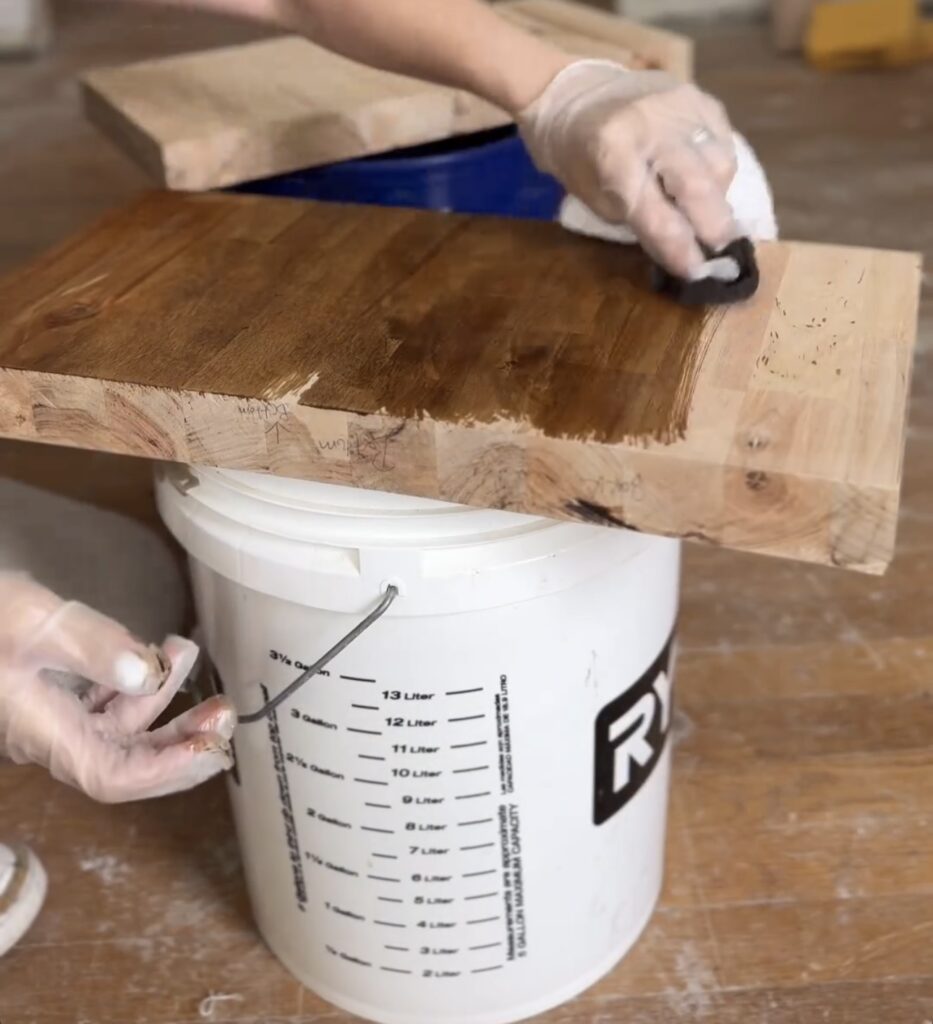
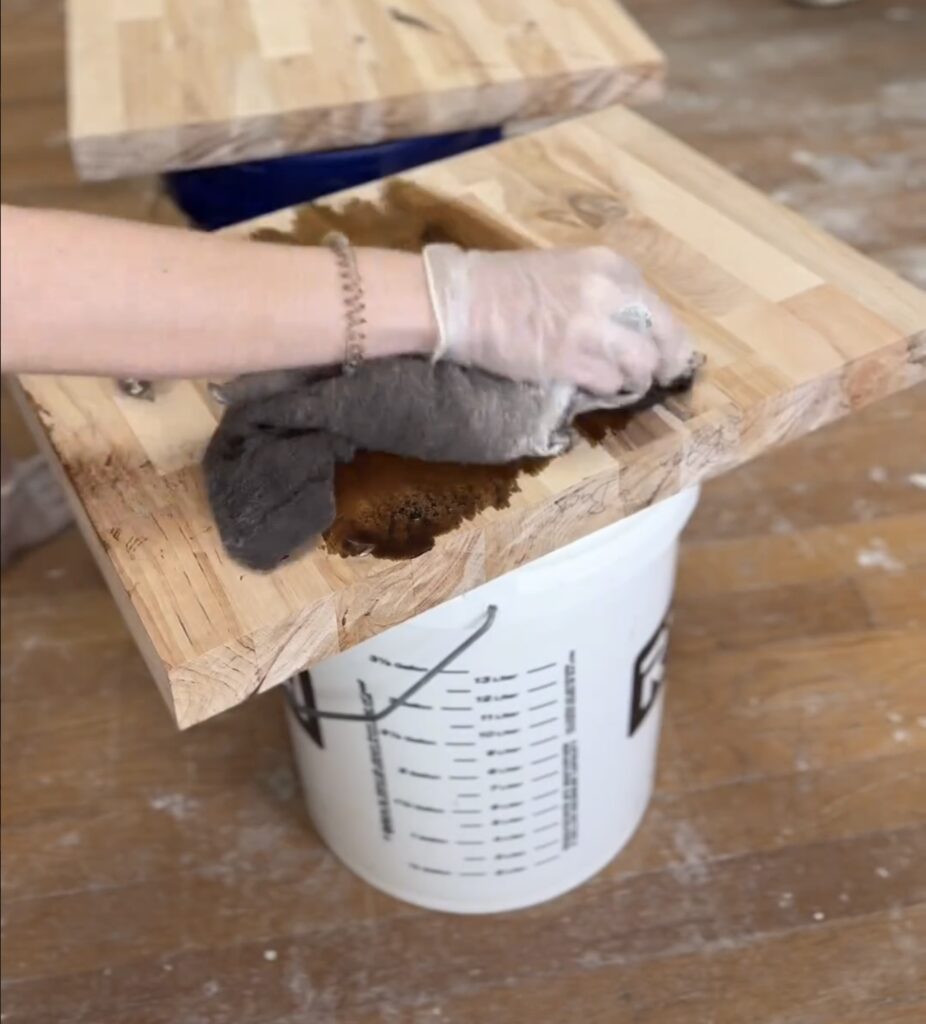
Next, it was time to stain the butcher block before adding them to the brackets. I went with a darker stain, Espresso, to match the kitchen island which is just in the next room over and will give the house a cohesive look. I used a rag to wipe the stain all sides of the butcher block.
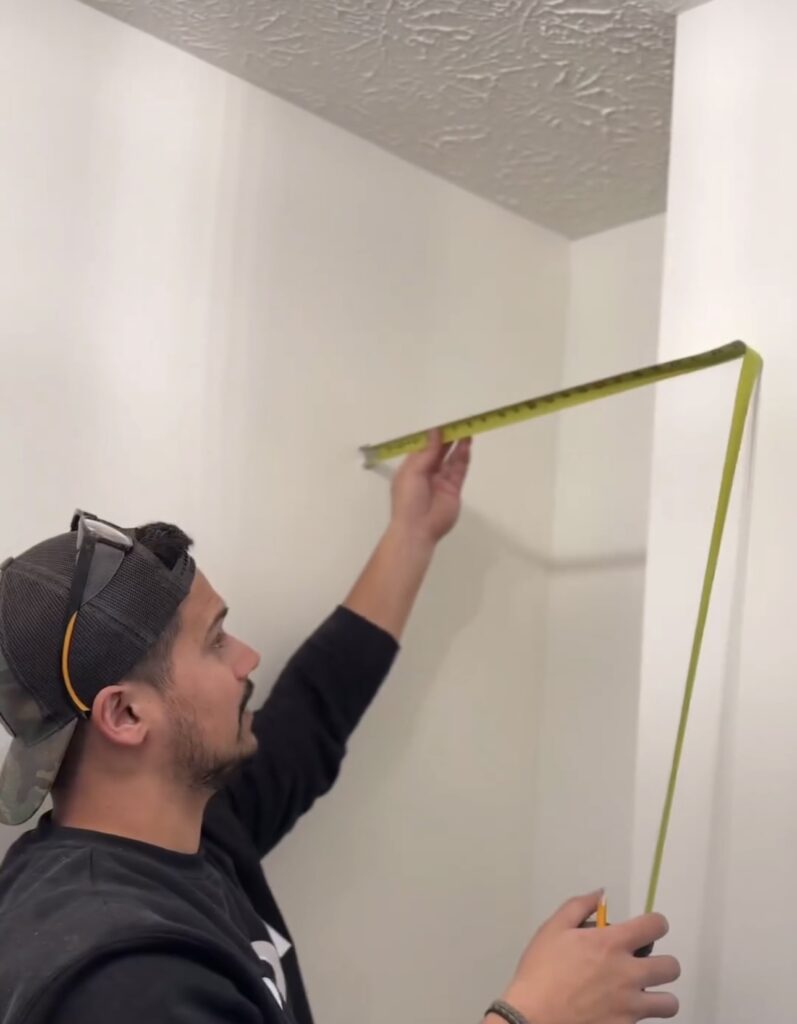
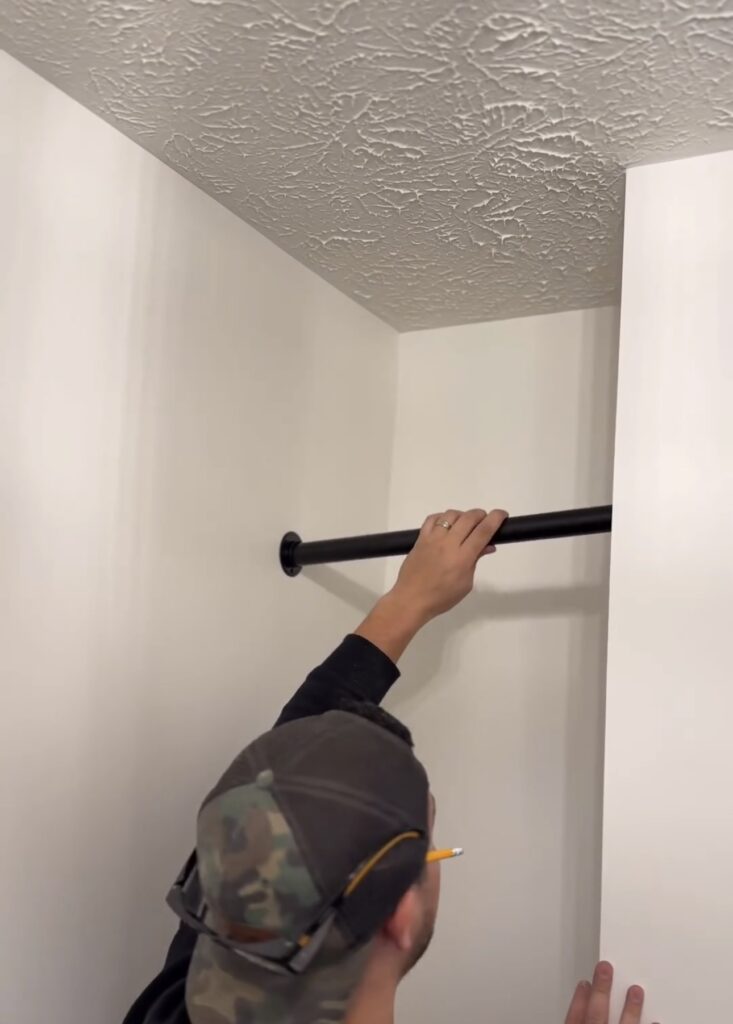
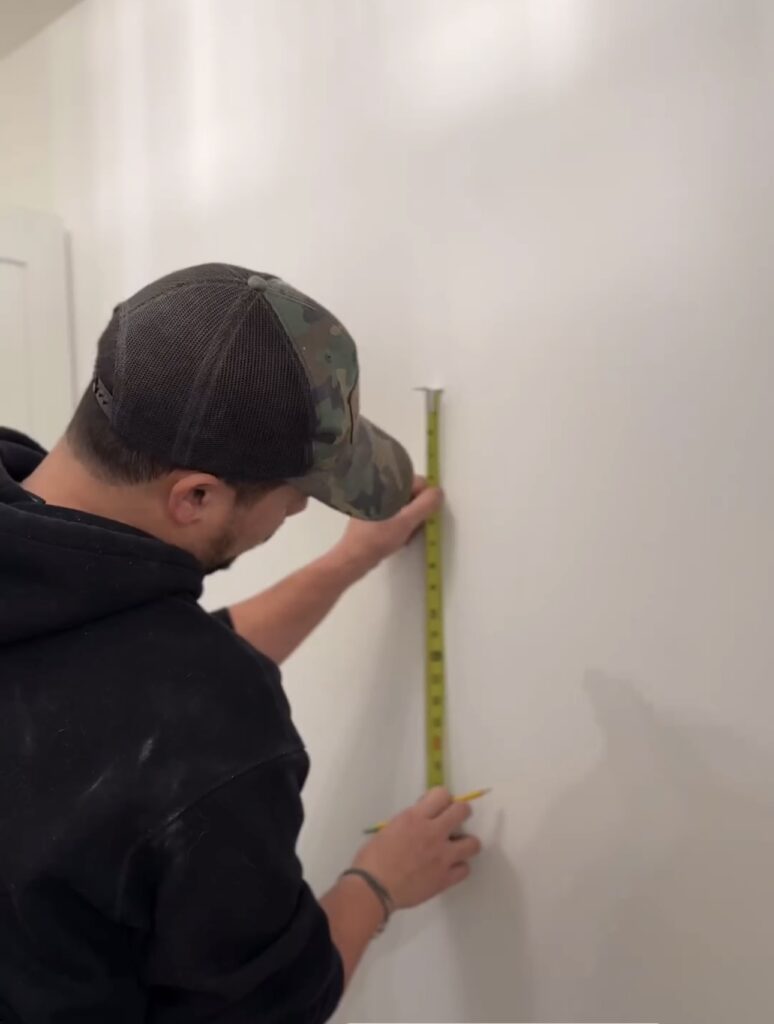
While the stain dried, Ryan installed the clothing rod and shelf to go above it in the little corner nook. When we framed this room, this is one of the things I envisioned. I wanted to add enough space to have somewhere for them to be able to hang clothes or even use it like a little mud room since it is just off of the garage. Ryan measured the space and cut the rod to size. Then he screwed in the brackets and got the rod in place before adding the brackets for shelf above it.


Once the butcher blocks were dry from the stain, we got those put in. There were two between the upper cabinets and one at the bottom of the nook area and one at the top of the nook area, above the hanging rod.
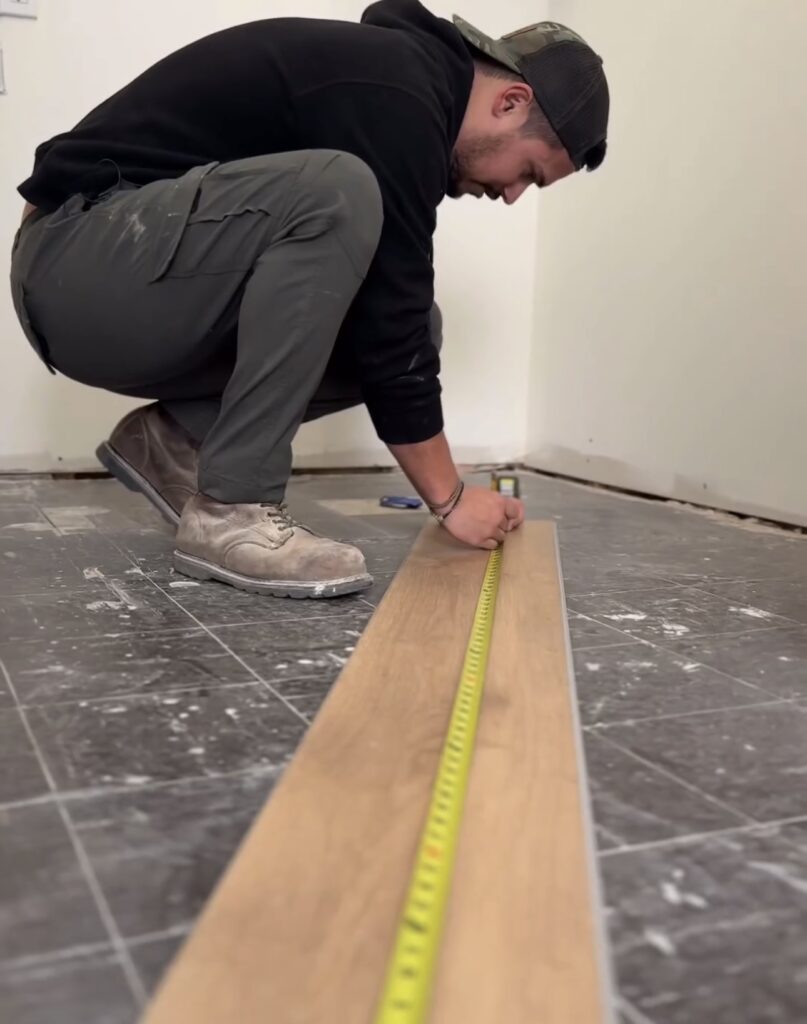
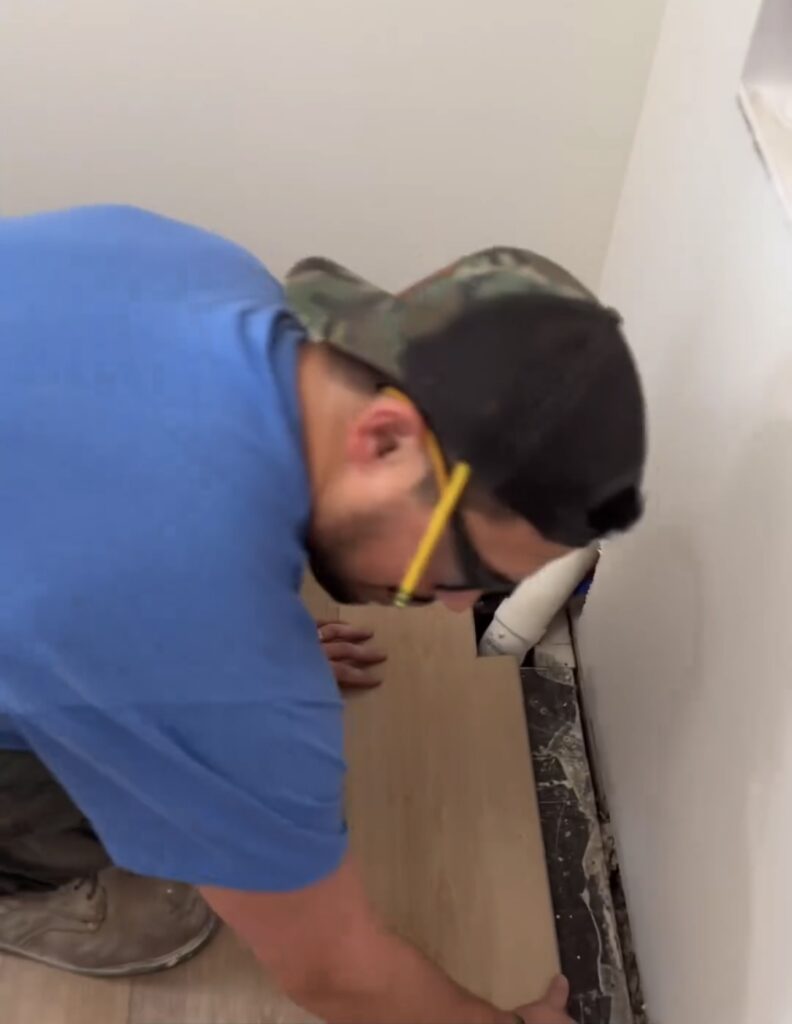
Then, it was time to get the floors installed. Ryan flew through this install since it is a small room and not many cuts needed to be made.
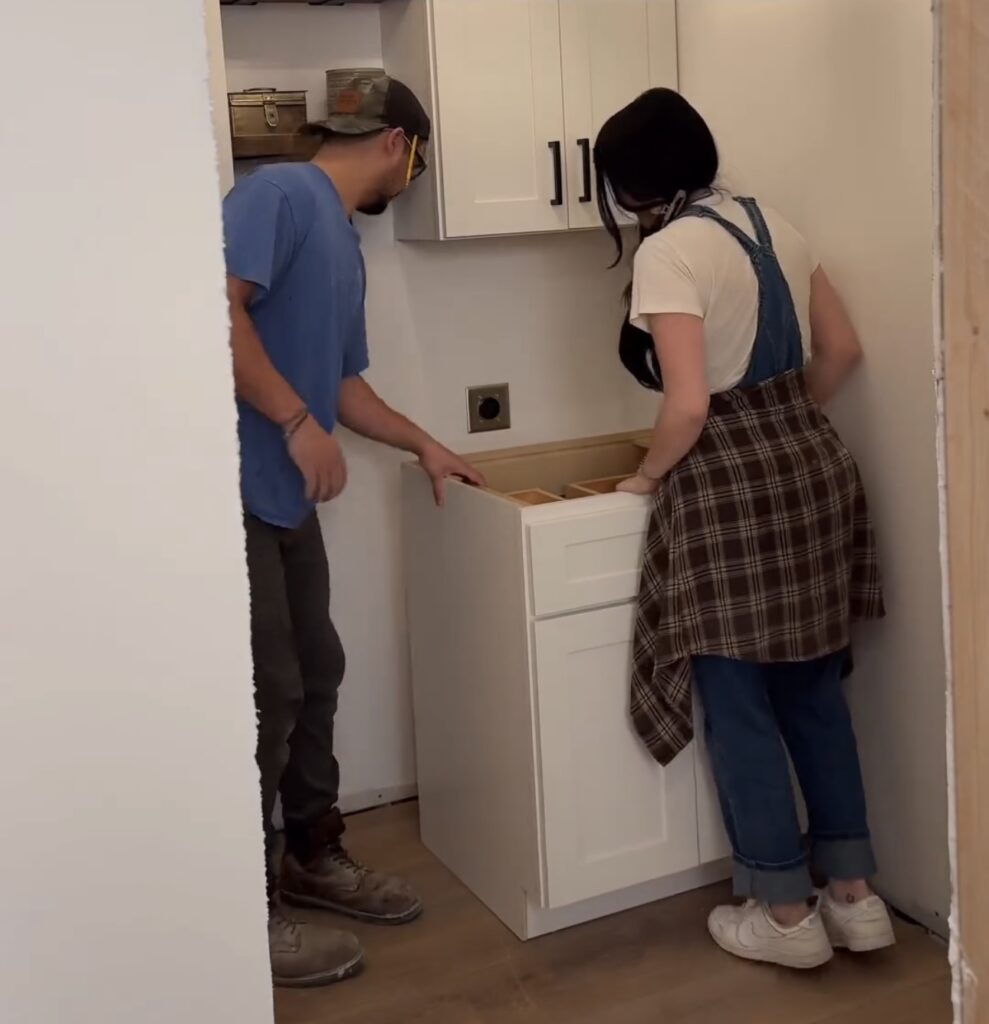
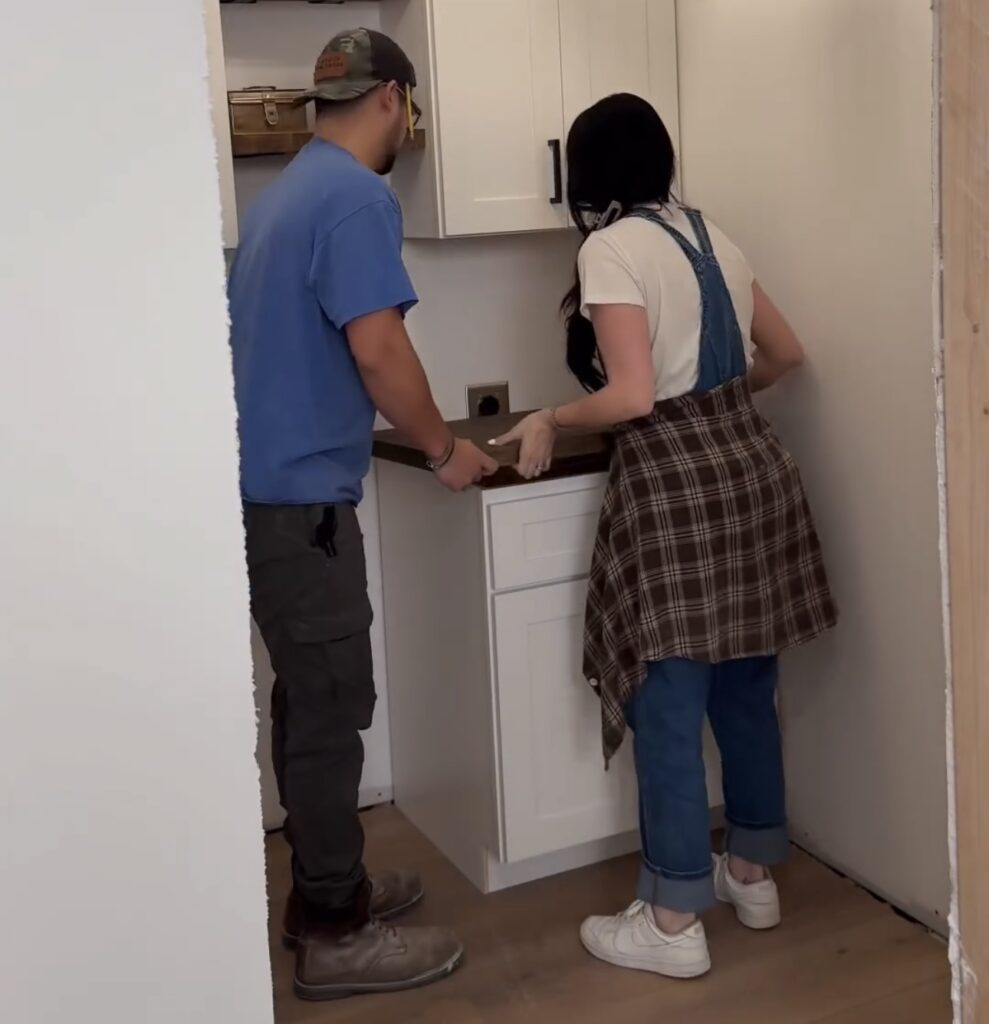
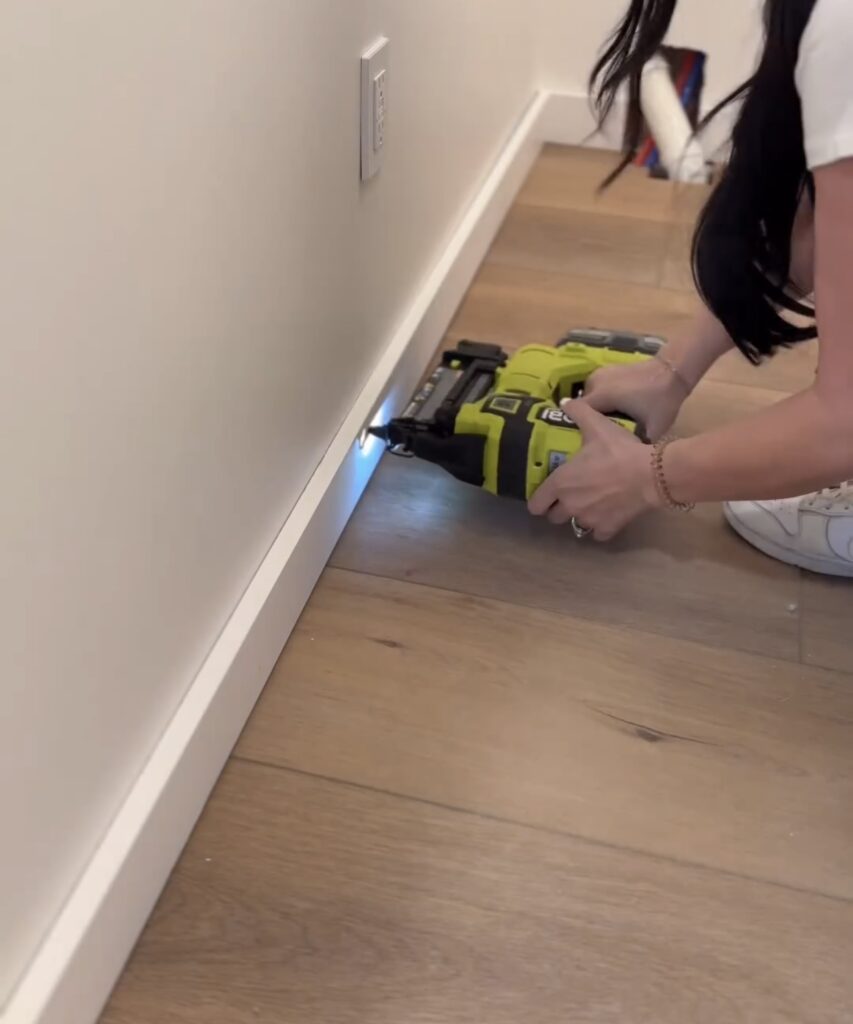
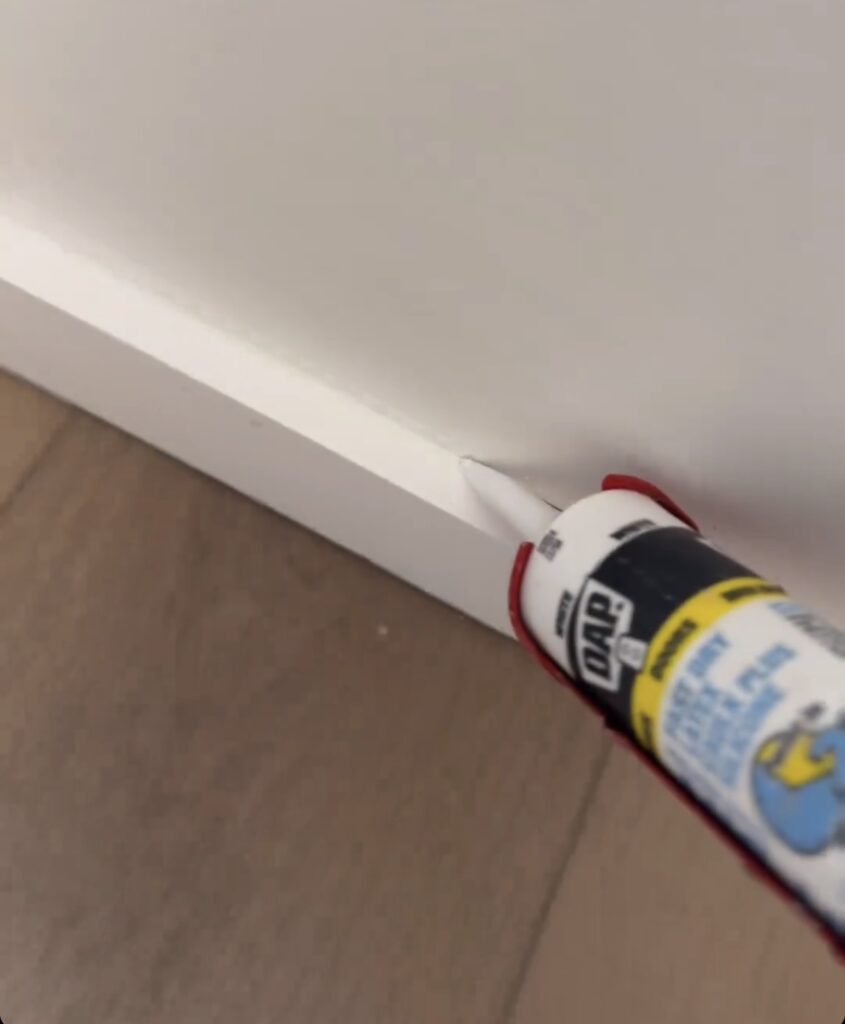
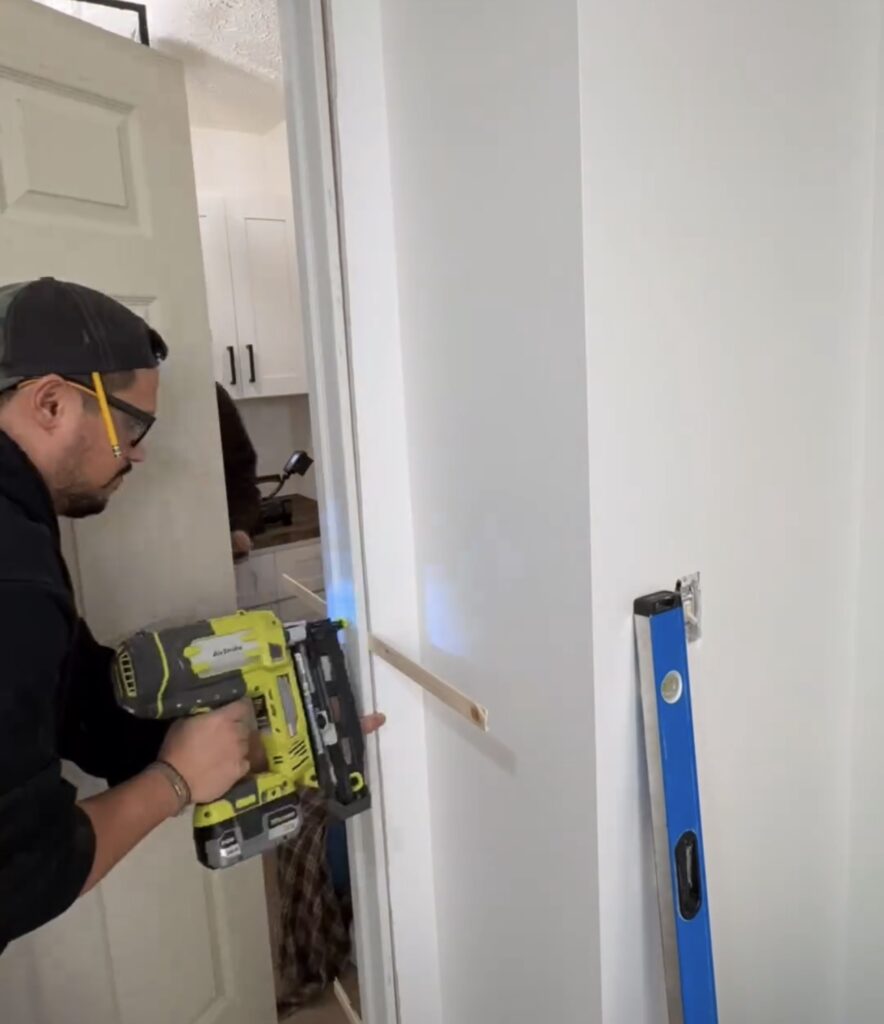
After the floors were done, we got the bottom corner cabinet installed under the upper cabinet and used the rest of the butcher block for the top. Once the cabinet was in, I used a nailer to add the baseboard and caulked the seams. We will add shoe molding later when we do the rest of the house. I also filled the nail holes and painted the baseboard.

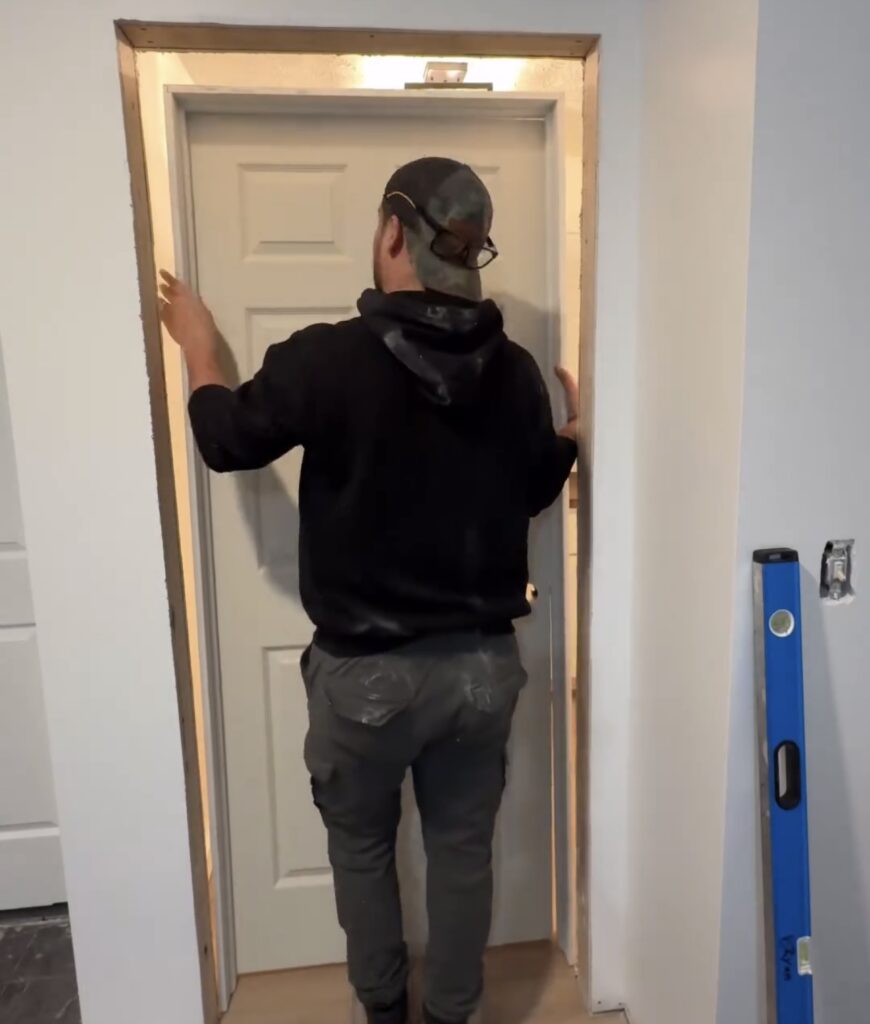
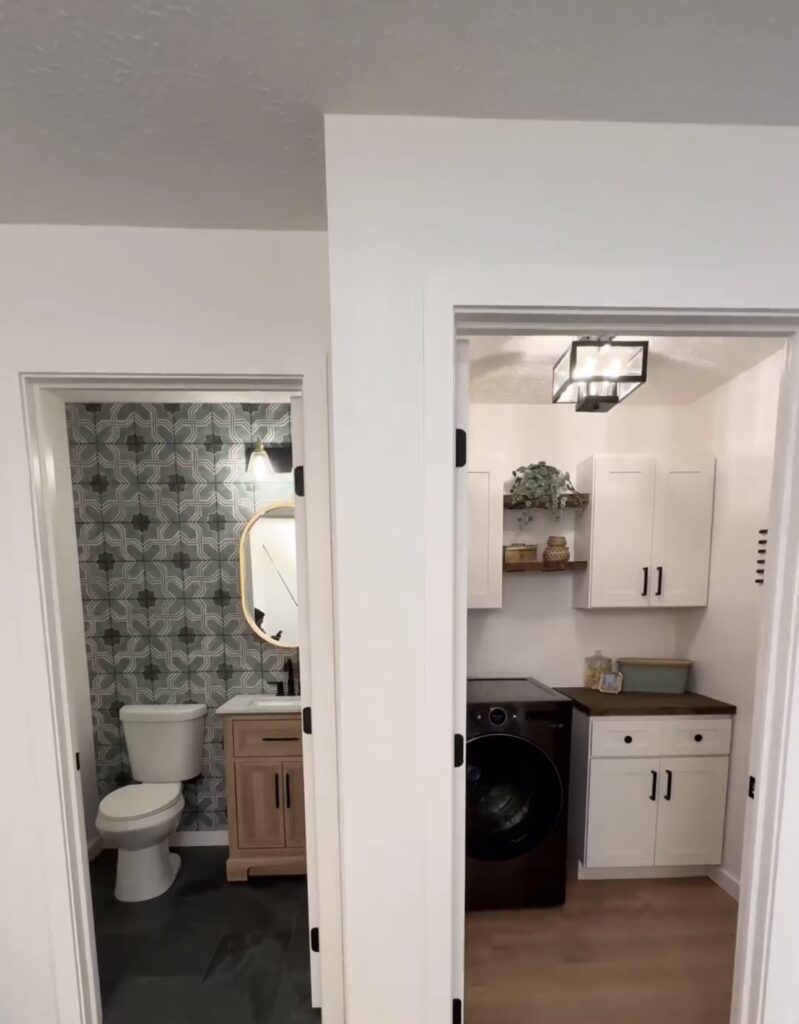
To finish things up, Ryan added a drying rack on the side wall and installed the door to the room. I also added a few pieces of decor to dress the room up a bit. We added the new LG WashCombo All-in-One Washer and Dryer which was perfect for the smaller space to save room and allowed us to still be able to have that lower cabinet for plenty of storage!

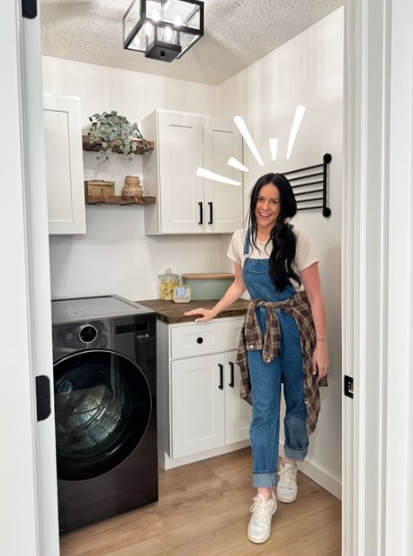
The finished room blows my mind! I can’t believe this room didn’t exist before! Relocating the laundry from the basement and giving this house a real laundry room is going to add so much value!
I’m so glad my vision for turning that tiny closet space into a real laundry room for this flip house came out so good! It’s even better than I imagined. And it looks amazing next to the half bath that we also created from scratch!
Leave a Reply
Grab our FREE download
Wanna know the 5 must have tools you need before you start?
Considering a DIY Project?


I’ve read some good stuff here. Definitely worth bookmarking for revisiting. I wonder how much effort you put to create such a magnificent informative site.
Hello There. I found your blog using msn. This is a really well written article. I will be sure to bookmark it and return to read more of your useful information. Thanks for the post. I’ll certainly comeback.