


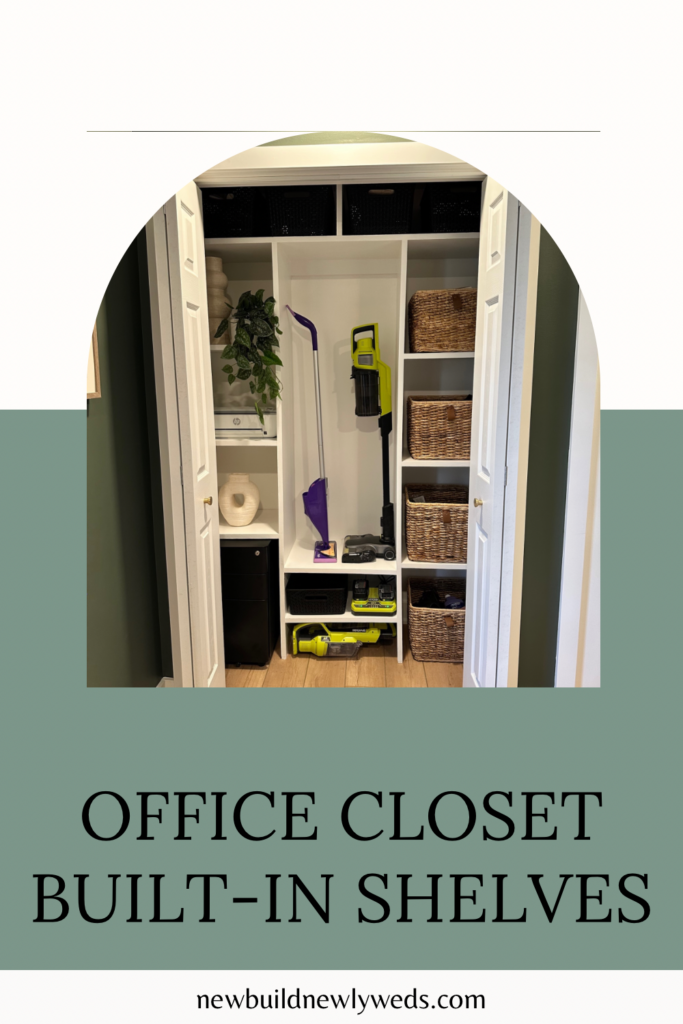
DIY Office Closet Built-In Shelves
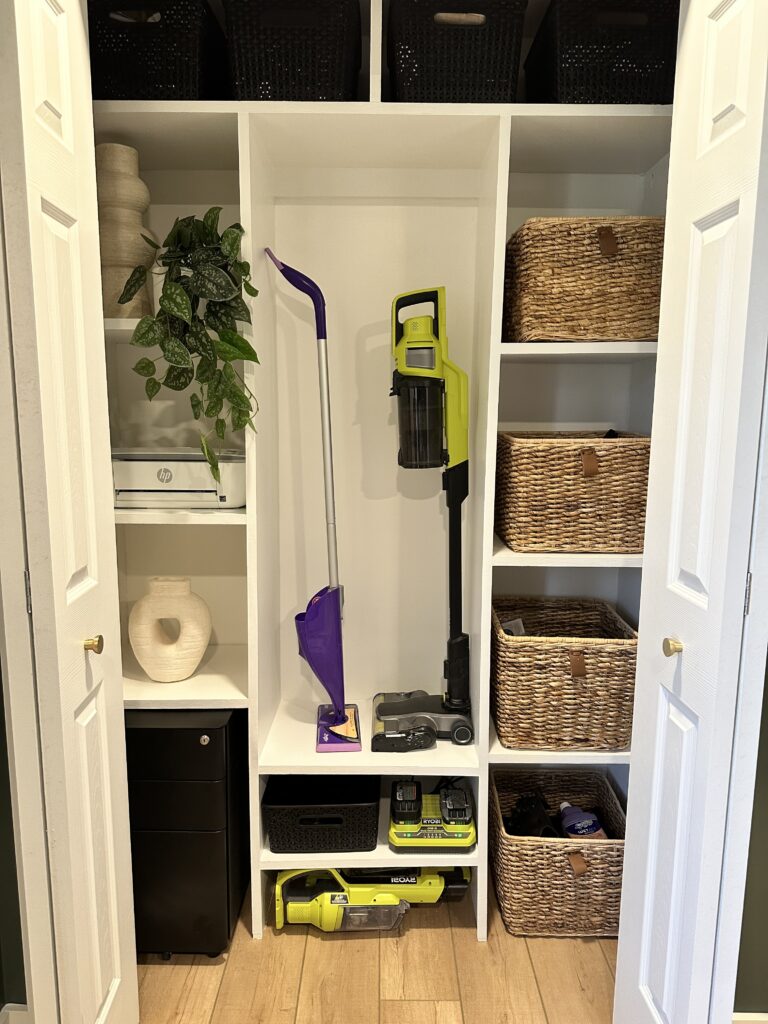
It has been a while since we’ve worked on anything in the office so it was time we did a quick project in there. We don’t have many storage areas in our home so we have had to be pretty strategic about where we store our household items that we use on a regular basis and want quick access to. Up until now things like our vacuum cleaner and office supplies have just hung out, stacked around the floor of the closet so it was definitely time to give them a designated place.
These closet built-ins were really simple to do and gave us an organized space for all of the things we use around the house or in the office often.
What You’ll Need:
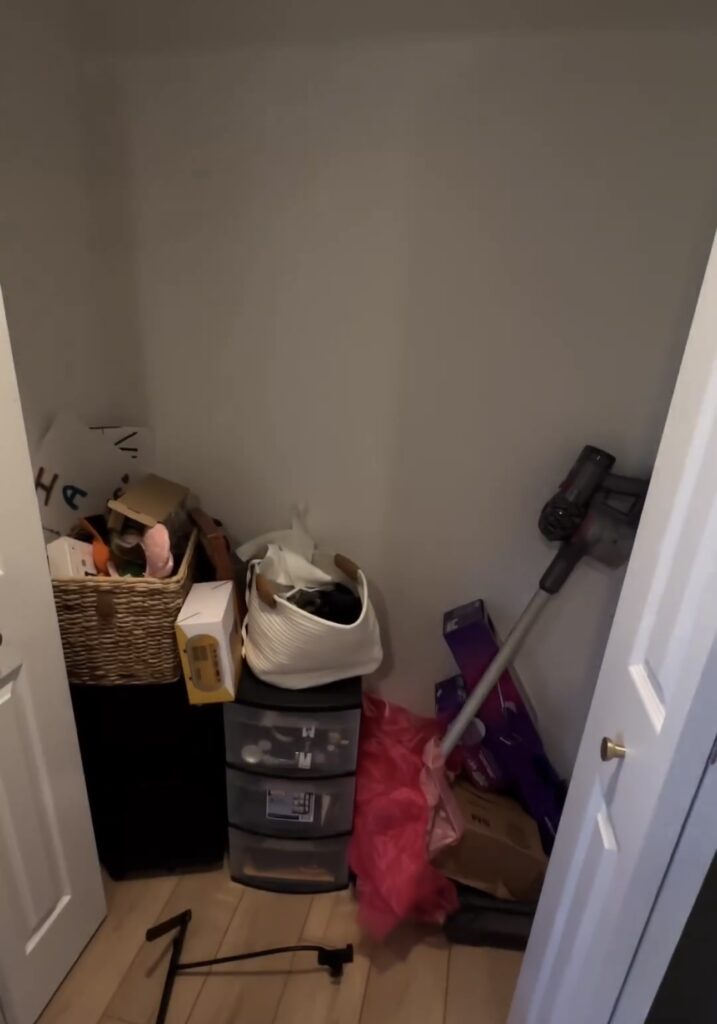
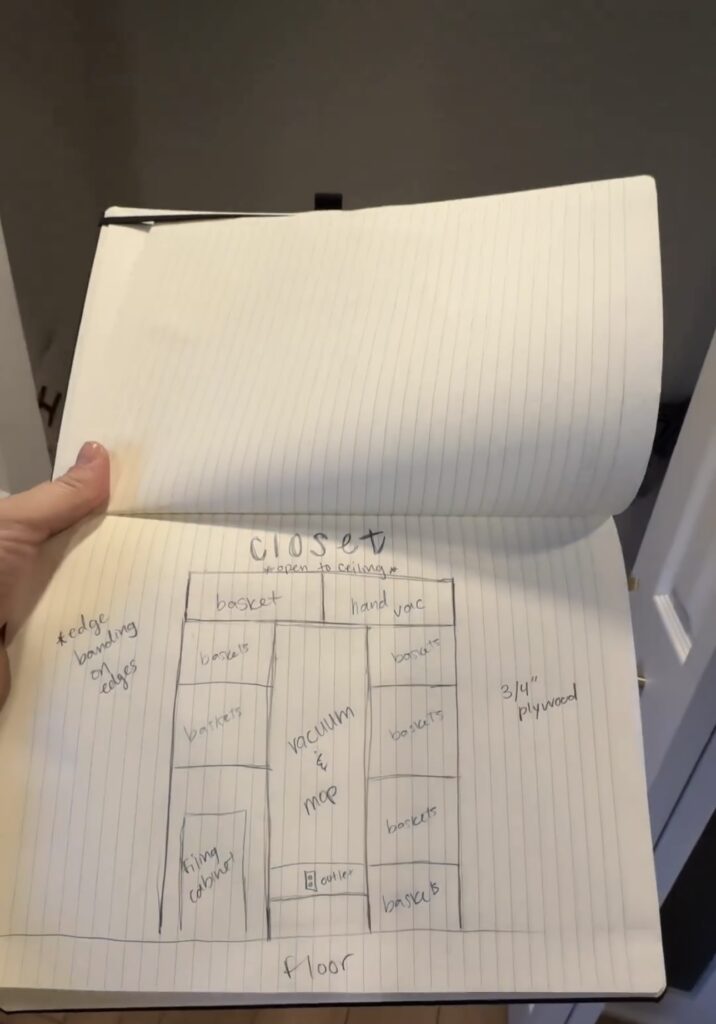
Before we started, we cleaned out the closet and Ryan took measurements of the closet and I mapped out what all we wanted to store in the closet and the dimensions each opening and shelf would need to be to fit those items.
Once we had our measurements down, we got to work!
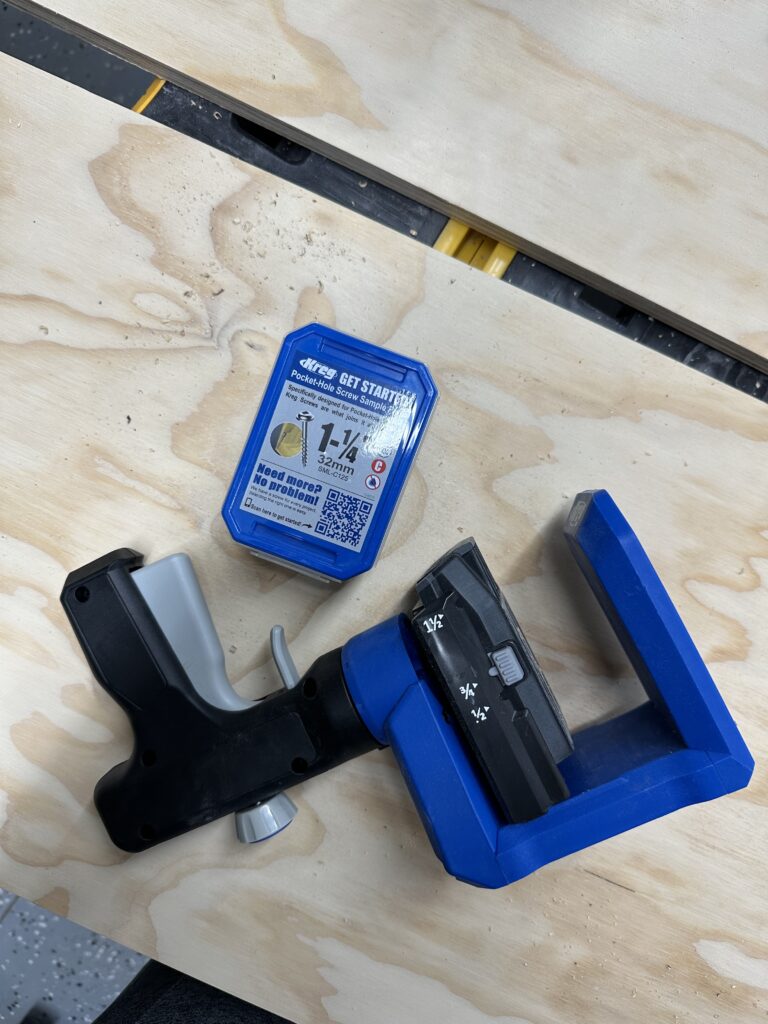
We used 3/4” plywood for this project because it’s easy to work with and cost effective. It required a lot of stripping of boards to get them to the right measurements but it’s worth it!
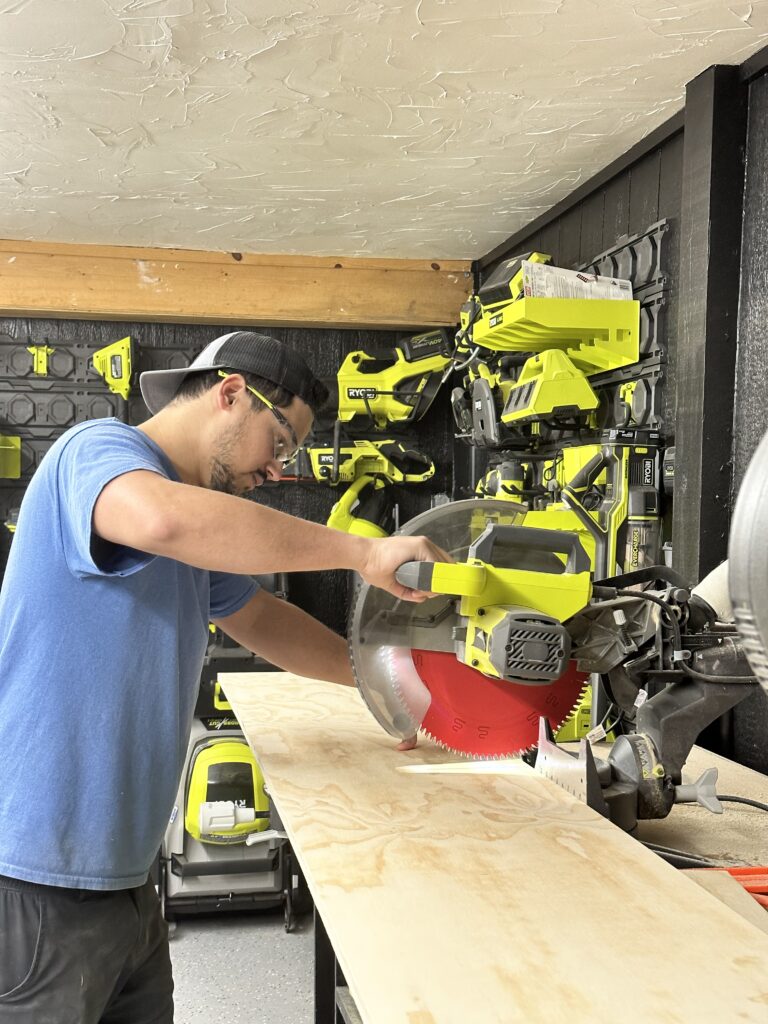
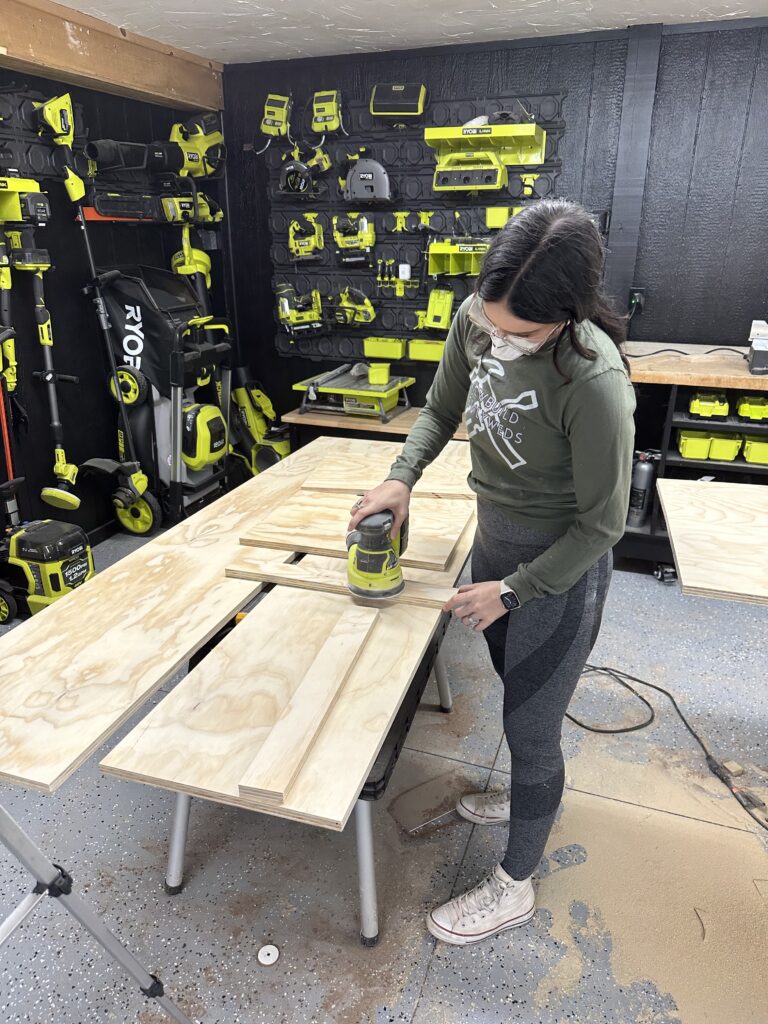
We started with the middle section where the vacuum and mop will be stored. Ryan used our Ryobi table saw to make the cuts for the side walls and lower shelves of the built-ins, while I sanded everything to make the wood nice and smooth for when we paint it.
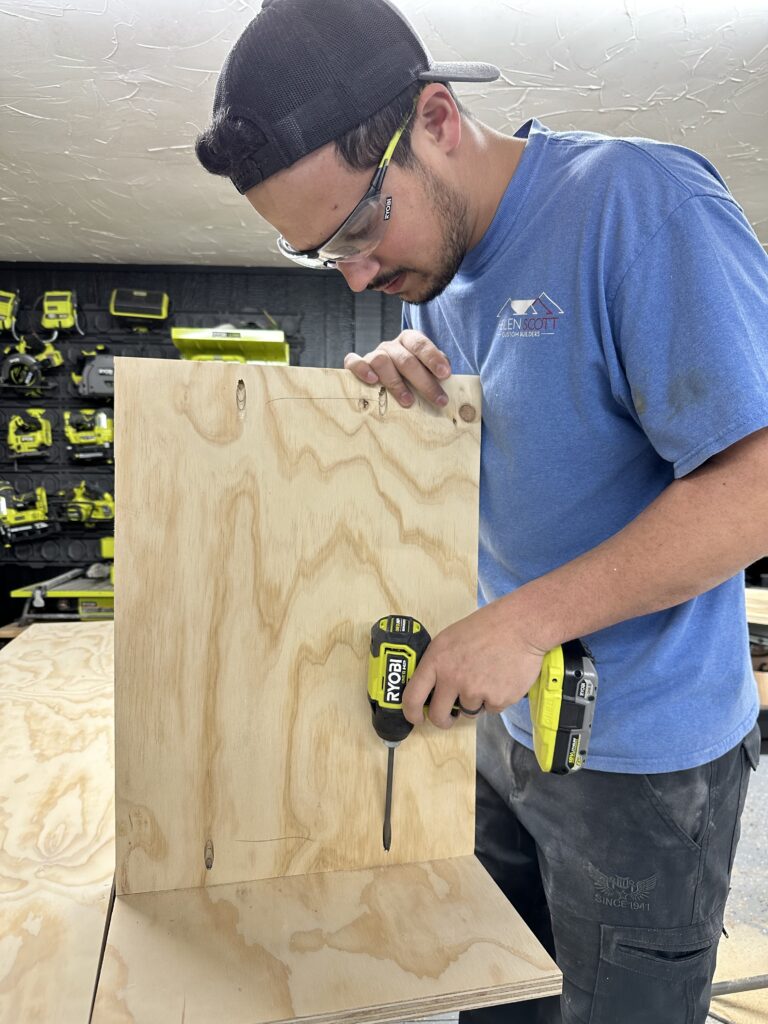
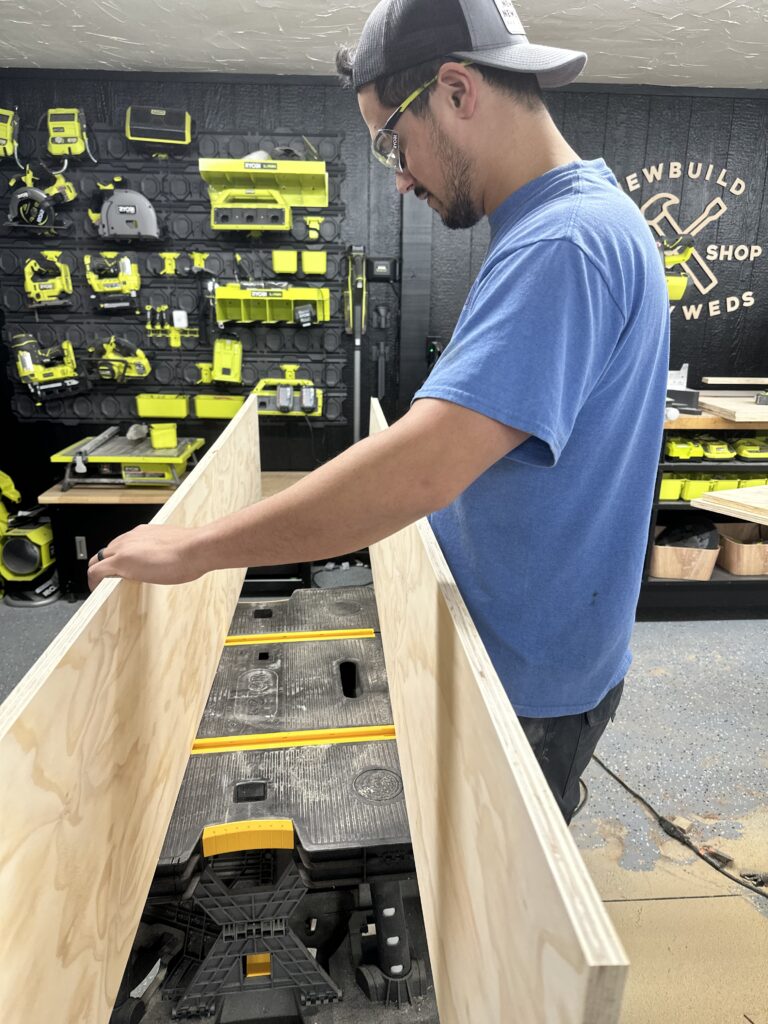
We used a to make pocket holes in the boards for the middle section so it can all connect together.
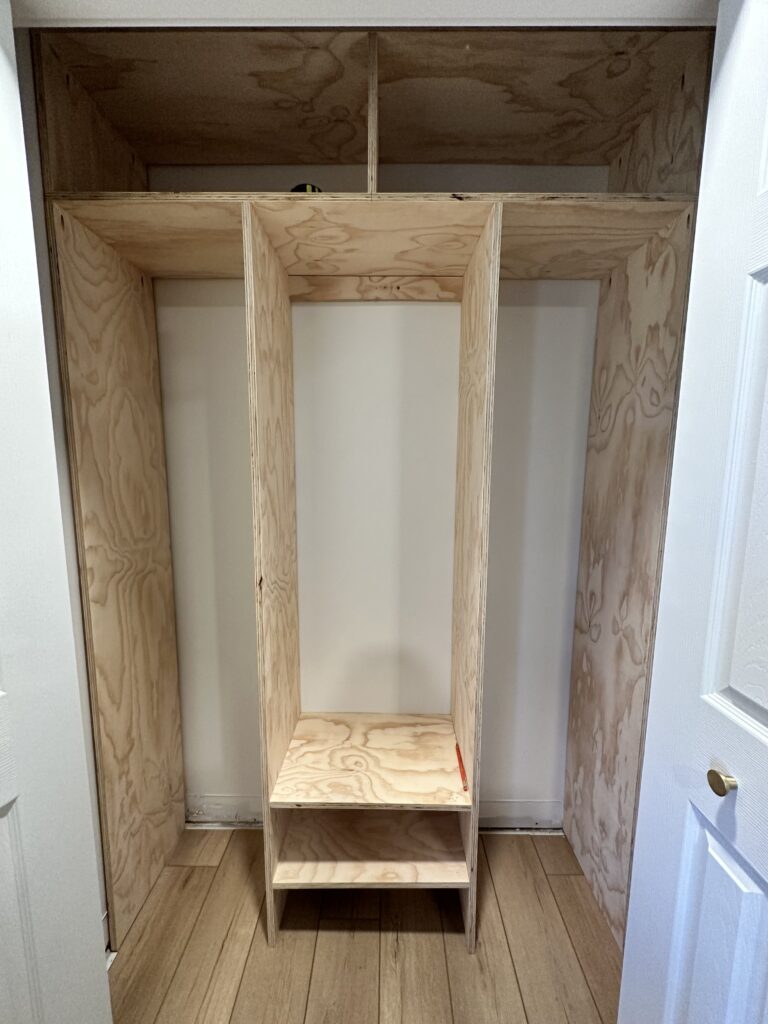
After we got the center piece built, Ryan cut all of the shelves and we moved it all into the closet. We started by countersinking all of the screws and attaching the center and side pieces to the wall.
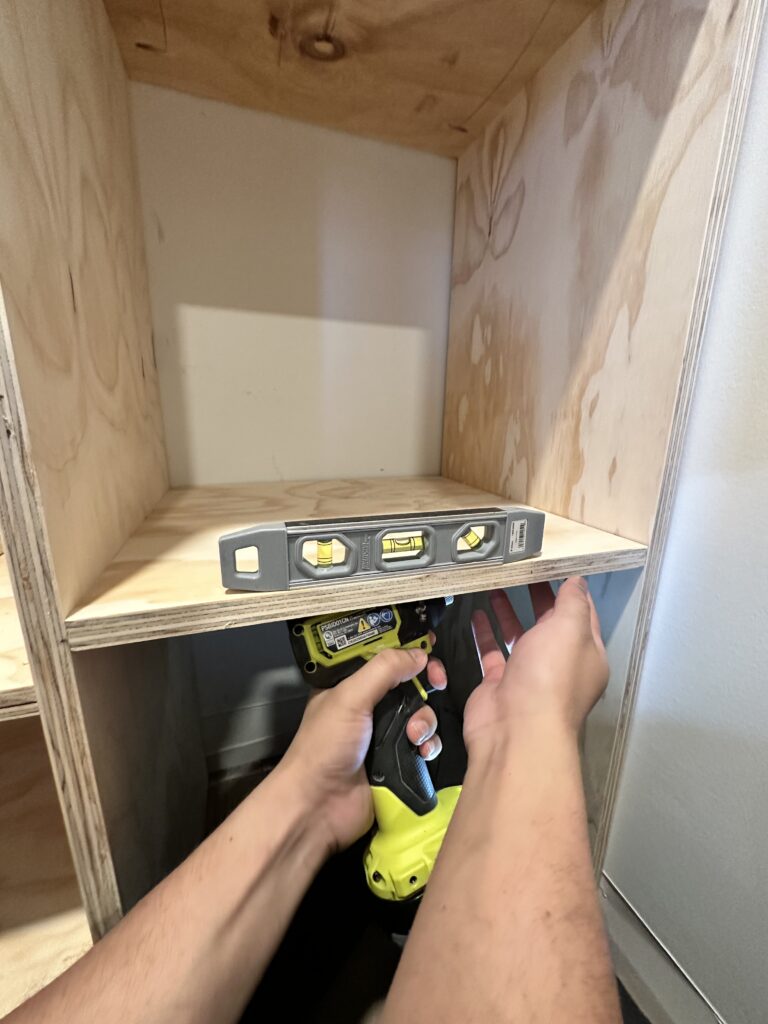
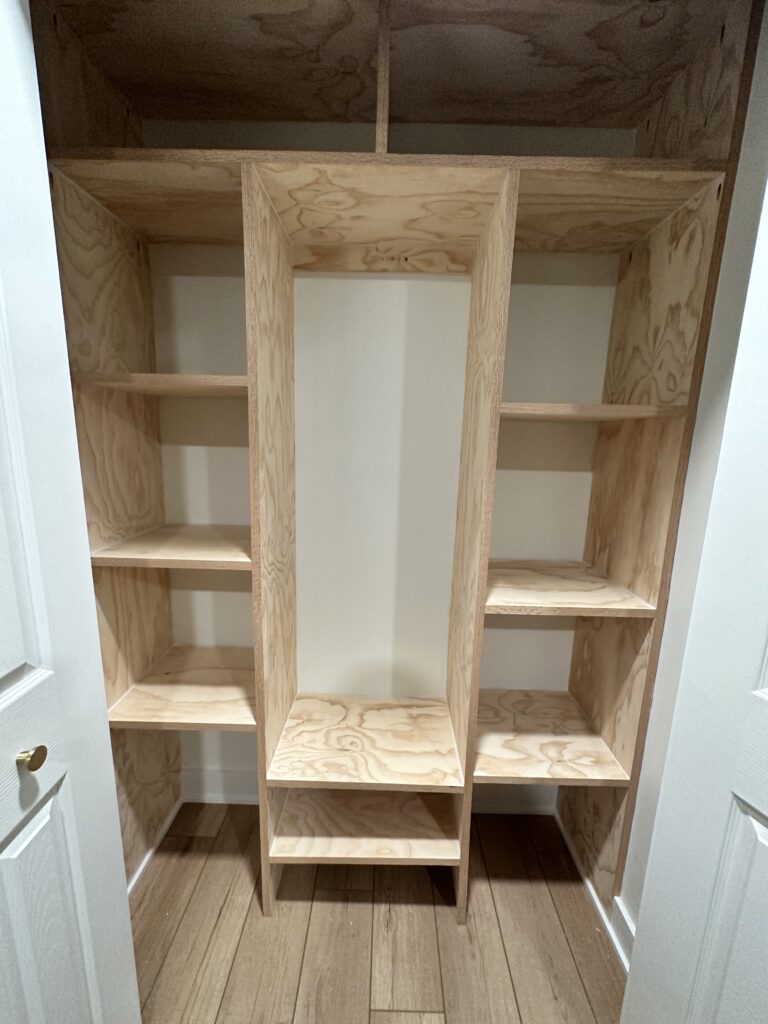
Then we used a level to add the side shelves and attach them to the wall. We took the baseboards off before we started so the boards would be flush against the wall. Ryan cut the baseboards to fit between the boards on the bottom and reattached them.
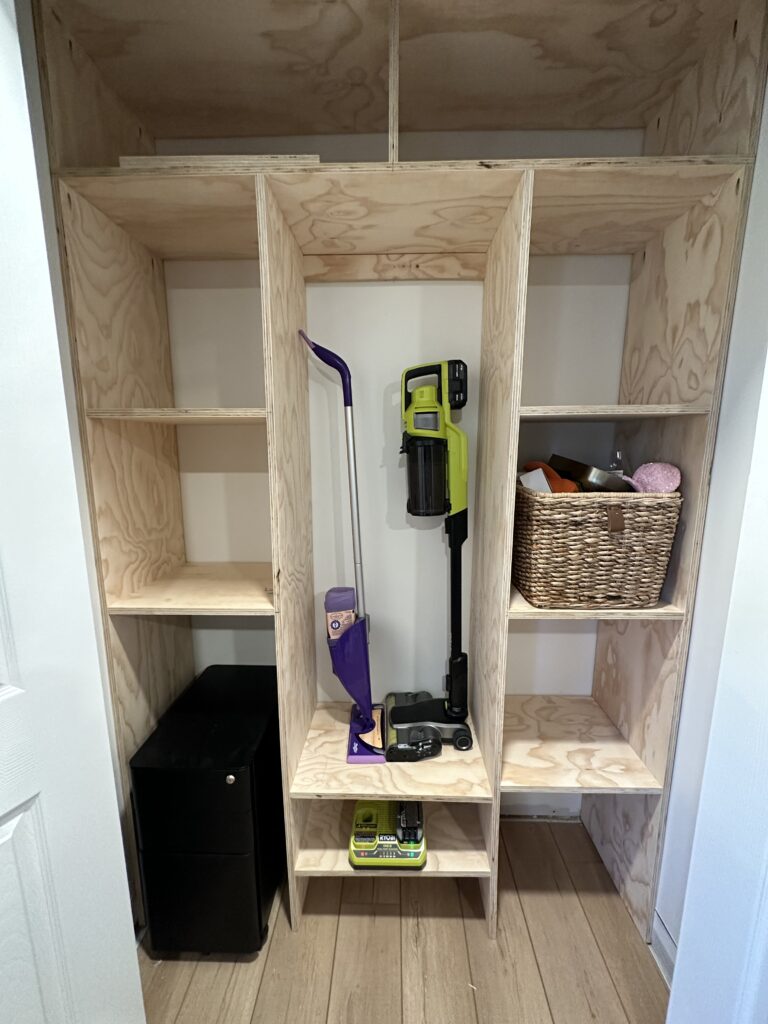

It’s finally starting to look like a closet! I had to get a little preview and add some of the items onto the shelves to see how it all looks and fit together! Now that it’s all put together, I used the Ryobi caulk gun to caulk all of the edges. This caulk gun is amazing and makes caulking so much easier.
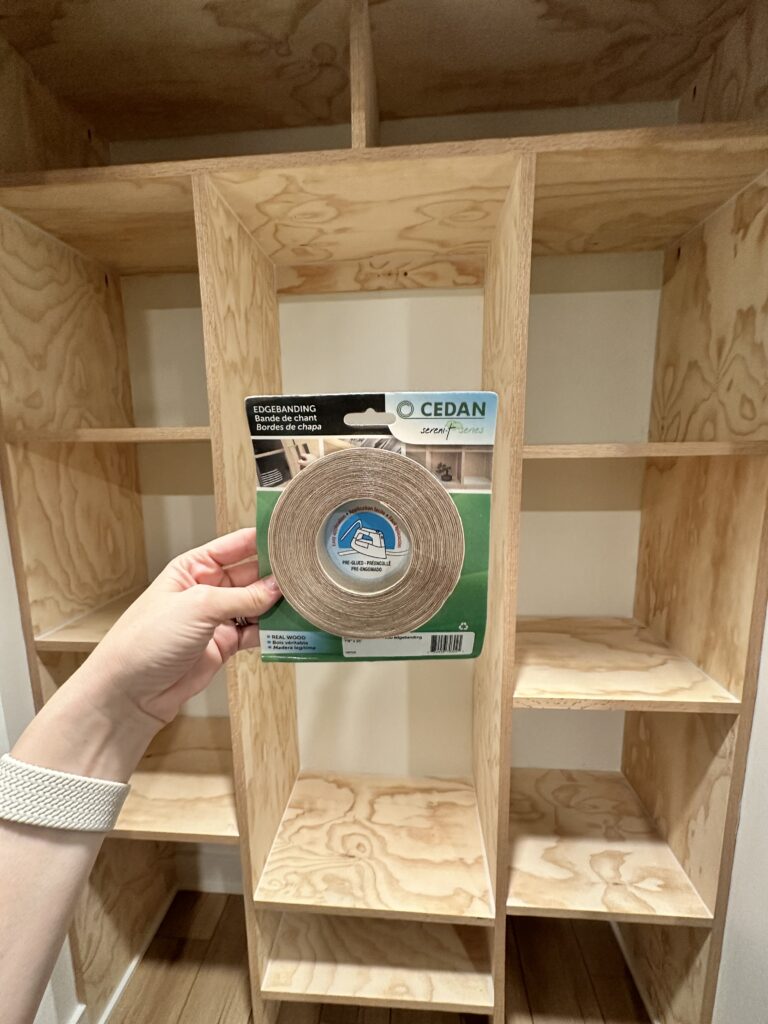
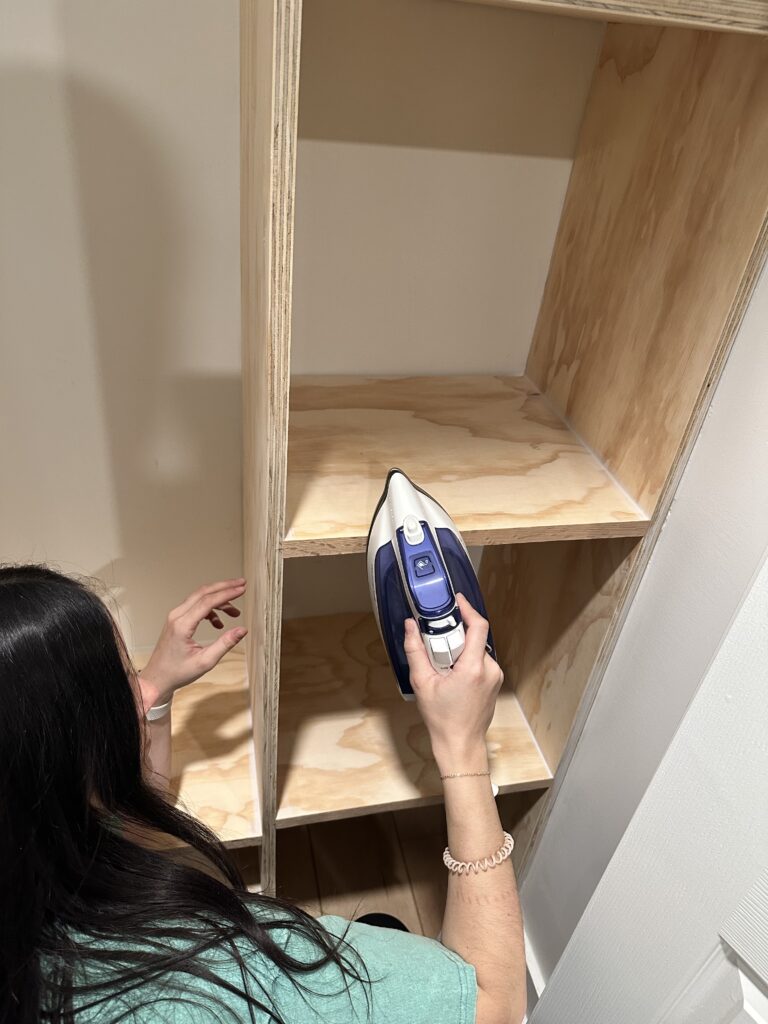
We could have just painted from here, but since we used plywood, I wanted to do something about the ugly, raw edges since they are exposed. I used edge banding to finish off the edges and make them look nicer. Edge banding has an adhesive on the back and all you need to apply it is an iron! The heat activates the adhesive and adheres it to the wood edge. You can use a knife to cut the access banding if there is any extra hanging over but ours only had a tiny piece so it wasn’t necessary.
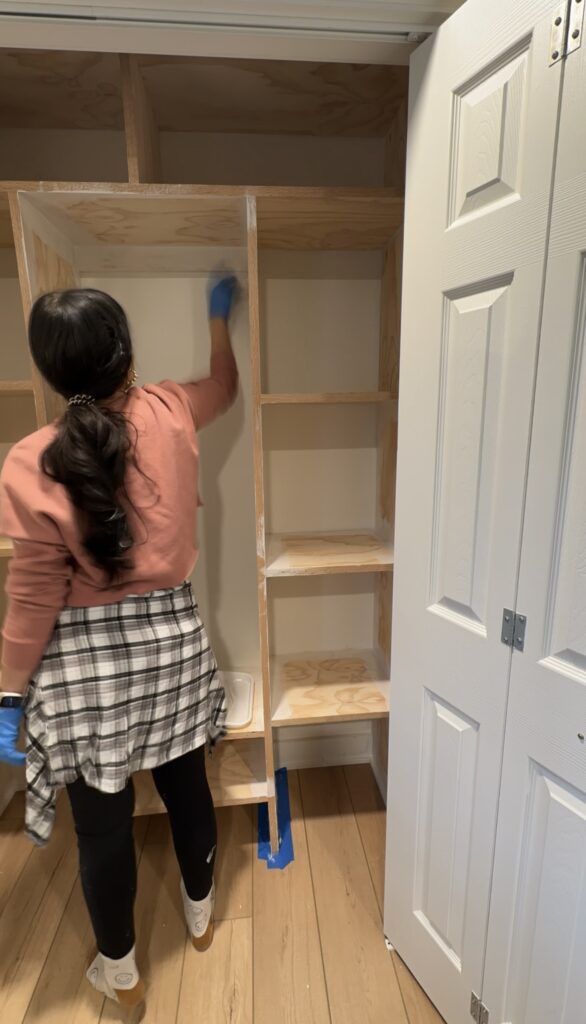
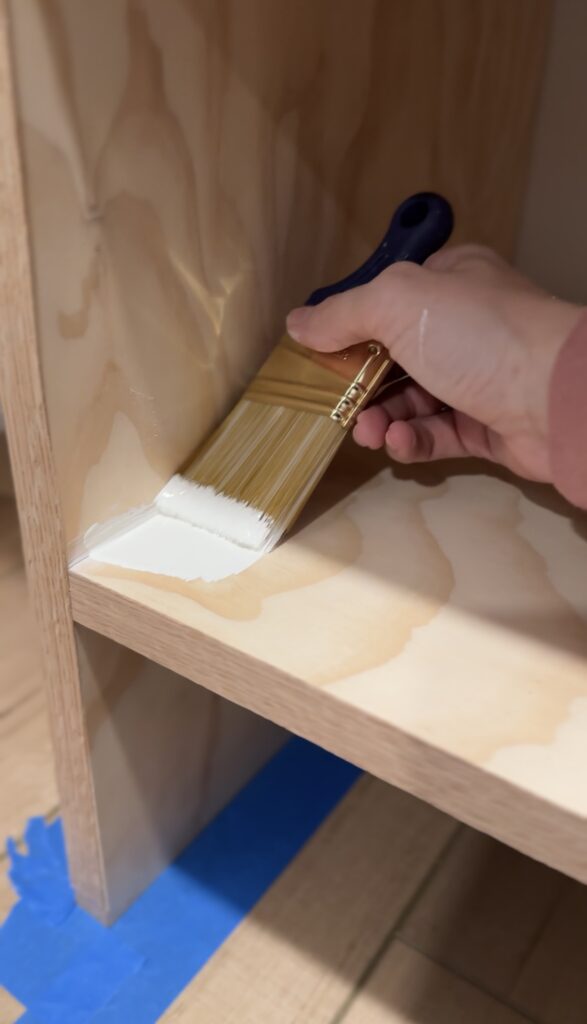
Before we started painting, I used a wax crayon to fill the nail holes and lightly sand them. Then I painted one coat of Kilz oil based primer with a 2” angled paint brush and a small paint roller.
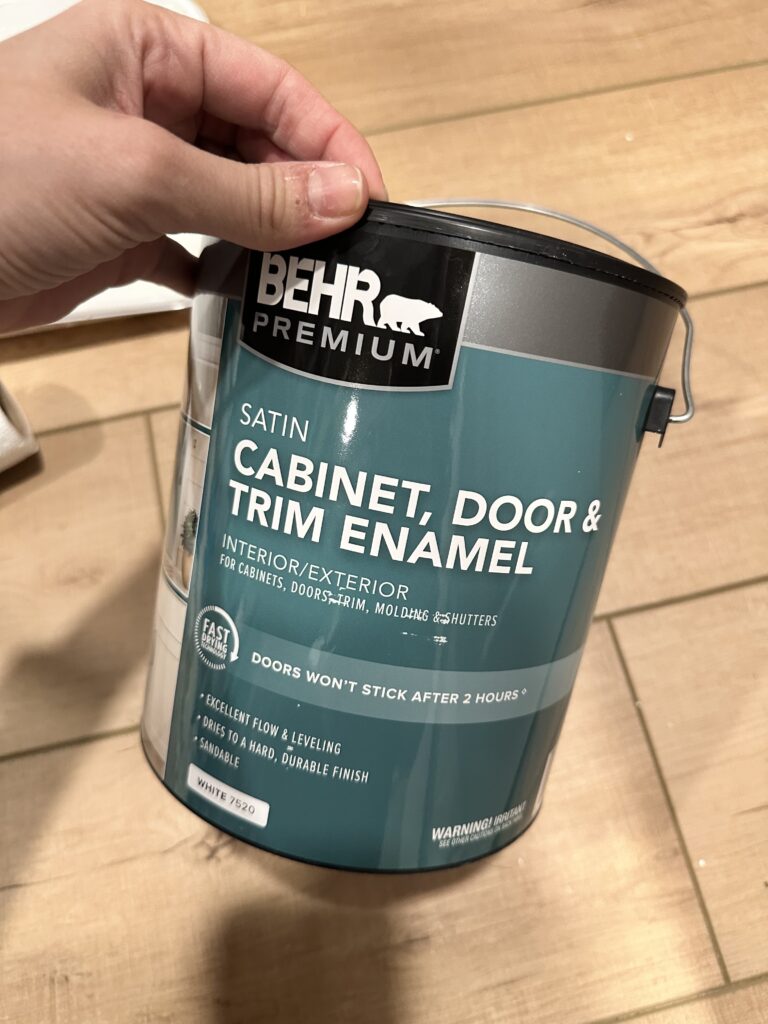
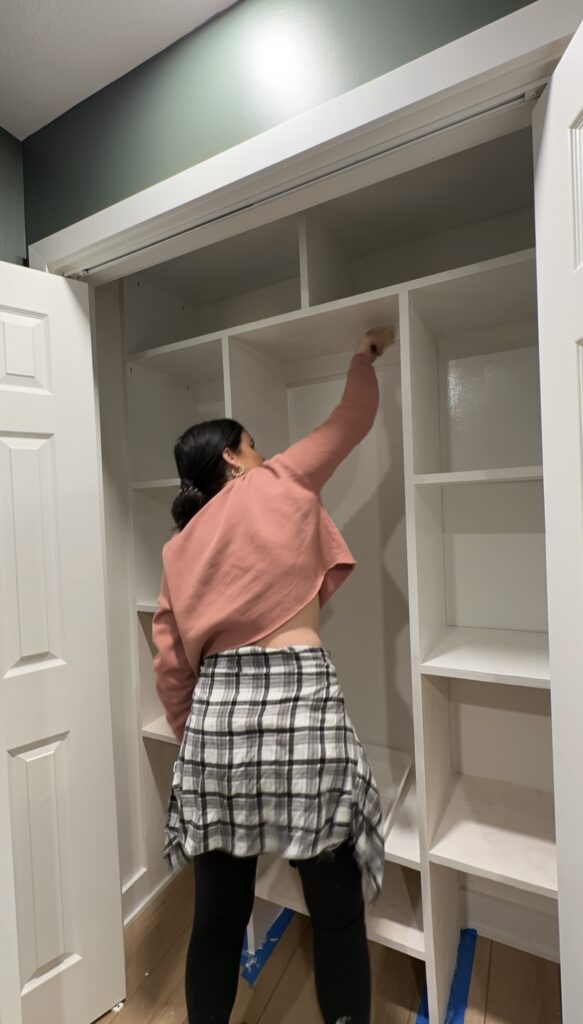
We let the one coat of primer dry and then lightly sanded before painting the entire closet with a cabinet enamel paint. We did two coats of paint for everything.

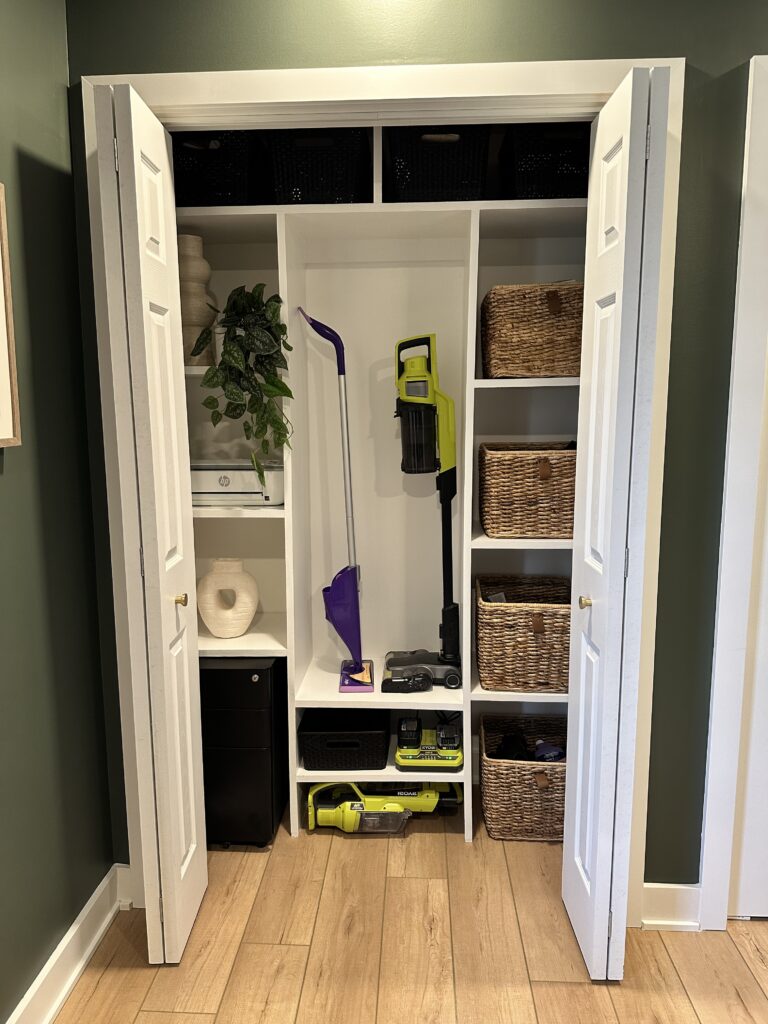
Look at the difference! This was such a quick and simple project that made a huge impact! I am loving all of the storage and how everything is organized and has a place. This was long overdue and now we can move on to some of the other projects we have in mind for the office.
Leave a Reply
Grab our FREE download
Wanna know the 5 must have tools you need before you start?
Considering a DIY Project?


Be the first to comment