


DIY Faux Wood Beams for Living Room Ceiling
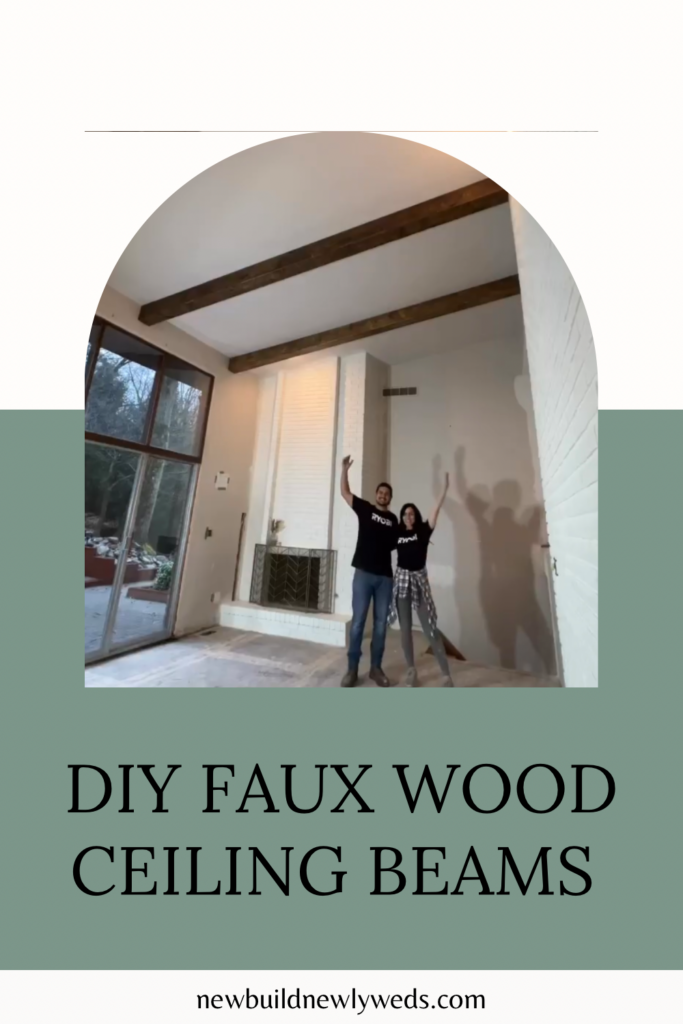
When we bought our house, it already had three beams going across the living room ceiling. But they were white plastic and looked very dated. I immediately imagining covering them with wood beams to tie in the natural aesthetic that we have throughout the majority of our home.
This was one of the toughest projects we’d ever tackled but I was confident we could do it with a little bit of patience and grit.
What You’ll Need
This is a big project so you’ll need quite a few tools and supplies to get this one done
- 1x8x14 boards (you will need 3 boards for each beam you plan to make and the length will be determined by how long the beam you plan to make is)
- Table Saw
- Miter Saw
- 18V Nail Gun
- Sander
- Clamps
- Gorilla Wood Glue
- Rotary Tool with Wire Brush Attachment
- Hammer & Chisel
- Wood Conditioner
- Wood Stain
- Caulk & Caulk Gun
Let’s Get Started
Since we are making three beams to cover the existing beams in our living room, we needed nine boards. Each beam will have three sides with one side open to fit the existing beam inside.
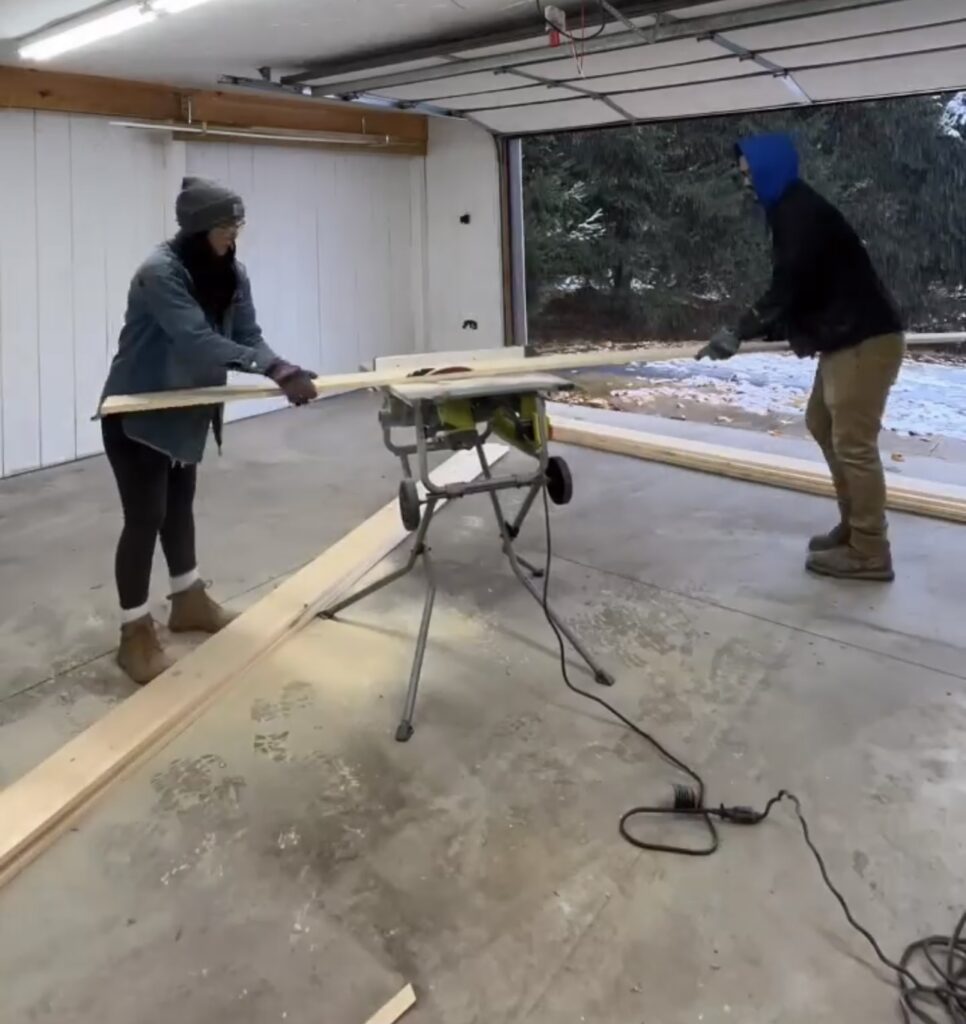
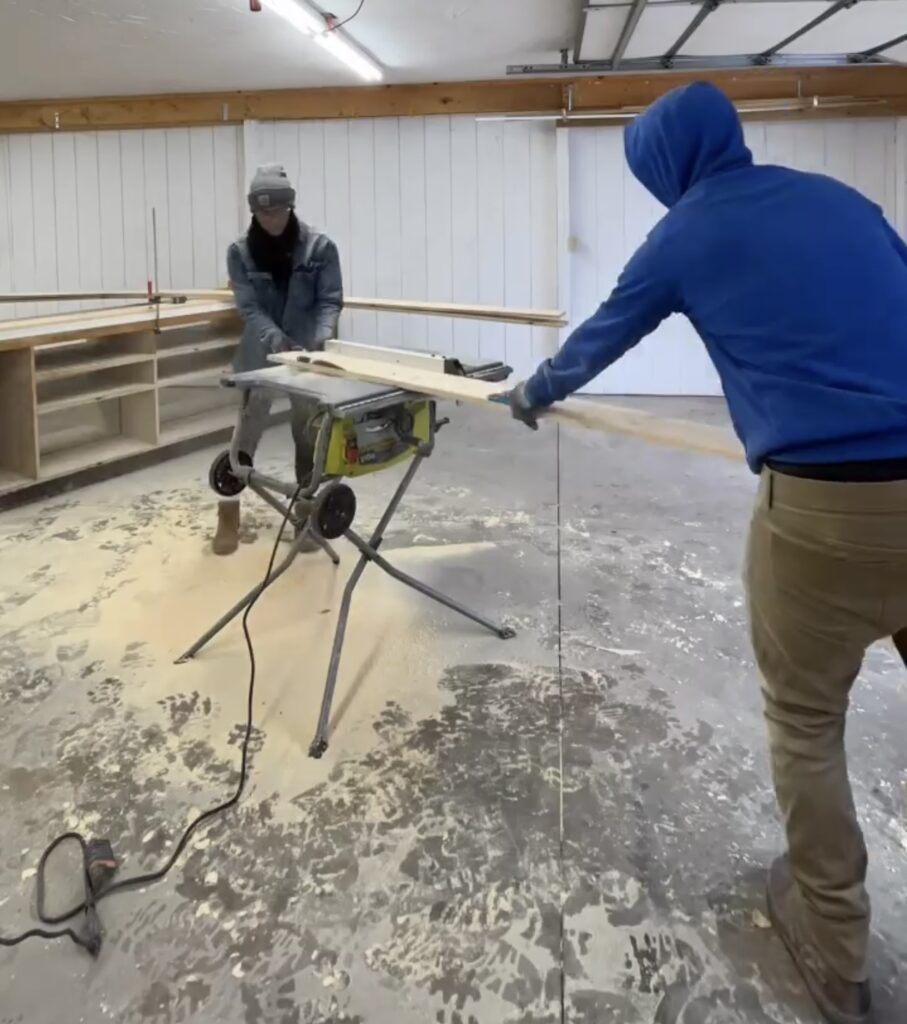
We started by mitering one size of all nine of the boards. Then we moved the guide rail slightly and mitered the other side of just 3 of the boards. These boards will be the used for the bottoms for the beams. The two side boards of the beams are 6-1/2″ each and the bottom board is 5-3/8″.
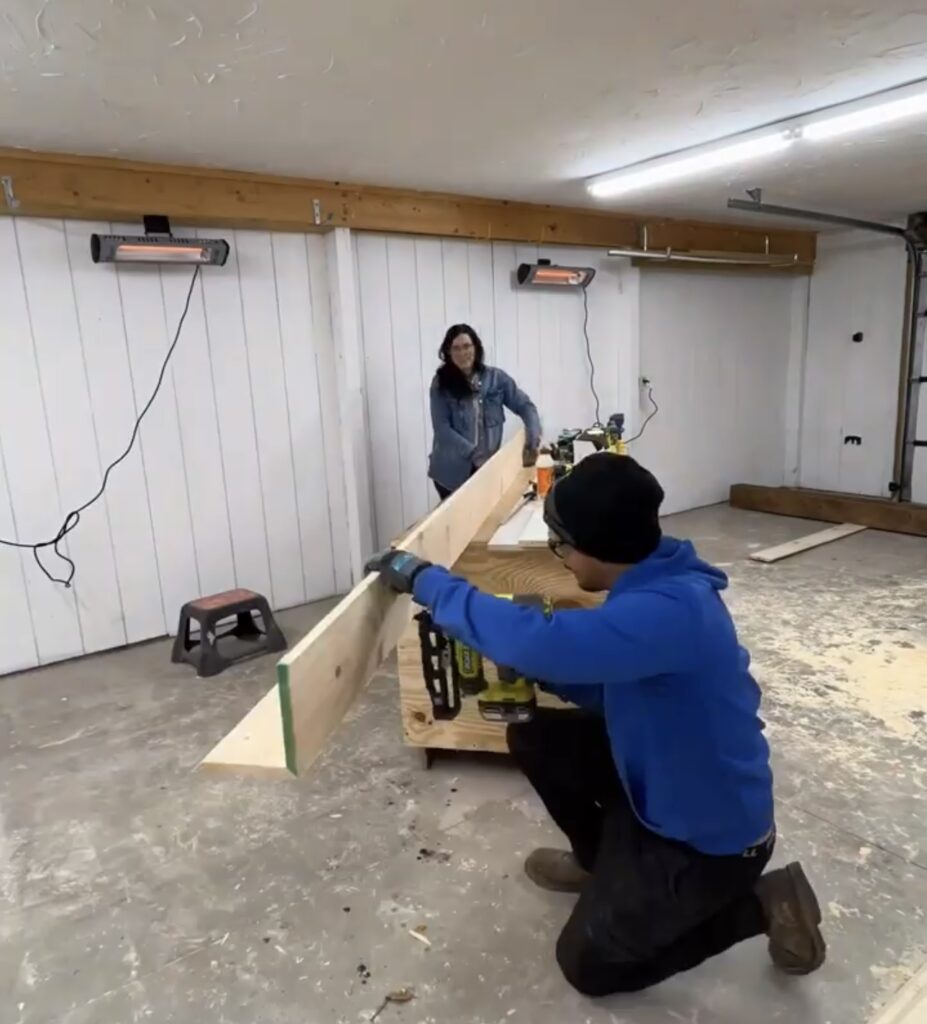
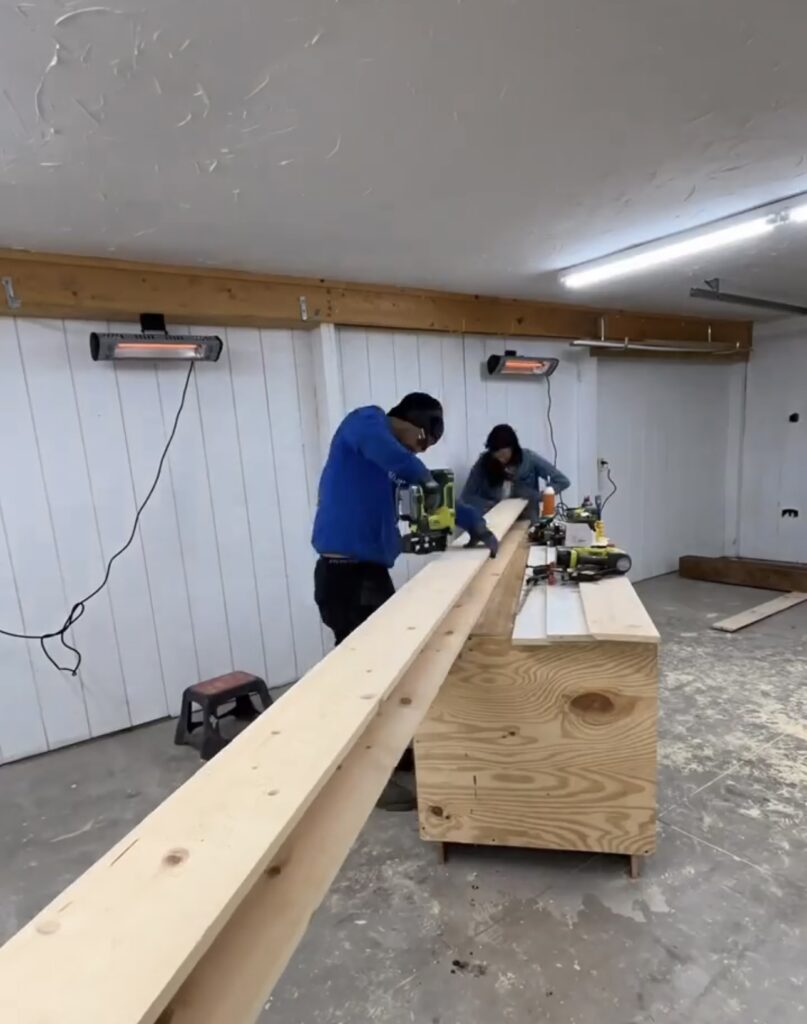
Once all of the boards were mitered, we used Gorilla Wood Glue and our 16 gauge 18V nail gun to attach the two side boards to the bottom to make the three sided beams. 16 gauge nails are stronger than 18 gauge nails, and we don’t want these to come crashing down on us later and we are also mounting a chandelier to the center beam, so the stronger the better!
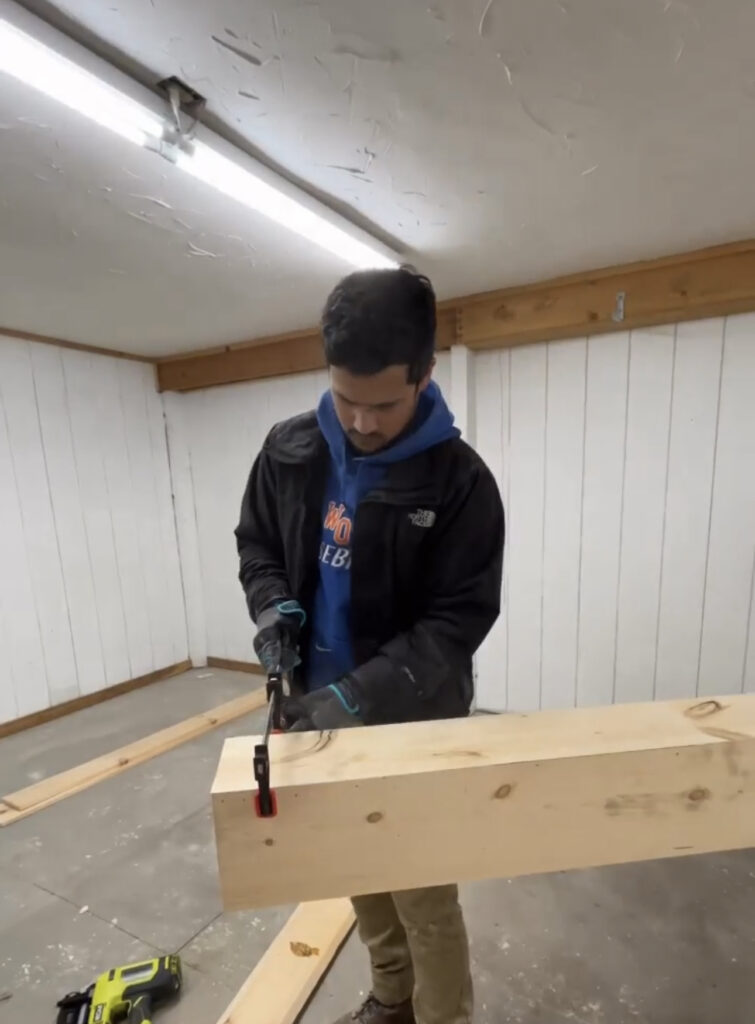
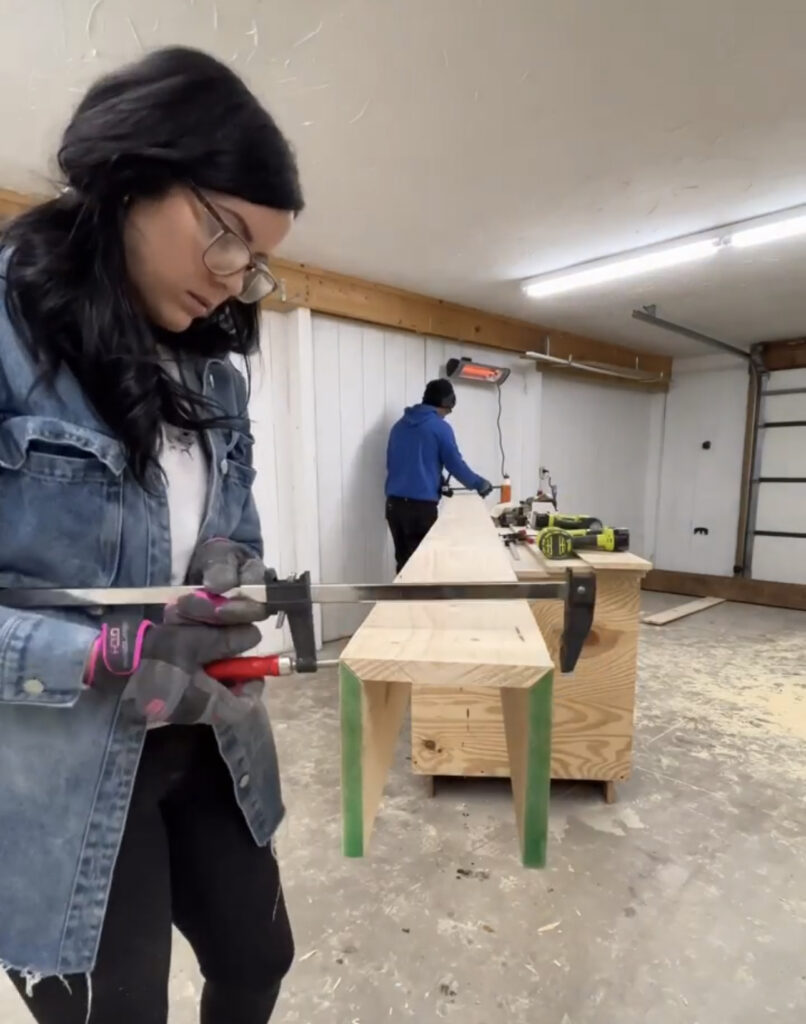
We used clamps to hold the board together nice and tight while the glue dried. We let it sit overnight to make sure everything was really secure before moving on to the next step.
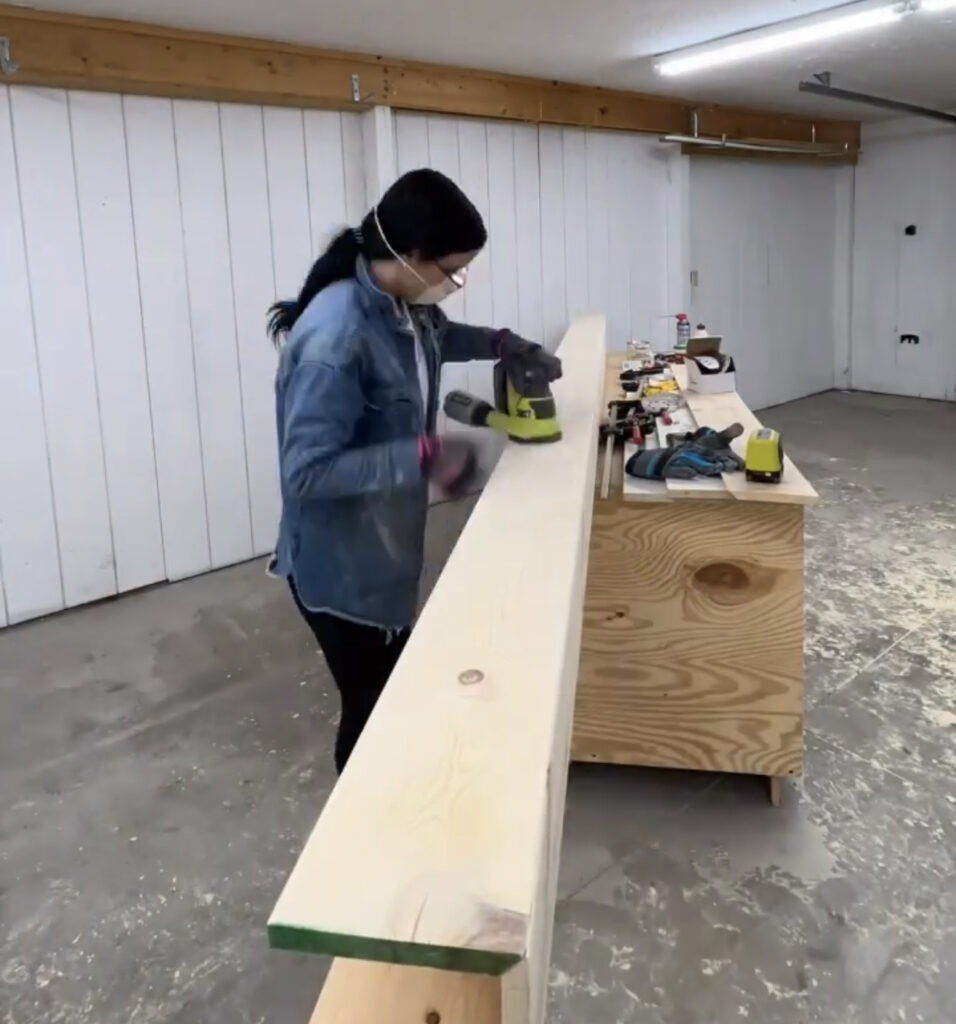
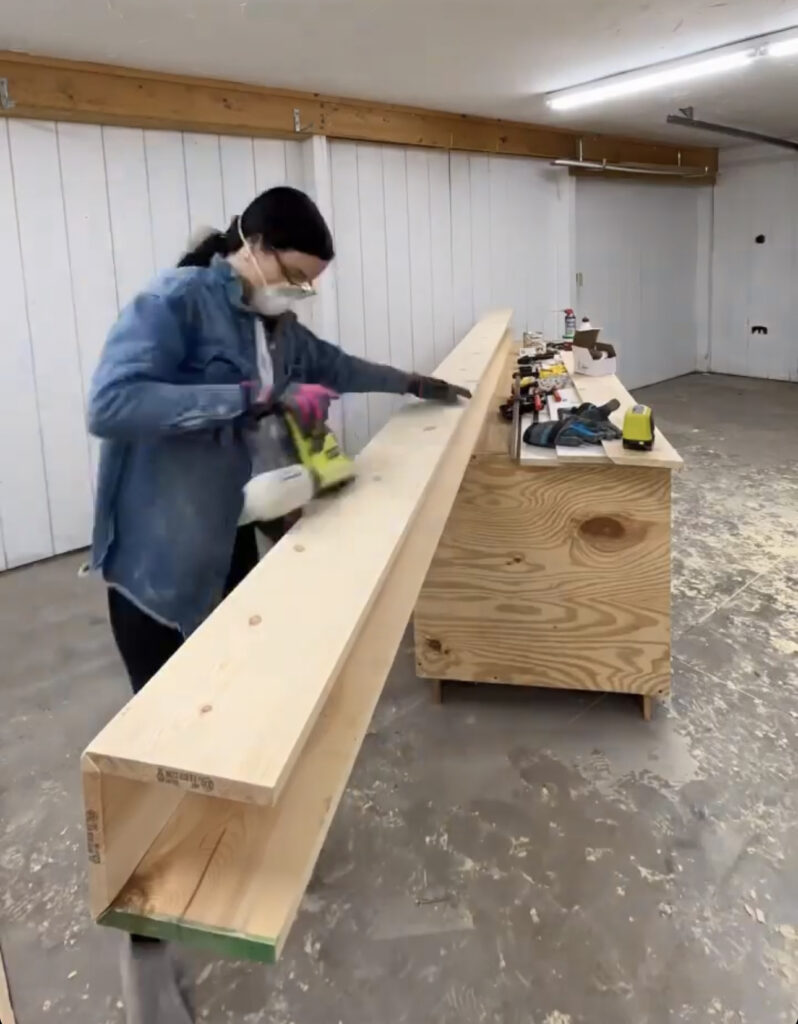
The next day, the boards were nice and secure so I got started on the next steps. I sanded with 120 grit first, then switched to 320. Switching to a higher grit sandpaper makes the wood really smooth. I made sure to sand the edges really well to make the edges really blend together and appear to be a single piece of wood, instead of three individual boards. All of the sanding will make a lot of dust, so be sure to wipe the board off after this step.
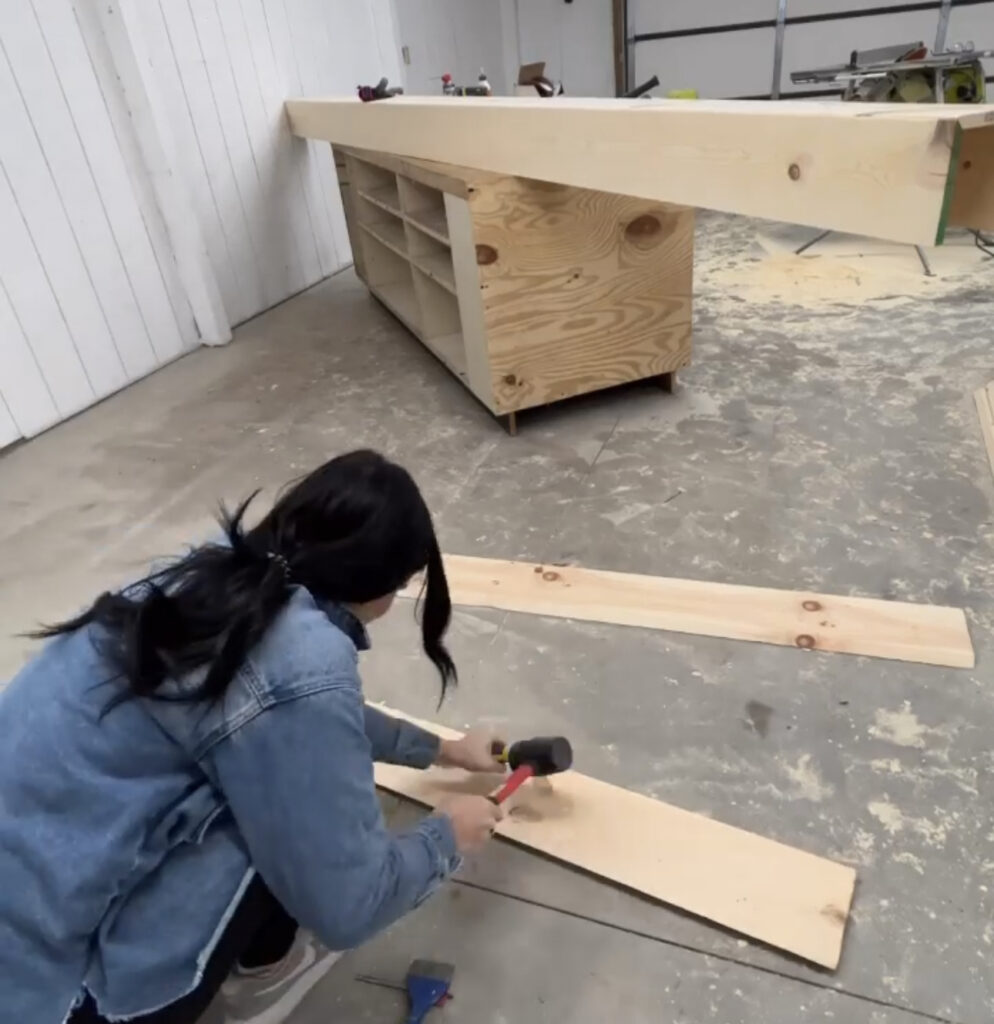
The beam was looking great already, but I wanted them to look like authentic wood beams, which means they needed to be roughed up a little. I tested my distressing skills on a scrap board before moving on to the beam.
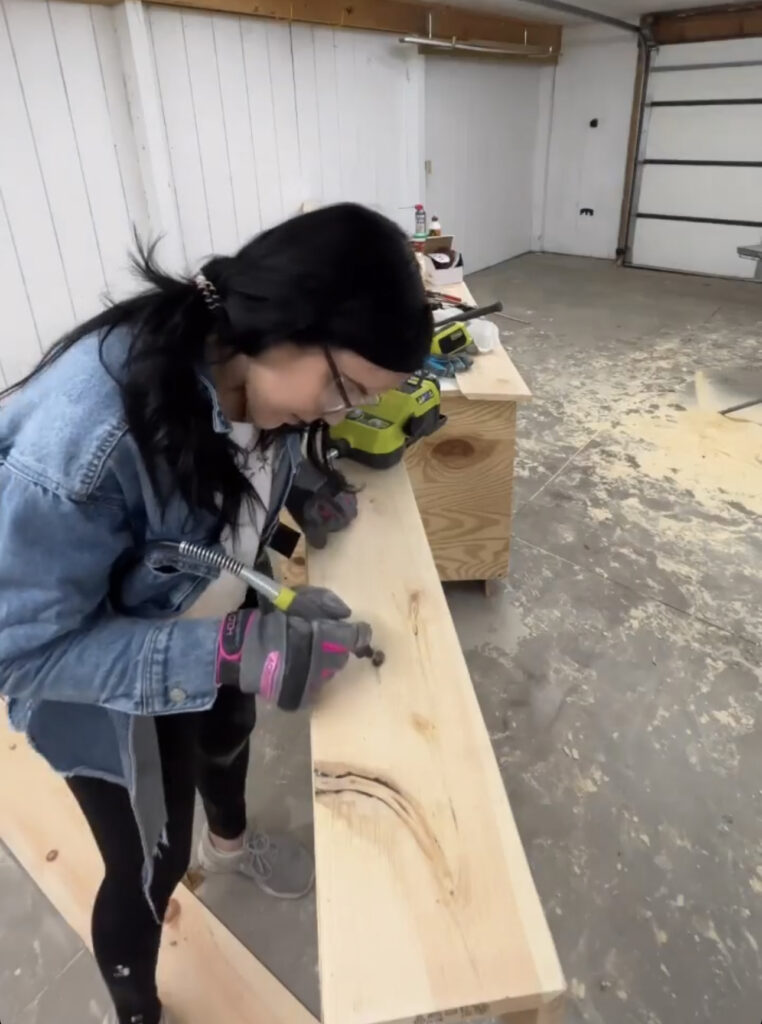
I started with my Ryobi Rotary Tool with a Wire Brush Attachment and then switched to a hammer and chisel to take up some of the wood. Then I used a screwdriver to make some lines and divets in the wood.
I went back through and lightly sanded the newly distressed areas to make them look more natural.
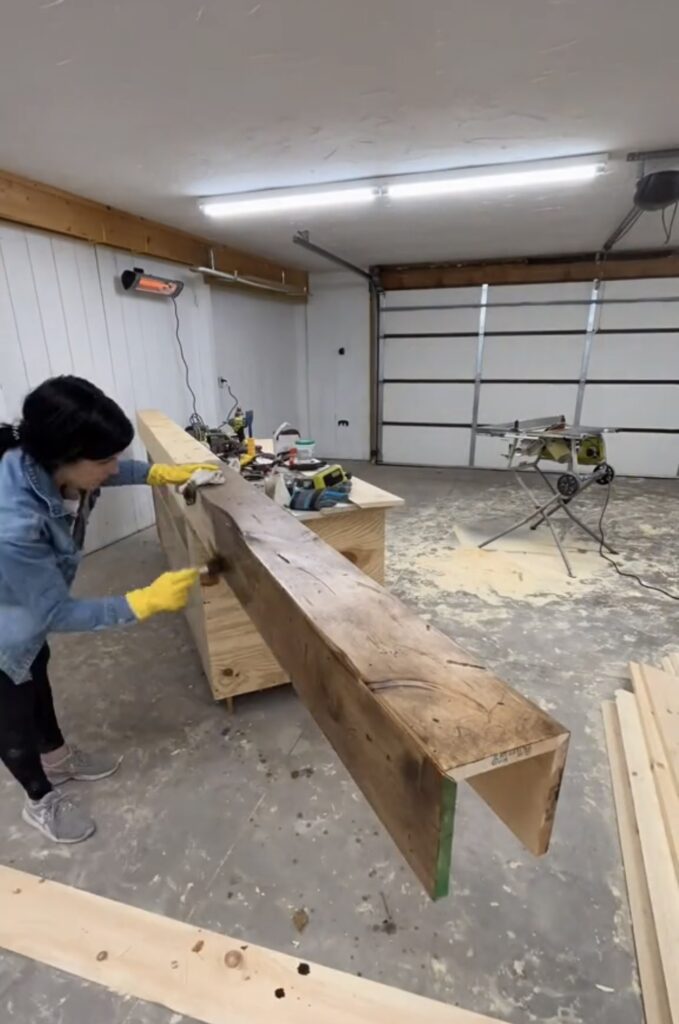
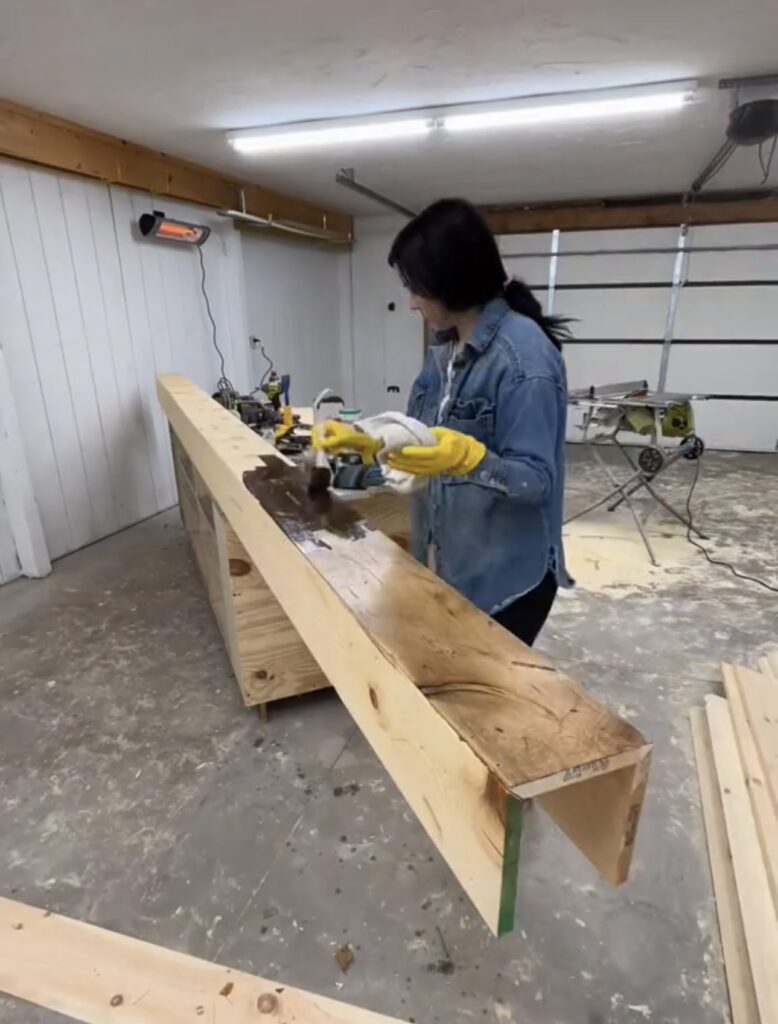
After the light sanding, I wiped the entire beam down and the used a foam brush to apply wood conditioner, wiping the excess away with a rag. Once this was done, it was time to stain the beam! We used our custom stain that was used on our kitchen island and fireplace mantle so that everything would match and pull the two rooms together. I used the same method for this as I did with the wood conditioner, applying with a foam brush and then wiping away the excess with a rag immediately after.
That was it for this phase of the project! After we finished the first beam, we felt a lot more confident building the second two beams. We used the same method for each of the beams and it took us two and a half days to complete all three beams from start to finish, considering Ryan was only home in the evenings to help me.
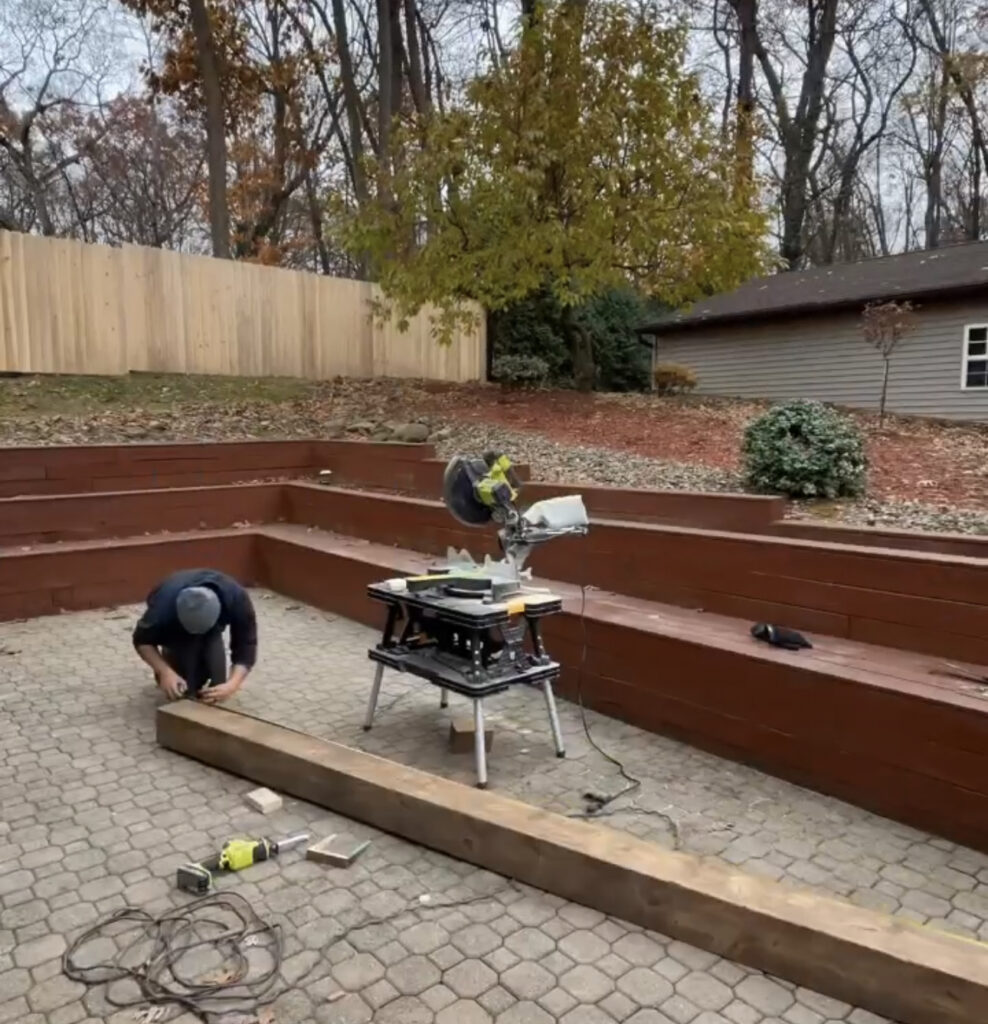
The next part was the trickiest part of this project. We have very tall ceilings and they are angled. So the angle of the the beams would need to be cut differently on each side depending on if it was the wall side or window side of the ceiling.
Ryan used a scrap piece of wood to cut and record the angle of each beam to make this part a little easier!
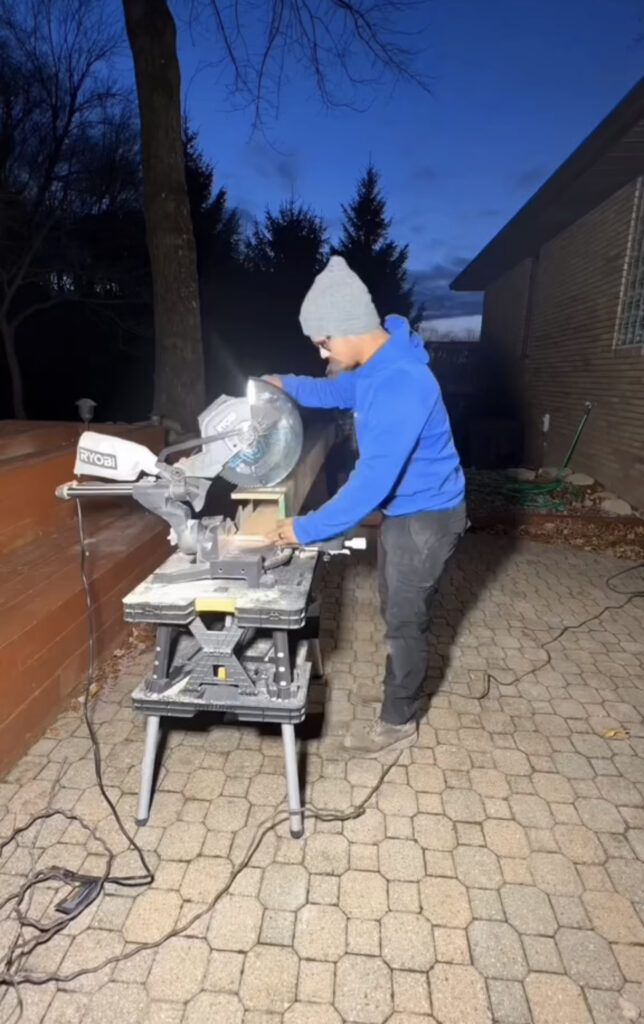
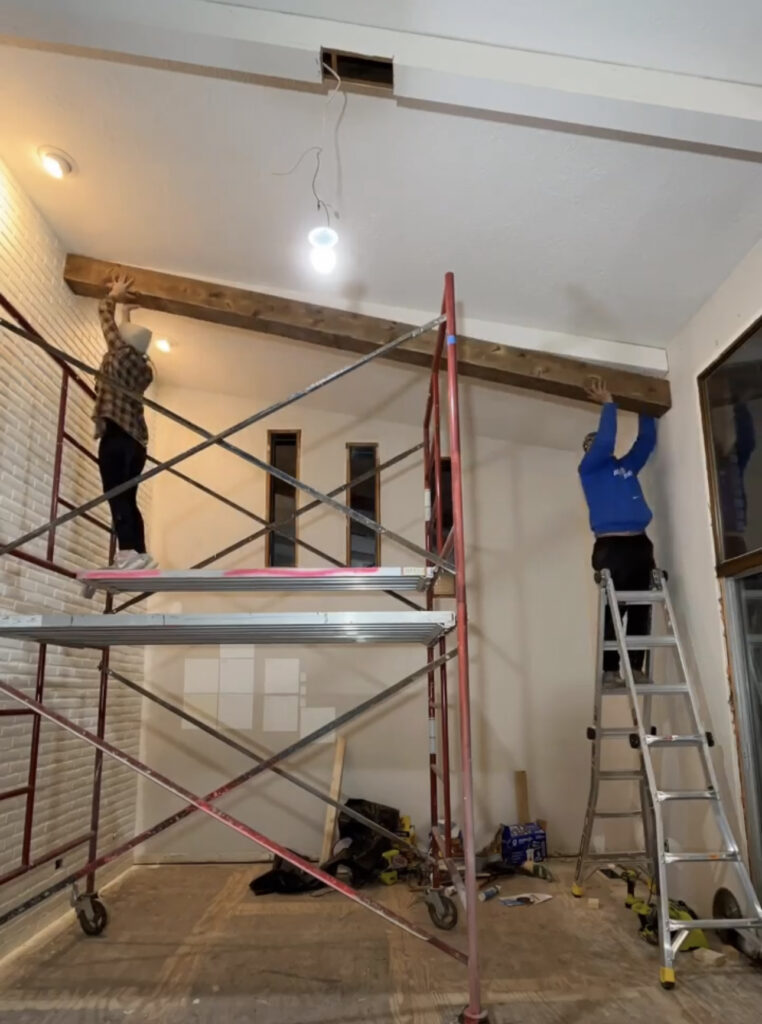
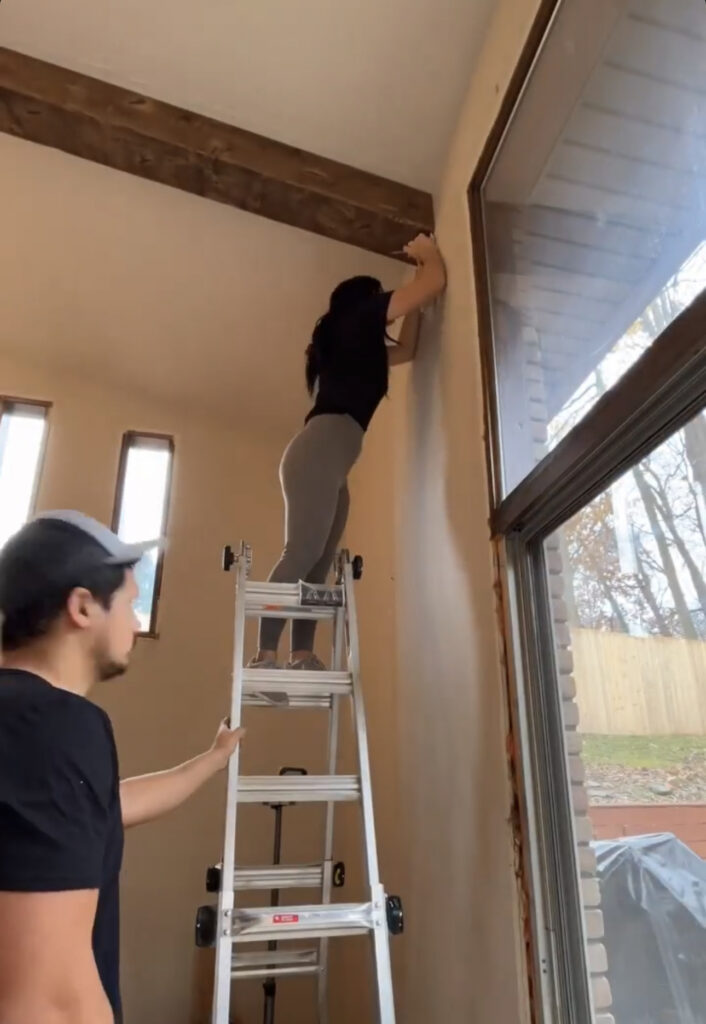
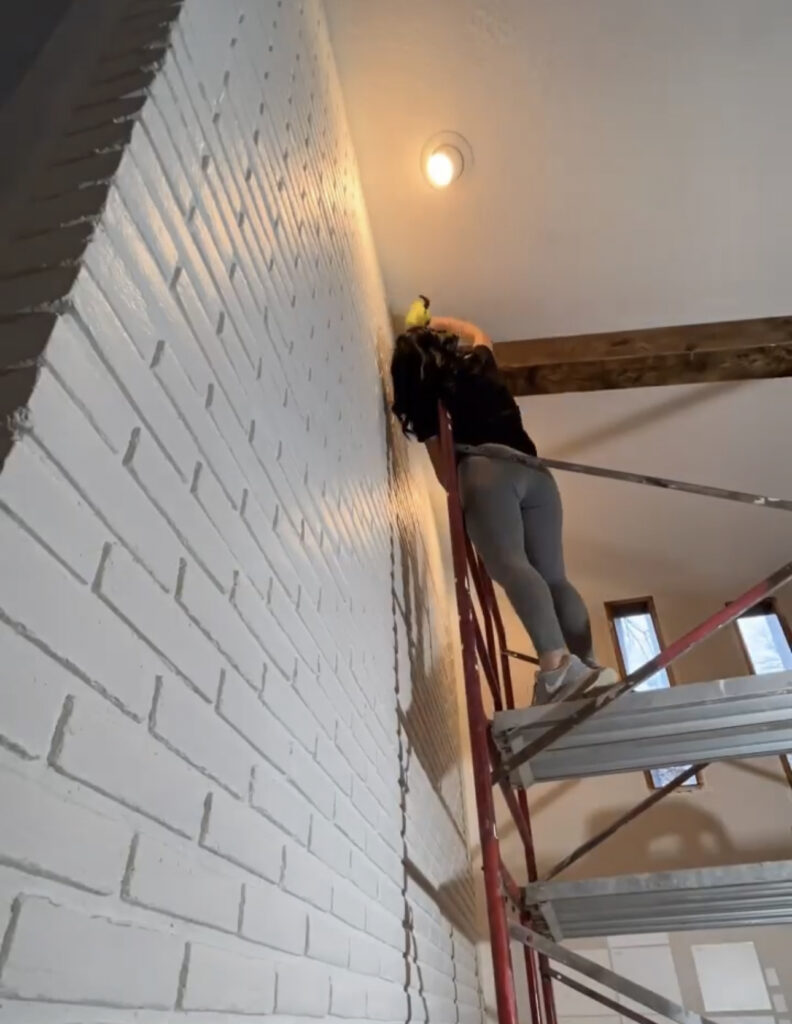
Once we had the correct measurements for each beam, Ryan made the cuts on each end of the beam. Because our ceilings are so tall and angled, we used scaffolding on the taller side and a ladder on the other to be able to lift the beam up and fit it around the existing beam.
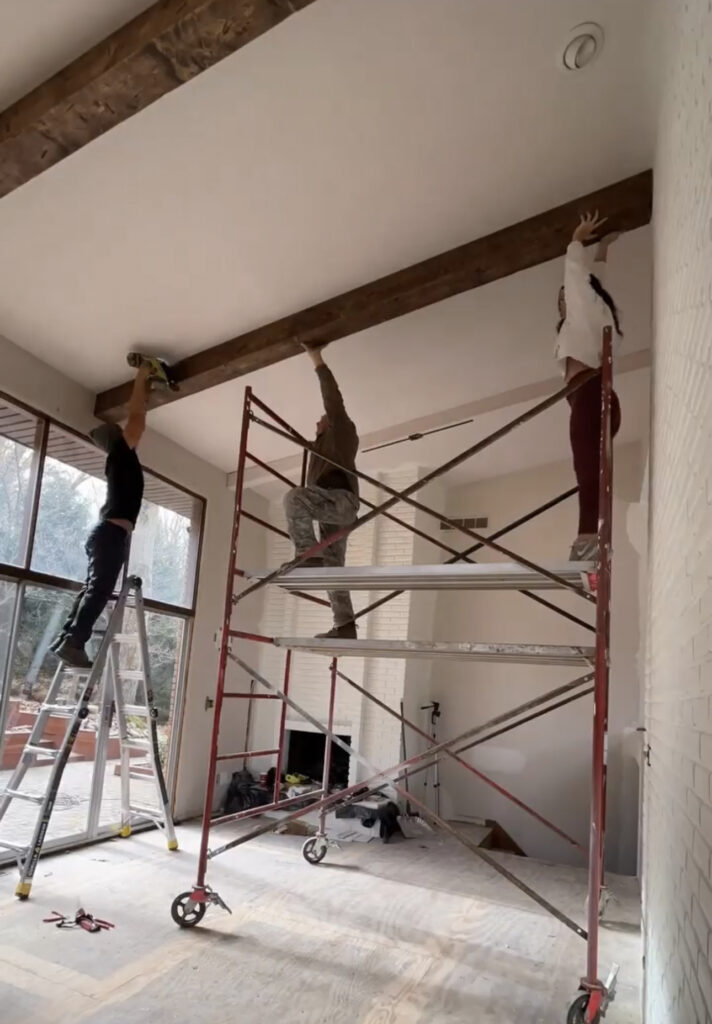
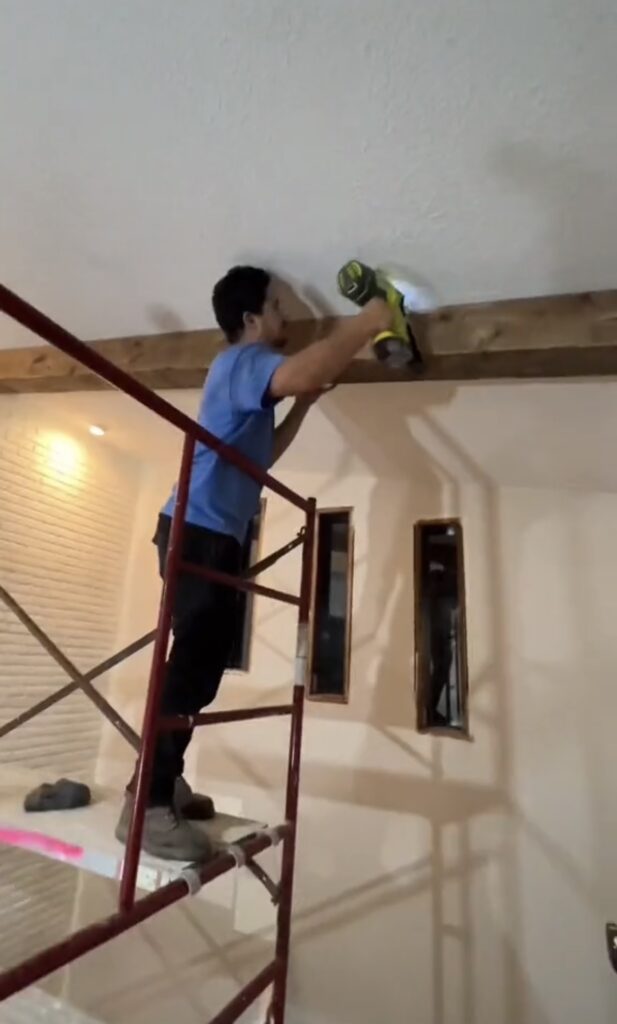
Once we had the perfect fit and the beams were flush against each side of the walls, Ryan used our 18V Ryobi Nail Gun to nail the beams directly into the existing beams.
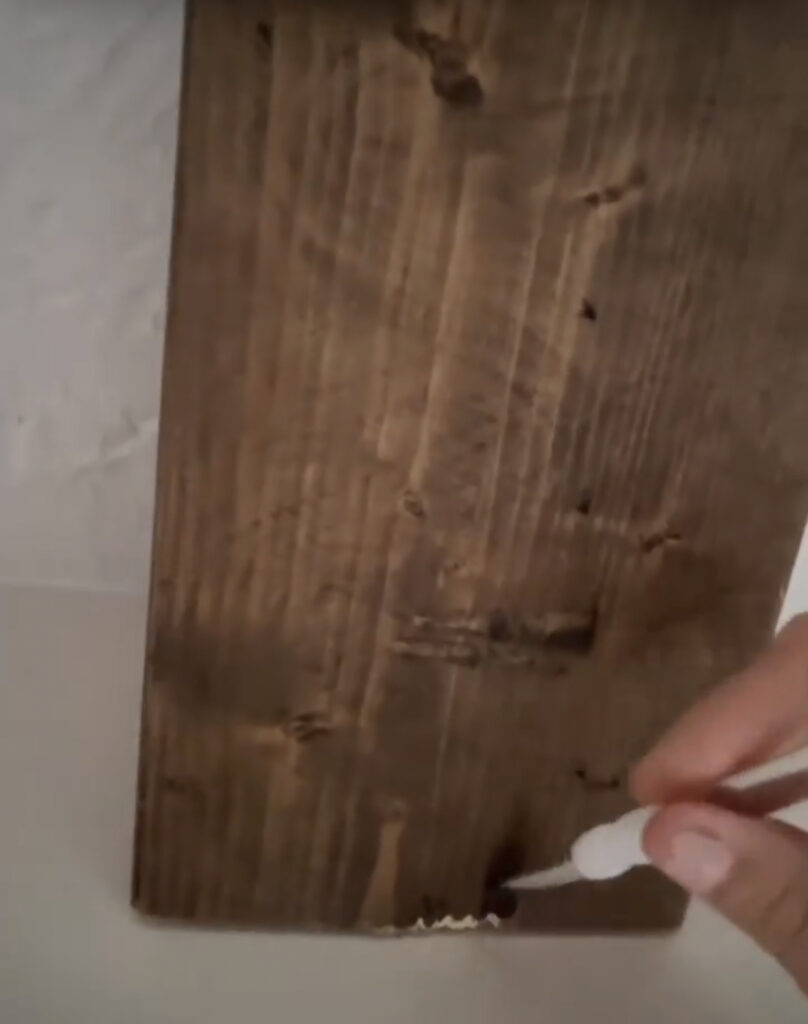
This next step wasn’t totally necessary but it made a big difference to me. I used little artist brushes to touch up the stain where the saw slightly messed up the wood when making the final cuts.

Then I used our Ryobi Caulk Gun to caulk around the brick to fill in the big gaps where the mortar joints meet the beams.
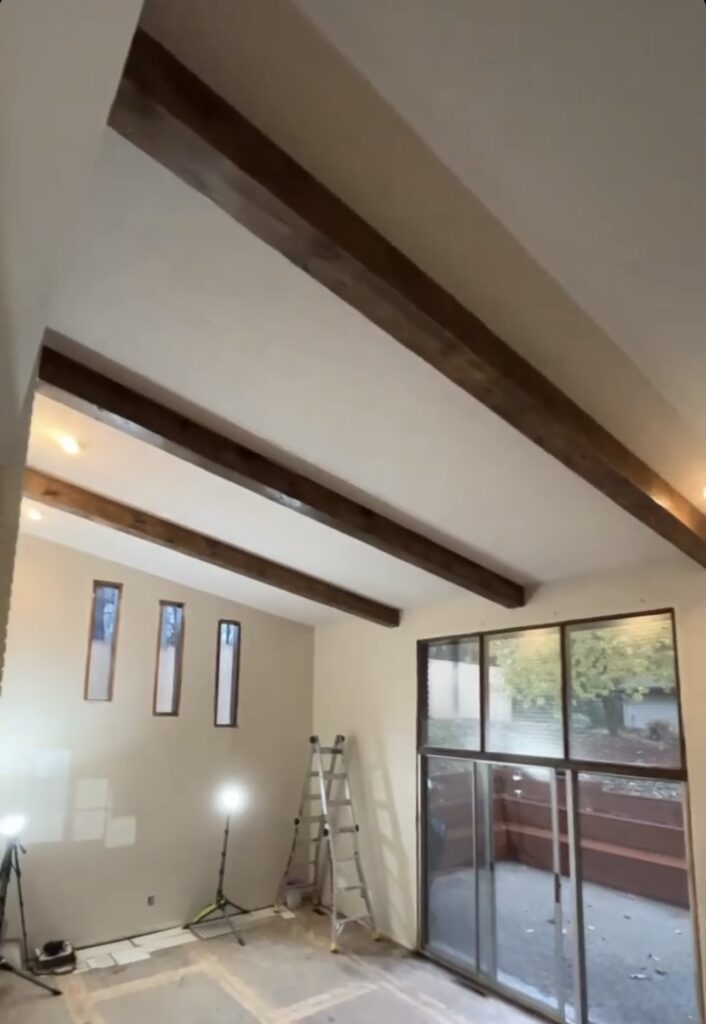
This project really tested our skills and I’m so proud of us for accomplishing this together! The beams look so good and really elevated the room.
Be sure to follow us on Instagram to see how far our living room has come since we completed this project!
Leave a Reply
Grab our FREE download
Wanna know the 5 must have tools you need before you start?
Considering a DIY Project?


Be the first to comment