


All Star Challenge: The Last Details
The finishing touches
After six weeks of long nights, early mornings, and countless trips to Home Depot, we are done with our master bathroom renovation and could not be happier with the final result!
But, before we show you the reveal, we have the last of our progress to show you!
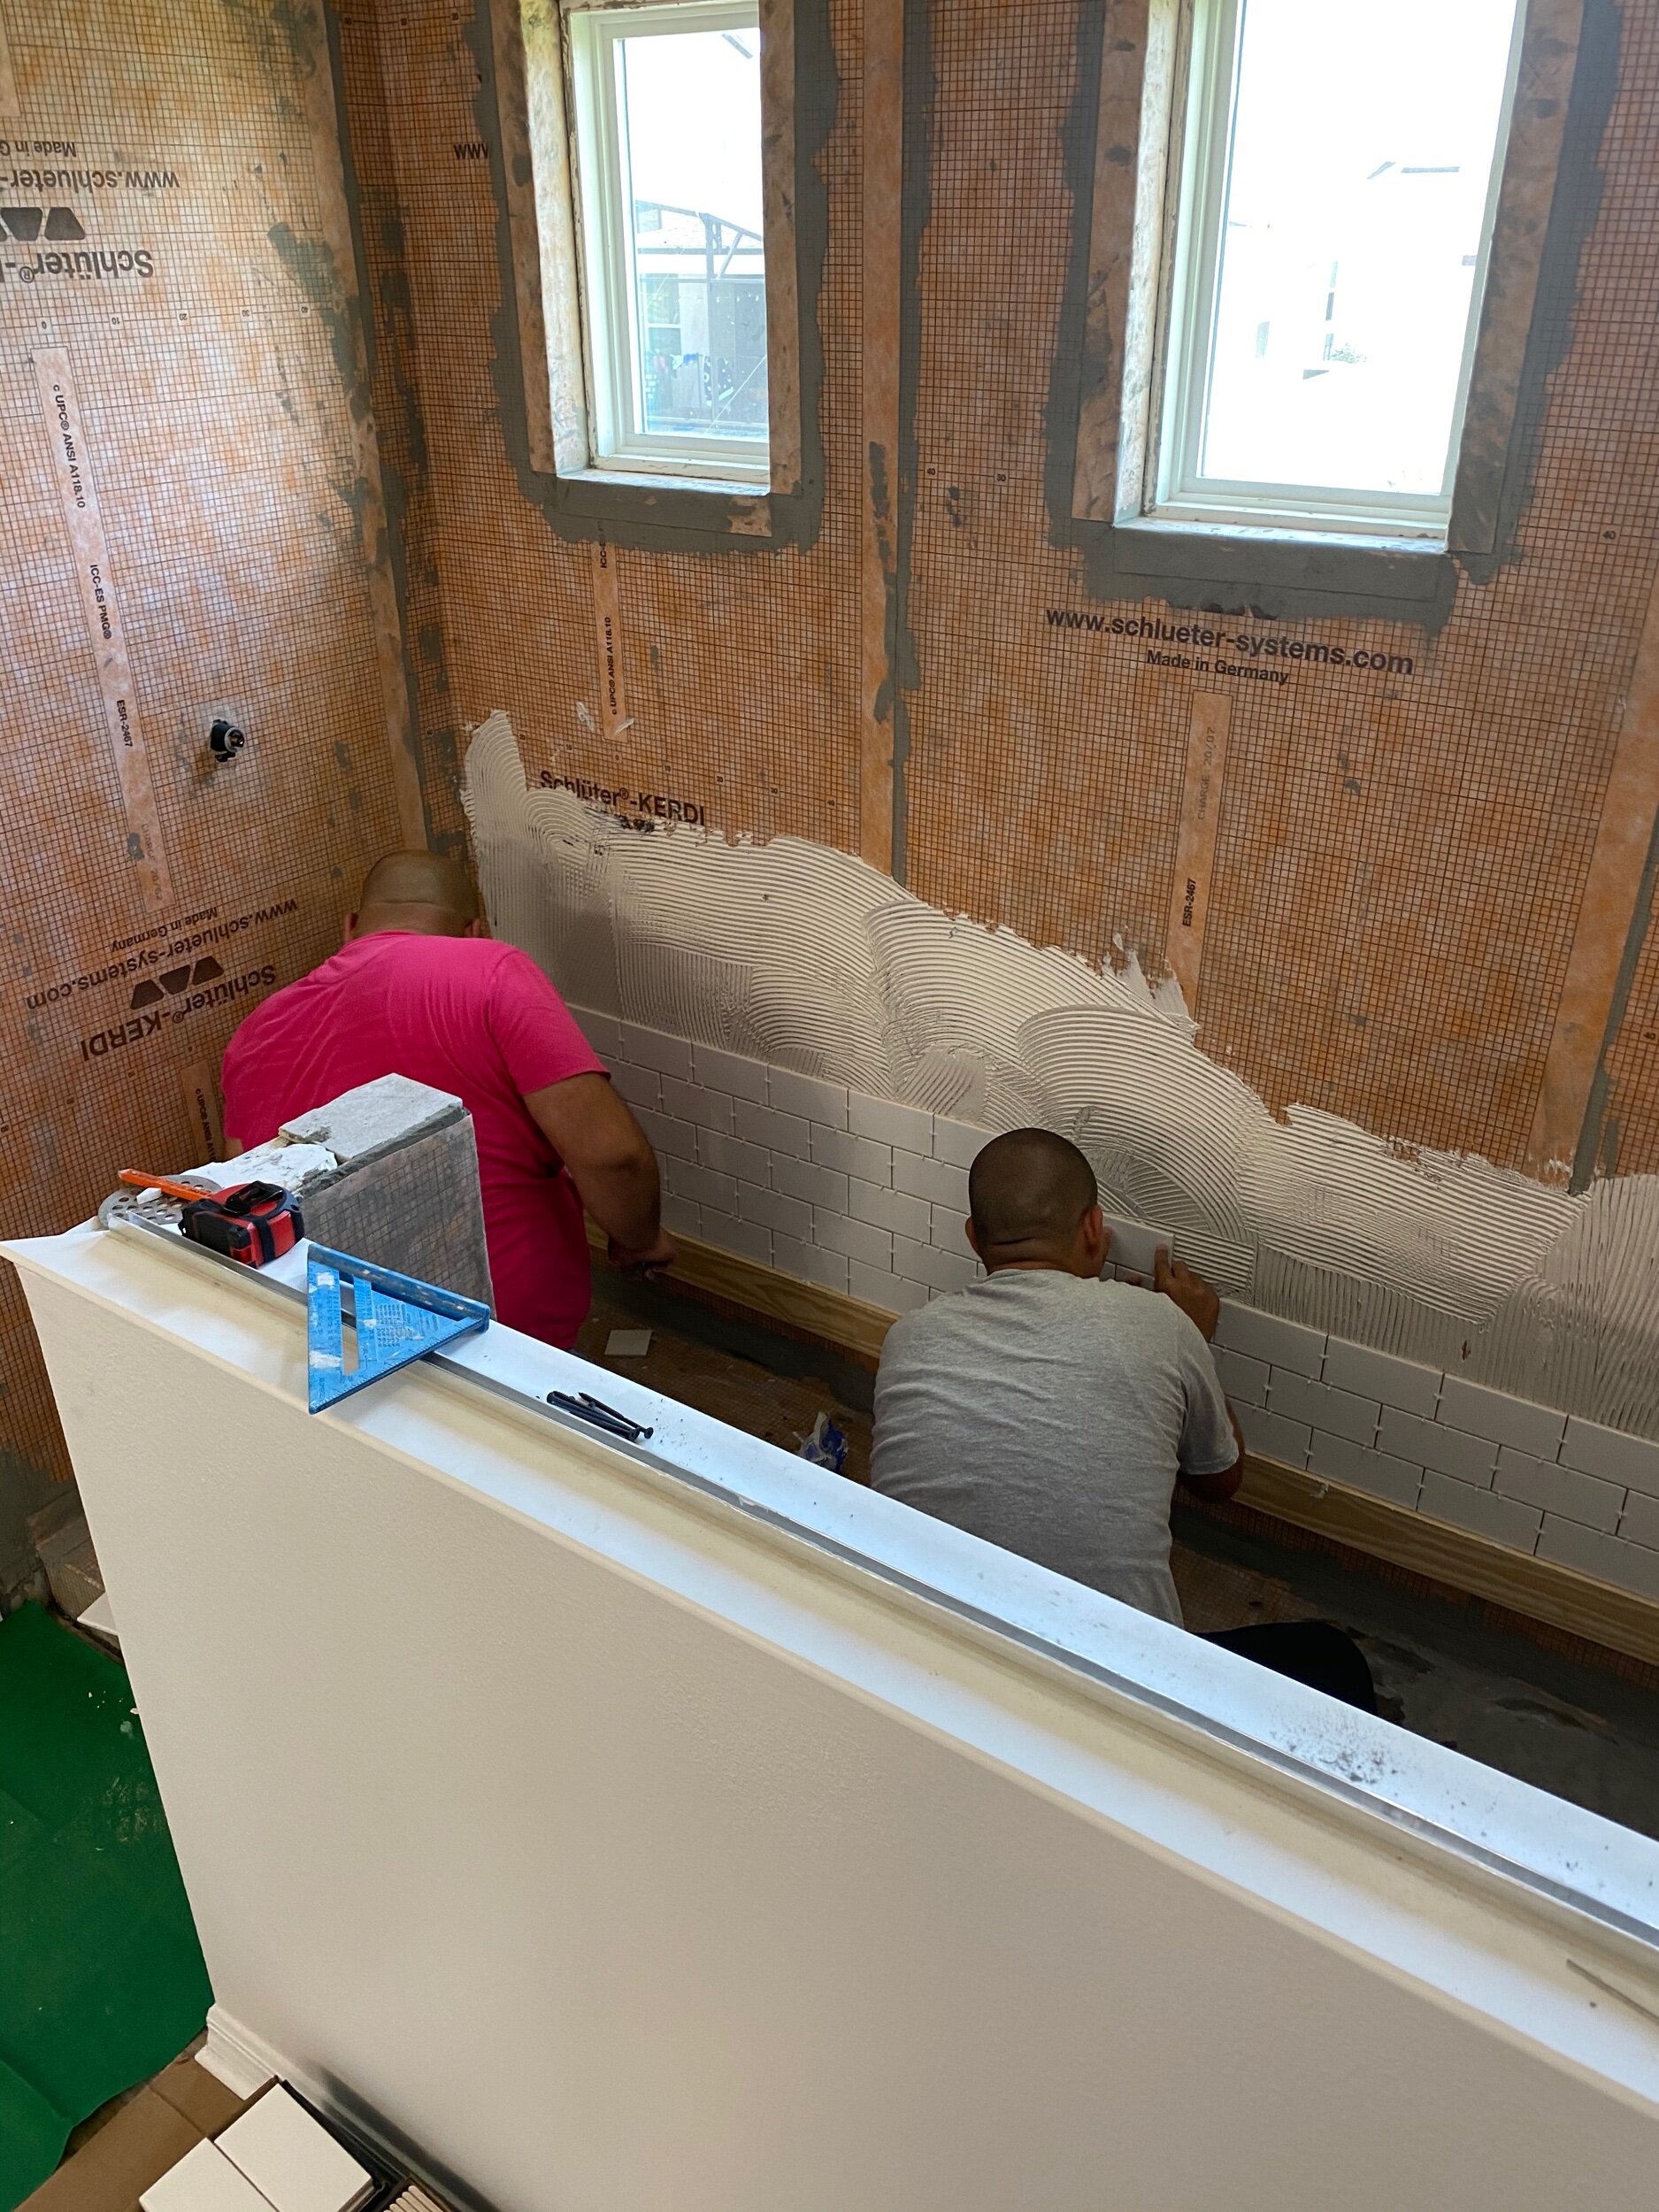
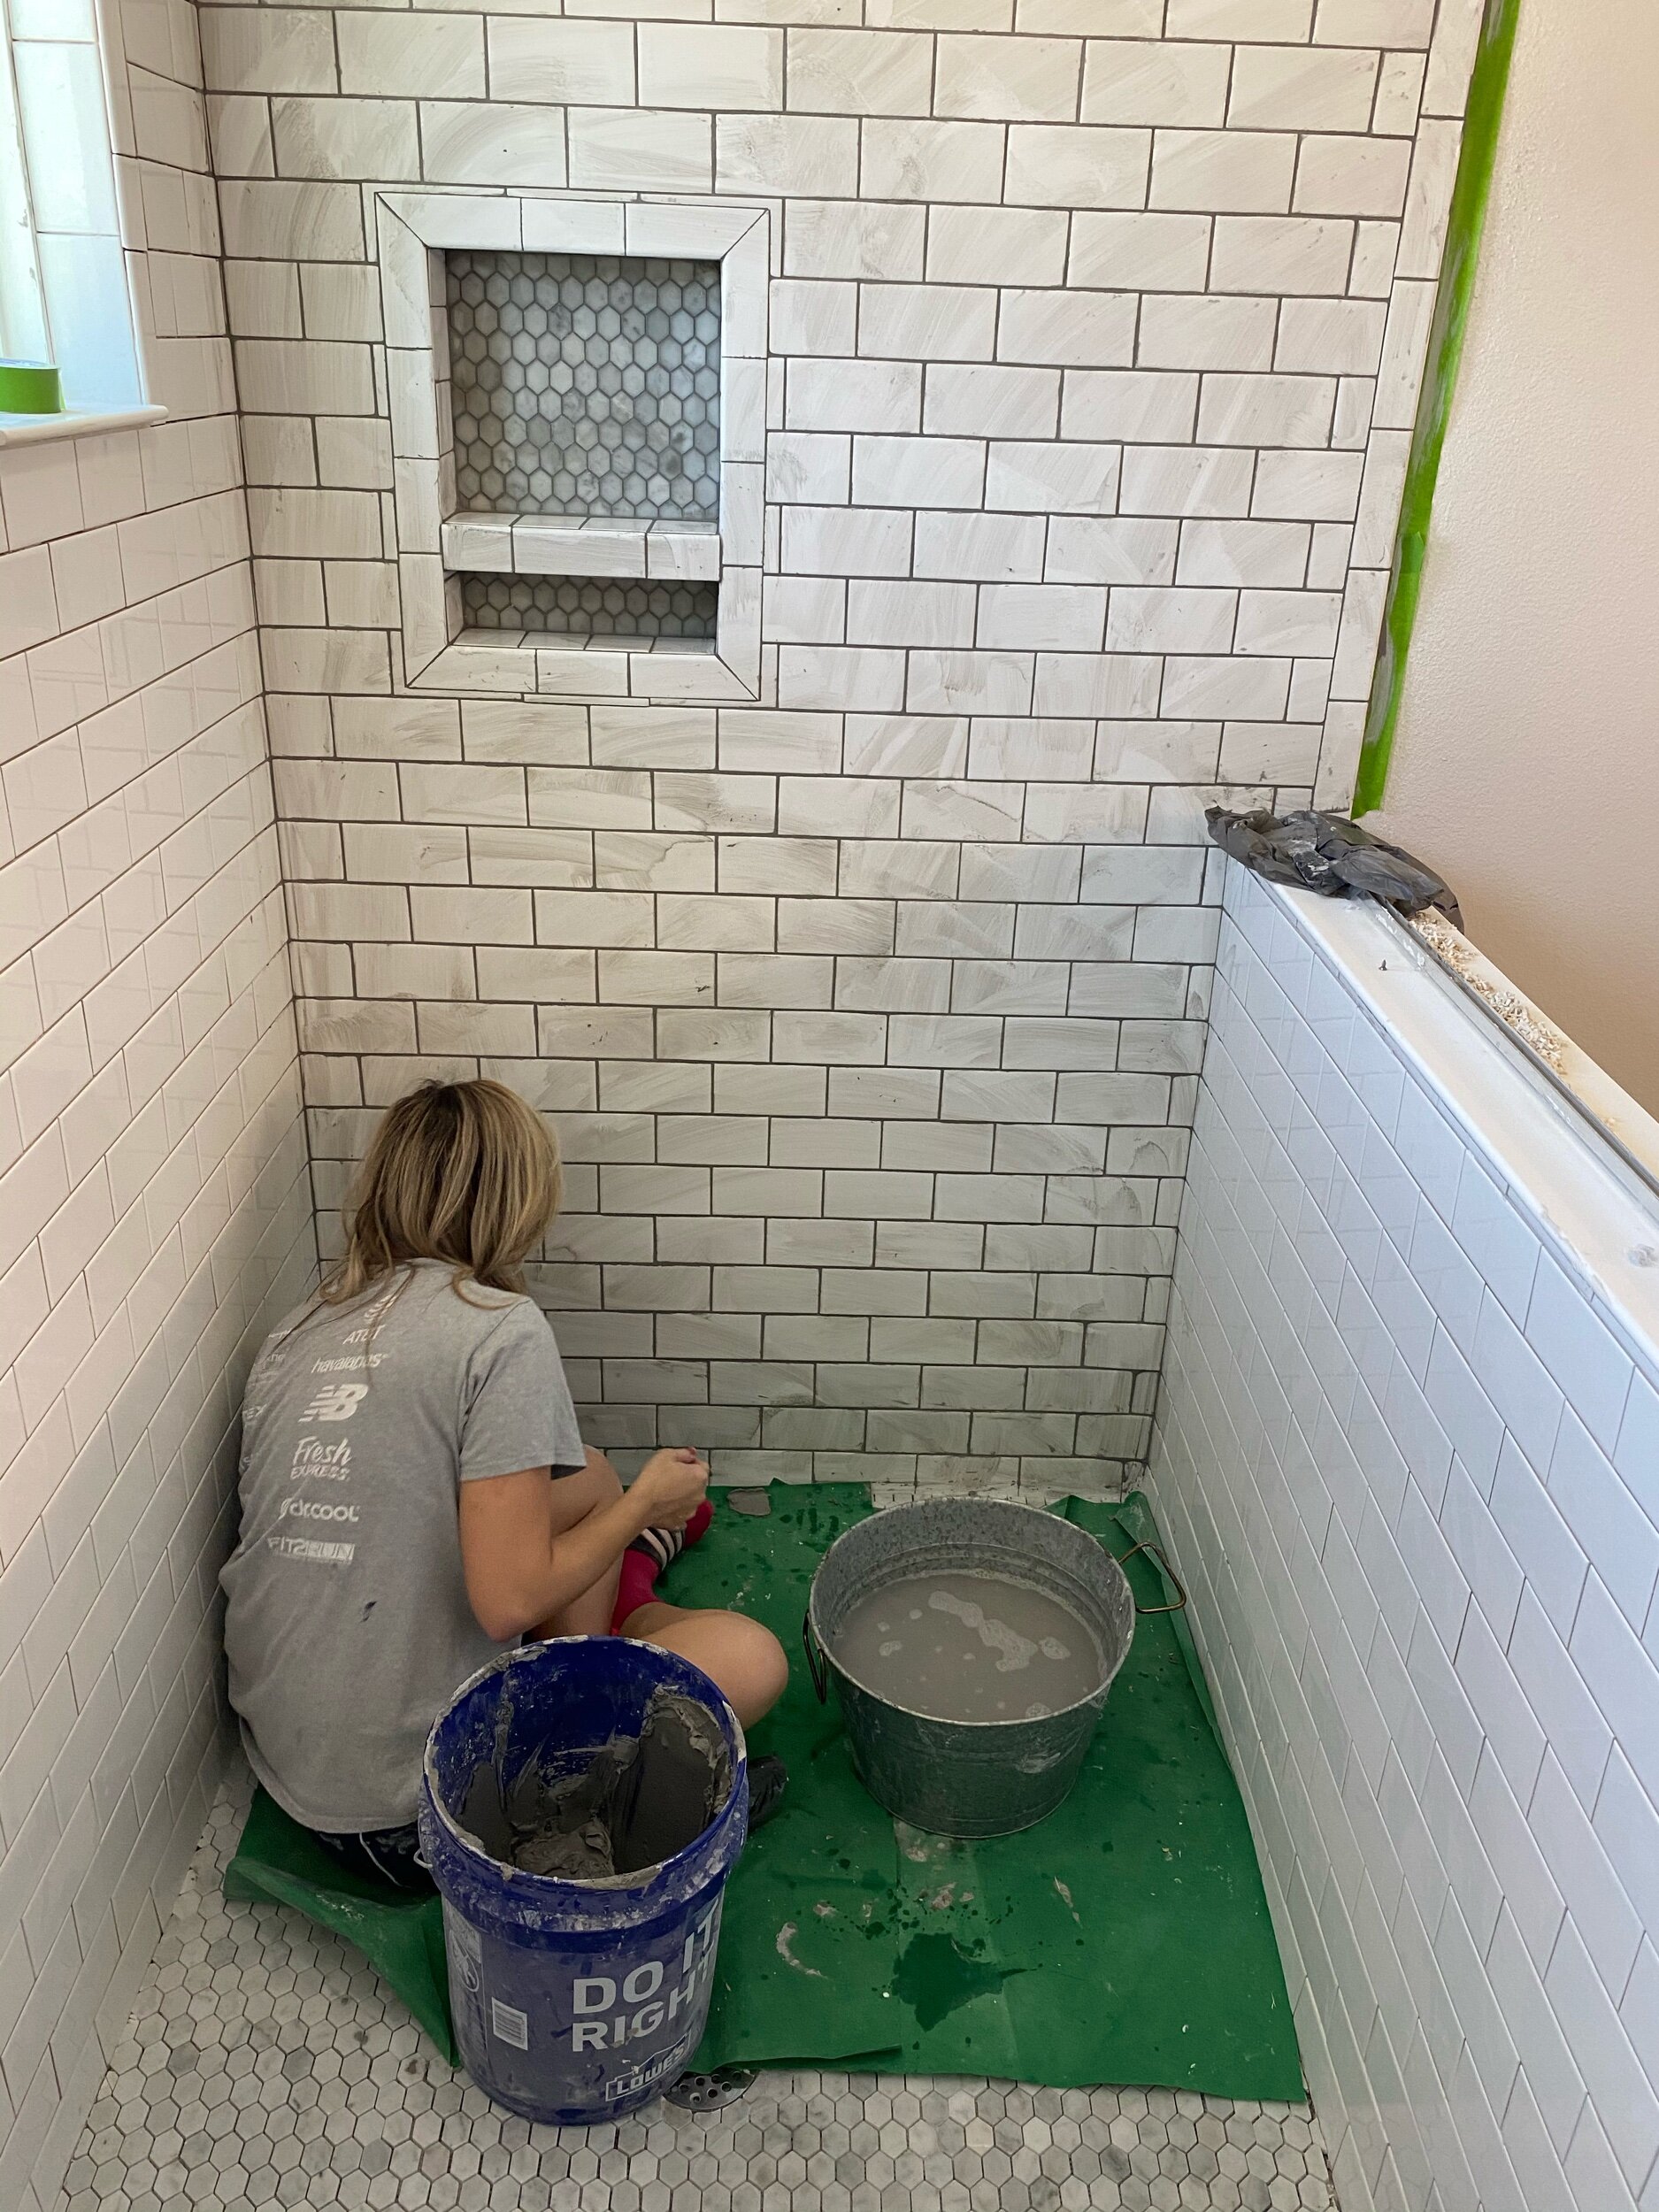
Last week we started tiling the shower, but quickly realized we would not be able to do it ourselves, and we needed help. And that’s totally okay! You can’t always do projects on your own, and it’s okay to ask for help sometimes- always remember that! So we reached out to our friend Alex who is the project manager for a company named Antica Development, and only twelve hours later they were at our house starting to tile our shower! Total lifesavers. They worked so quickly and efficiently, and made us seem like total amateurs. It felt so good to have this weight lifted off our shoulders and now we have a piece of mind it will be done correctly and look perfect!
Barn door time!
So, since the shower tile was being taken care of, we were able to work on other things, which meant we could build our barn door for our master closet. I’m so excited for this aspect of the bathroom. We’re building a simple shiplap barn door, and got the plans from Angela Rose Home on Instagram.
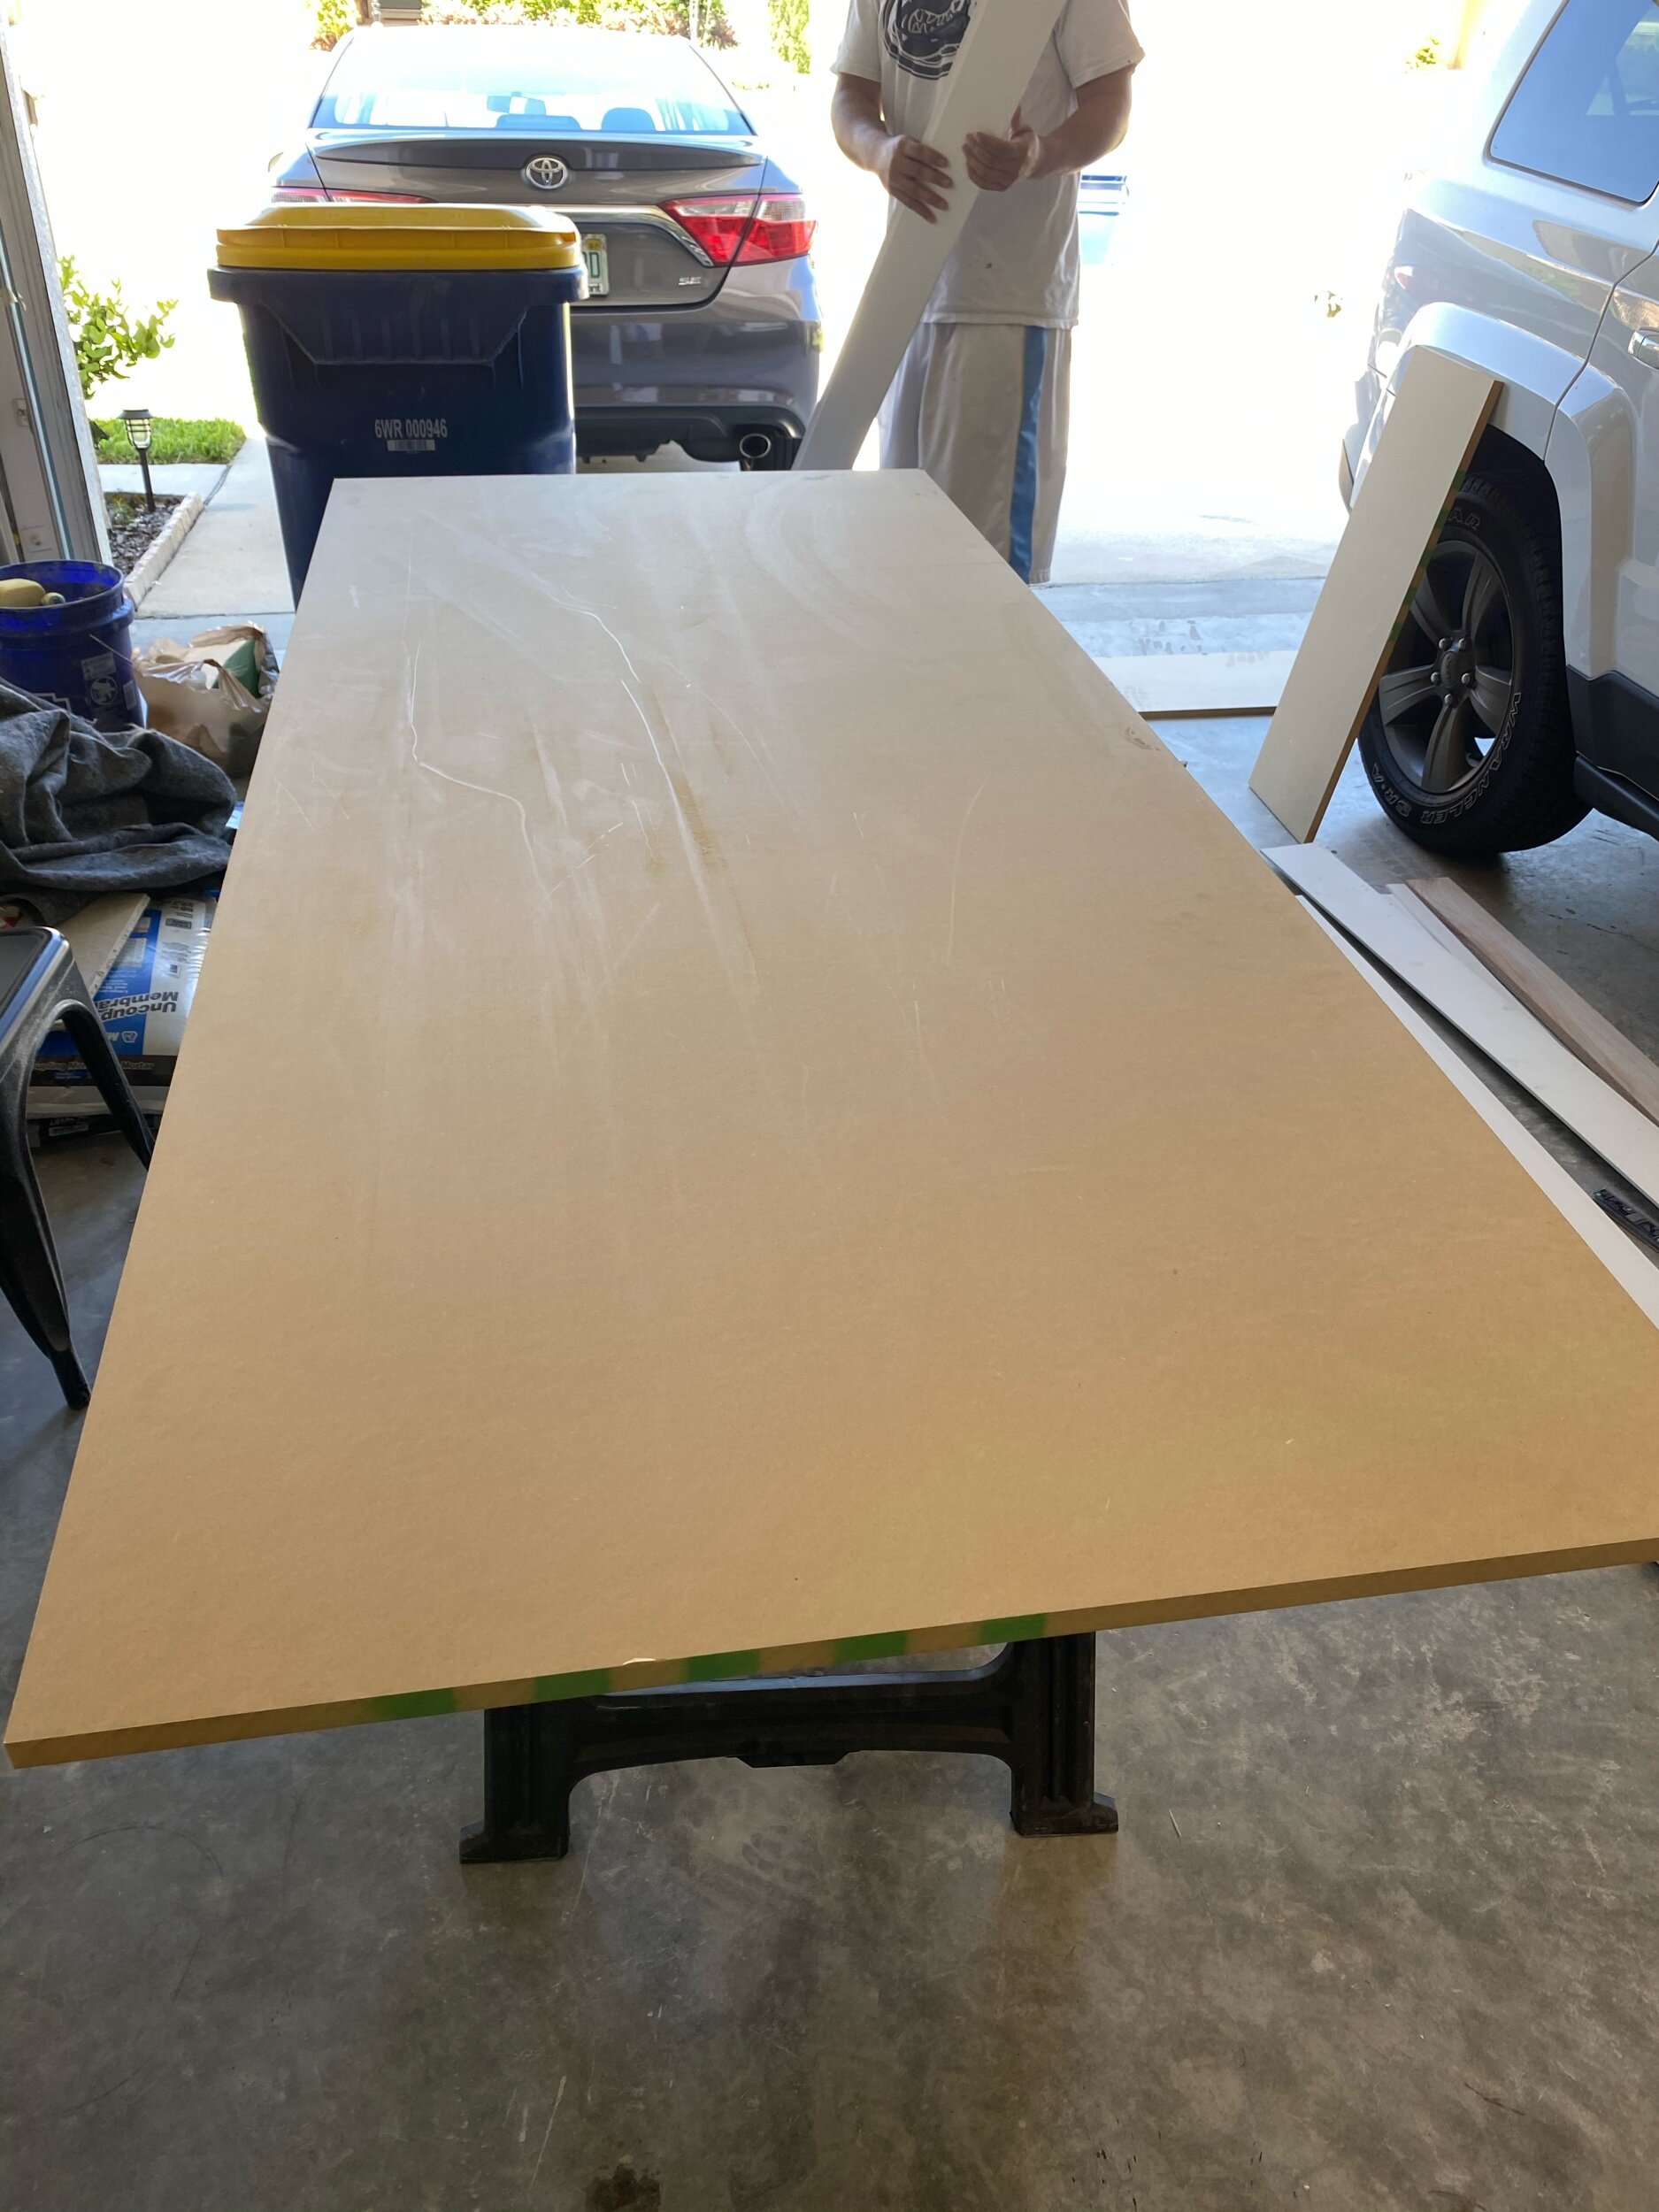
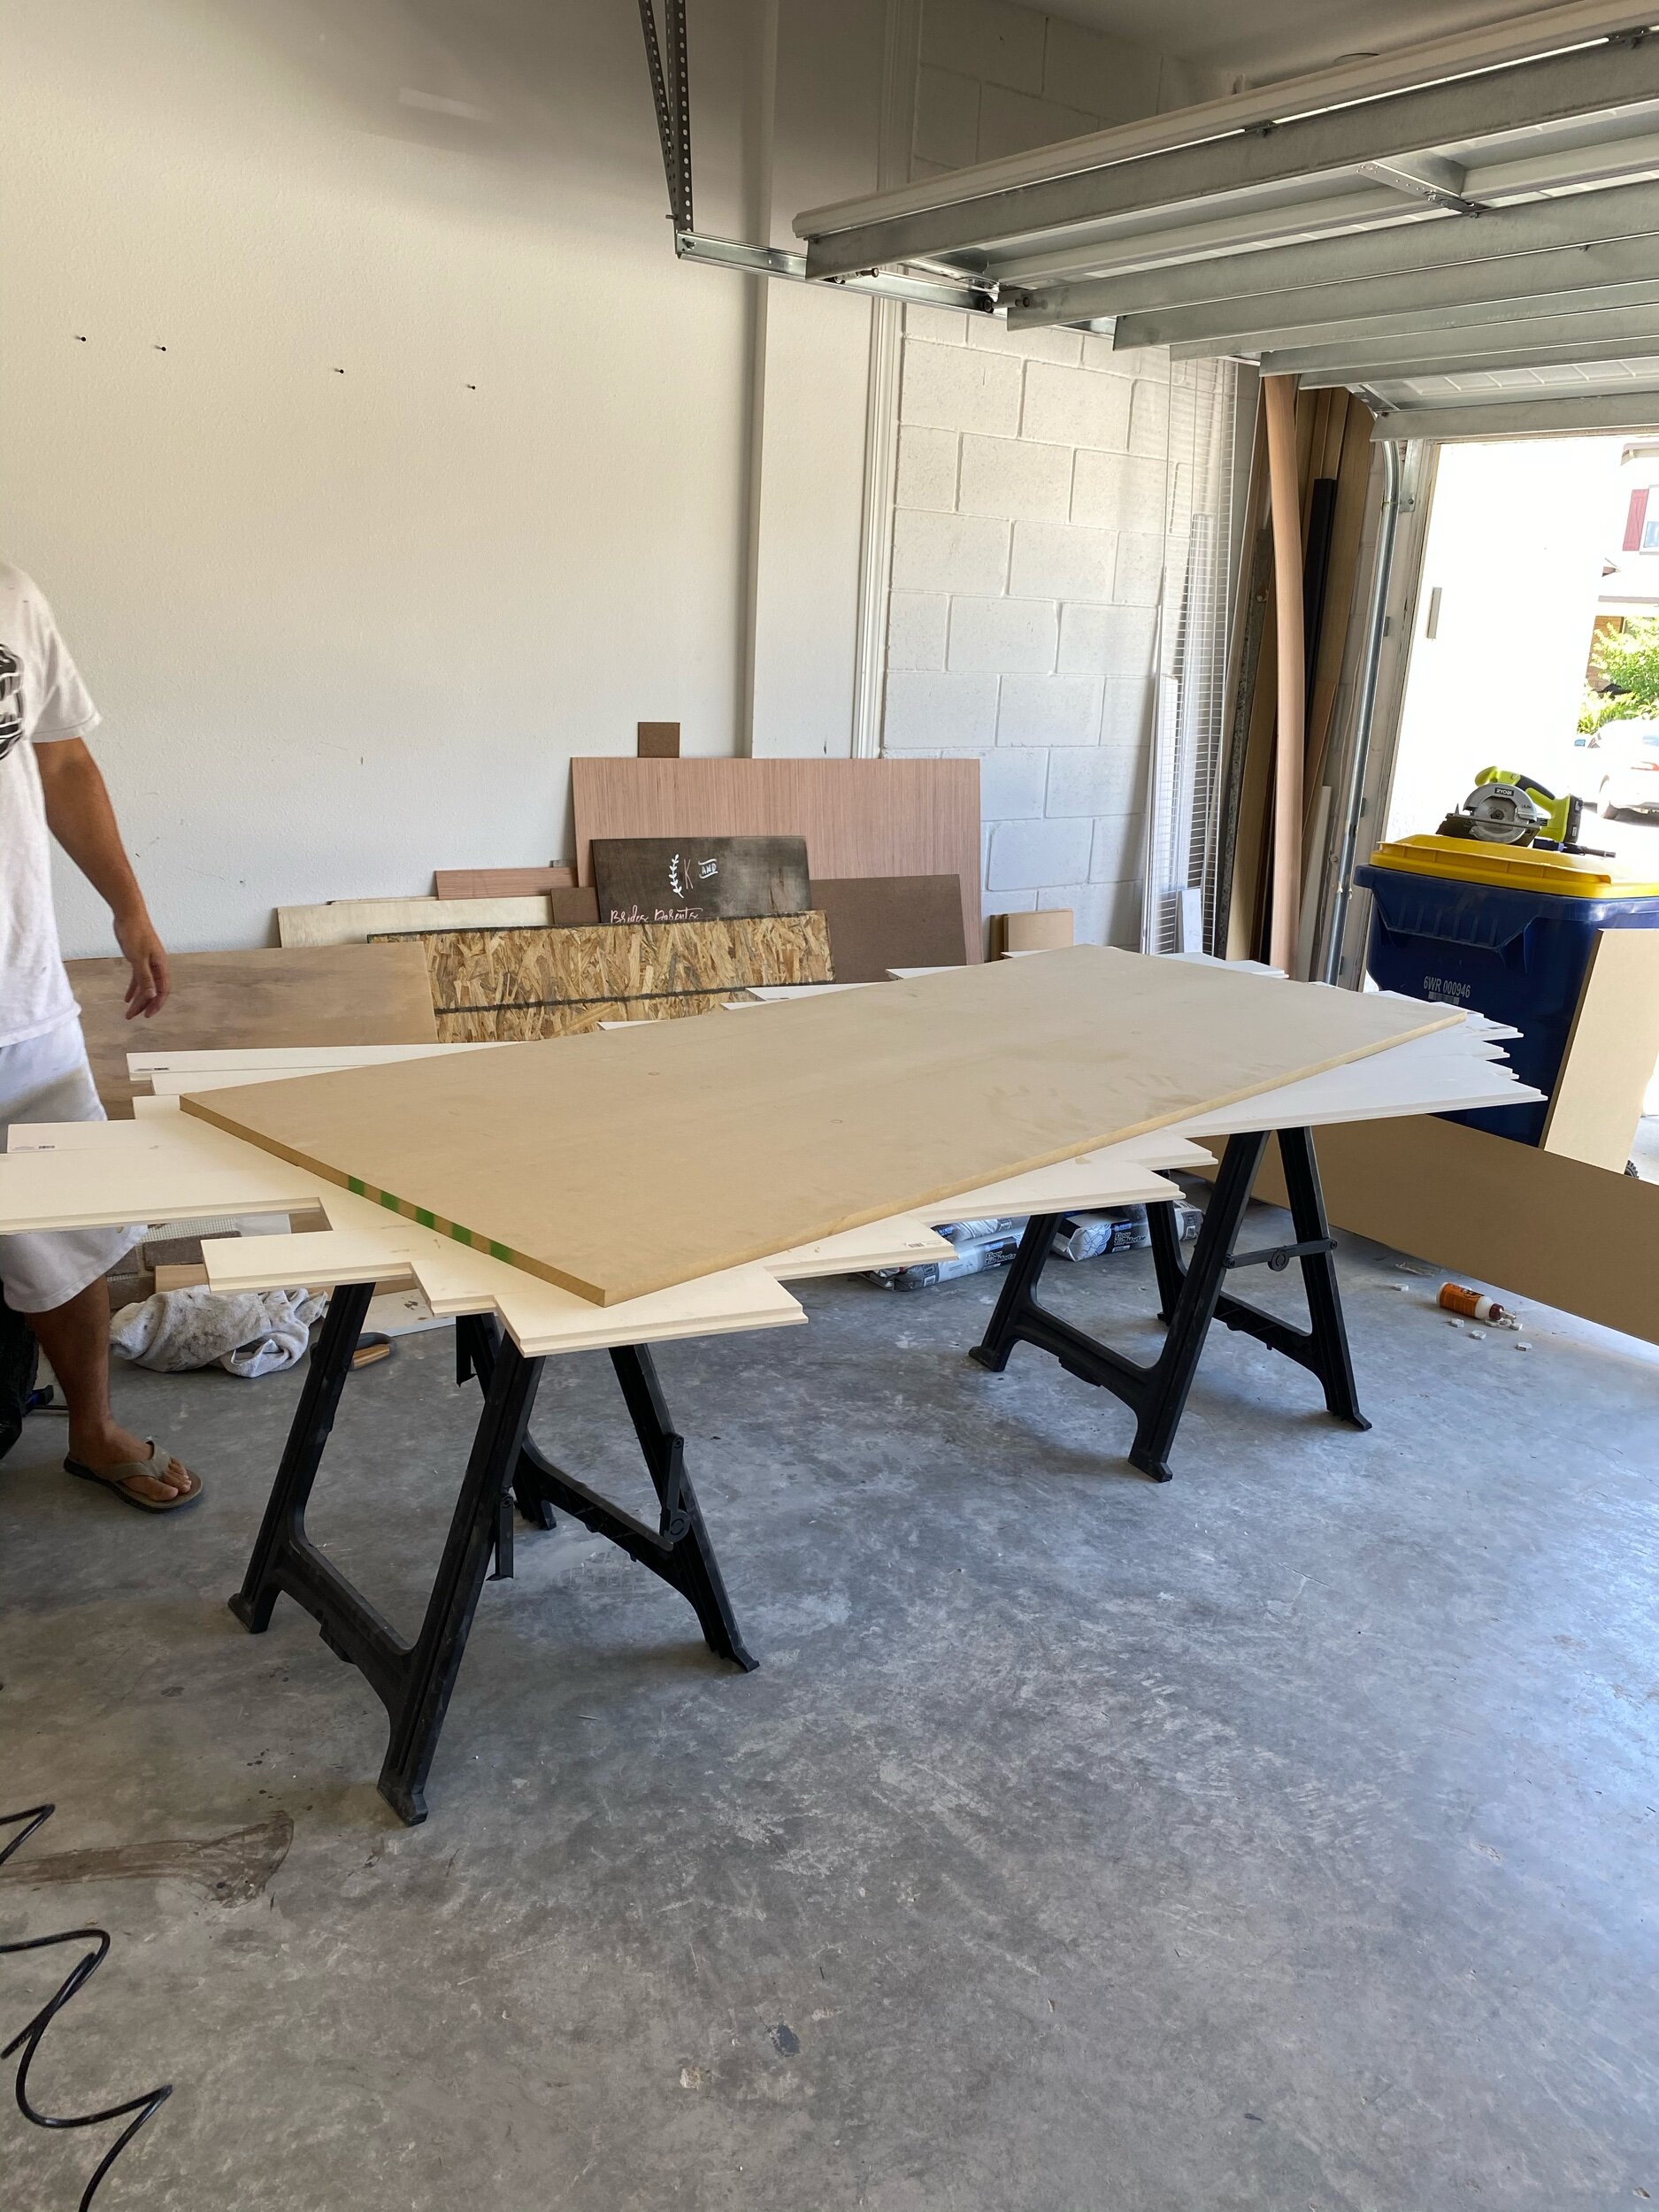
To start out we grabbed a sheet of 3/4 inch MDF board from Home Depot and had them cut it to the size we needed before we left the store. We were keeping our door casing on, so we measured an inch wider on each side of that and three inches above the door frame, so we took those measurements into consideration.
We also purchased 10 – 4 inch x 8 foot primed MDF shiplap boards. They interlock into each other and create the perfect spacing.
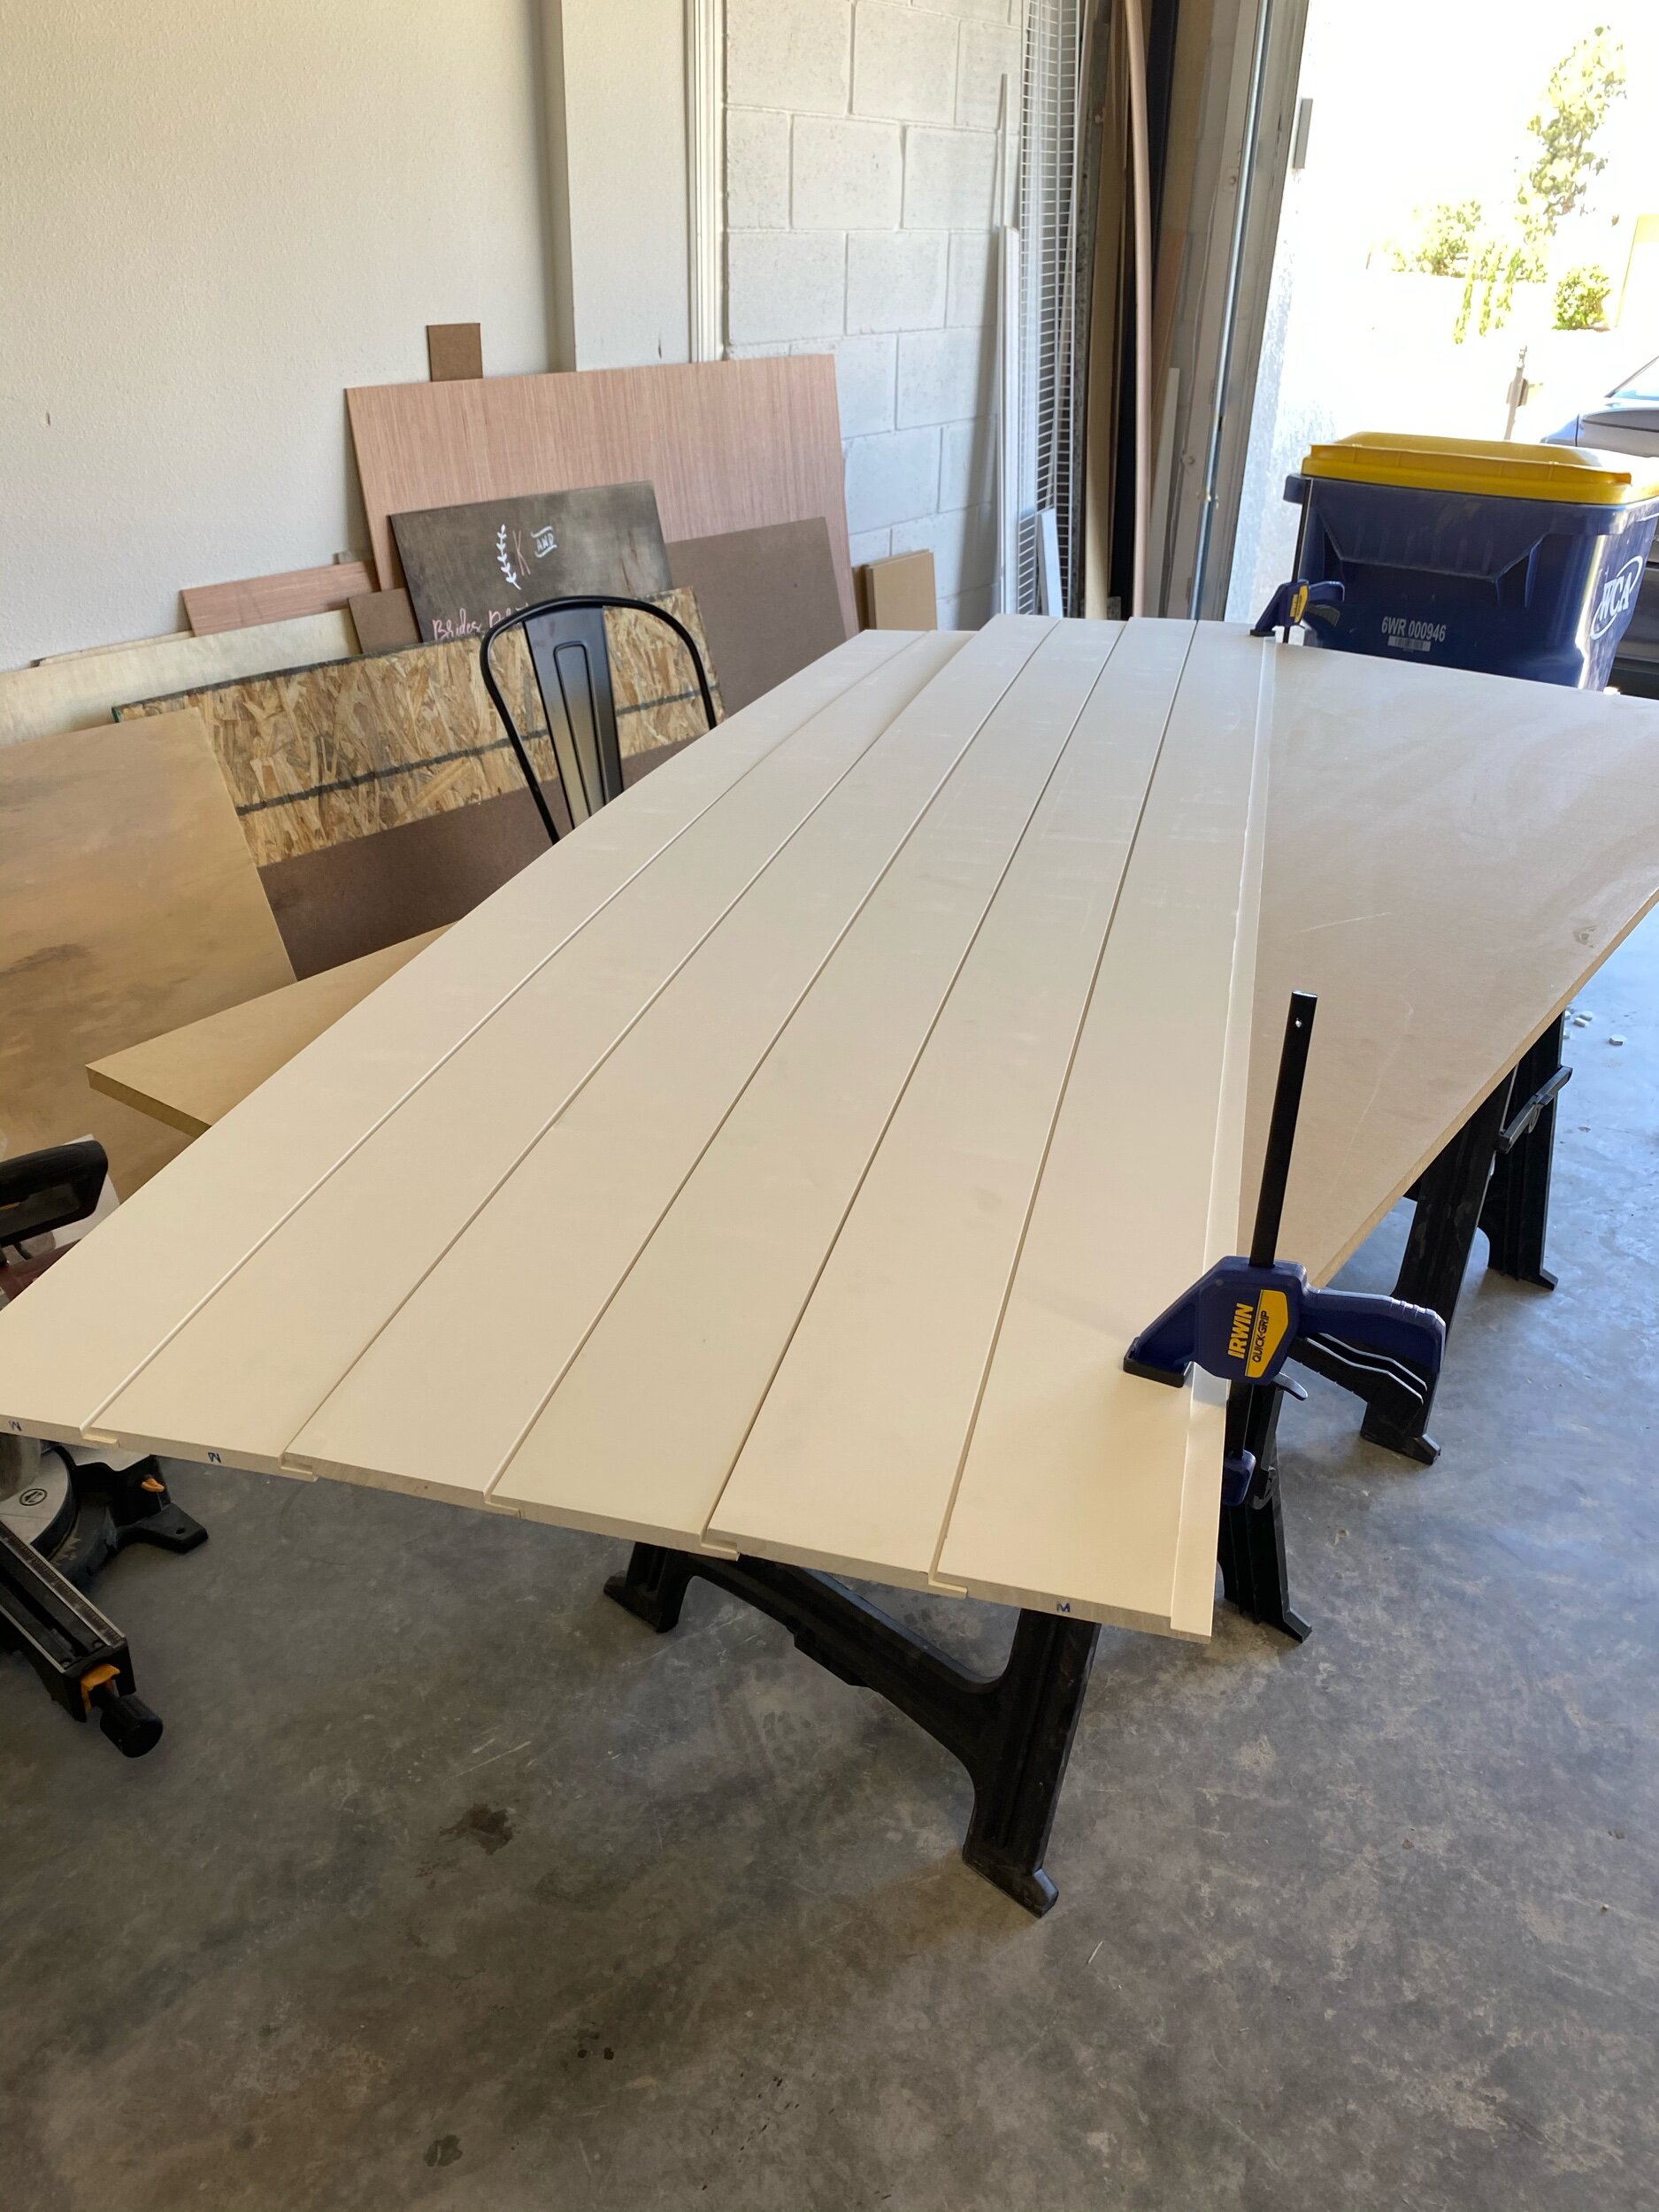
Like Angela Rose Home did, we were placing the boards diagonally, so we started on the left corner and worked our way to the right by wood gluing and using our brad nailer with 5/8” finishing nails. Once we got all the boards on, it looked pretty crazy because they were hanging off the edges, but once we flipped it over, it actually looked like a door. We then took a circular saw and ran it along the edges to cut off all the excess shiplap boards.
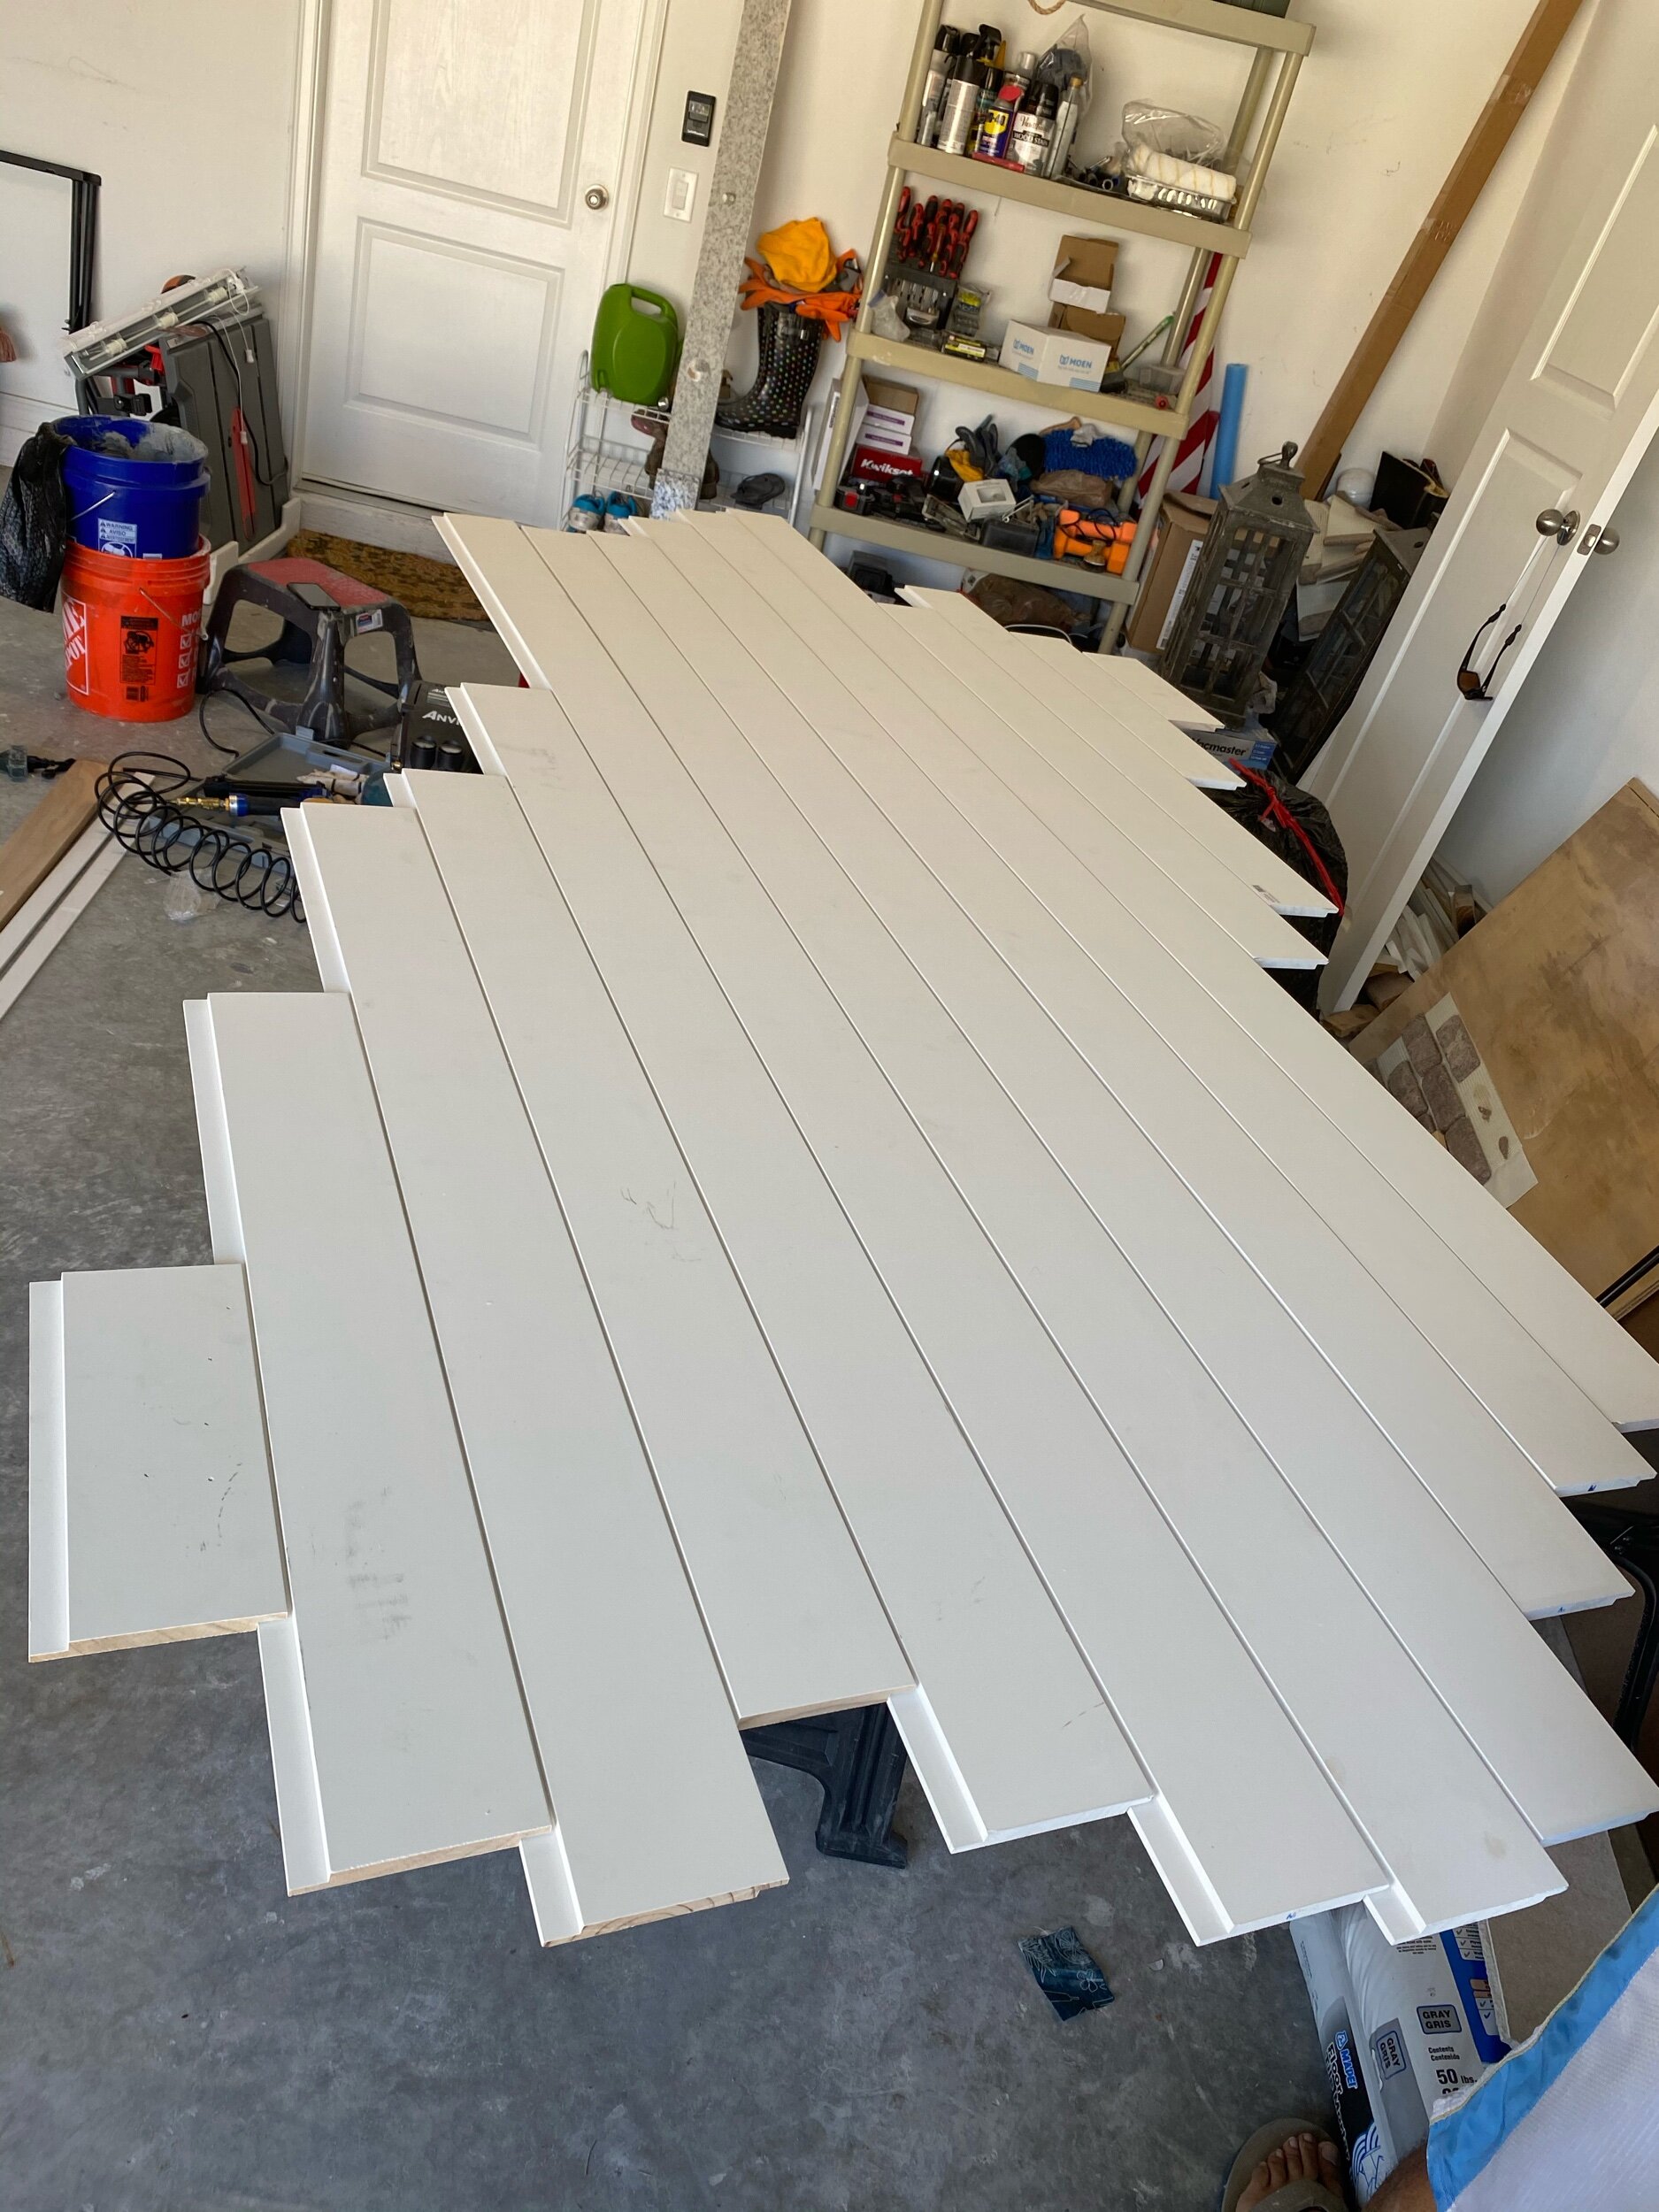
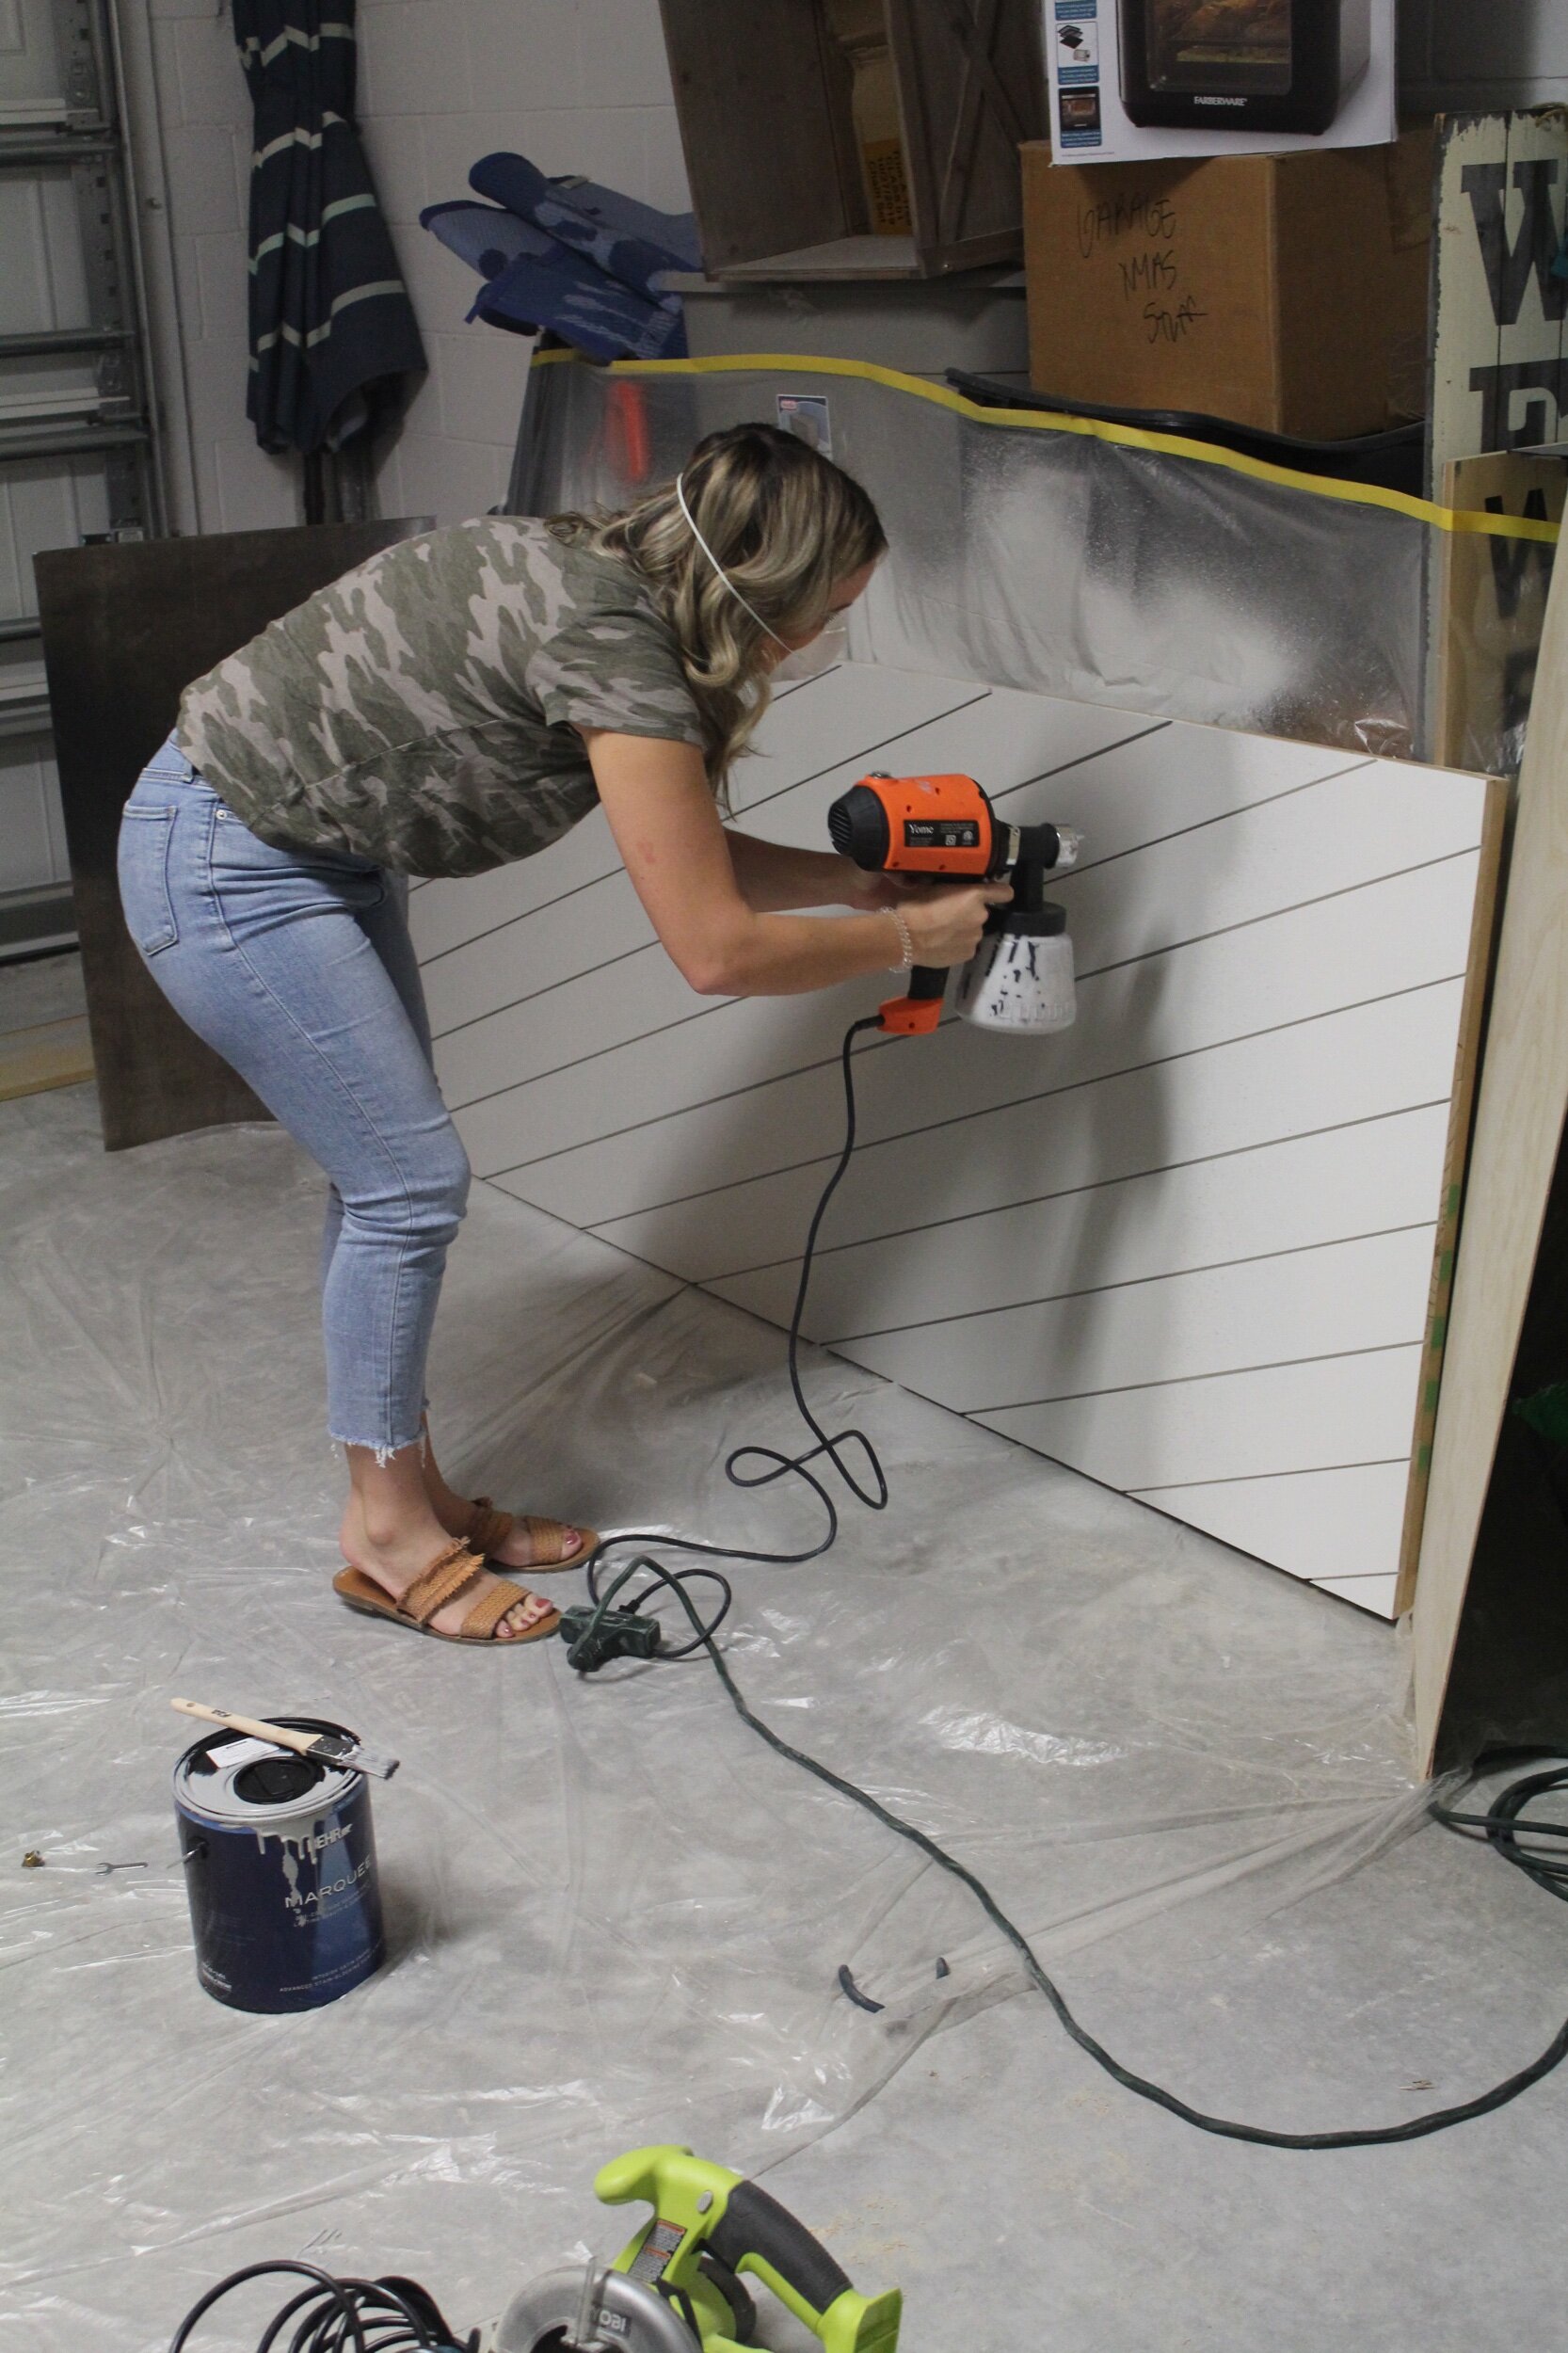
Once the excess boards were cut off, we flipped the door back over and were ready to prime it with our Kilz 2 primer. We decided to roll on the primer with a large paint roller, and we would spray on the paint color with our paint sprayer after. While the primer dried, we cut and painted our trim pieces. For the trim we purchased 3- 1.5 inch x 1/4 inch MDF. You don’t have to trim out the door, we just thought it would add a clean finish to the door.
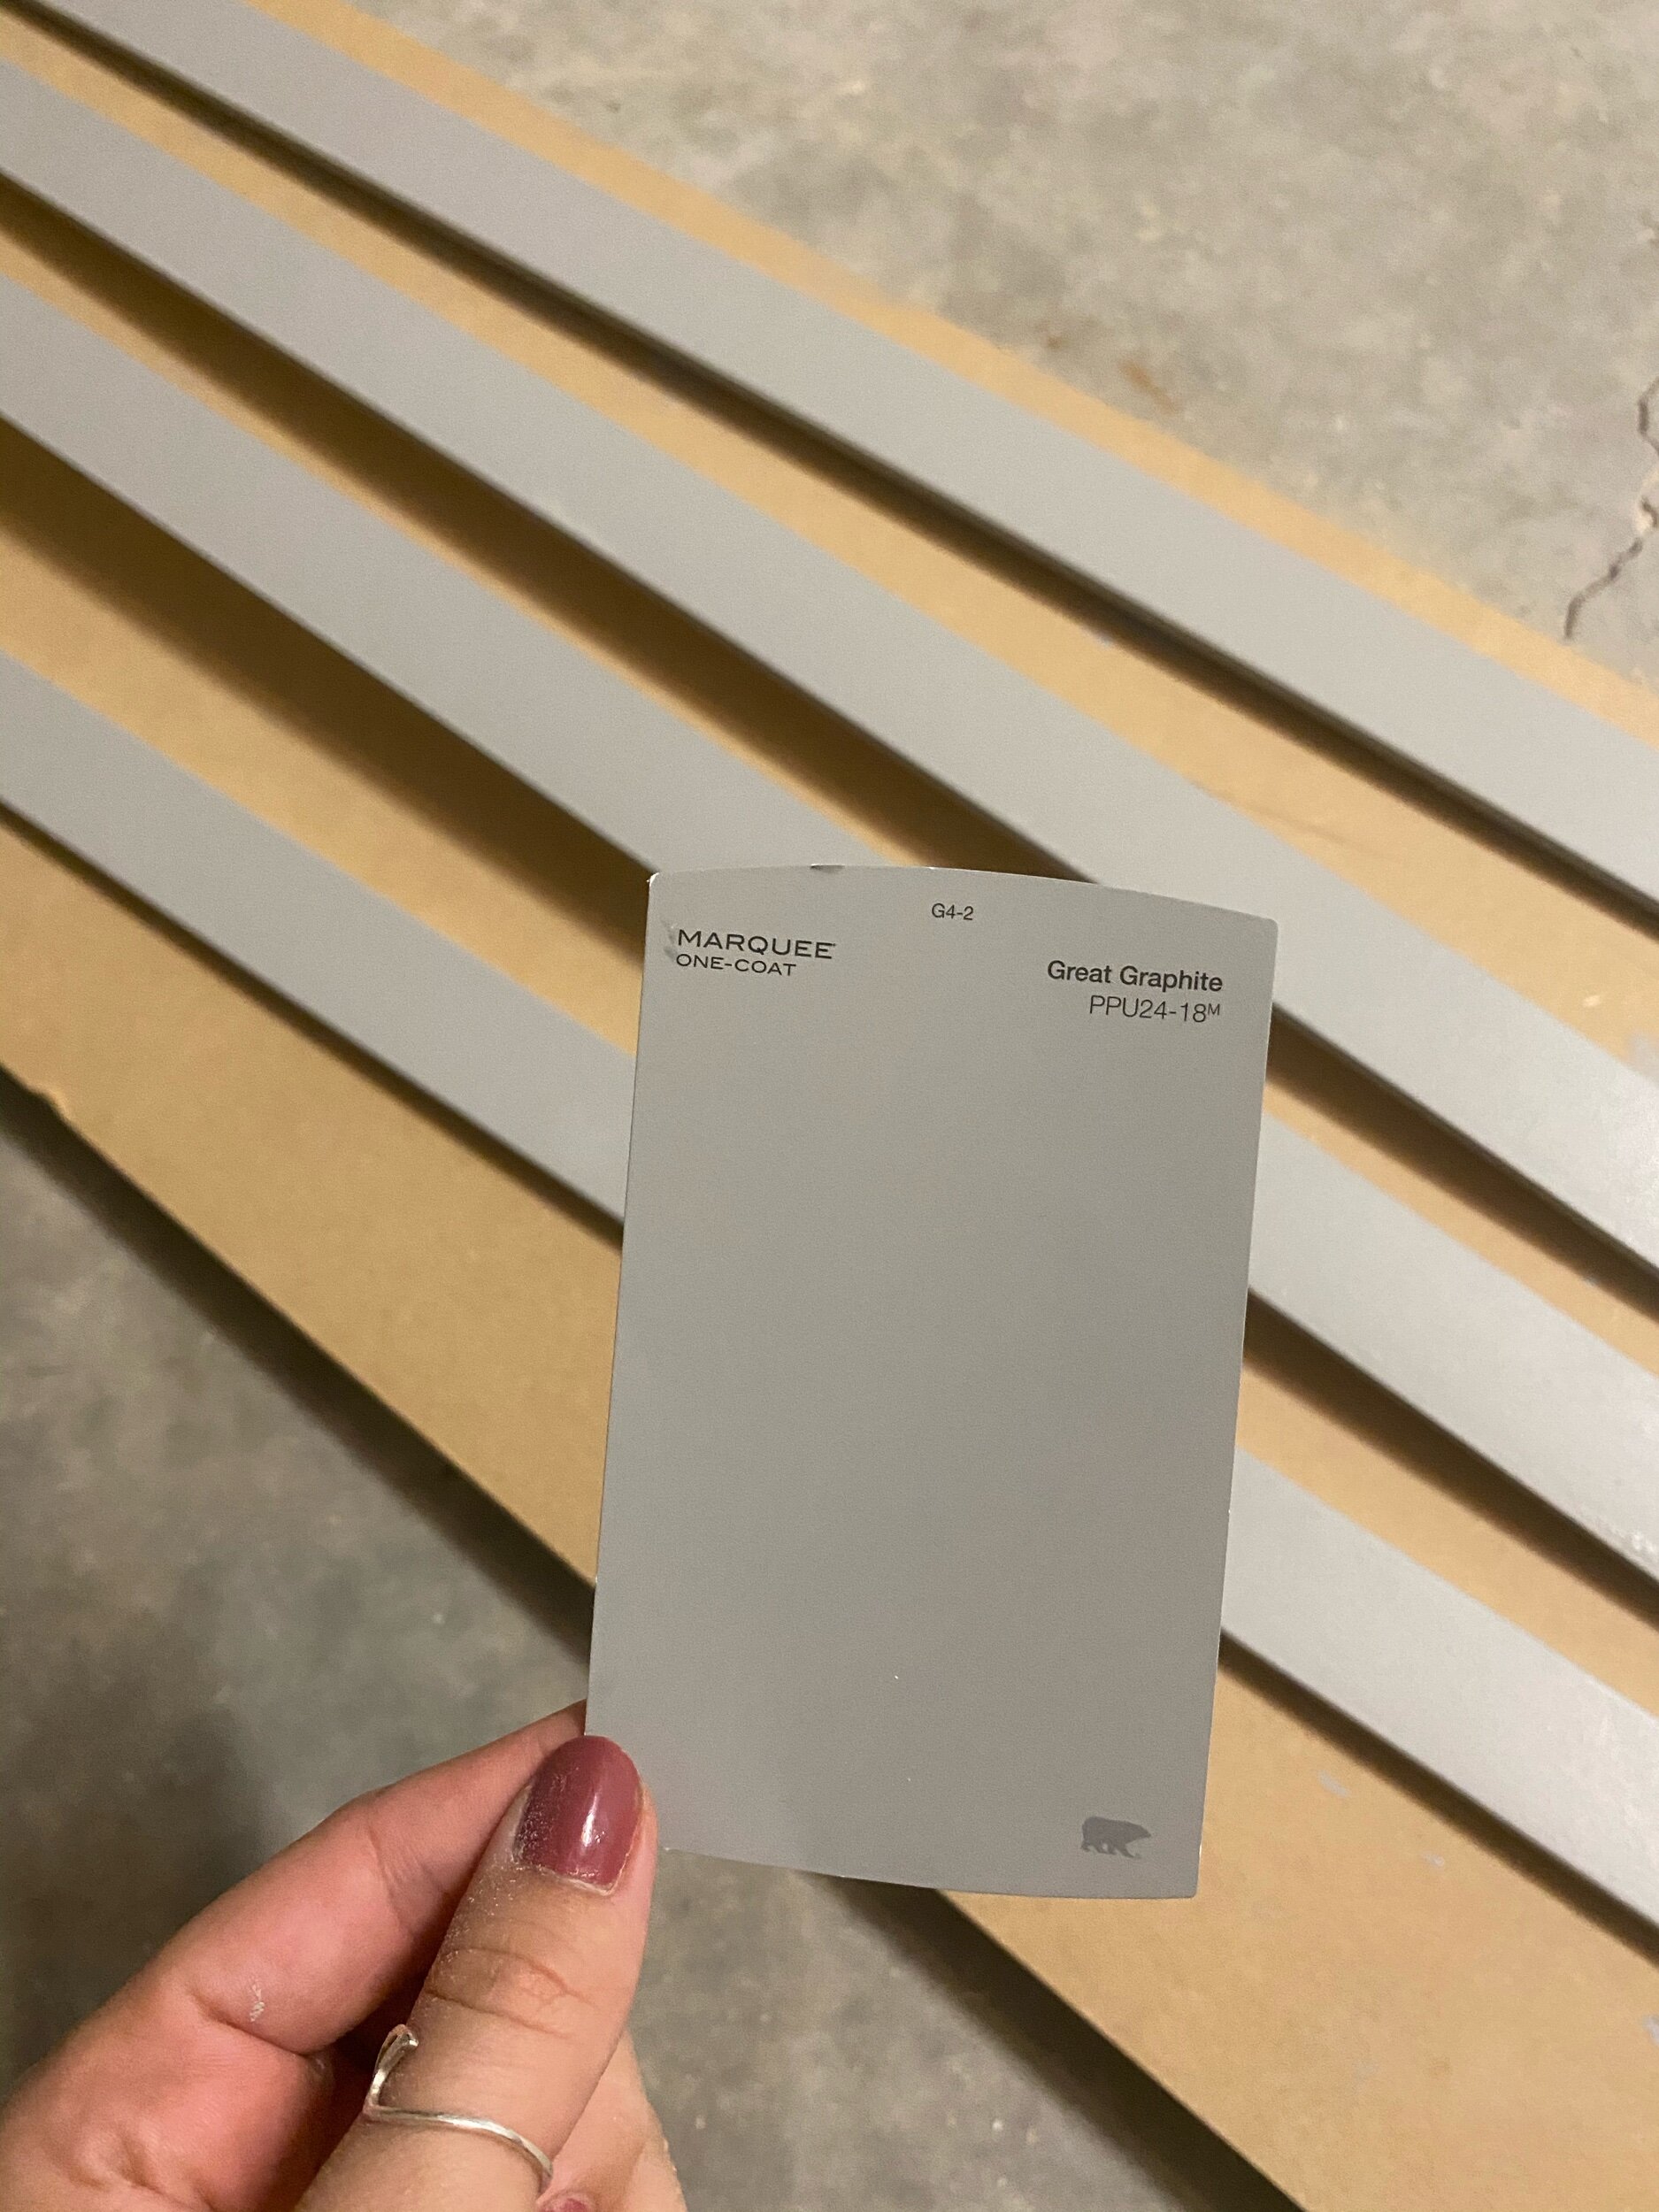
We didn’t want to paint the barn door white, we wanted it to tie in with the gray from the accent wall tile and shower floor tile, so we found the PERFECT gray color from BEHR. The color we chose is Great Graphite and it is one of their Marquee colors, so of course we chose BEHR’s Marquee brand again because the color will be bright, more durable and will only need one coat! We also chose a satin finish so it was easy to clean and fights off mildew-which will be important with the moisture in our bathroom.

We used our paint sprayer to paint the door so it had a clean finish, and no streaks or roller marks would be on the door. We did thin the paint quite a bit with water before we started spraying, which I definitely suggest. Some quick tips for using a paint sprayer:
-Start/stop spraying off the piece
-Overlap your strokes 1/3 each time
-Don’t move the sprayer, move your hand/wrist up and down, keep the sprayer level at all times
-If you are applying two coats, take your container and tip of the sprayer and put them in a plastic bag in the fridge so they don’t dry out between coats!
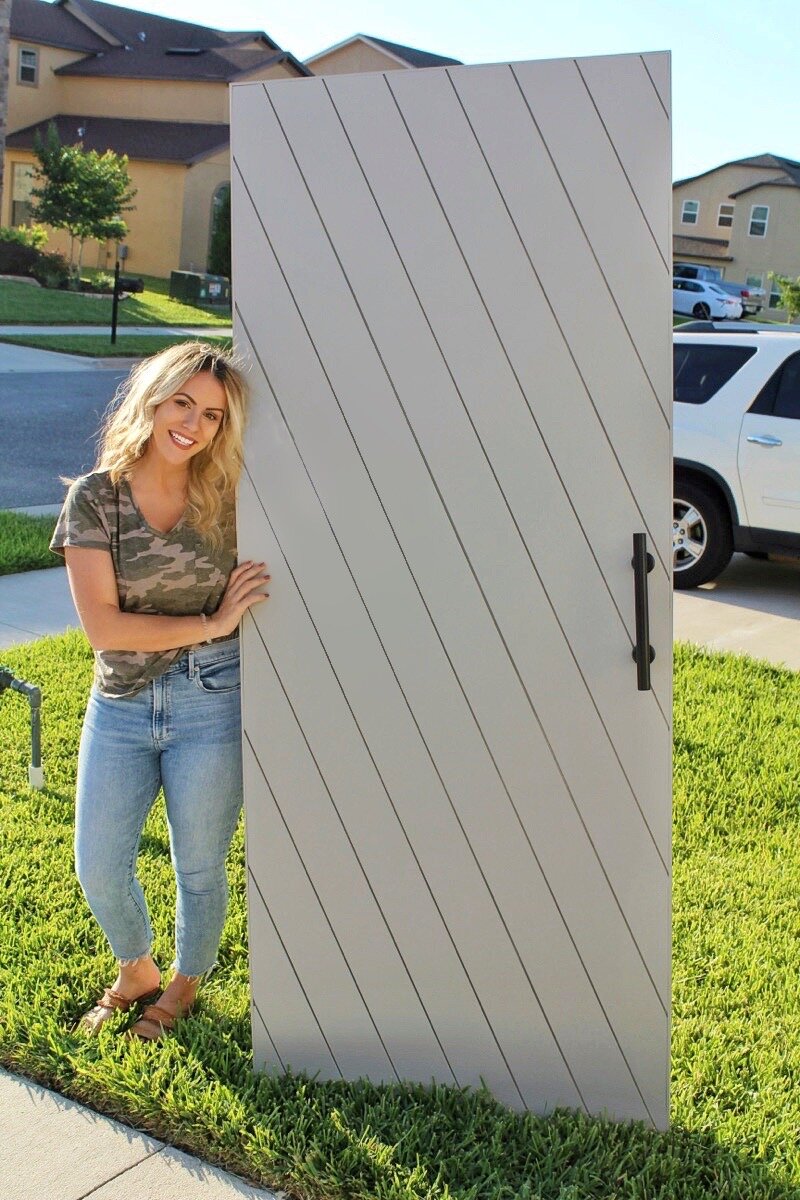
After we had the door painted and it was all dry, we attached the trim pieces, filled the nail holes, touch up painted, and installed the door handle! It turned out so great and was such an easy door to build.
The guys at Antica Development worked hard and finished our shower tile within 3 days! It honestly would have taken Ryan and I a week, so we are so grateful for them, and it looks amazing! Our Allegro White 3×6 subway tile and our Carrera Constellation mosaic tile compliment each other so well and add a fresh and clean look to our bathroom. All that is left is grout and installing our gorgeous Pfister shower faucet and shower head!

Grout it up!
We are more than capable of grouting, so we told them we would do that ourselves. We are using the Mapei grout in the color silver for the floor and for the wall. Again, using sanded grout for the floor and unsanded grout for the shower walls.
We didn’t want to have too dark of grout, so it wouldn’t clash with the shower floor tile or other design elements in the bathroom, but we also didn’t want to do too light of grout so it was difficult to keep clean. It didn’t take very long to put the grout on, we did small areas at once, so the grout wouldn’t dry. Don’t mix up too much at once or it will harden before you can use it! When we applied the grout, we waited thirty minutes after the first application, wiped it all off, then waited another hour and wiped again. We did wait to grout the floors till the very end so we could still walk on them and not mess anything up. We didn’t need to use any haze remover on either the walls or the floors, which was good! You need to be careful with marble tile as a lot of cleaners aren’t safe for marble and can mess it up.
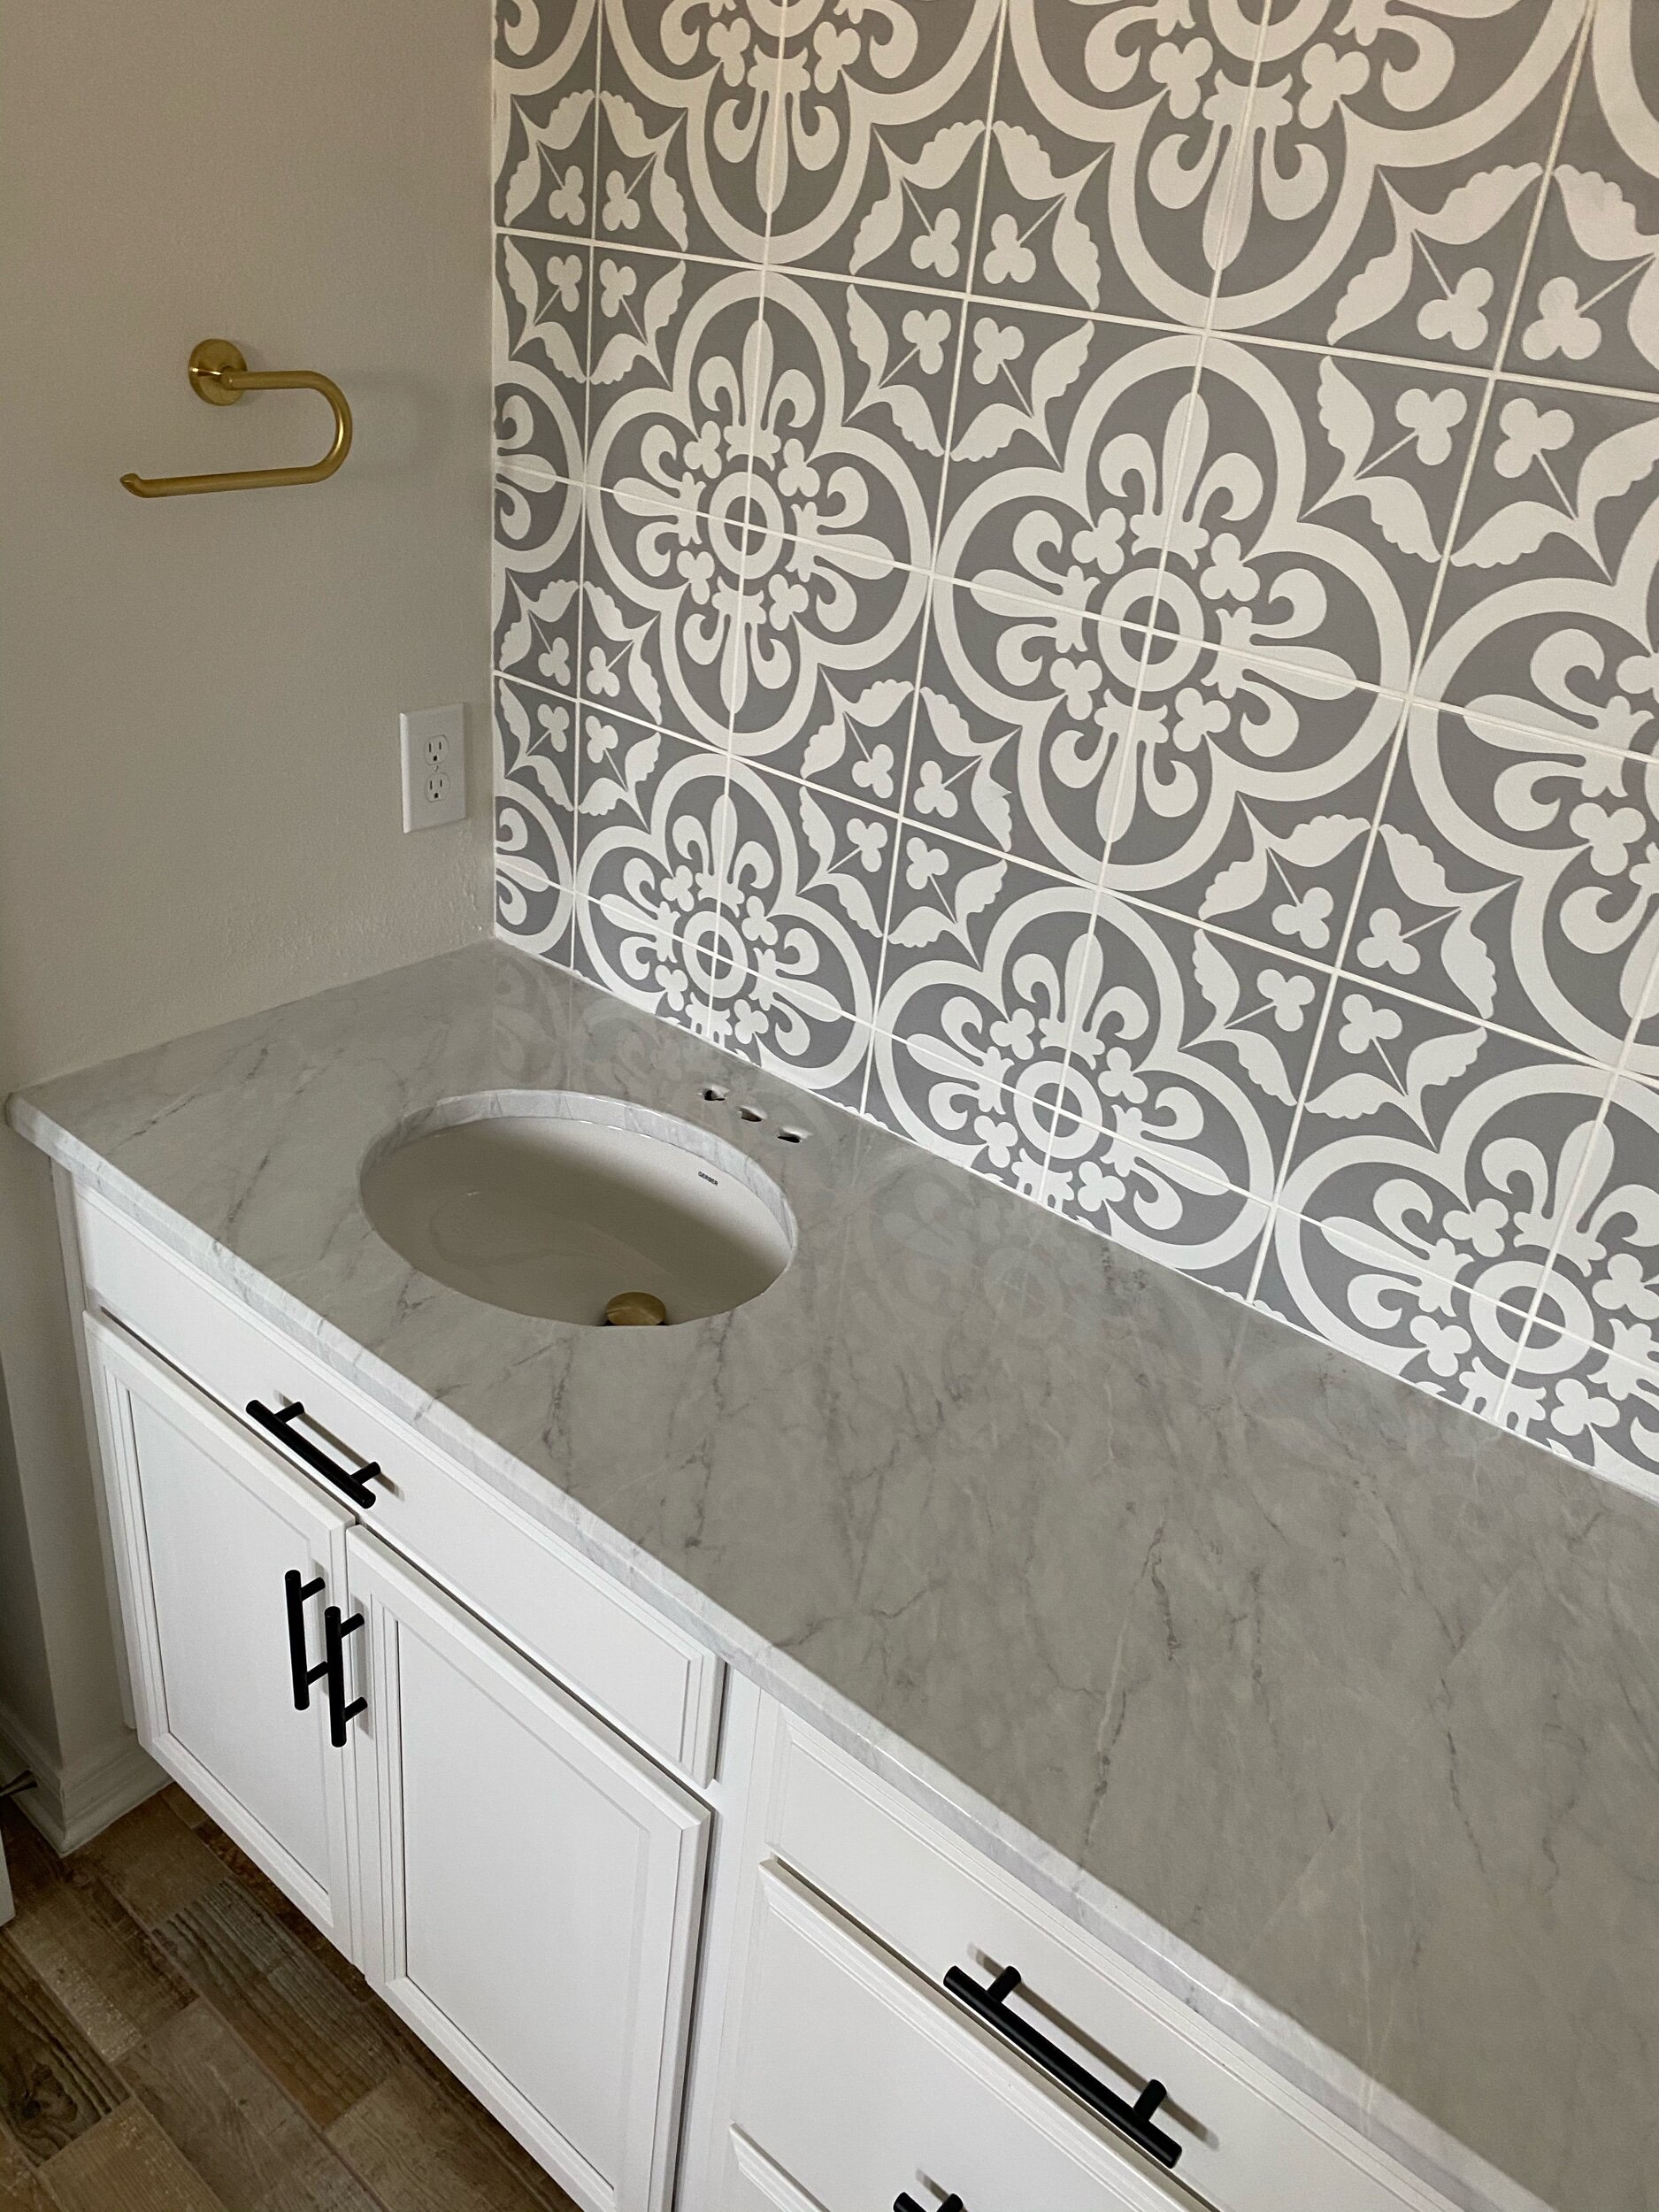
Countertops round 2
We also got our new countertop adhesive delivered, and I like it so much more than the first kind. It’s more white and less busy, and compliments our Jeffrey Court Emblem wall tile perfectly. We got this Very Berry Marble Countertop Adhesive from Amazon, and it was a lot more heavy duty and better quality than the first kind too, which is awesome! It was also easy to install, I did it on my own.. just needed a little squeegee, or credit card, and a blade of some sort.
The last details
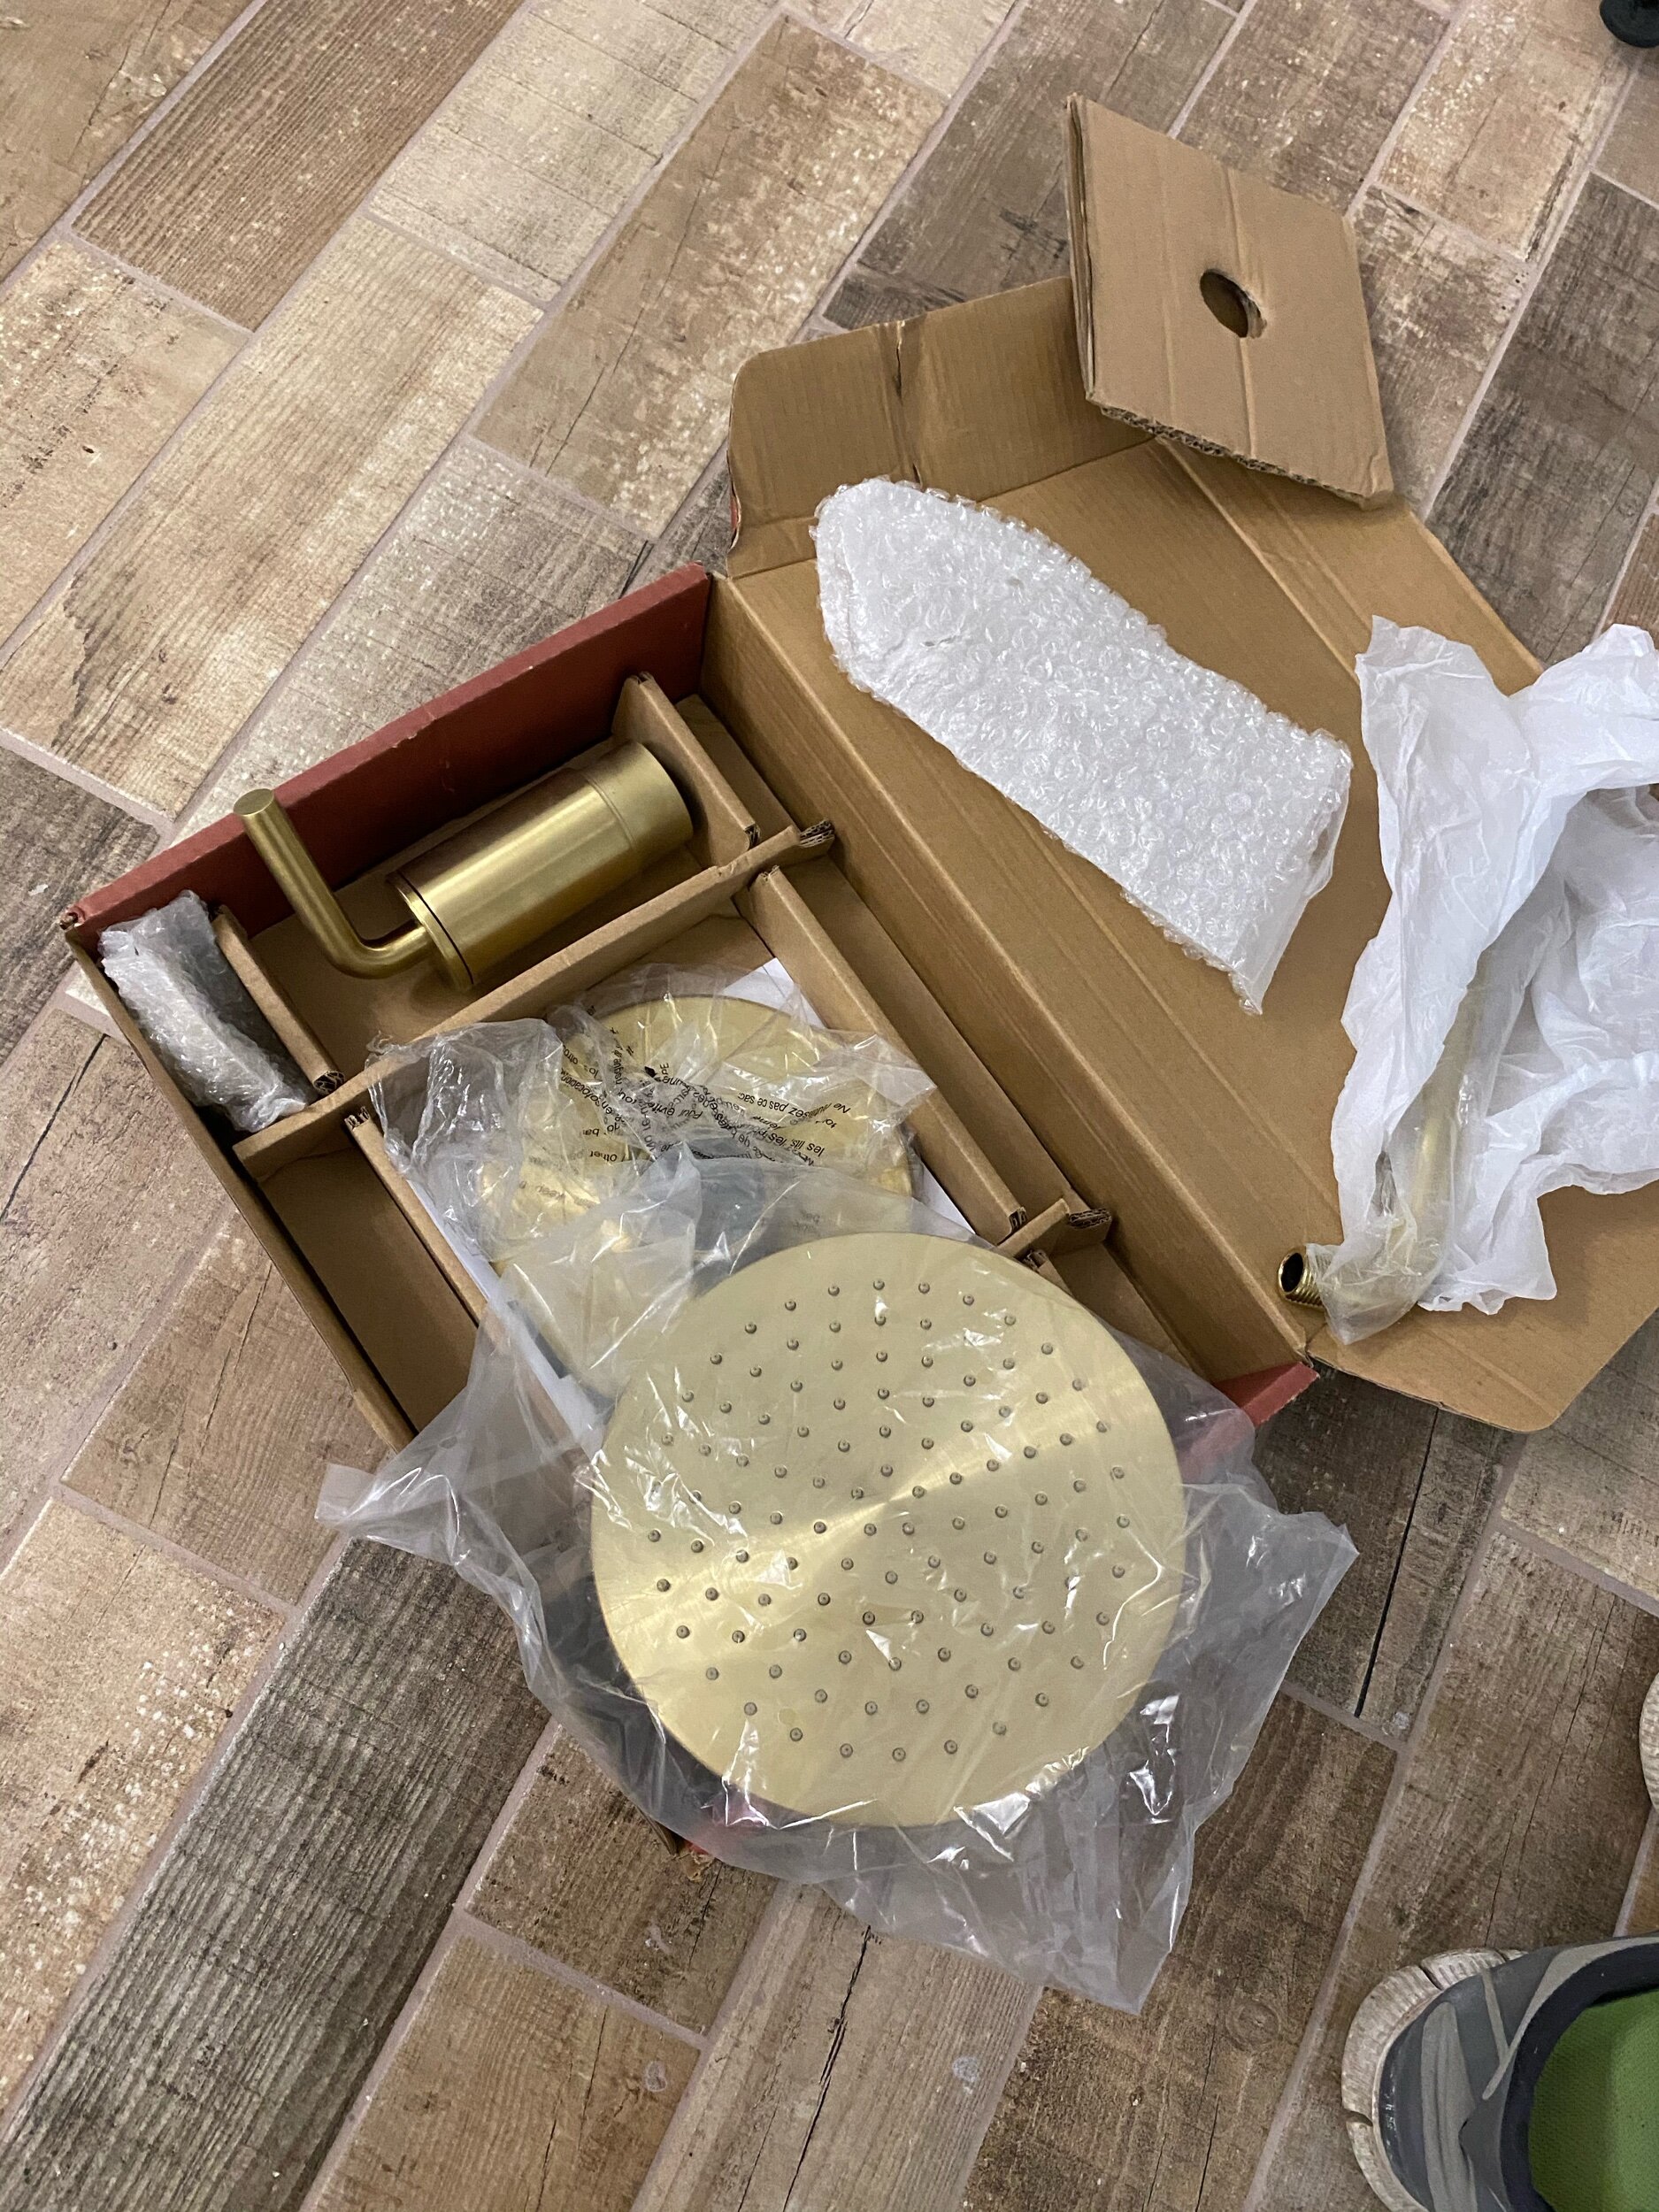
The last couple days of the renovation challenge was just us buttoning up the final details. We installed our shower head and faucet that we got from Pfister. We went with the gorgeous brushed gold Tenet faucet, and it has this awesome rainfall type shower head! It’s the perfect compliment for our tile, and we’ll go into more detail on it in a separate blog post after the challenge.
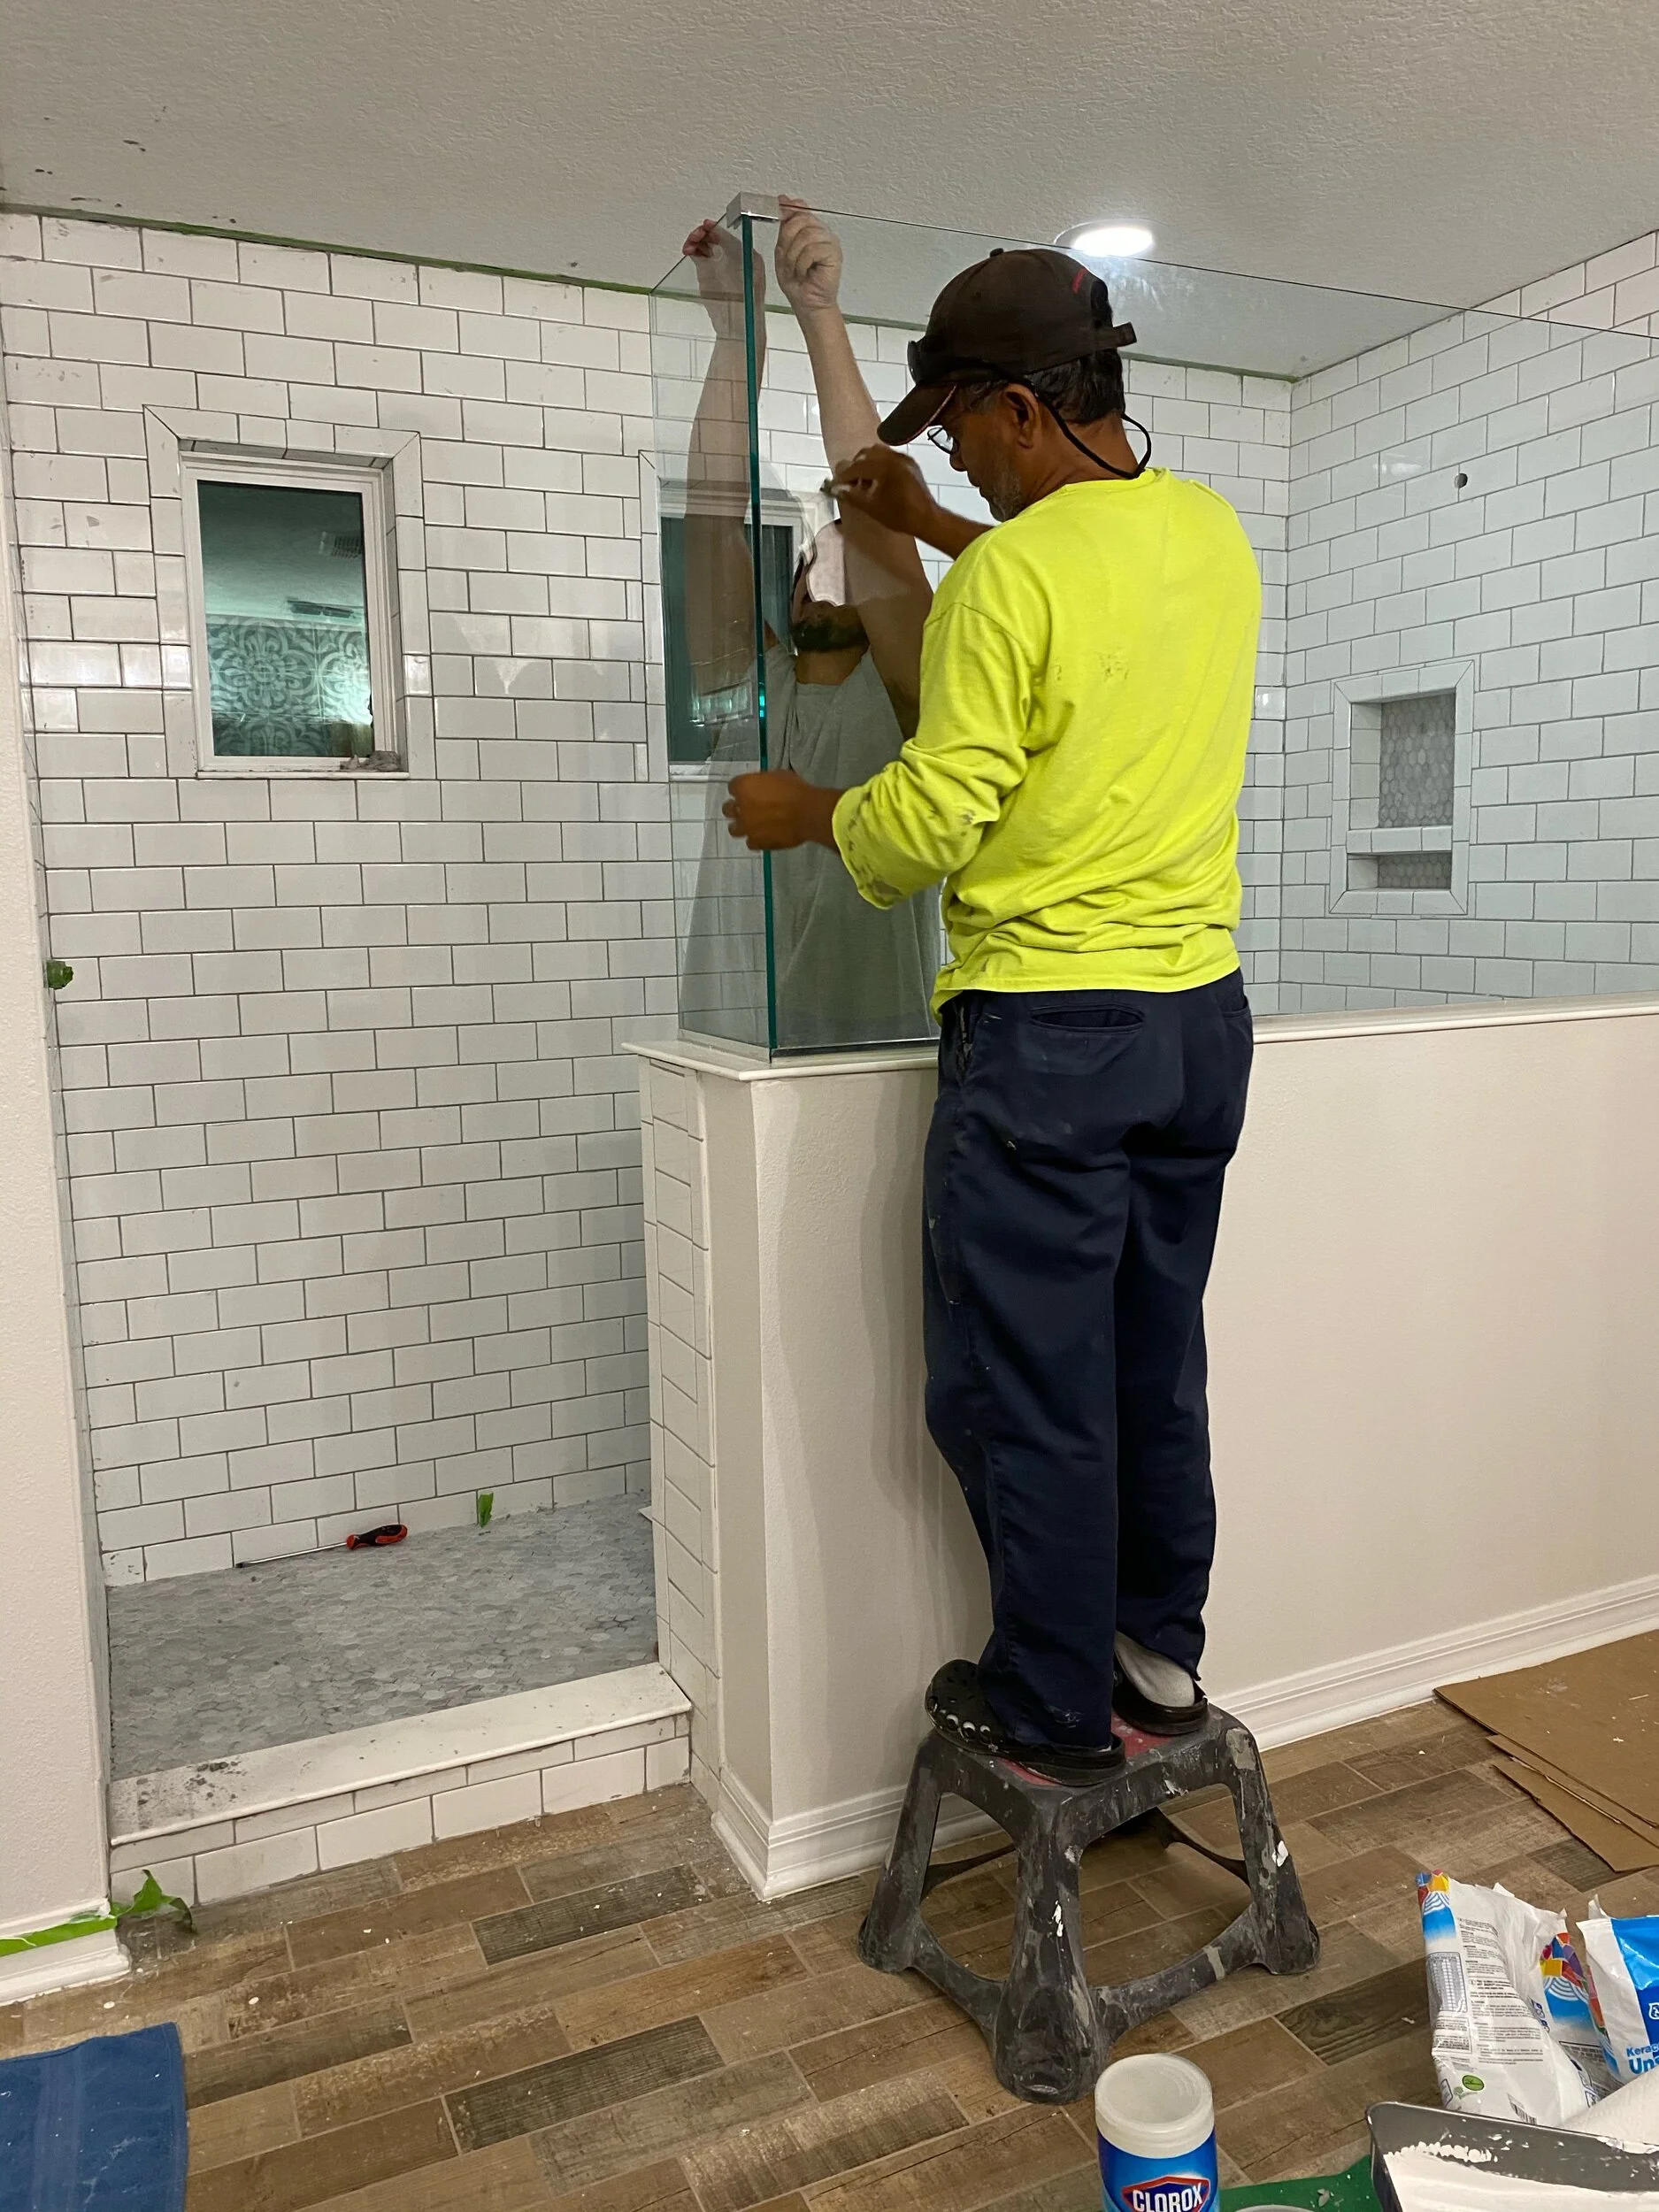
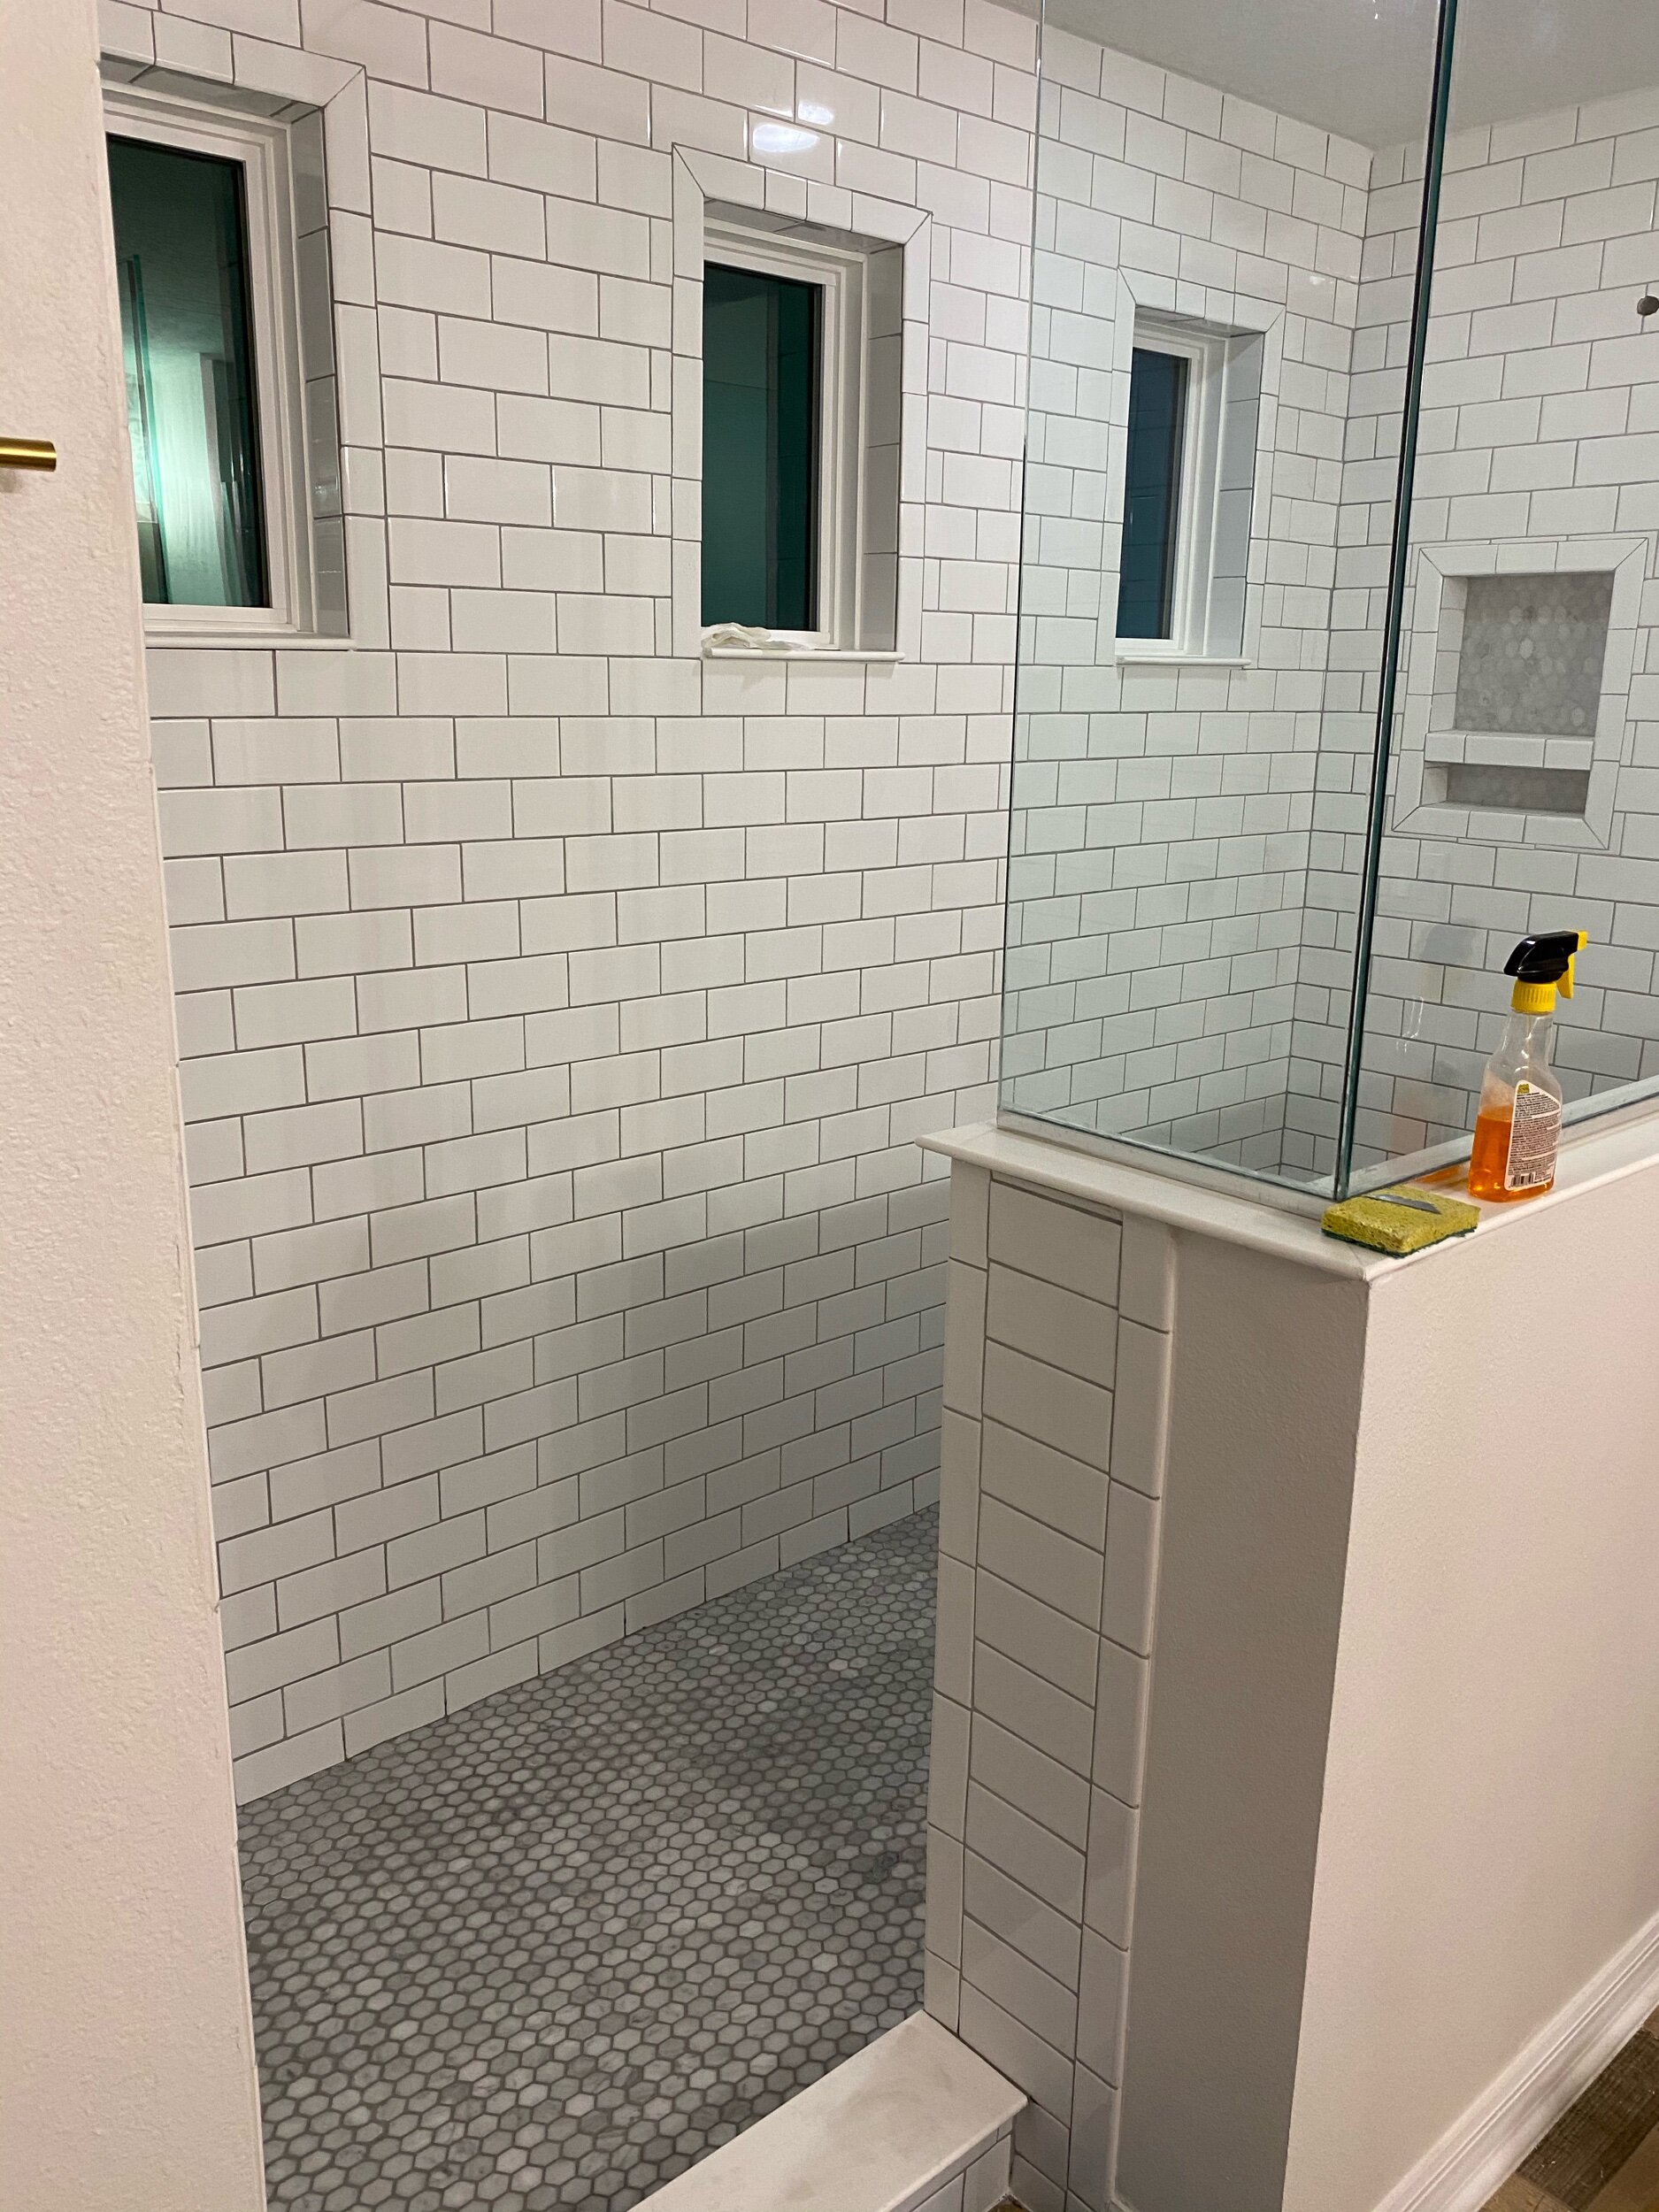
We also cleaned up all of the grout lines with a little razor blade, which was very tedious but made the shower tile look AMAZING. We reinstalled the shower glass, with the help of our neighbor Mario and Ryan’s father. It was SO heavy, so we definitely needed their help to lift it back into place, I have no idea how we lifted it off ourselves in the first place. We had to drill the frame back into the new tile, so we had to purchase a tile drill bit from Home Depot for that. We also had to use clear caulk to hold the glass into the frame. Once we got the glass back on, it was really coming back together and looking like a shower!
Let there be water!
It was FINALLY time to install our gorgeous Tenet rainfall shower head and faucet, and these do not disappoint. We did the brushed gold finish again, and this shower set is NEXT LEVEL! It’s absolutely gorgeous and compliments our shower tile so nicely. It was easy to install, we just had to previously change out our shower valve, the install took Ryan less than five minutes! I’ll give more details on all of our Pfister faucets soon in their own blog post! But look how awesome!!
The last thing we had to do was clean everything up, and decorate! Stay tuned for our final reveal blog post tomorrow to see how everything turns out and comes together. Also, remember to vote for us, we need all of your support!!!
-xoxo
Newbuild Newlyweds
Grab our FREE download
Wanna know the 5 must have tools you need before you start?
Considering a DIY Project?


Be the first to comment