


Jeffrey Court Renovation Challenge: Week 6 Reveal
*This blog post contains sponsored content and affiliate links where compensation may be rewarded.
Its here!
Not gonna lie, I woke up this morning feeling like a little kid on Christmas knowing today is the final day of our 6 week renovation, and we have a beautiful new bathroom to show for it! This has been a crazy, fun, trying at times, learning experience of a renovation, and definitely our biggest DIY project to date, and we could NOT be any more proud. Even if we don’t win, this is something we did on our own, together, just the TWO of us, and that is a win in itself. Thats what these DIY projects are all about for us, spending time together and creating something beautiful we both love. If you would have told us two years ago when we got married that we would have done all of these DIY projects to our home, and were going to compete in a 6 week renovation challenge centered around tile, I would have laughed, and laughed HARD. Ryan and I have grown so much in the two years we’ve been married, and this renovation challenge has been a blessing to us. We have learned so much, not just about demo, tiling, or certain techniques, but about what we can actually do! And can I just say, we are AWESOME. Haha, no really, we are so proud of ourselves, and we want to thank you guys for following along and voting for us each week! So, THANK YOU!
Before we get to the big reveal, I want to share some of the progress we made this week that lead up to the big reveal. Patience is key 😉
First off, to vote for us one last time this week, click HERE!
The Final Countdown
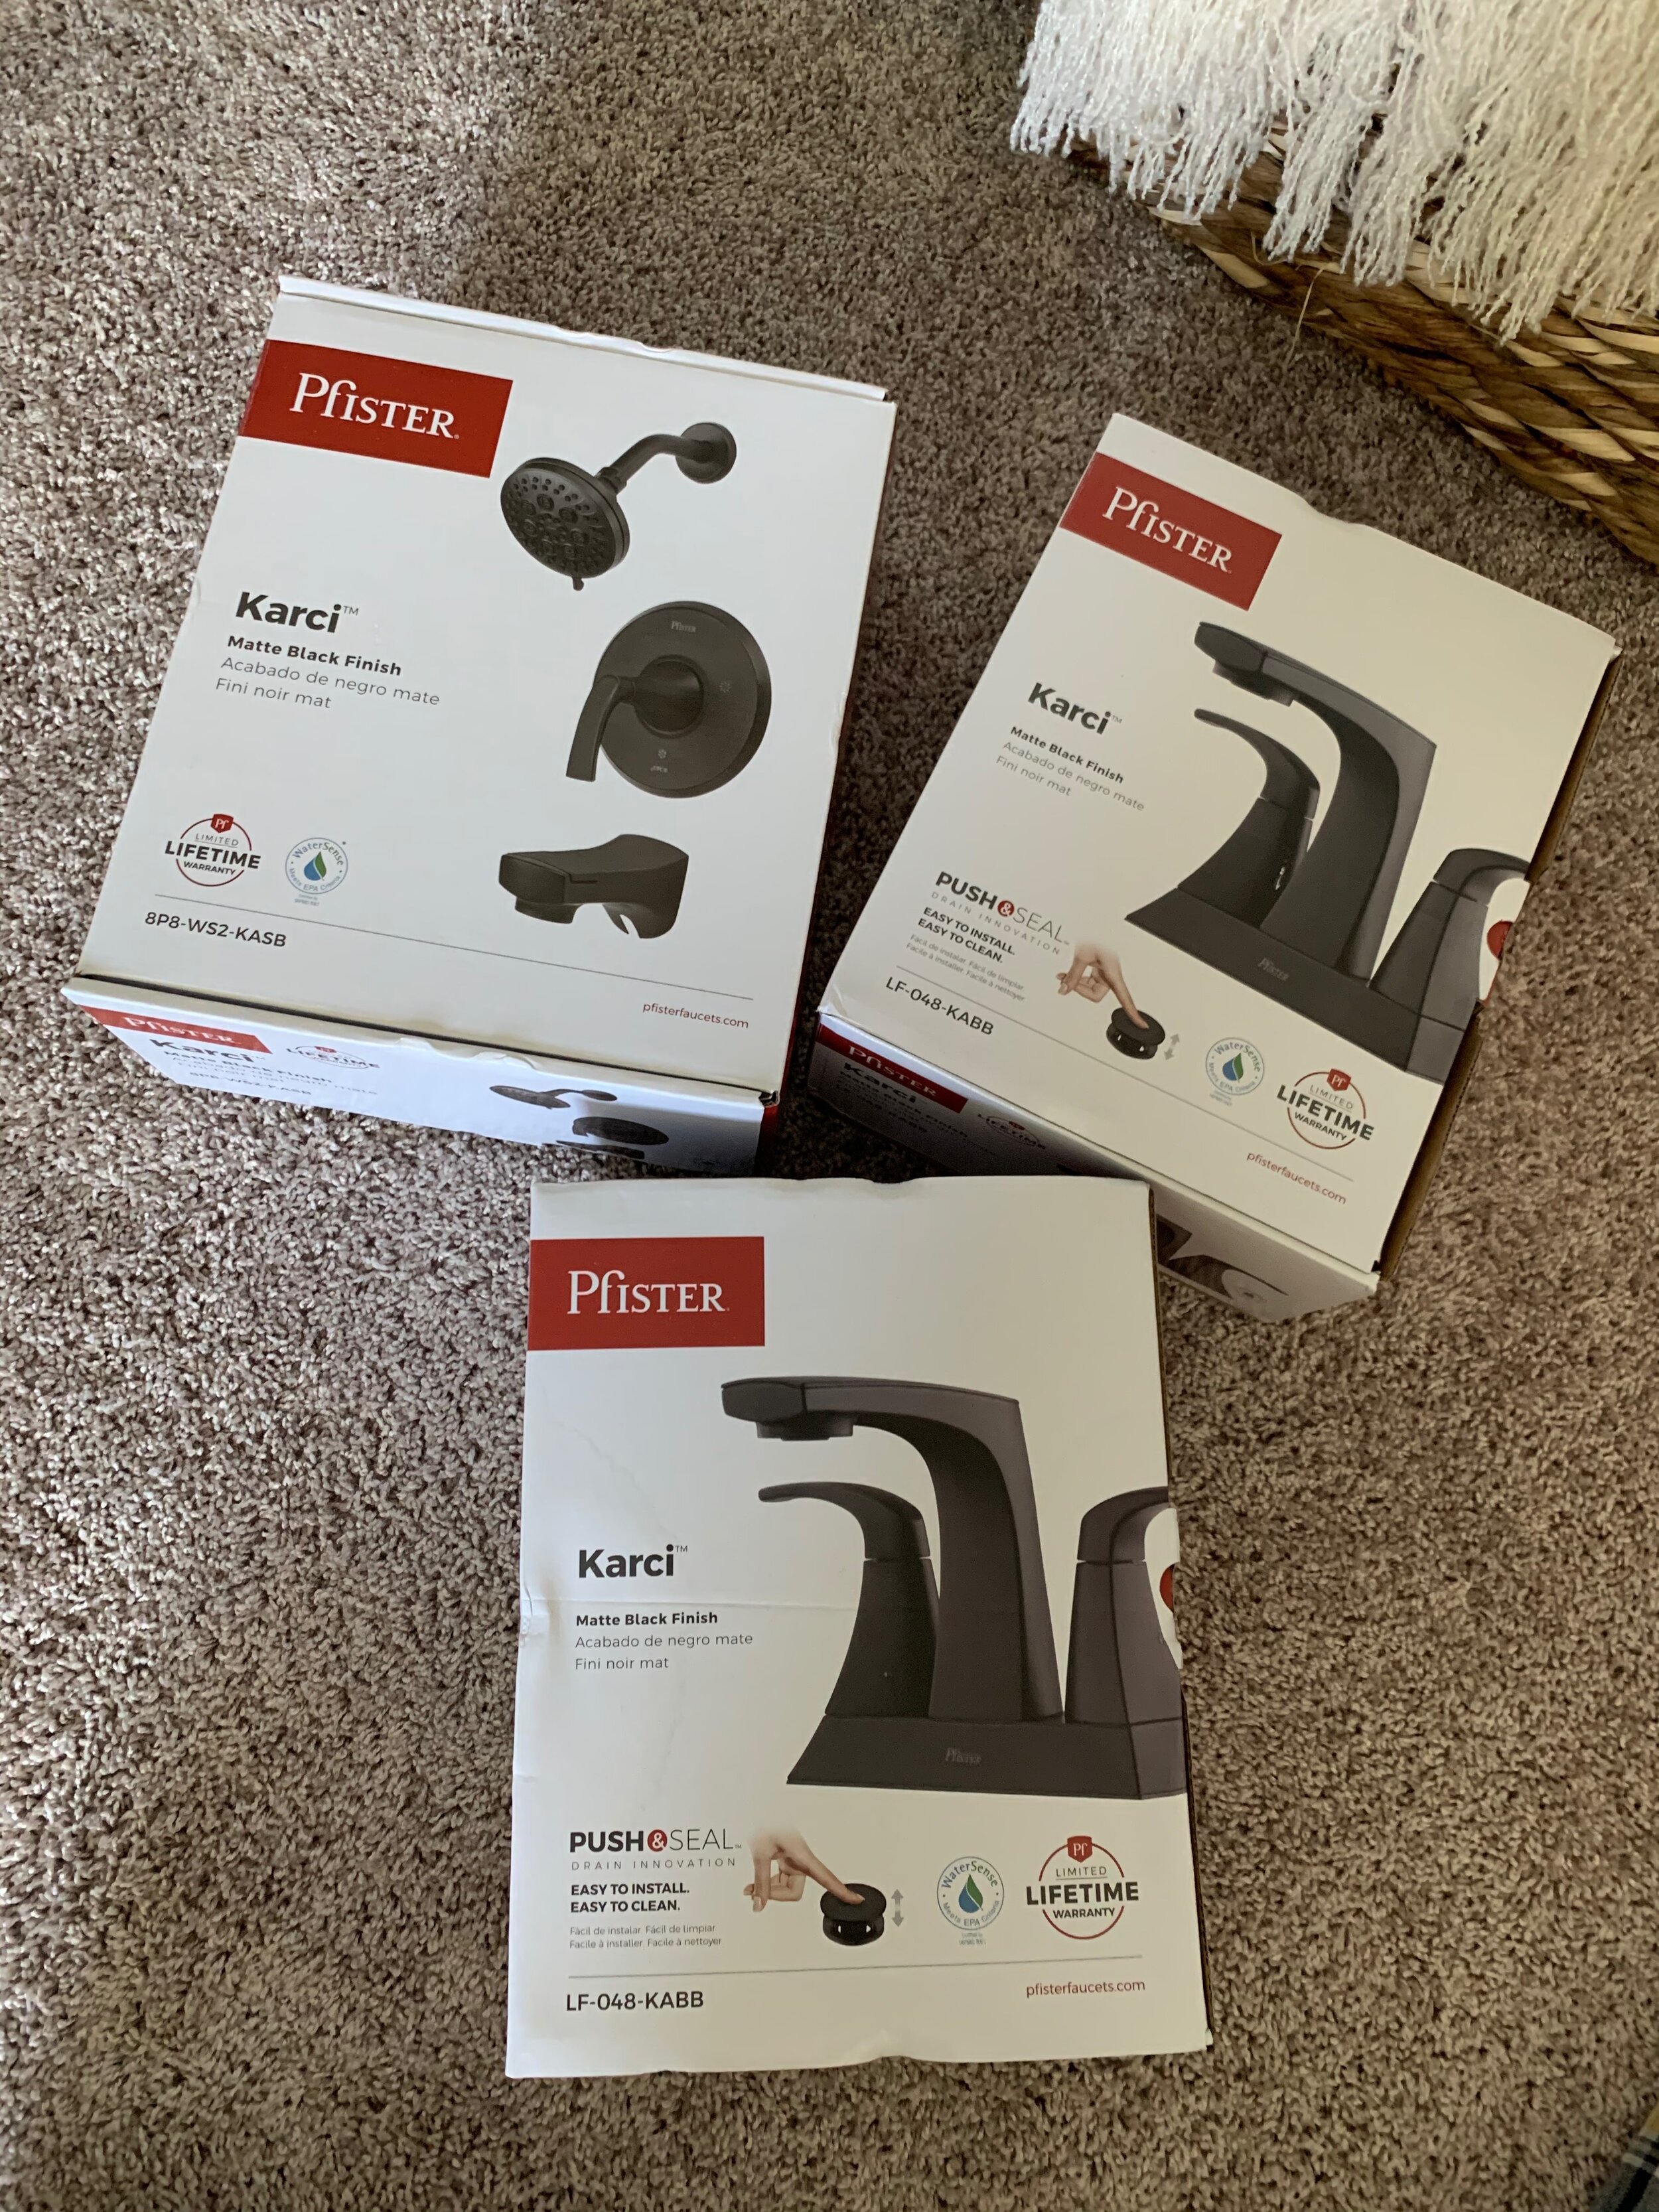
The Pfister faucets we chose in the Karci style.
This week our amazing matte black faucets and bathroom accessories from Pfister faucets and Kwikset arrived in the mail, and we got to install them! We partnered with them for this part of the renovation, so this is sponsored by Pfister. We first found out how amazing Pfister faucets are on our own when we did our first bathroom redo, and when they wanted to collaborate with us for this bathroom, we HAD to say yes!
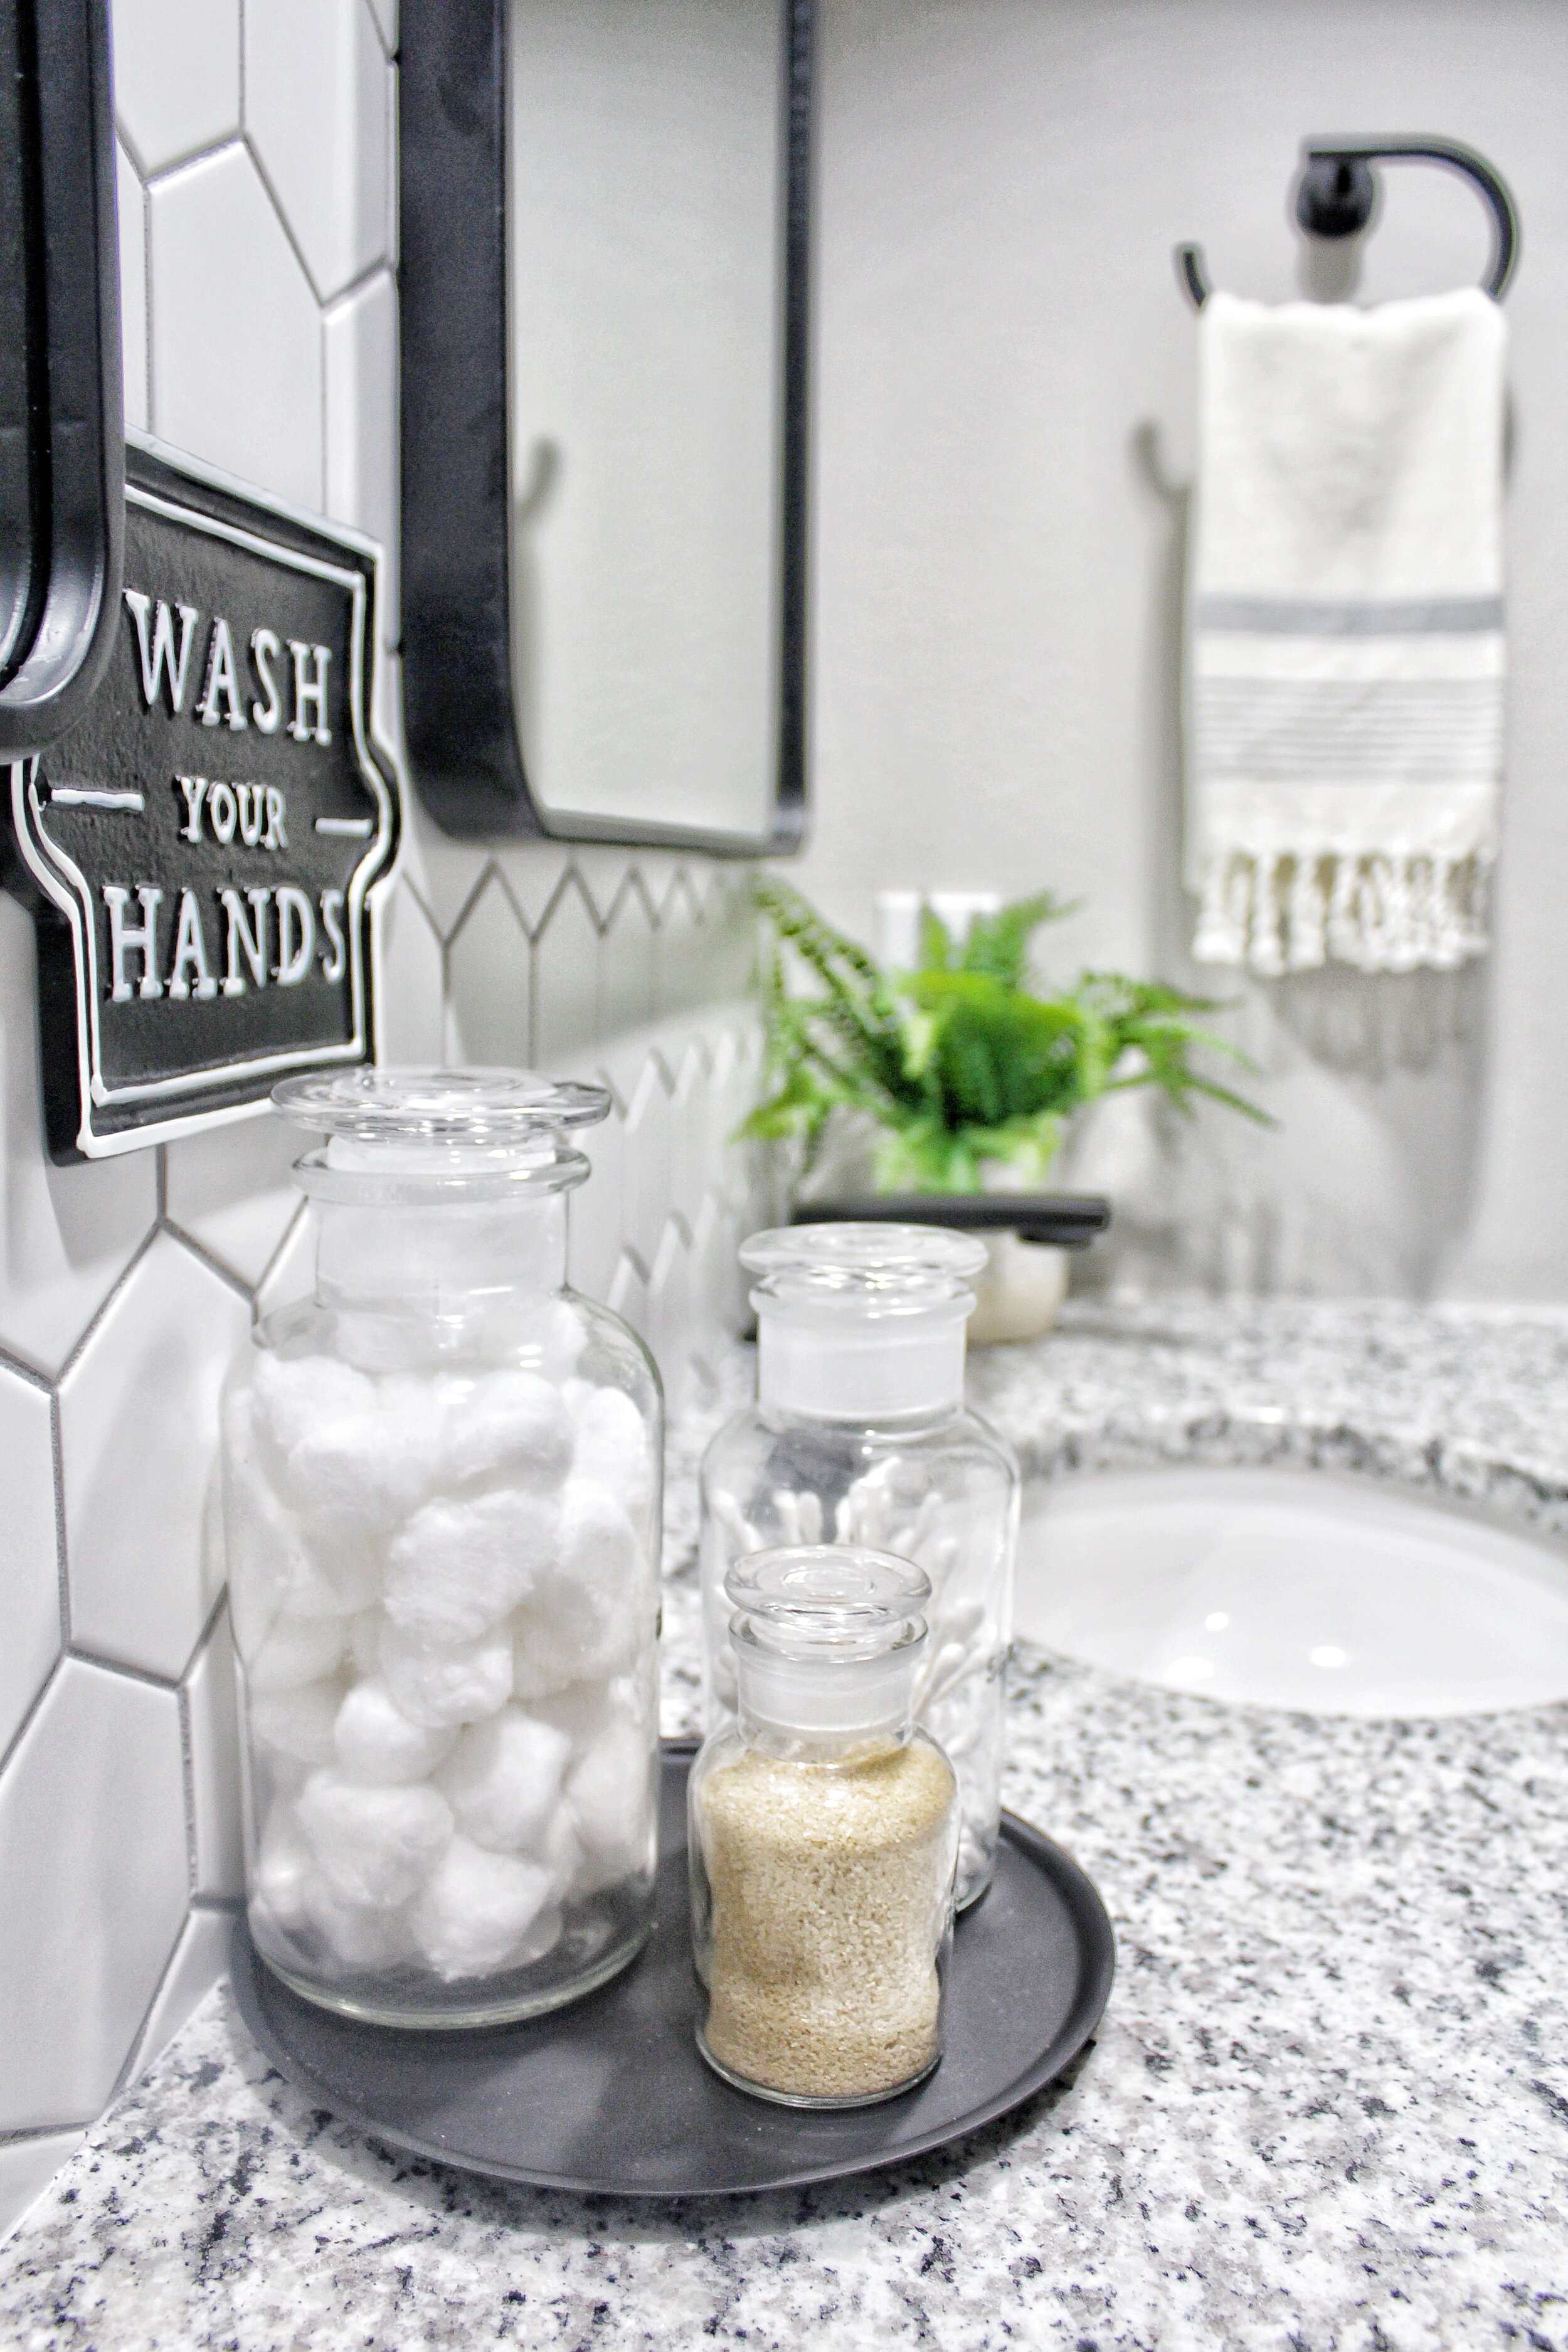
We decided to go with all matte black hardware because it is sleek, modern, and a good contrast with the Ashwood floor tile and Spaced Out mosaic wall tile. And it doesn’t show finger prints as much-which will be great when we eventually have little hands using this bathroom down the road 😉
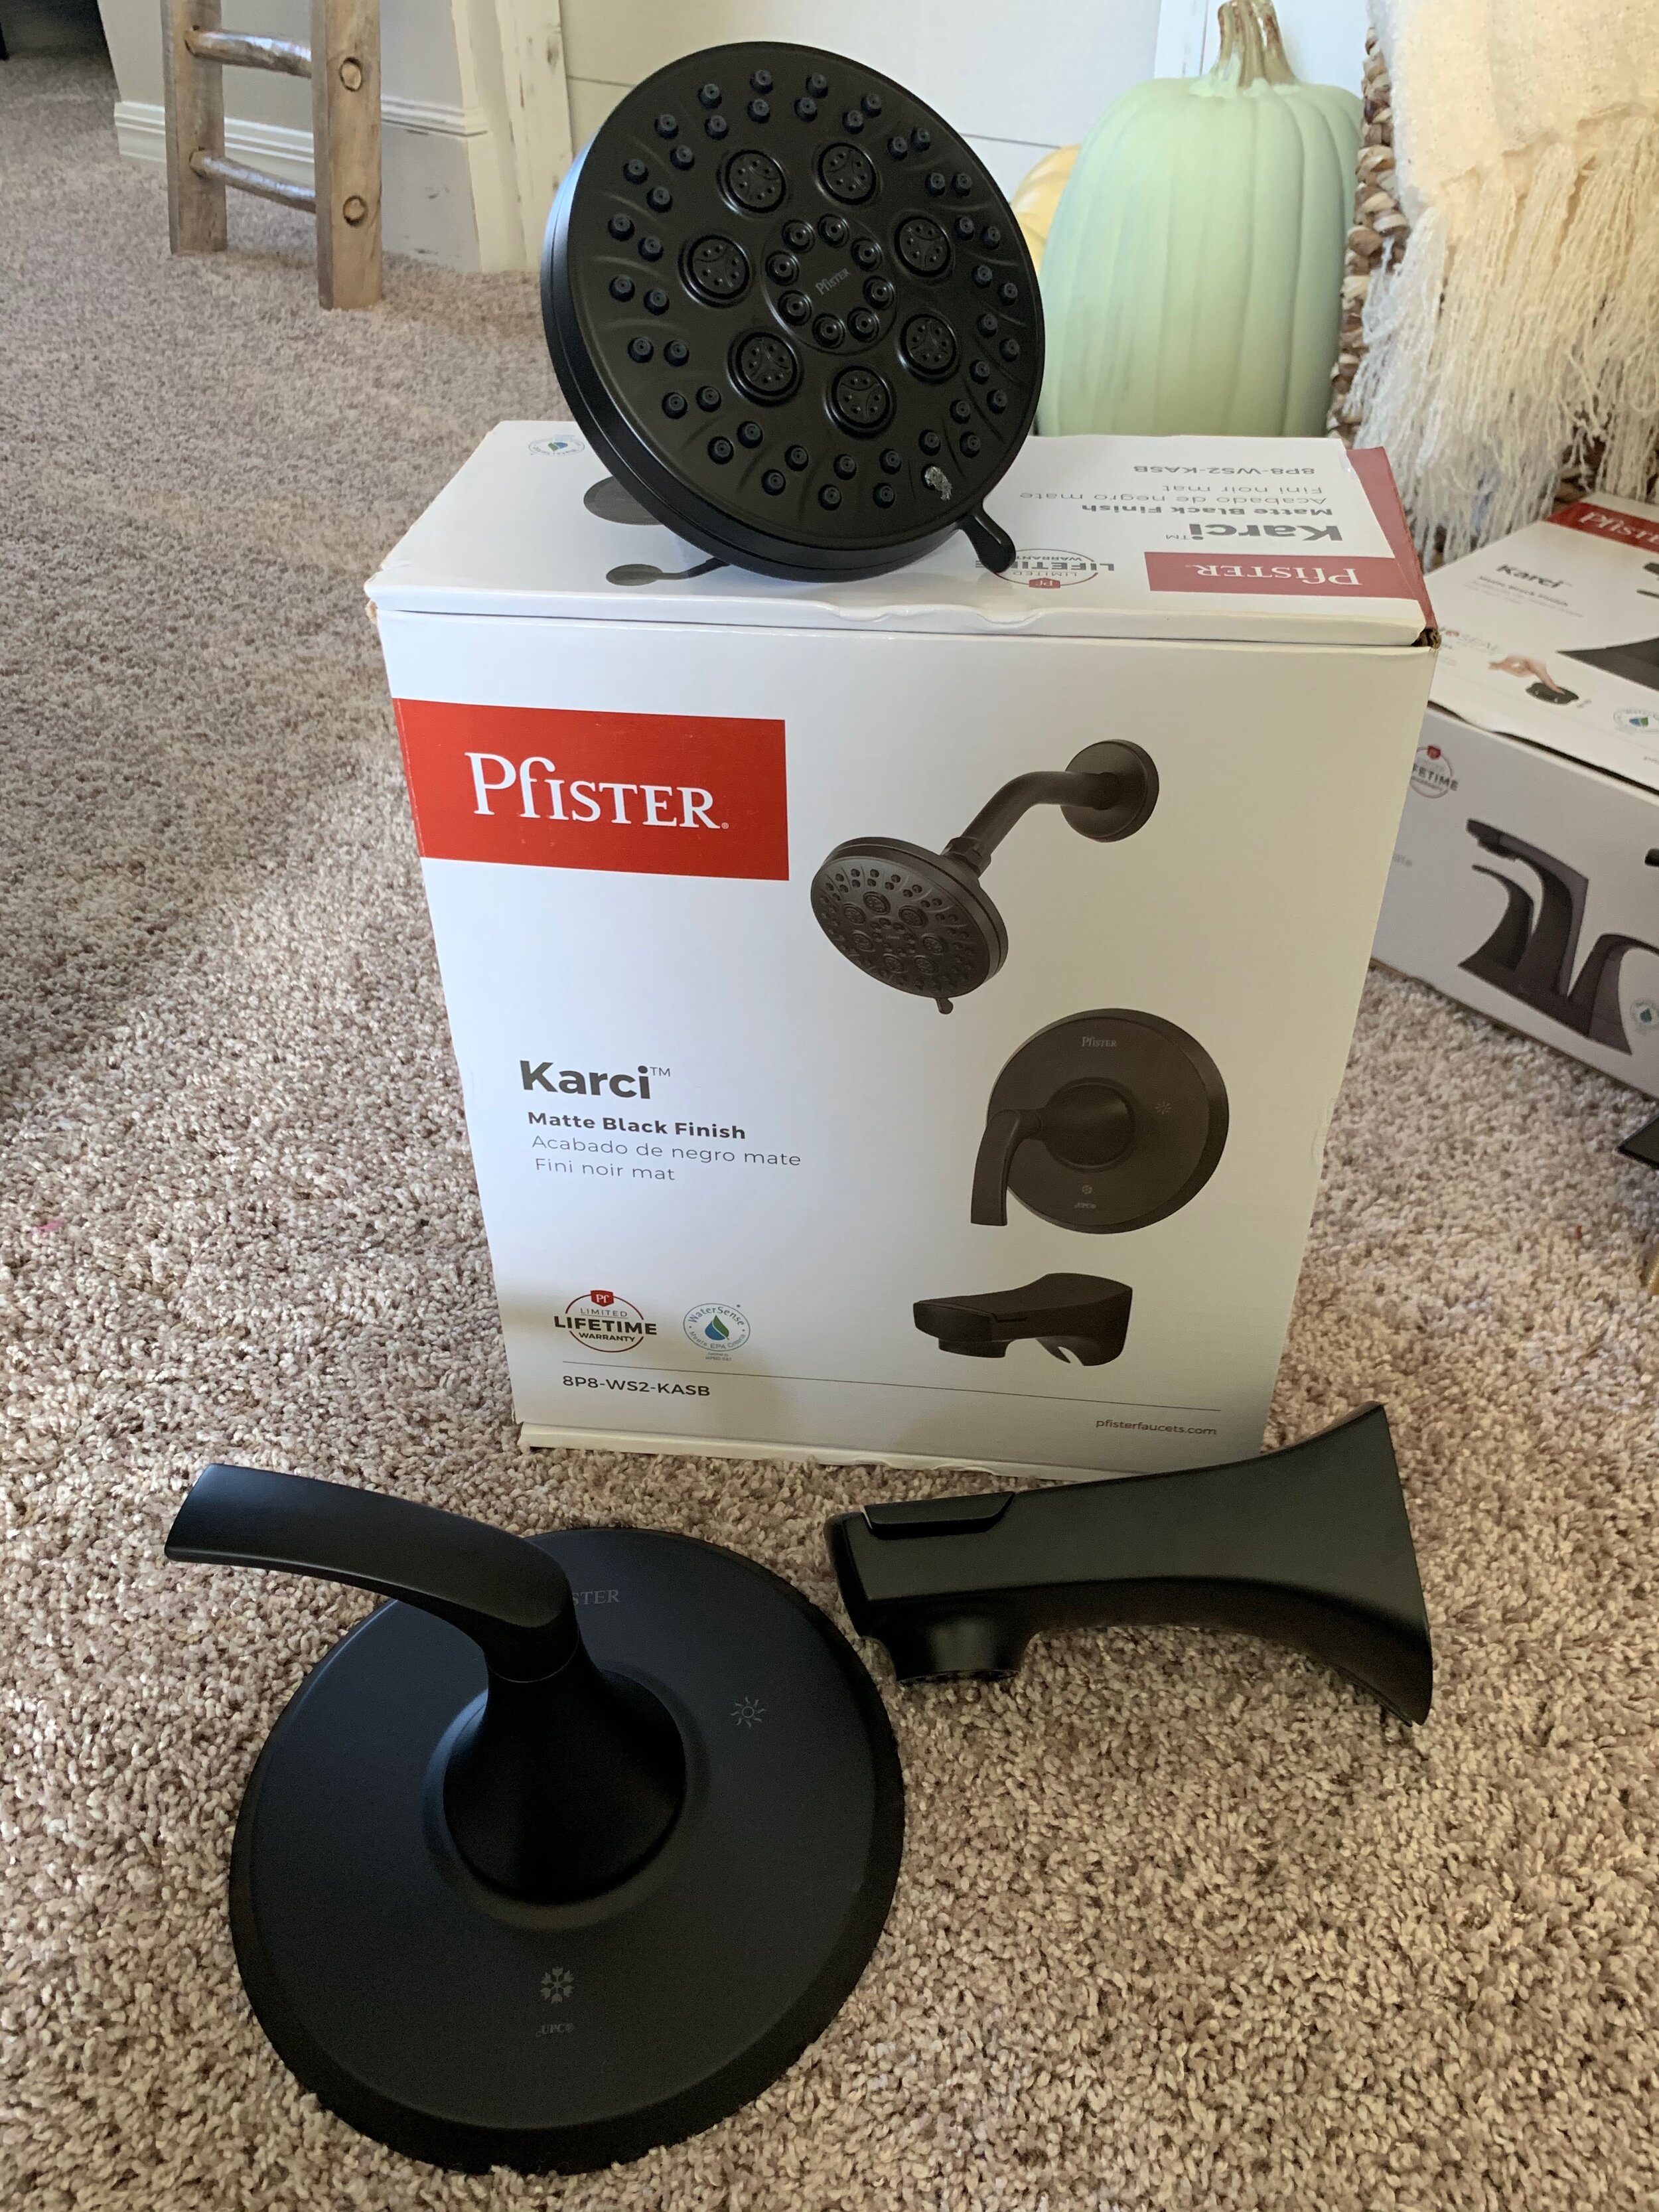
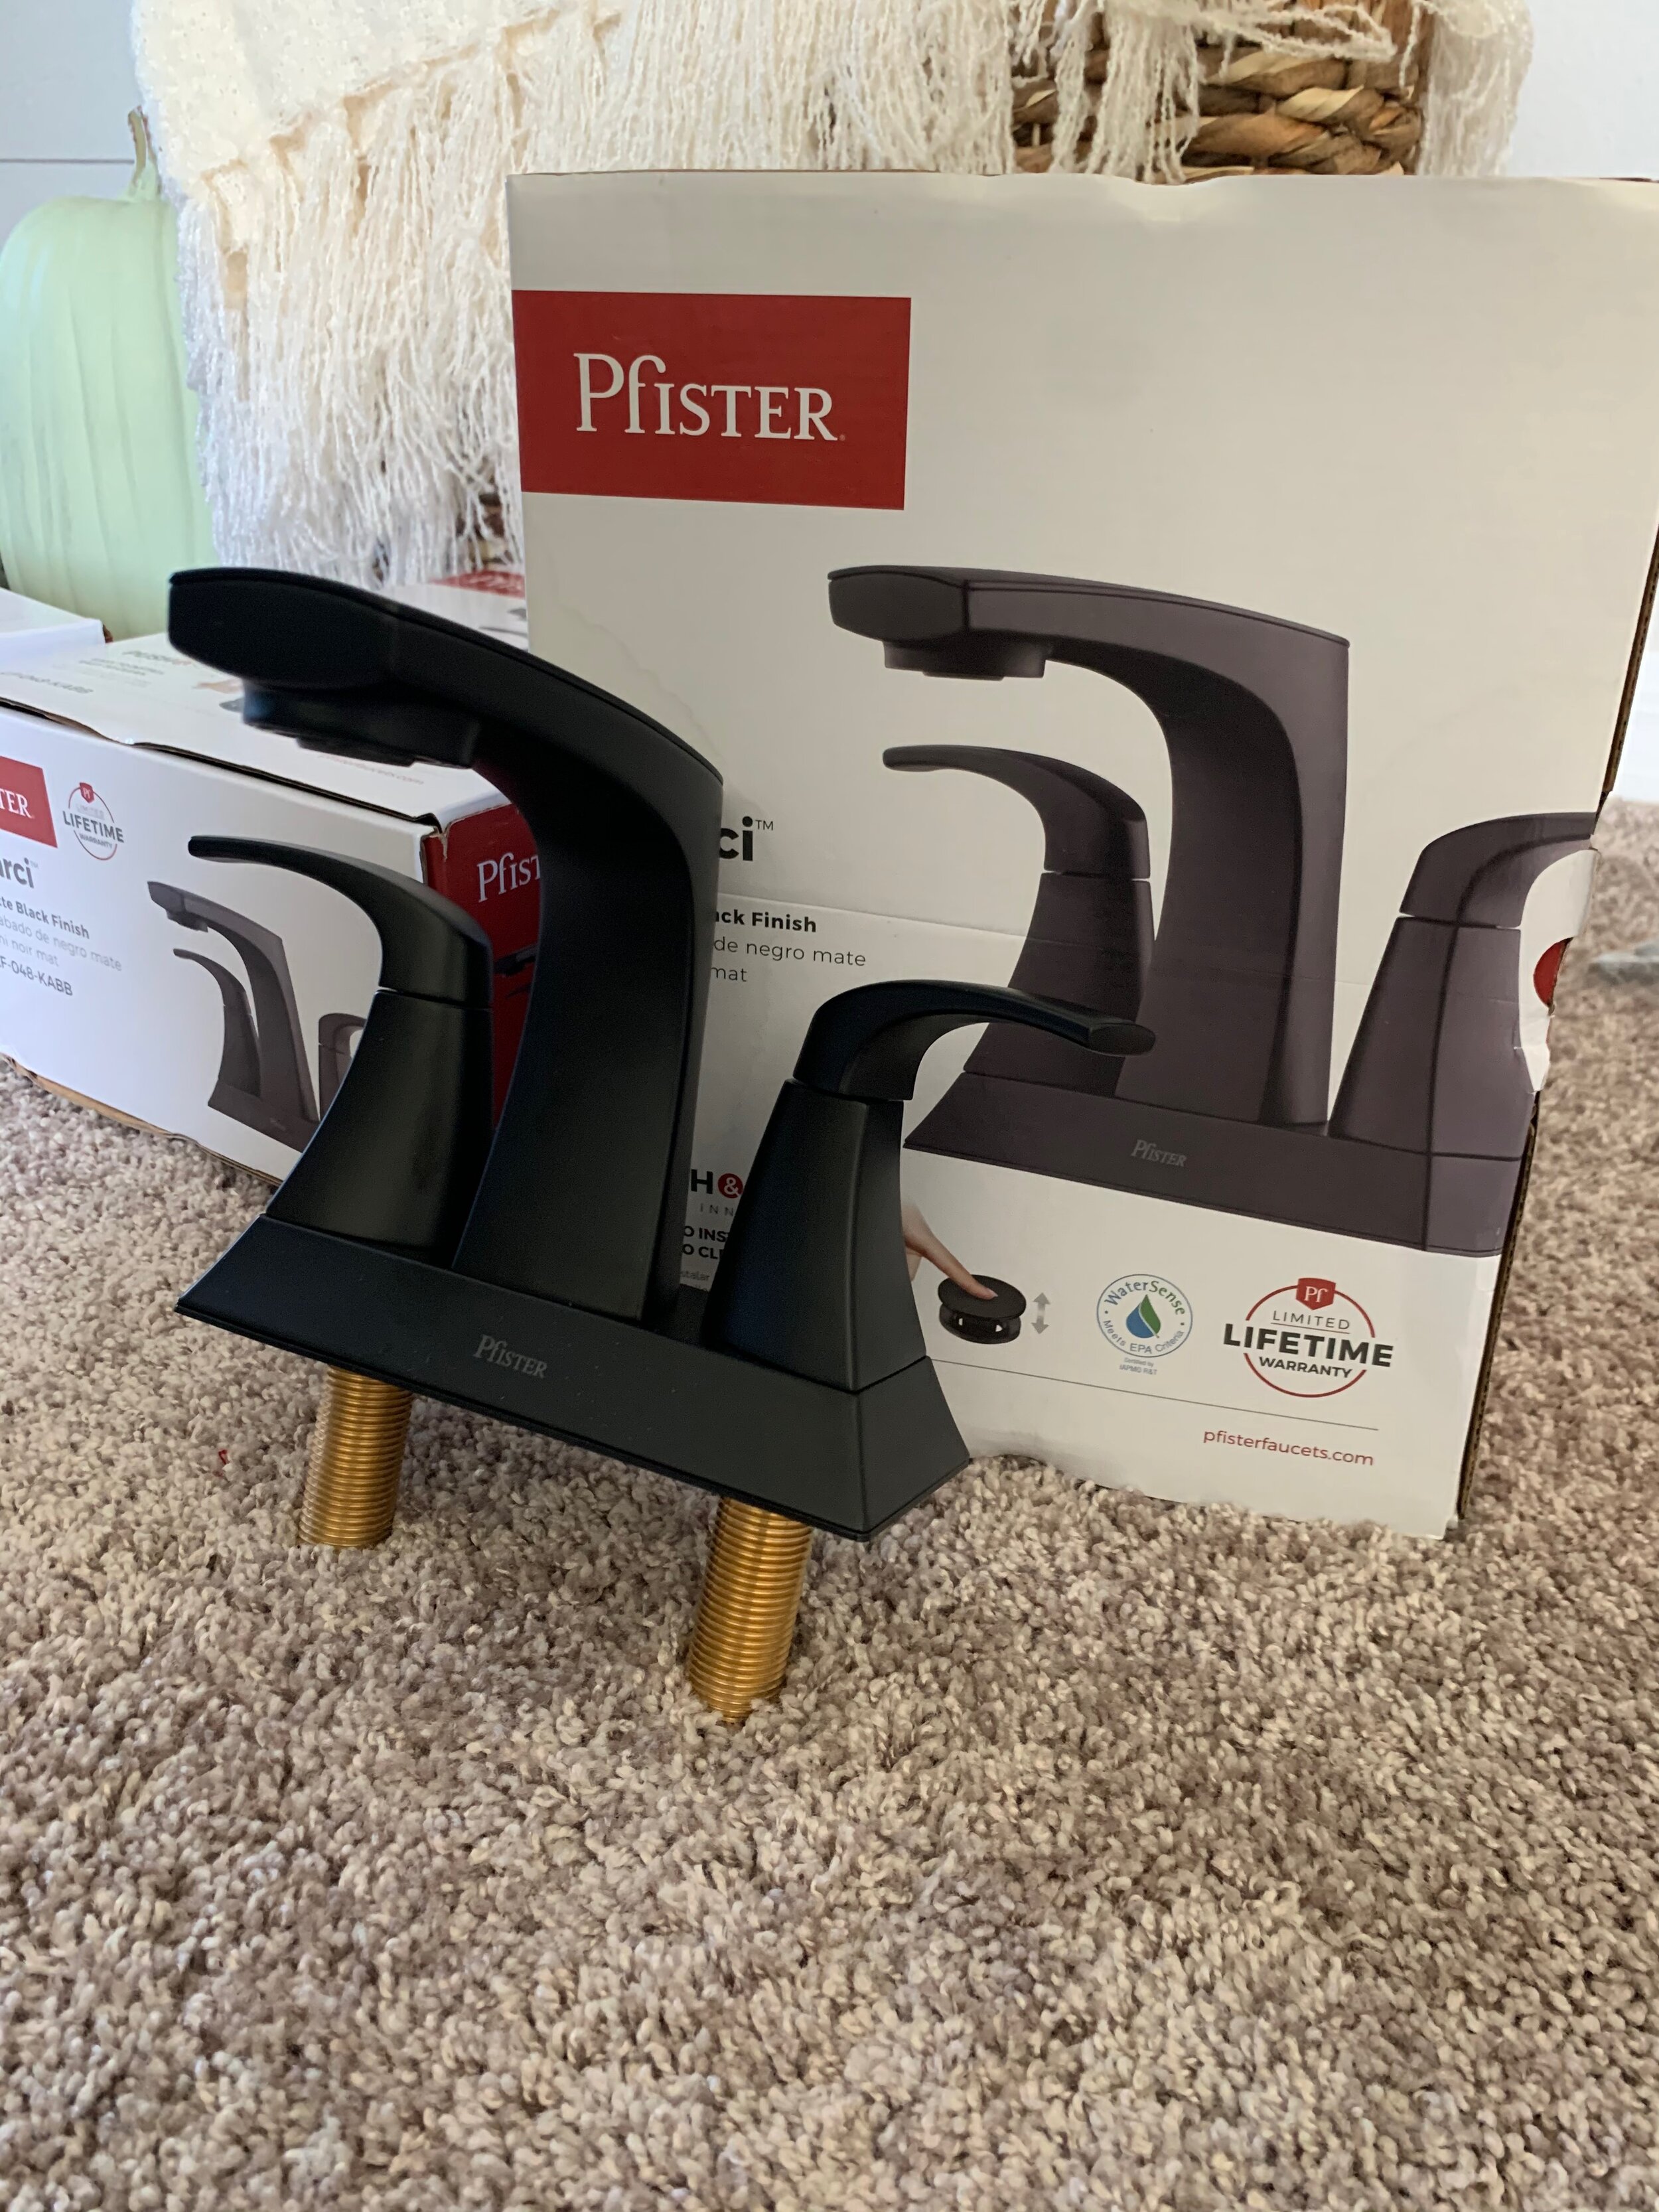
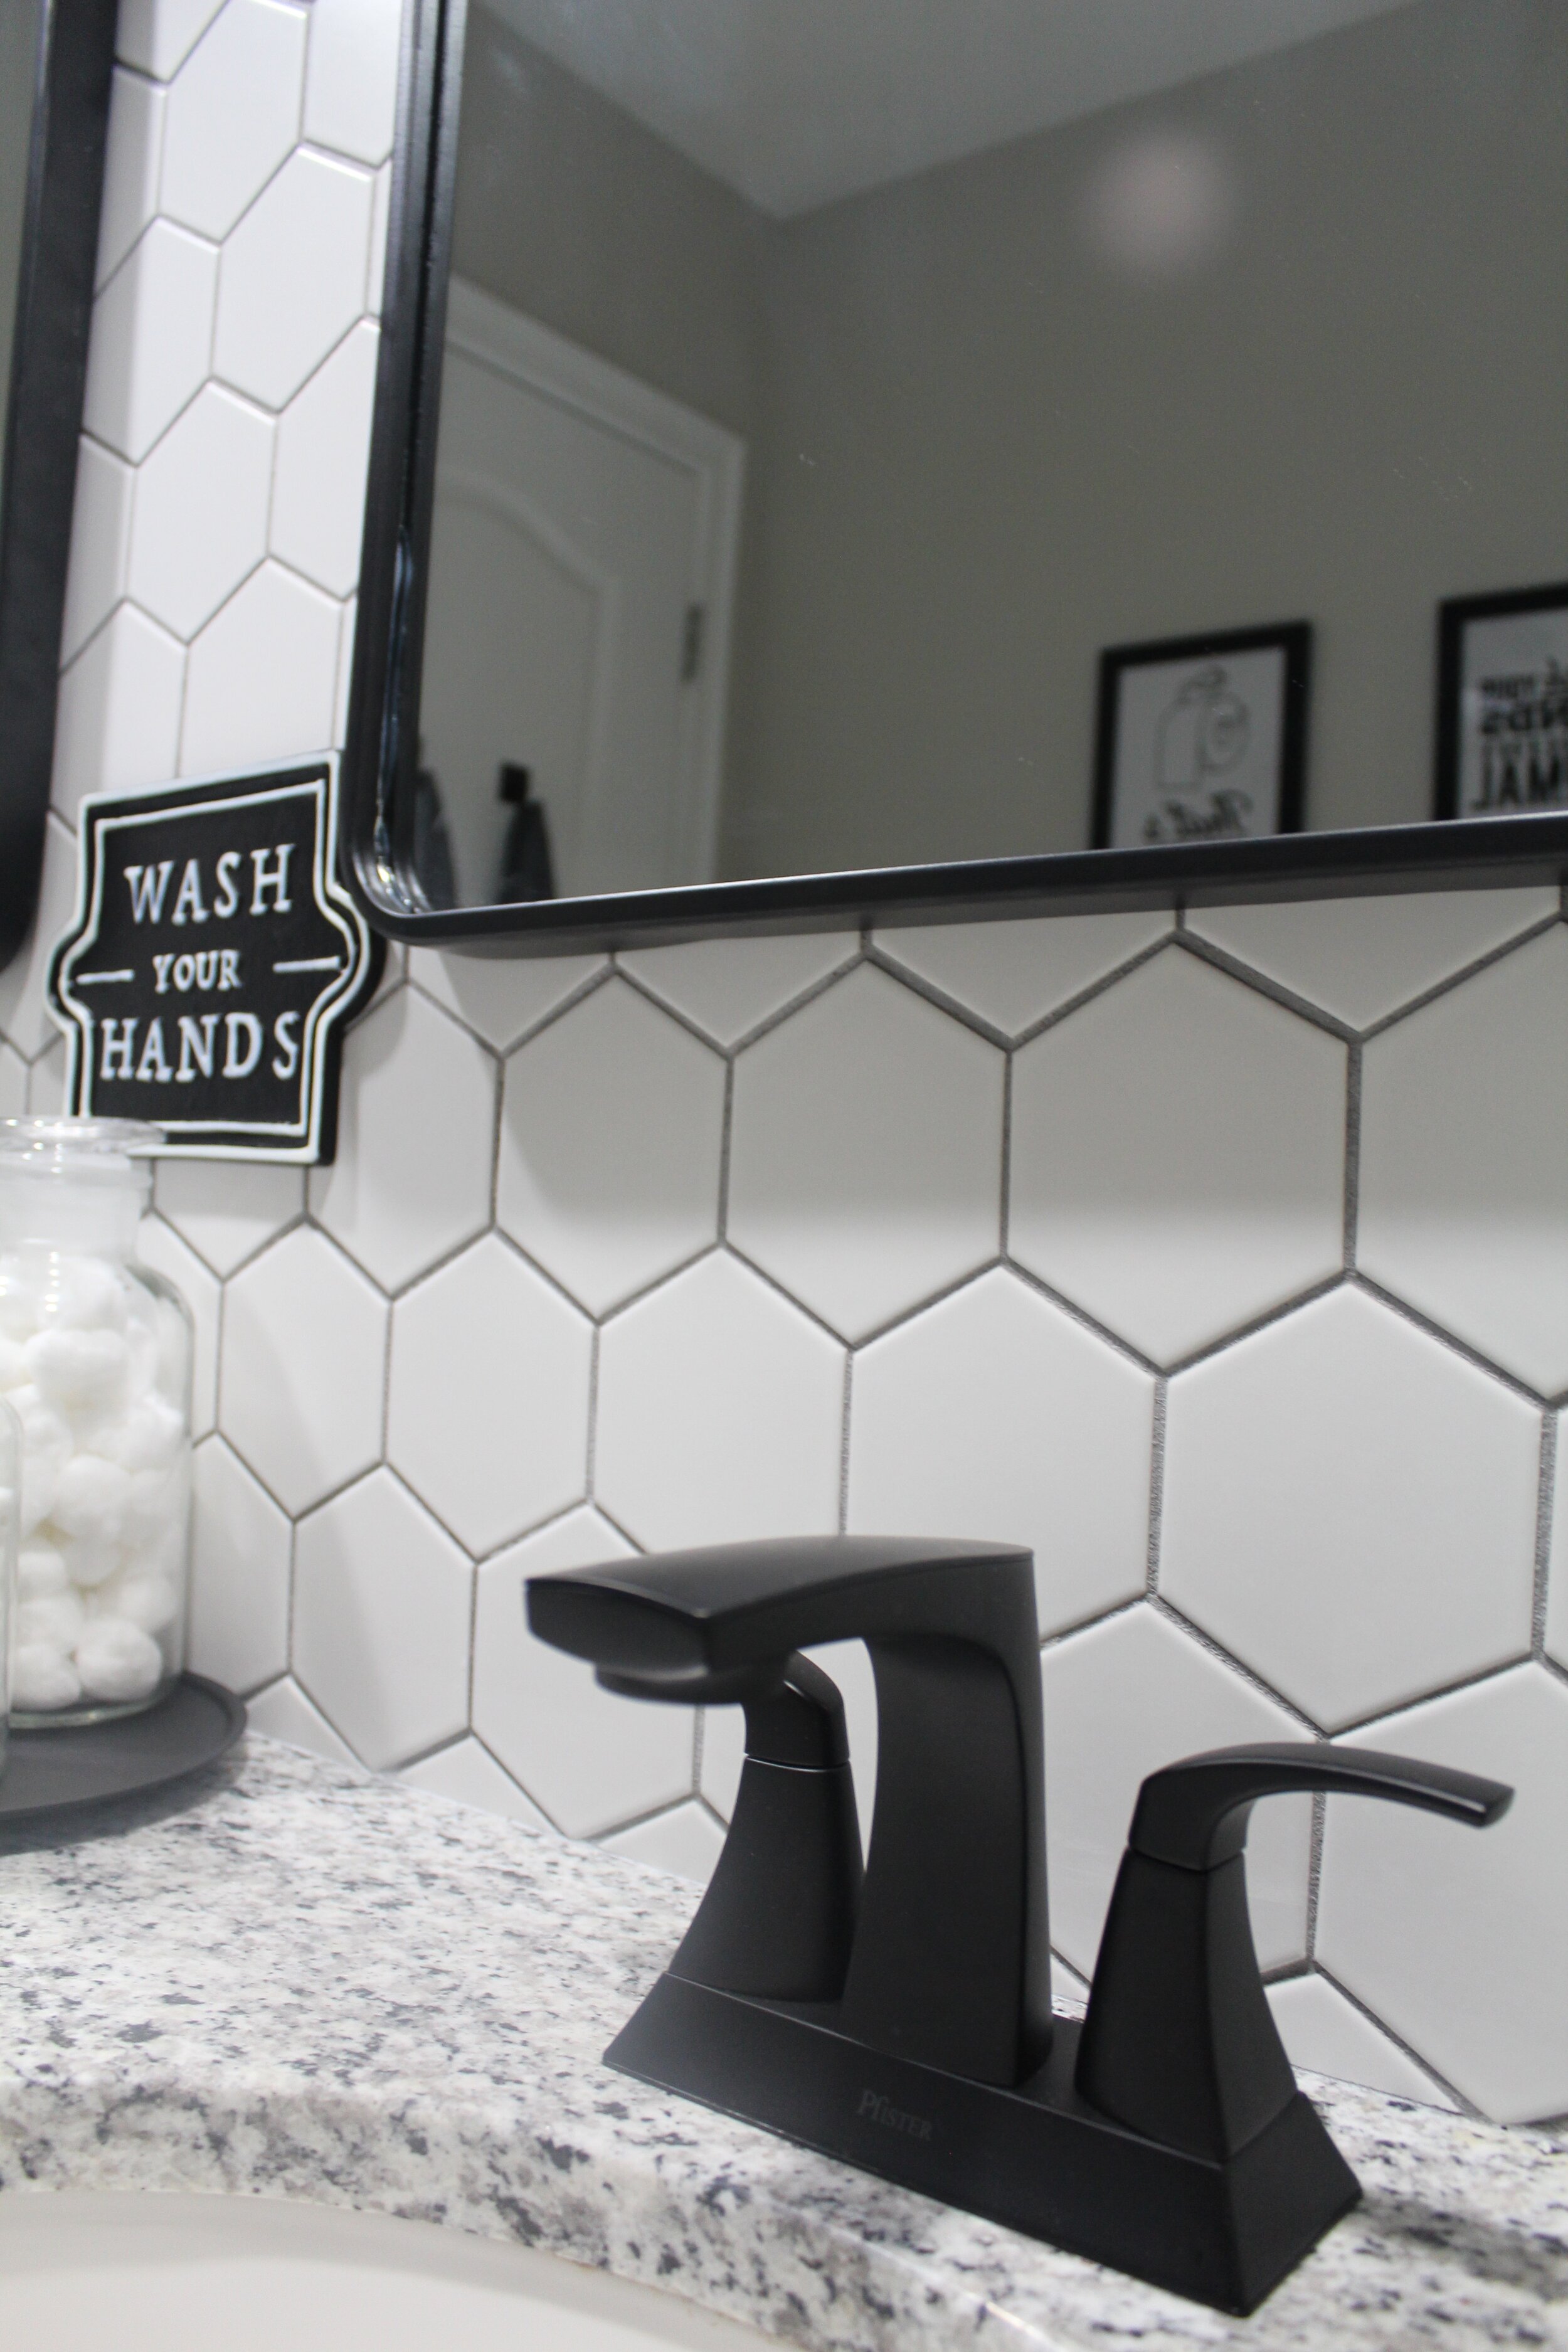
For the sink faucets, we went with two of Pfister’s centerset matte black Karci style faucets. They were the most modern looking style, and fit in with the rest of our decor perfectly. For the shower head/tub faucet combo we also went with the Karci style to keep it cohesive with the sink faucets, and it is NICE! These faucets are definitely high quality, and we feel a little bit fancy that we actually have these in our home 😉
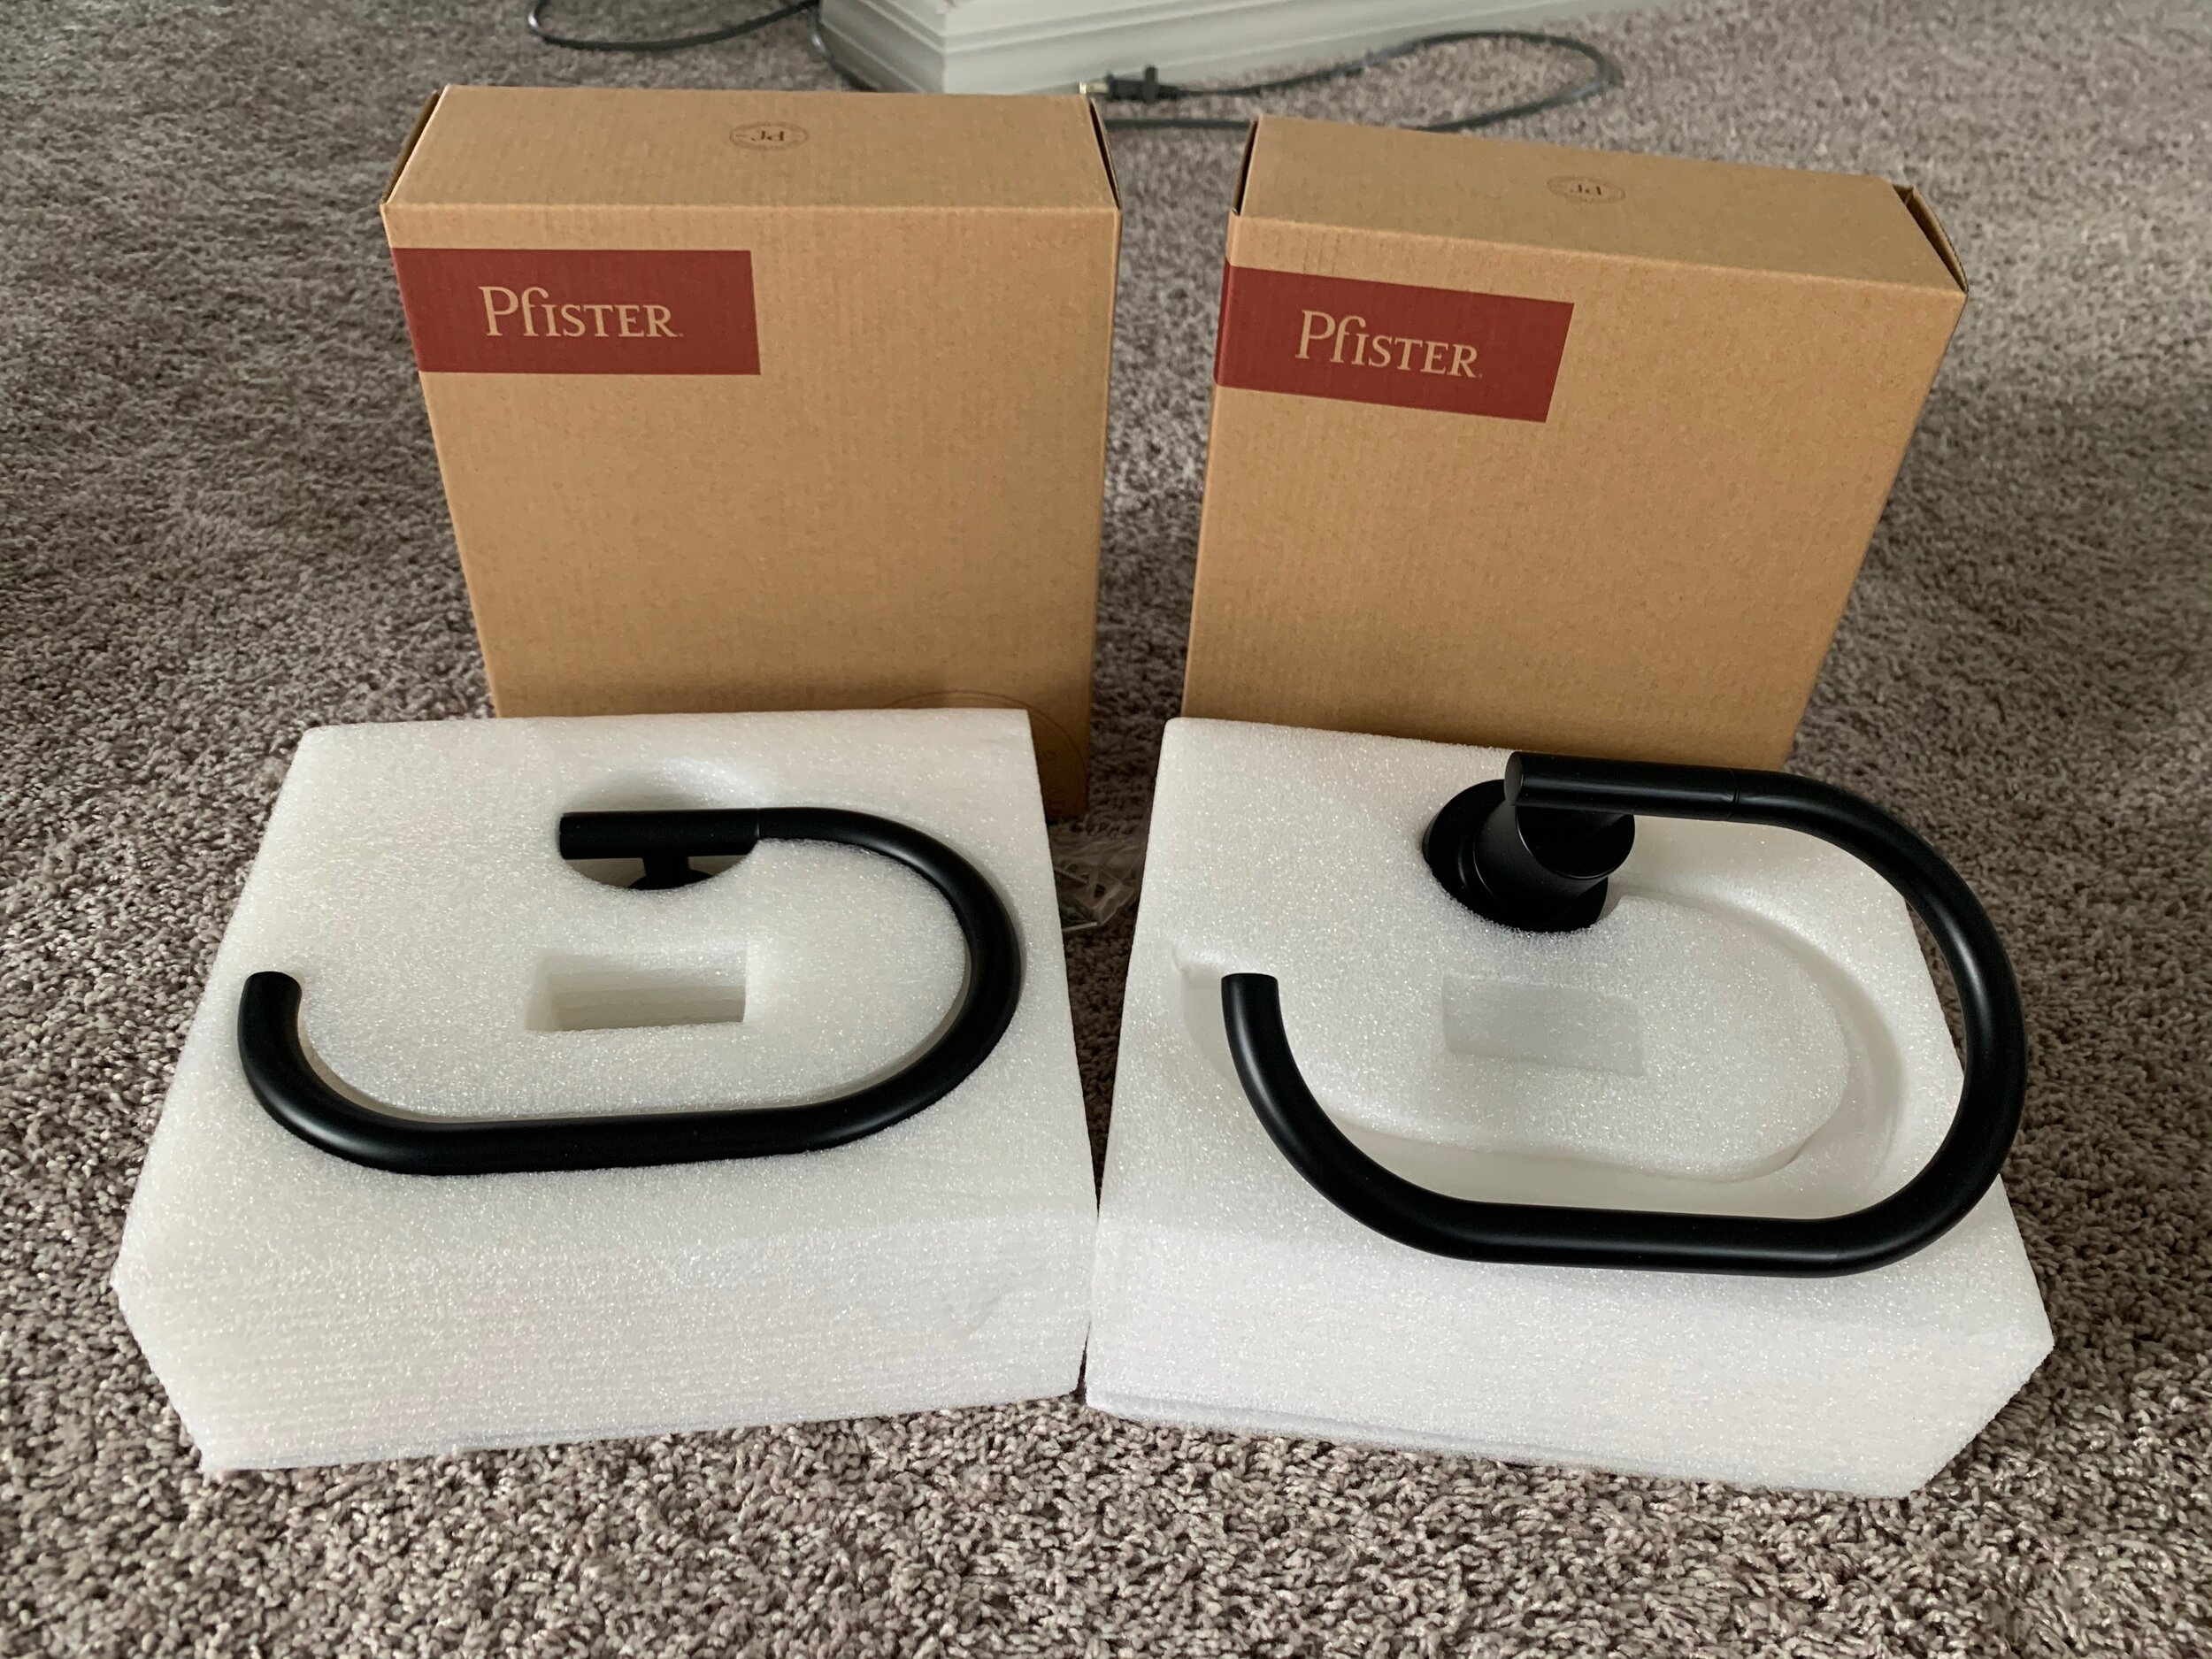
Pfister towel rings we chose. All our accessories are in the Contempt style.
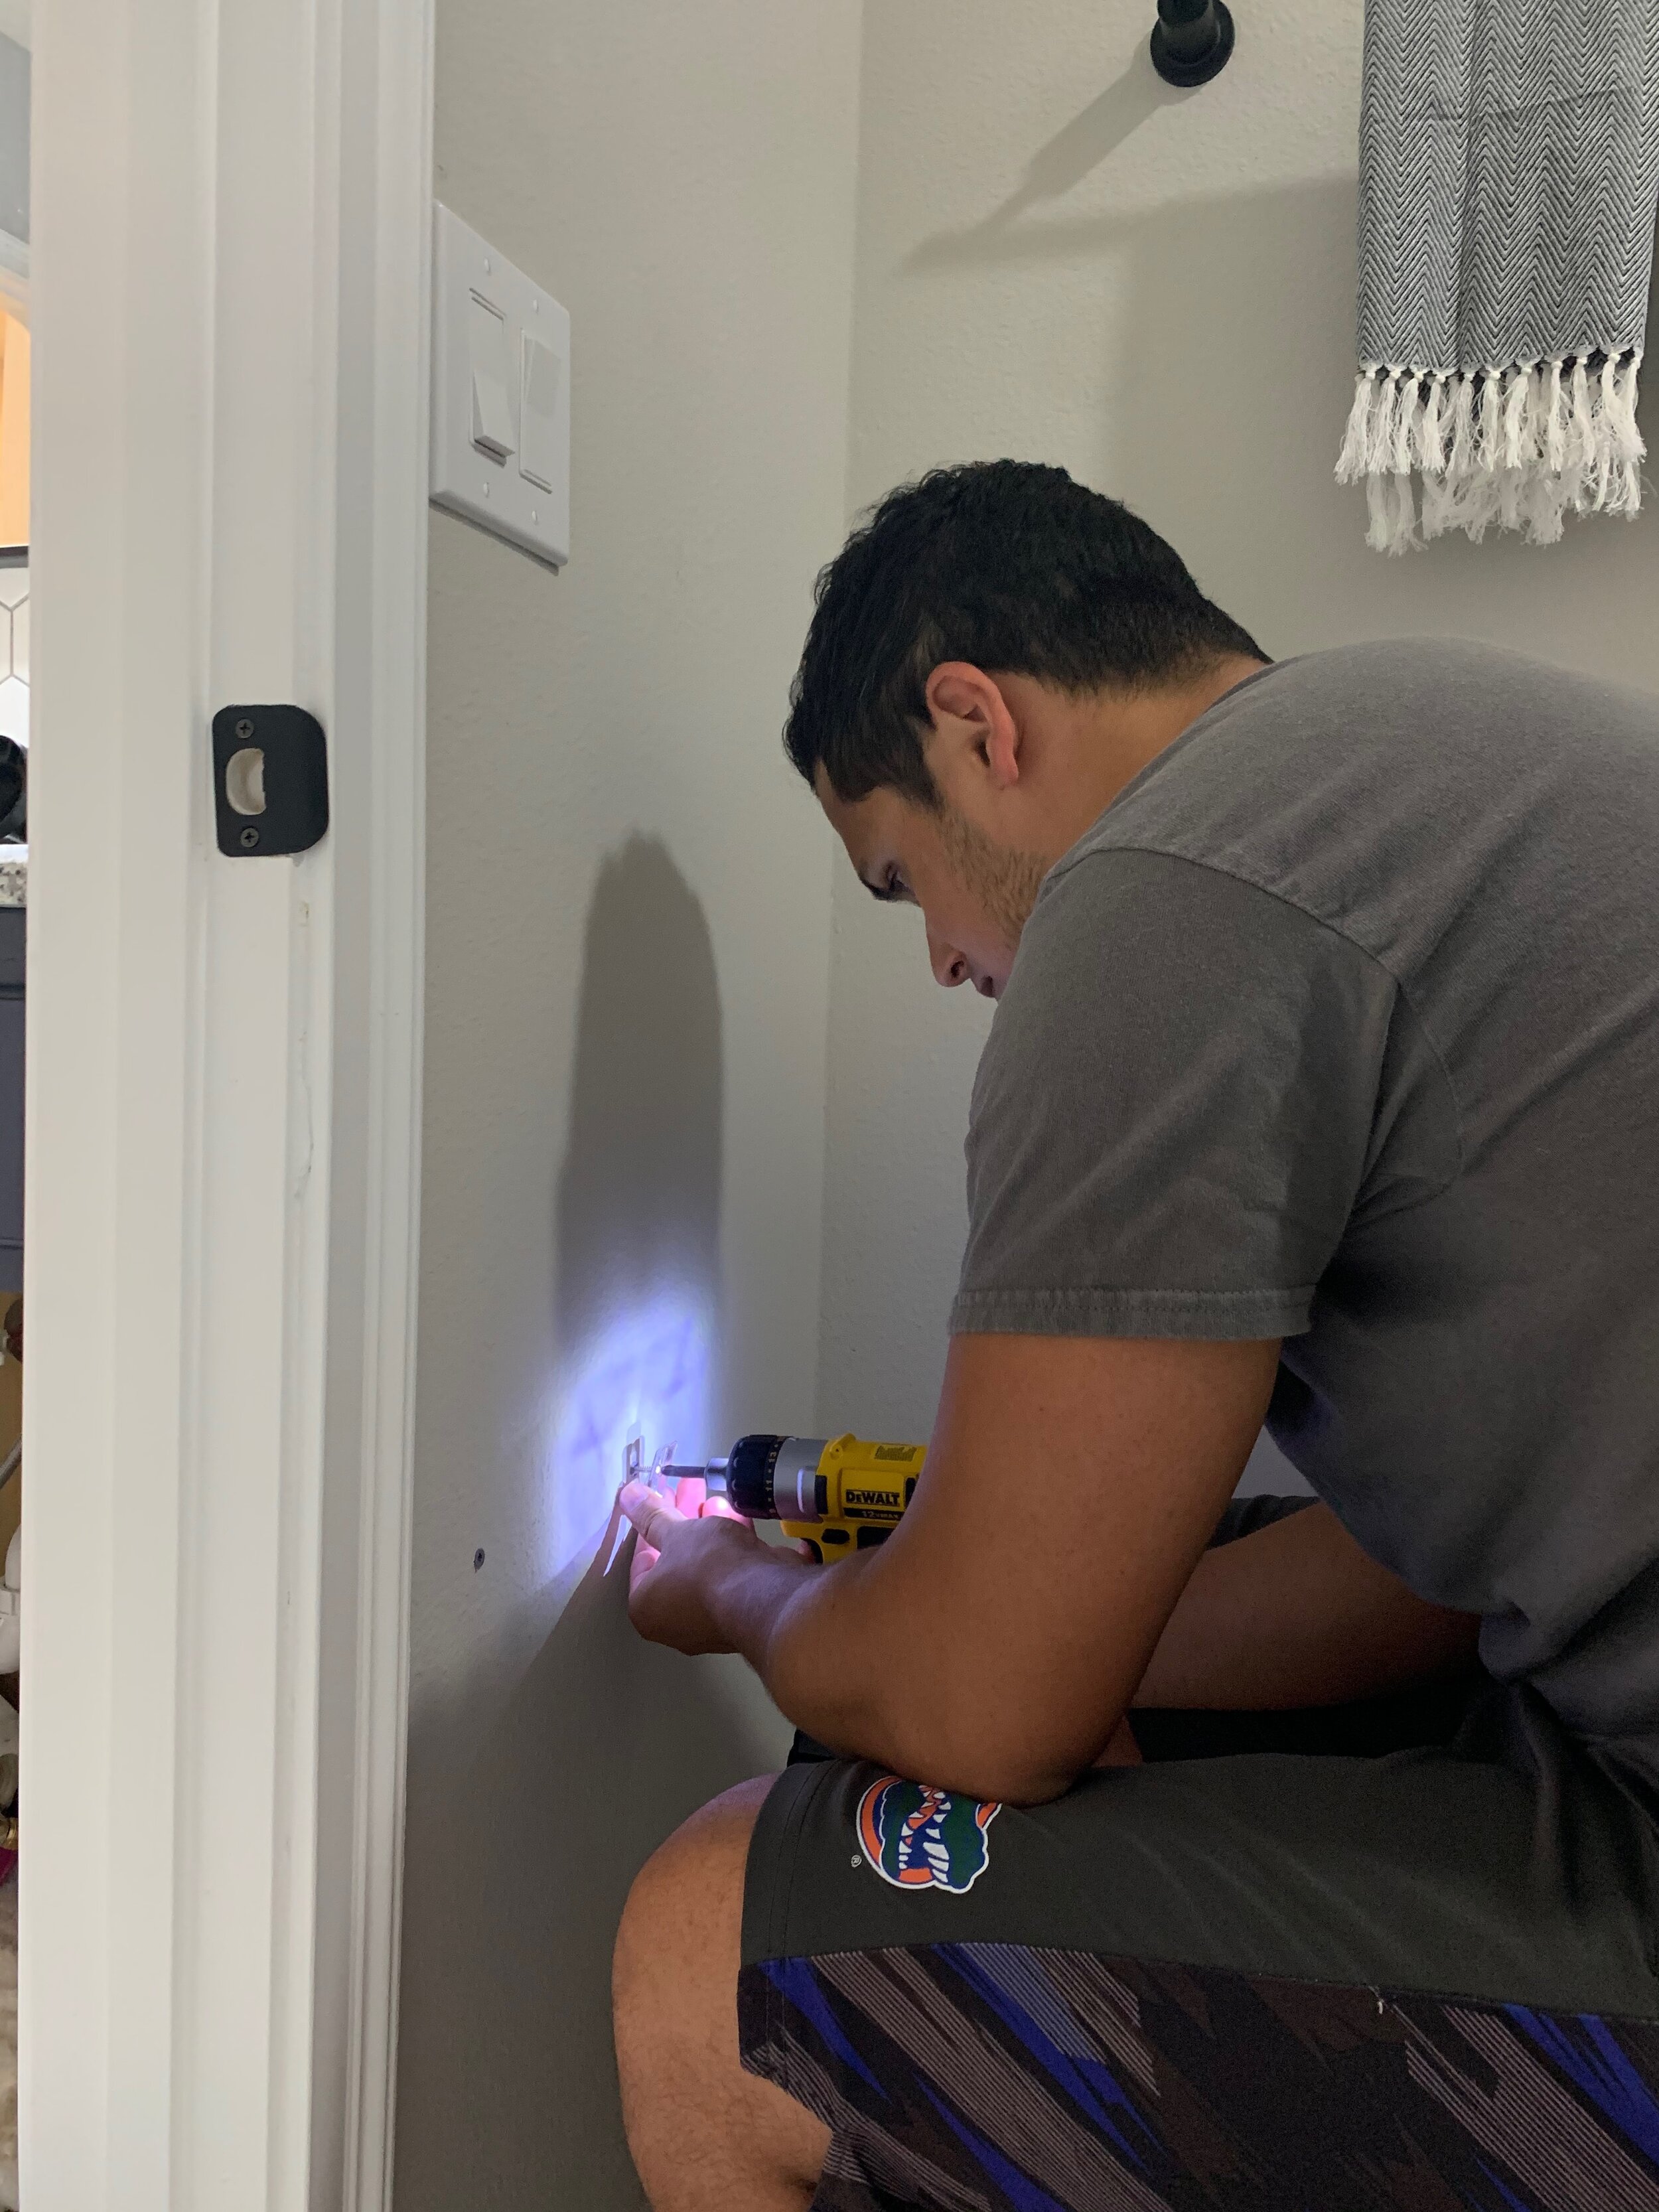
Ryan installing the new toilet paper holder from Pfister.
Pfister doesn’t just sell sink faucets, they also have MANY different styles and finishes of bathroom accessories to match their faucets! Although we went with the Karci style faucets, we did not do the same with the accessories we chose. We went with their matte black Contempra style for a towel bar, toilet paper holder and two towel rings. We felt this style matched more with our cabinet hardware, and door handle we chose! Speaking of door handle, we replaced the one door handle and hinges on the room between the sinks and the shower/toilet area. Pfister has a sister company, Kwikset, that offers hundreds of different kinds of door handles and we went with a super sleek modern matte black handle in the Milan style. I don’t want to go into too much detail about our faucets and accessories right now though-because we will have a separate blog post after the Challenge about all of those!

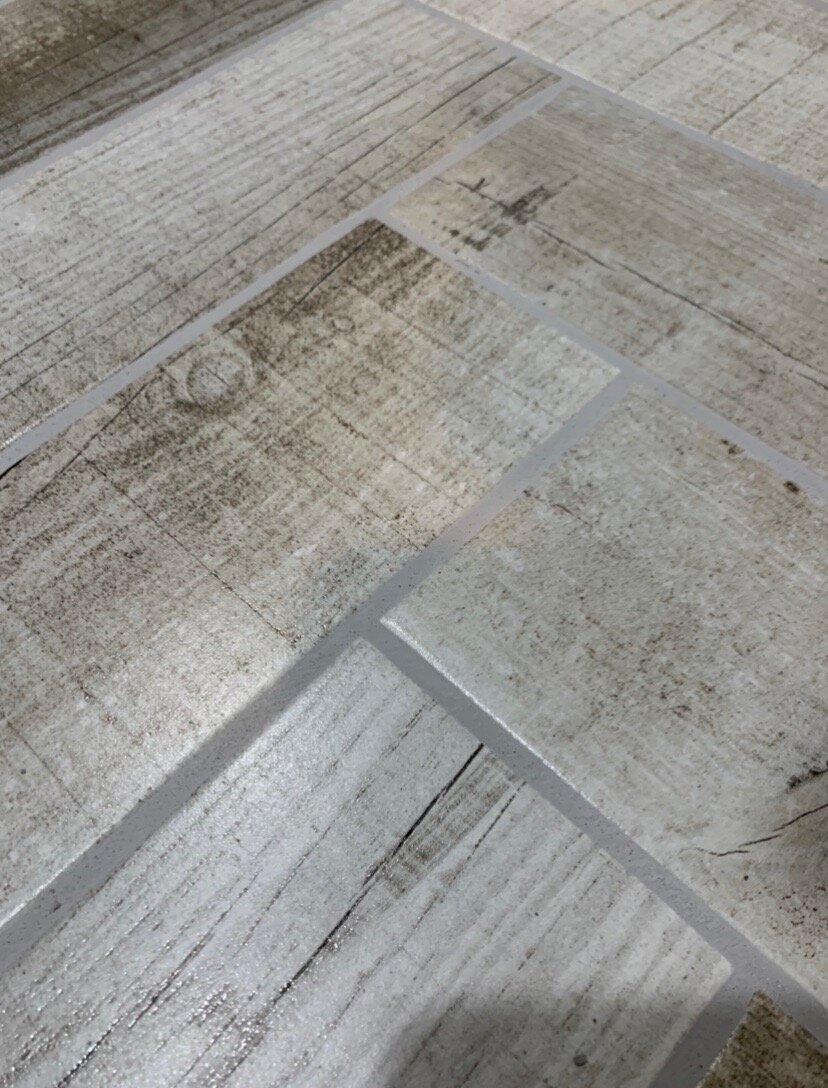
This week we also finished grouting the floor, put the toilet back in place, caulked all of the baseboards, repainted the walls where needed, repainted all of the baseboards and both doors (we wanted everything to be nice and clean looking) and put the cabinet doors back on!
We found grouting the floor to be a lot easier than grouting the wall, gravity was on our side this time, and it went a lot more smoothly. I ended up laying all of the tile myself while Ryan made the cuts, and I also ended up completely grouting the floor and wiping it clean myself too. And can I just say- I have never been so sore in my life! Granted, I did tile and grout myself into corners a few times and had to do some acrobatics to get myself out, but wow-that was a workout! We did run into a little issue though, Ryan mixed up too much grout (all we bought to be exact) so it was a race against time before the grout dried on us. Near the end it was a little dry and we had to keep throwing some water into it, but we finished the floor before the grout completely dried! Good thing, or Ryan would have had to make a quick Home Depot run 😉 So heres a tip, make sure you only mix up a little bit of grout at a time (and watch your husband when he does the mixing lol, love ya Ry!)
Grout all done and floor cleaned! Just needs caulked here.
Something we decided to add at the last minute was to make those fake cabinet panels, functional! We don’t have any drawers in this bathroom and it will eventually be the bathroom our future children will use, so we wanted to turn those cabinet panels into something they can use (look at us being good parents when our kids don’t even exist yet). We found a kit for $14 on Amazon (linked here) that includes 4 hinges and two plastic baskets that turn those panels into functioning pull down cabinets! The trays are small, but will be perfect for combs or tubes of toothpaste later on down the road! We are so happy we could turn this wasted space into something functional for only $14!


So, I think we’ve made you wait long enough, are you ready for the big reveal?! Here we go…
The Reveal

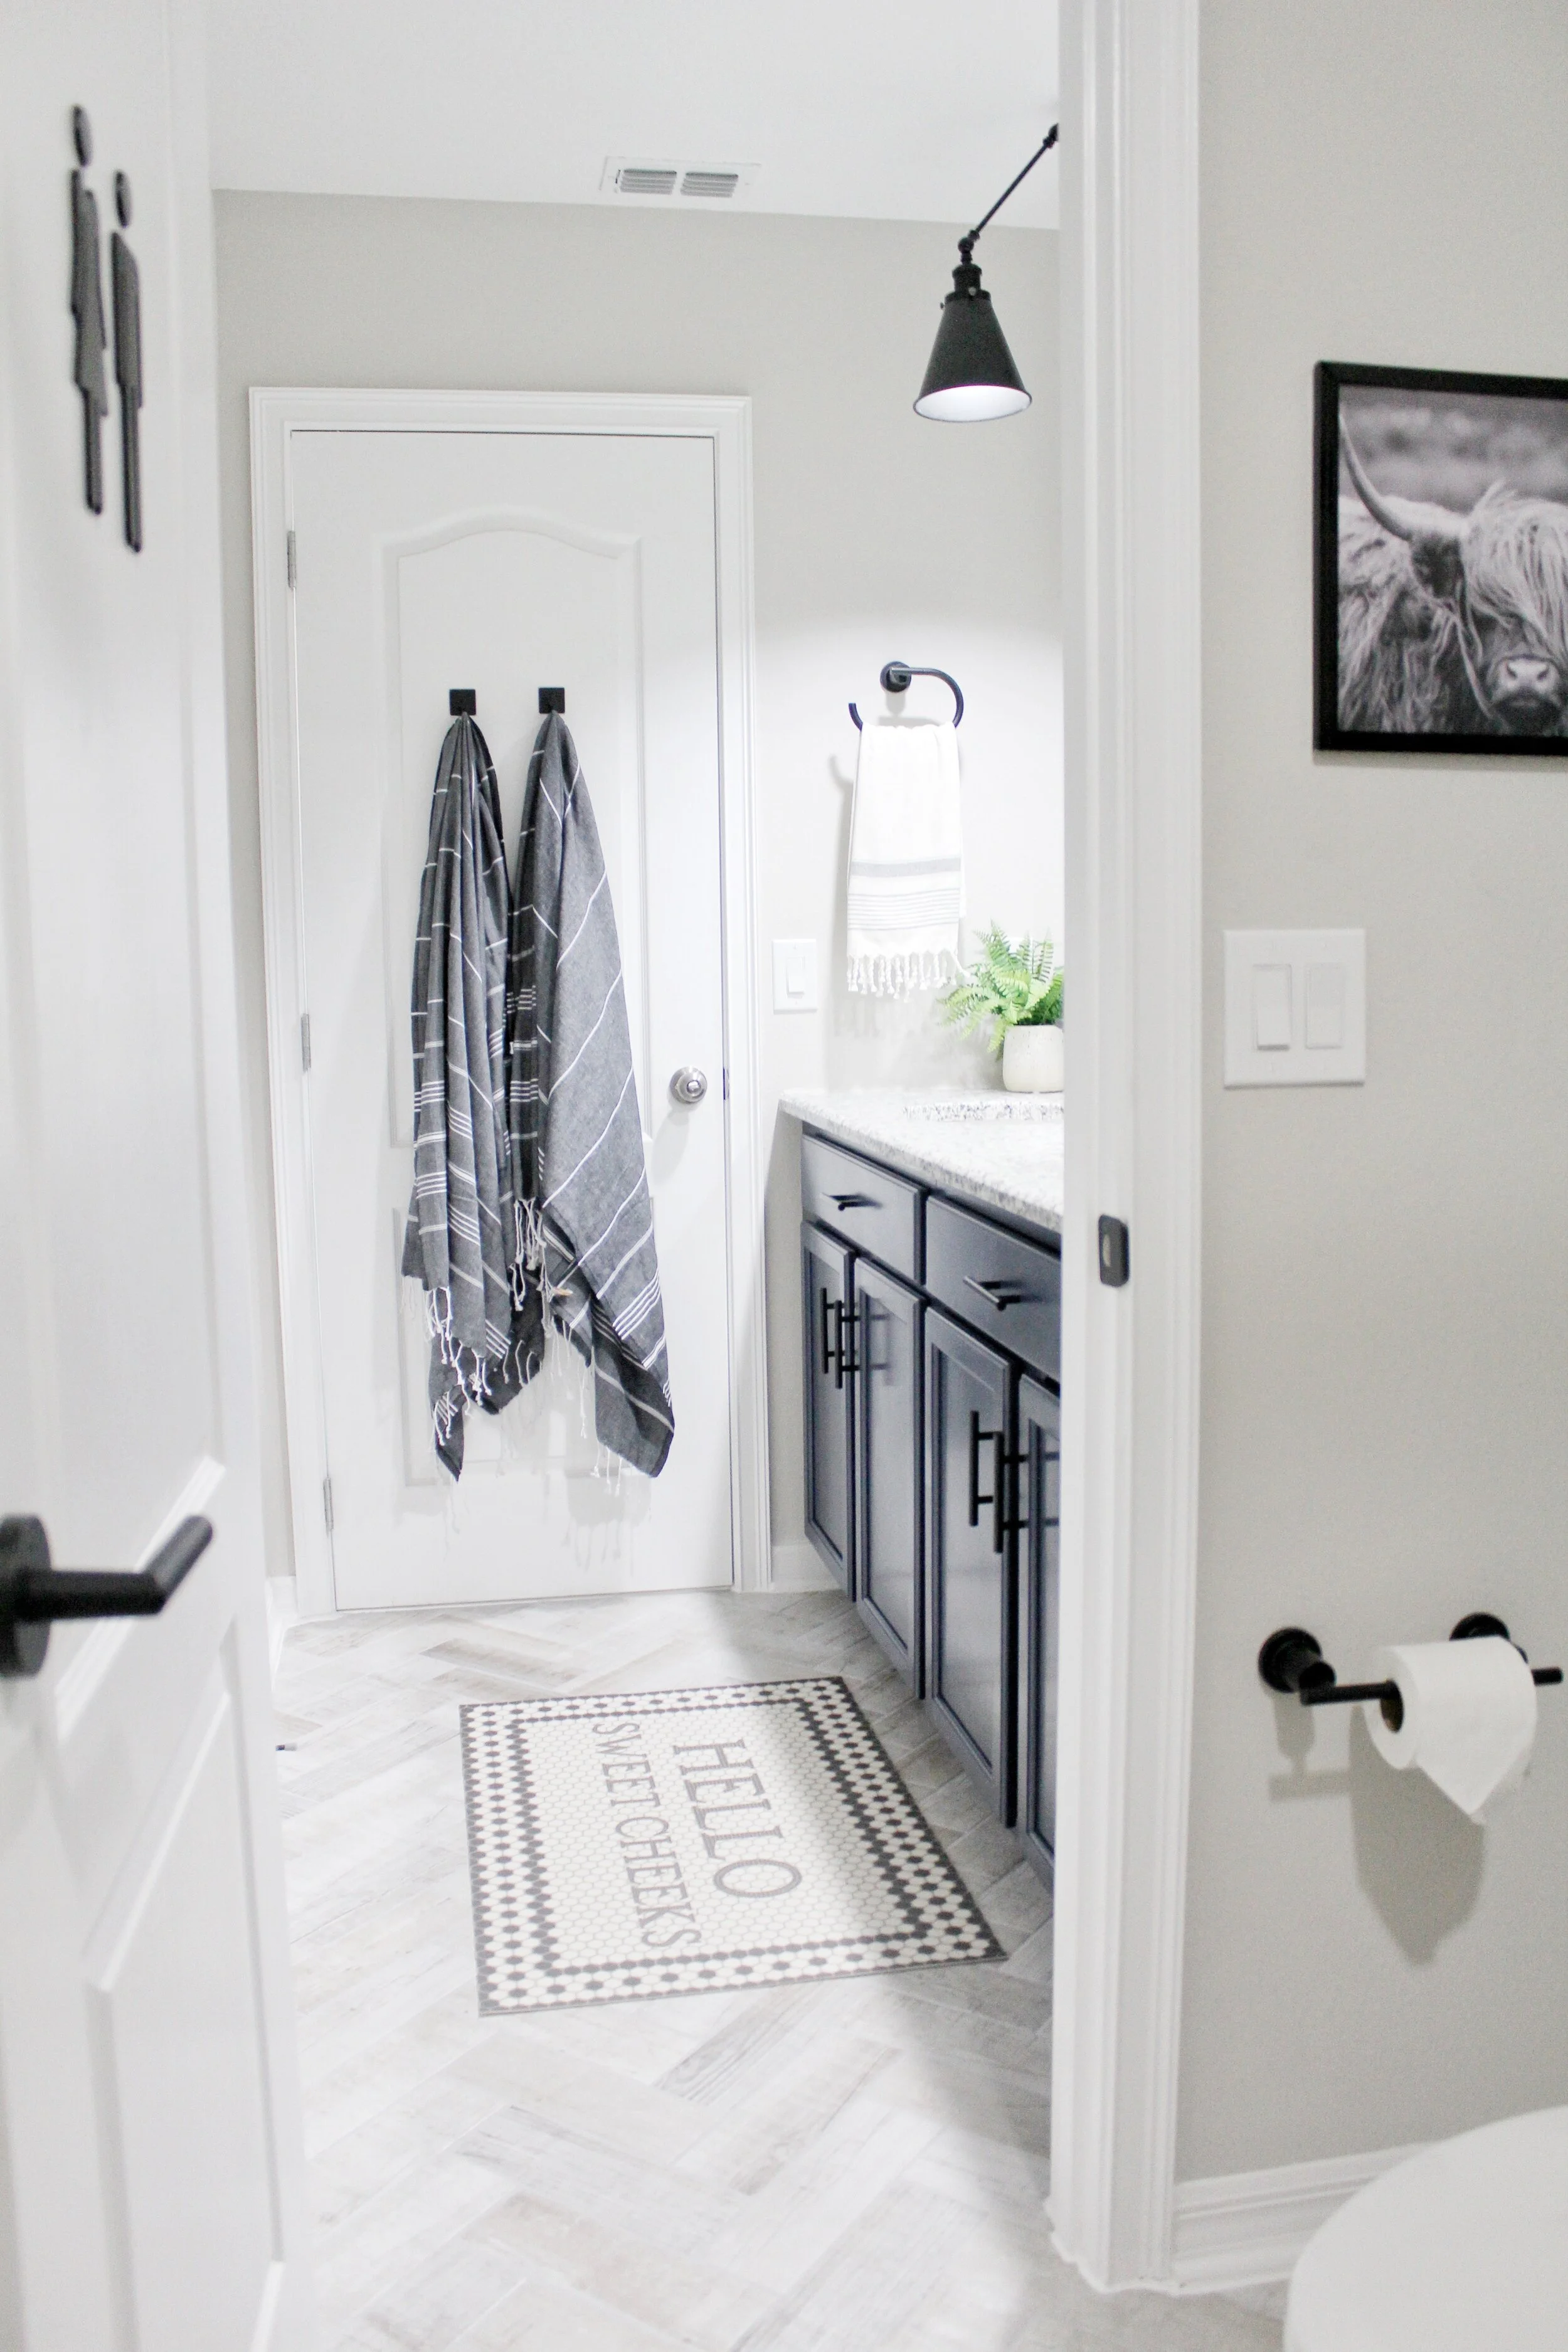
There she is in all of her glory and I am OBSESSED. I don’t know what I love more- the floor tile, the wall tile, the cabinet color and the contrast it adds, all the matte black fixtures?! I can’t decide. I think what I love most is that Ryan and I did this together. Like I said earlier, this is our biggest DIY project to date, and wow are we proud! Now lets dive a little deeper into our new bathroom!
*I’m going to link all of the accessories and decor items at the end of this blog post*
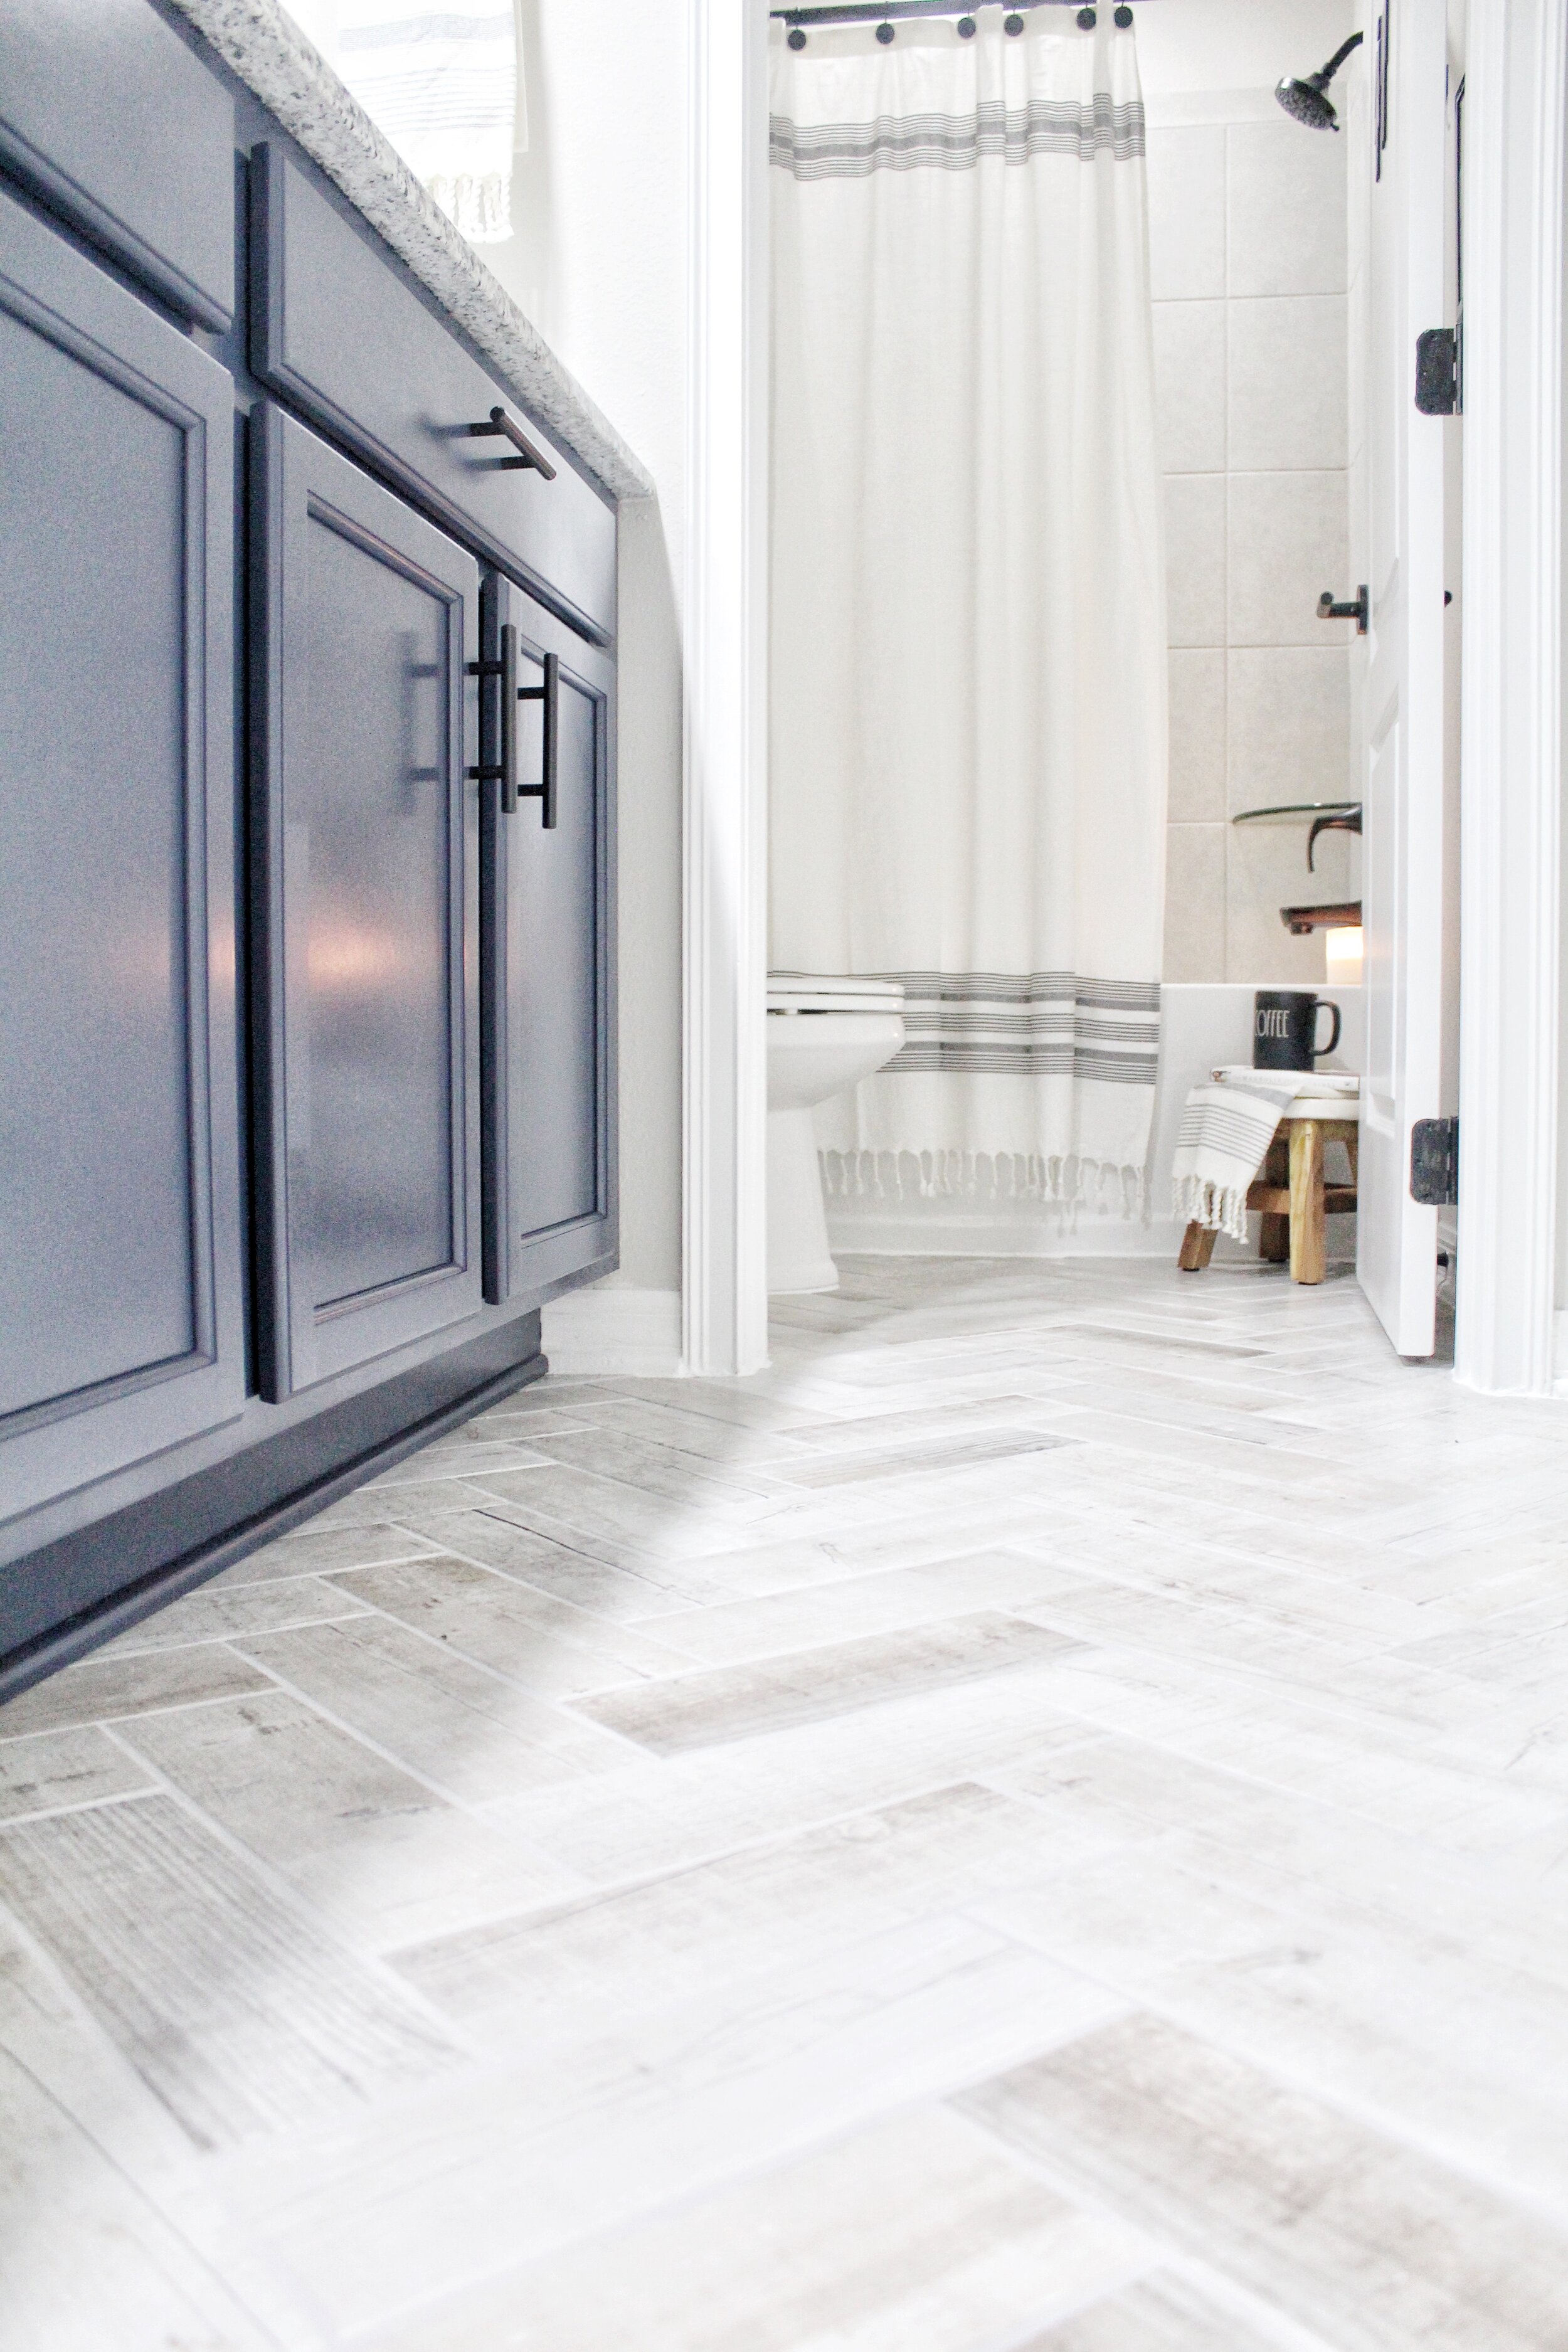
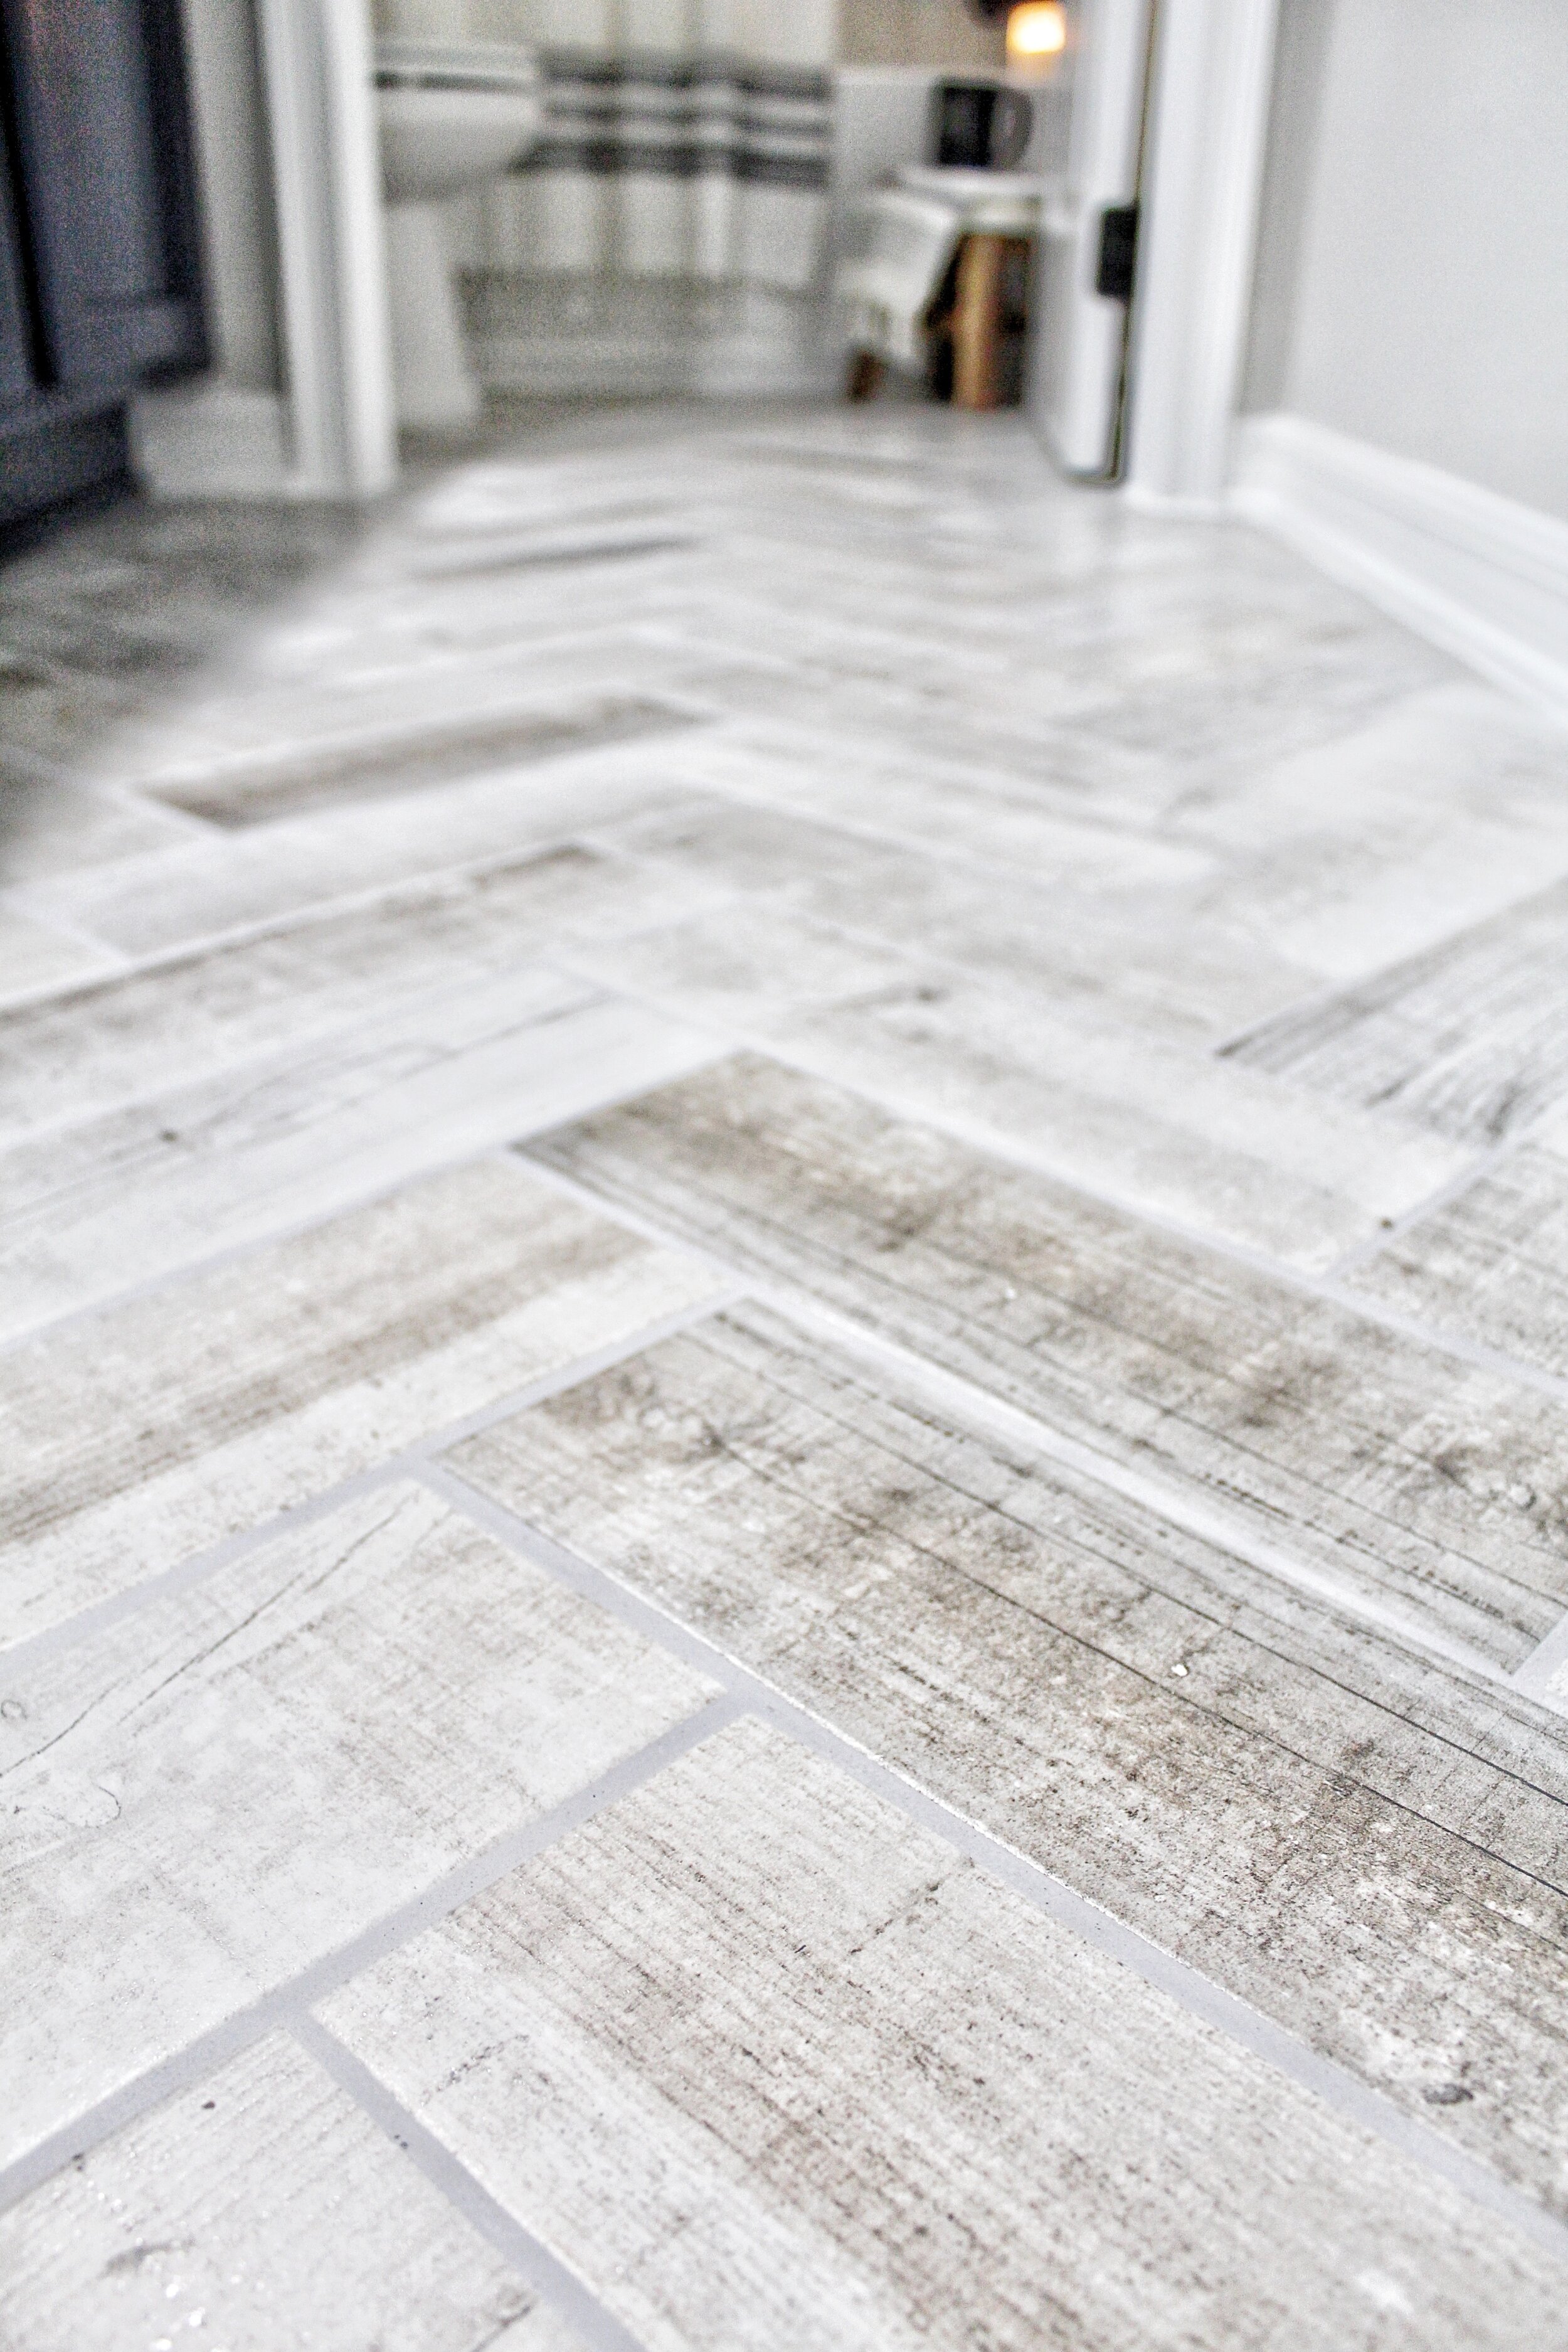
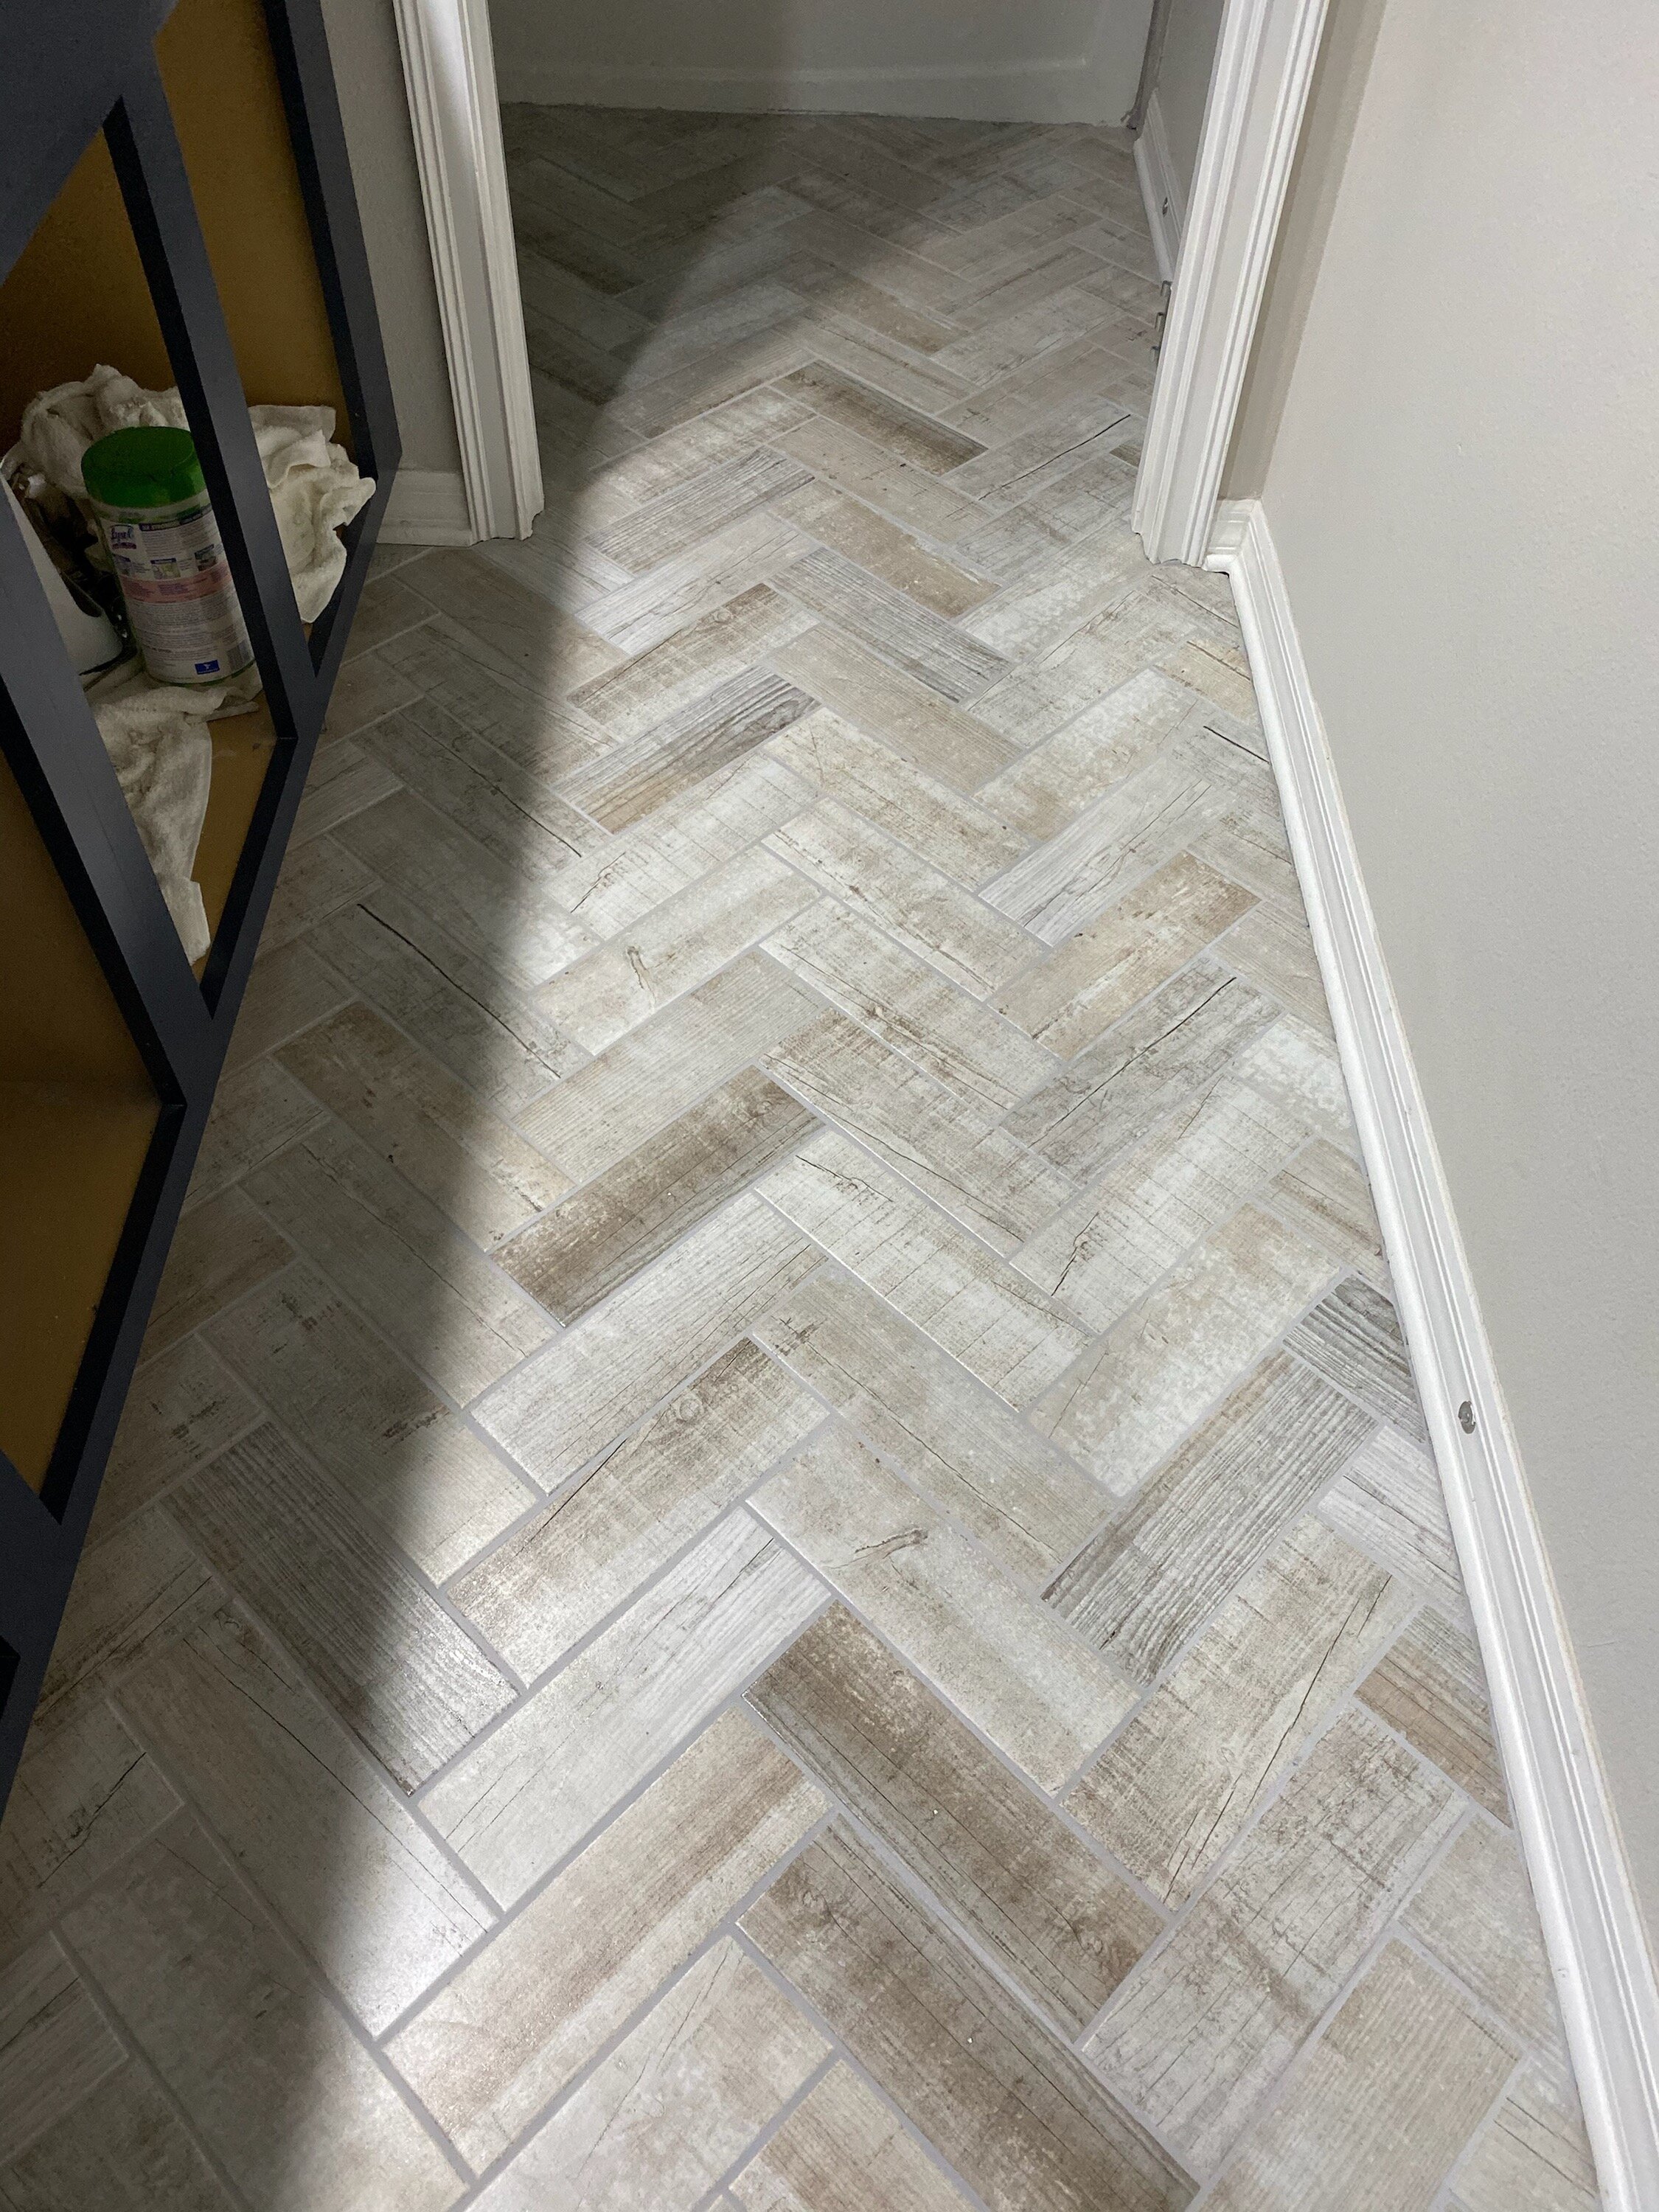
First off, lets start with the floor. I have always wanted a herringbone patterned floor, and this was the perfect opportunity. All of our friends called us crazy for doing a herringbone pattern for our first time laying tile and I want this to serve as a big IN YOUR FACE, because it turned out awesome (jk, love you guys!). Yes it took longer, and we may or may not have cried a little and said some curse words, but the impact it has on the space is AMAZING. It is that added “WOW” factor we were looking for, and again, the fact that WE did it, makes it even better. This is the Jeffrey Court Ashwood Porcelain tile.
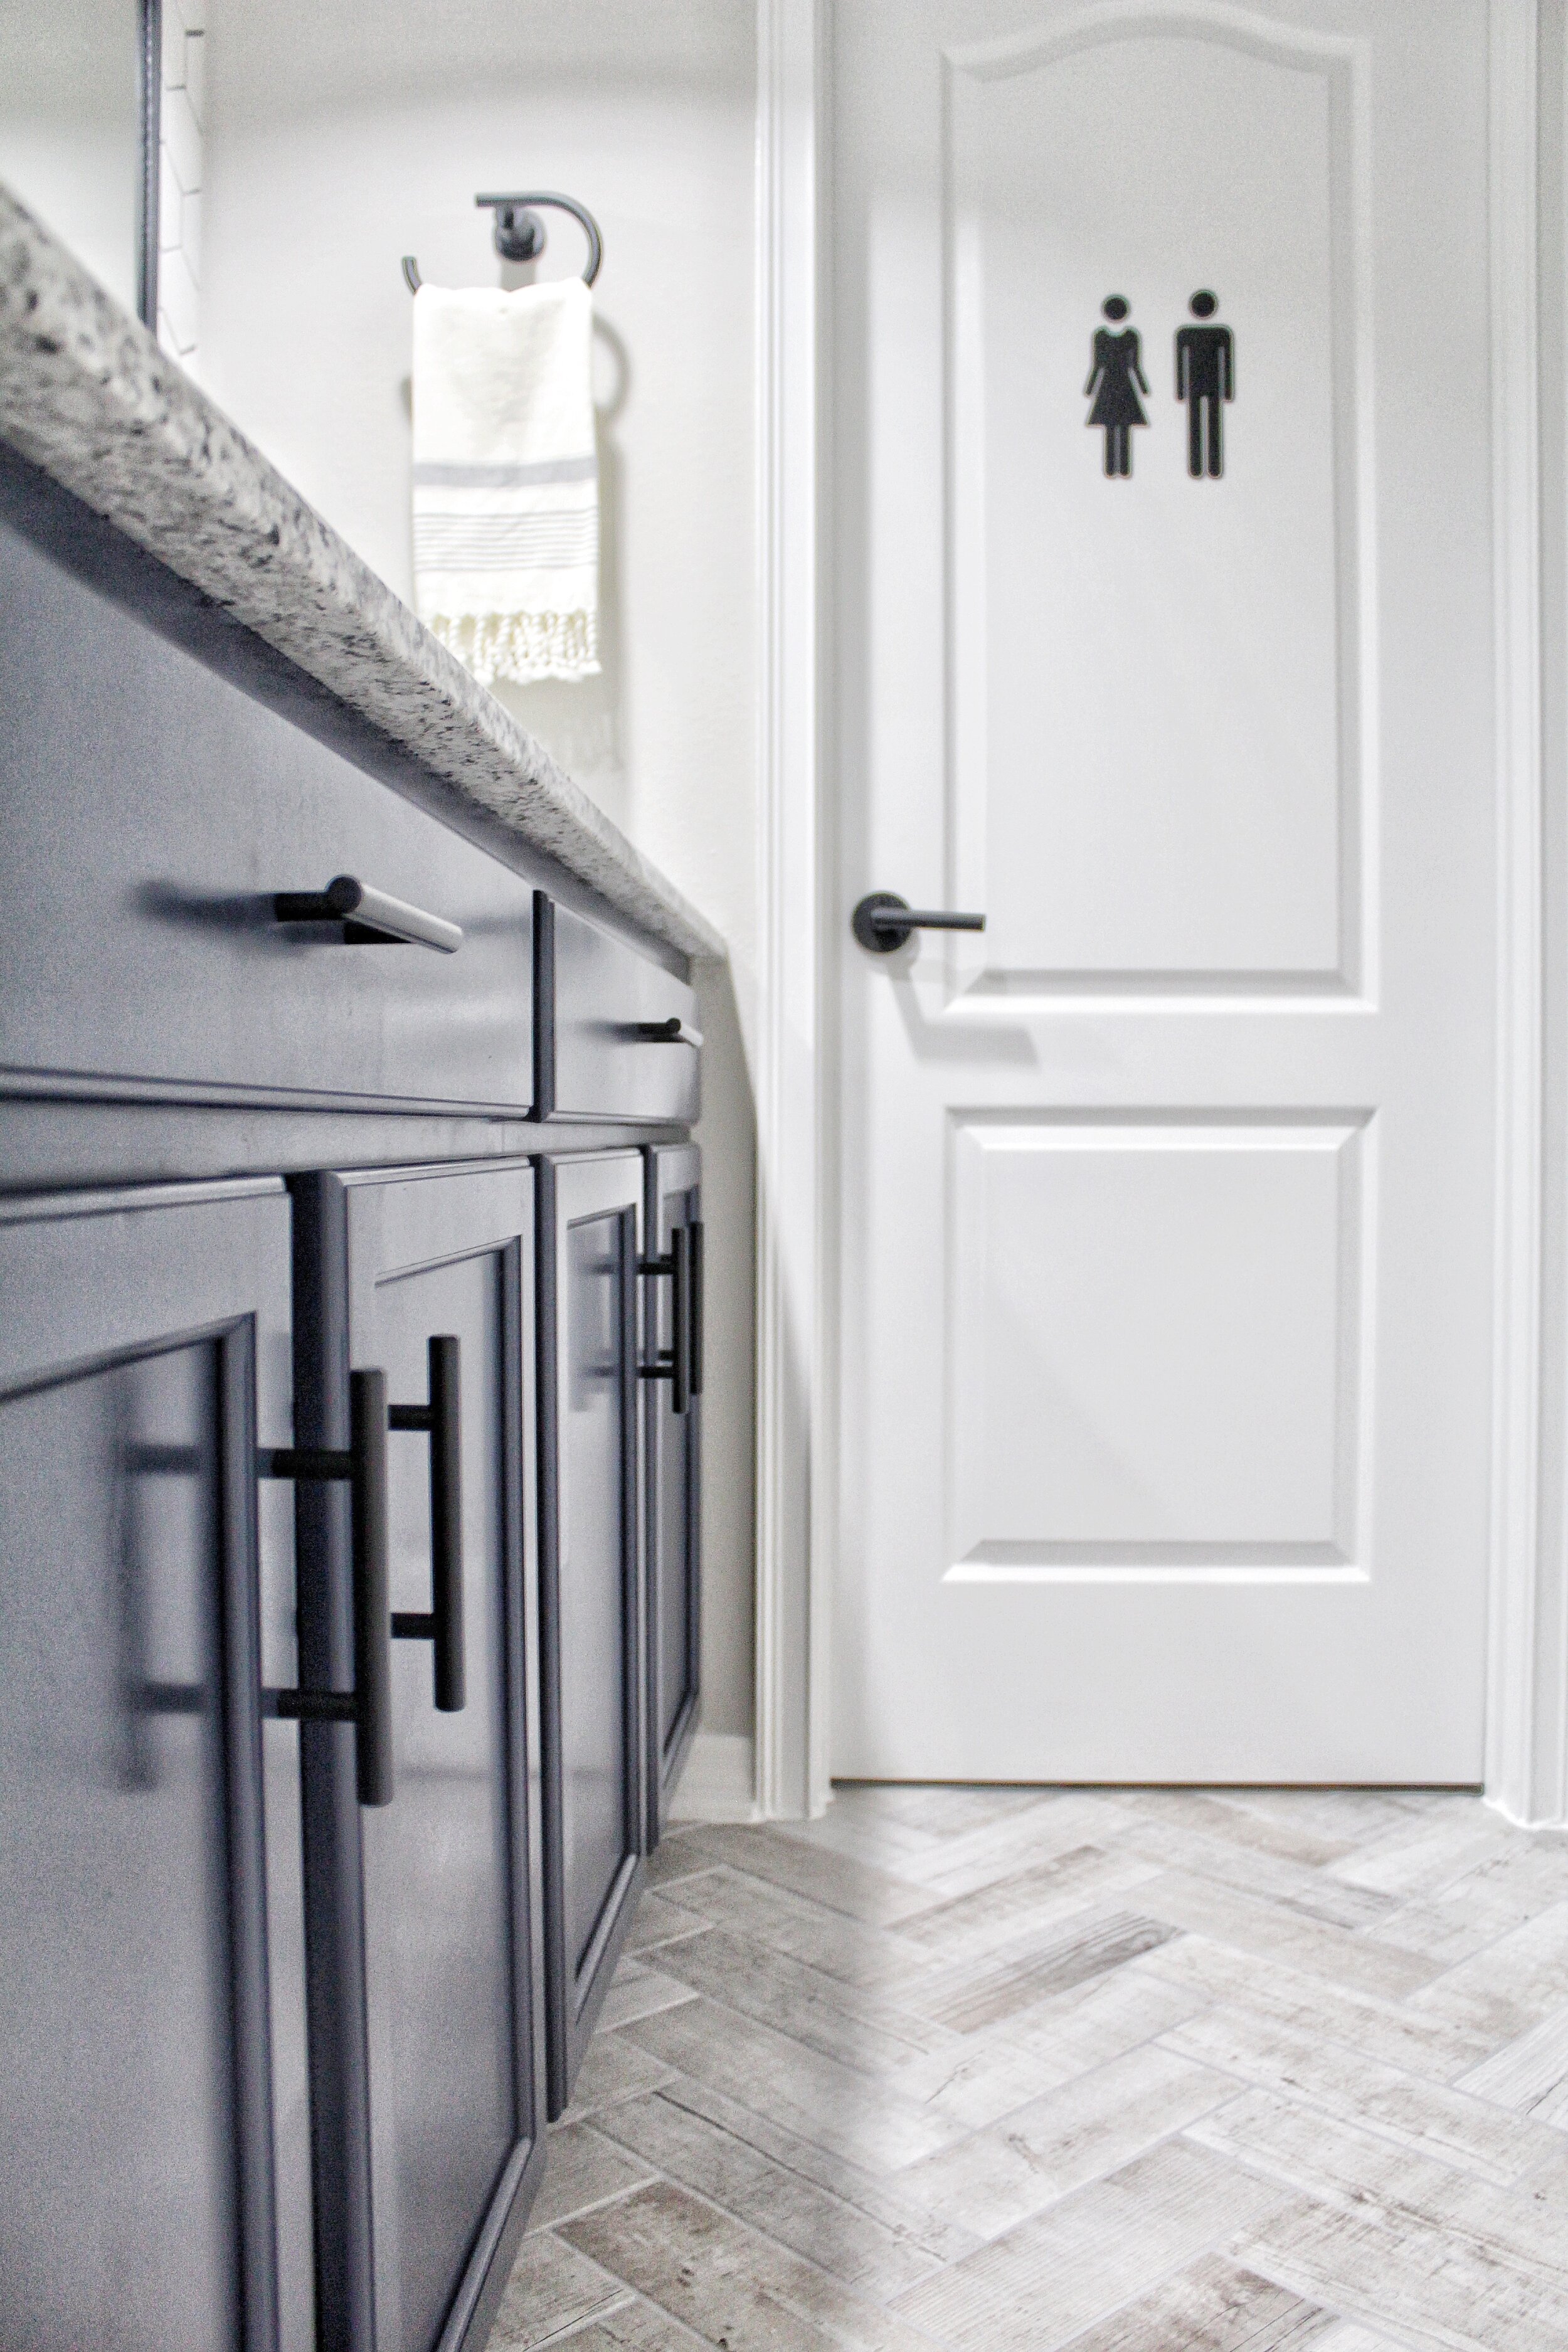
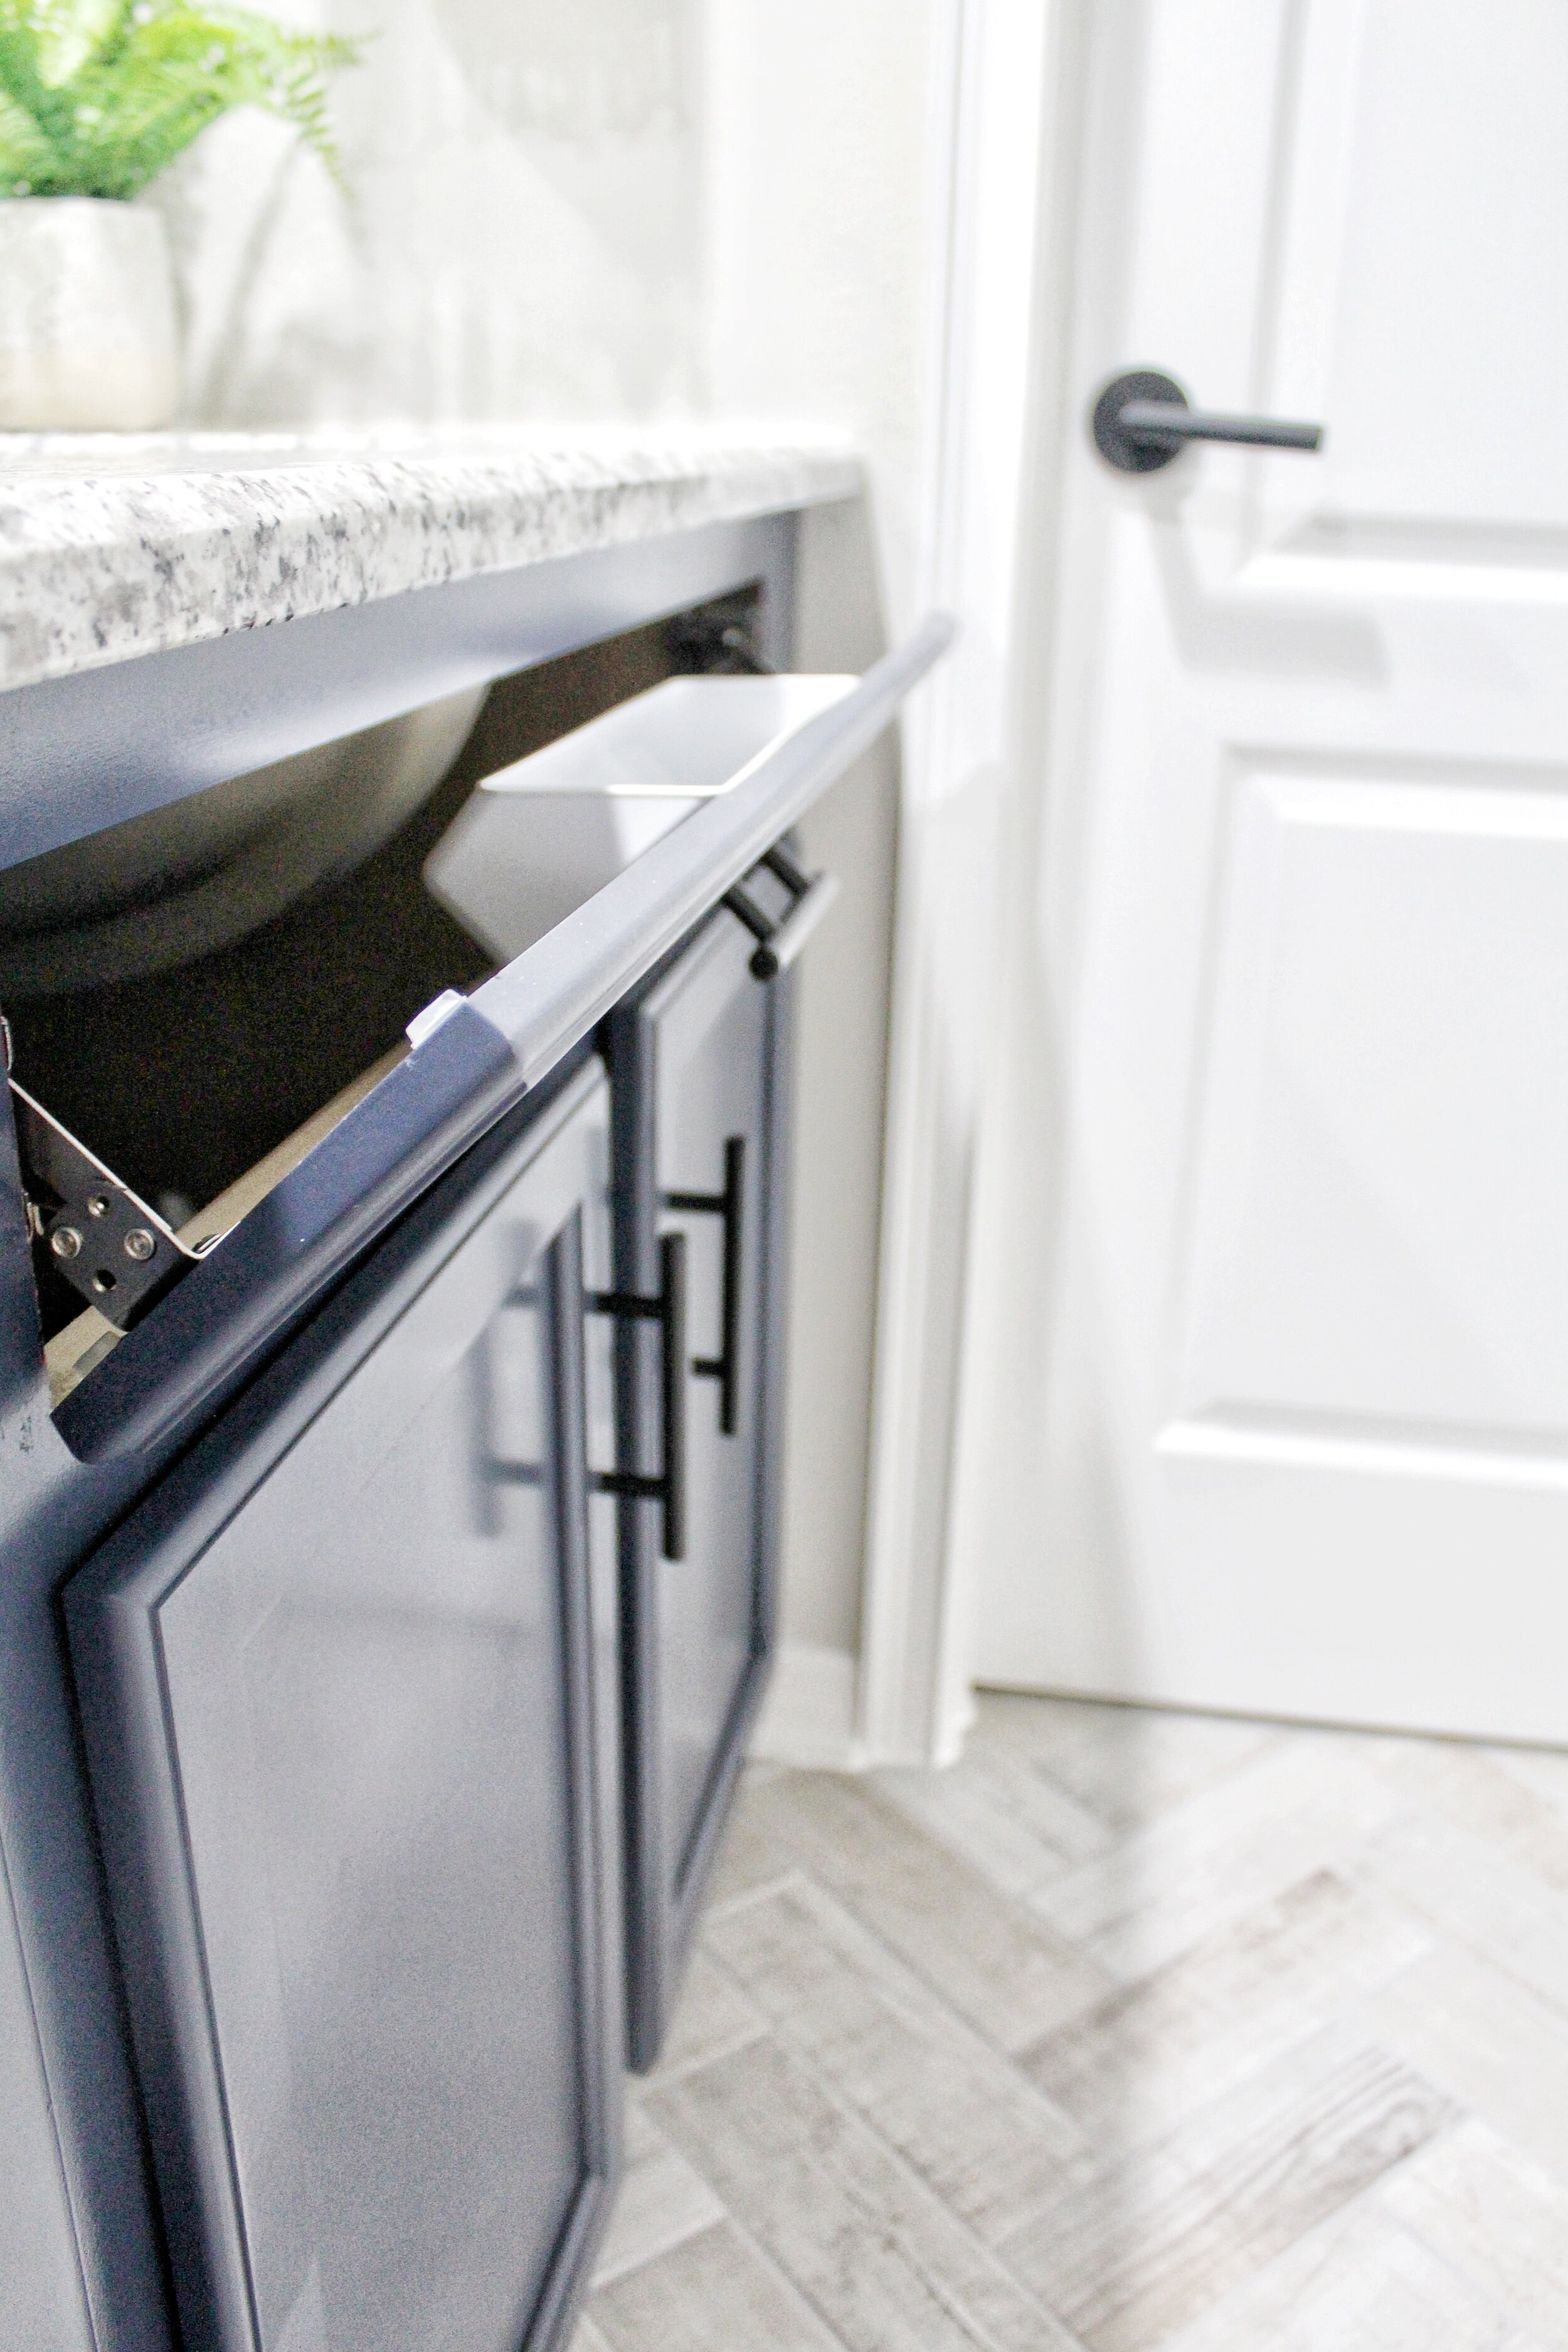
We also love the way the cabinets turned out, it was so much easier to paint them than we thought it would be, and a much more cost effective option if you can’t replace the vanity. We used the color Blue Endeavor by Sherwin Williams and a cabinet enamel by Valspar. The cabinets add some much needed color to our home, and add a great contrast in this small space, especially with the matte black cabinet handles. For the minimal effort it took to paint the cabinets, the difference it makes is HUGE!

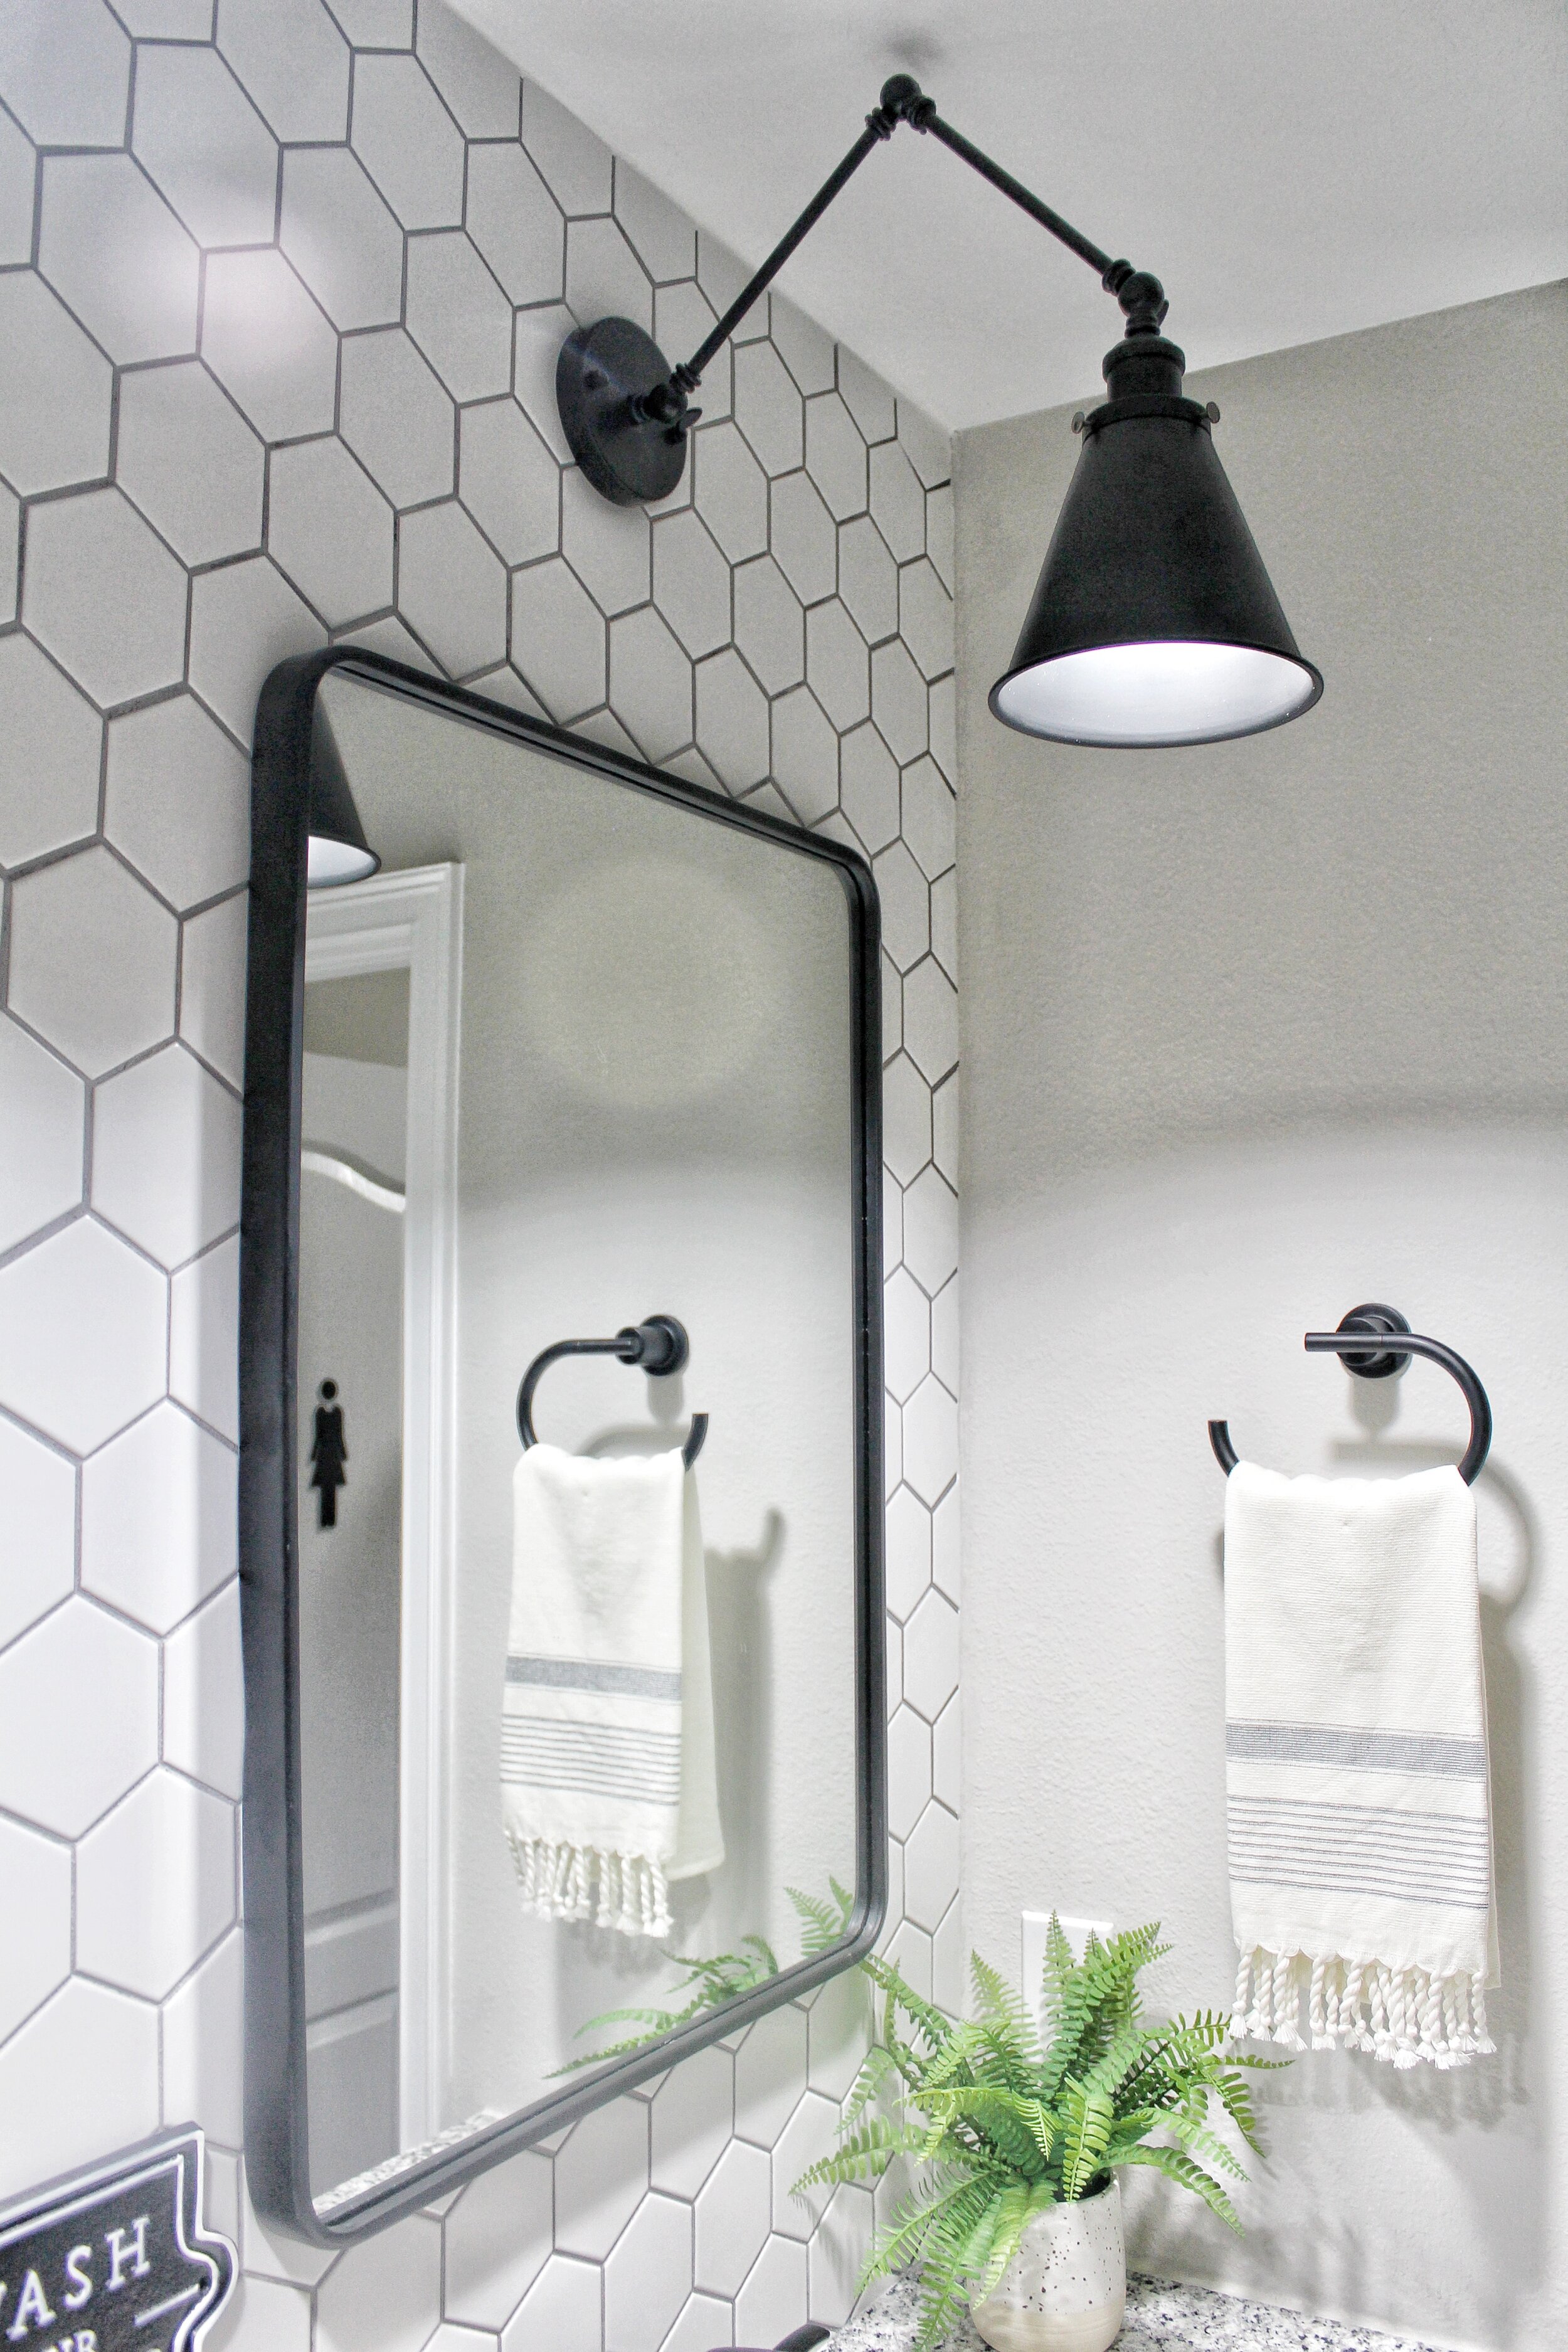
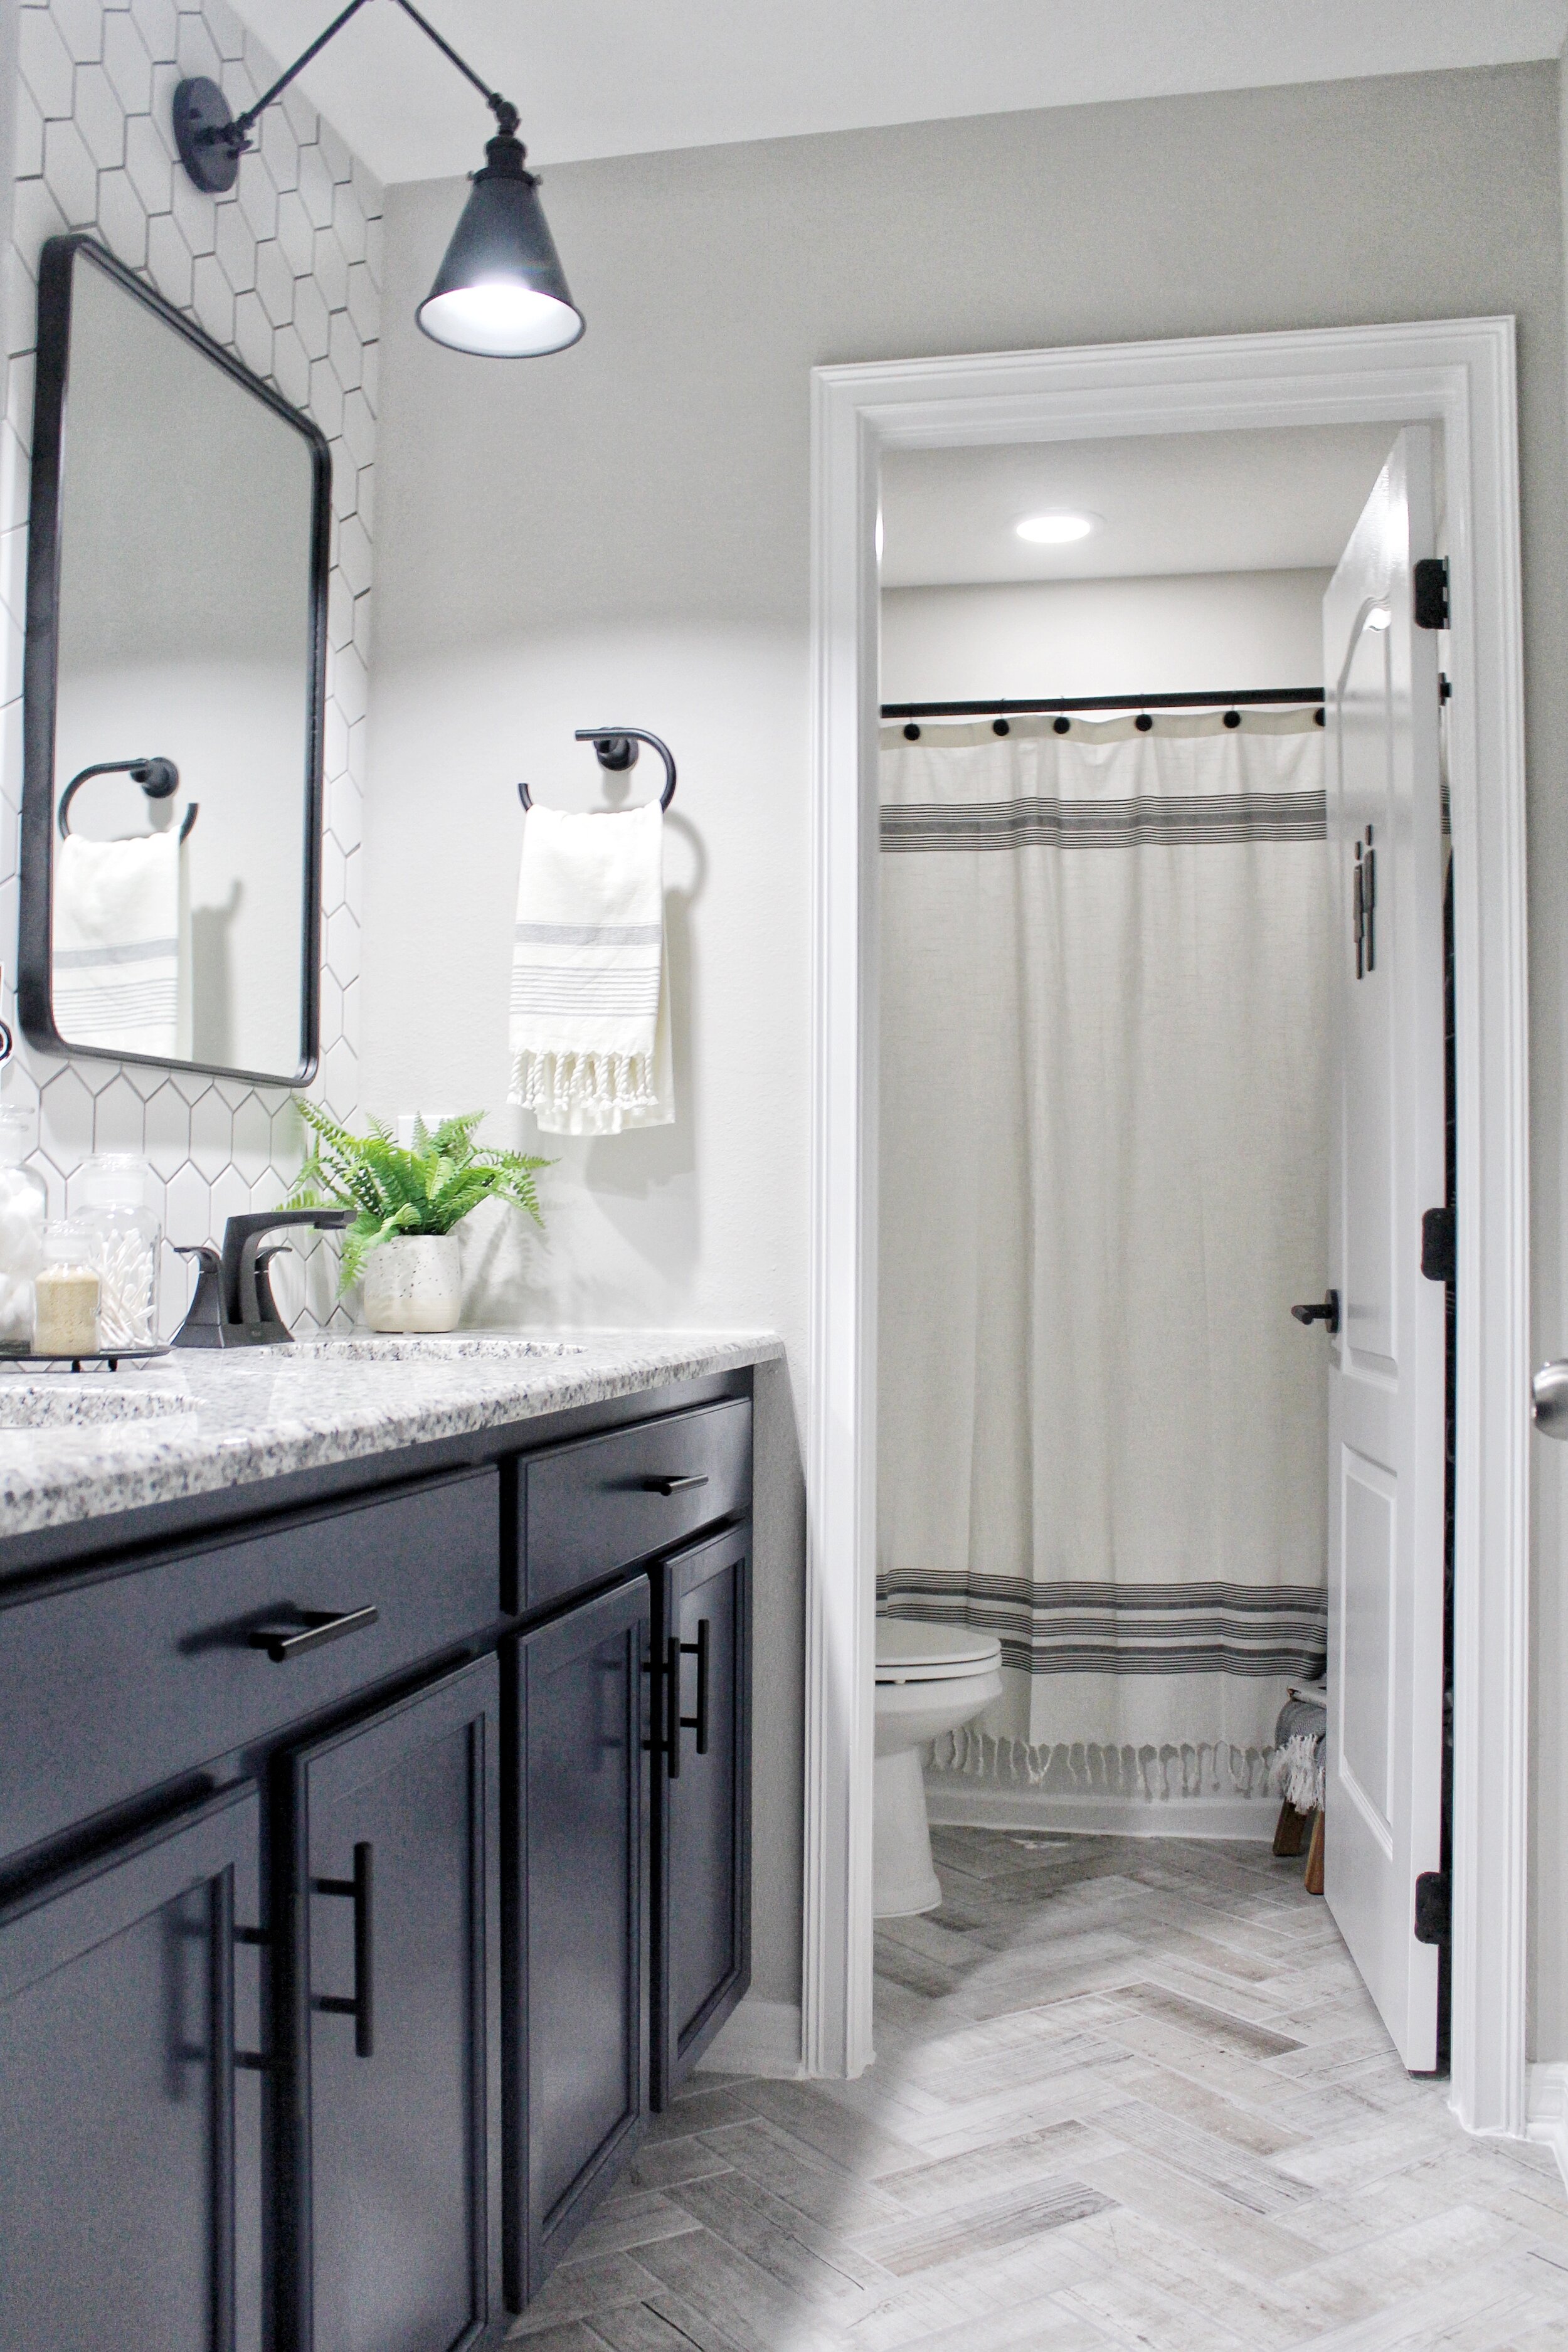
The wall tile for us was a little tricky. It was difficult to get some of the grout lines even, and to match them up, I think this is because gravity was against us, and the hexagon shapes threw us off. Overall, the wall turned out great and we are so happy with these Spaced Out Mosaic tiles. We wanted to keep the mirrors and light fixtures simple, so the main focal point of the wall was the wall itself. The hexagon wall is a big statement piece, so we didn’t want to overshadow it with our other design selections. We went with two matte black rectangle metal mirrors and two single black wall sconces. Just because you want to keep things simple, doesn’t mean they have to be boring, and thats what we wanted to do with the light fixtures we chose. We found these long arm industrial sconces and knew they would be the perfect complimenting piece to the rest of our design choices. Before, we had those builder grade 3-light fixtures above each sink, and we wanted to do something unique (but still simple) in their place, and we think we nailed that with these light fixtures! They are adjustable to however you want them to hang.
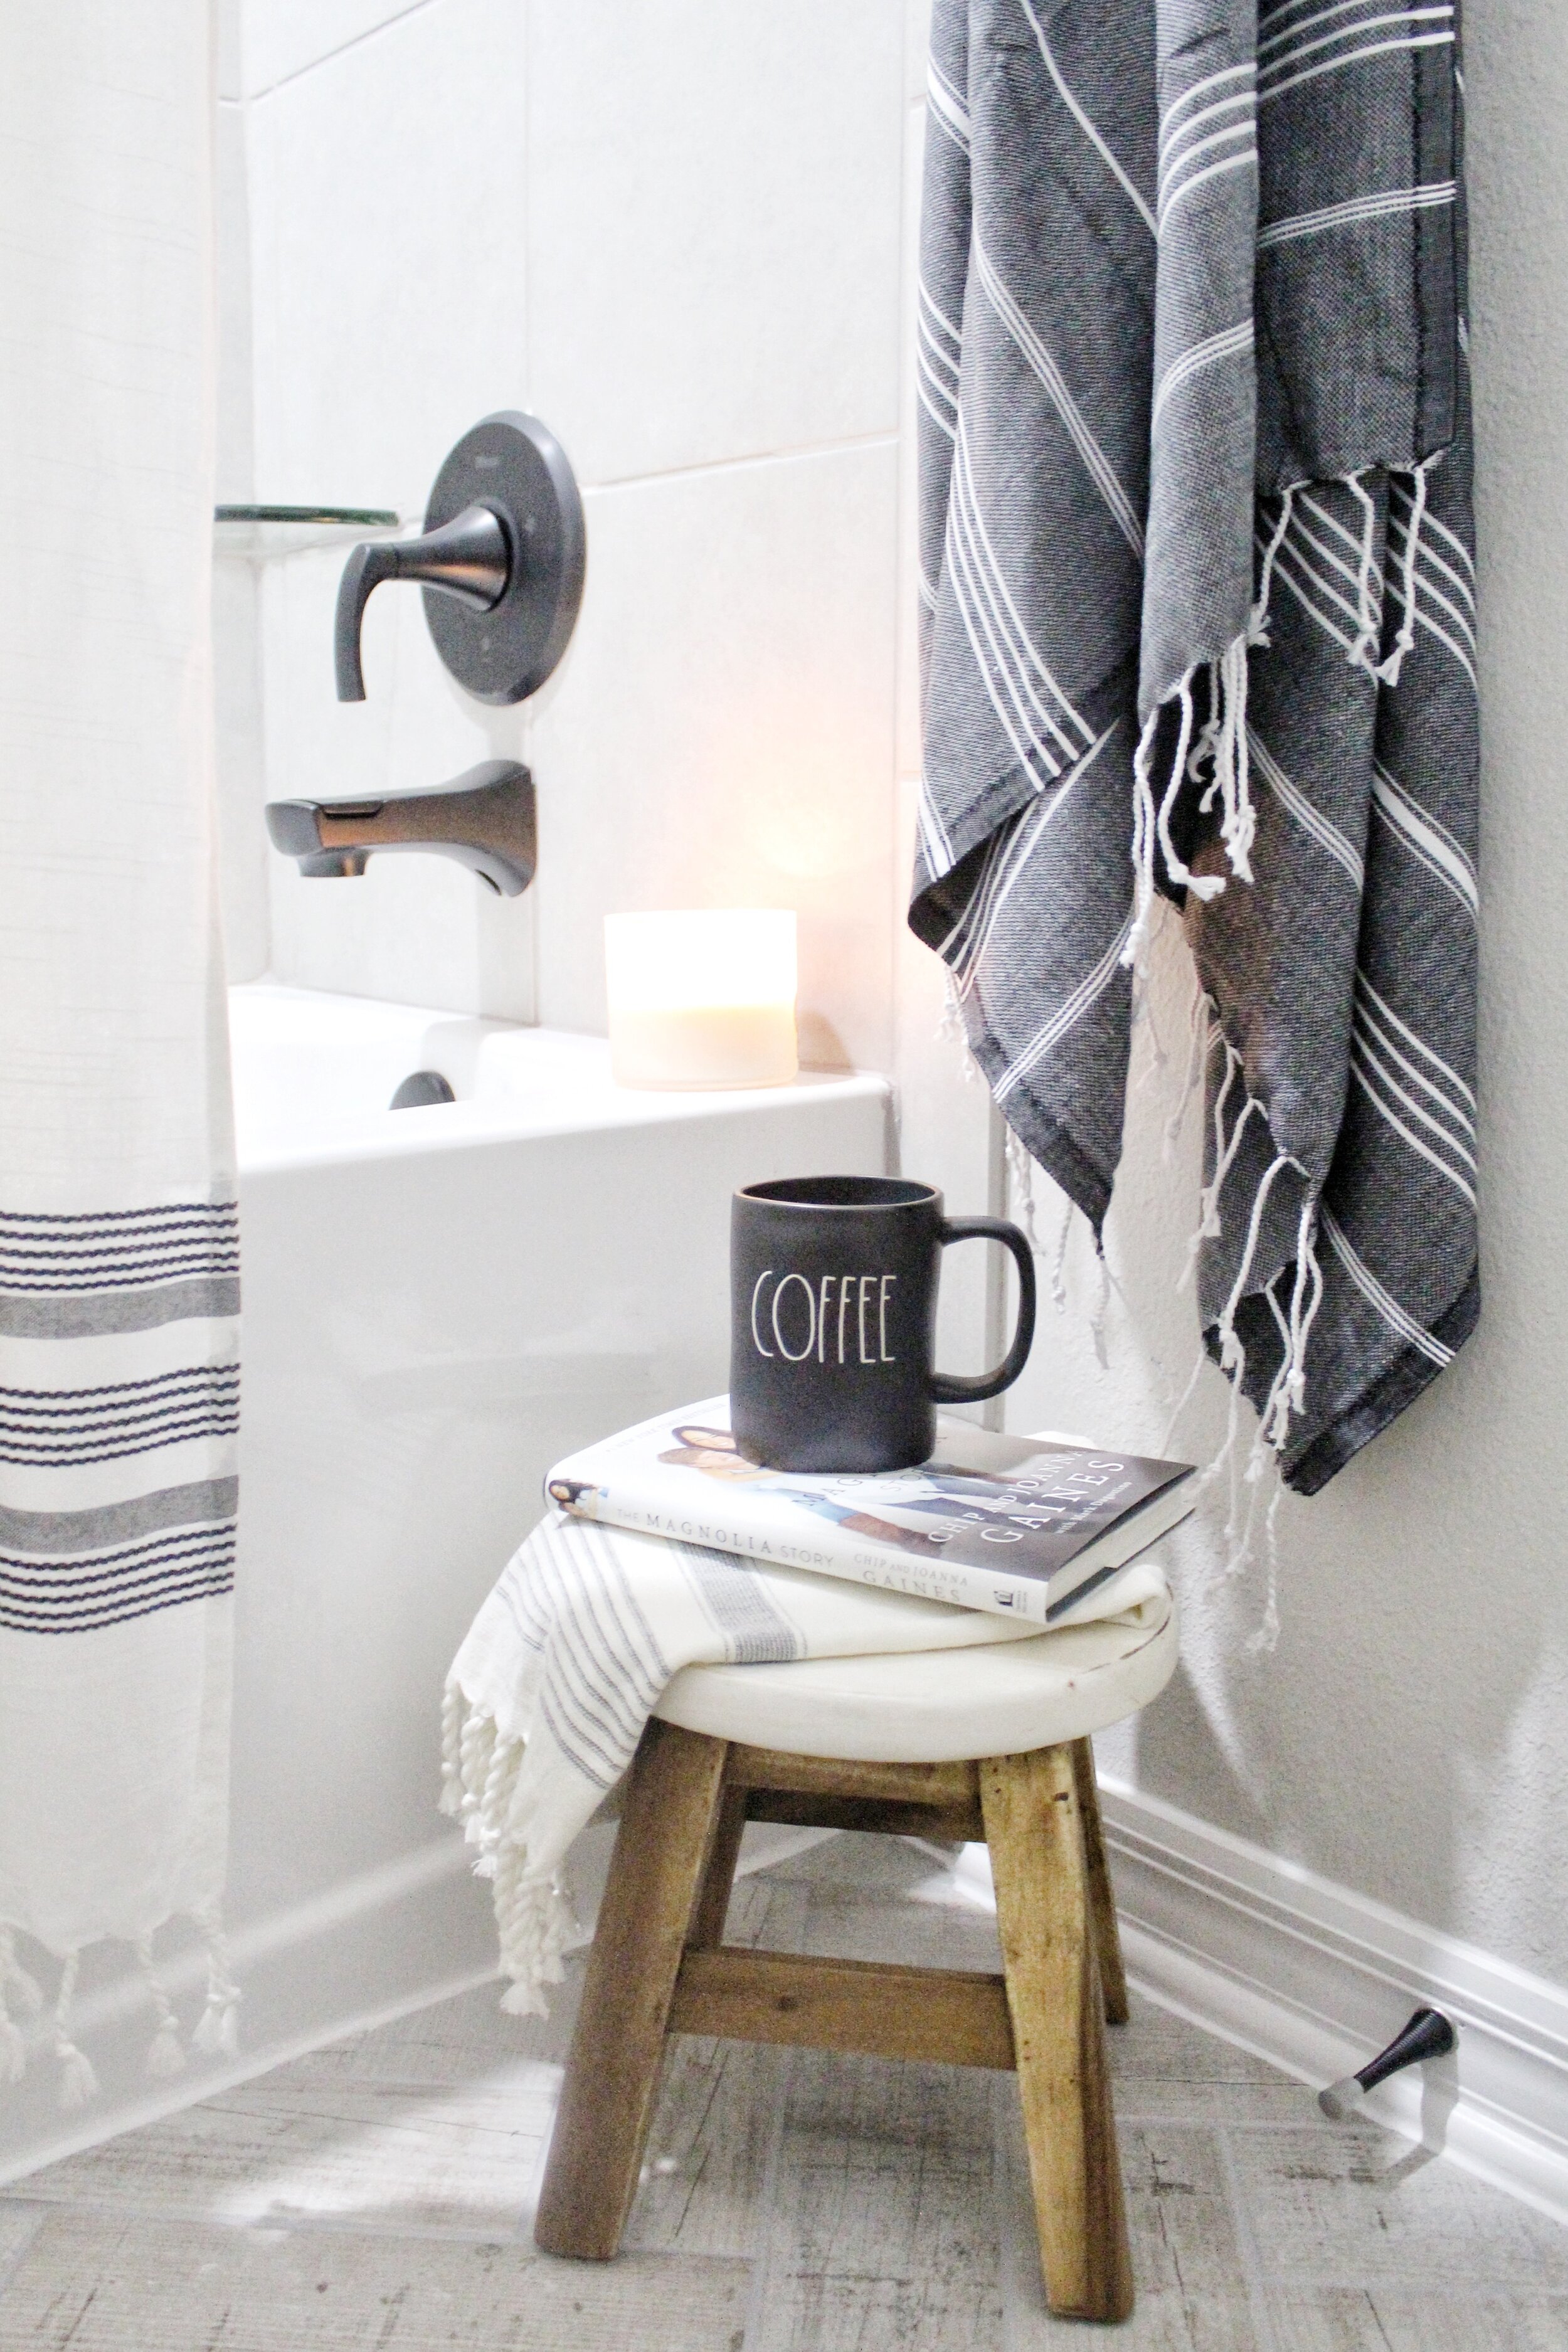
Now onto the shower and toilet room. We decided not to change out the shower tile because we thought the current tile would still work well with our new design selections, and we felt like that was a little beyond our skill level. We’re all about challenging ourselves, but we didn’t want to rip apart our brand new shower if it wasn’t necessary. We did decide to change out the shower head and tub faucet like we mentioned earlier, and we think the matte black fixtures spruce up the shower and make it balance well with our other new features. Not sure if you can notice from the pictures, but we took the same curtain rod and curtain hooks, and spray painted them matte black so we could reuse them, without having to buy new ones. You can’t tell they used to be chrome, and they make everything look more cohesive! Thats my favorite little design hack, if something doesn’t match anymore, just spray paint it! 😉
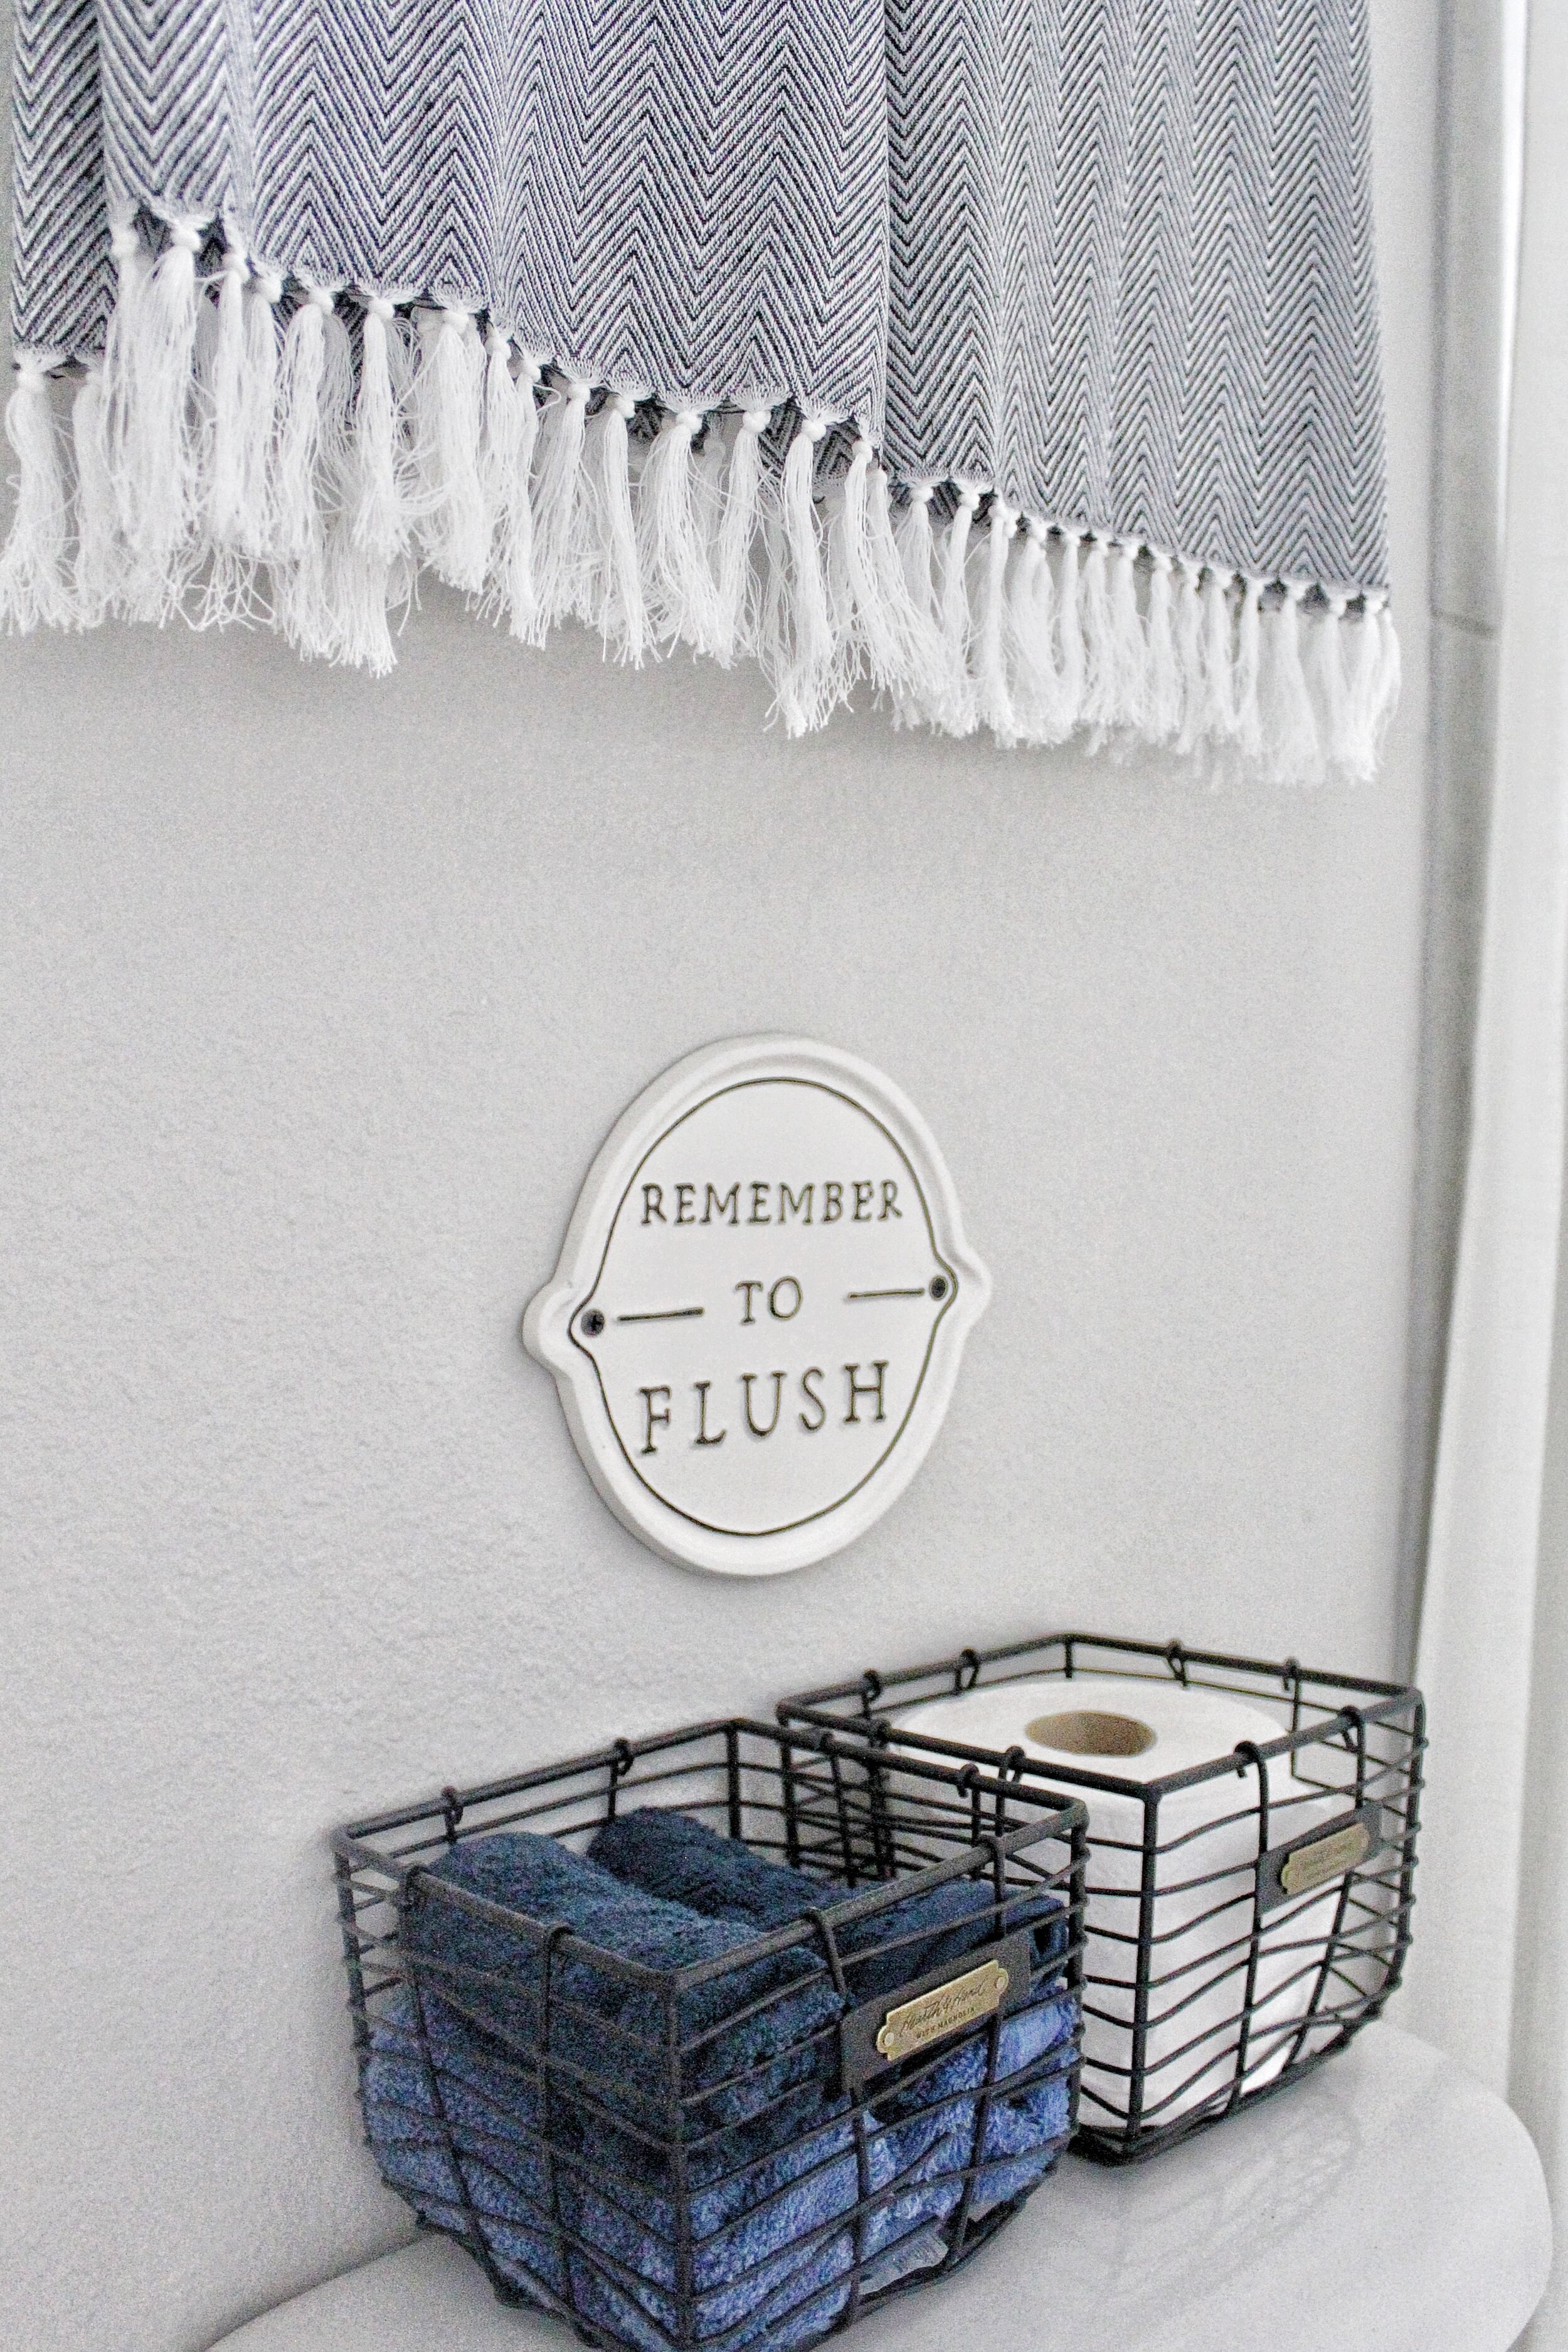
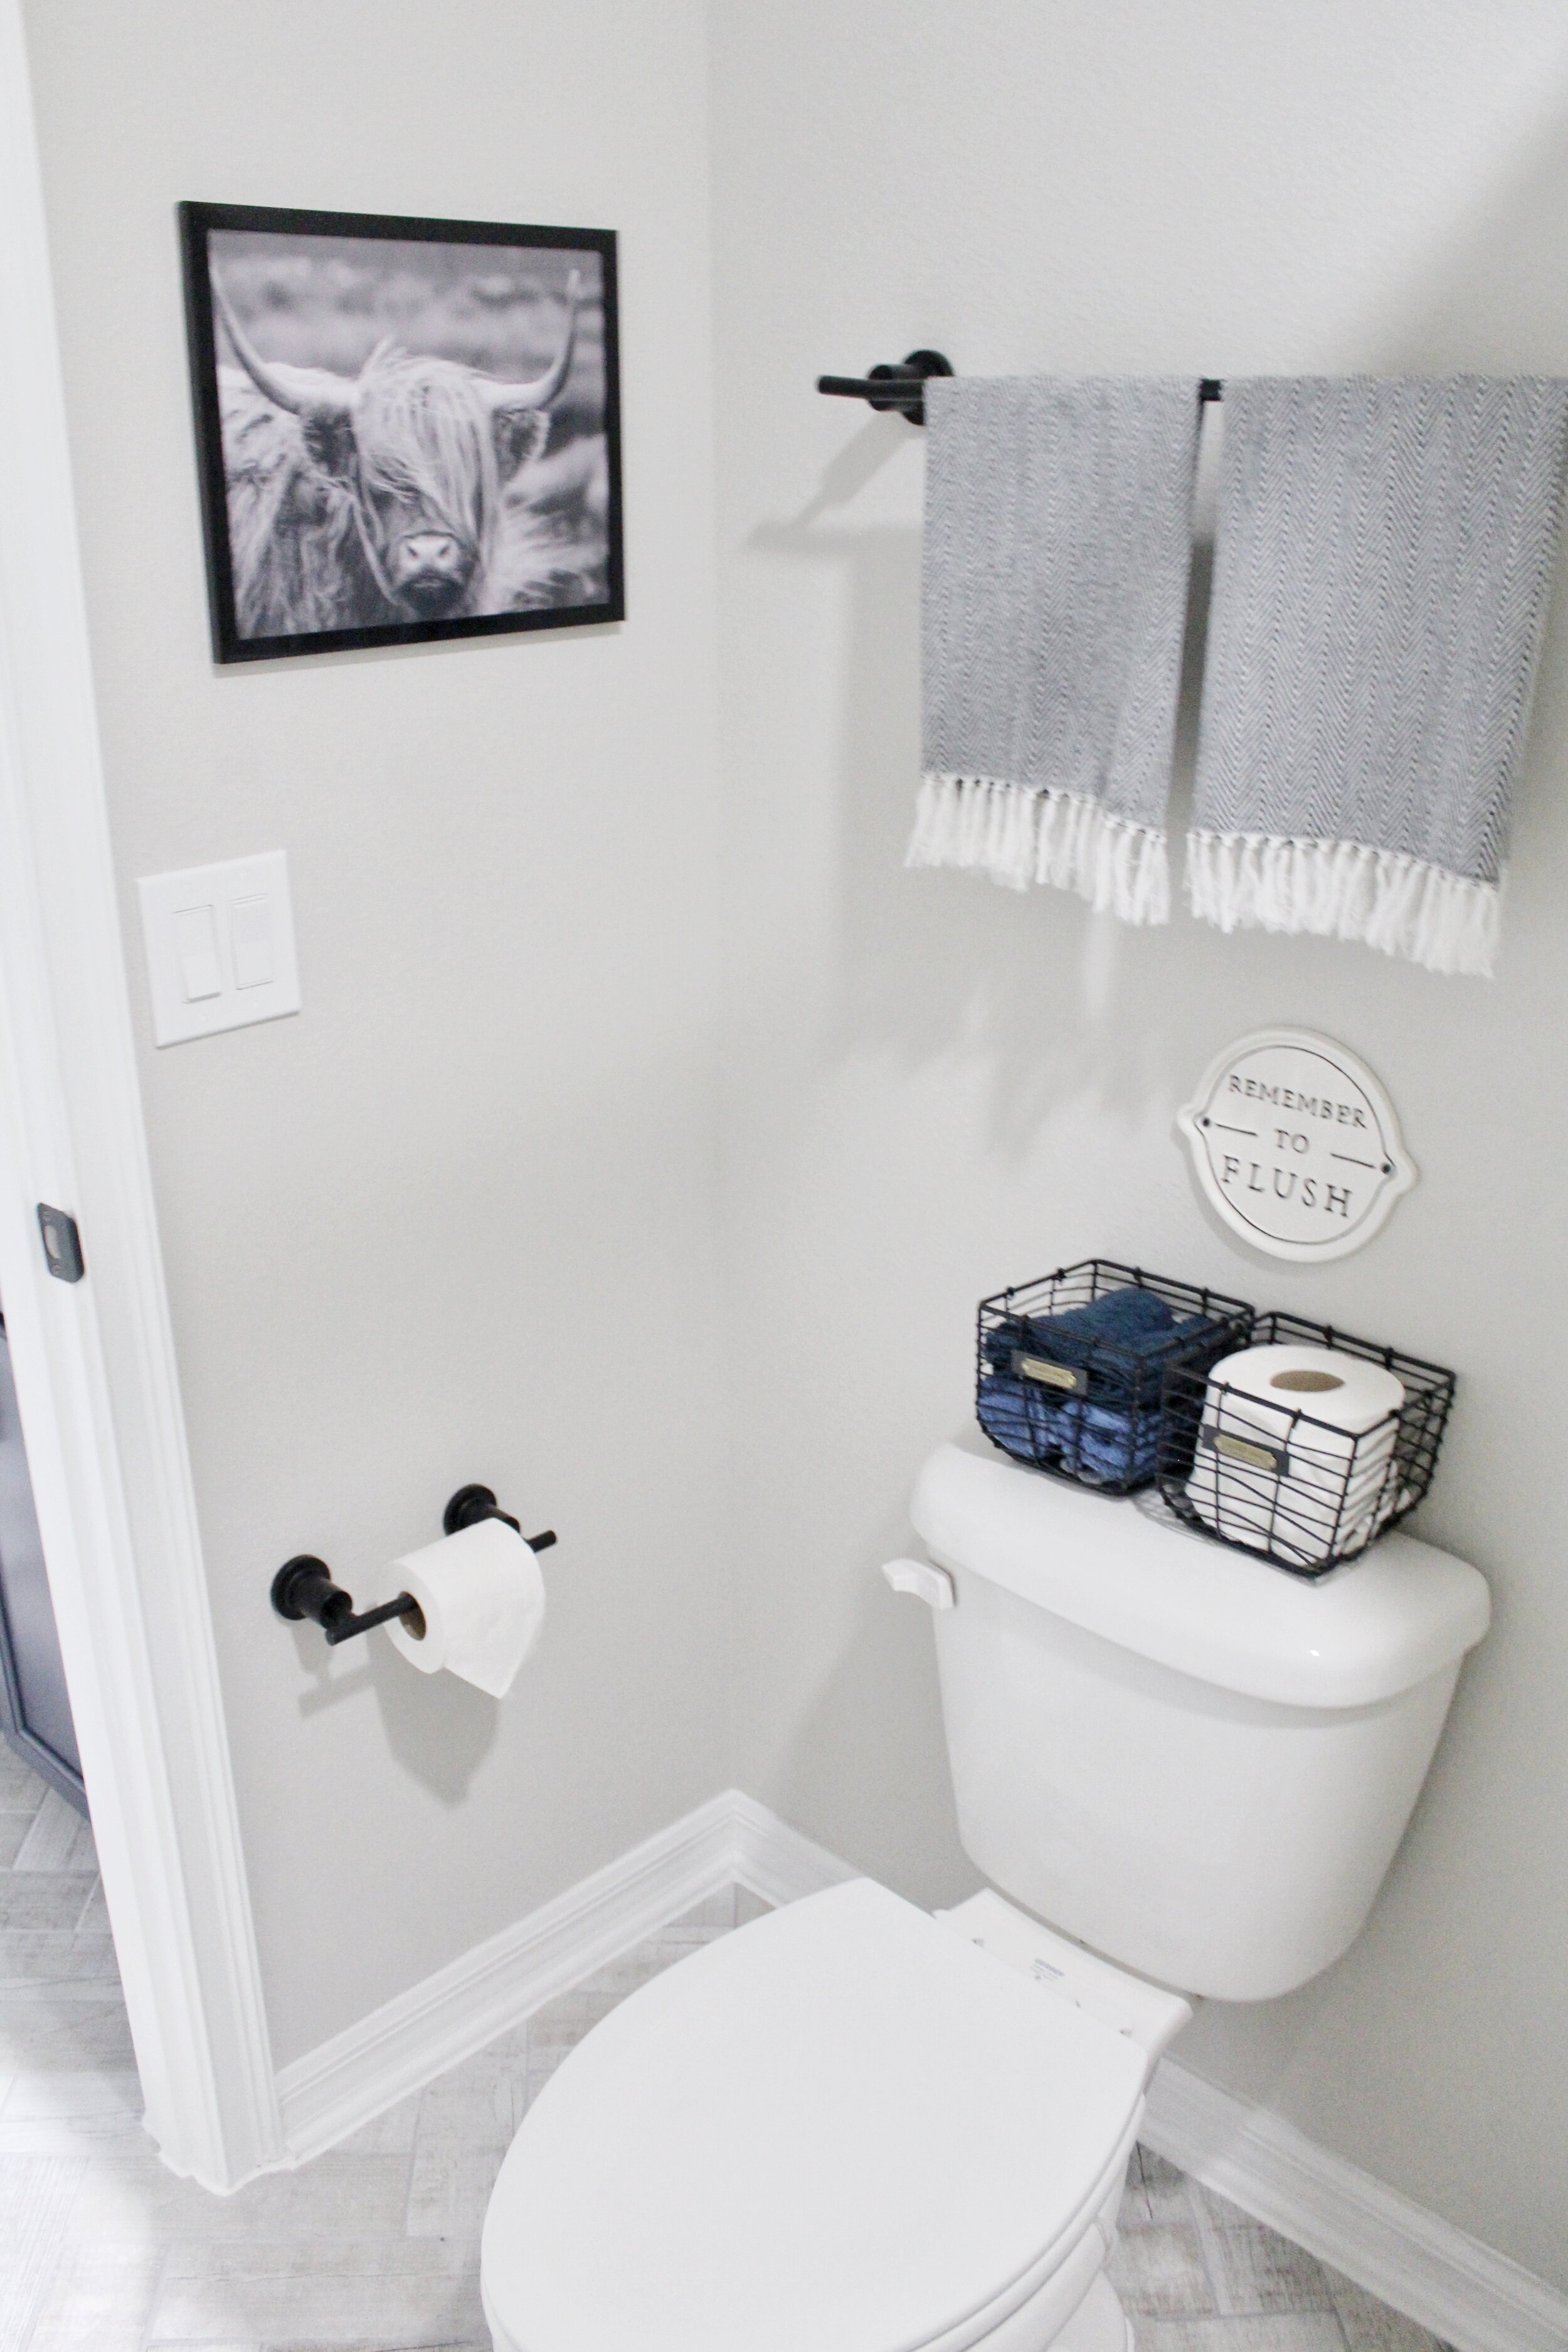
Like I said earlier we also got a new door handle, toilet paper holder, towel bar, and two towel rings from Pfister. They are all matte black and compliment our other accessories perfectly, and add contrast to our light colored walls! They are so much nicer than the cheap builder grade accessories we previously had, and for being so small, they add a huge impact to the walls and room.
The Little Details
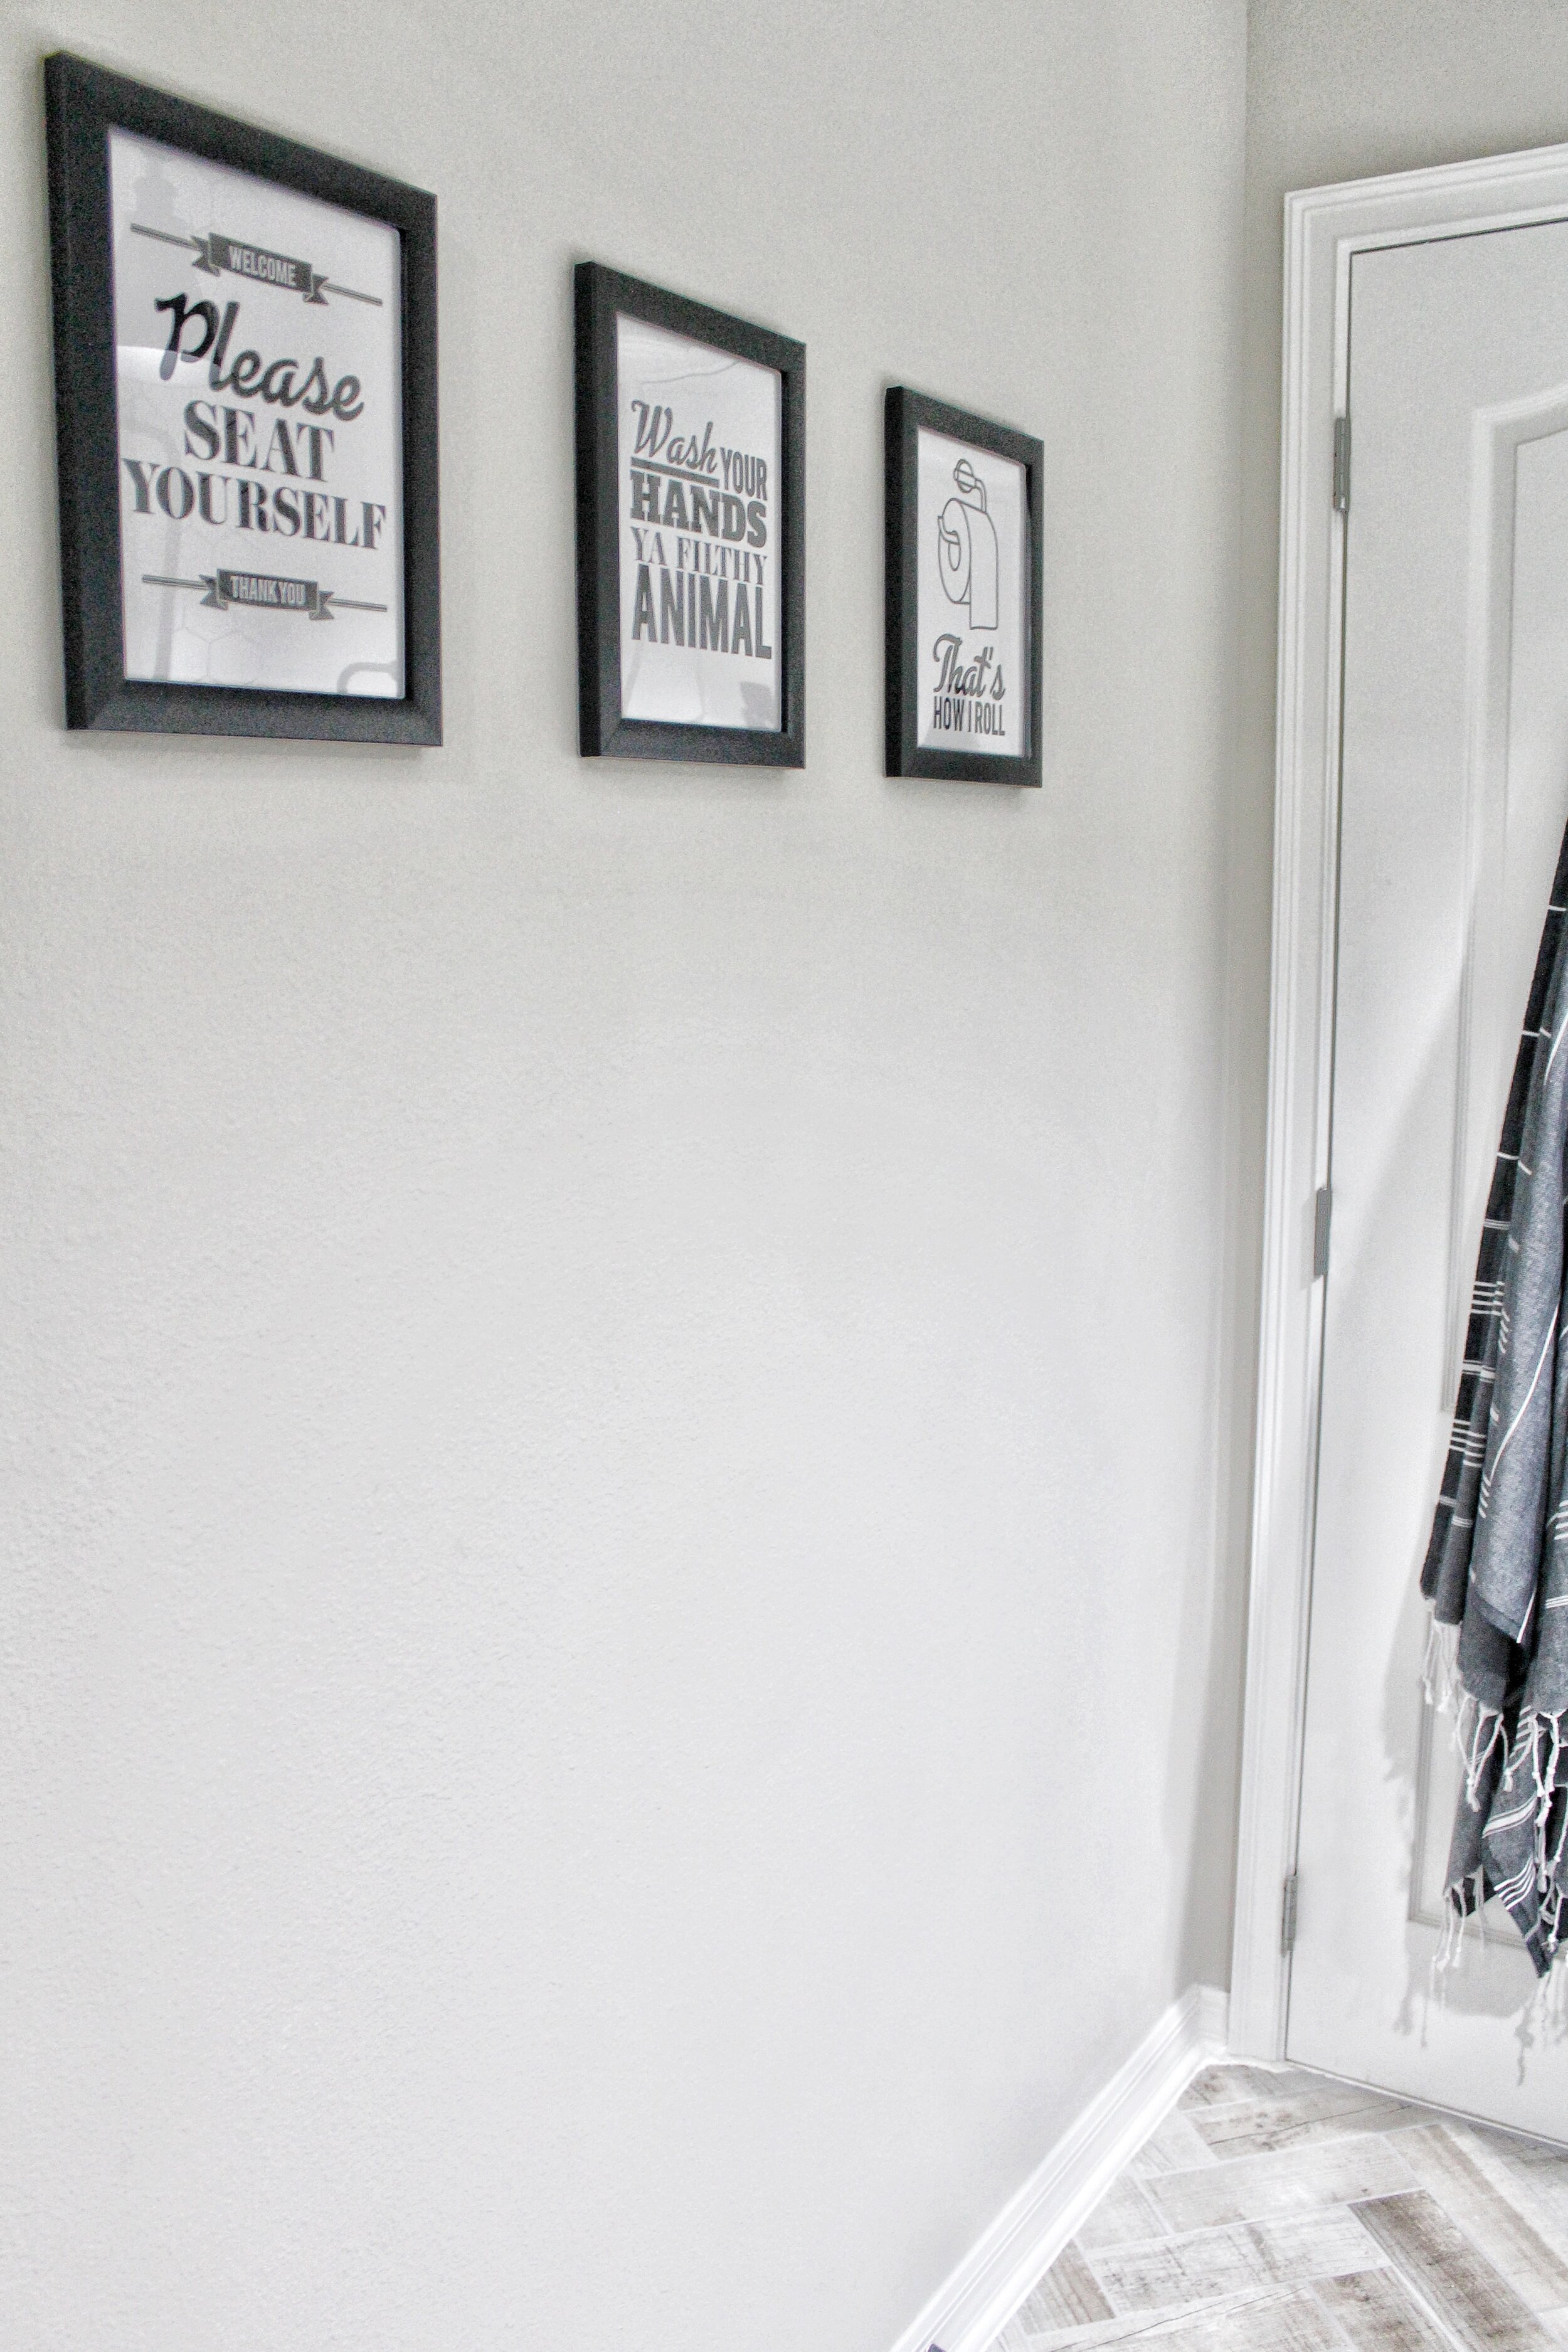
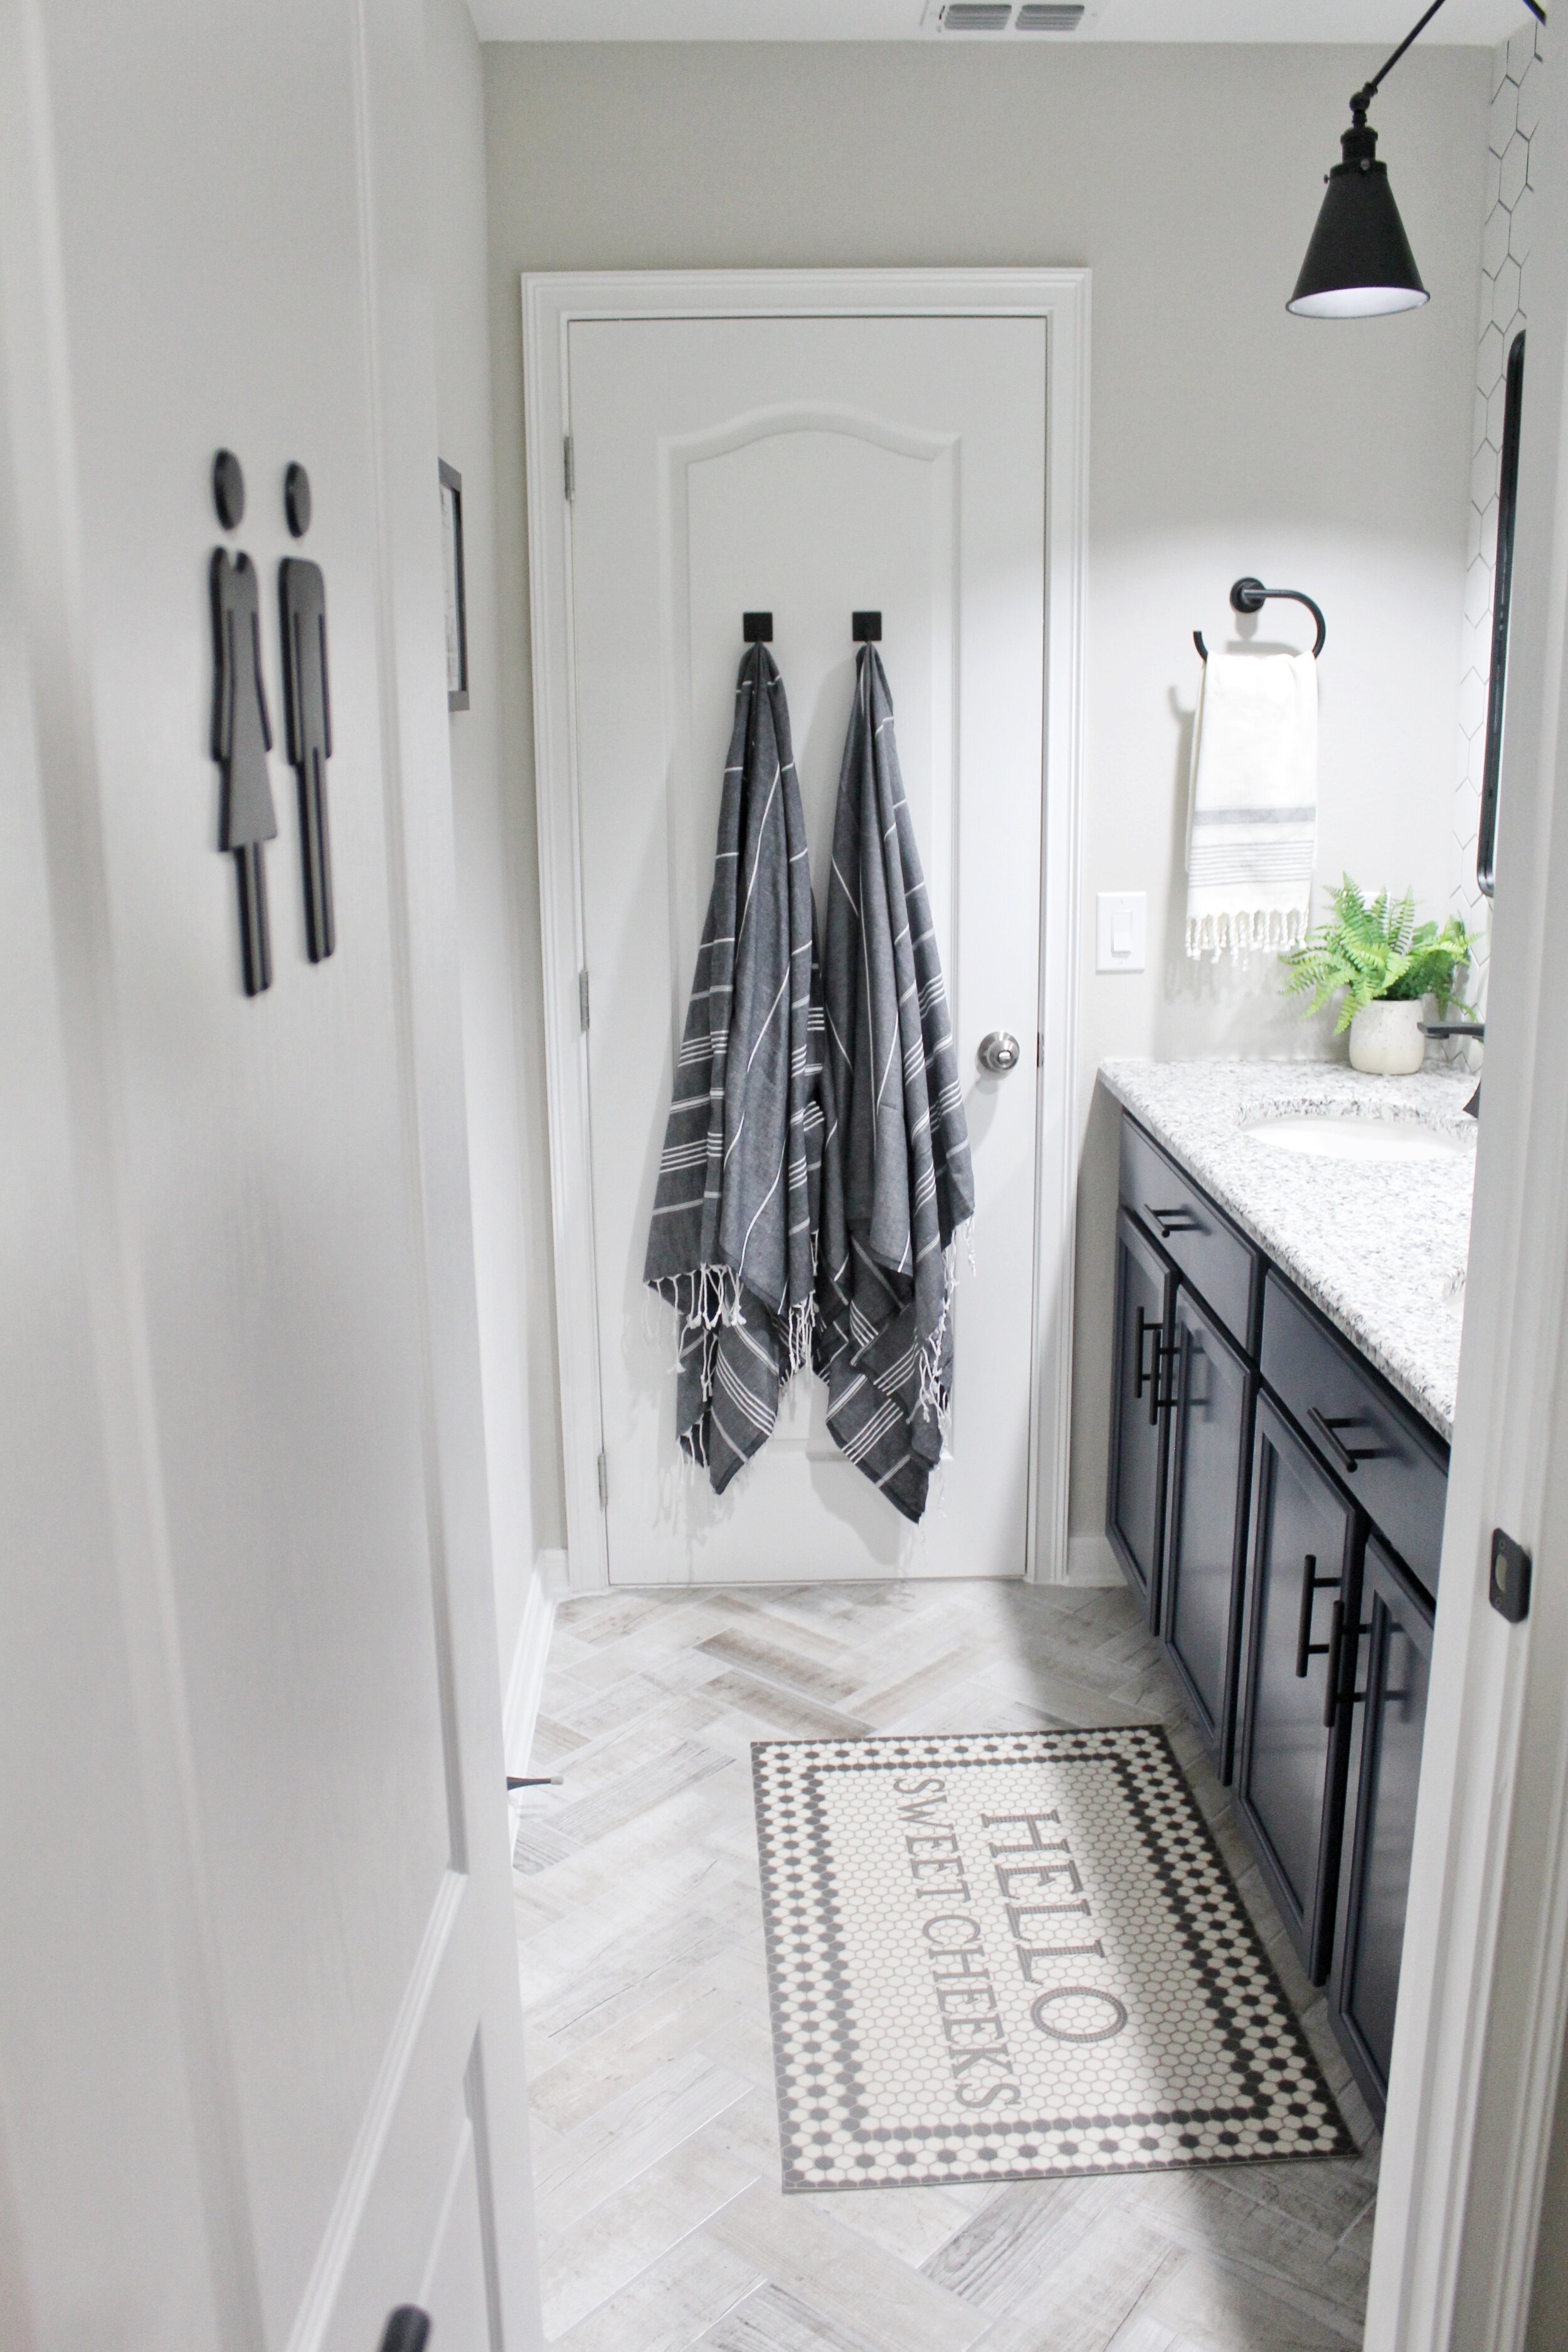
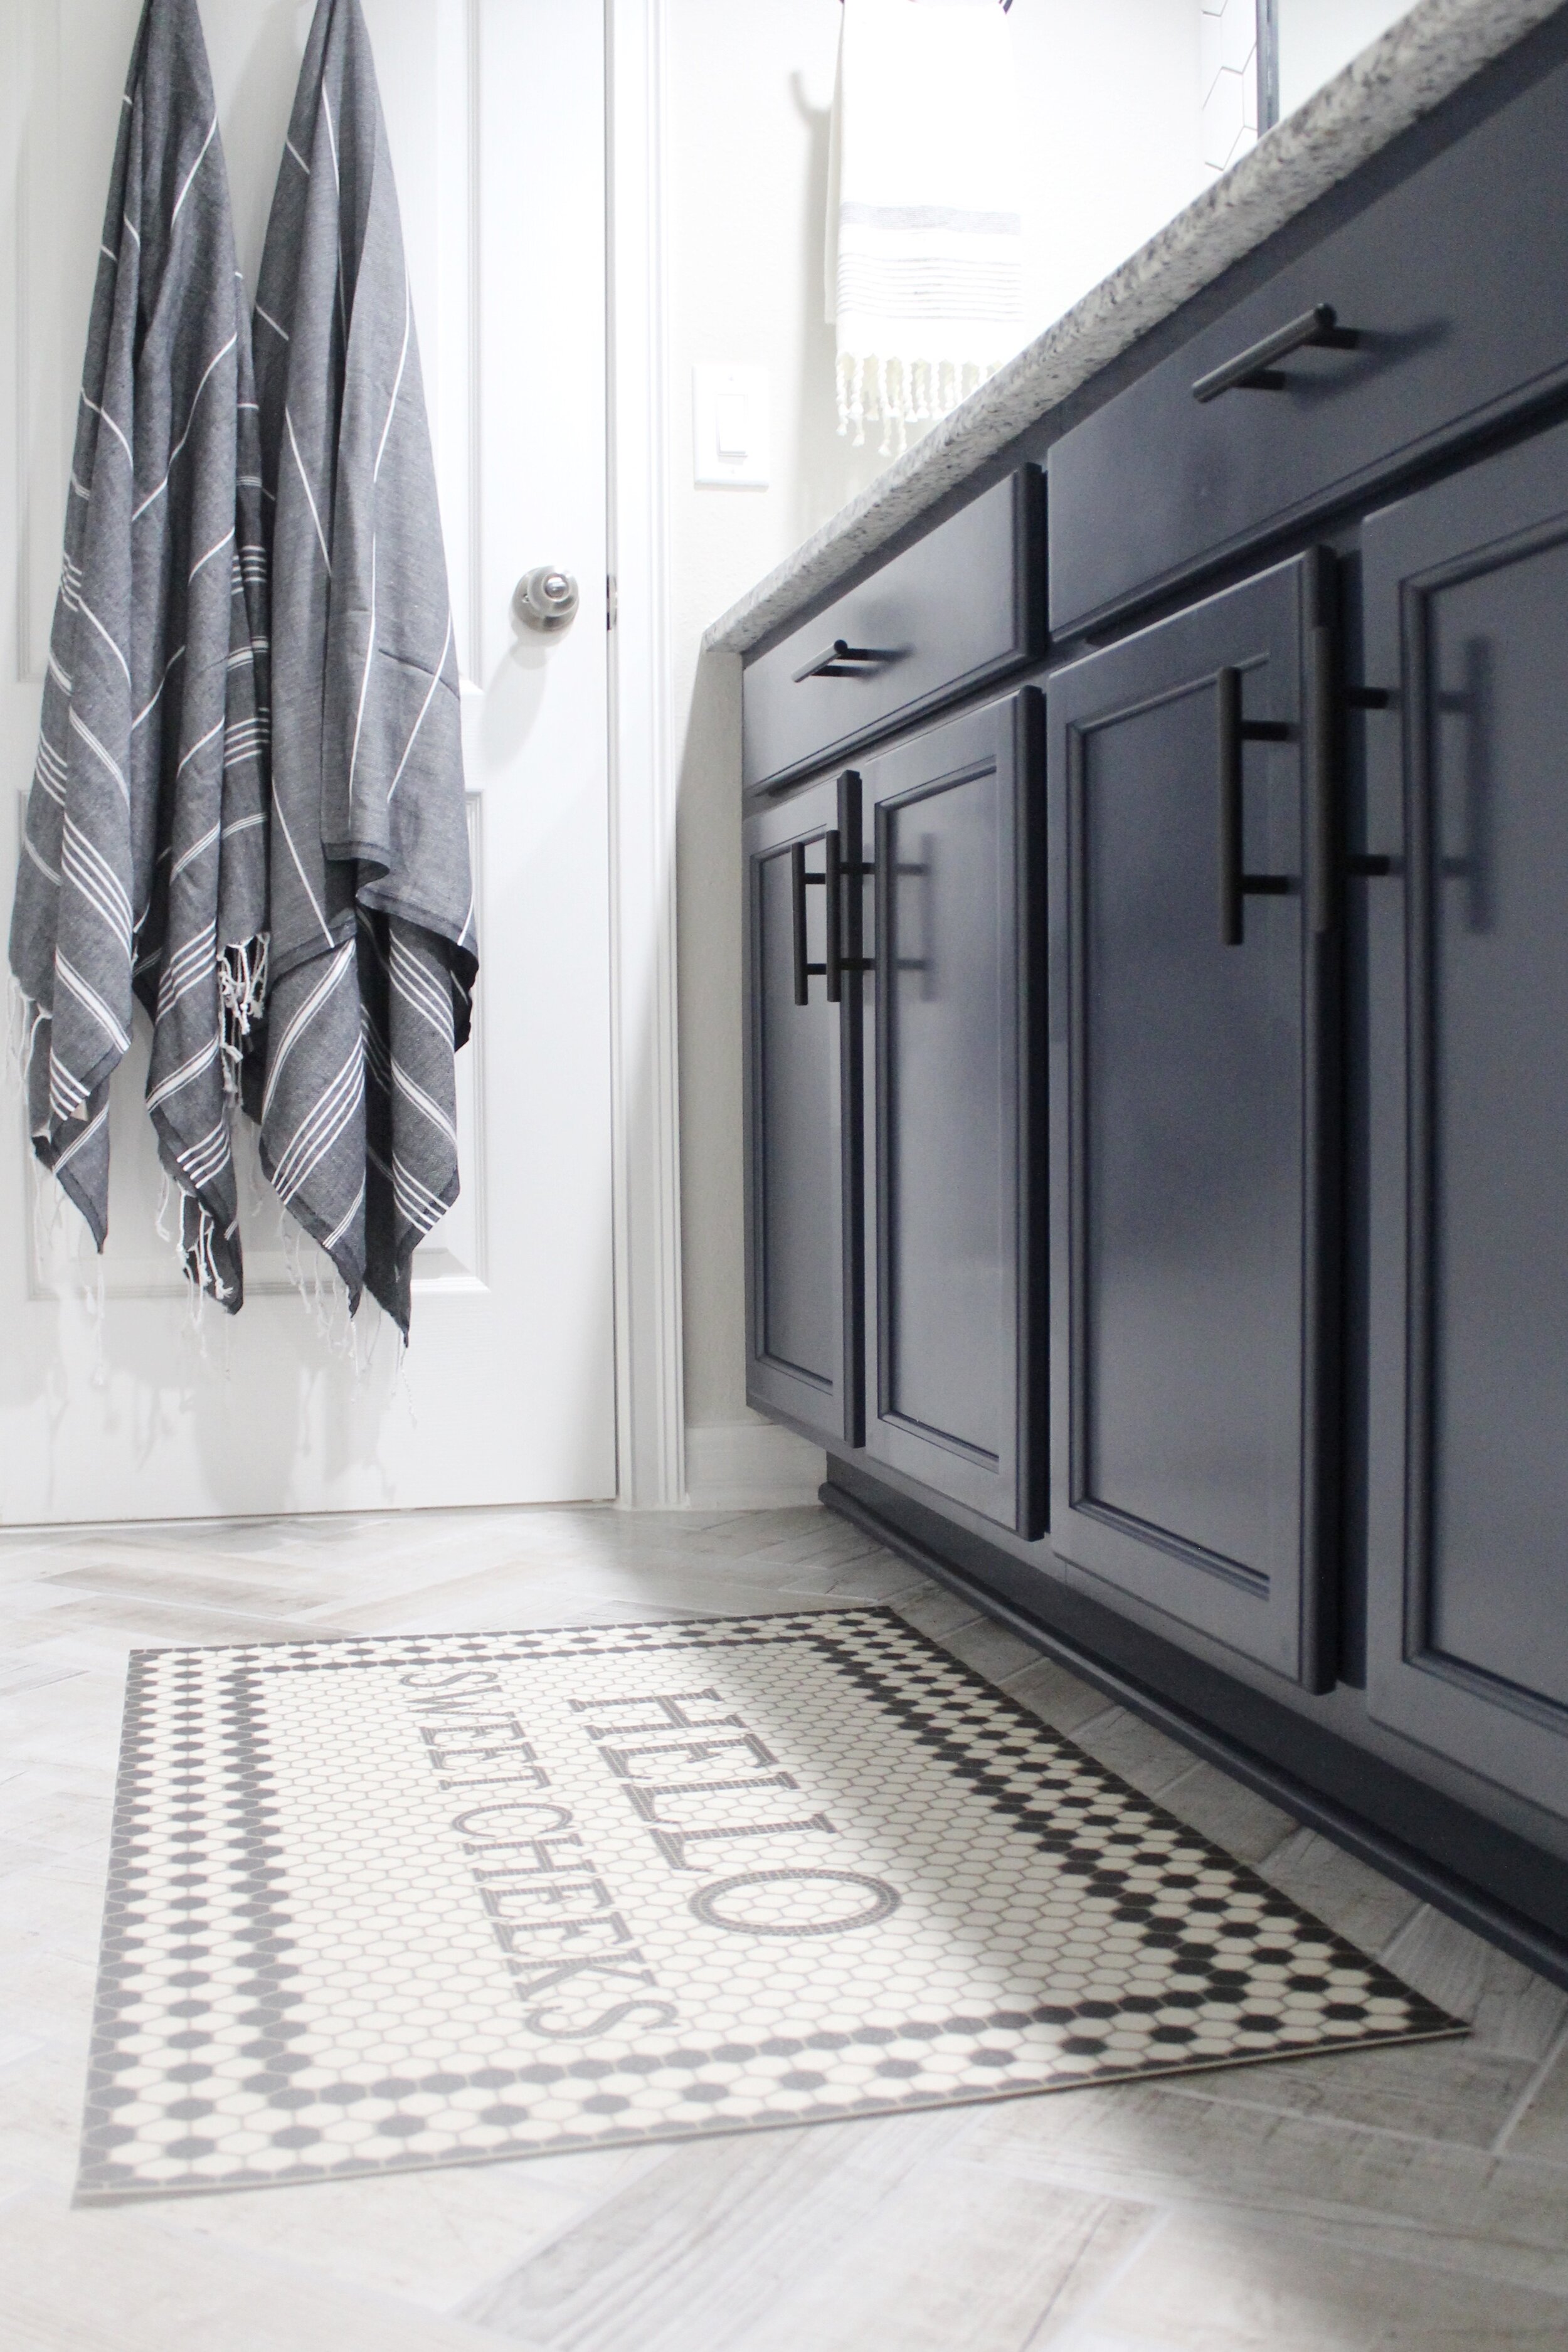
When it comes to designing, I am all about the little details, I think they really complete the space! Another fun little collaboration we did for this renovation challenge was for this ADORABLE “Hello Sweetcheeks” floor mat from Jaxn Blvd. Its a vinyl floor mat made to look like mosaic tile, and it fits perfectly in our bathroom and plays off the other black and white design elements we have going on. Also from Jaxn Blvd is our “Hank the cow” black and white print that we framed- they go together perfectly! I am loving mixing patterns right now, such as the herringbone and hexagon tiles, but also I love stripes of all kinds. We mixed and matched stripes throughout the bathroom in our bath towels, hand towels, and shower curtain, and threw in tassels too (love me some tassels!) We also threw in a lot of fun prints on the walls, while still keeping with the black and white modern look, including the adorable cow print from Jaxn Blvd! While this bathroom is very sleek and modern, I still wanted it to be “fun” because this is the guest bathroom our guests will use, and our future children!

Who doesn’t appreciate a good before and after picture? While I know our transformation isn’t as drastic as some who are competing in this competition, to us, its HUGE. We took this builder grade bathroom, and made it into a space we love, all on our own! We are still learning, we’re DIY newbies, but WE DID IT! We are so proud of this space and what we accomplished in six weeks, and we want to thank Jeffrey Court for including us in this competition, it means more to us than you know!
Thanks everyone!
Product links:
Hand Towels (exact ones are no longer sold I believe- check in store!)
Potted ferns (not exact ones, but same brand and very similar)
Grab our FREE download
Wanna know the 5 must have tools you need before you start?
Considering a DIY Project?


Be the first to comment