


COREtec Floors
**This post contains sponsored content but all opinions are our own.
New floors already?
When you build a new home, you expect your flooring, such as carpet, to last more than two years, right? So did we. It turns out most mass production builders use the cheapest quality materials, which is how they can profit so much money off building homes. After only two and a half years in our home, our upstairs carpet was in bad shape, and its only Ryan and I who live here with our cat! No kids, no big dogs, just us! Our carpet in our upstairs loft and hallways was already matted down, folding up, and falling apart, it was time for it to be replaced. We didn’t know what kind of flooring we wanted, but we just knew it wasn’t another type of carpet. We wanted something more durable, and something that would modernize and brighten up the space. Then, we came across COREtec floors on Instagram and FELL IN LOVE with all of their flooring options.
Before

Before, you can see the folding.
Why we chose COREtec Floors
COREtec floors are a wood composite flooring (WPC for short), they are 100% waterproof and they offer hundreds of styles and colors. They have realistic wood looks and textures in various sizes as well as cork underlayment backing that makes them quieter and warmer underfoot. This was important to us because we were installing on the second floor, and didn’t want them to be too loud when we were downstairs. These planks are also very DIY-friendly, which was a huge factor for us because we planned on installing our selves. They feature an effortless interlocking system that can be installed over most existing subfloors. So no glue or adhesive was needed, which was great for us because we are used to tiling! And the best part? COREtec floors are backed by a limited lifetime residential warranty!
Because they are so many gorgeous colors and styles to choose from, COREtec offers to send you three free samples so it’s easier for you decide! We wanted to go with a lighter color flooring that pulled both gray and brown at times to tie in with the furniture and style we were going for. Based on this, the samples we chose were Mesa Verde Oak, Serengeti Oak and Buckingham Oak and they arrived very quickly! We ultimately decided on Mesa Verde Oak because it was exactly what we were looking for in terms of color and design. Mesa Verde Oak is one of their Plus Enhanced planks and is 7” wide. COREtec Plus Enhanced floors can be installed in wet areas and will never swell when exposed to water and resistant to odor causing mold and mildew.
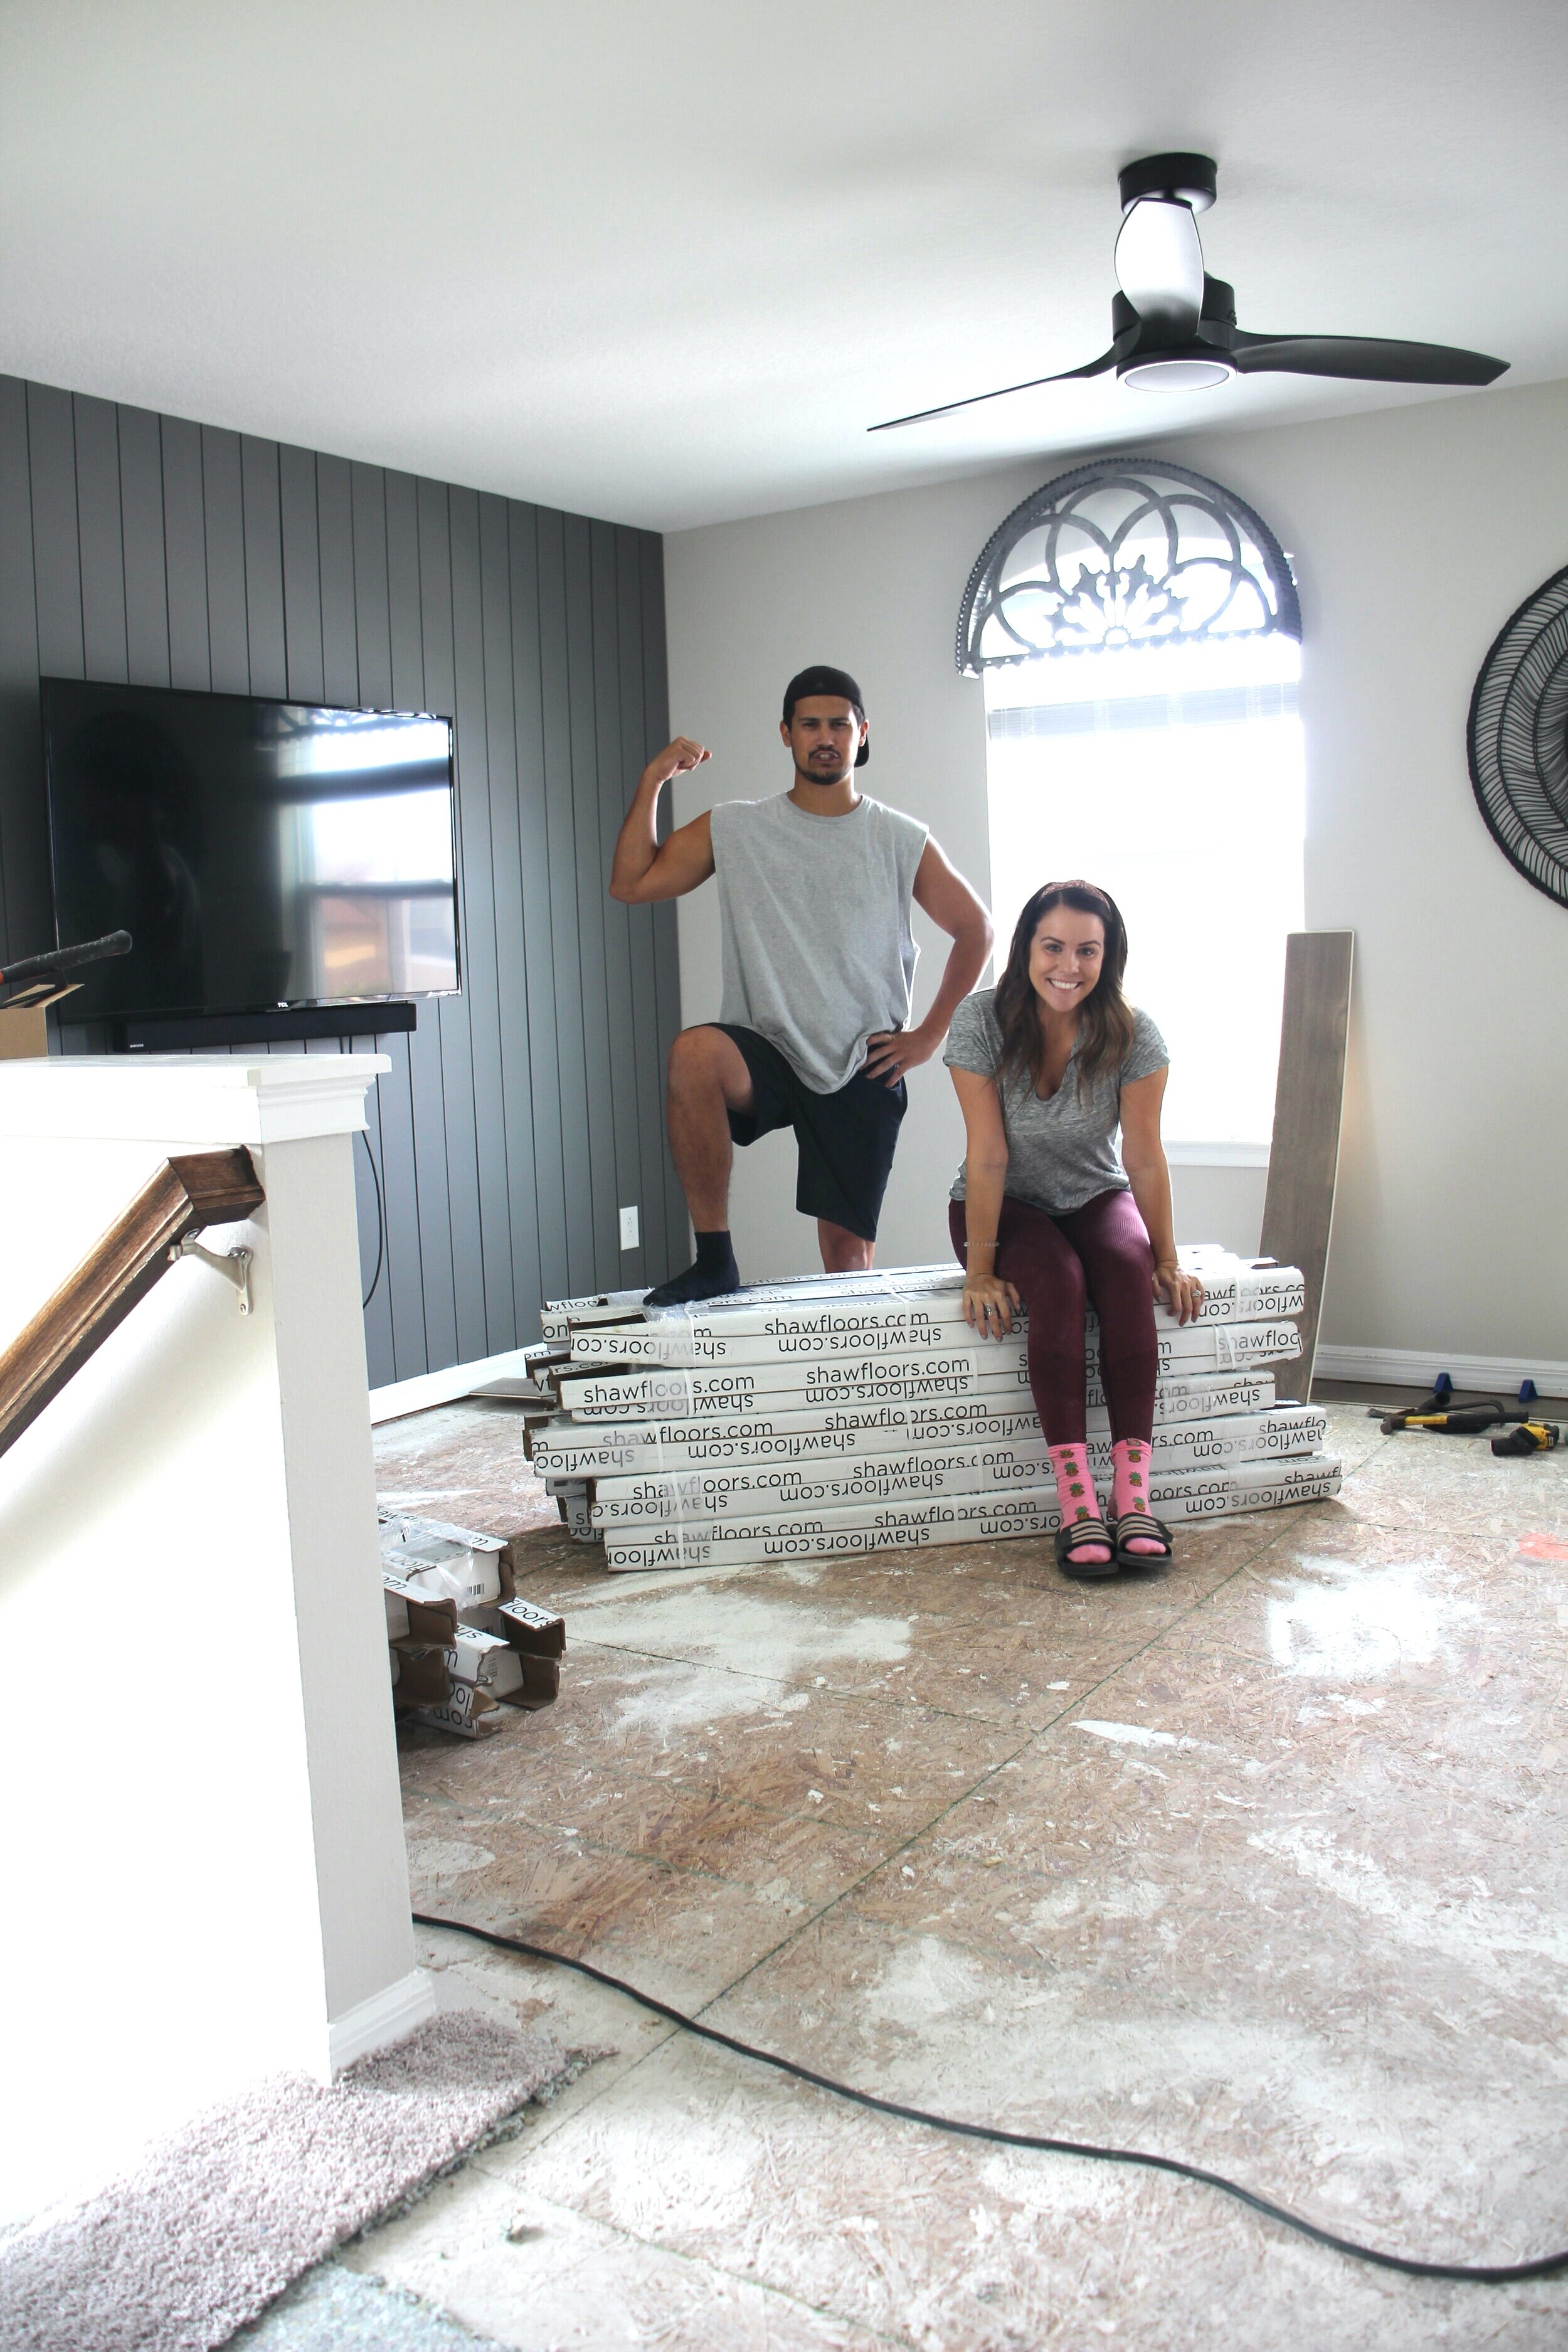
The demo
When the flooring arrived, it was finally time to get the space ready. We moved all of the furniture out of the loft and into the spare bedrooms so we could remove the carpet. This wa as the easy part (actually, it was all fairly easy) Removing our carpet was a breeze and took almost no time at all. All we did was pull it up from the edges, cut it into strips so it was easier to remove, and rolled it up! The carpet padding was only glued down a little (ahhh, builders) so it was actually super easy to remove also. Then we just took a pry bar and pulled up all the carpet tack strips and scraped away at the glue. You want the subfloor to be as clean and level as possible before installing new flooring. We found a LOT of debris such as old nails and screws and trash under all of the baseboards that the contractors left behind, so we had a lot of cleaning to do. Thank goodness for our shopvac!


Speaking of baseboards, we left ours on so we didn’t have to worry about damaging them in removal or spending the money on replacing them, you can choose to leave them on or remove them-you’ll just need to use shoe molding like we did if you decide to leave them on. There was no underlayment or vapor barrier needed on our subfloor, which was awesome. And something else we loved, the flooring did not need to acclimate to the space before we installed- but we did have to carry up 22 boxes of flooring, which was a huge workout! We needed around 500 square feet for our space, including some overage for errors or cuts we had to make. Demo only took a couple hours, so the same day we were able to begin laying the flooring!
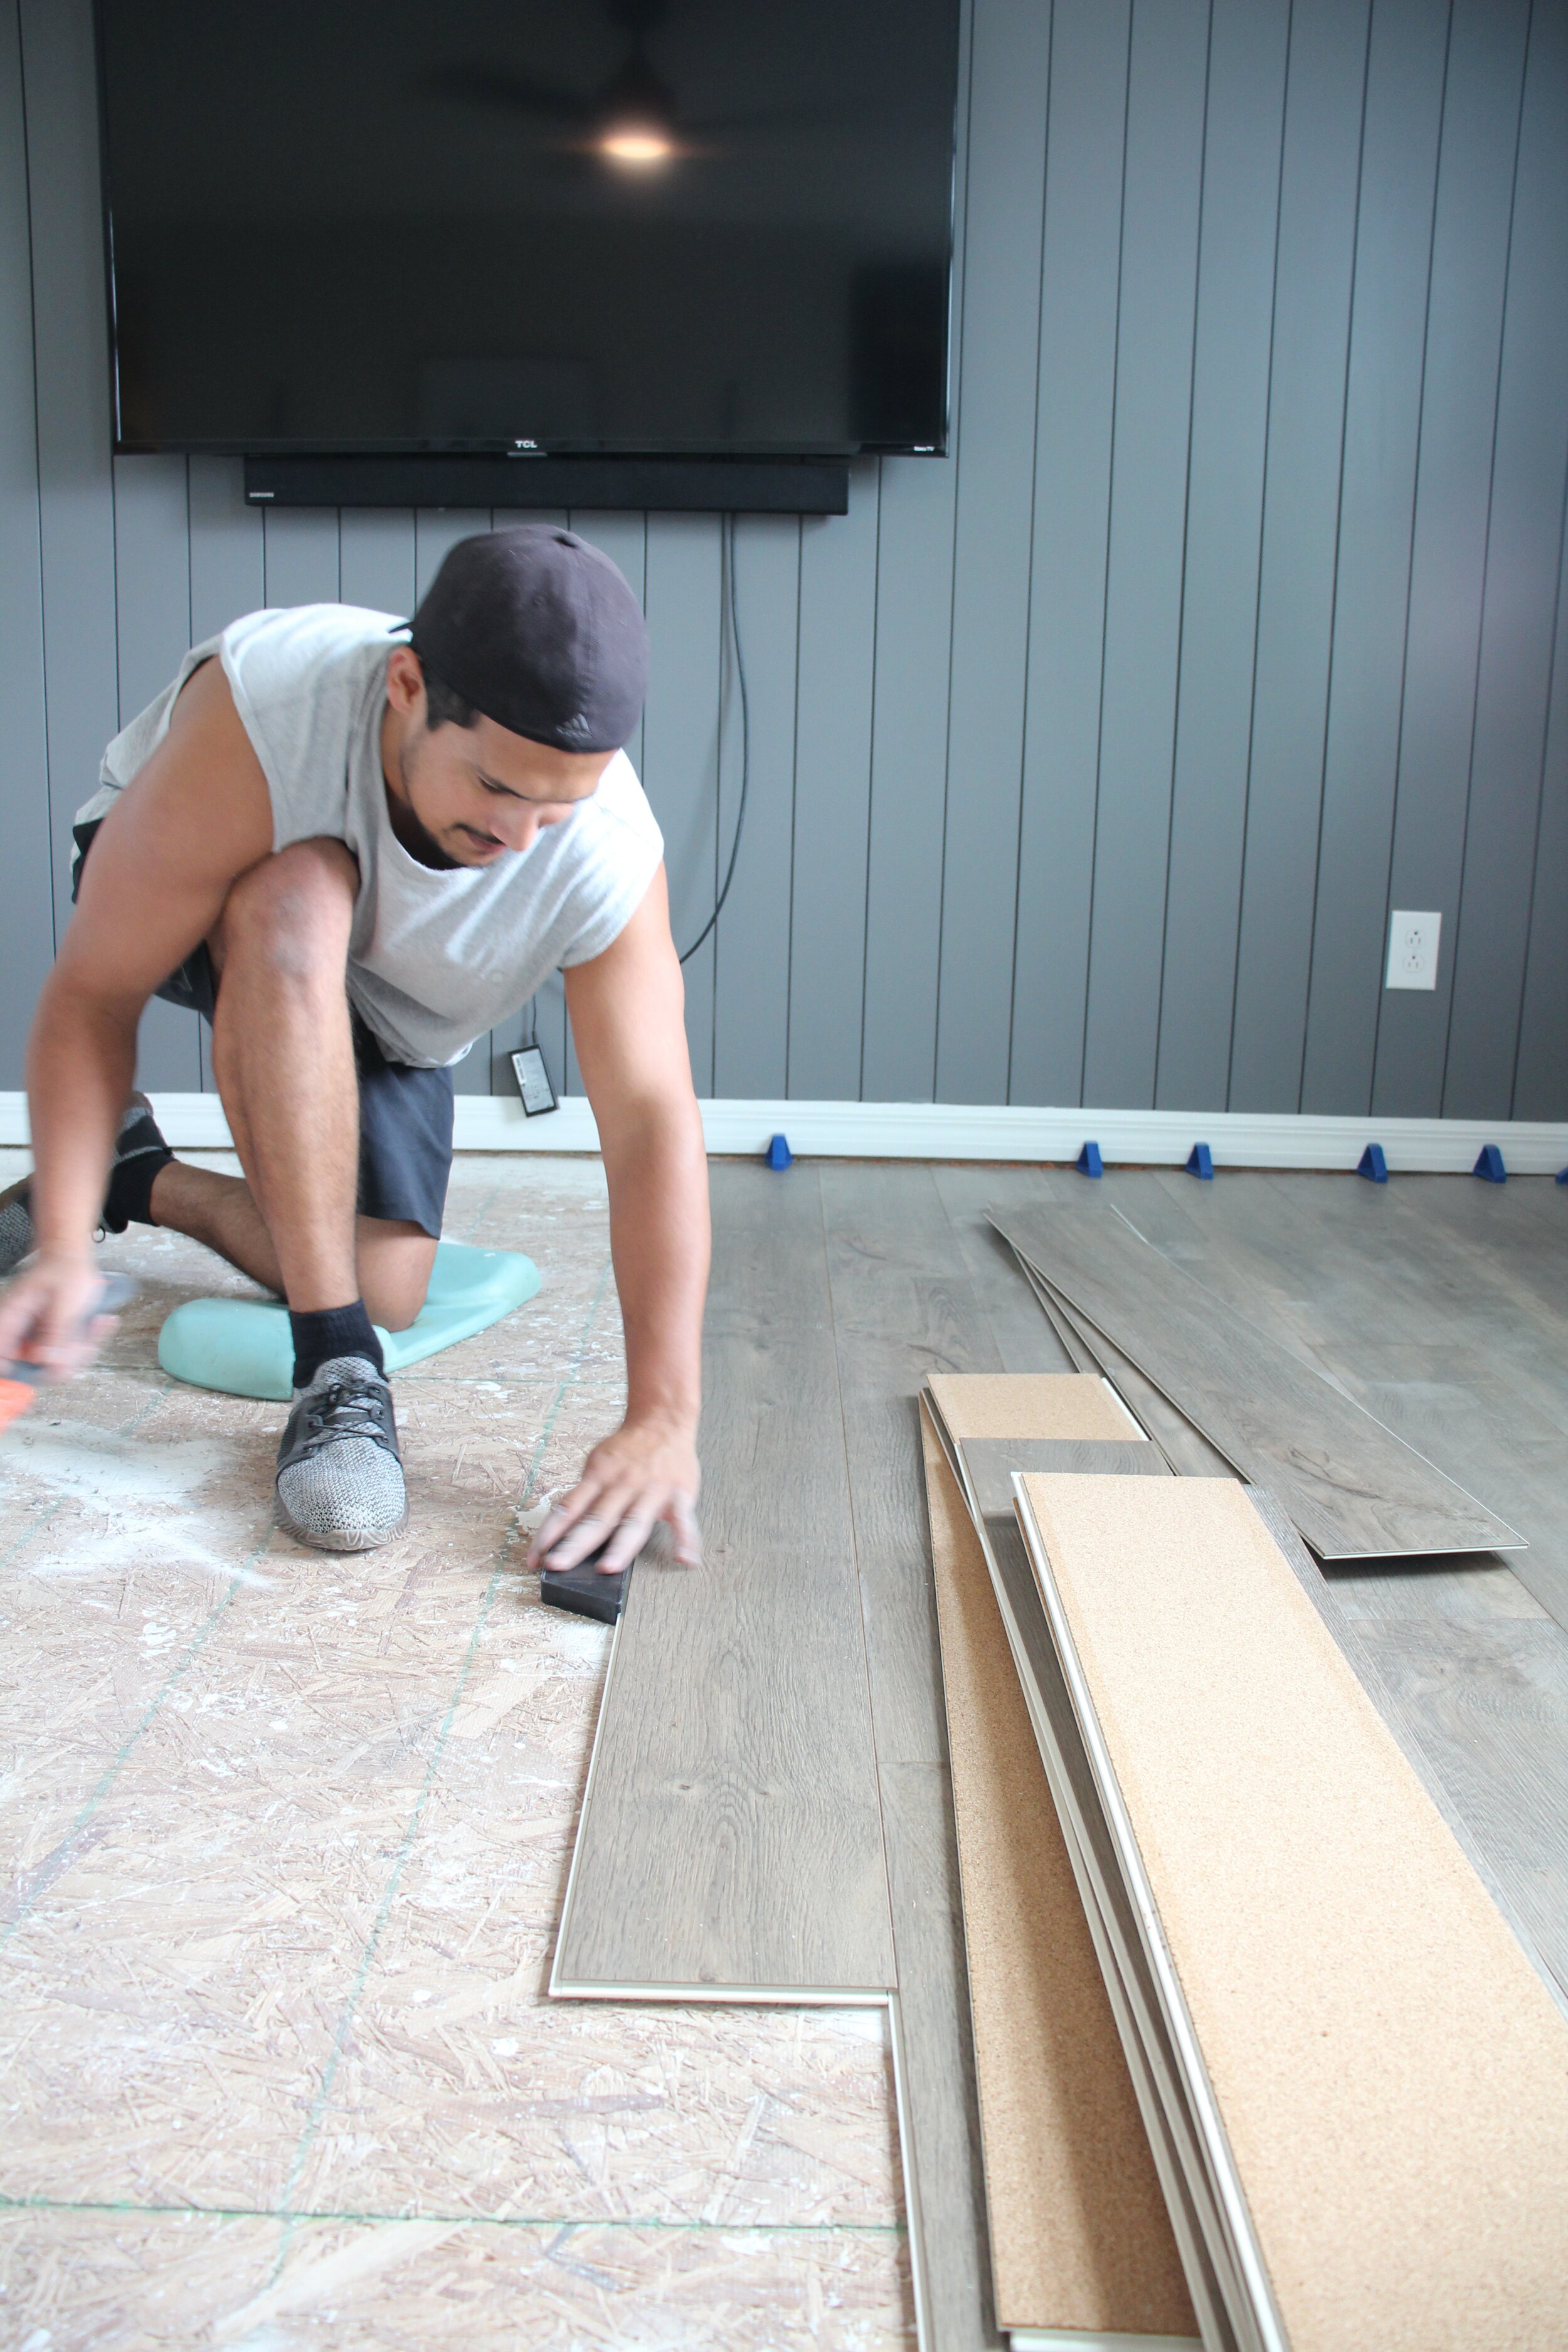
The Installation
When laying flooring that interlocks the way COREtec floors do, you start from the left side of the room and work your way to right so you are able to lock each plank into each other. You also want to lay the flooring parallel with the longest wall. When installing any type of flooring, you want to make sure you leave 1/4” gap between the flooring and the wall for any expanding the floor may do, so for this you need to purchase 1/4” flooring spacers. You need spacers because you have to lock each piece into each other, and the flooring will move against the wall if no spacers are there. Because we decided to leave our baseboards on, we rested the spacers against them, which made for a bigger gap, which is ok, the shoe molding will cover it later. You need a tapping block and a mallet to lock the pieces into each other, which we found a kit on Amazon that included the flooring spacers, tapping block and mallet for around $15, so pretty inexpensive! I’ll make a list of all of the things we needed for the flooring at the end.
When you start with the first row, it’s important this row is installed straight, because if its not, the whole floor will go at an angle, so make sure your walls are straight. Once Ryan started laying the floor he got into a groove and it went pretty quickly. Once you get to the end of a row, measure the size board you need and use a utility knife to score and snap the board where you need. Ryan was happy to hear he didn’t need to use a saw to cut the boards, so he didn’t have to go up and down the stairs for every cut! Use the rest of the board you just cut to start the next row, and just repeat the process all the way across the floor.
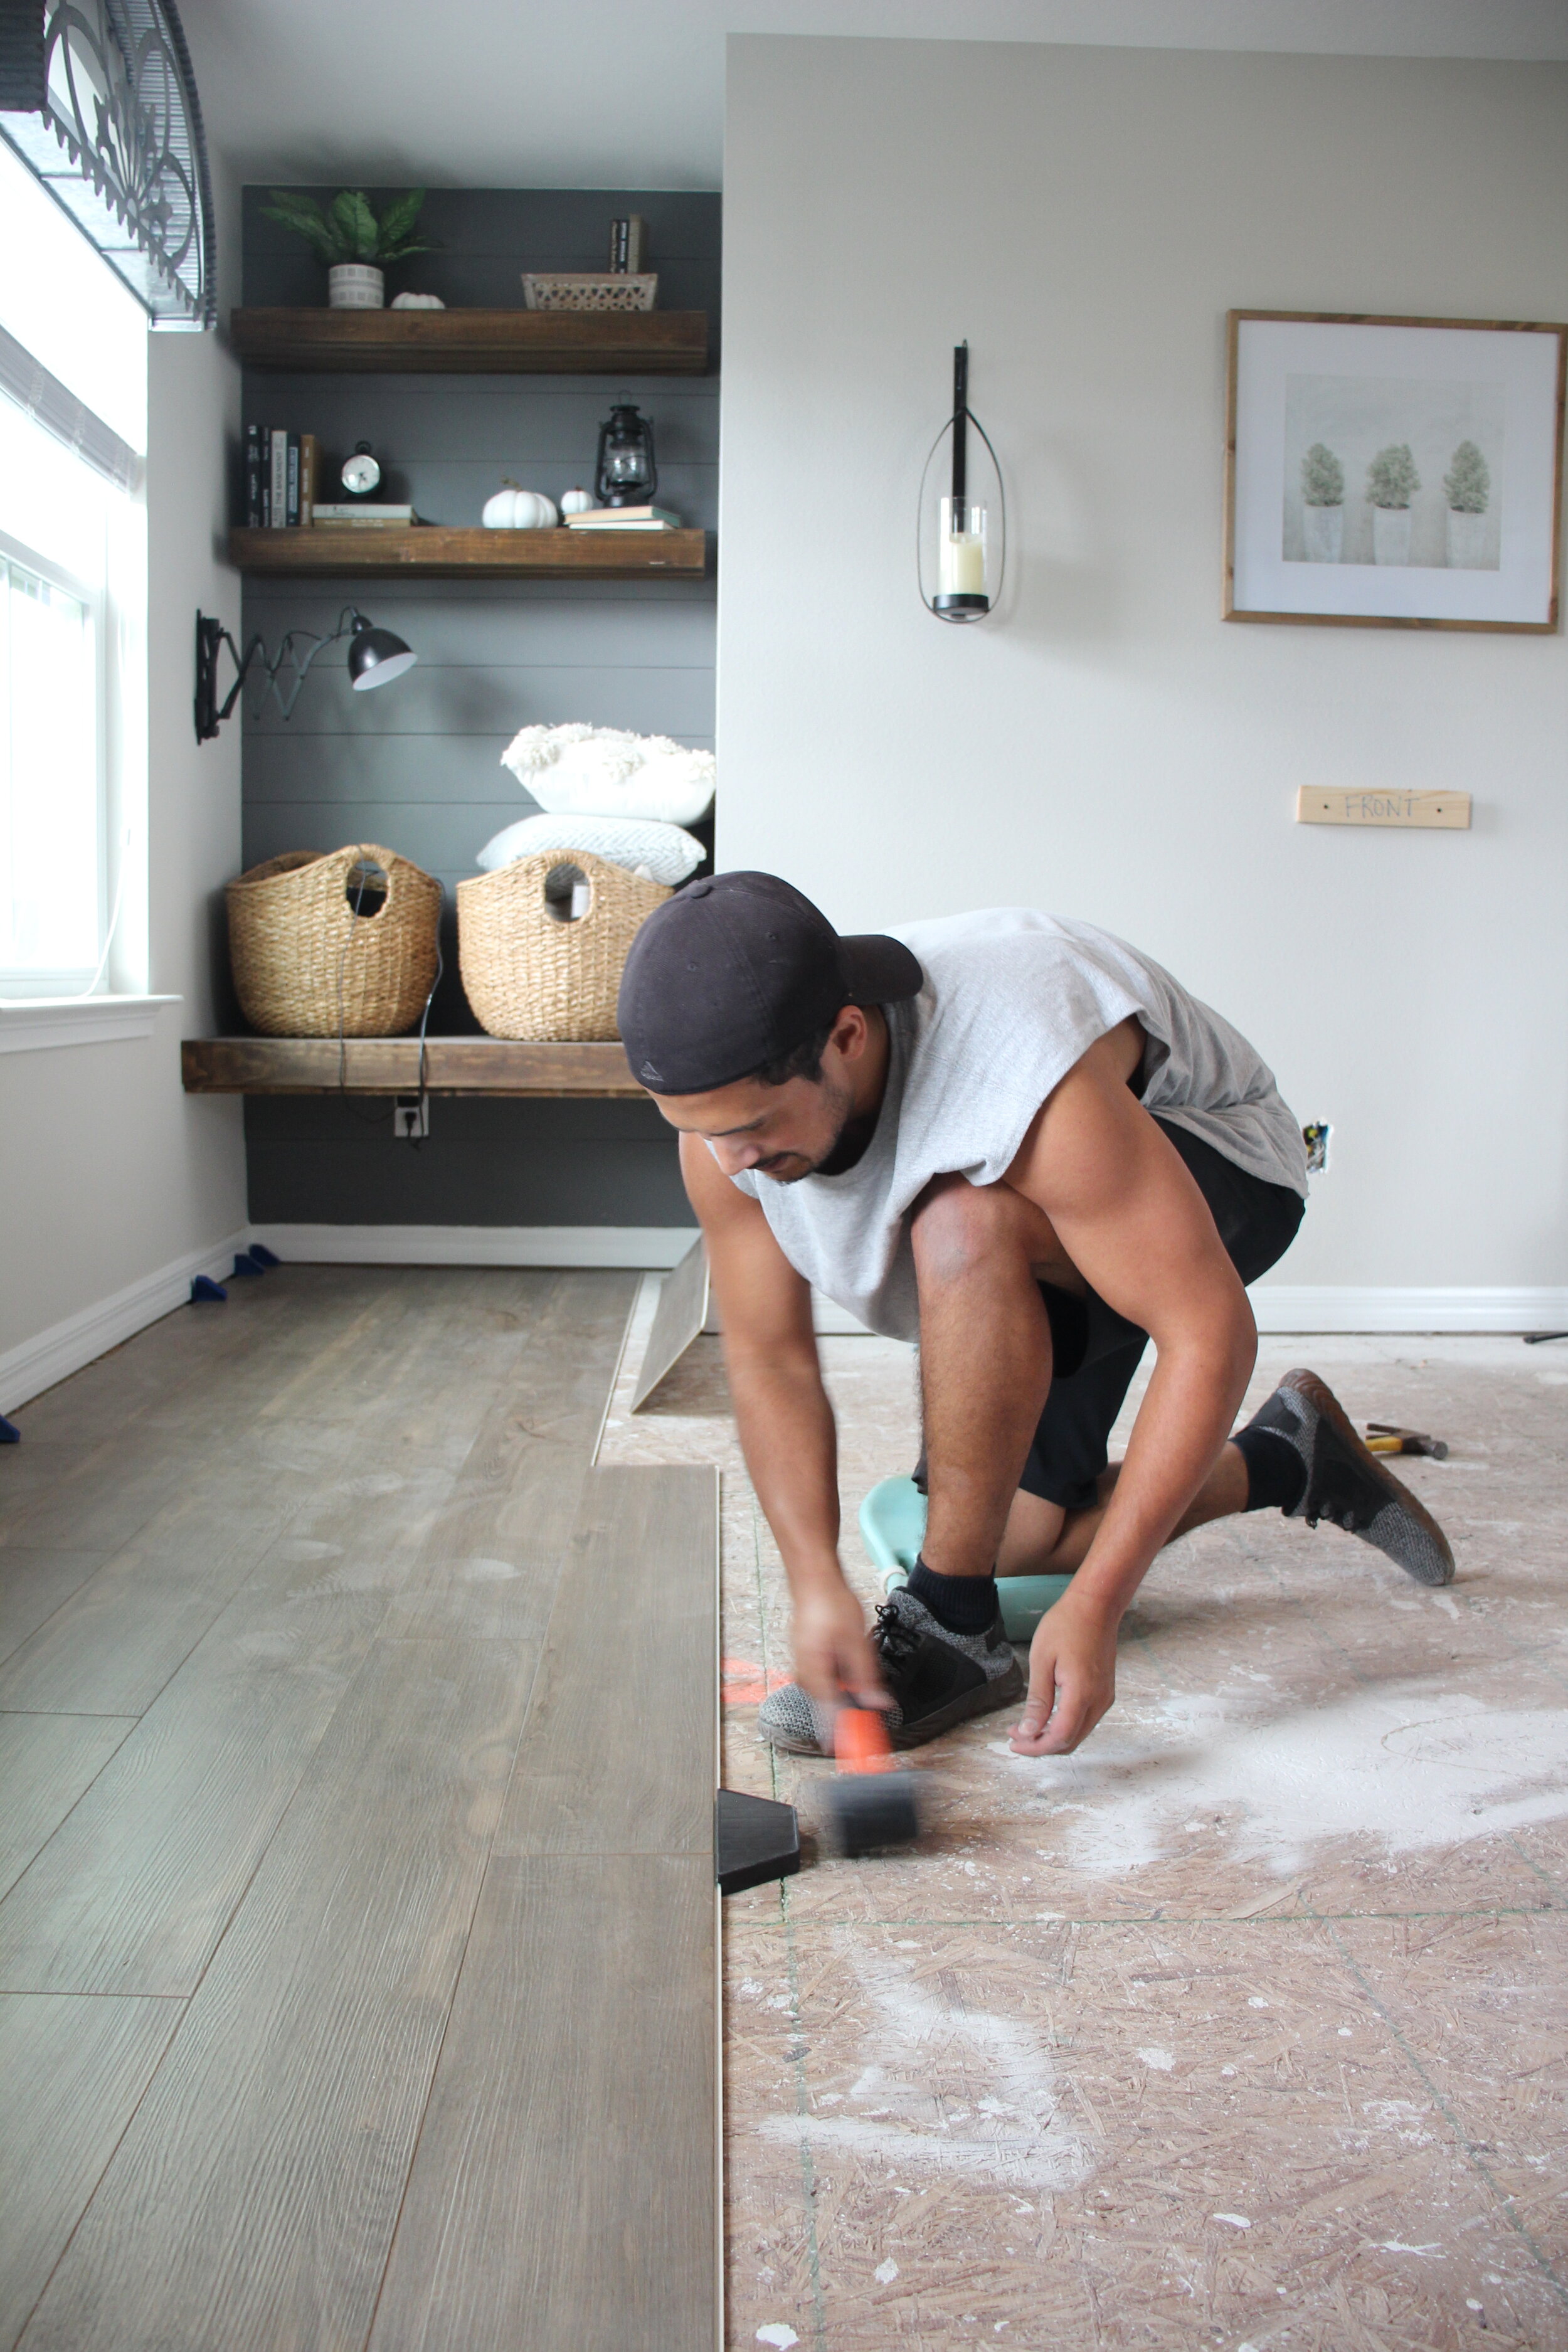
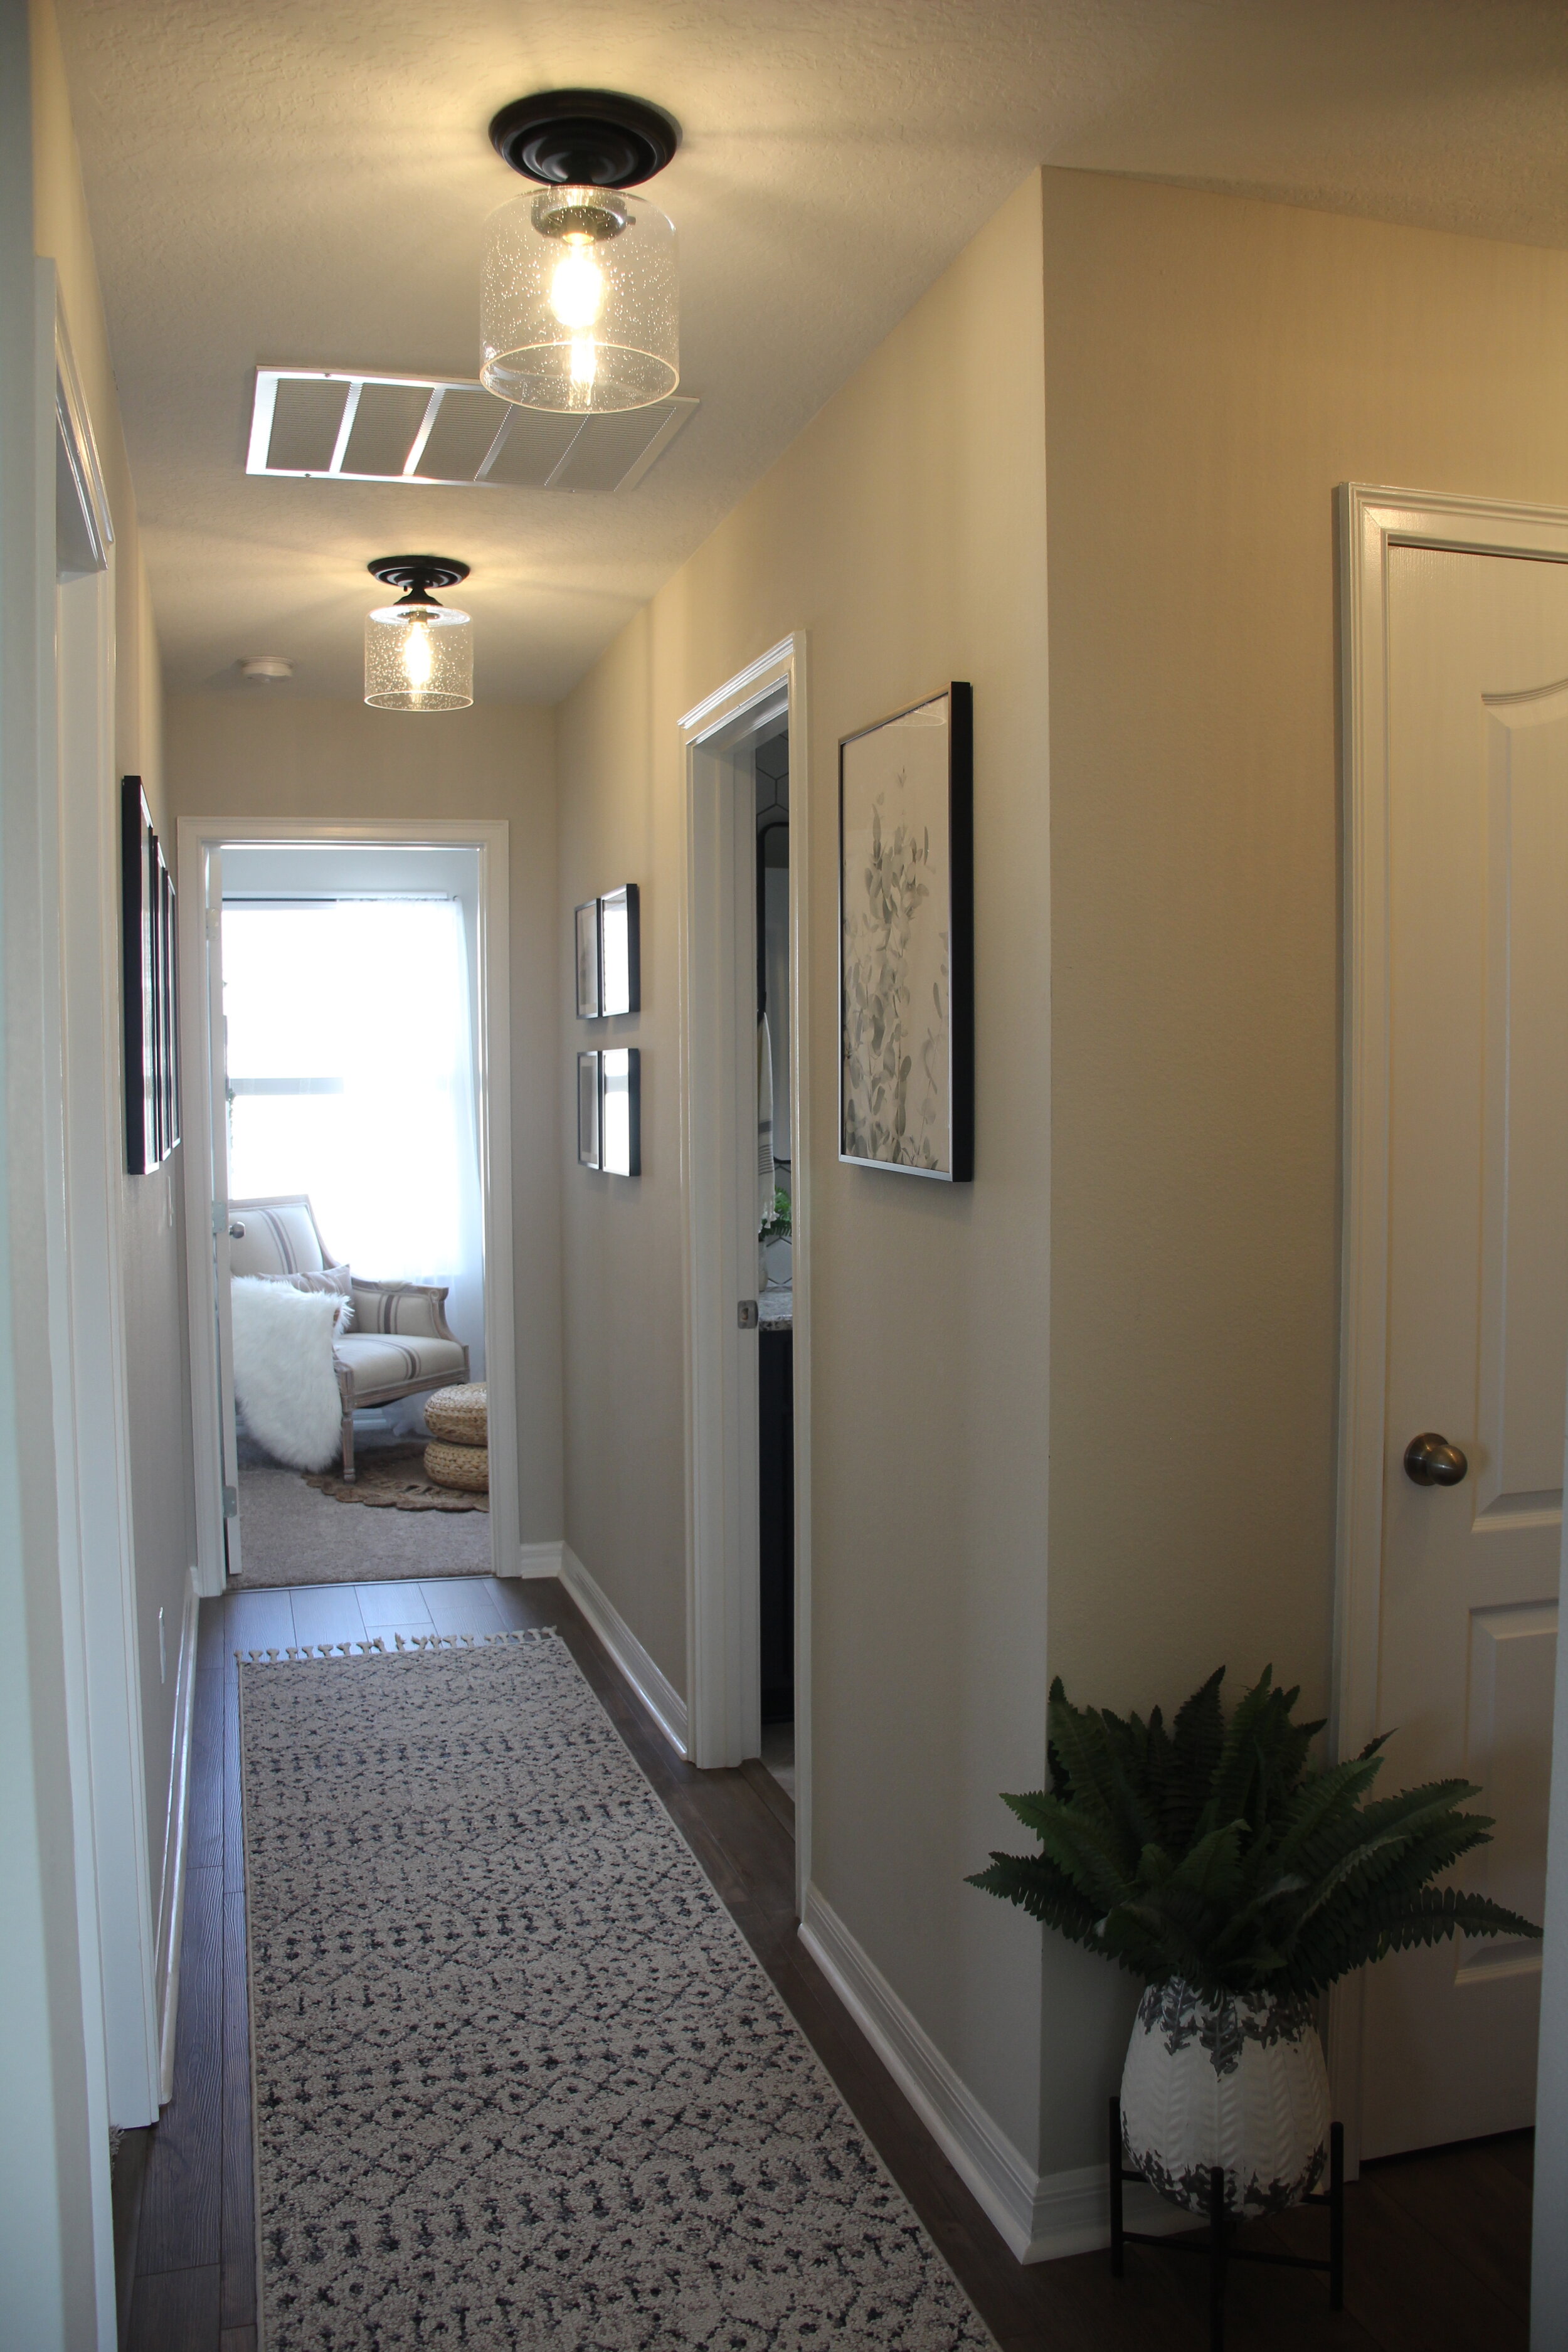
The first day of working on our floors went by quick and we made major progress! We completely removed our old carpet and laid the flooring in the entire living space of the loft. All that was left was the hallway areas and the closets. Which we soon learned would be the most difficult part with the cuts we needed to make for all of the walls and turns the hallway made.
Day two of flooring we installed the stair trim, which was difficult for us because we had to cut down part of the stairs. We used an overlap stair nose to transition from the plank flooring to the carpet on the stairs, and it looks awesome and seamless. It was easy to install after we got the stair cut down. The other transitions we used for this project were a baby threshold transition in the three bedrooms to transition to carpet, and an overlap reducer to transition to the bathroom tile. Transitions offer a seamless look between different kinds of flooring, and the COREtec website has a great Resource Center to help decide which transition is best for your space, as well as some helpful installation tips!


It took us a few more days to work down the hallway and into the closets and to do all of the transitions, but in the end, it was a VERY easy process, especially because like I said earlier, we are used to tiling. We opted not to use the quarter round molding that matched the floor, but instead used painted white molding to match our baseboards. This covered the gaps between the baseboards and really finished off the floors! We gave the floors a good cleaning with some warm water and a mop, and they were finished!
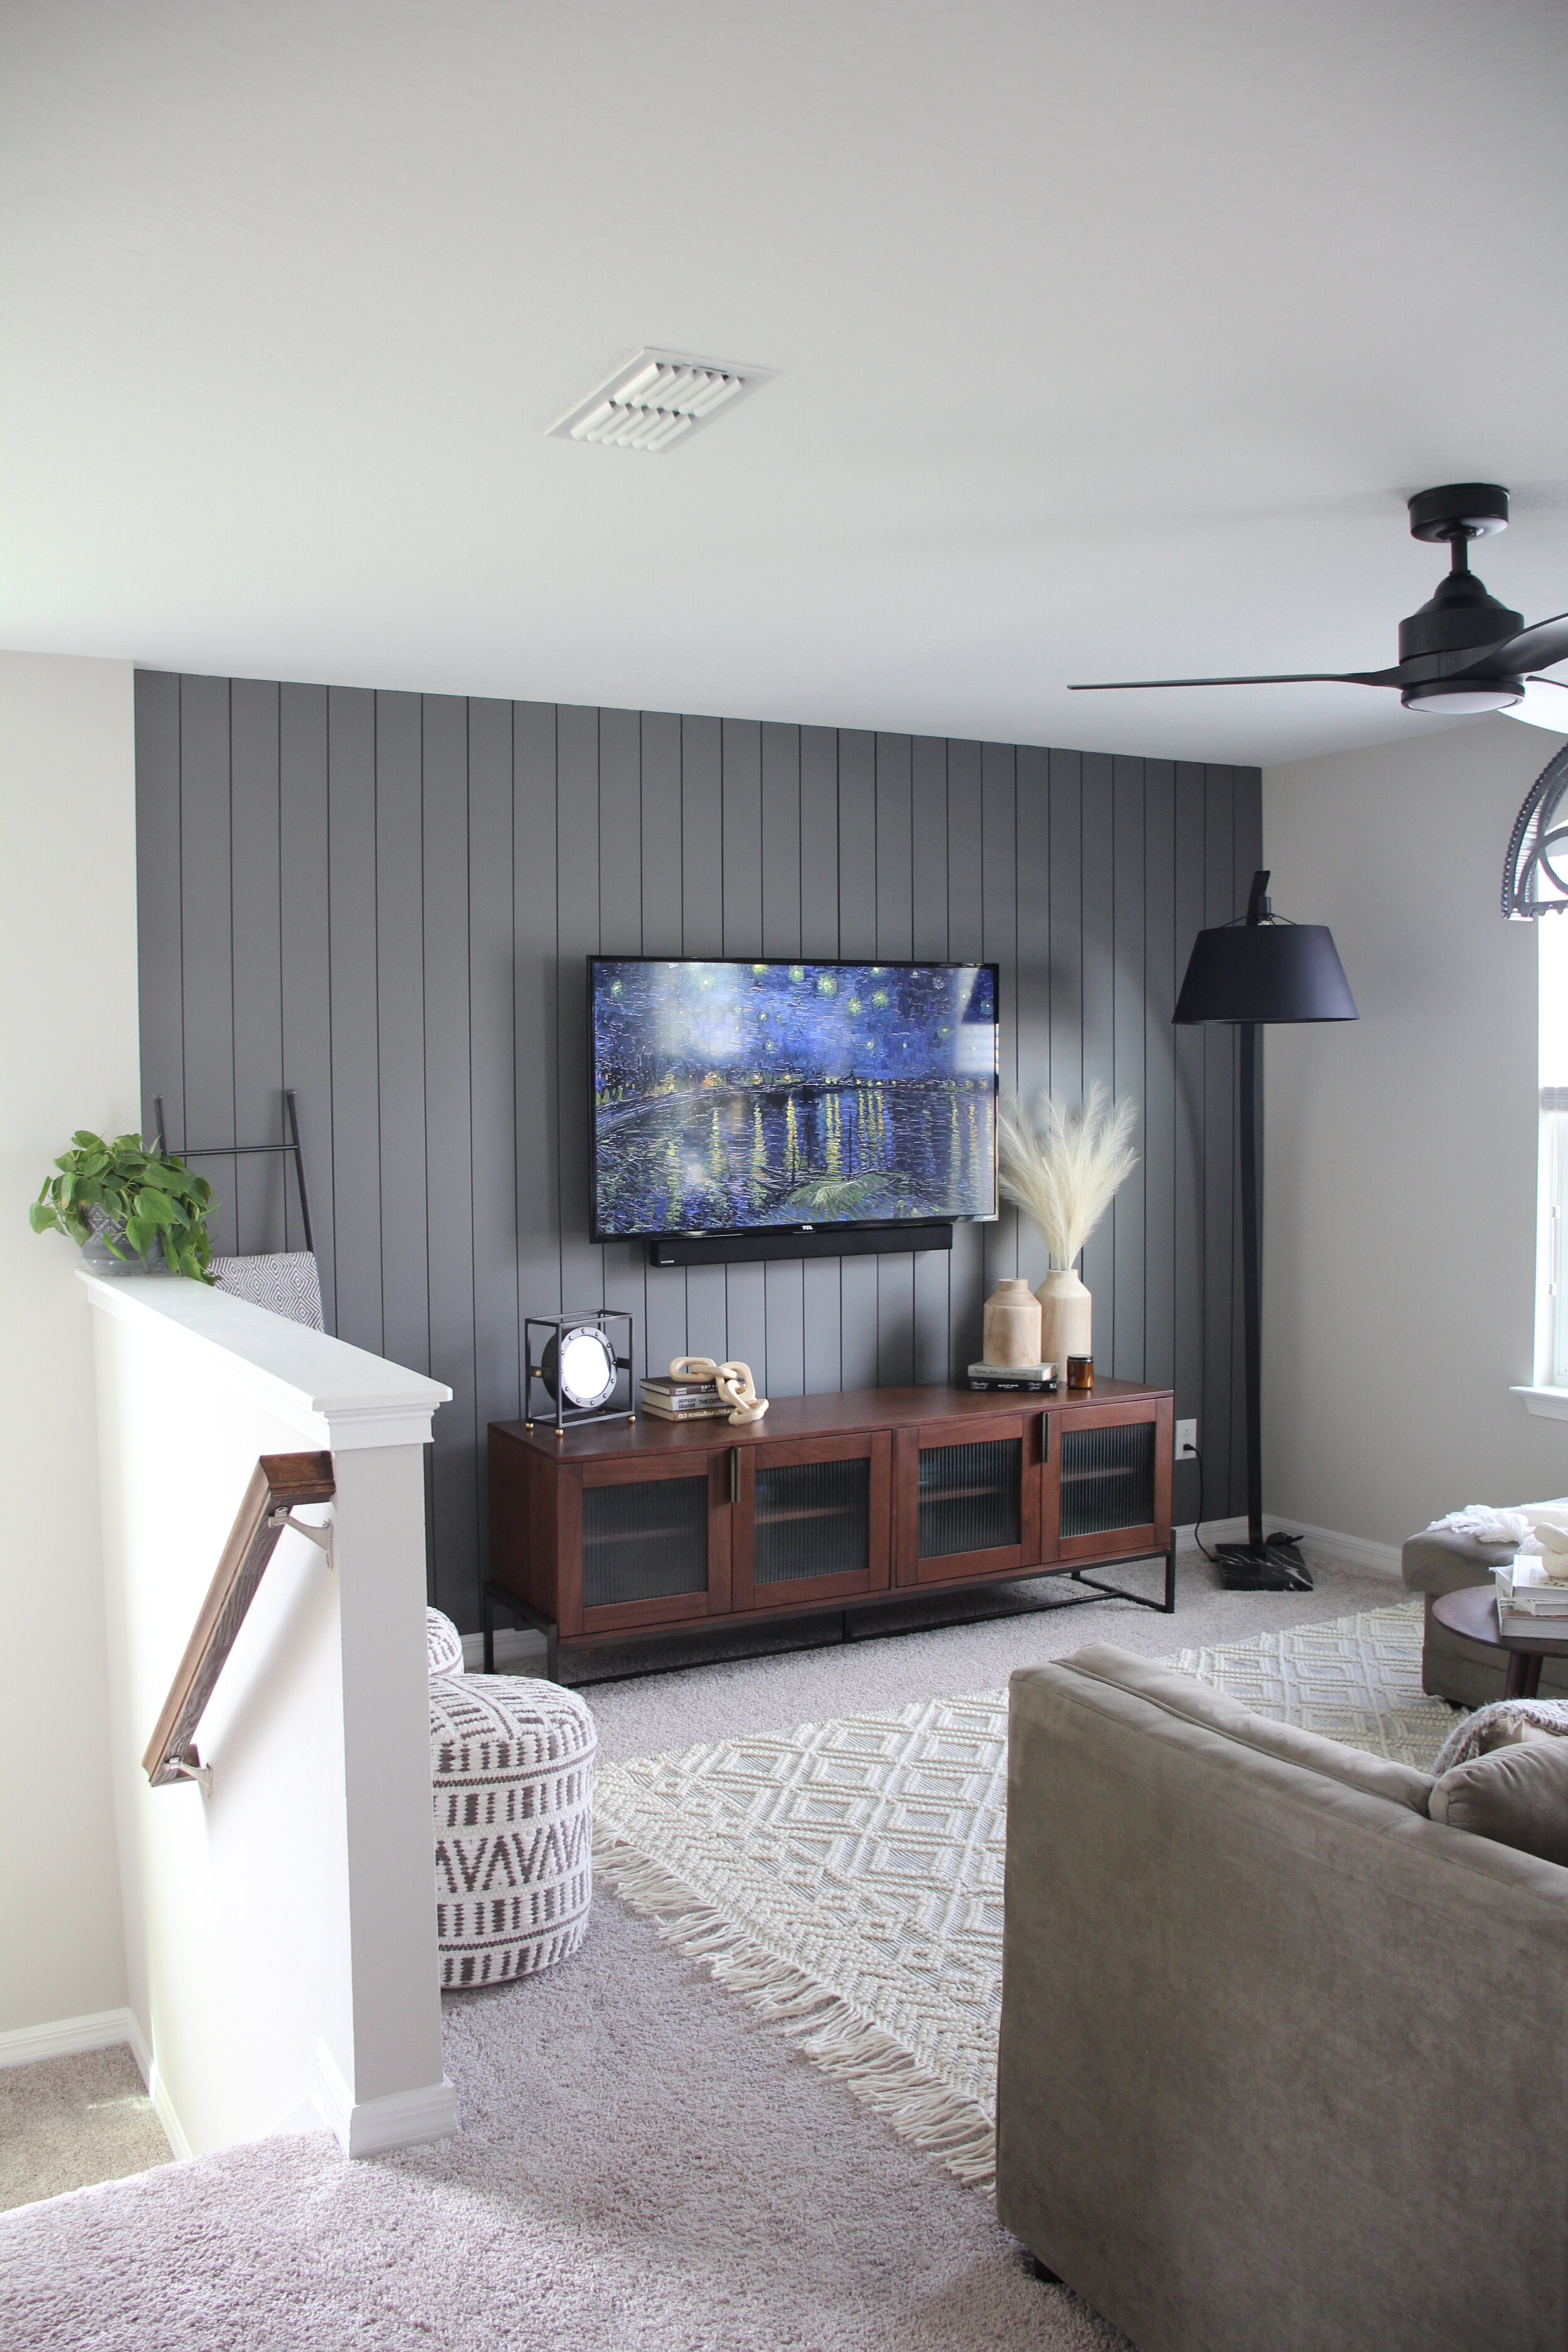
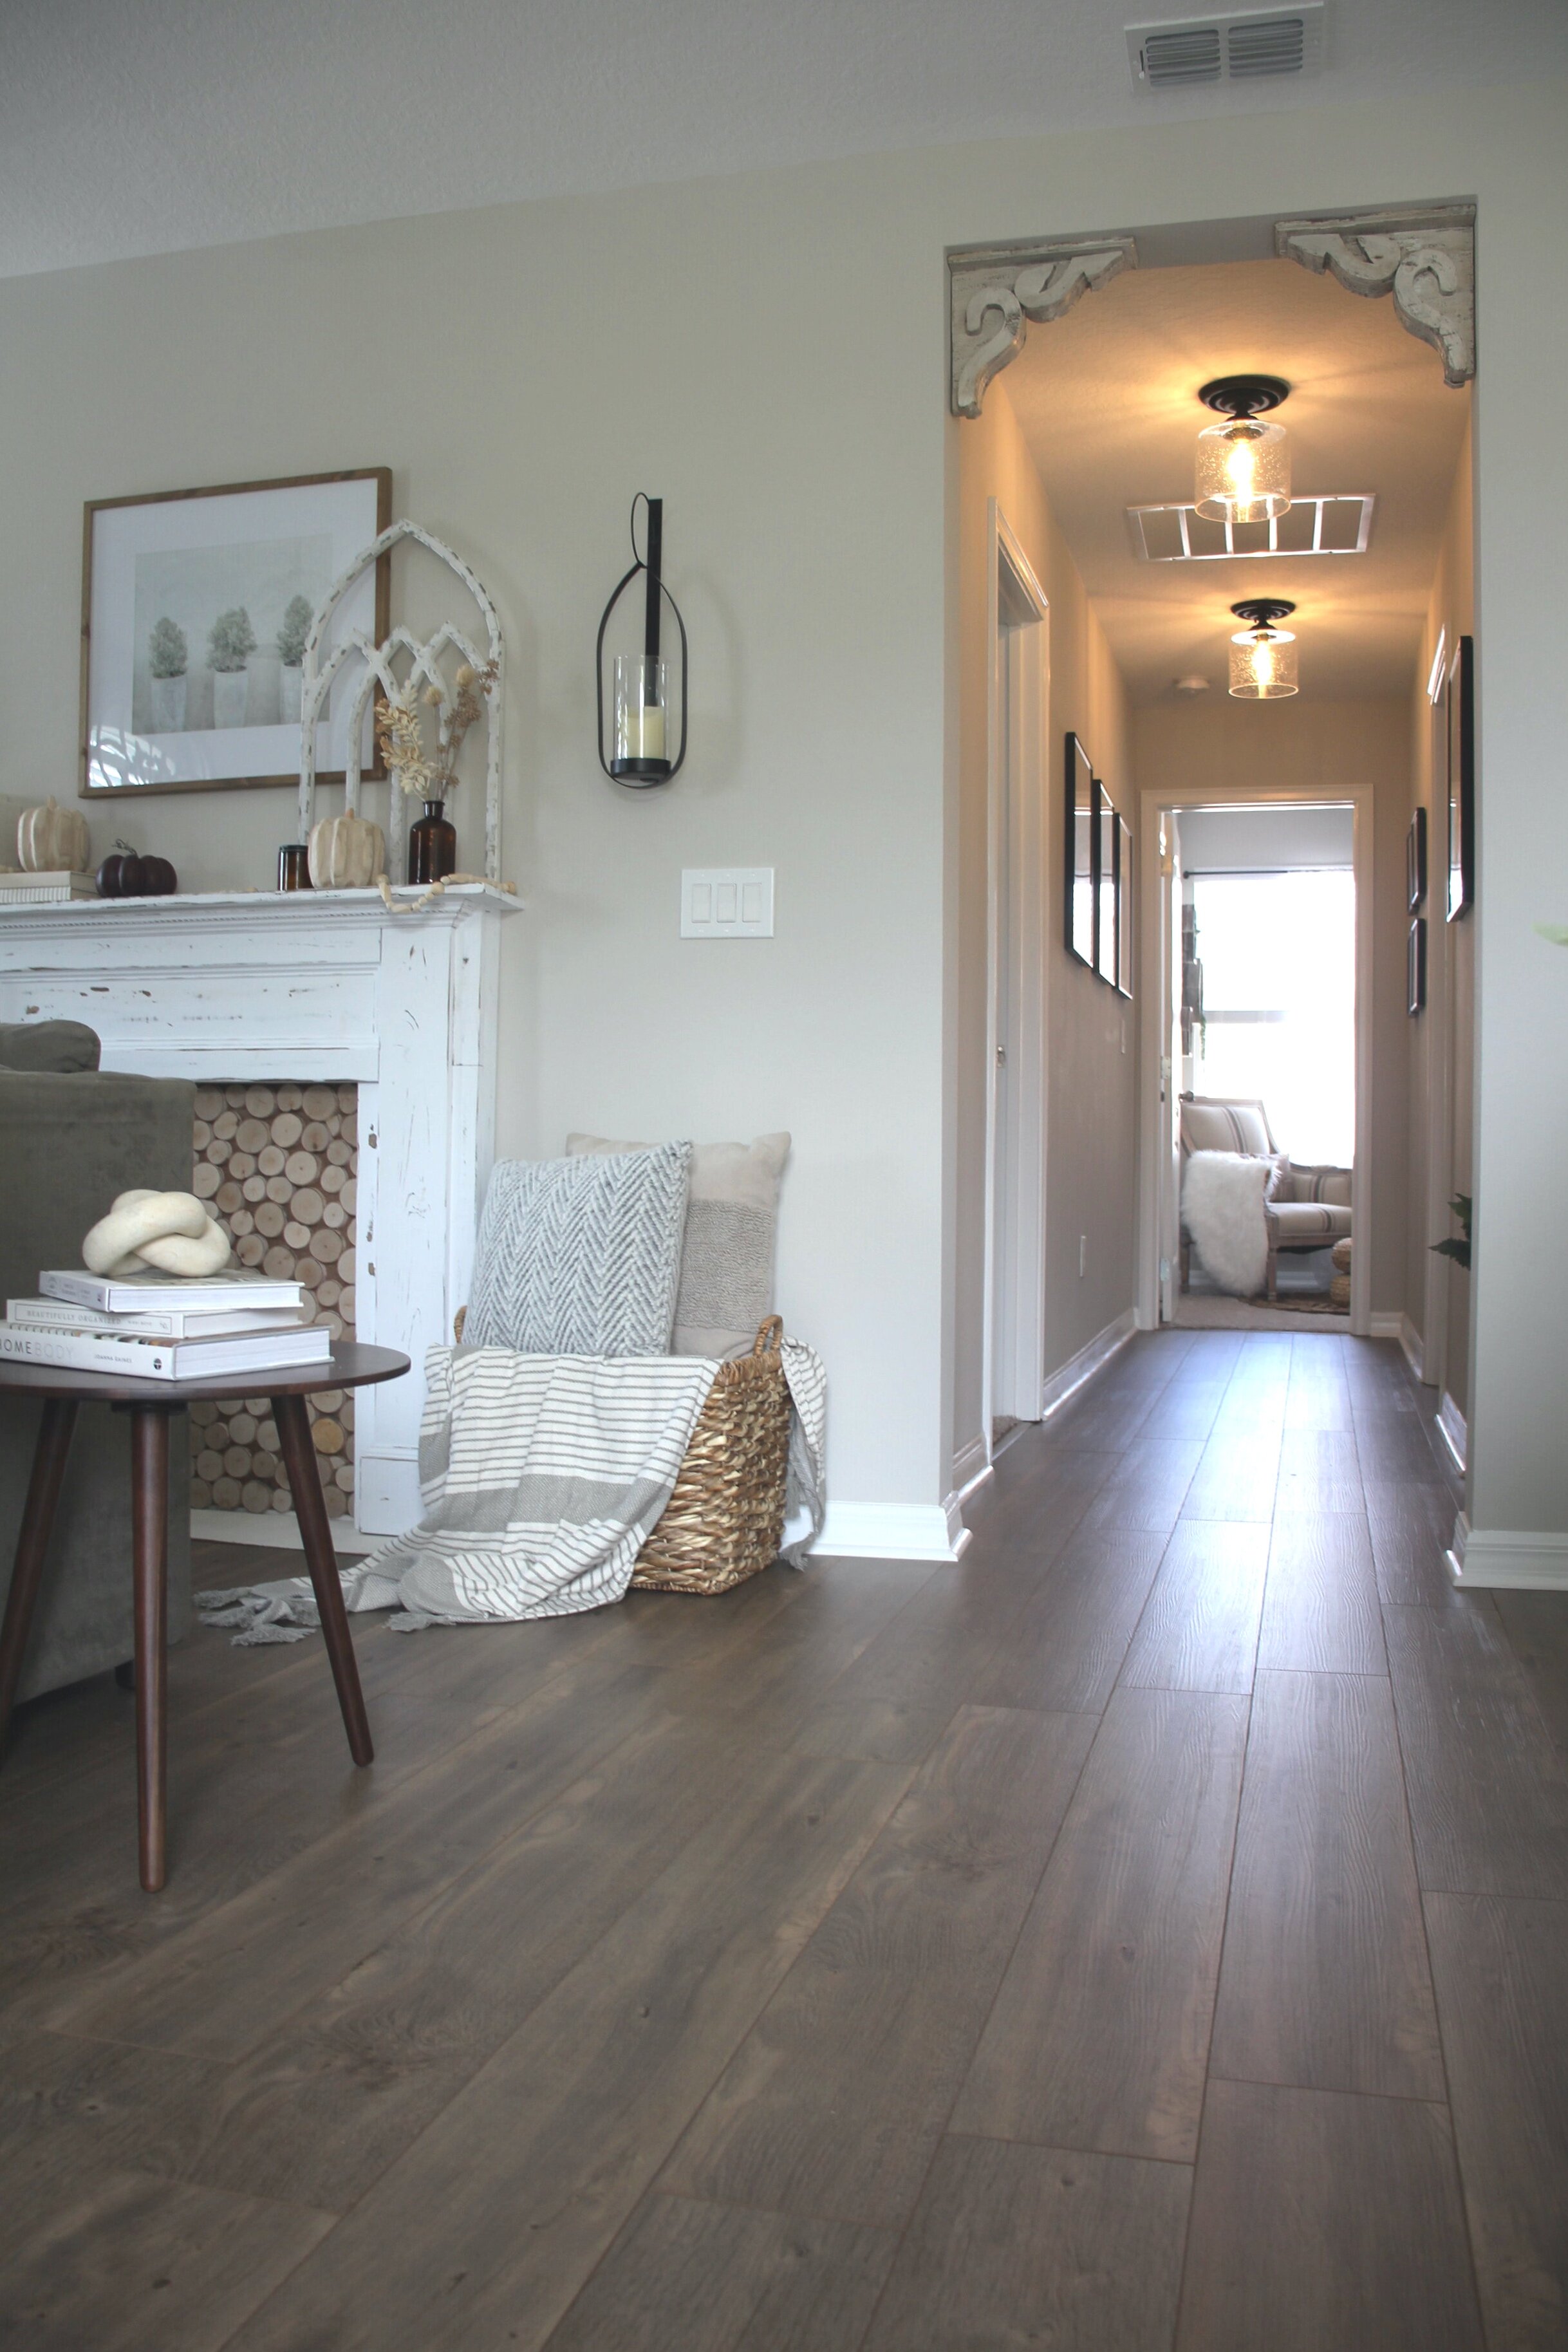
We love our new floors!
The impact our new Mesa Verde Oak floors by COREtec has on our space is amazing. It has totally transformed our upstairs, and made it feel more modern and complete. We have lived with the floors for a couple weeks already and have no complaints. They are durable, quiet, and easy to keep clean! The quality of these floors have surpassed our expectations, and to be honest- we are questioning why we didn’t do this sooner! We have received so many compliments from all of our guests on the quality, style and impact these floors have made to our home! I recommend using COREtec floors for all of your flooring projects, they are very DIY-friendly and easy to install. We hope to use them again in the future, our stairs are next on our list! If you have any questions on COREtec flooring or want advice, feel free to reach out to us on Instagram- we would be happy to help! Check out the before and after!


Things we needed to install our COREtec floors:
-
Tapping Block
-
Mallet
-
Knee Pads
-
Flooring Pull Bar
-
Utility Knife
-
Square Tool/ Ruler
-
Measuring Tape
-
1/4 Flooring Spacers
-
Miter Saw/Table Saw at times
-
Drill
Grab our FREE download
Wanna know the 5 must have tools you need before you start?
Considering a DIY Project?


Be the first to comment