


DIY Cat Bed End Table
After taking down our Christmas decorations there was one corner in our living room that was feeling a little empty and like it needed something there to fill the space. I saw a DIY project recently that inspired me and I immediately knew I wanted to create my own version and it would be perfect for this spot.
It’s for the cats but its multi-functional. It will look like an end table but will have a hole for the cats to have a bed on the inside.
What We Used:
- 2 Edge-Glued Wood Rounds (for the base and top)
- 16″ Tube Form
- Oak Basement Column (Pole) Wrap Cover
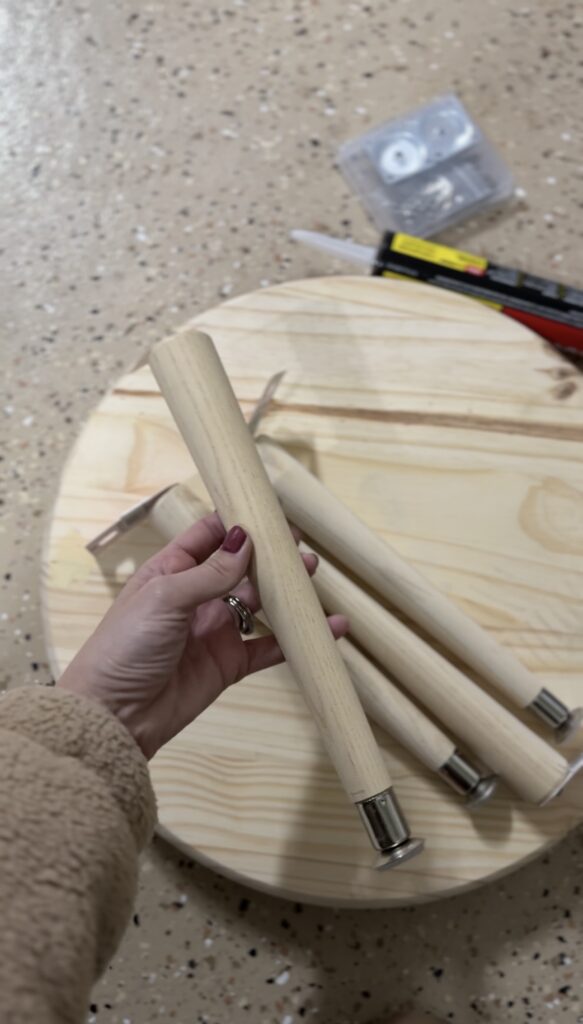
- 4 -12″ Round Taper Legs
- 14 Degree Angled Leg Mounting Plates
- Dark Walnut Wood Stain
- Polyurethane Construction Adhesive
- Polcrylic Protective Finish Spray
- 18V Brushless Cordless Jigsaw
- 18V Brushless Cordless Hammer Drill
- 18V Brushless Cordless Framing Nailer
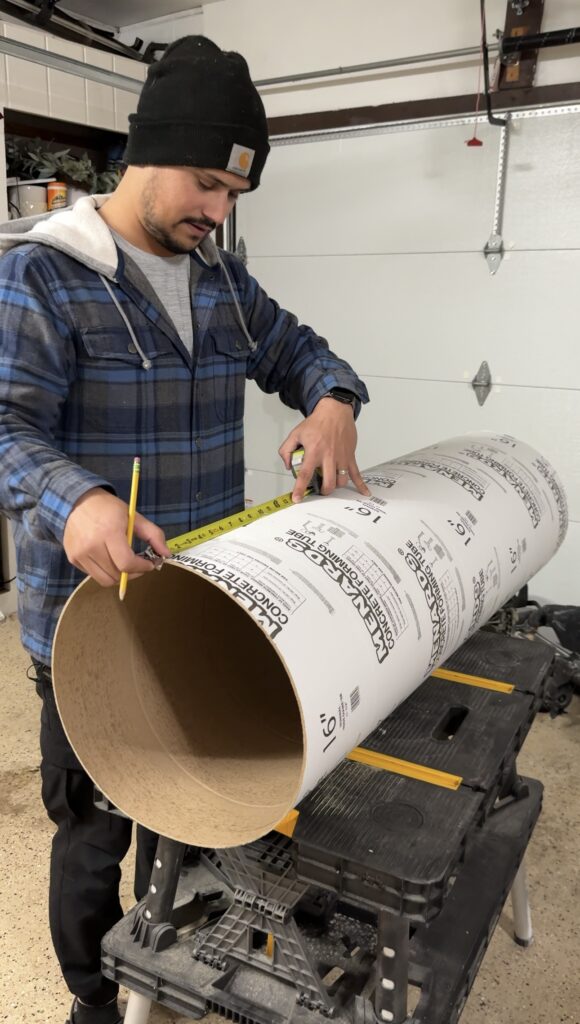
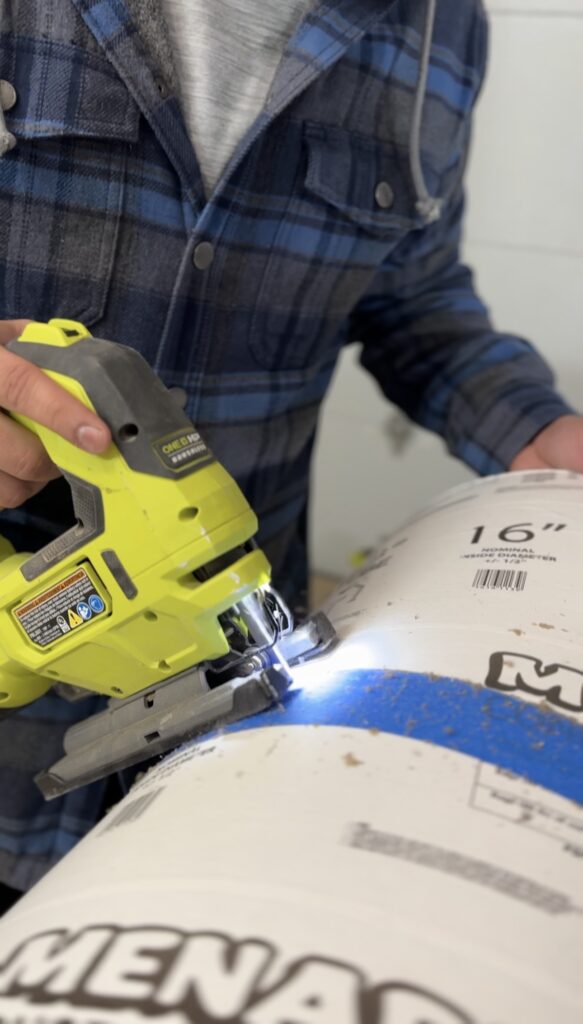
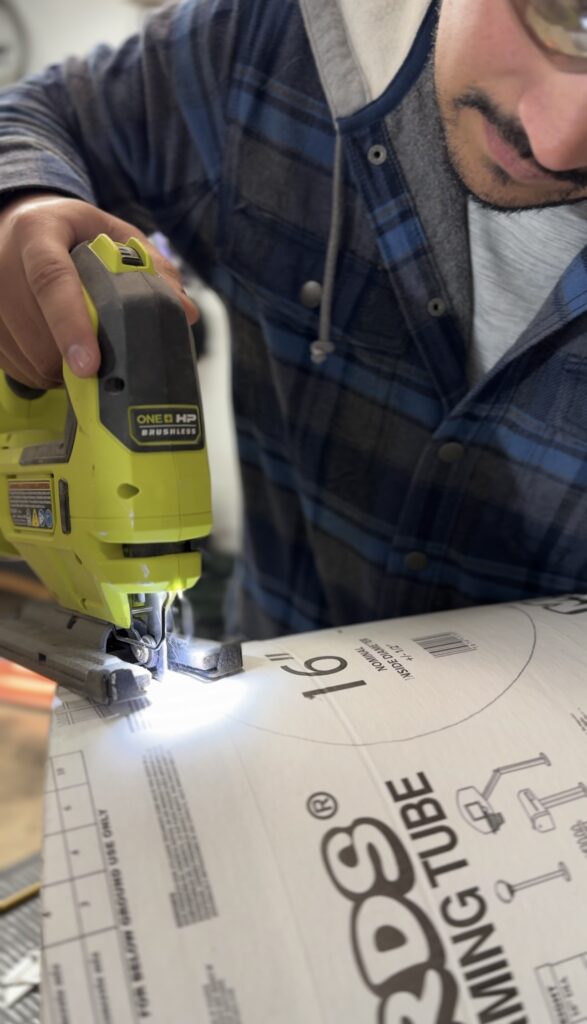
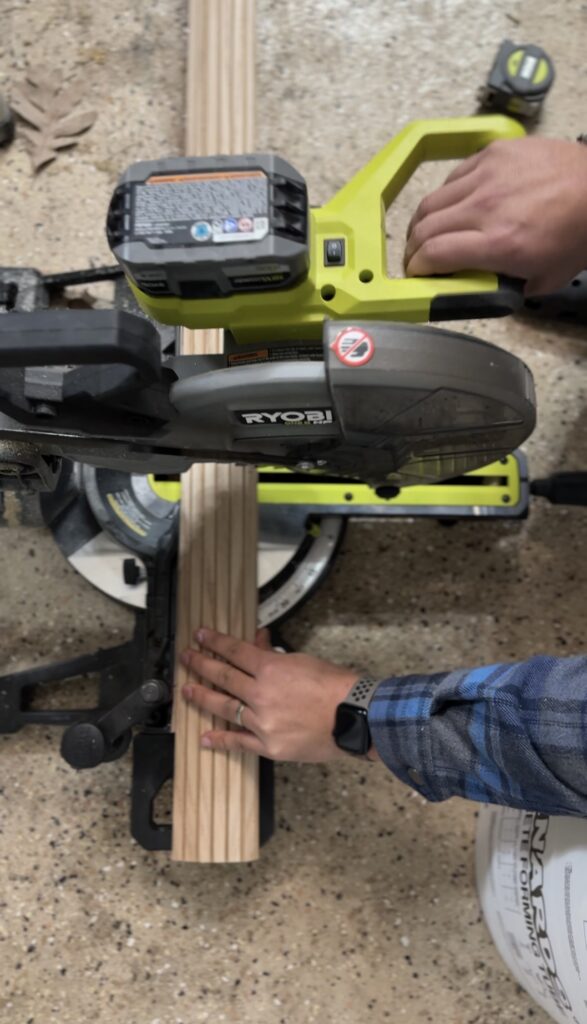
We started by cutting the tube 12″ tall. Ryan used a blade to score it first to provide a cleaner cut and then used the jigsaw to cut it all the way through. Then we found the center of the tube and put a screw in the middle. We attached a string to the screw and used it to draw an 8″ circle and used the jigsaw to cut the circle out.
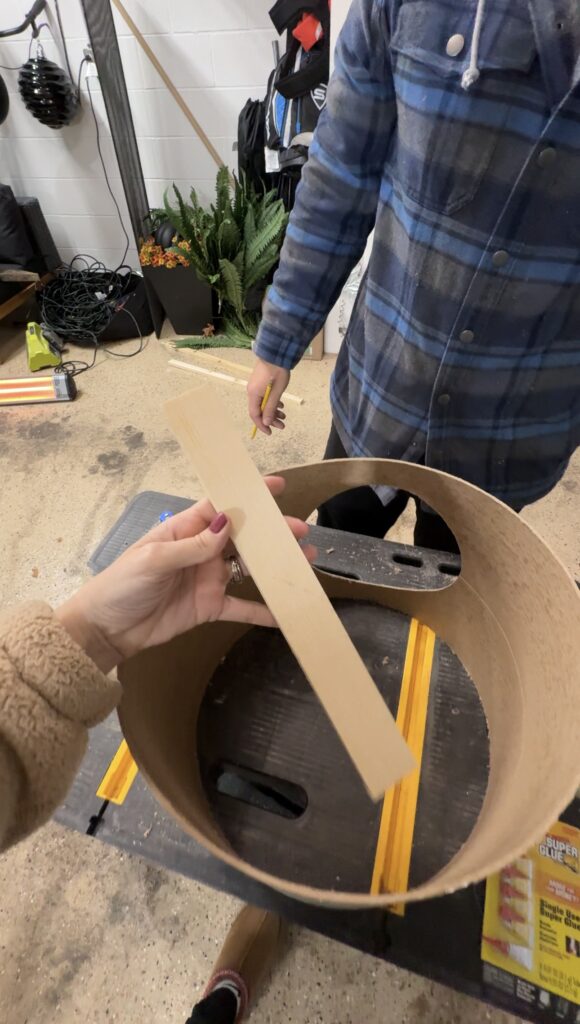
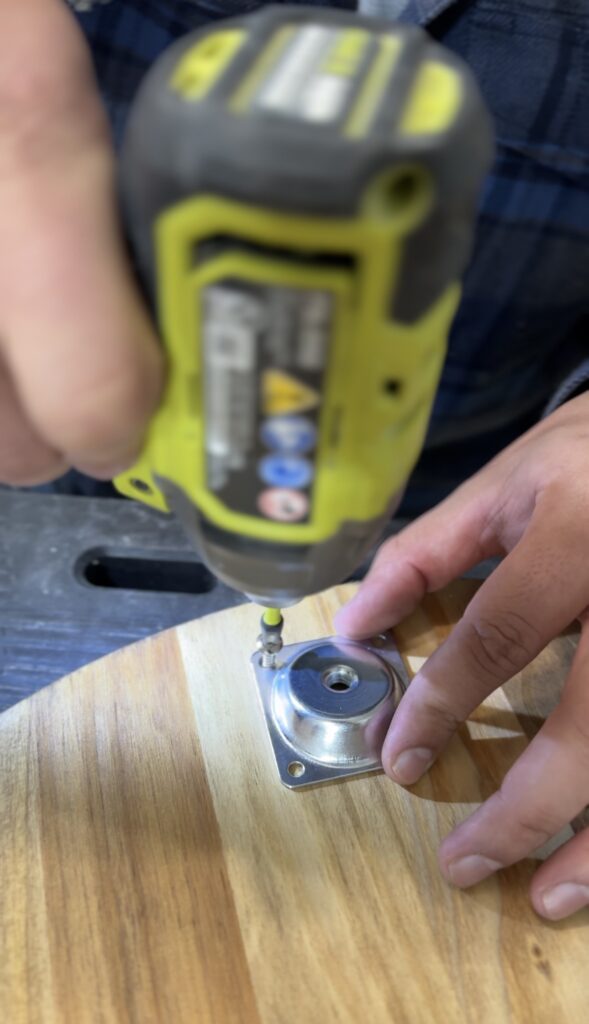
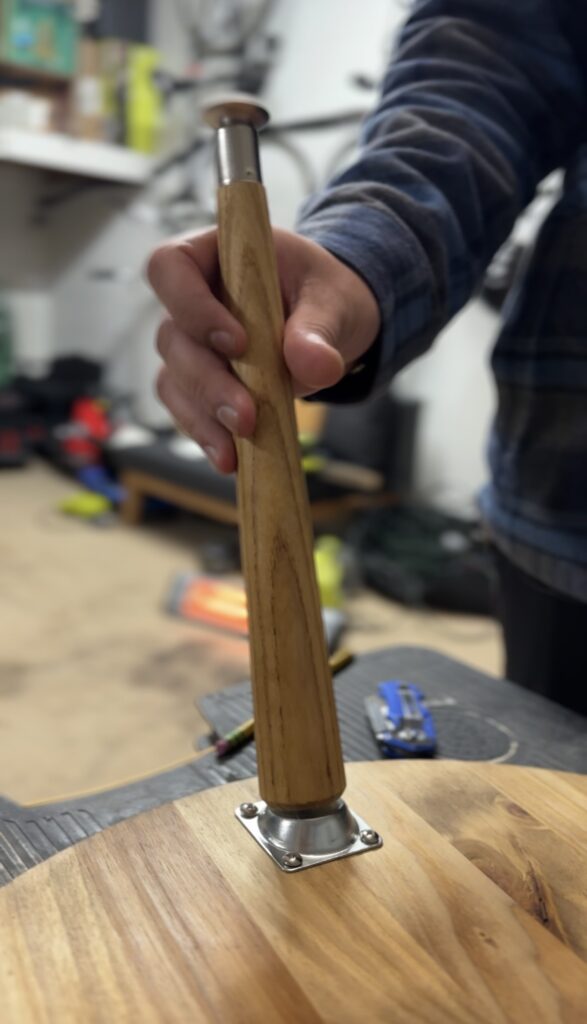
After that, we glued and then nailed three 1×2’s to the inside of the tube. These will provide stability to the tube and give us something to secure the top and base to. We then installed the four leg brackets 1″ away from the edges and screwed the legs in.
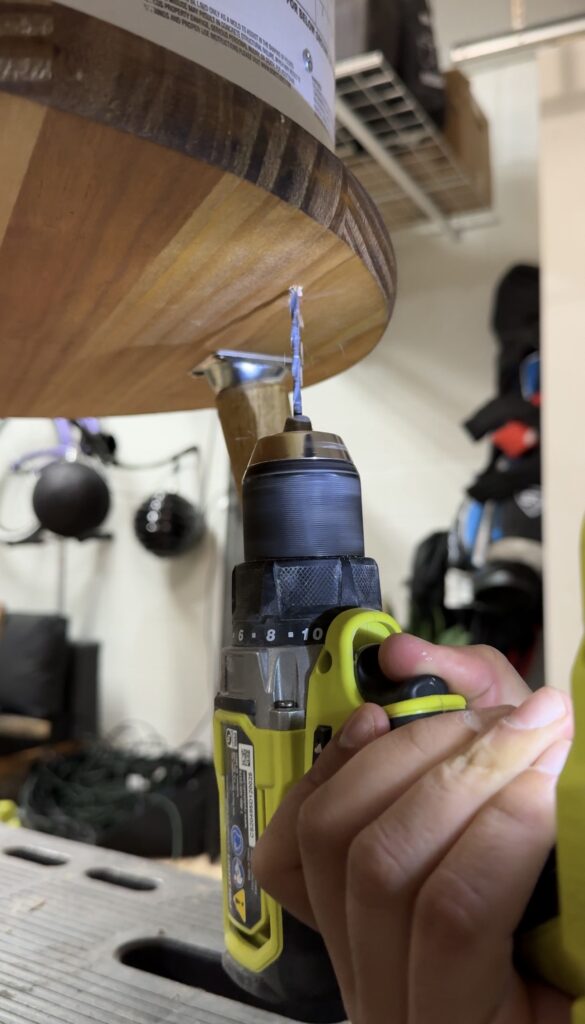
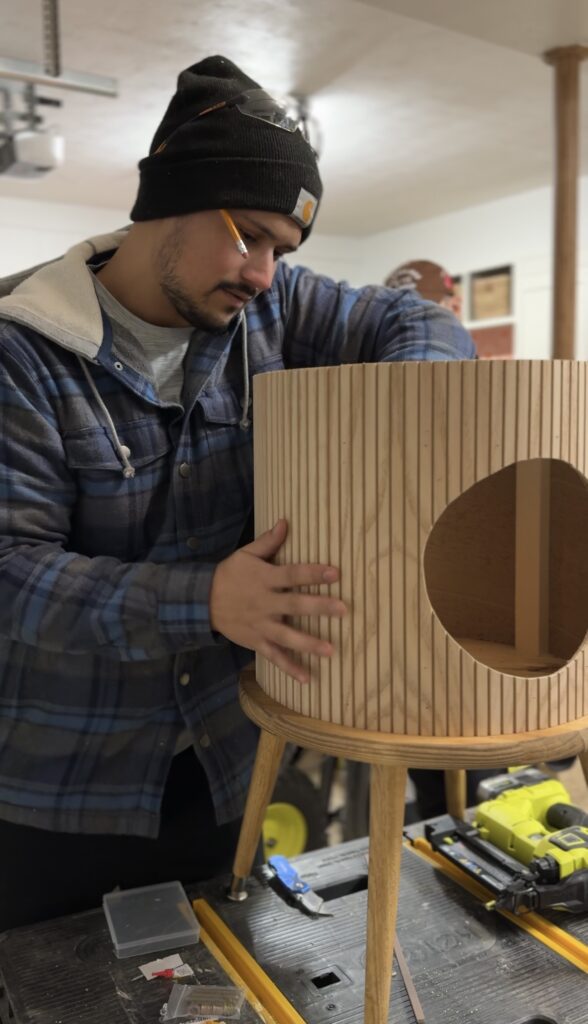
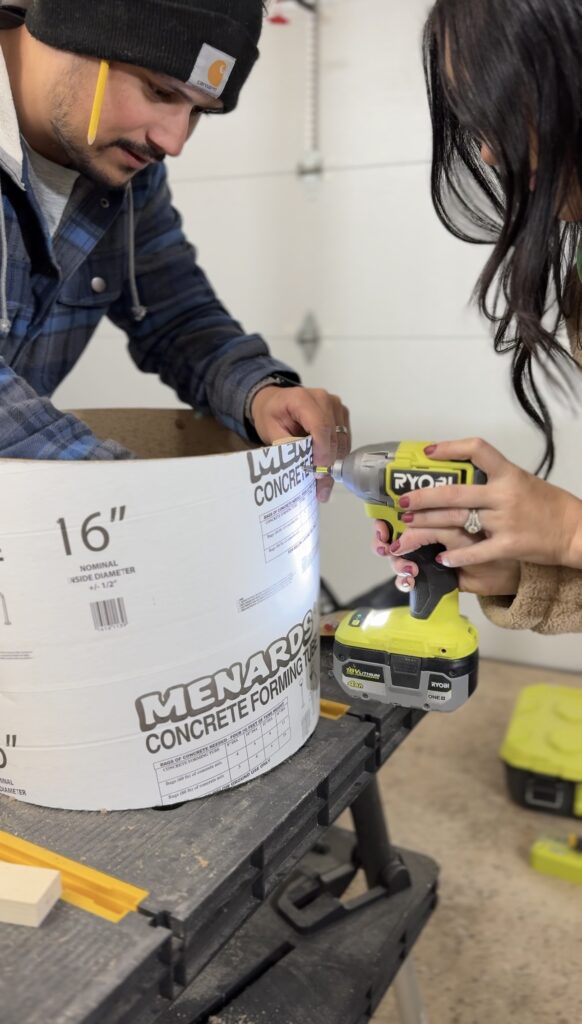
Then we drilled from the bottom up into the 1×2’s to secure the base to the cardboard tube. We used pole wrap to cover the cardboard tube. We attached it with construction adhesive and just a few small nails. We cut off the nails from the inside with diagonal cutters. Since the cuts will be inside the tube, we want to be sure none of the nails are sticking out. Then we used the jigsaw to cut off the excess pole wrap from the top. We used construction adhesive to attach the top so that there wouldn’t be any visible nails on the top and kept something heavy on top until it dries.
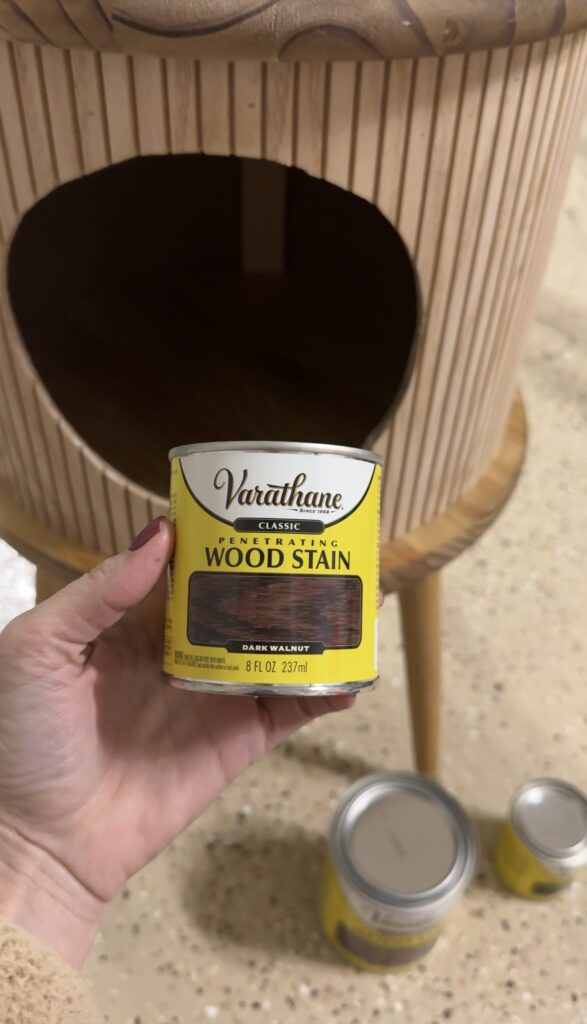
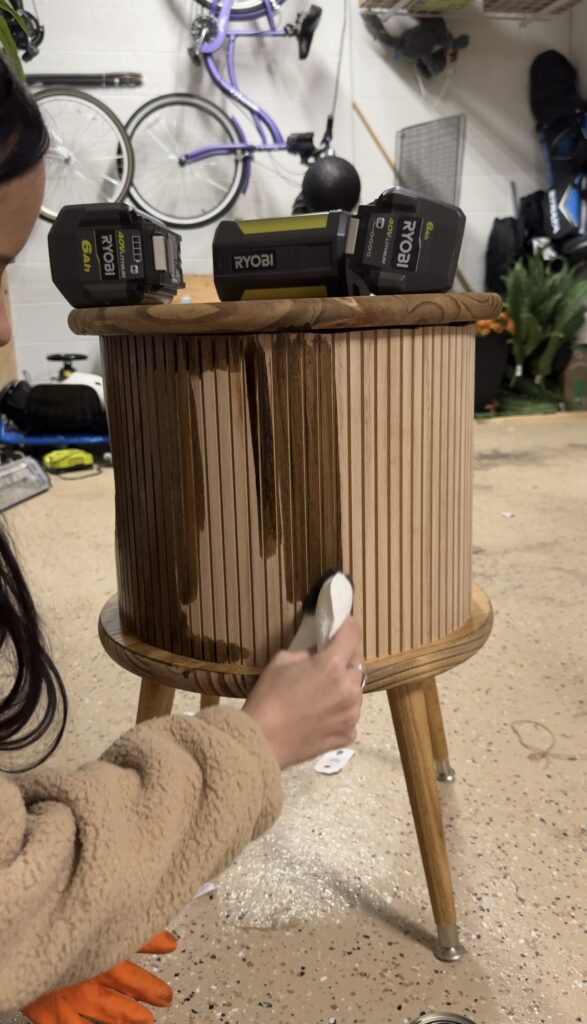
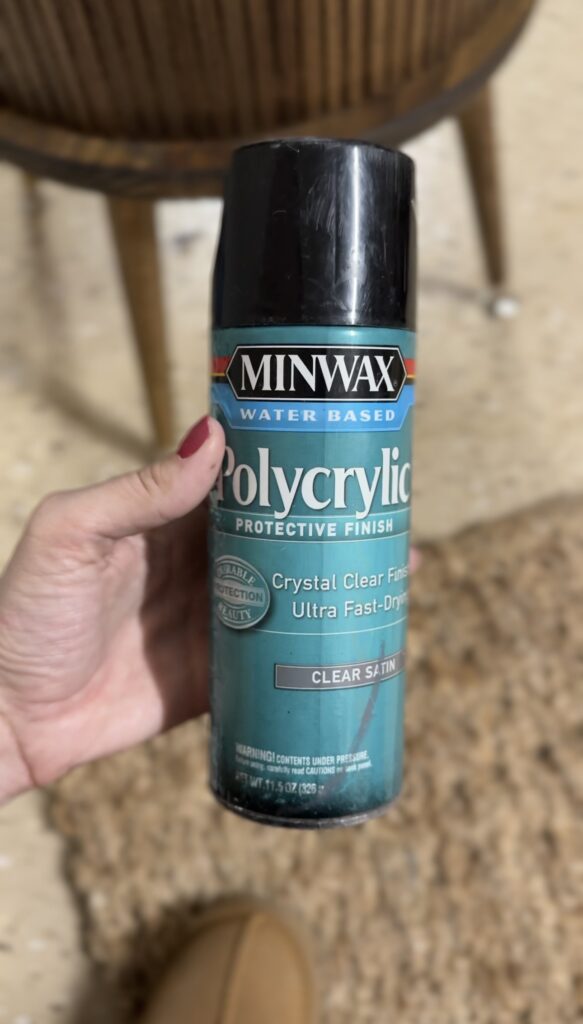
I originally stained the legs, top and base Weathered Oak but I quickly realize it wasn’t a dark enough stain to match the other dark wood accents we have in the house. I ended up going back and adding a coat of Dark Walnut stain. Once the stain dried, I sealed the entire table with a spray polycrylic and back brushed it after spraying.
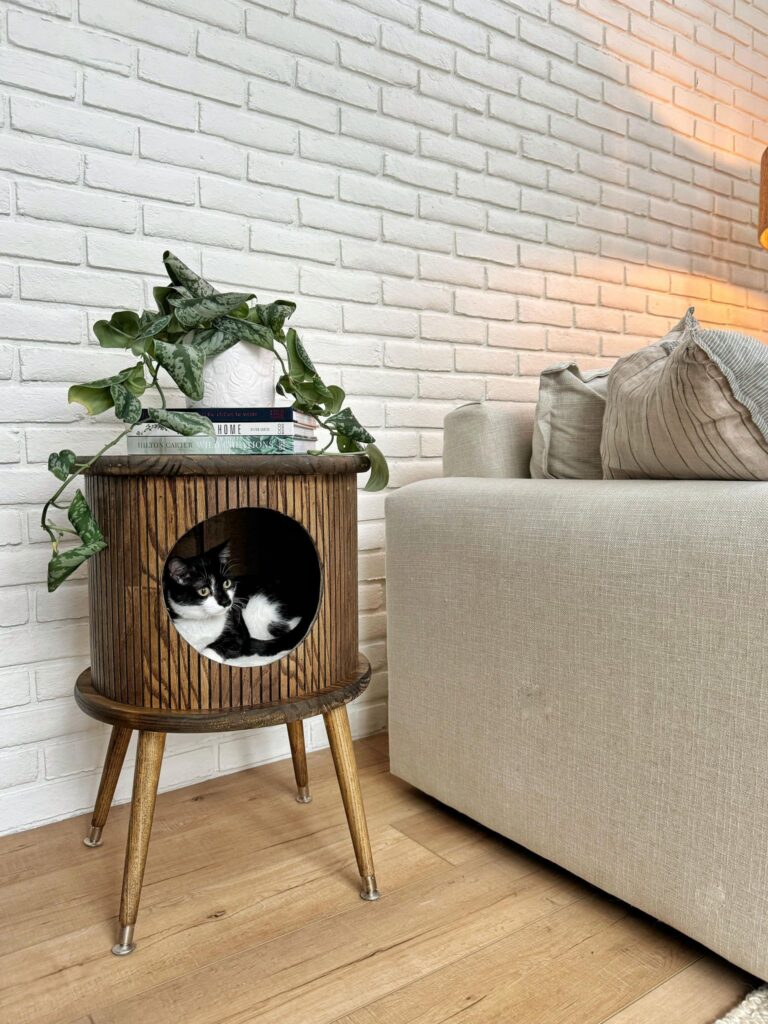
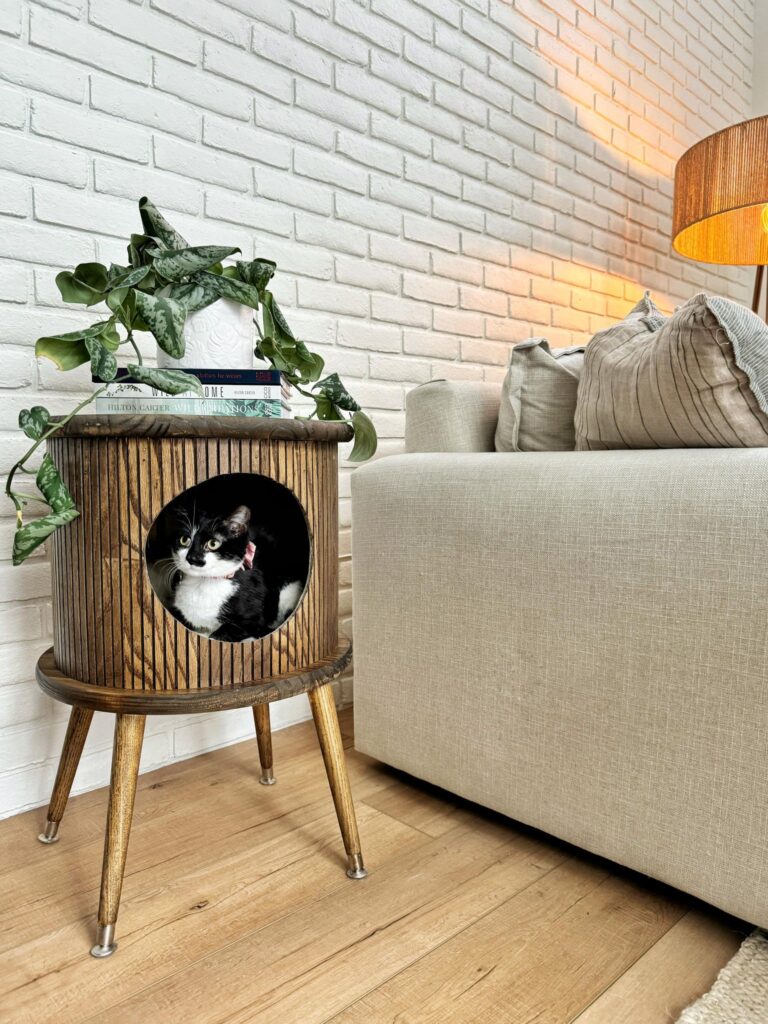
I love the end result and both girls comfortably fit inside. It fills the empty space that was here perfectly and looks so good with all of the rest of our furniture and decor in the room.
Leave a Reply
Grab our FREE download
Wanna know the 5 must have tools you need before you start?
Considering a DIY Project?


Be the first to comment