


Easy DIY Half Shiplap Accent Wall
Accent walls are one of my favorite ways to add a little spice to a room. We’ve done a ton of different accent walls now but one of my favorites has been the half shiplap accent wall we did at our previous home in Florida. It was such a simple project to do but made a big impact!
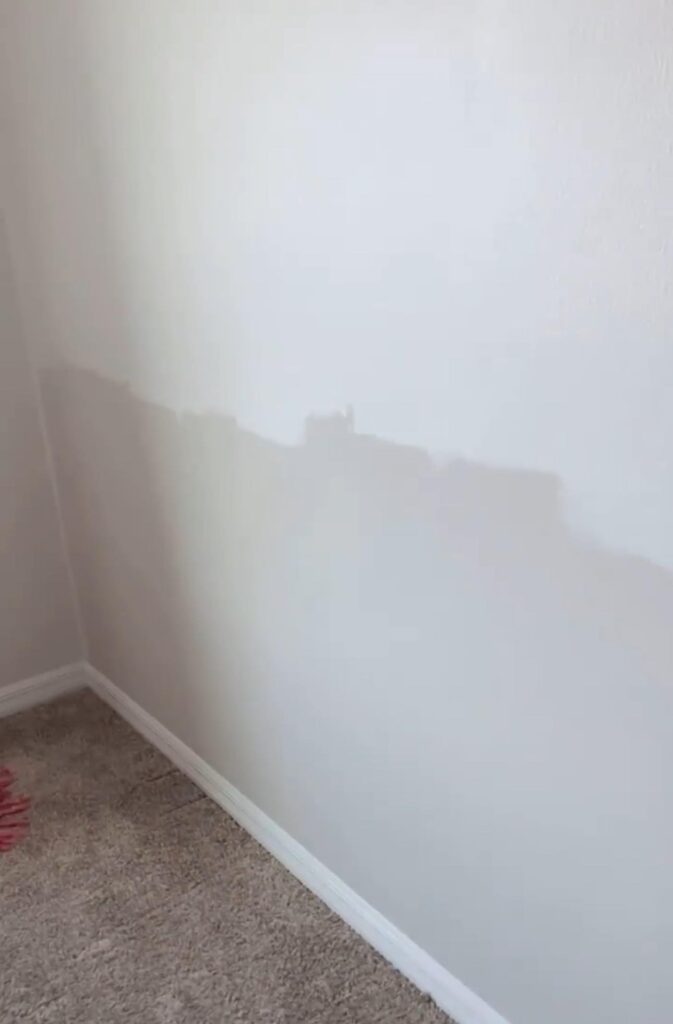
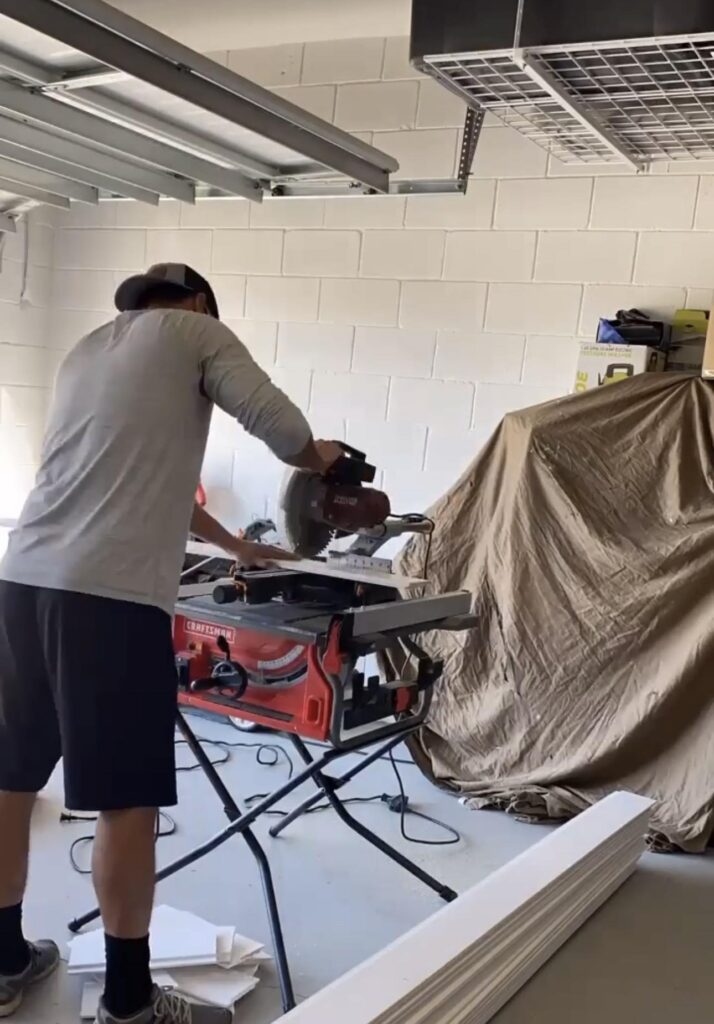
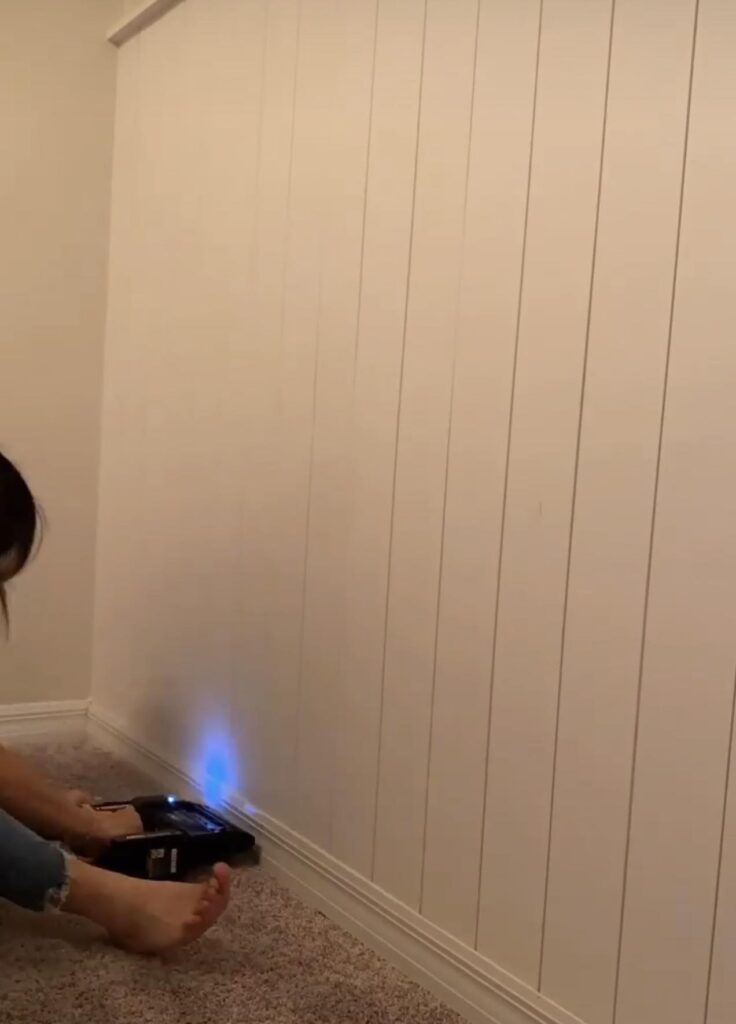
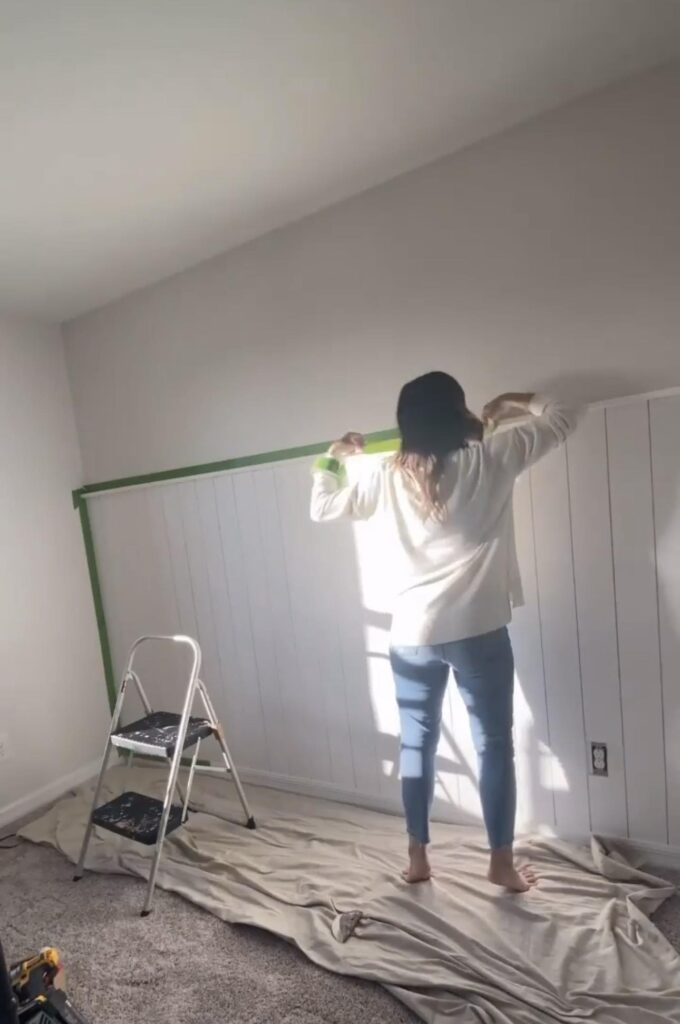
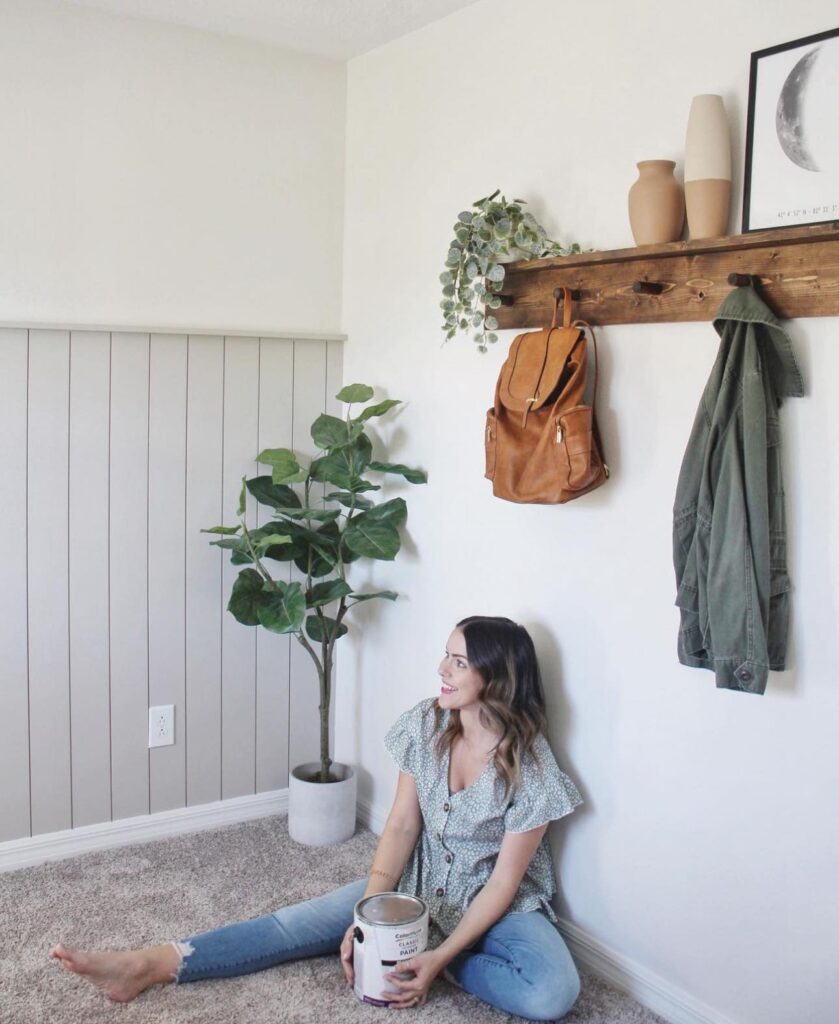
For this project, we used nickel gap shiplap boards with tongue and grooves. We started by painting the wall the color that we will be painting the boards once they are on the wall so if there are any gaps, it won’t be as noticeable. The wall is 8′ tall so we are having the boards go up 5′ to create the half accent wall look. We only painted the wall up to where the boards will stop. Then Ryan cut all of the boards to 5′ with the miter saw.
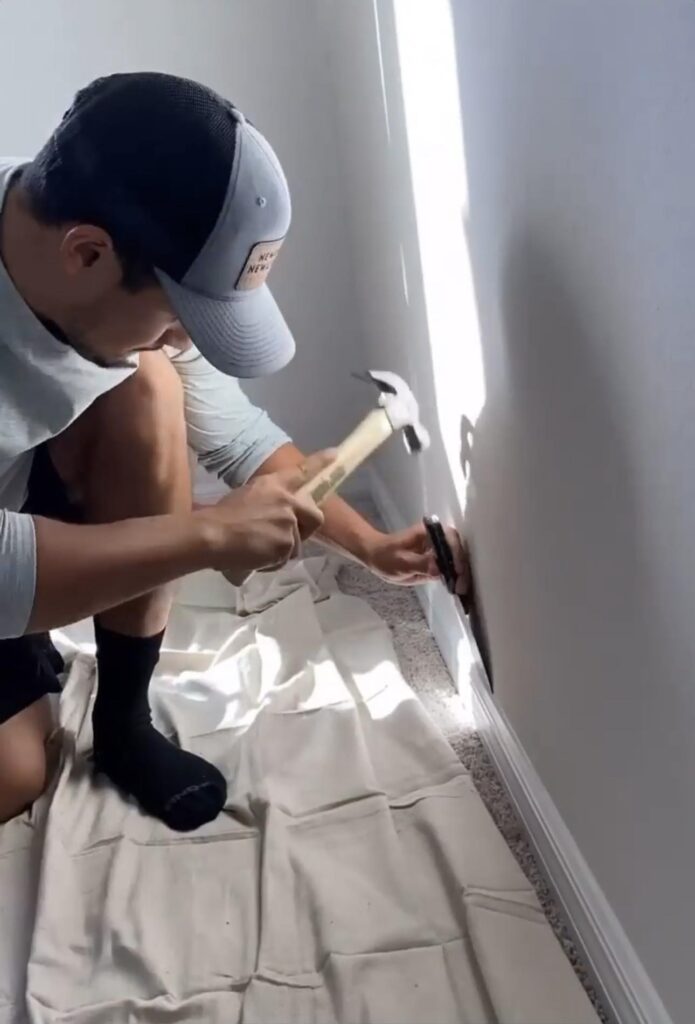

Next we removed the baseboard so the shiplap can go to the floor which will give the wall a more seamless finish. Ryan carefully broke the caulk seam and pried it off so we can reuse it. We will put the baseboards back on over the shiplap which will cover any imperfections at the bottom of the wall. If we left the baseboards on, the shiplap would hang over the baseboards where they meet so this will give a much better look.
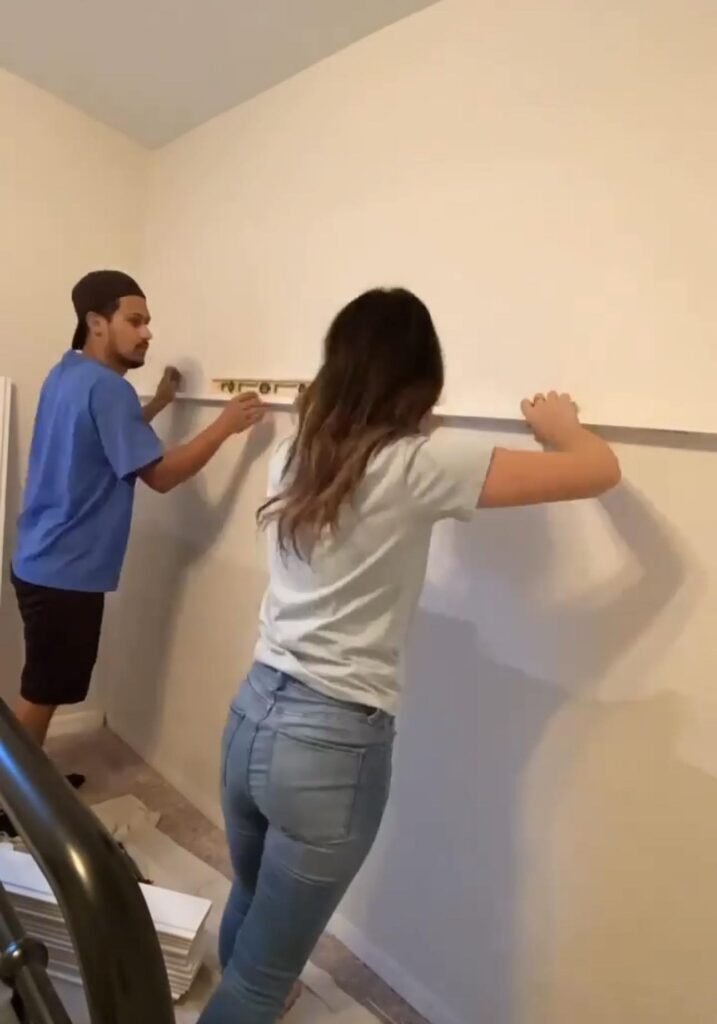
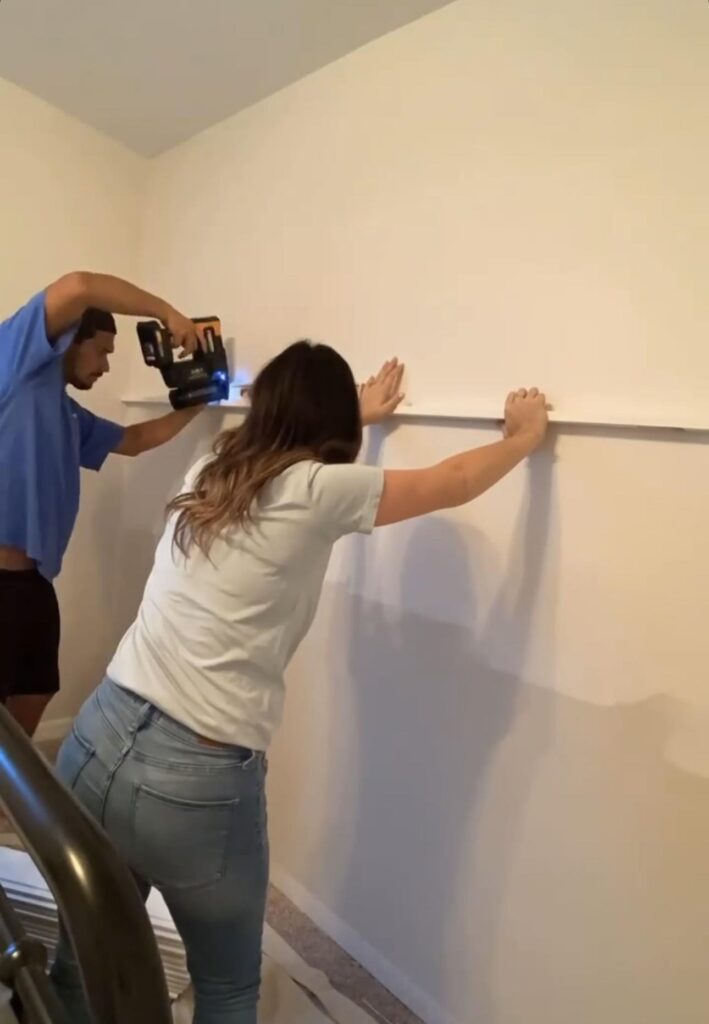
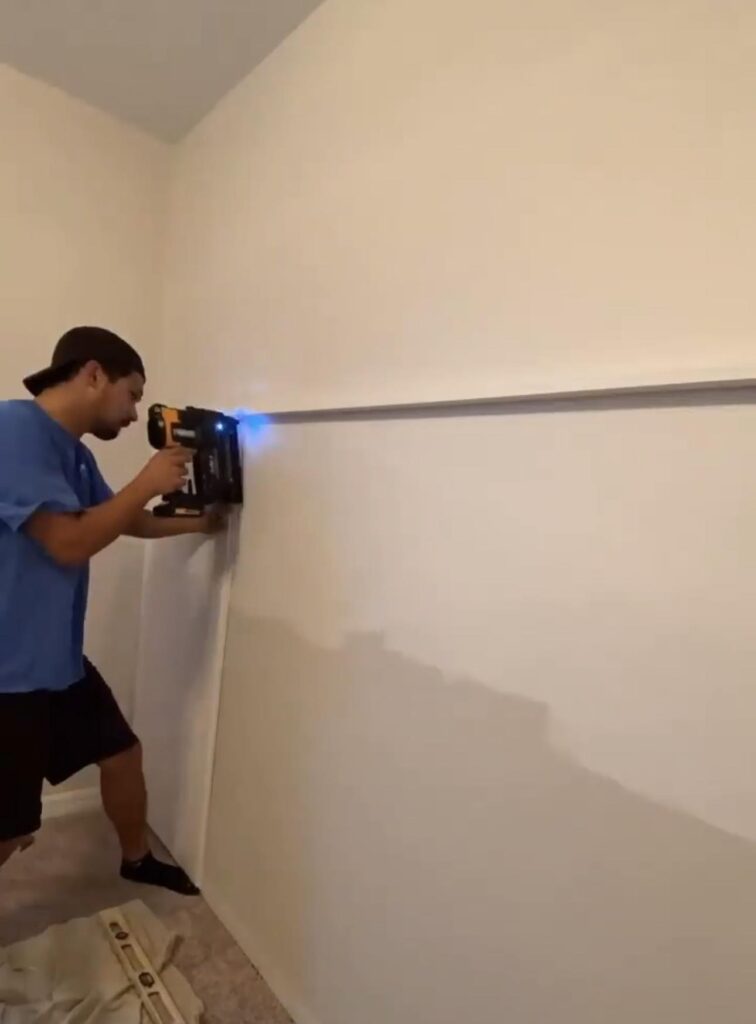
We started by nailing in the top 1×2 trim so we can put all of the boards flush against. We used a level to make sure it was even all the way across the wall and used an 18V nail gun to nail it into the wall at an angle. This trim piece will create a small ledge above the shiplap and give it a more finished look since the shiplap is not going all the way to the ceiling.
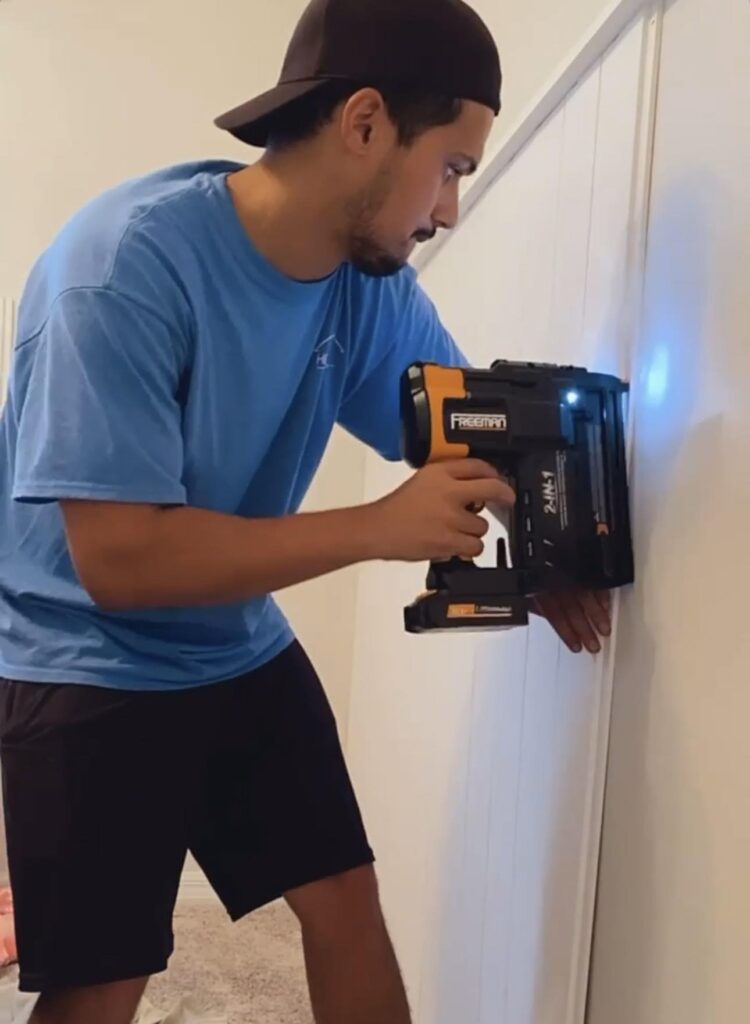
Once the trim piece was up, we started nailing up the shiplap. We also used Gorilla Wood Glue on the back of the boards to help them stay more secure against the wall since some boards aren’t going in studs. Ryan nailed into all of the lips of the boards so we won’t have many nails to fill after. With the tongue and groove shiplap, the boards overlap and the nails on each board get covered by the next board that overlaps on top of it.
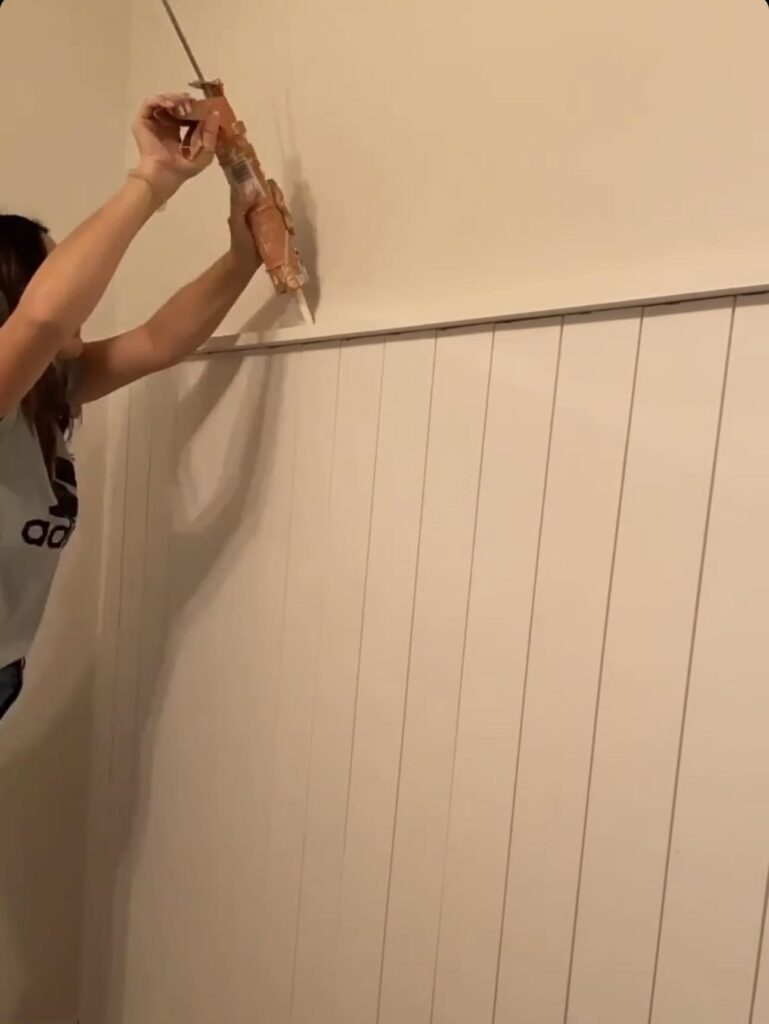
Once all of the boards were up, I was able to do all of the finishing work. I filled all of the nail holes (there weren’t many thanks to the tongue and groove boards) and caulked the seams where each of the end boards met the wall and above and under the top trim piece. Then I nailed the baseboard back on for the seamless look.
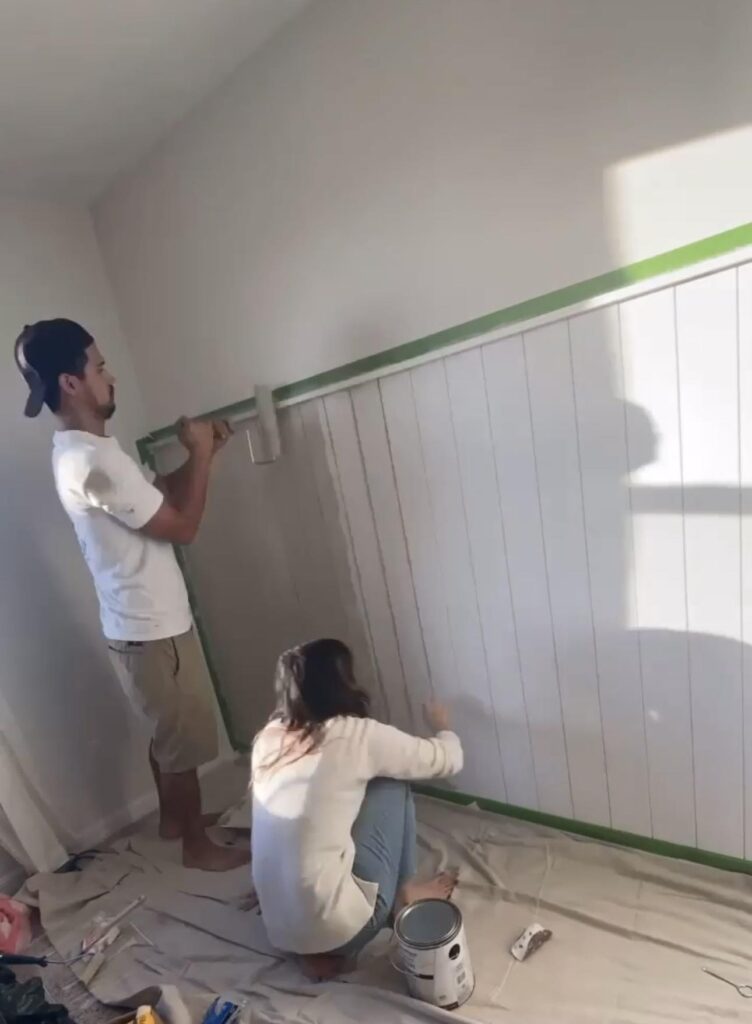
The finishing touch was the paint that really made the accent wall pop. We used a roller for the boards and a brush to get in the small gaps between each board.
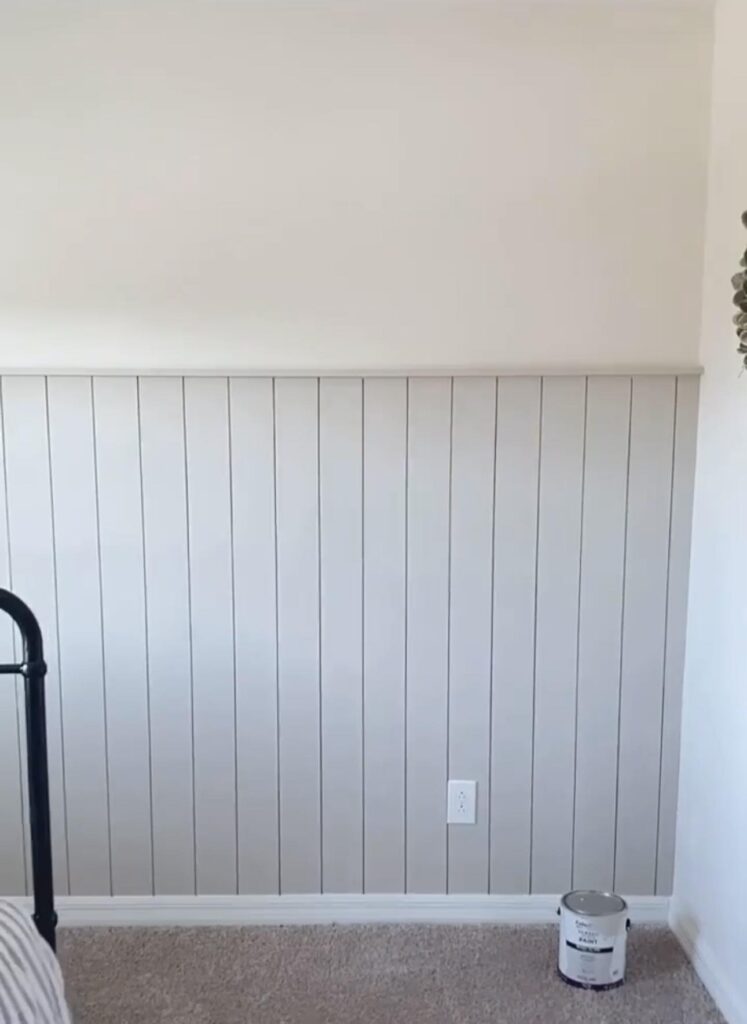
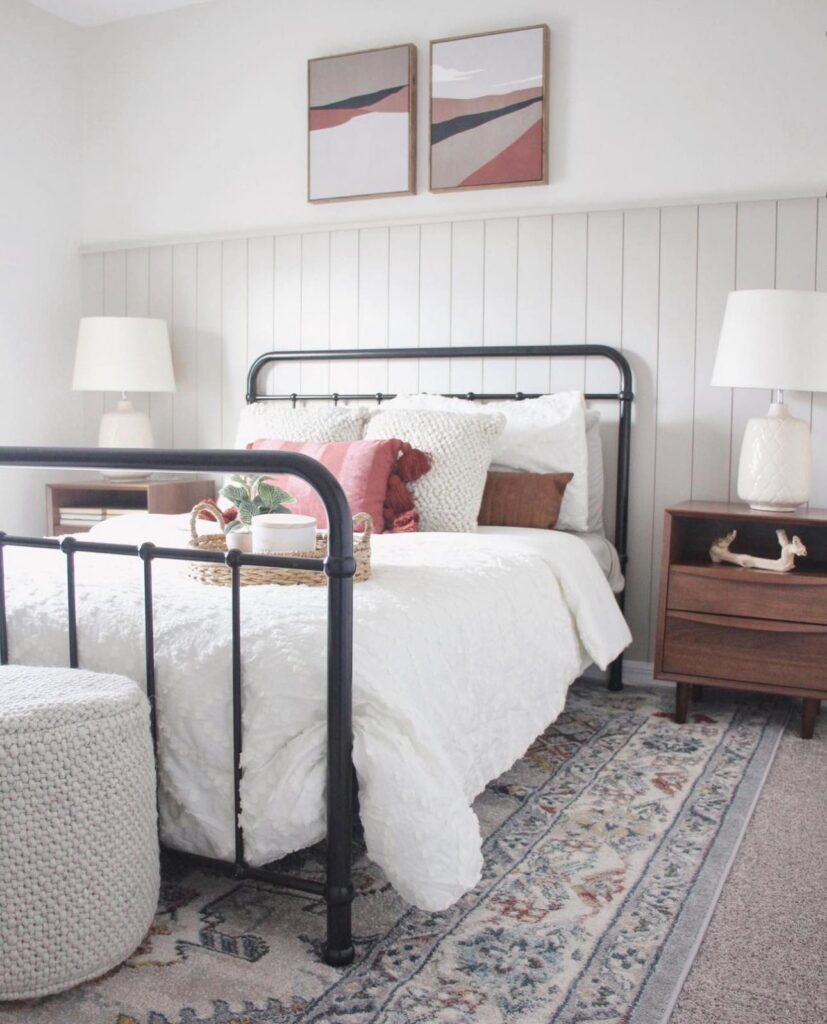
This accent wall was really simple and is very beginner friendly. It was a great way to add some texture and a little spice to our guest room.
Leave a Reply
Grab our FREE download
Wanna know the 5 must have tools you need before you start?
Considering a DIY Project?


Be the first to comment