


DIY Faux Wood Wire Shelf Covers
Before we moved to Ohio we had a new build home in Florida. And being a new build, it came with a lot of the cookie cutter features that those houses come with. One of them being wire closet shelves. I hated them because everything would fall through the wires and it was hard to keep things nice and neat with them. So we decided to do a simple DIY project and make faux wood covers for them.
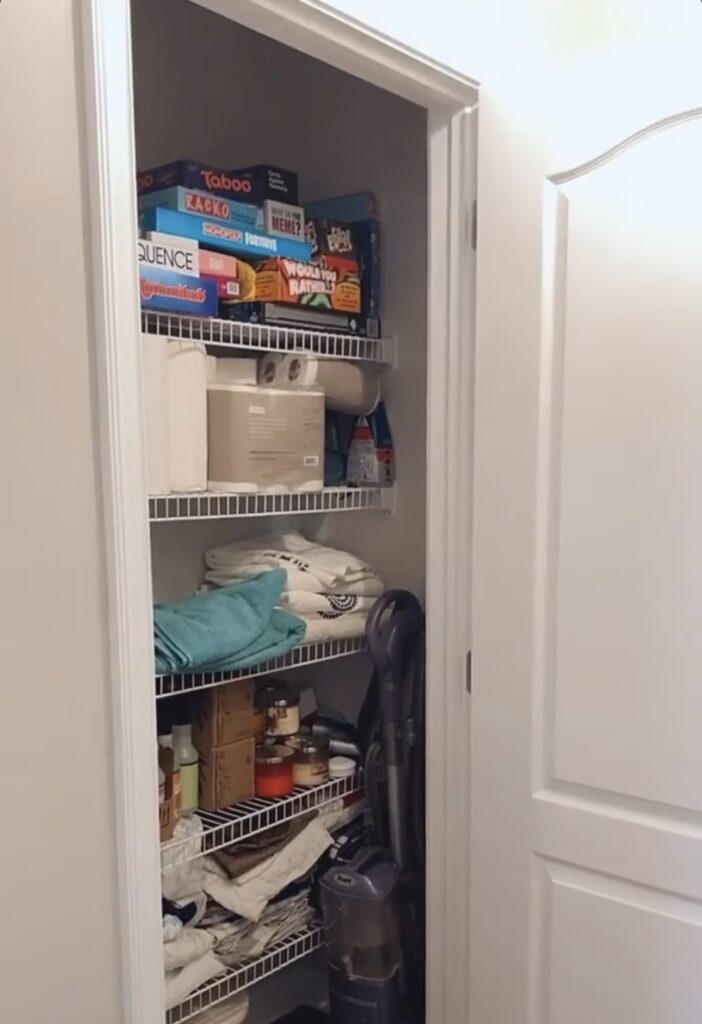

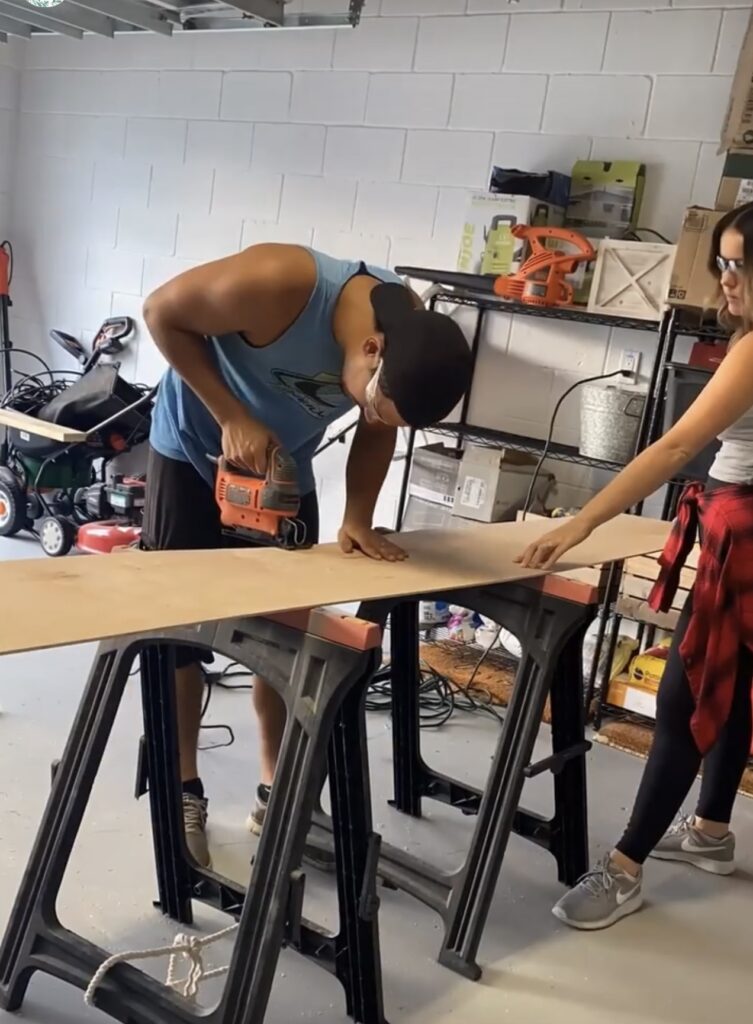
Before we could get started we had to clean the closet out so we could measure the shelves. Once we had an empty closet, we measured from the back screw to the plastic piece at the front of the shelf. We didn’t measure from the back wall because the cover will not start against the wall. It will sit in front of the back screw.
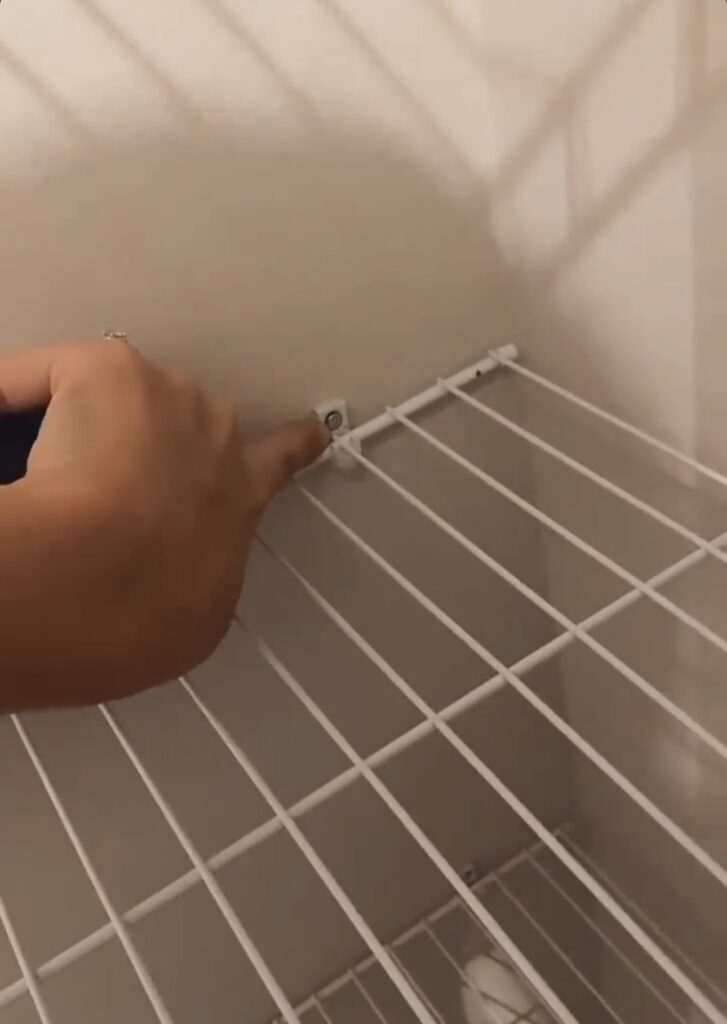


When measured from front to back, we left a little extra in the front so there can be a bit of an overhang for the front piece to connect to. We then measured across to get the length needed. Again, we measured from screw to screw not wall to wall. We used 1/4” birch plywood for the top of the shelf covers and 1×3 pine boards for the front pieces.
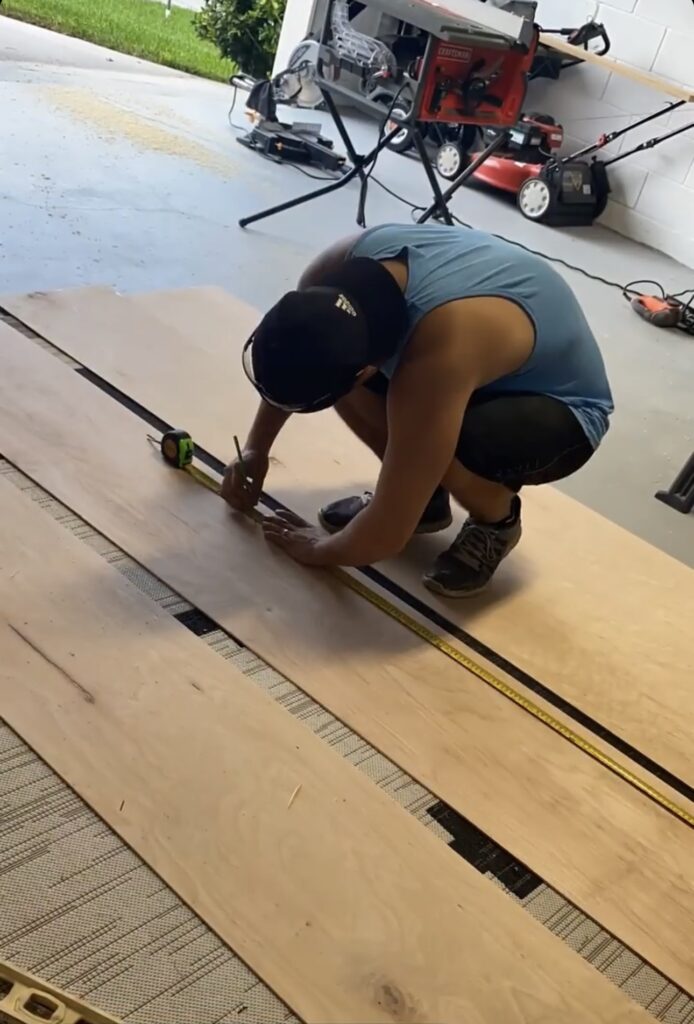
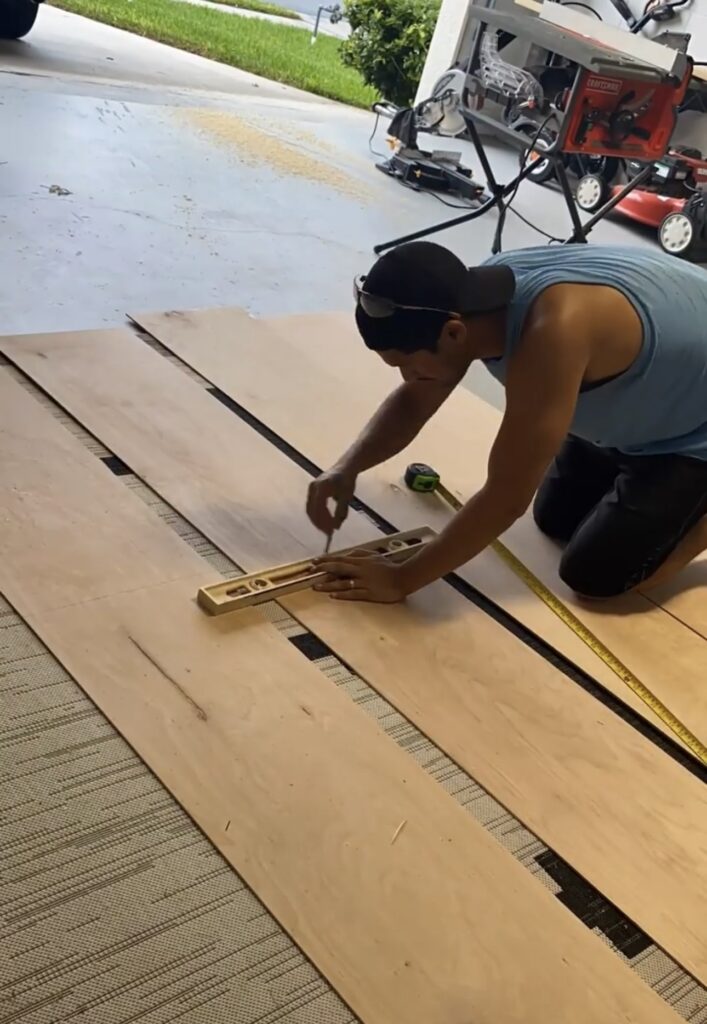
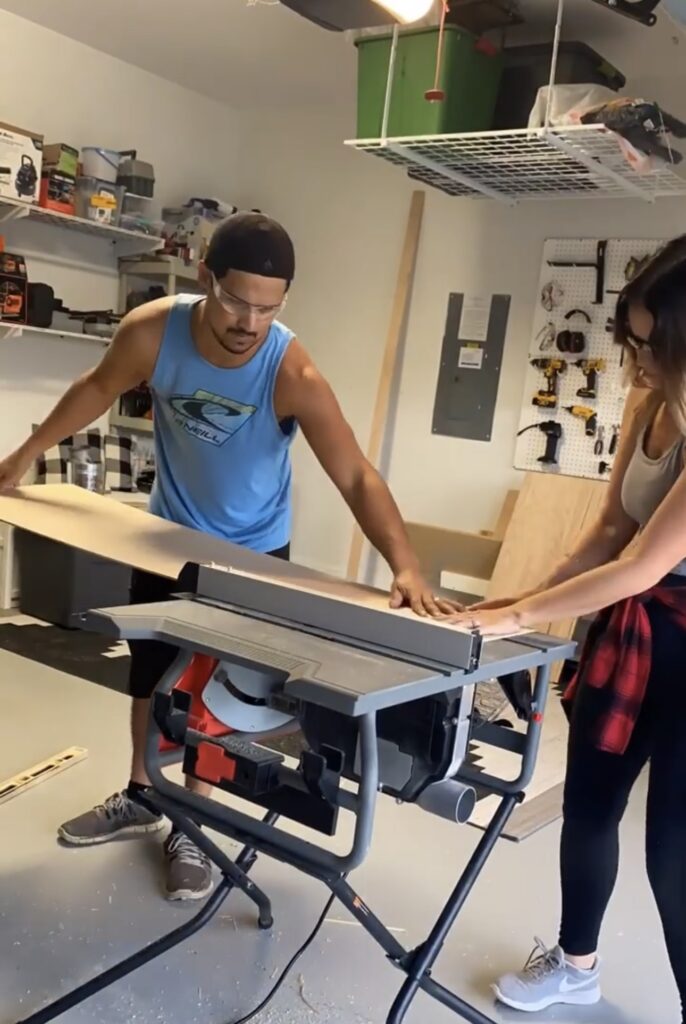
After we got our measurements, Ryan marked the plywood for the cuts we needed to make for the width and length of the shelf tops. We then used a jig saw to make the cut for the length and a table saw to make the cut for the width. Once we had them all cut to size, we took them to the closet to test them out on the shelves before moving on. Our walls are not all level or straight so we needed to make a few minor trims to be sure they all fit perfectly!
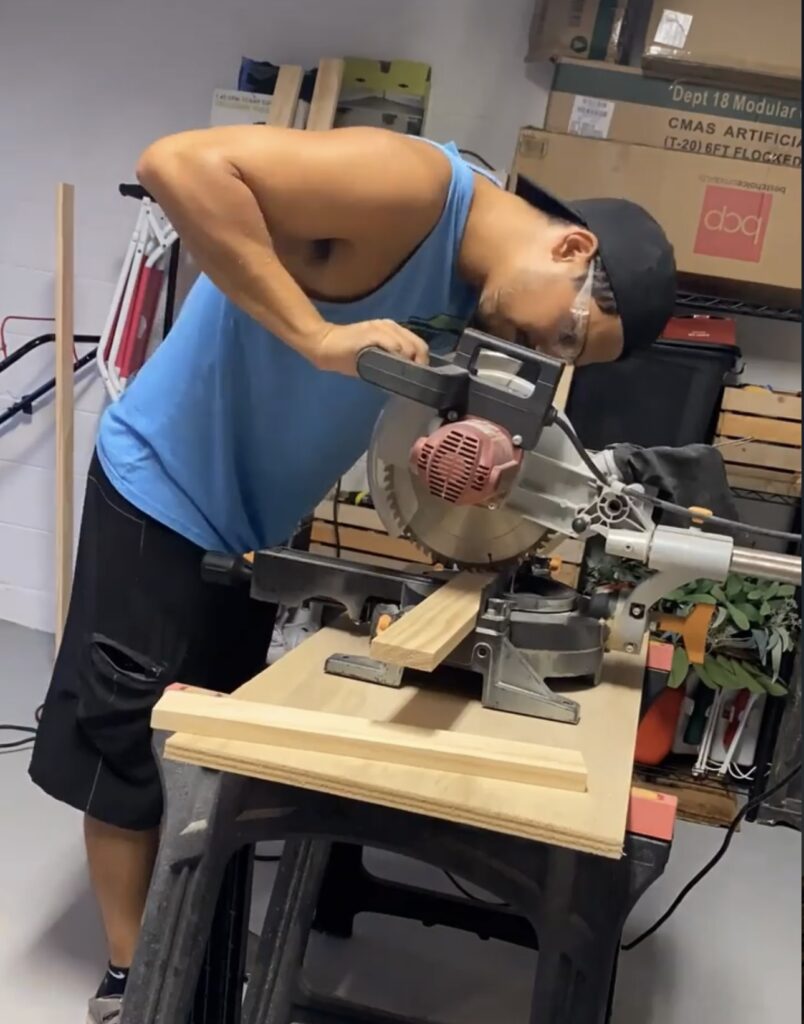
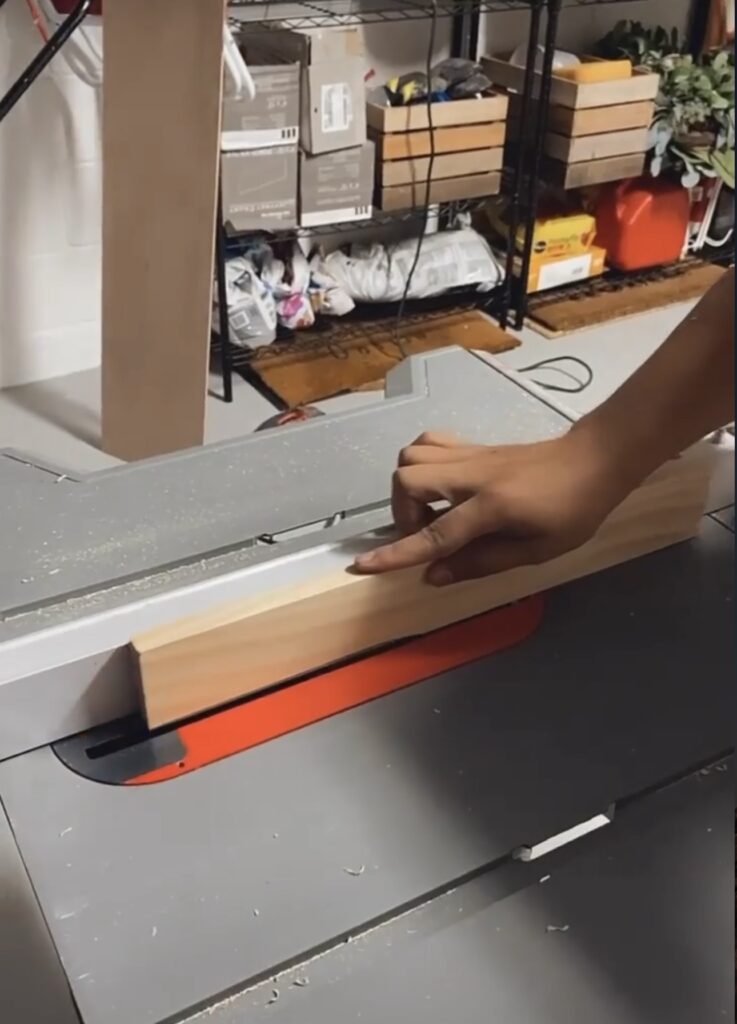


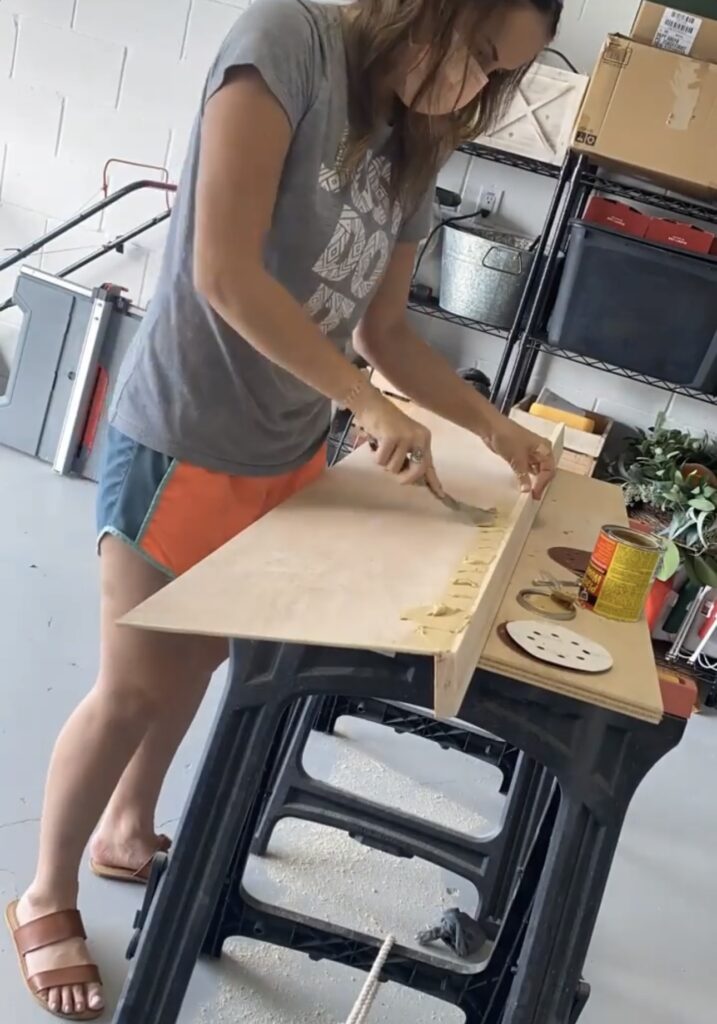
Next, we used a miter saw to cut the 1×3 pieces for the front trim piece of the covers. Then we used the table saw to carve out a little notch that can act as a lip for the top piece of plywood to sit into. This was an extra, optional, step but will make the covers look even nicer because the two pieces of wood will blend together so much better, especially once they are wood filled.
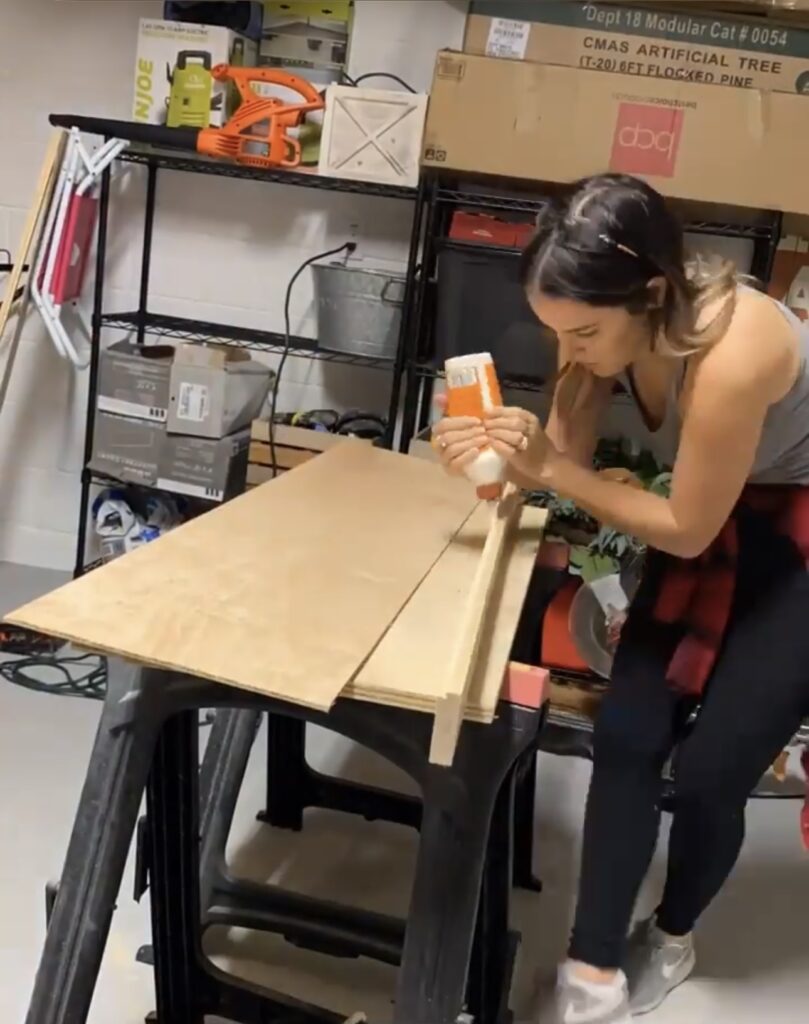
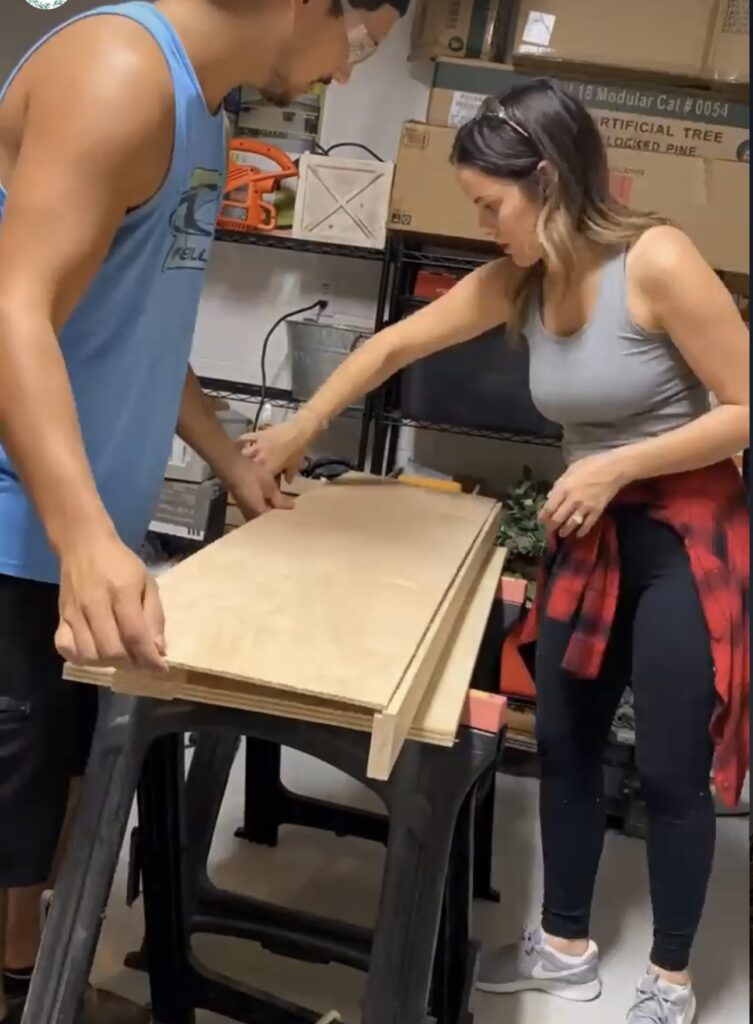
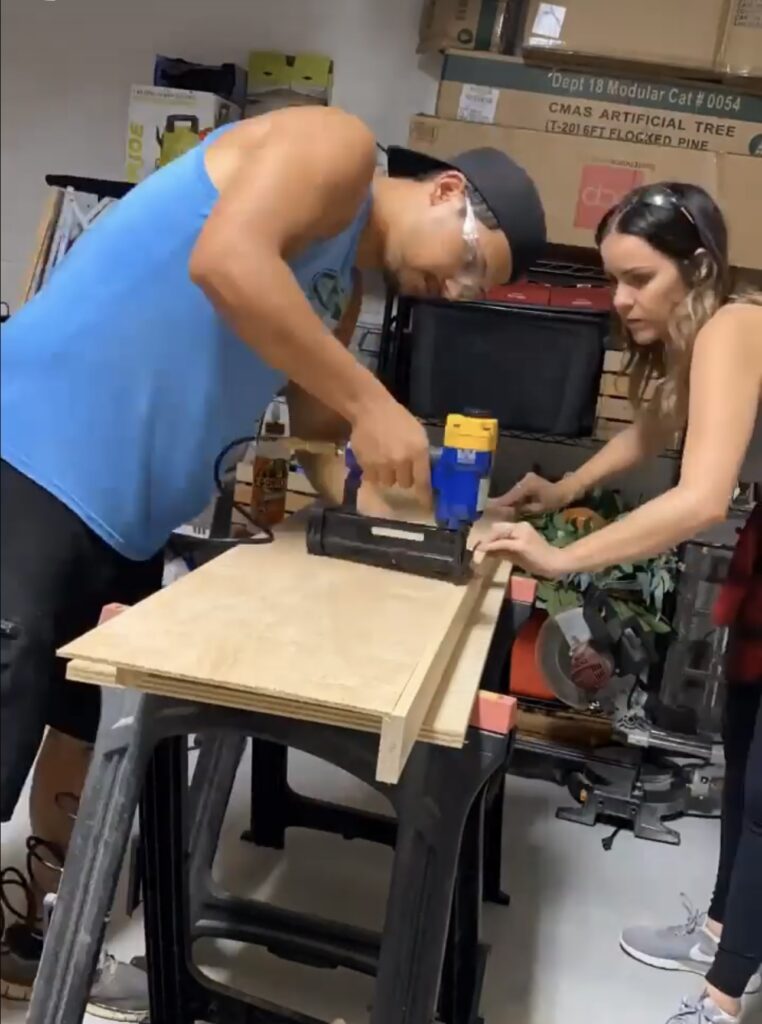
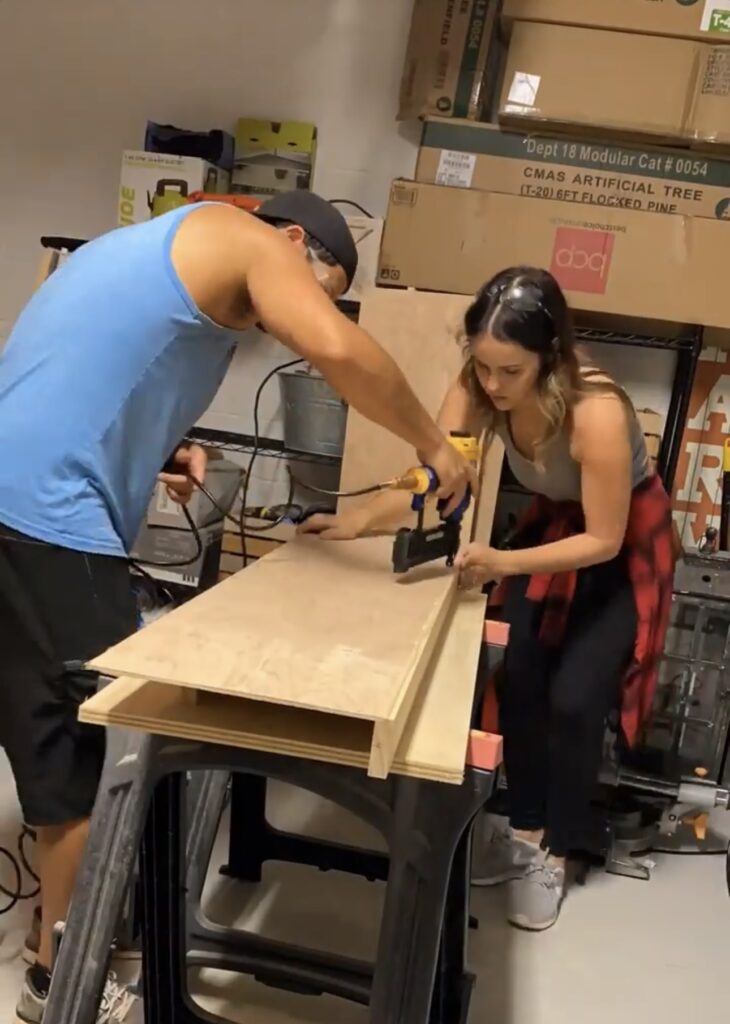
We wanted the shelf covers to be extra sturdy and secure so we used both wood glue and nails to attach the top and front trim pieces. I used wood glue on the lip we made on each of the 1×3 front trim pieces and then set the plywood on top of it. Then, Ryan nailed the two pieces together all the way across.

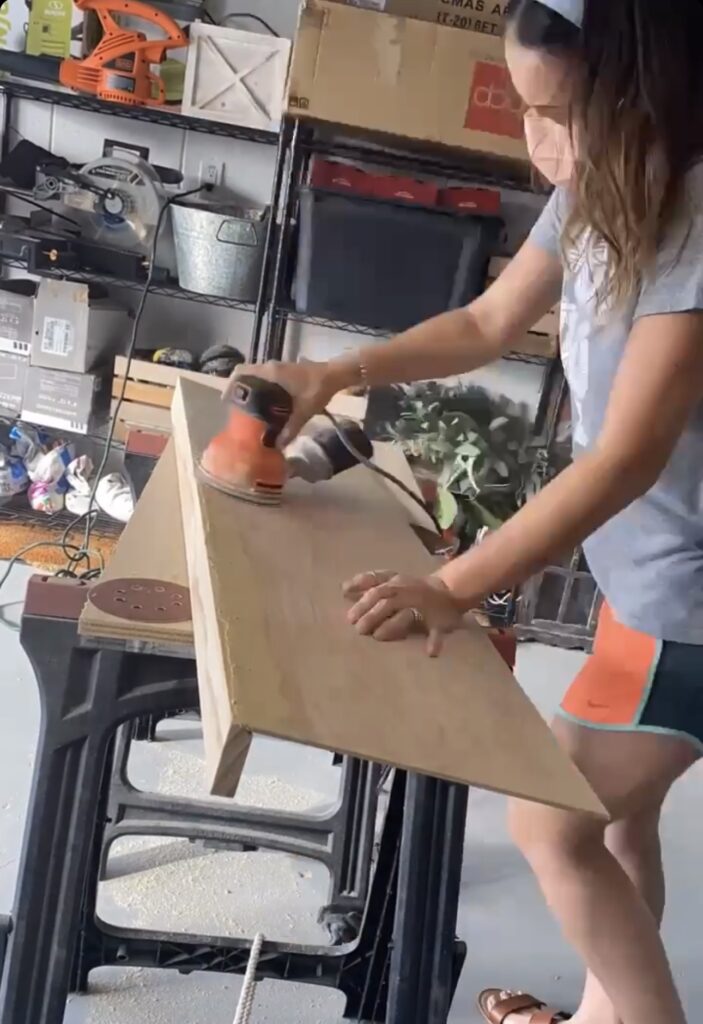
The shelf covers looked great at this point but I wanted to do a few extra steps to really make them nice! I used wood filler to fill the seam where the two boards meet so that it will look more seamless and then sanded over it with an orbital sander using a low grit (80) sandpaper. Then I went over the whole cover again with a higher grit sandpaper (320) to get the board really smooth.
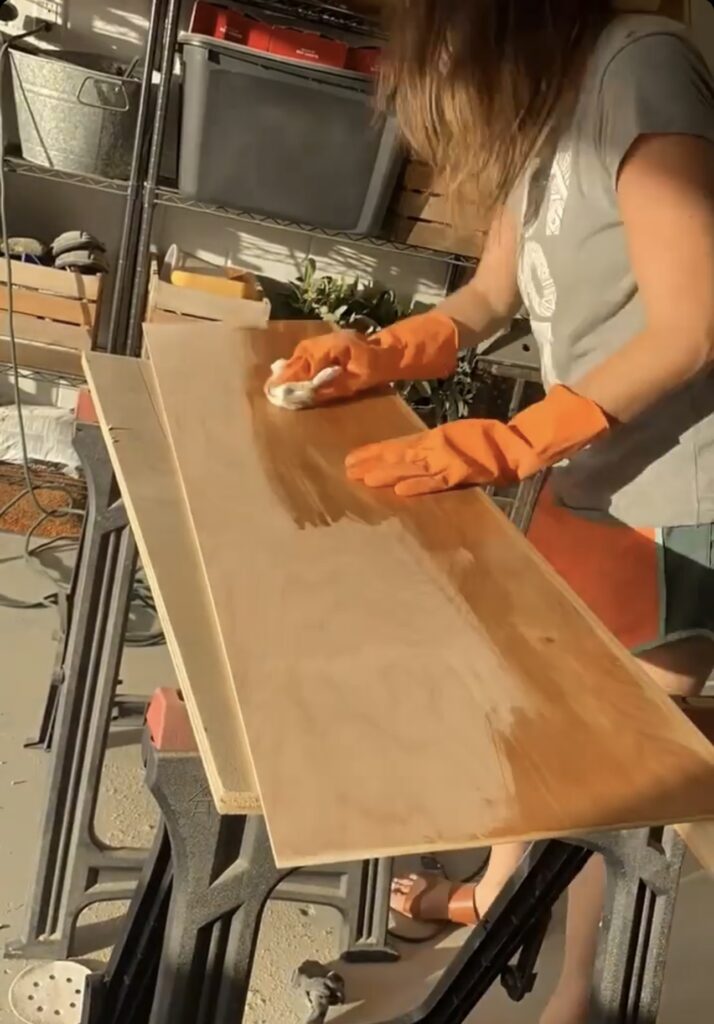
I could have just left them as is, but wanted to stain them a little darker to match the rest of the wood tones on our house.
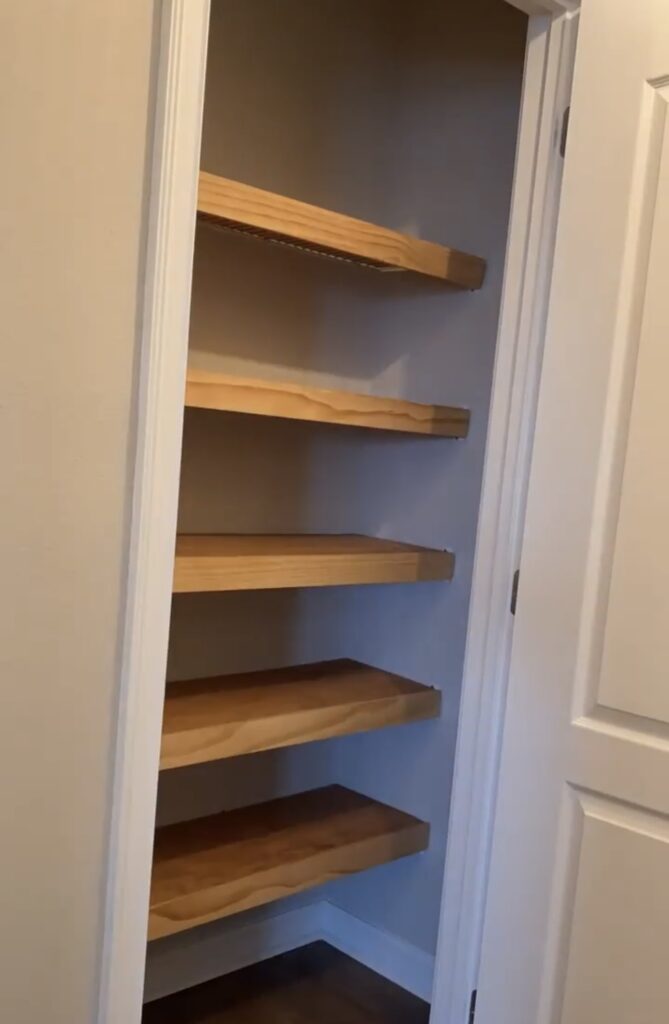
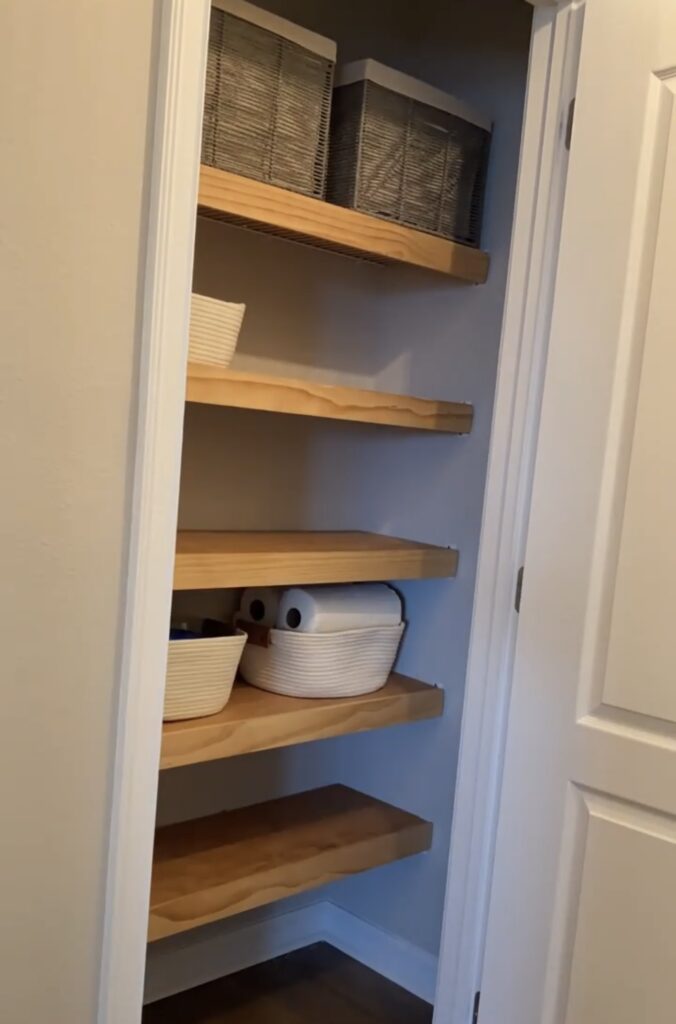
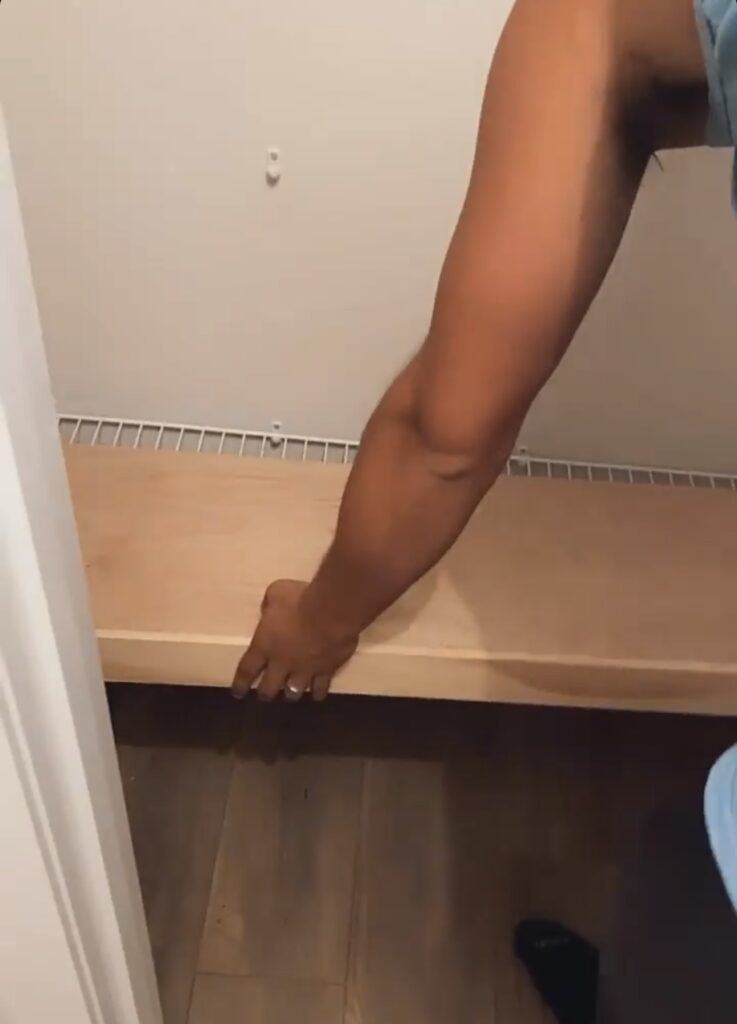
The finished result was so good! It not only helped make the closet look better but it was much more functional now that we can set things on the shelves easier and didn’t have to worry about things falling through the wires!
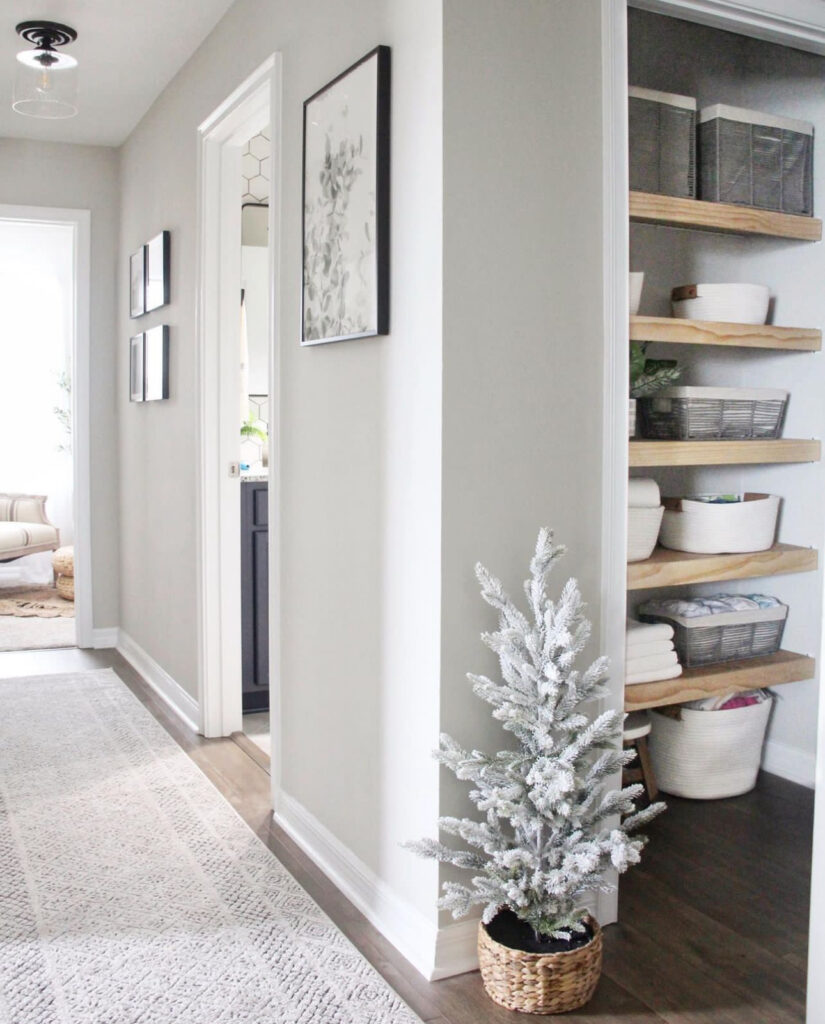
We added some baskets and other organizational items to the shelves and it made the closet so much more useable. This DIY made a big impact but also was super affordable. Let us know on Instagram if you decide to give it a try!
Leave a Reply
Grab our FREE download
Wanna know the 5 must have tools you need before you start?
Considering a DIY Project?


Hi there! Do you know if they make any plugins to safeguard against hackers? I’m kinda paranoid about losing everything I’ve worked hard on. Any tips?