


DIY Wood Peg Shelf
This shelf was such a simple project and it was also very affordable! The wood only cost a total of $15 and there was enough to build two shelves!
Here’s How We Did It
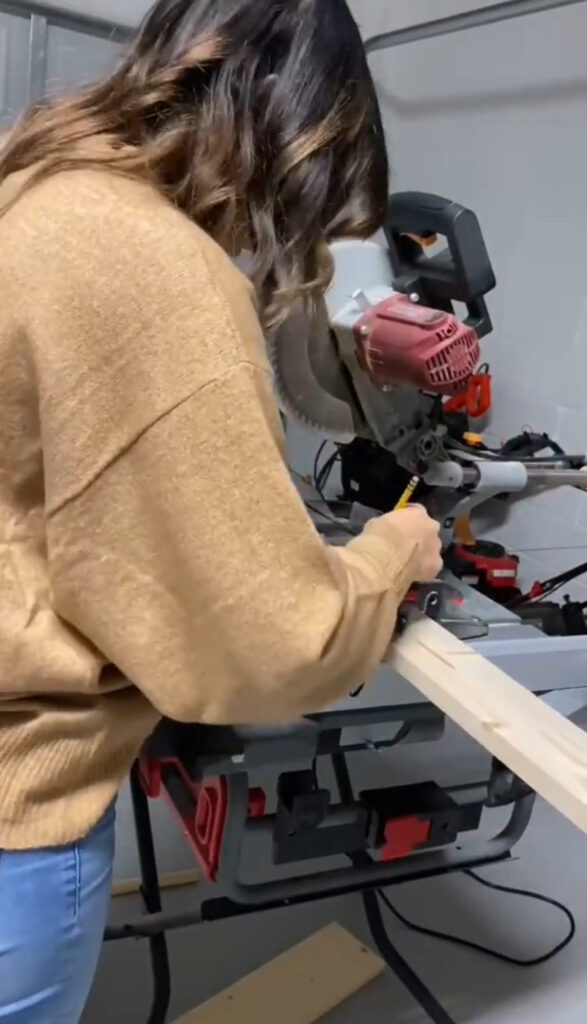
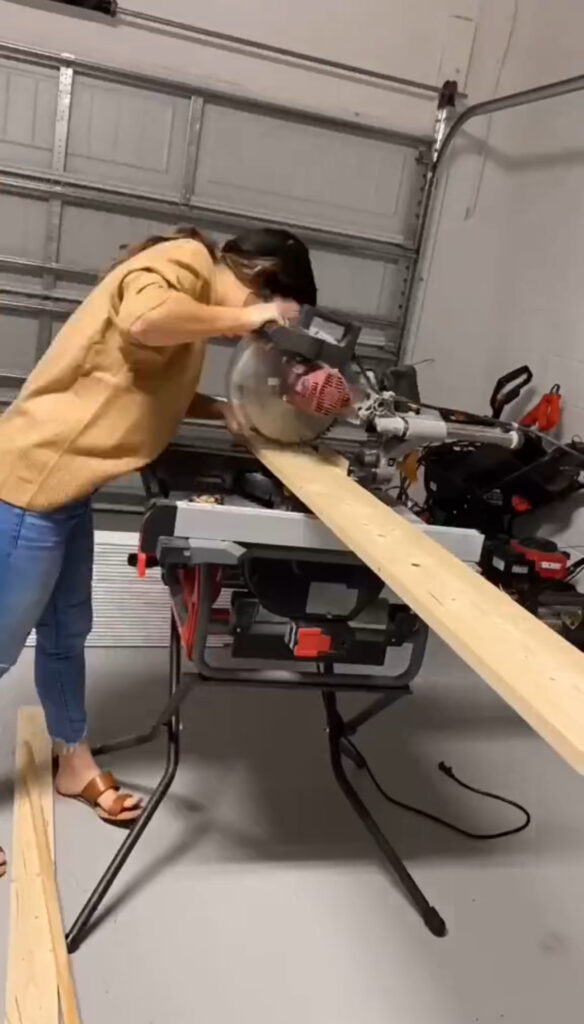
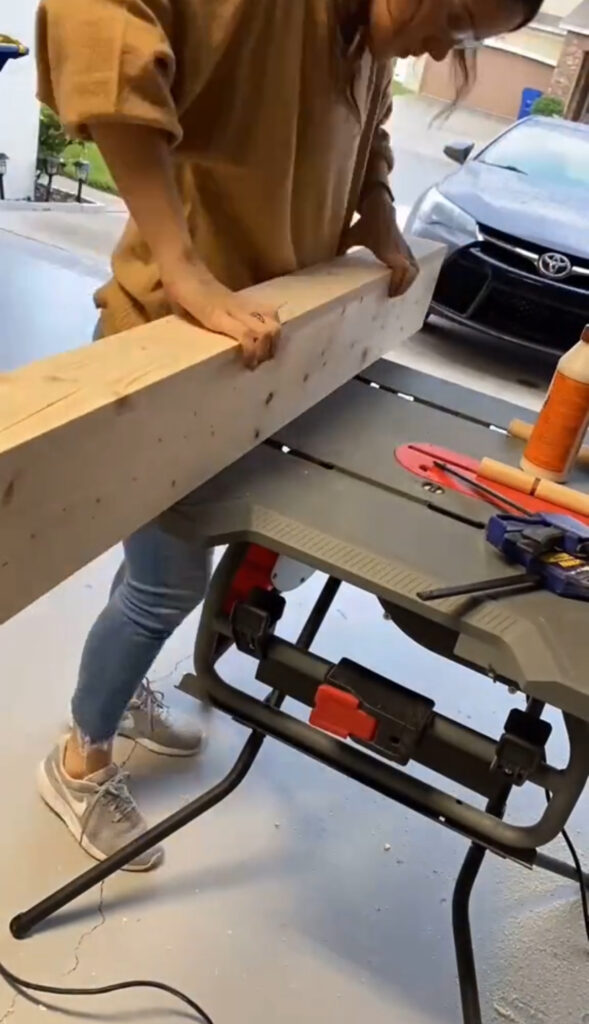
I wanted the shelf to be 4’ long so I measured both the 1×6 and 1×4 boards and used a miter saw to make the cuts. The 1×4 will be used for the top shelf and the 1×6 will be used for the peg board.
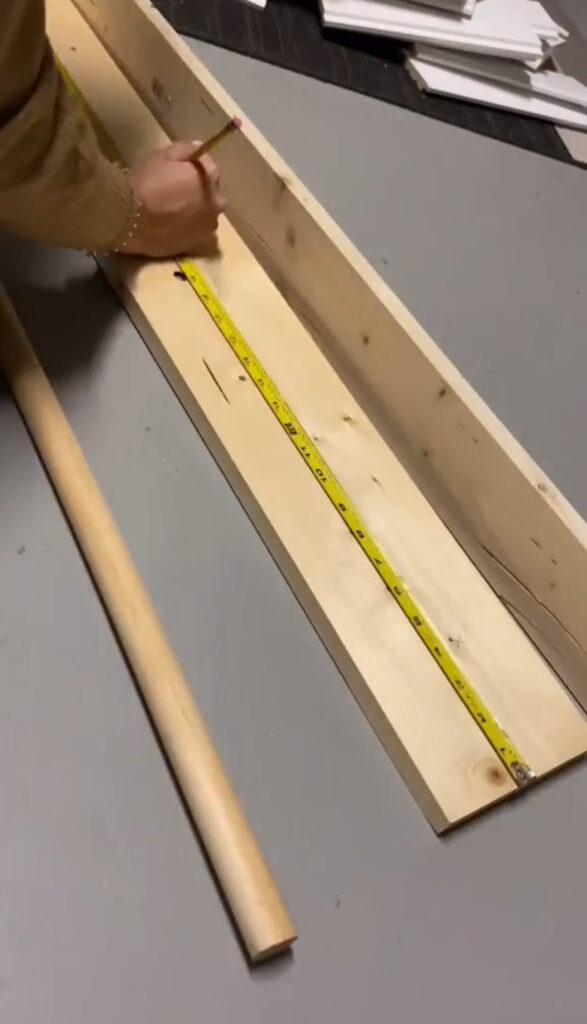

Then I measured how many pegs I wanted. I started by measuring 4” off of each end of the shelf for the first two pegs and then I marked the middle for a third peg. Then I measured the middle between the center peg and end pegs to make a total of five pegs.
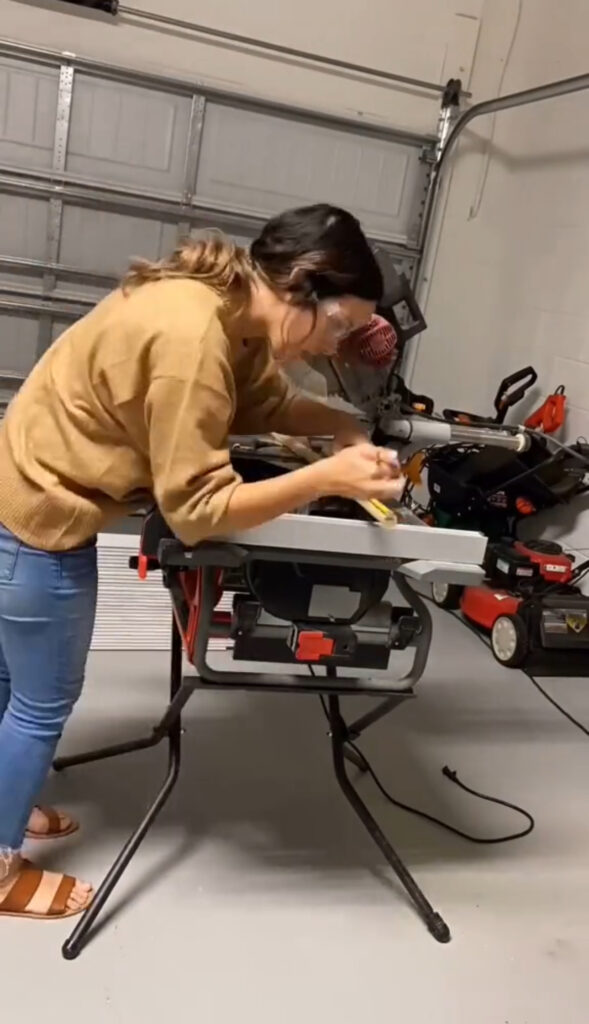

Next, I used the miter saw to cut the one inch dowel into 3” long pieces for each peg. I didn’t want the pegs to stick out further than the 1×4 that will be the “shelf”.
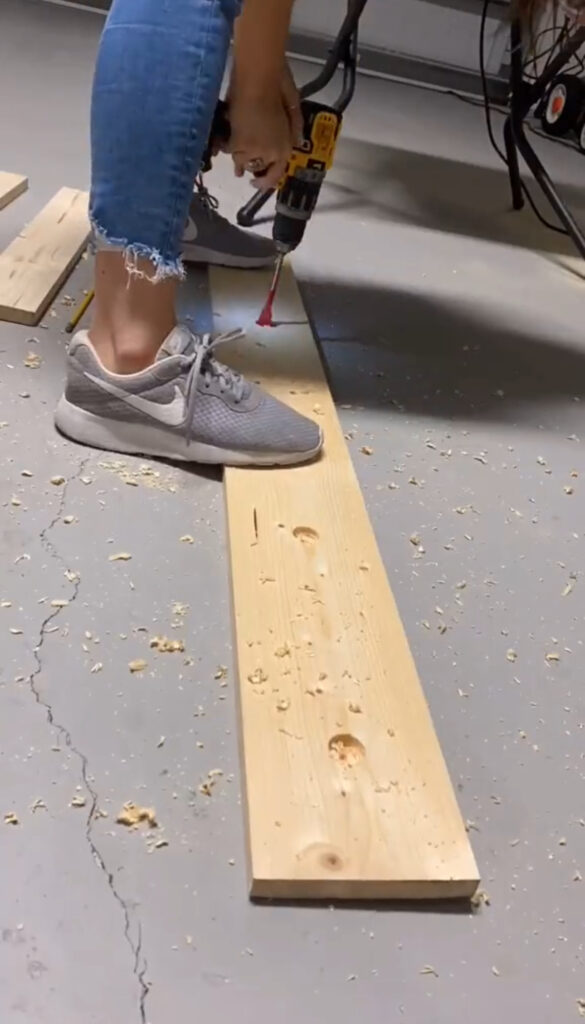
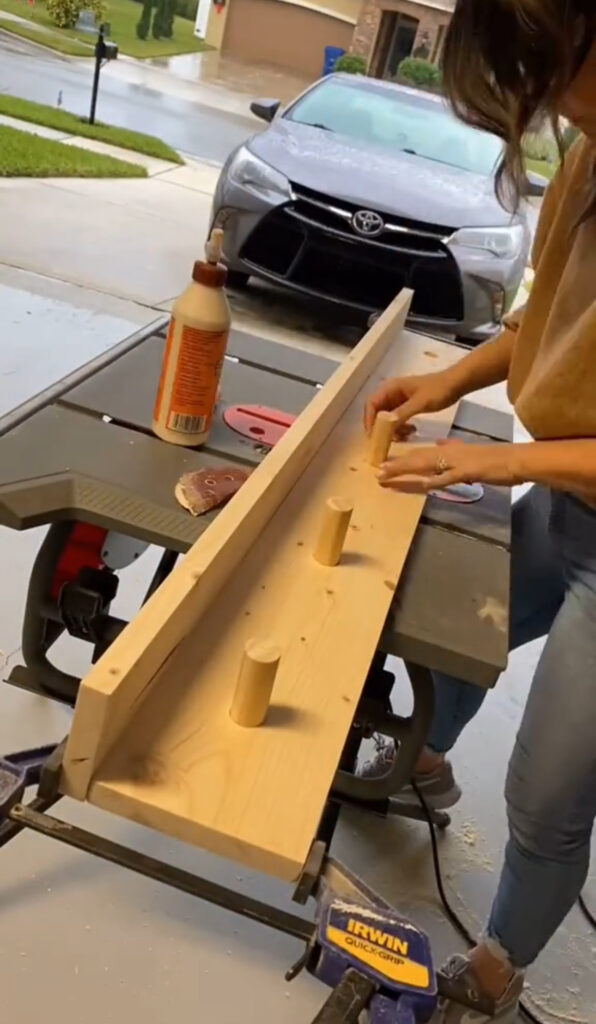
Once all of the pegs were cut, I measured the center across the length of the 1×6 for each spot that the pegs will be placed. After the markings were made, I used a 1” spade bit attachment on the drill to make holes for the pegs to sit in.
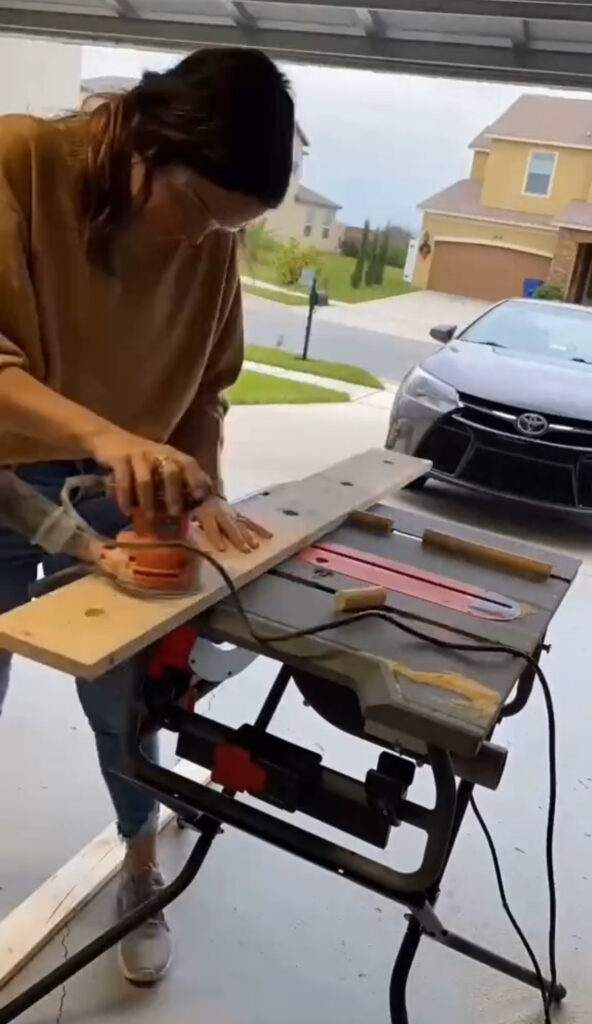

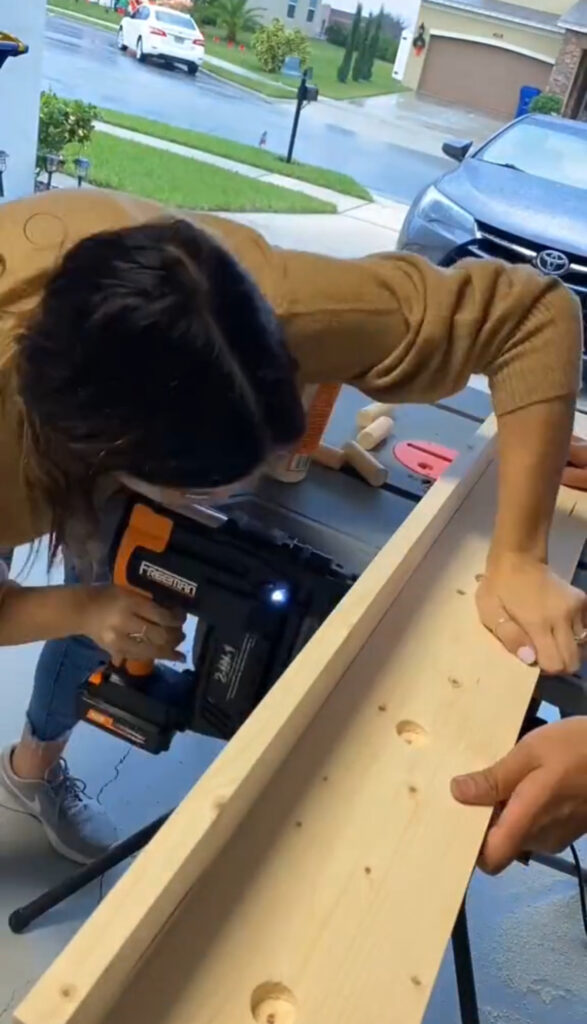
Next, I sanded all of the boards and pegs down really good and used a sand paper to sand around the holes I made with the spade bit. Once everything was sanded, I used wood glue to attach the 1×4 on top of the 1×6 for the shelf. I clamped the ends to keep it secure while the glue dried and used a nail gun to give it some extra sturdiness.

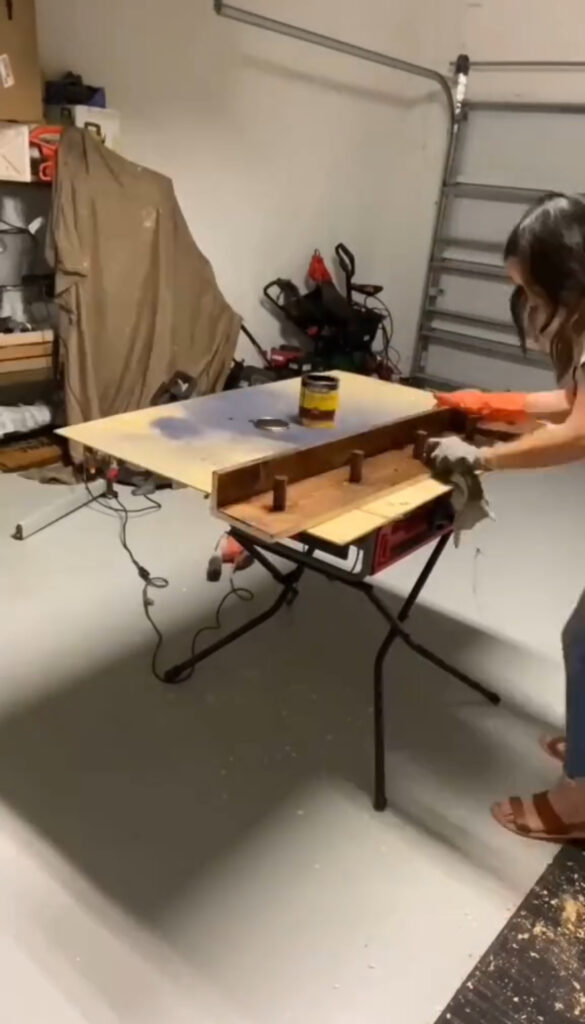
Then, I used the wood glue inside each of the holes and placed the pegs inside. I gave it some time to dry and then used a dark wood stain to stain the entire shelf so it could make the darker wood tones in the room.

I love the way it came out and this was such a quick and easy DIY. And not to mention it was very inexpensive to make!
Leave a Reply
Grab our FREE download
Wanna know the 5 must have tools you need before you start?
Considering a DIY Project?


Be the first to comment