


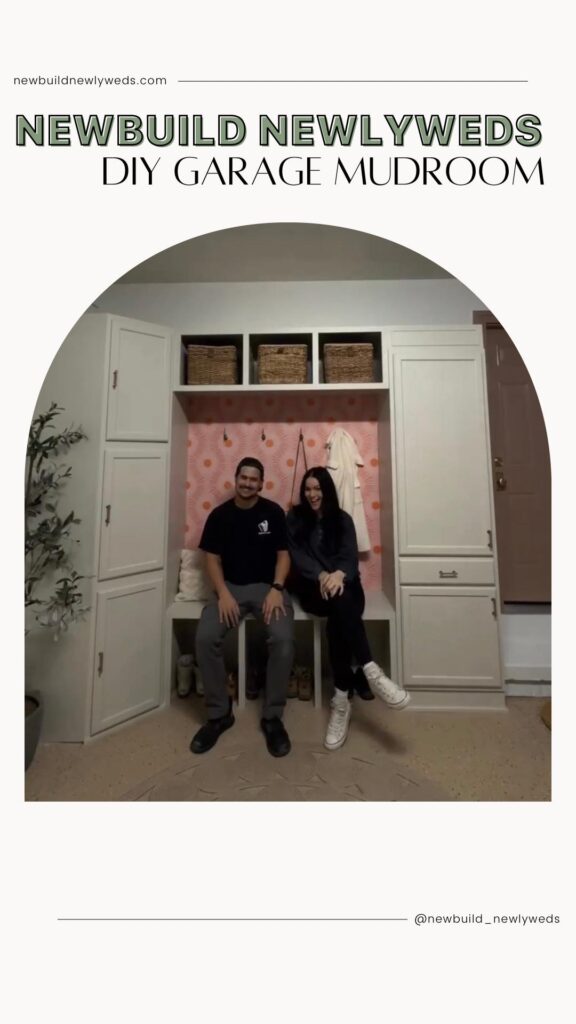
DIY Garage Mudroom
We have done a lot of updates to our garage from including epoxying the floors to creating our Harry Styles Themed Gym, but our Mudroom is still one of my favorite and one of the most impactful projects we’ve done.
Having this space not only updated the look of the garage, but it’s a really practical solution for storage and organization as well. Even though it was a tedious project with a lot of steps, the end result is so worth it!
What You’ll Need:
- Cabinets (we used a pantry cabinet and three corner cabinets from Home Depot)
- 18V 18-Gauge Brad Nailer
- 4x8s (for bench seats & cubbies)
- 1x2s (for trim)
- Hammer Drill
- Kilz Oil Based Primer
- Paint (we used Behr Even Better Beige)
- Wallpaper
- Coat Hooks
Let’s Get Started
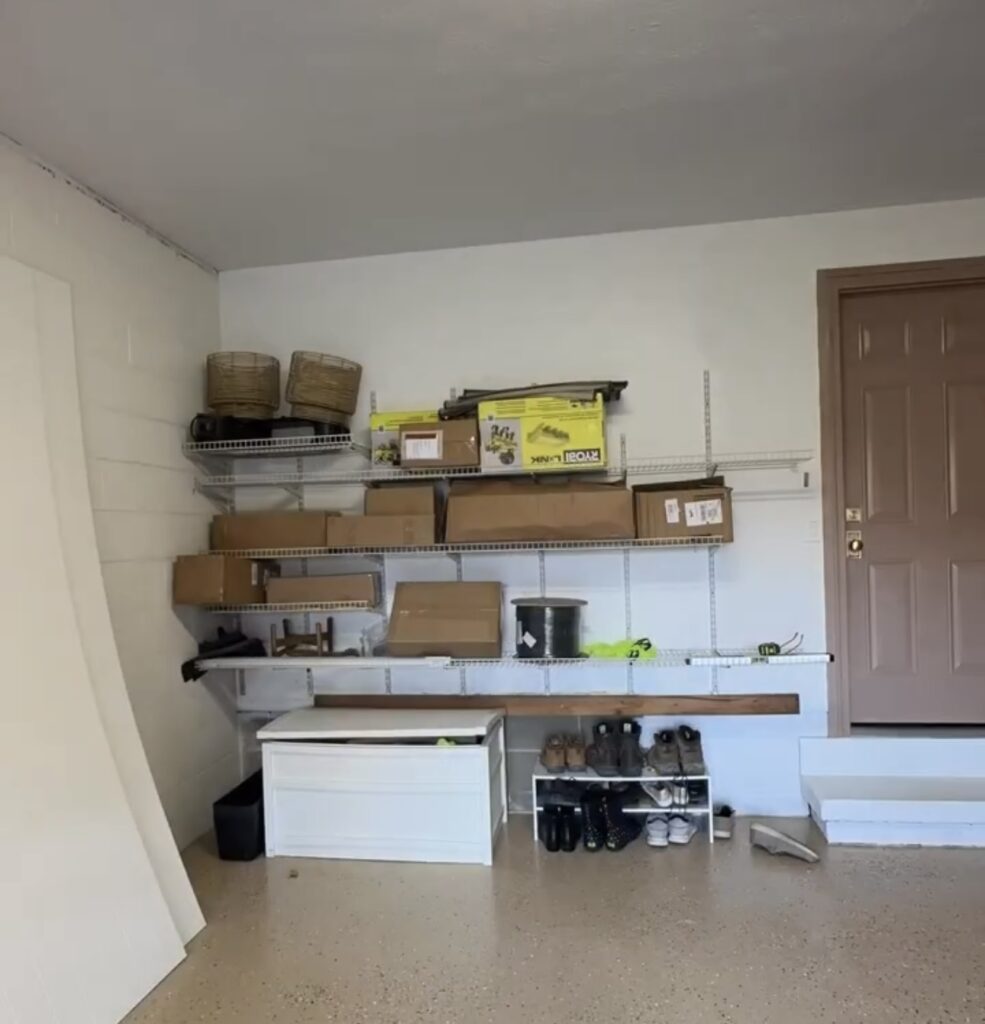
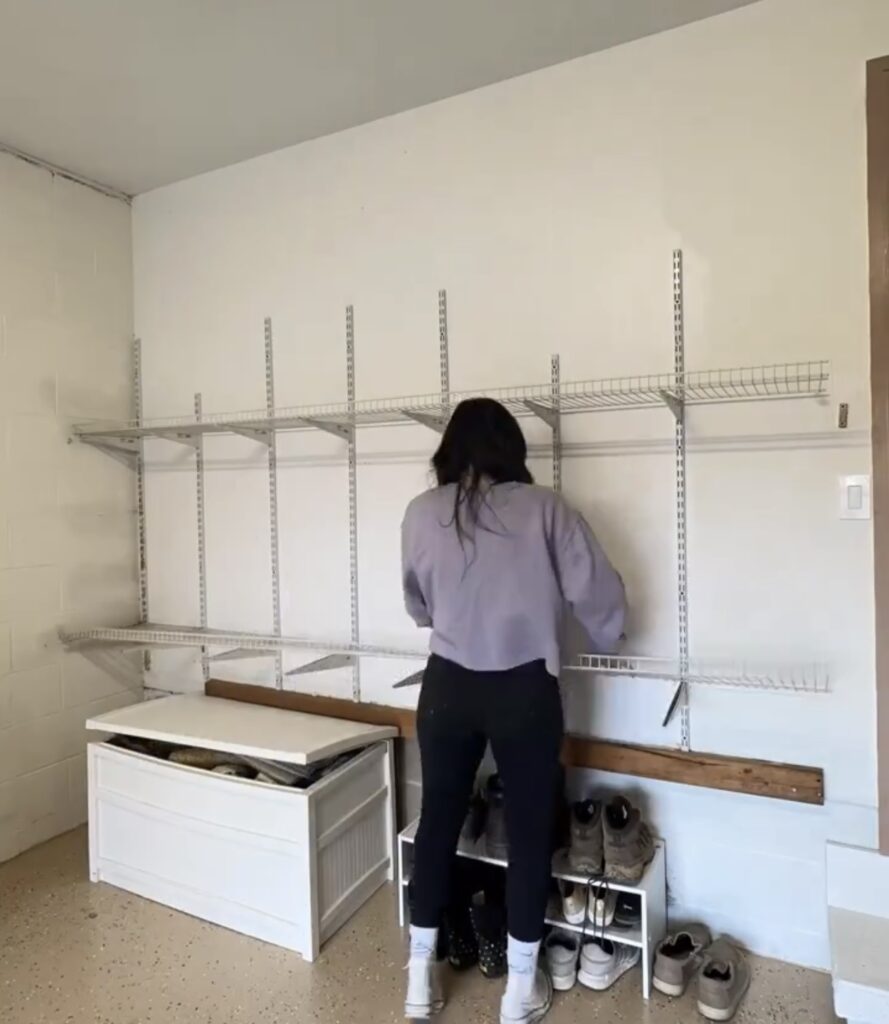
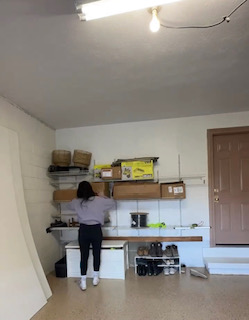
Before we started, we needed to clear off the wall and remove the existing shelving. We’d previously already painted the entire garage and epoxied the floors.
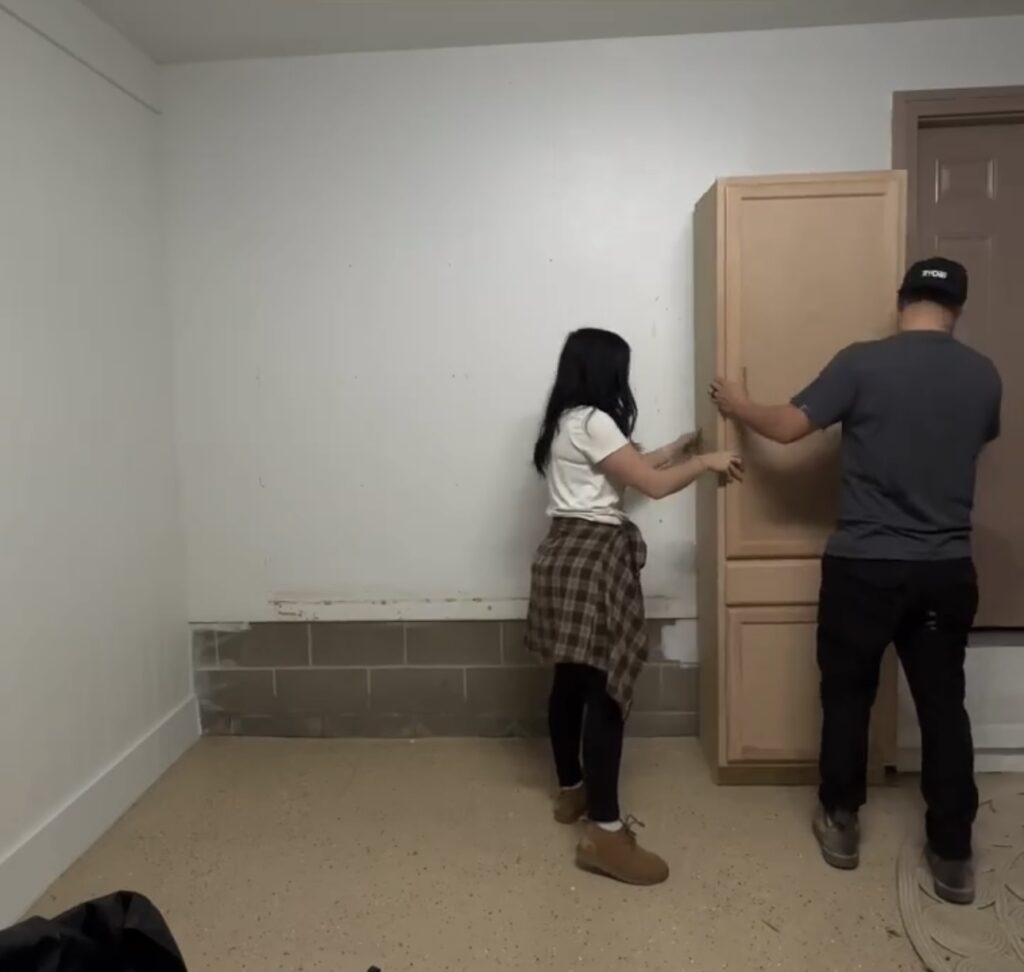
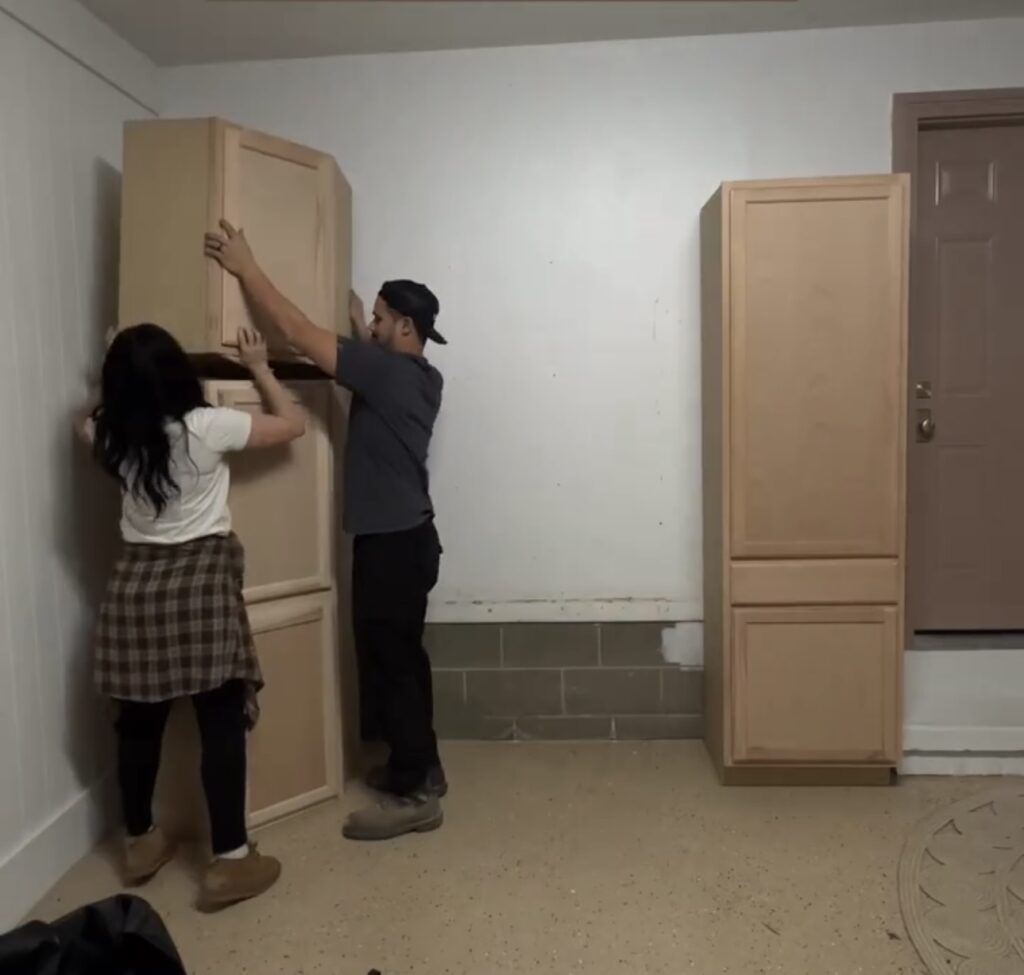
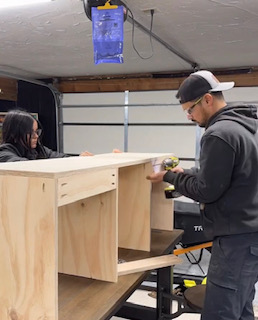
We started by moving the premade cabinets into place. We used one tall pantry cabinet along the wall by the door and stacked three corner cabinets on top of one another for the other side.
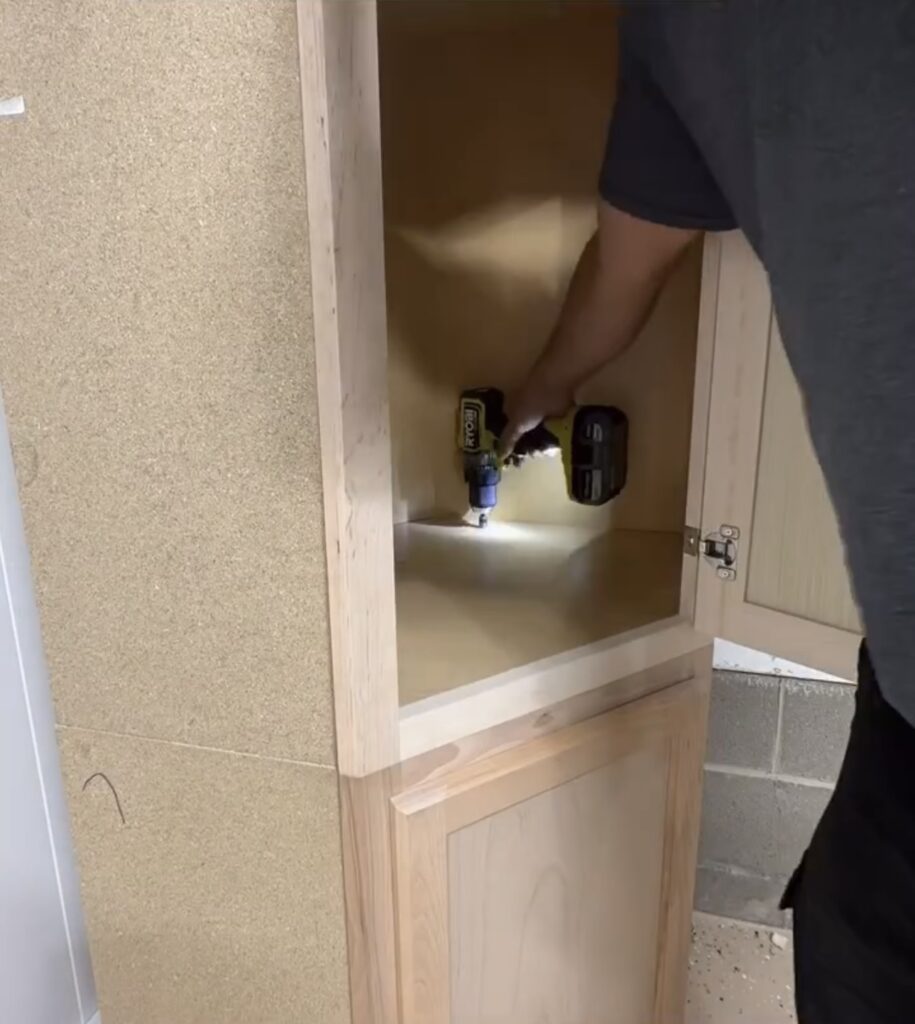
We attached the three cabinets together by pre-drilling and countersinking the screws and secured the pantry cabinet to the wall with cabinet screws. We added wood shims to make the cabinet level to the wall and floor where needed.
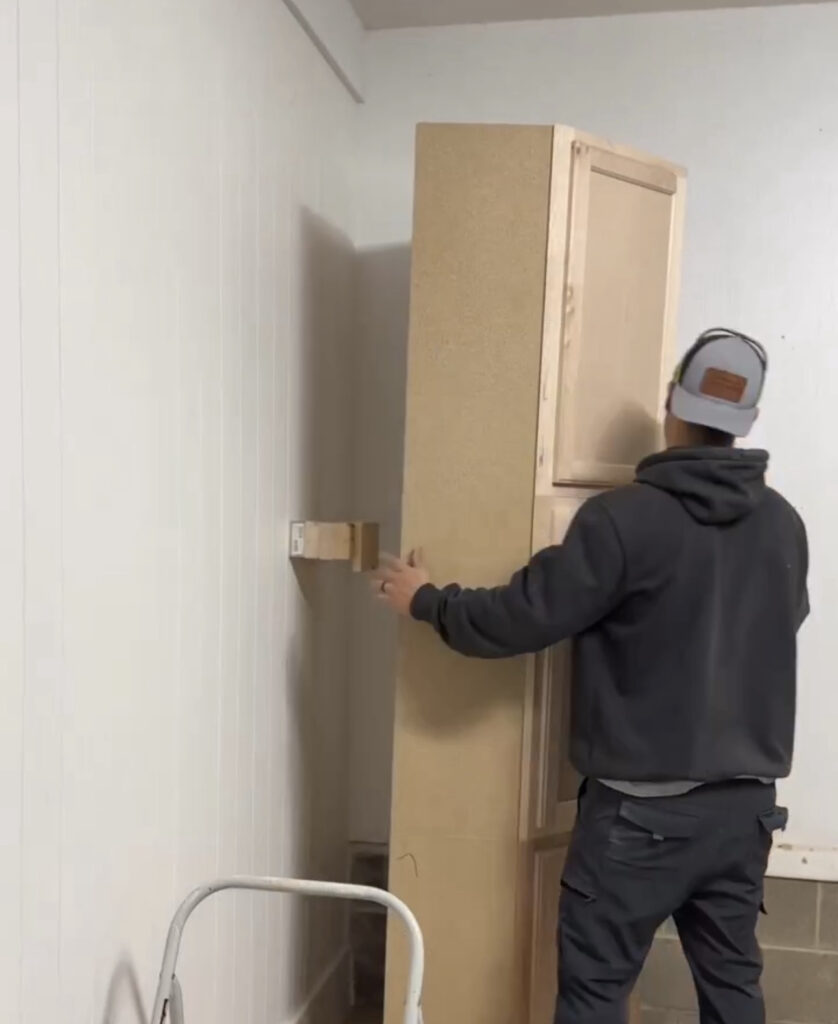
Because the pantry cabinet extends out further than the corner cabinets, we needed to place a few 2x4s stacked together behind the cabinet to make them even for when we add the bench and upper cubbies. We stacked the 2x4s and added them to the top and bottom of the wall on one side and to the middle of the other to give us something to screw into so it will all be attached to the wall.
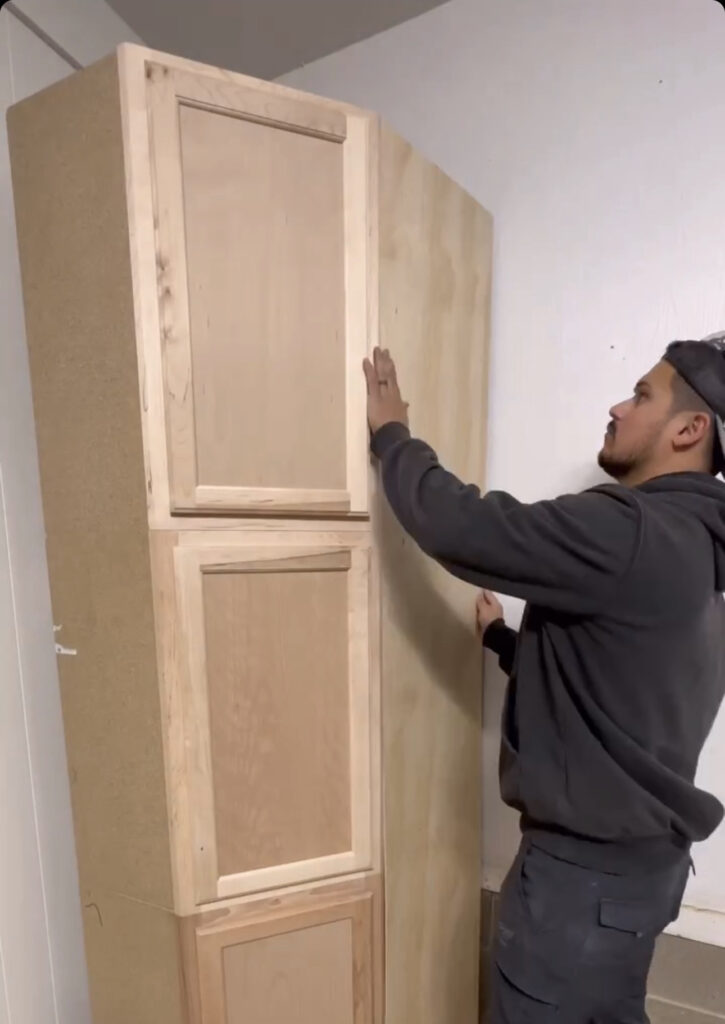
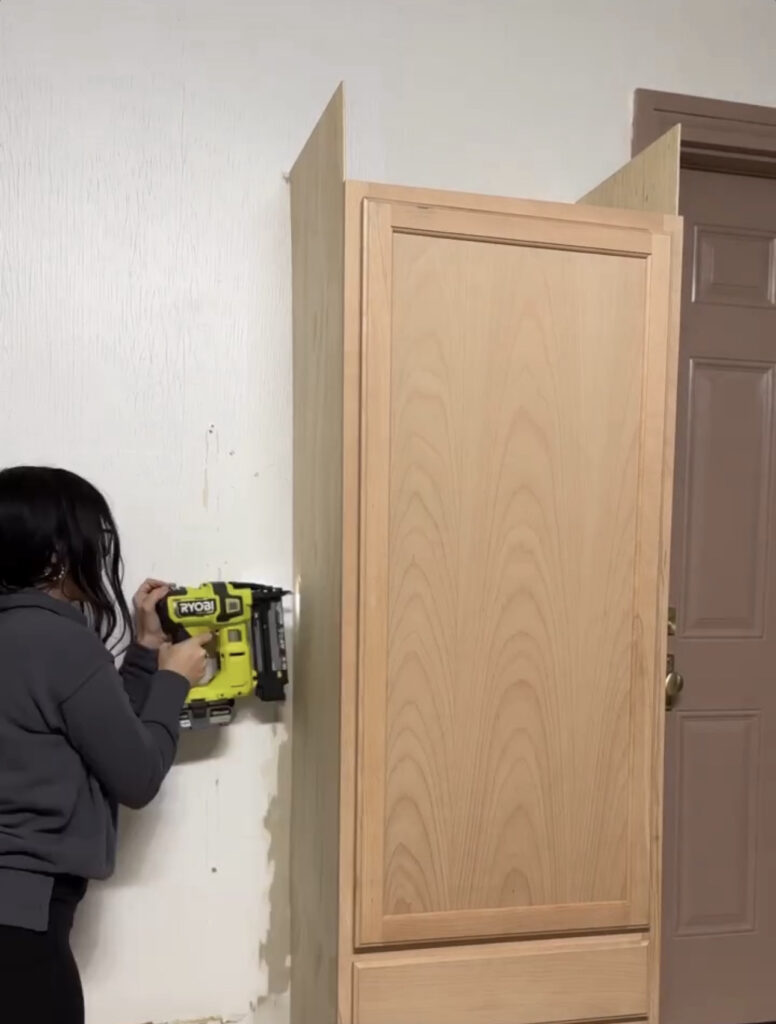
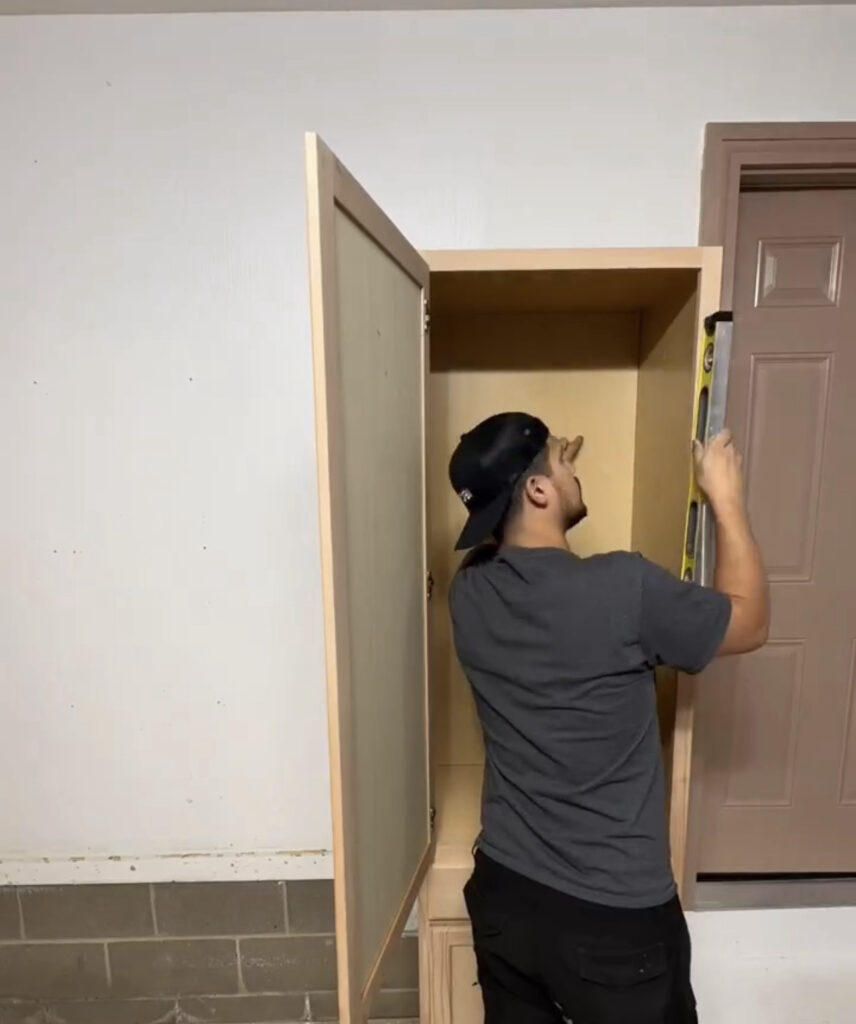
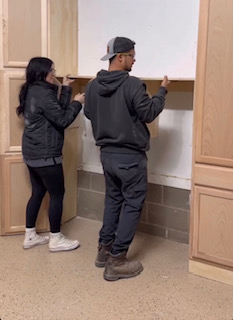
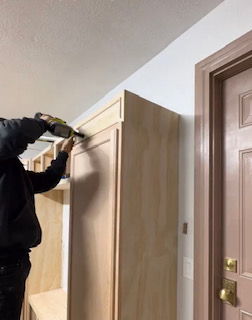
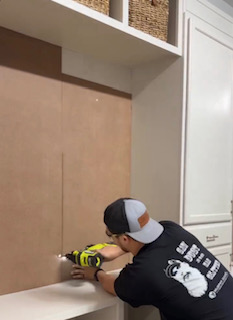
Once both cabinets were secured to the wall, we added panels to all four of the sides of the cabinets to cover the gap between the wall and the cabinet and to give them a more finished and built-in look.
On the pantry cabinet we cut the panel to be taller than the cabinet so that it would be even with the height of the corner cabinet on the other side.
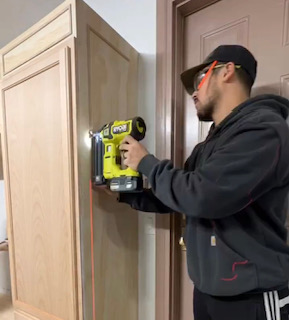
We used super short 18 gauge nails to attach the panels so they don’t go through the other side and stick out on the inside of the cabinets.
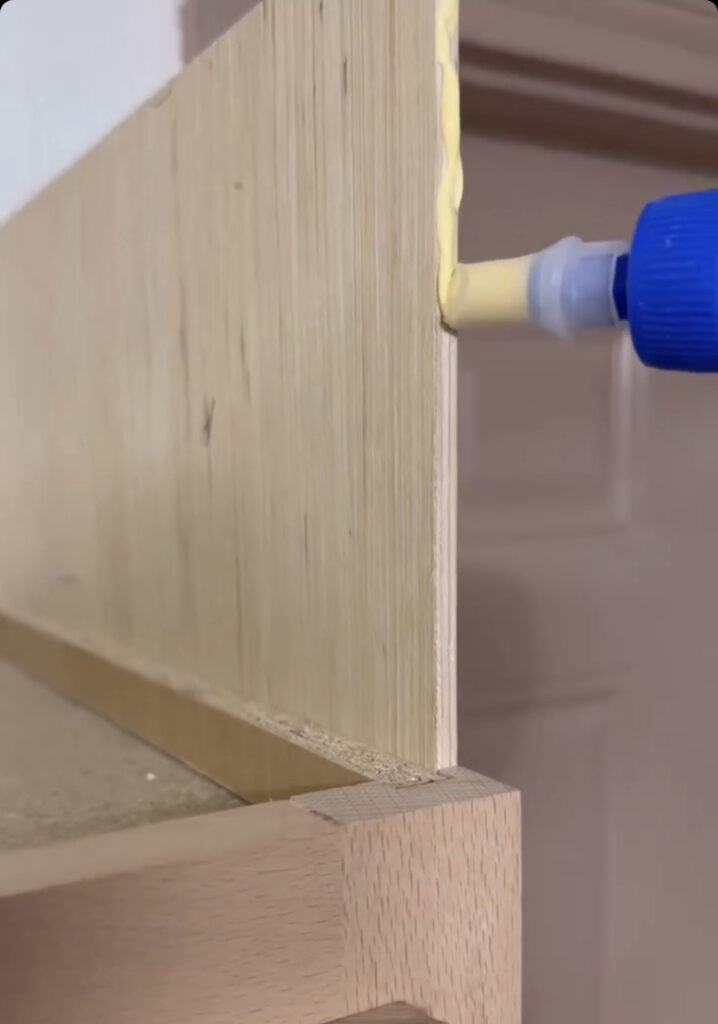
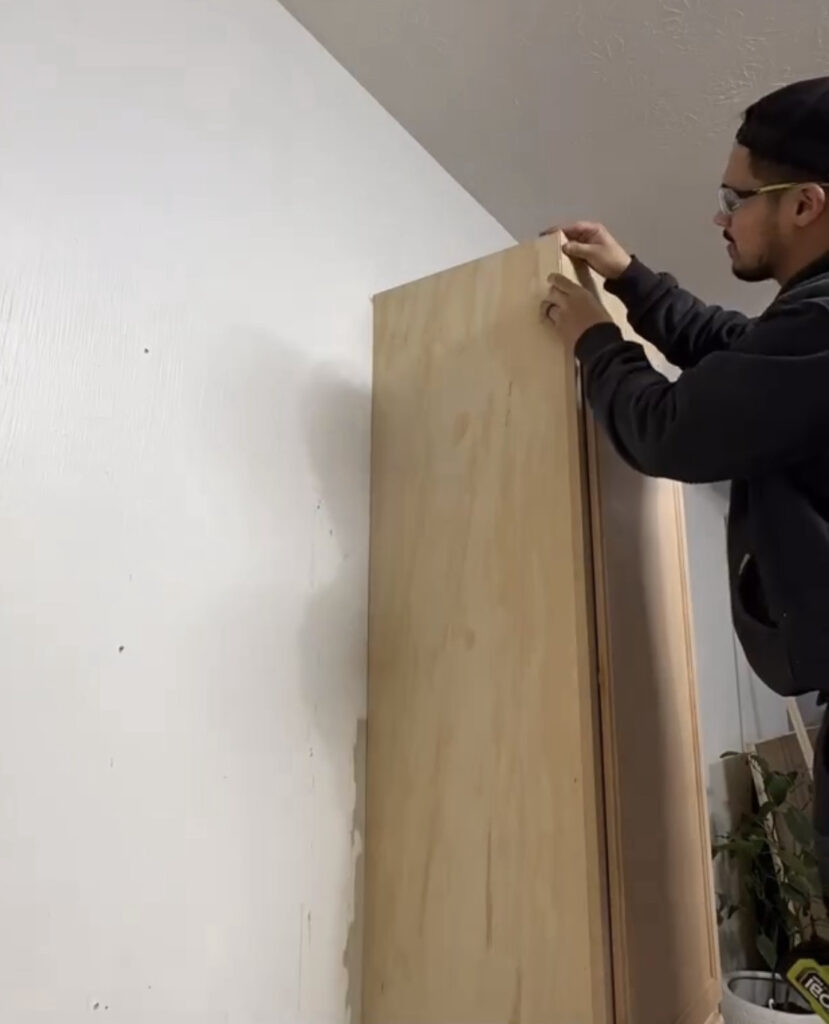
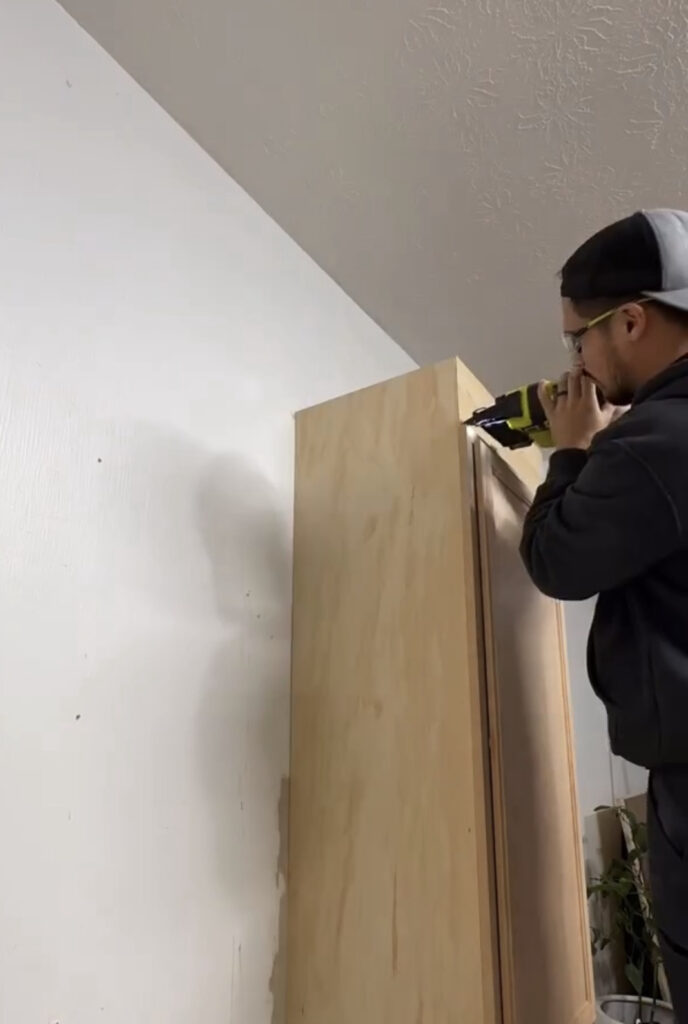
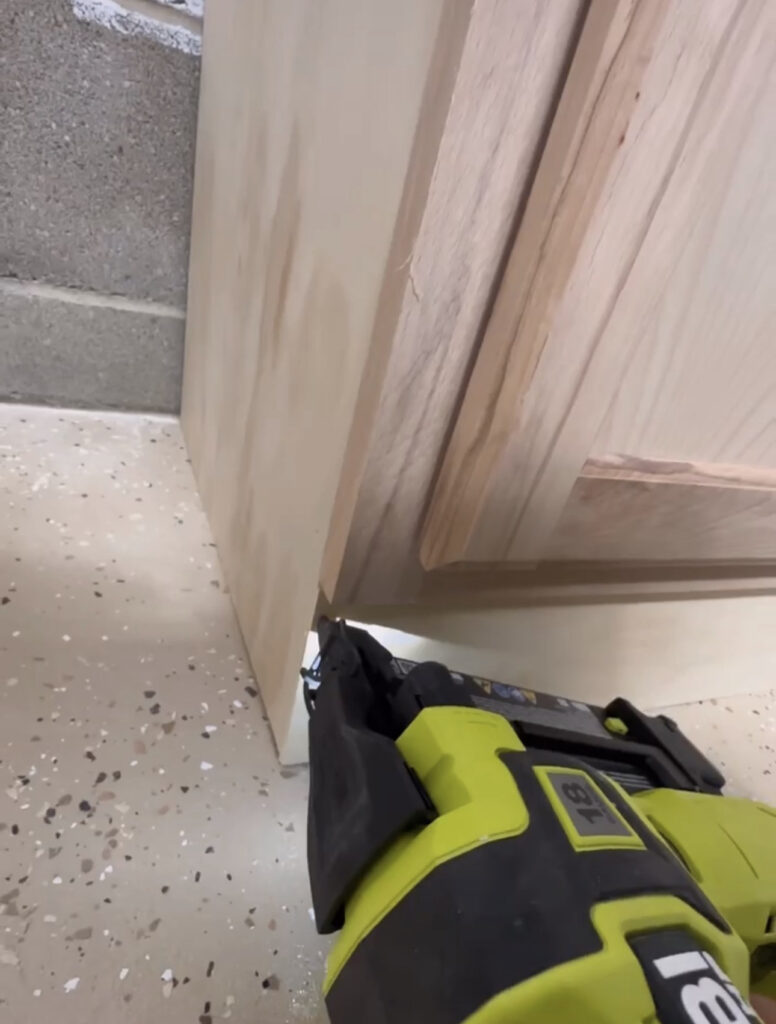
We used a wood glue to attach a piece of paneling to finish off the extra space needed at the top of the pantry cabinet. Then we secured it with the 18-gauge nailer and added paneling to the bottom of the cabinet to give it a more finished look as well.

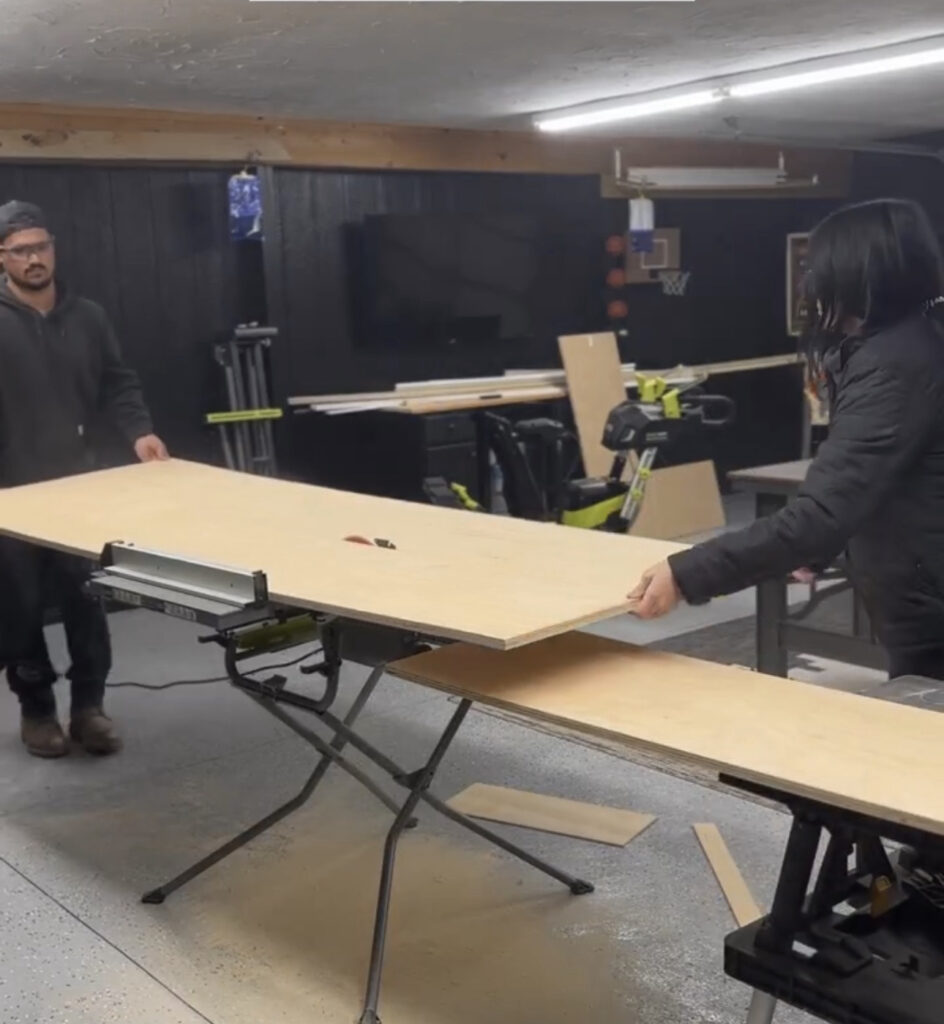
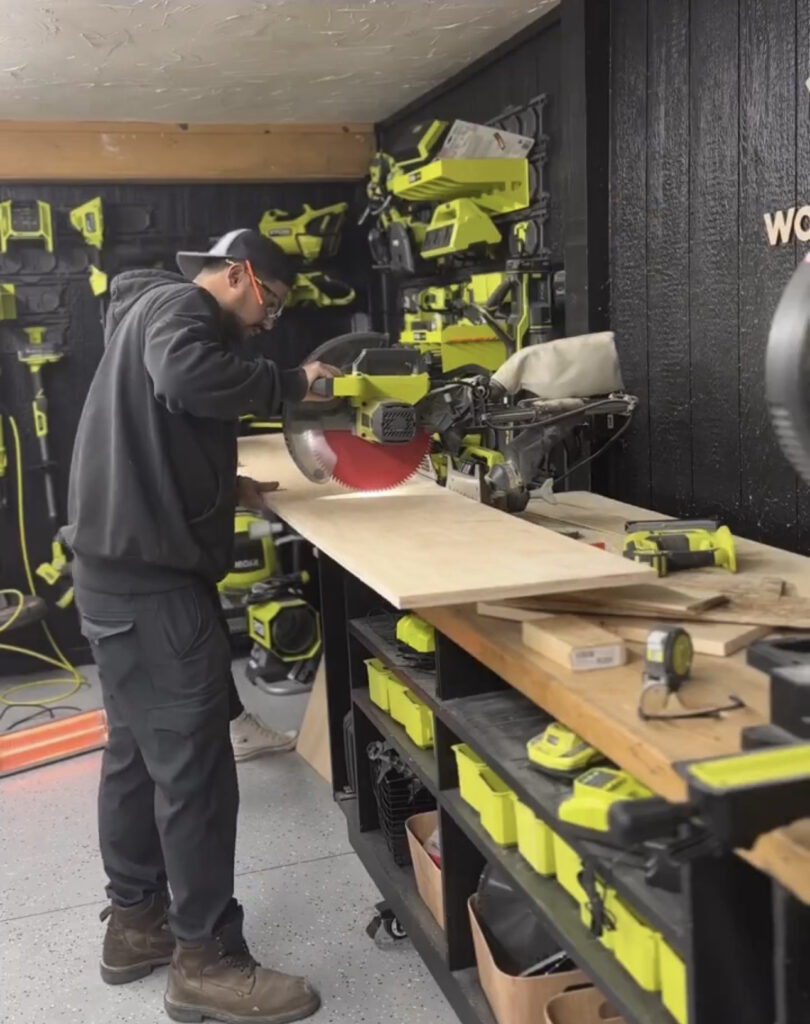
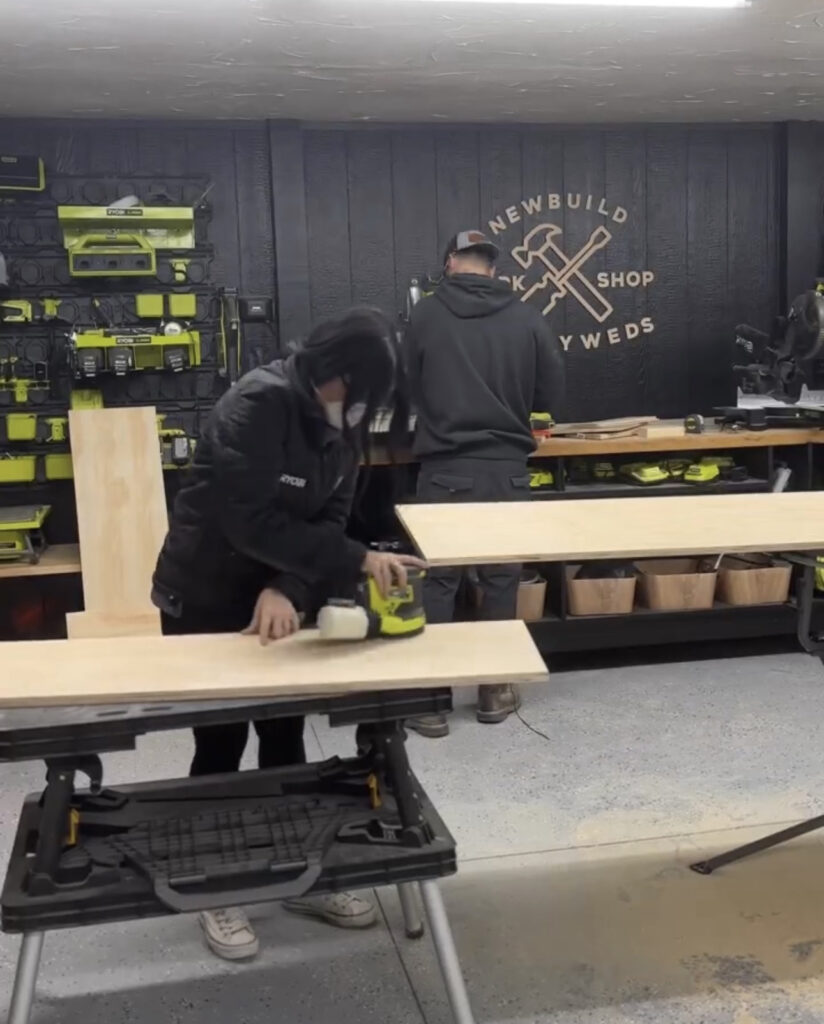
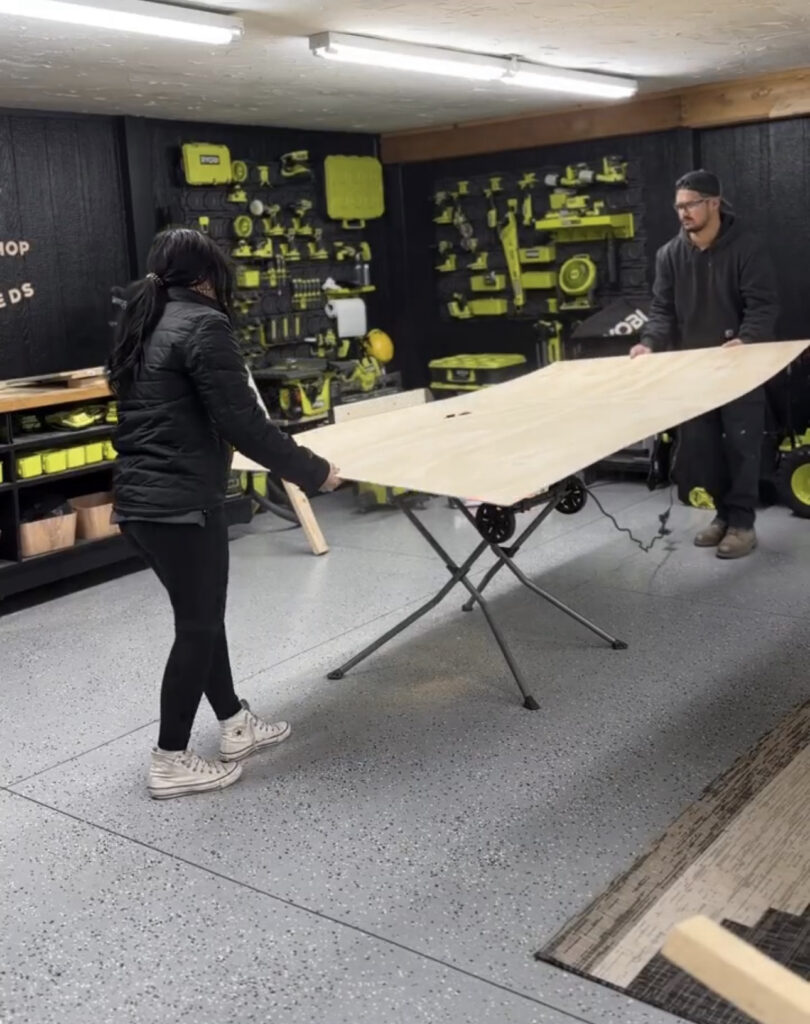
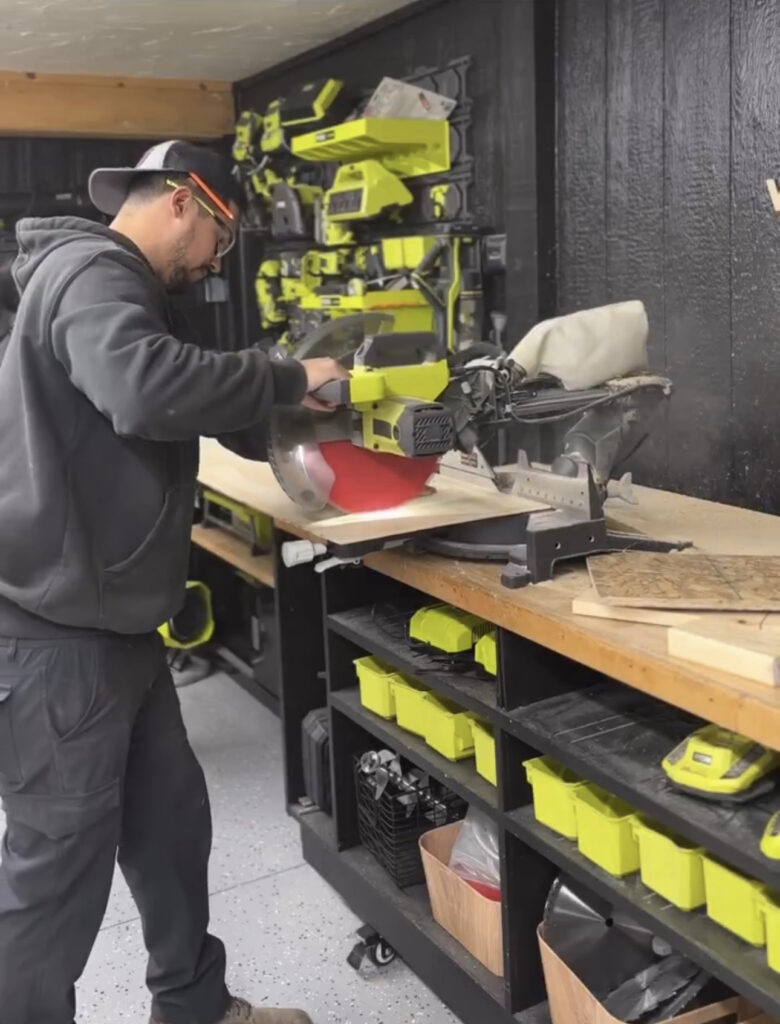
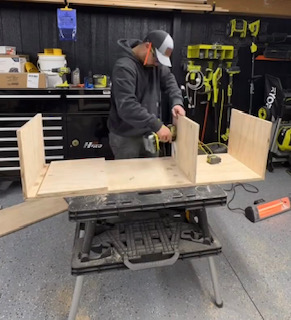
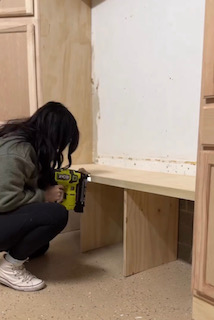
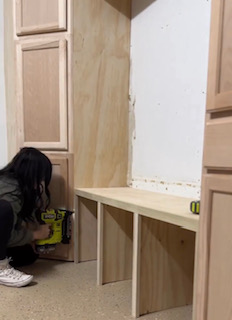
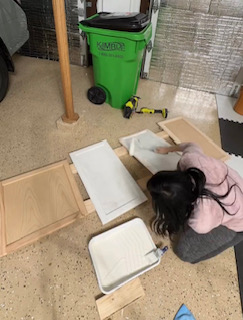
The next part of this project was building the bench to go between the cabinets. We used 3/4″ 4×8 boards and cut them to the measurements that we needed and then sanded it down so that it’s nice and smooth. We’ll be painting all of the wood once everything is finished and it is much easier to sand now than once it’s all installed.
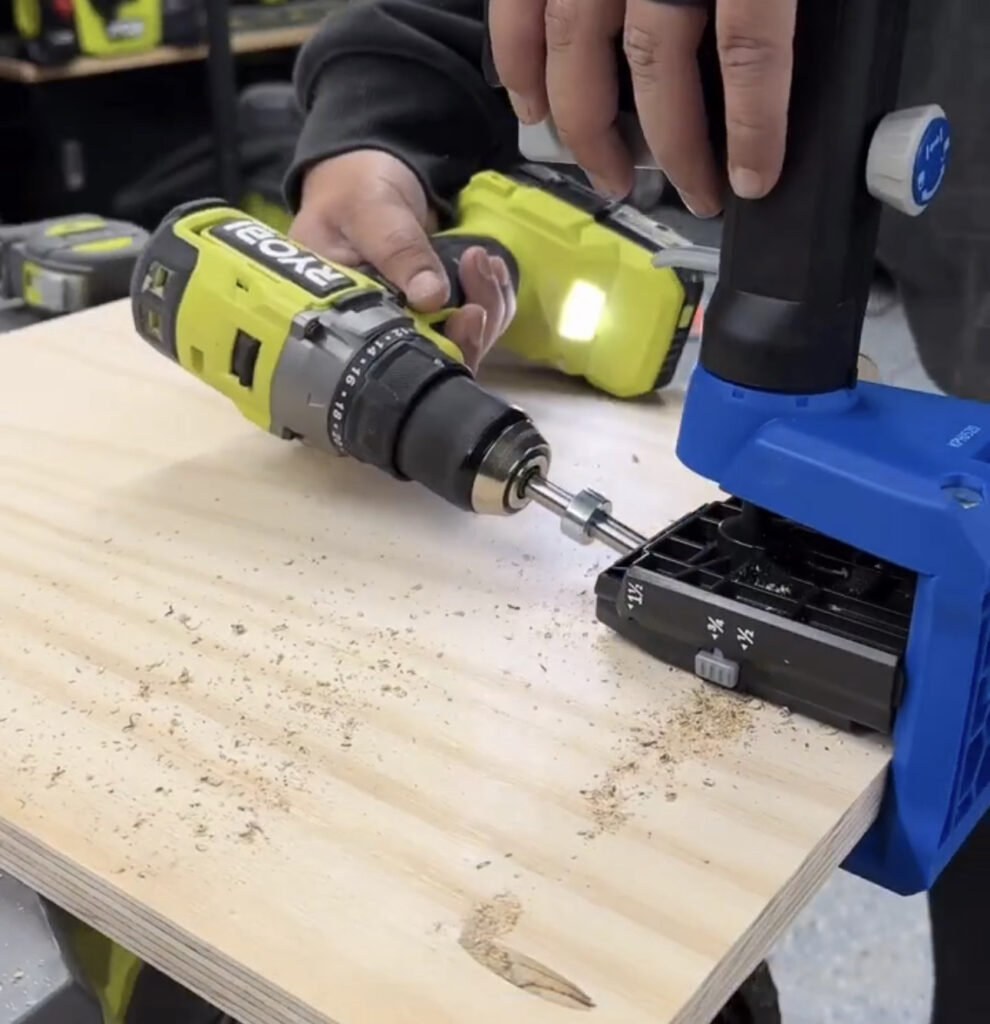
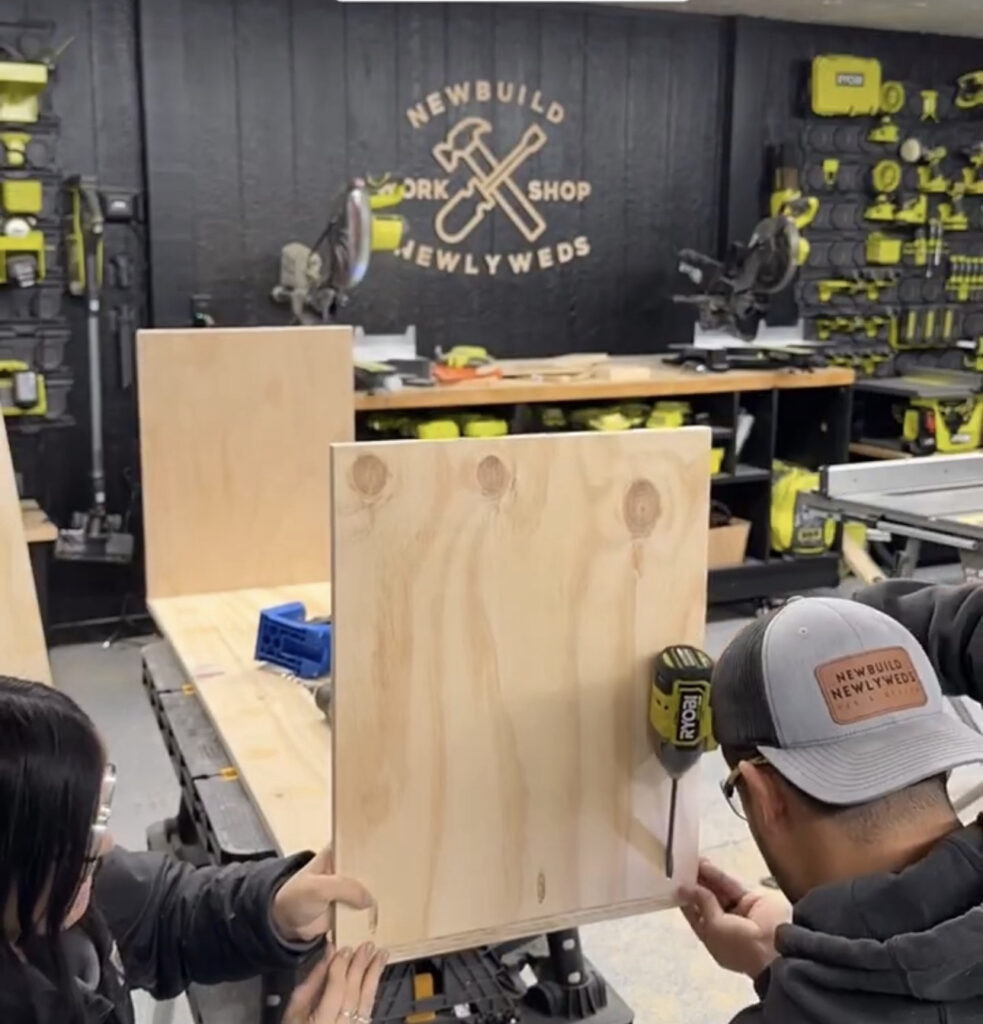
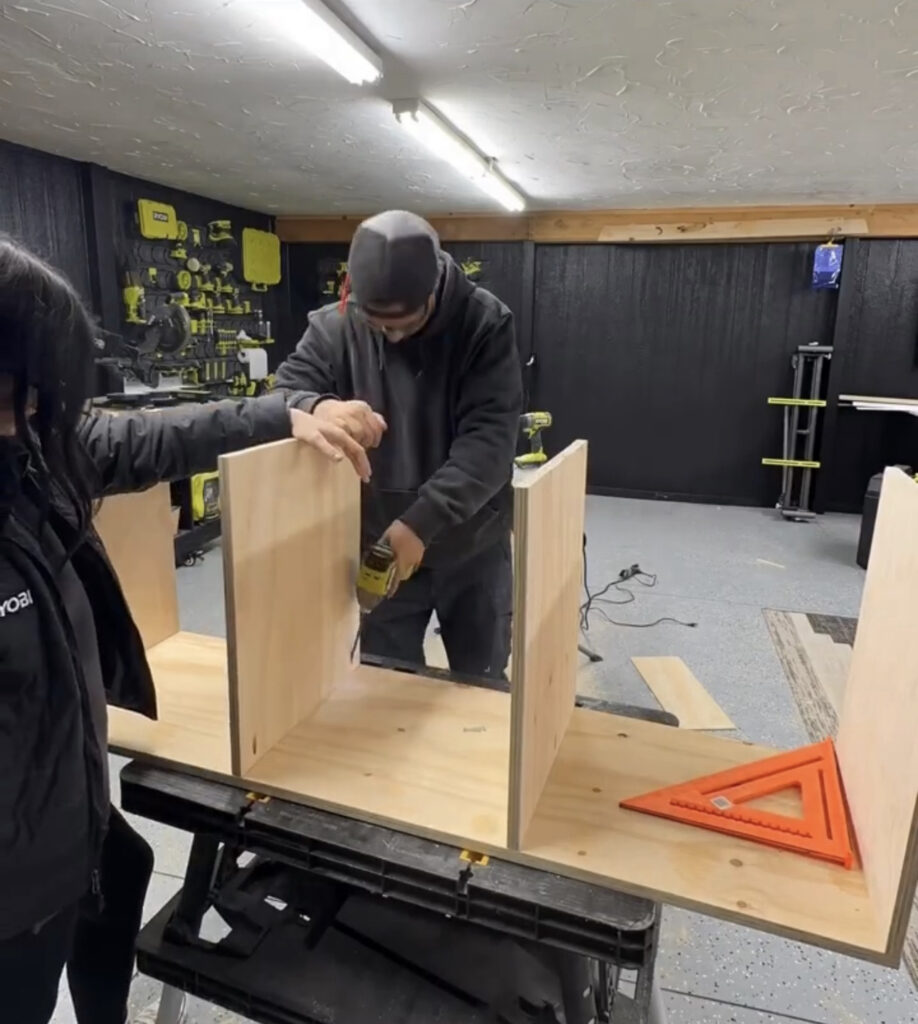
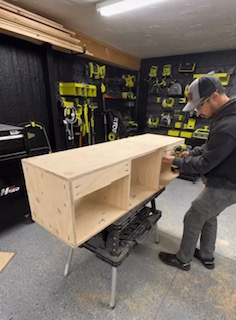
We wanted a space to put our shoes in the mudroom so we created a bench with three cubby holes below it. To make the cubbies, we used our kreg jig to create three pocket holes in each vertical board and screwed them to the bottom of the bench seat.
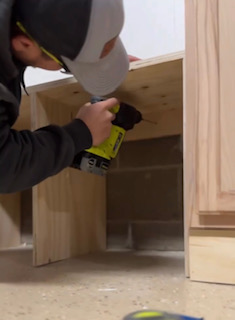
We added a bracing board across the back of each cubby using the Kreg jig to make four pocket holes and screwed them in flush with the back of the bench. The bracing boards will help keep the bench and cubbies sturdy and stable and will also give us something to secure the bench seat into the wall with.
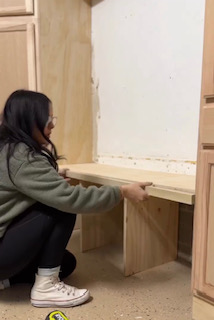
We got the bench seat into place between the two cabinets and used a hammer drill with concrete bit and screws to secure the bench to the cinderblocks at the bottom of the wall.
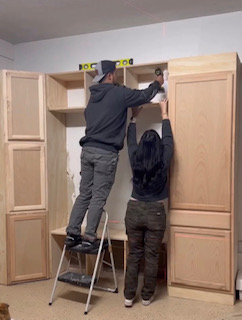

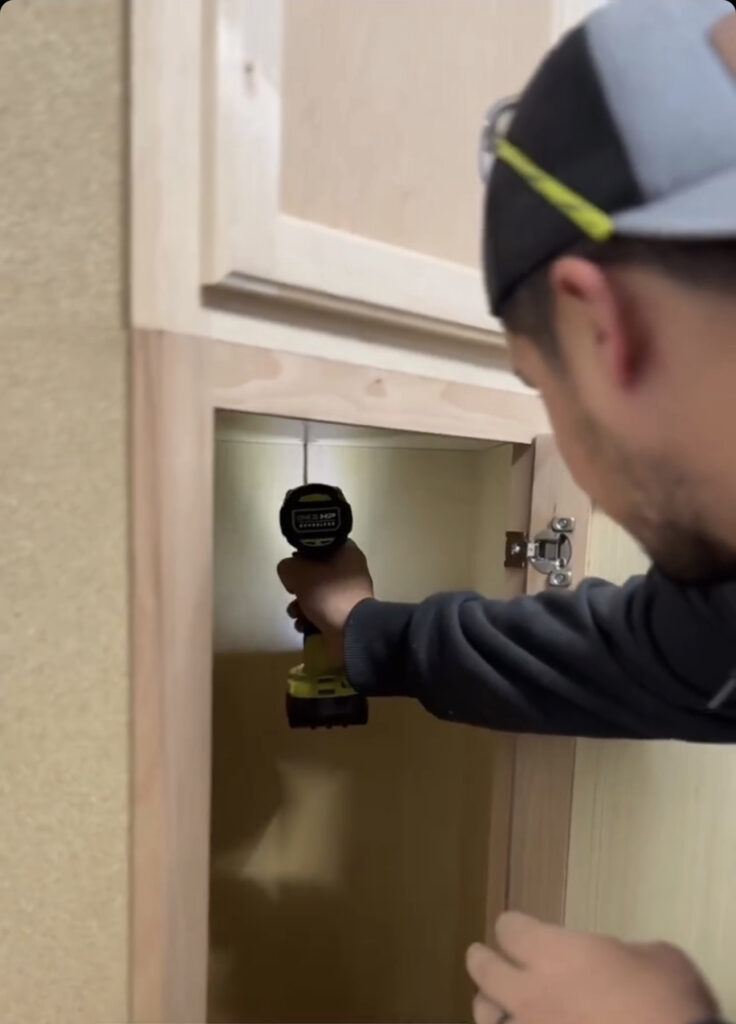
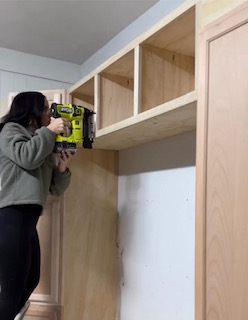
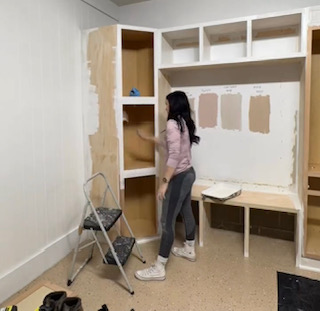
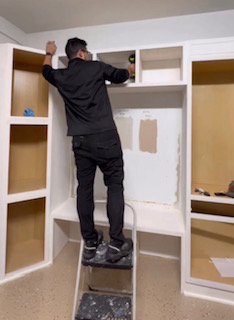
After getting the bench seat in and installed, we then repeated all of the exact same steps we used to make the bench to create the upper cubbies but just added a board across the bottom. We installed the cubbies by drilling through the bracing boards into the studs of the wall. We made sure the cubby was level before drilling into the wall.
Once the bench and upper cubbies were installed, we sanded and nailed in pieces of 1×2 poplar to trim all of the edges. This step isn’t necessary structurally but makes a huge difference in the overall look of the mudroom.
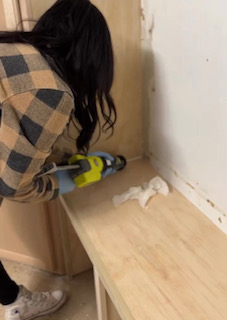
After adding the trim, I caulked the corners where the bench and cubbies attached to the cabinets.
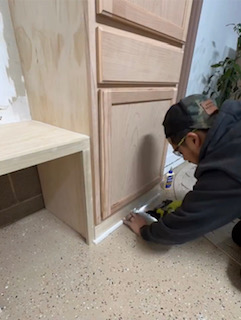
The next things we did were more just extra little things to elevate the look of the mudroom. We had some leftover shoe molding from when we did the interior of the house so we used that to add to the bottom of the two cabinets. And then Ryan used some leftover strips from the pole wrap to add some decorative trim to the top and side of the pantry cabinet.

I removed the cabinet doors and painted a coat of Kilz oil based primer. The primer seals the porous surface of wood and enables the coat of paint to better cover the surface. Ryan used the 18-gauge nailer to add paneling boards to the inside of the cubbies and between the cubbies of the bench. This just added some texture to those open spaces and we will paint the inside the same color as the cabinets. We wanted a really smooth finish so after the first coat of primer dried, I lightly sanded everything and did a second coat of primer.
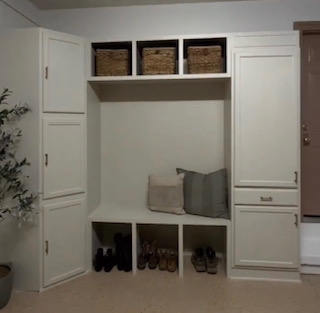
Once the second coat of primer was dry, I painted the cabinets, benches and cubbies Even Better Beige. We added hardware to the doors of the cabinets for a more custom look and added baskets to the inside of the upper cubbies.
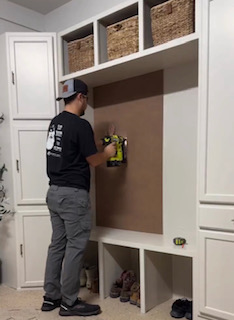
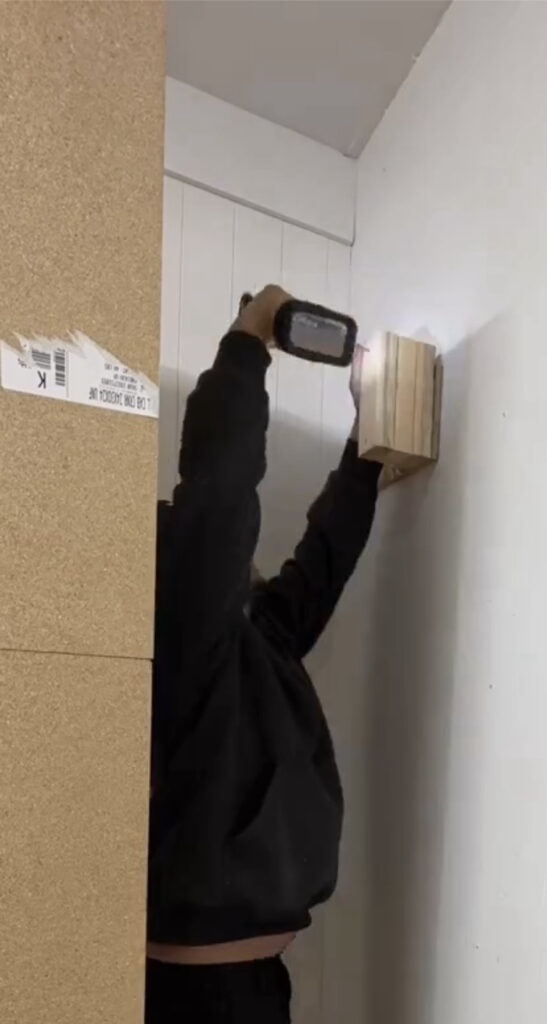
We finished this phase of the mudroom by adding wallpaper to the open wall between the cabinets. Ryan nailed in some thin boards to the wall so the wall paper had something smooth and even to adhere too. The wallpaper we chose is peel and stick and came in numbered panels to make it easier to match up the pattern.
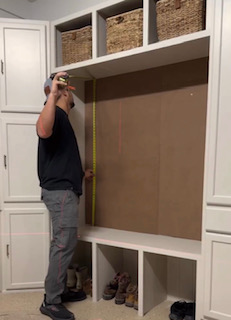
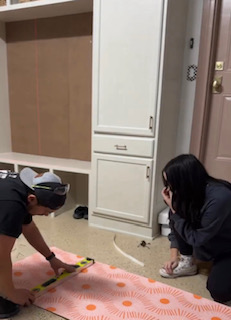
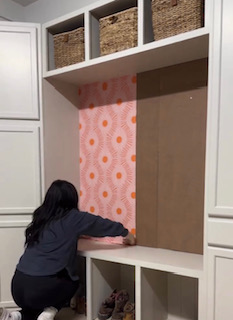
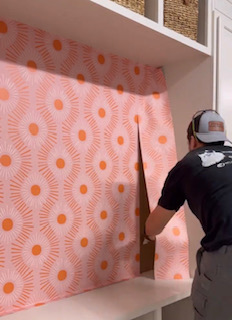
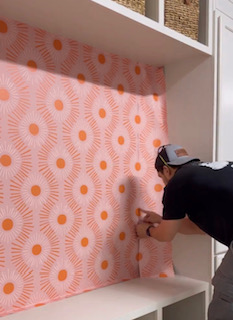
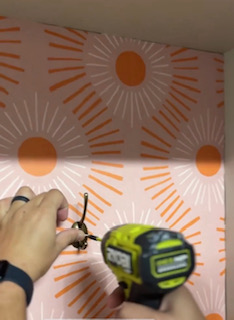
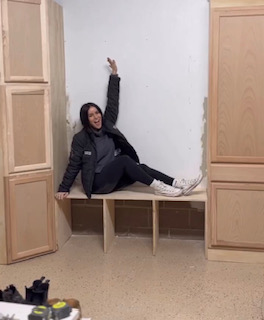
Ryan measured the wall and made the cuts to the wallpaper before removing the backing and sticking it to the wall. We completed the space by drilling four coat hooks across the wall so we can hang things like our winter coats up!
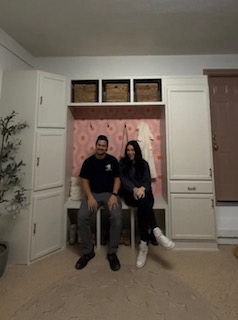
It turned out so much better than I imagined in my head! It’s not only a beautiful space to look at, but it serves so many useful purposes. I can’t wait to drive my car into the garage and see this instead of the old wire shelves and boxes from before.
Stay tuned for the next phase of this project when we extend the mudroom with more cabinets on the side wall, connected to the corner cabinets.
Leave a Reply
Grab our FREE download
Wanna know the 5 must have tools you need before you start?
Considering a DIY Project?


Be the first to comment