


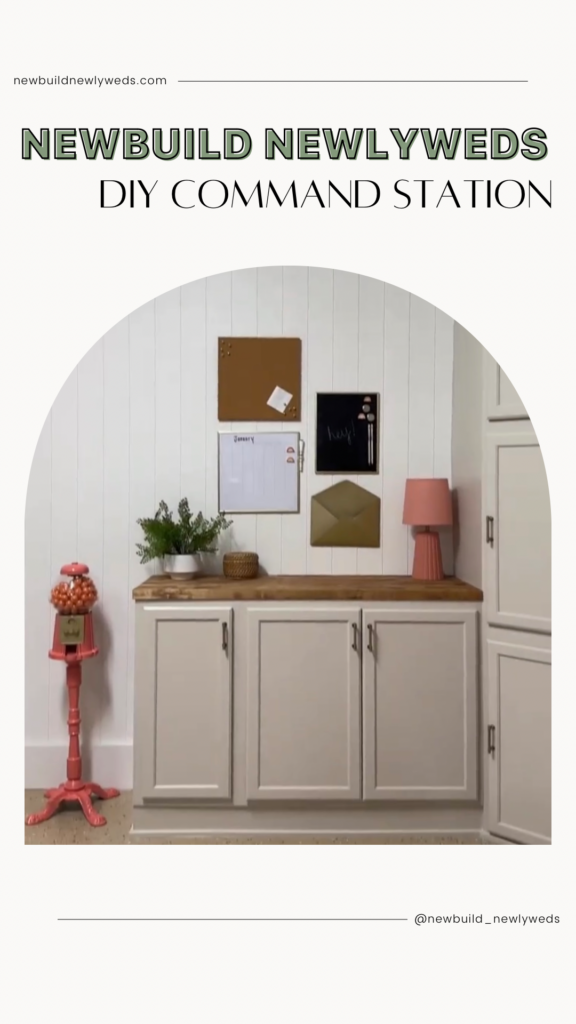
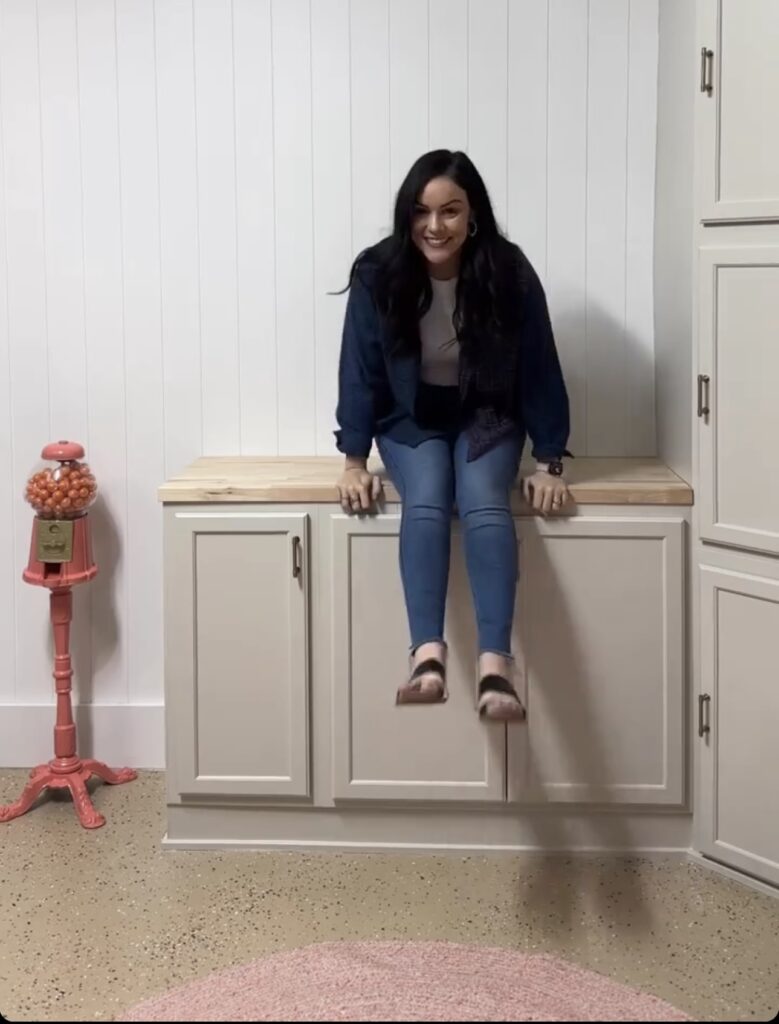
DIY Command Station
After doing the cabinets and cubbies side of our garage mudroom, it still felt like it needed something else.
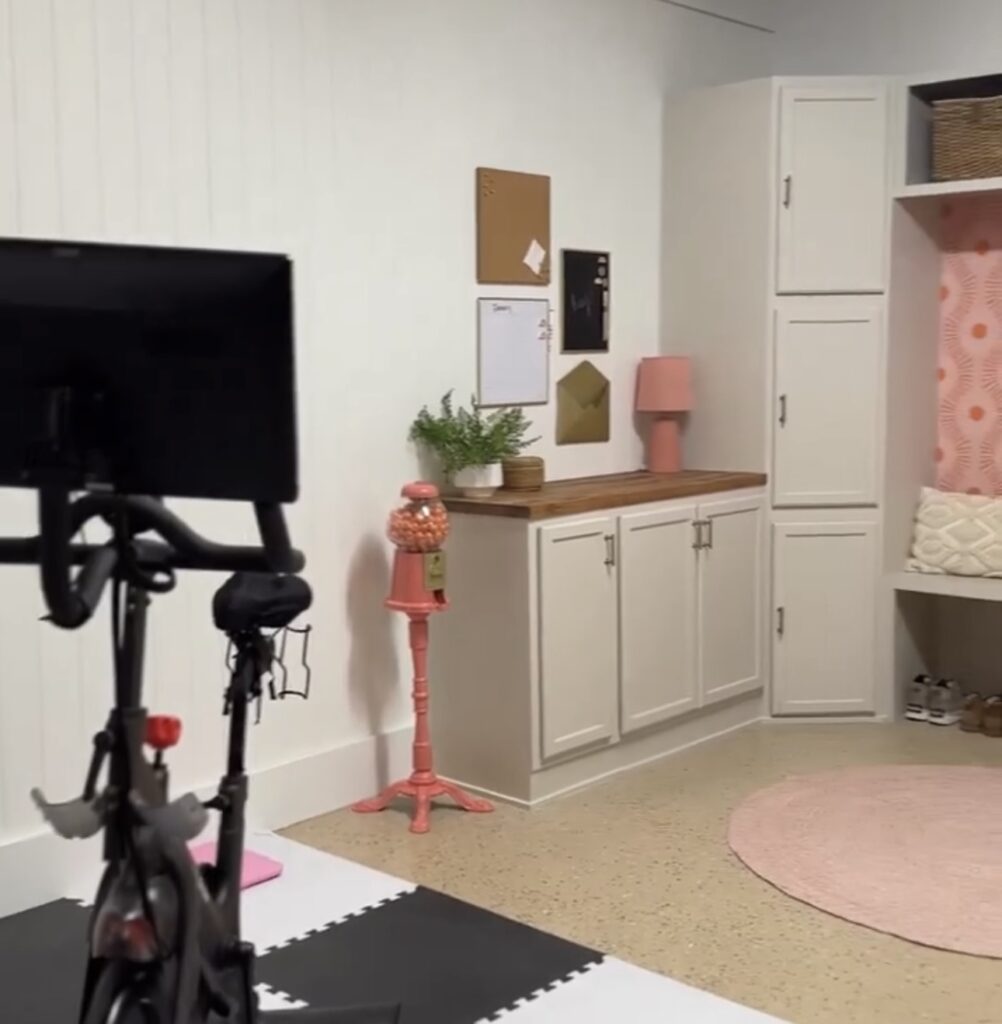
There was a good amount of space between the area we used for the home gym and the mudroom, so we decided to extend the cabinets by adding a command station.
What You’ll Need:
- Premade Base Cabinets from Home Depot
- 2x4s & Plywood for cabinet base
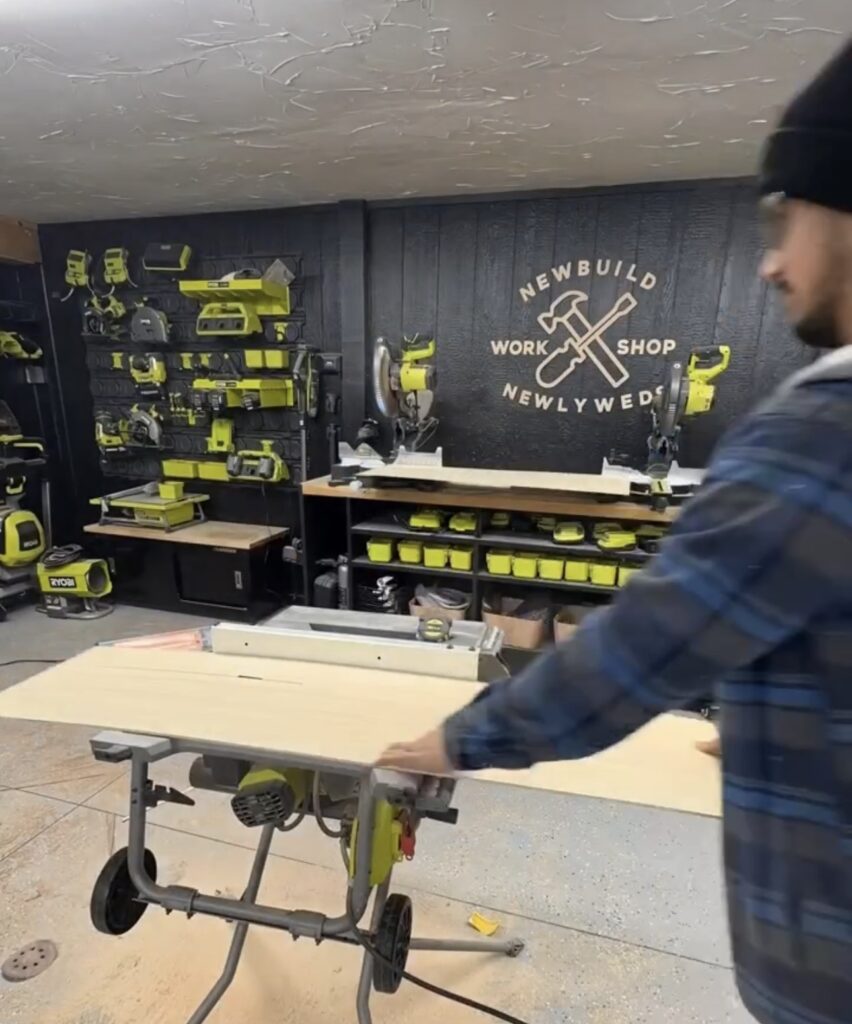
- Table Saw
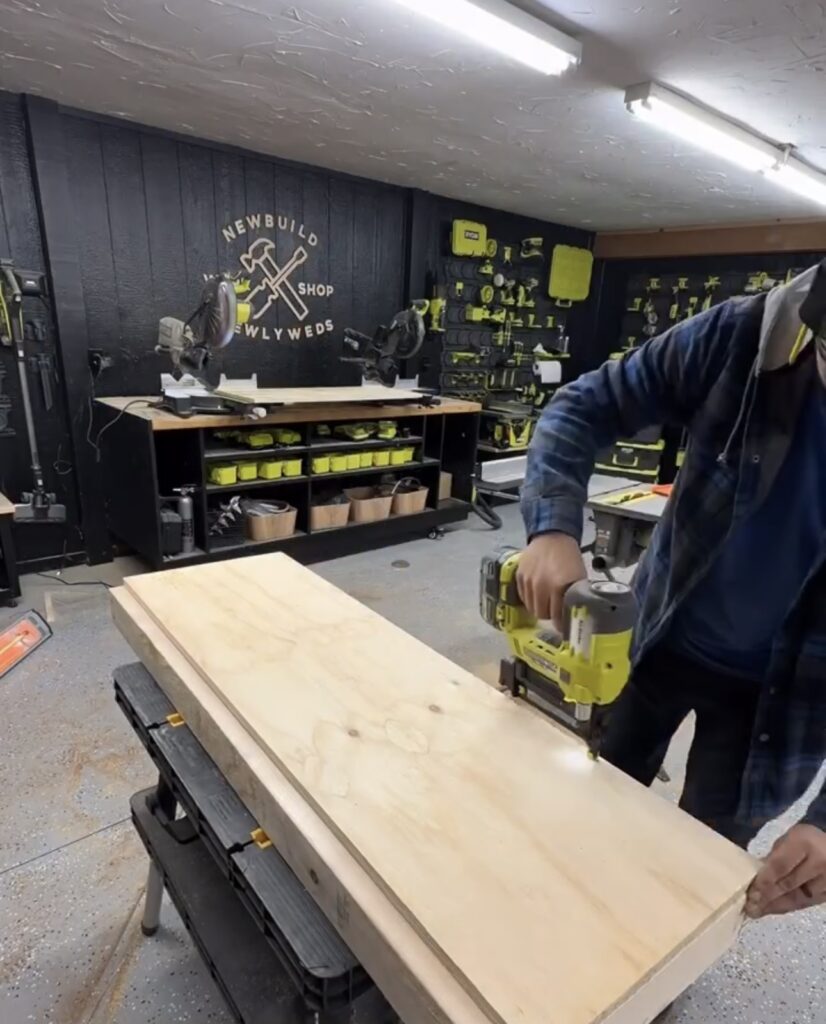
- 18V Brad Nailer
- Hammer Drill
- Butcher Block Countertop
- Jigsaw
- Caulk & Caulk Gun
- Primer & Paint
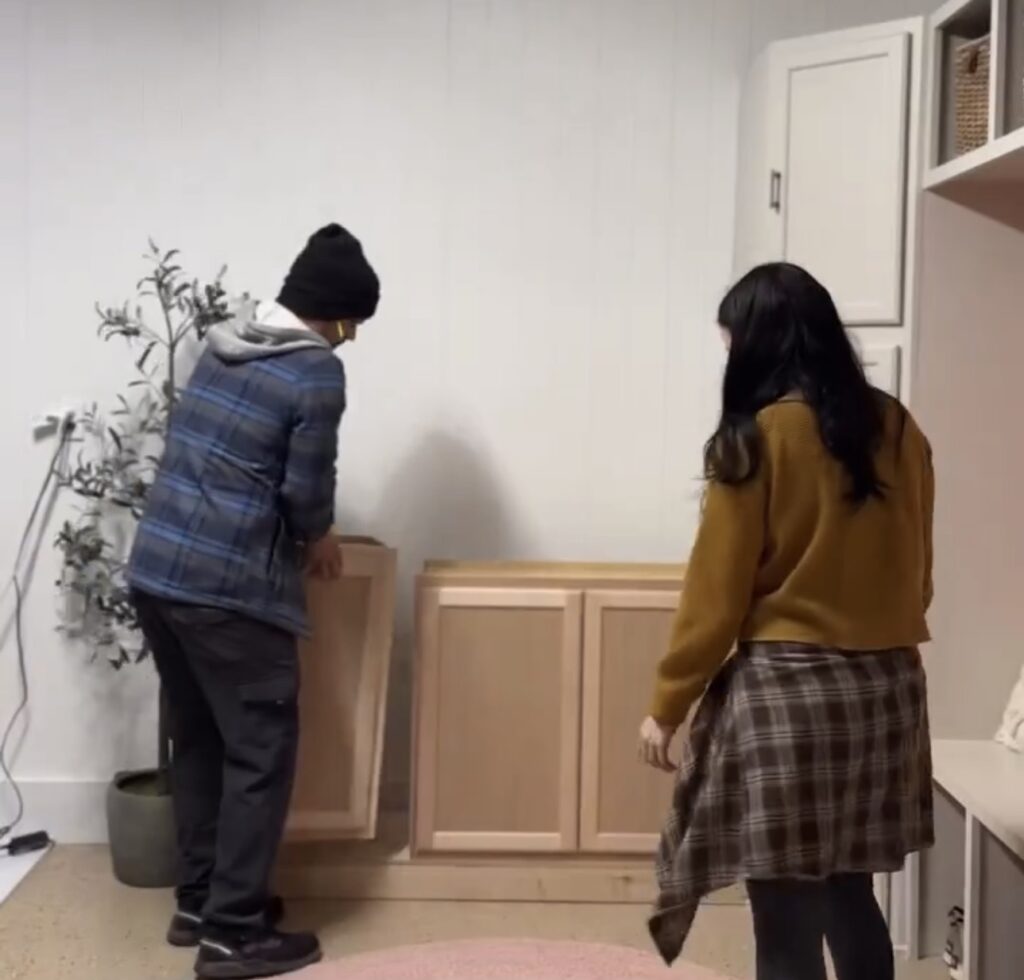
Just like with the rest of the mudroom, we used premade cabinets from Home Depot for this project to make it quick and easy.
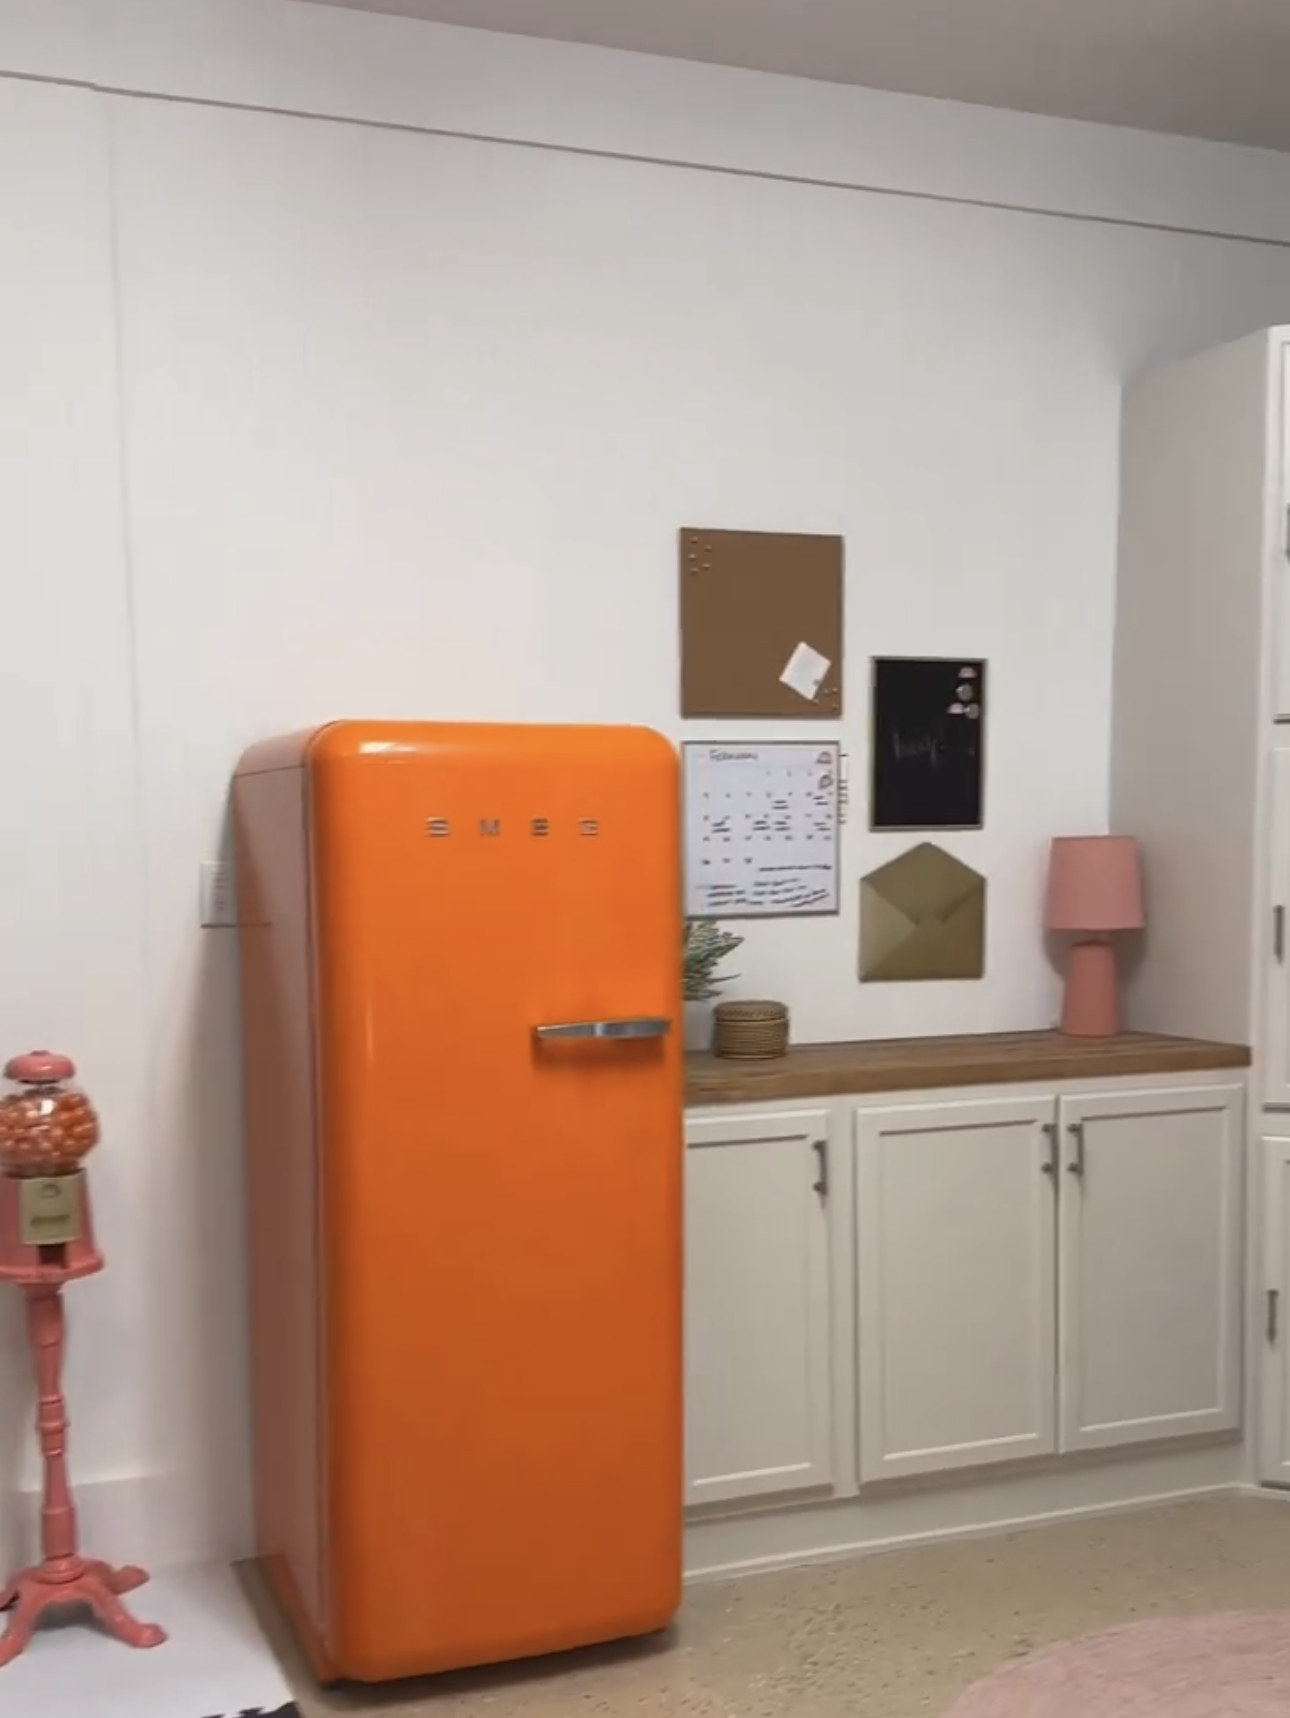
We ended up choosing to use one 2-door cabinet and one 1-door cabinet. Putting these two together fit the space between the mudroom and gym perfectly and still left just the right amount of space to add the small refrigerator that will complete this space.
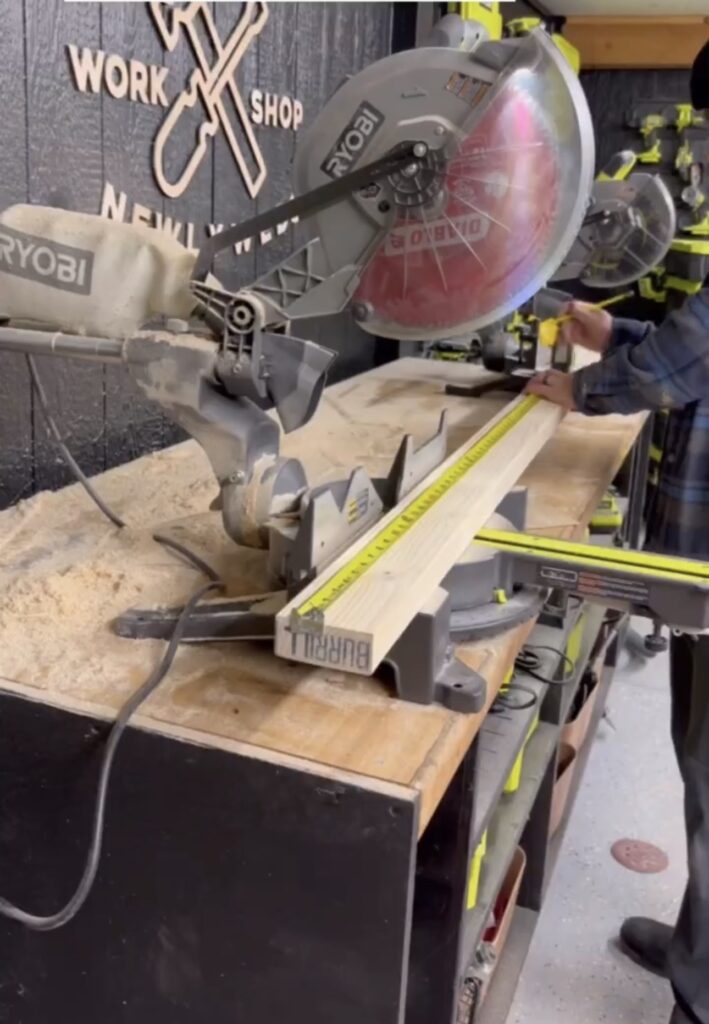
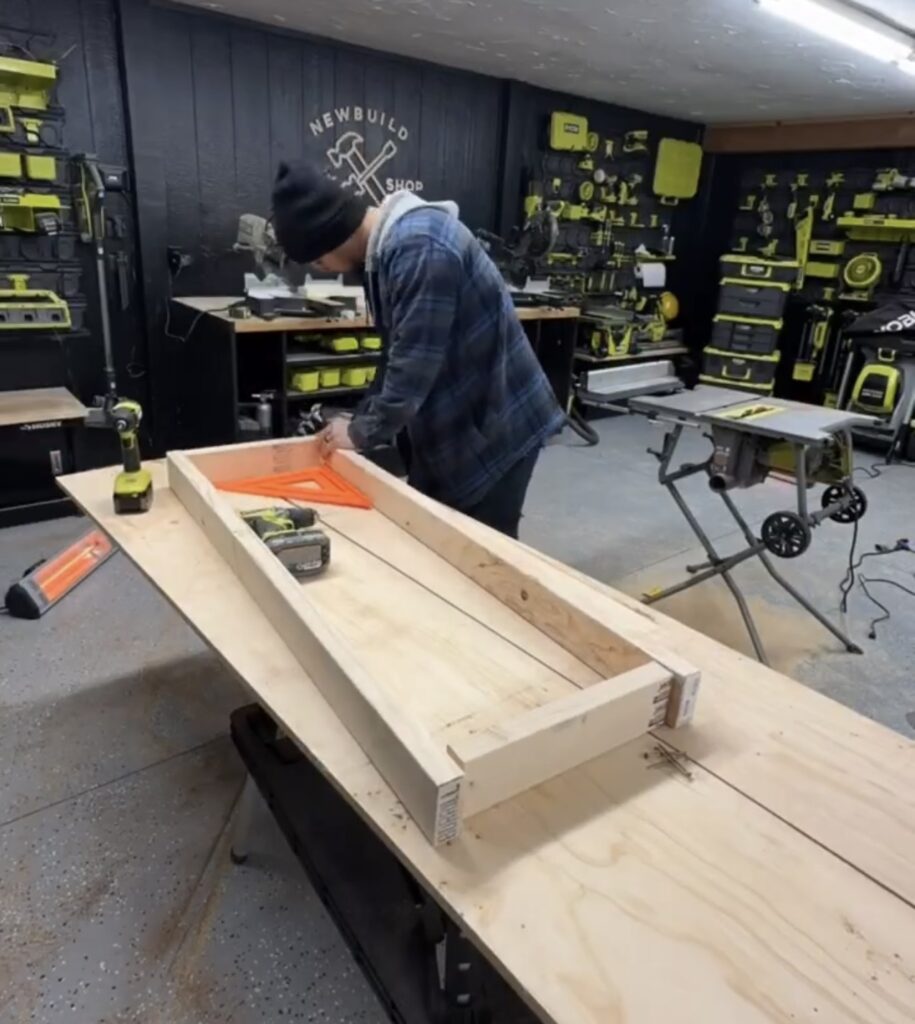
To get started we used 2x4s with a sheet of plywood on top to make a rectangular base to place the cabinets on. We will secure the base to the wall and the cabinets to the base.
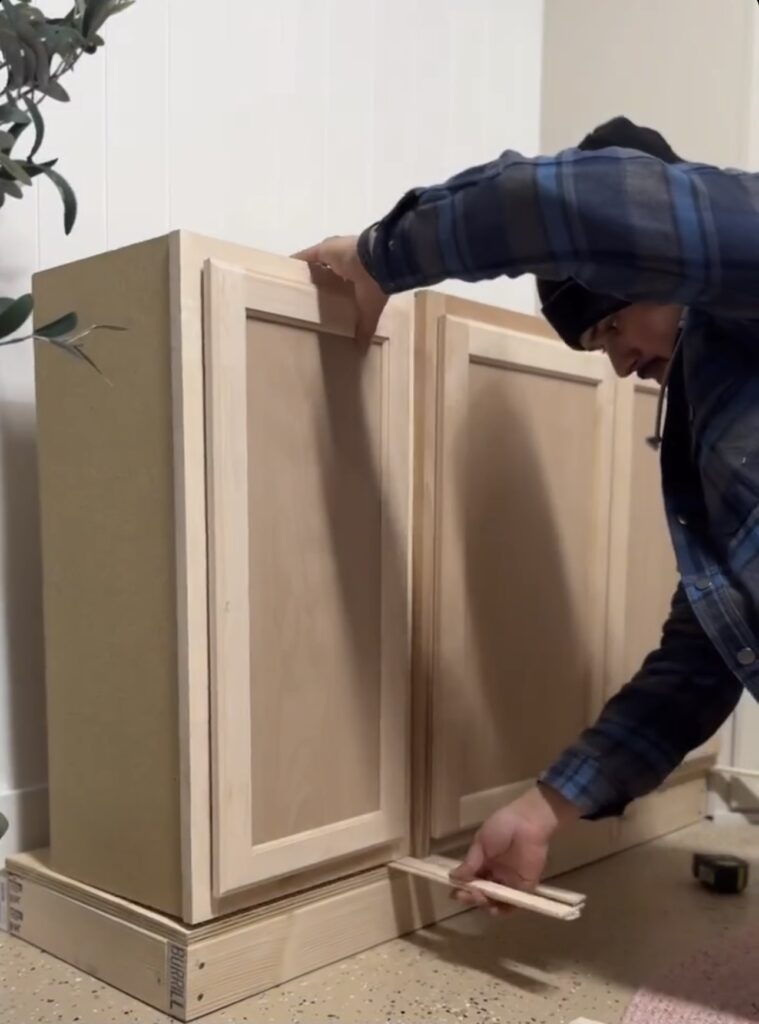
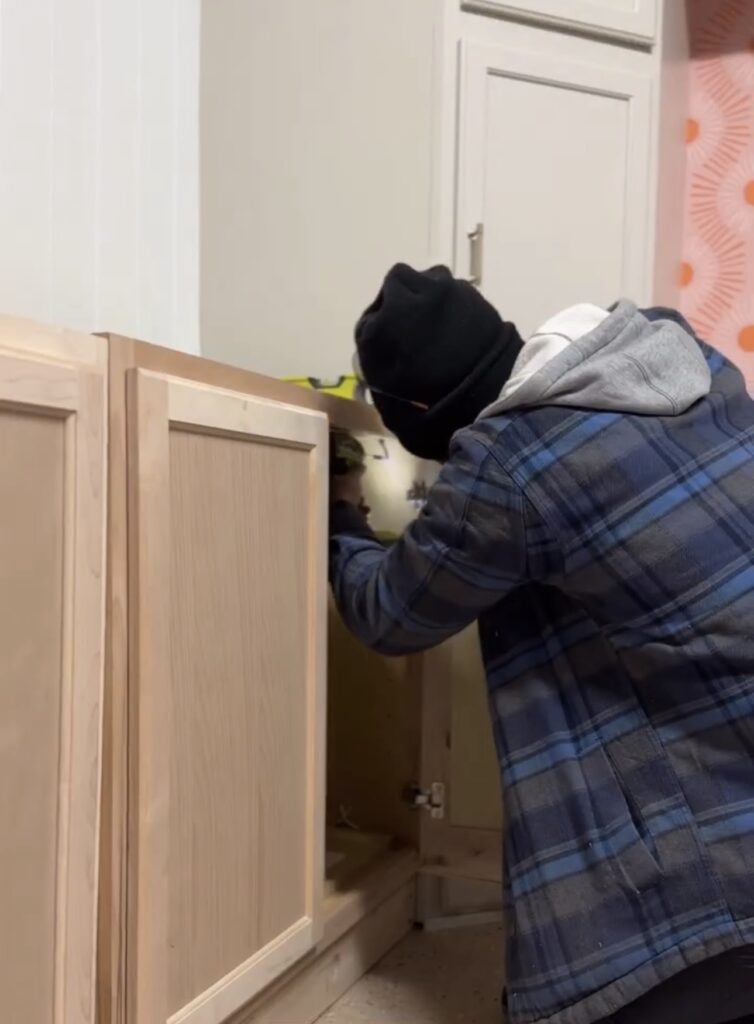
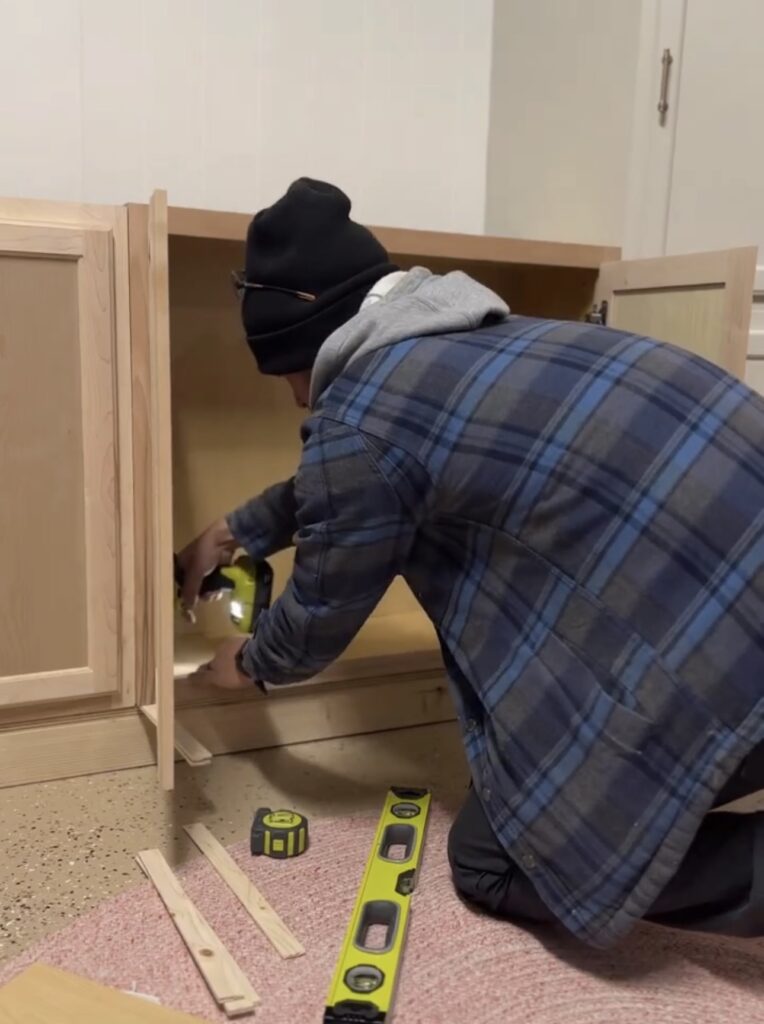
We made the base the same depth as the corner cabinets and lined the cabinets up to the front edge so that everything would be even across the front. We used shims between the cabinets and the base to make sure the cabinets were level from the top. Then we drilled the cabinets into the corner cabinet of the mudroom from the side and into the base from the bottom.
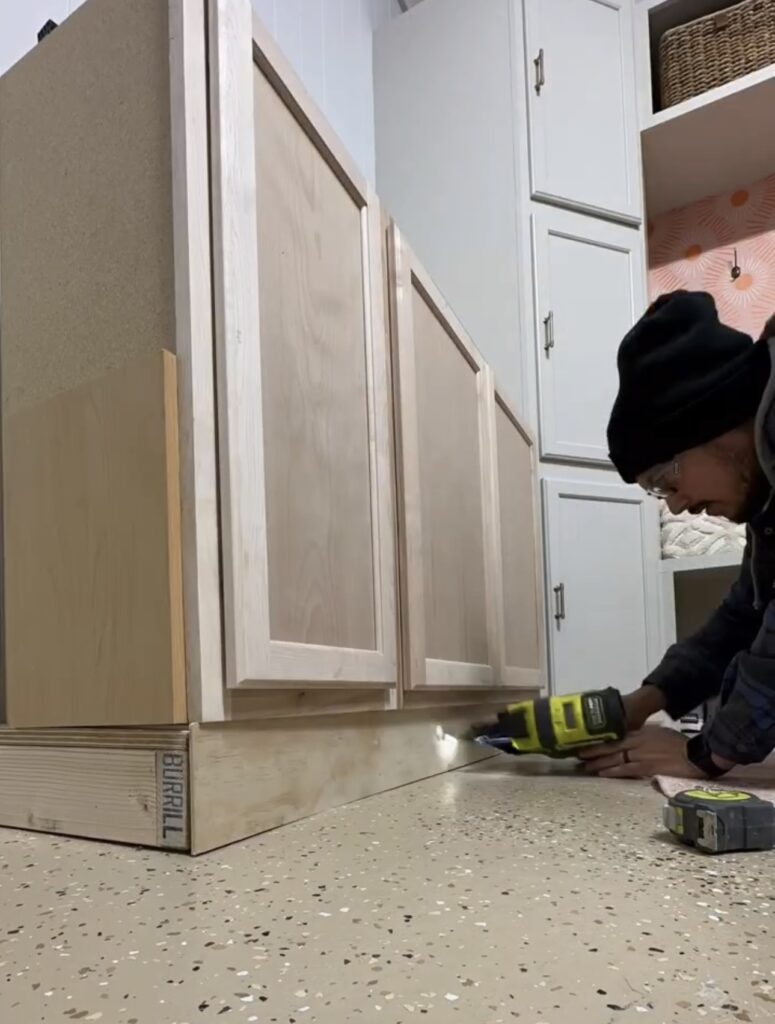
Since there is a gap between the wall and the cabinet, we used a side panel to finish off the end of the command center. We also used trim to finish off the bottom of the cabinets around the base to give it a cleaner look.
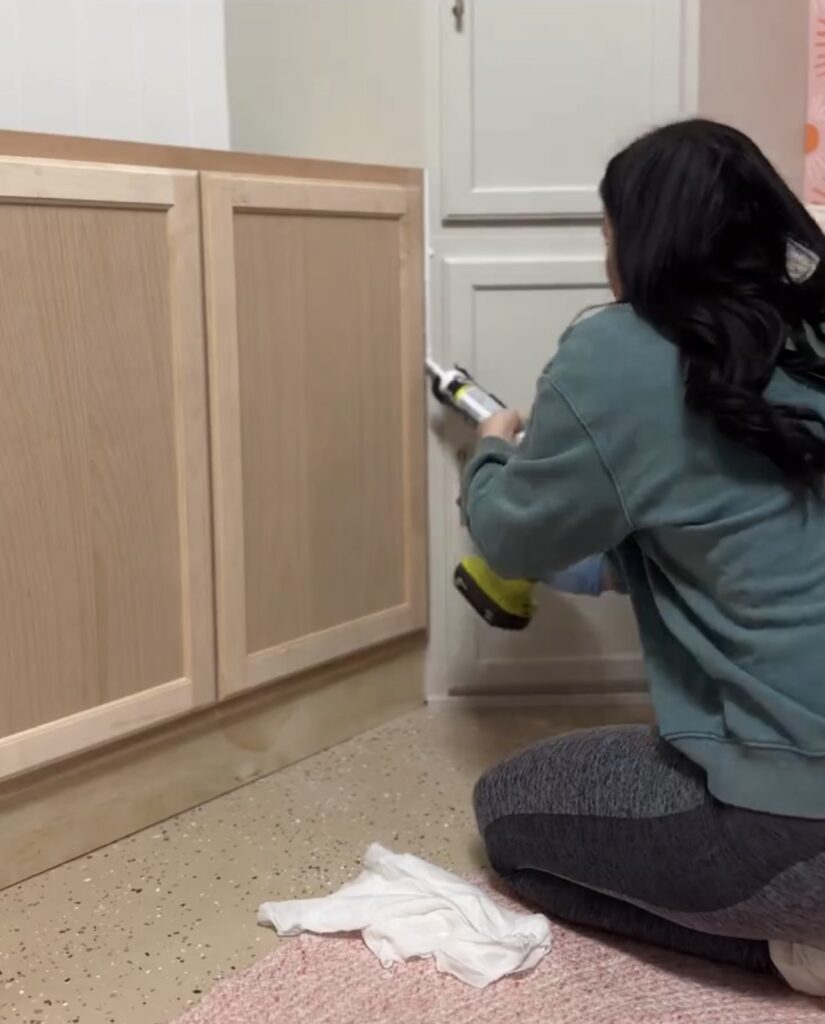
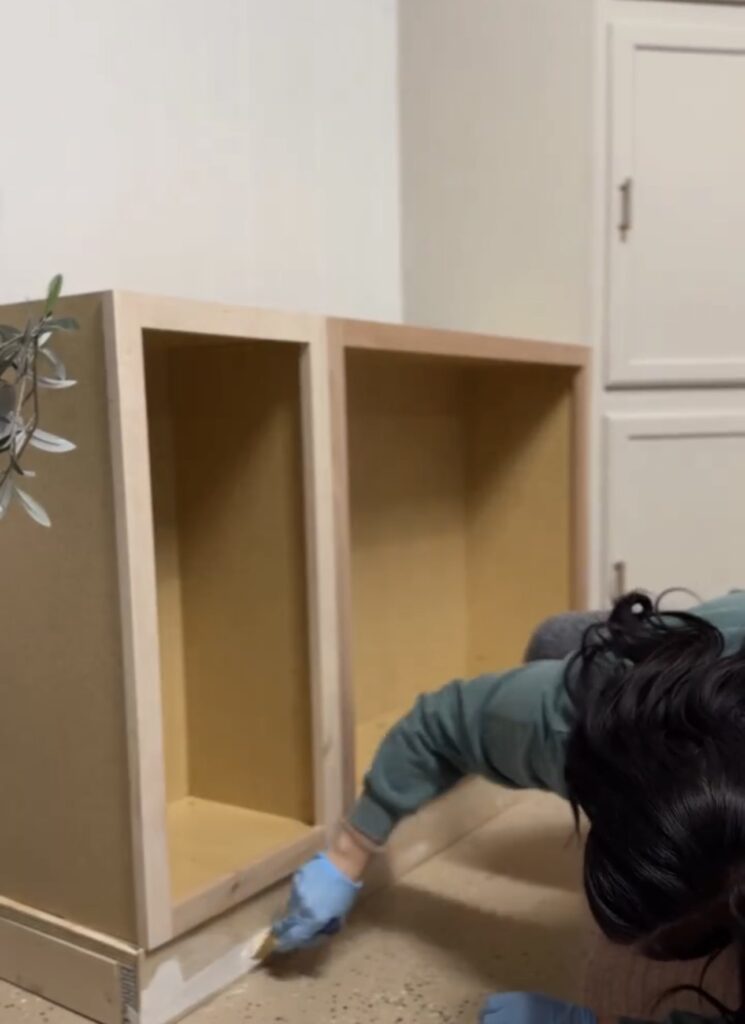
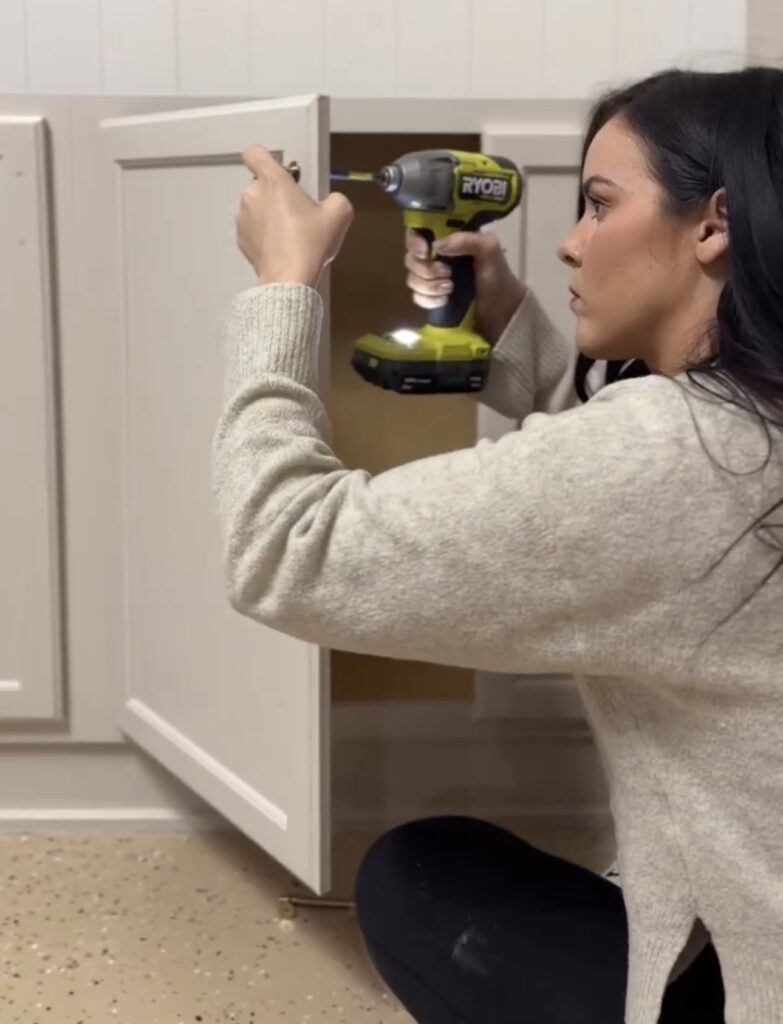
After everything was securely in place, we were able to start the dirty work! We caulked all the seams and filled the nail holes on the trim and side panel. Then we did a coat of primer on the outside of the cabinets and the doors.
Once the primer was dry we did two coats of paint in the same color as the rest of the mudroom and added handles to the cabinet doors.
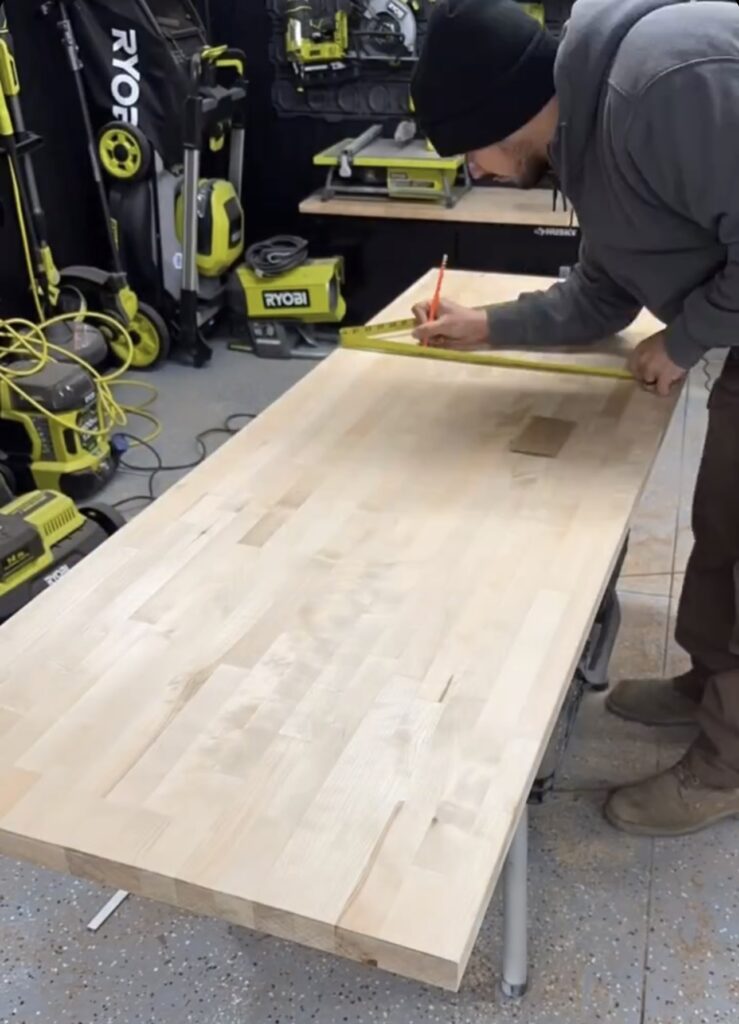
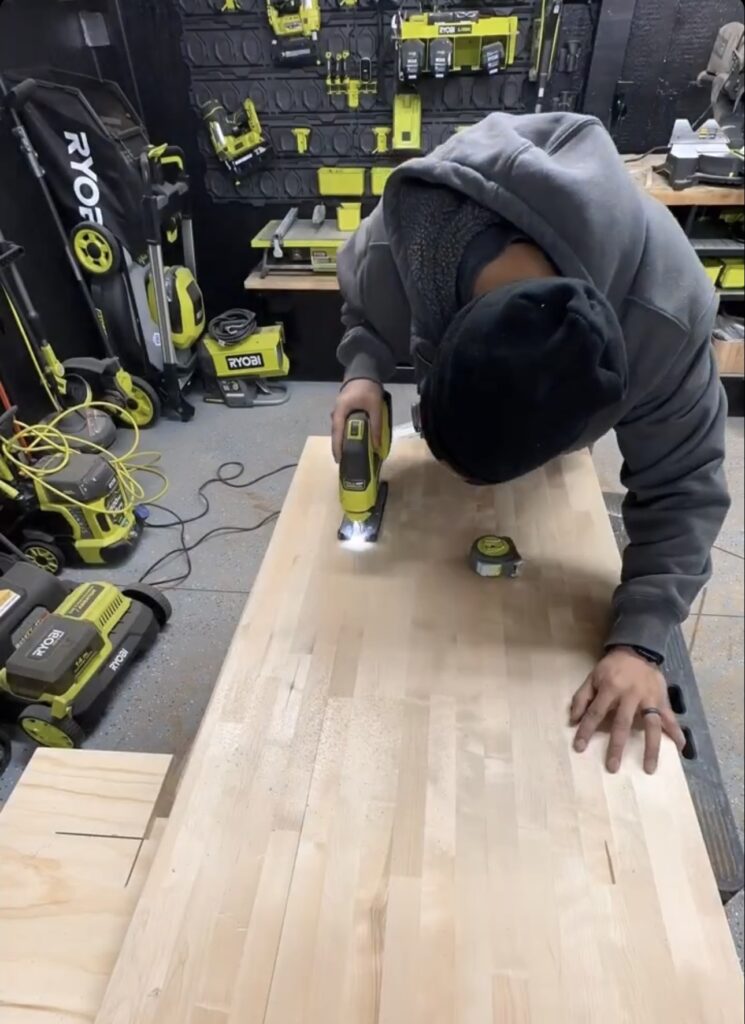
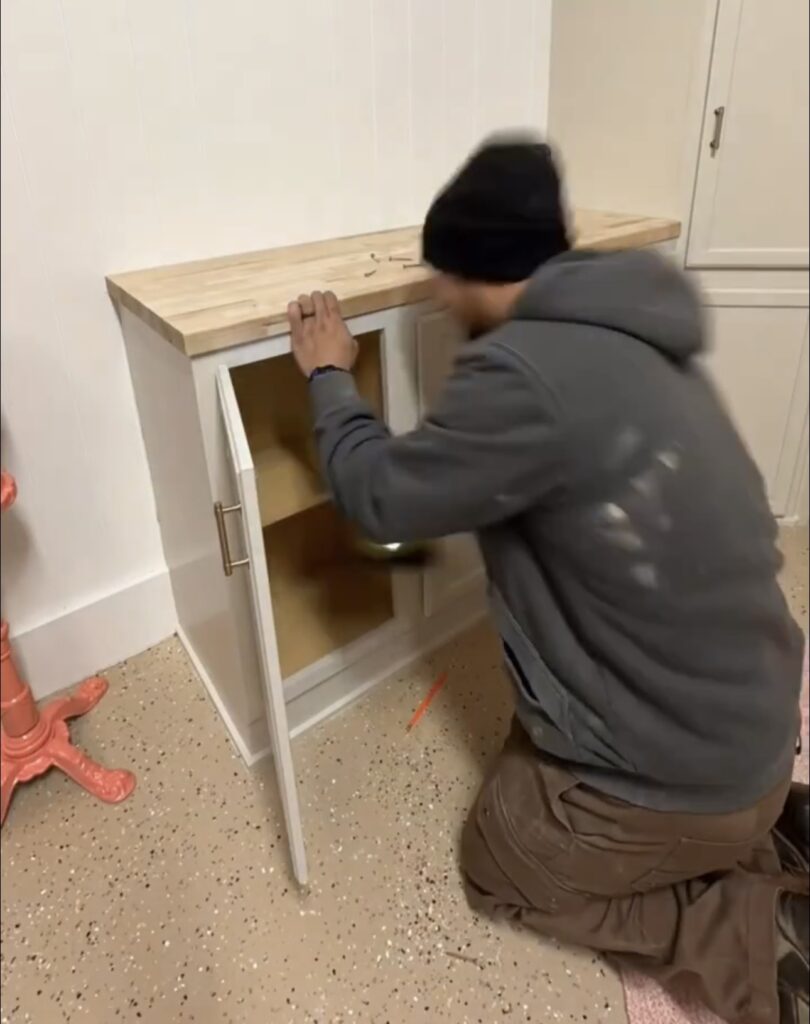

For the top of the command center, we decided to use a butcher block countertop. Ryan took the measurements and used a jigsaw to cut it to the right size. Once the butcher block was on the cabinets we predrilled and screwed the countertop in from the bottom. We made sure to use short screws so that they would not go through the top of the countertop.
The butcher block would have been fine left as it is but I decided to do a coat of stain to darken it a little to match the poles we wrapped.
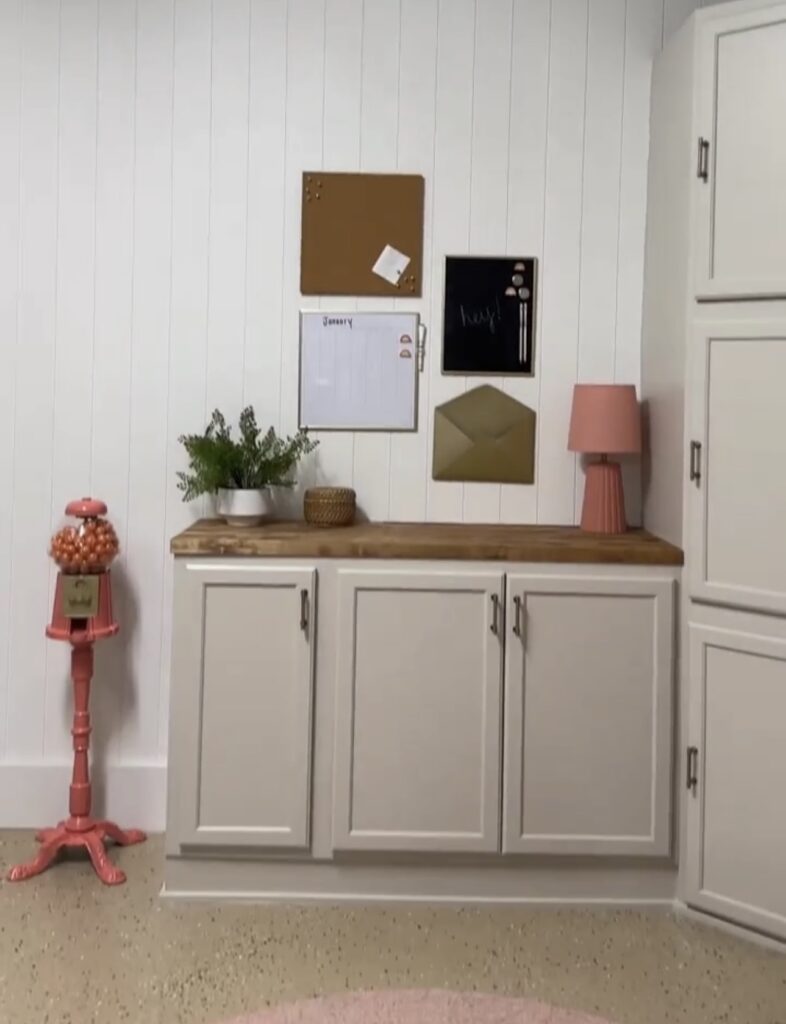
We could have left the area as it was but it just wouldn’t be us without a little extra thrown in!
I added some organization items like a dry erase calendar and cork board above the countertop for some added decor.
This was a pretty simple project but was exactly what was needed to complete the mudroom and this side of the garage. It looks great and brings the two areas together and will serve a practical function for us.

For more from our garage makeover:
Leave a Reply
Grab our FREE download
Wanna know the 5 must have tools you need before you start?
Considering a DIY Project?


Be the first to comment