


Wood Slat Accent Wall
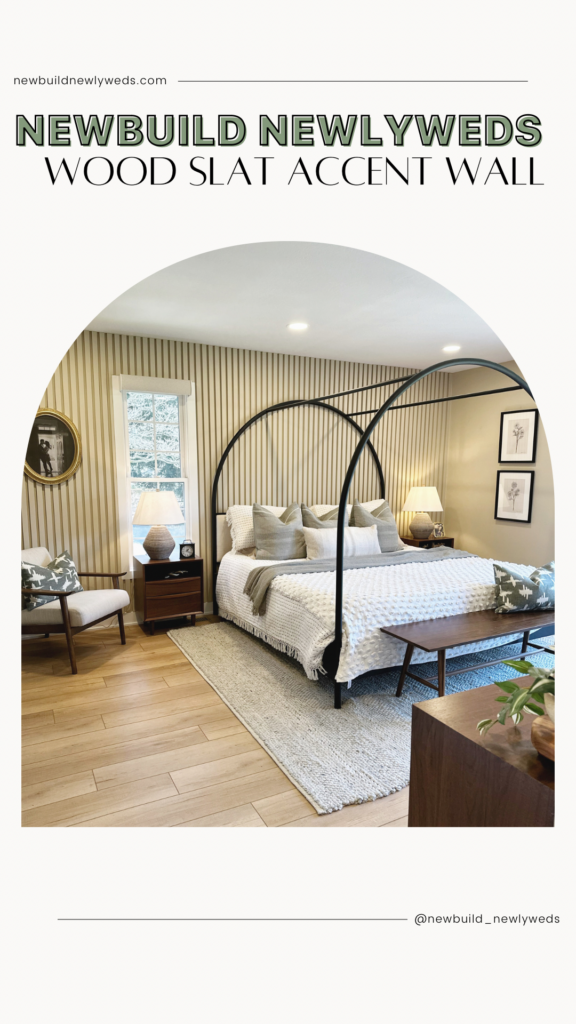
We’ve been wanting to do something to add a little more design style to our main bedroom and finally found some inspiration and decided what we wanted to do!
Wood slat accent walls are pretty straight forward and simple to DIY, but because of the amount of wood needed they also aren’t the most inexpensive. But the end result is always so beautiful and we knew this would be perfect for the look we wanted.
What You’ll Need:
- 1x2s
- 18V 18-Gauge Brad Nailer
- Table Saw
- Paint (we used Sherwin Williams Urban Putty)
- Caulk & Nail Filler
Let’s Get Started
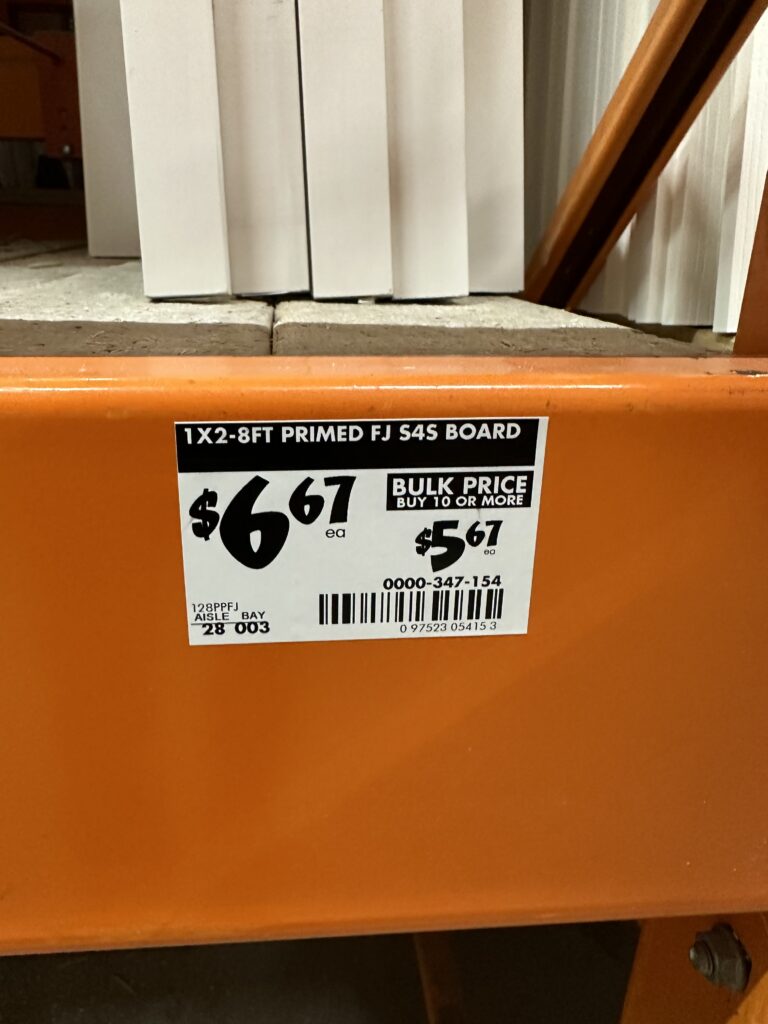
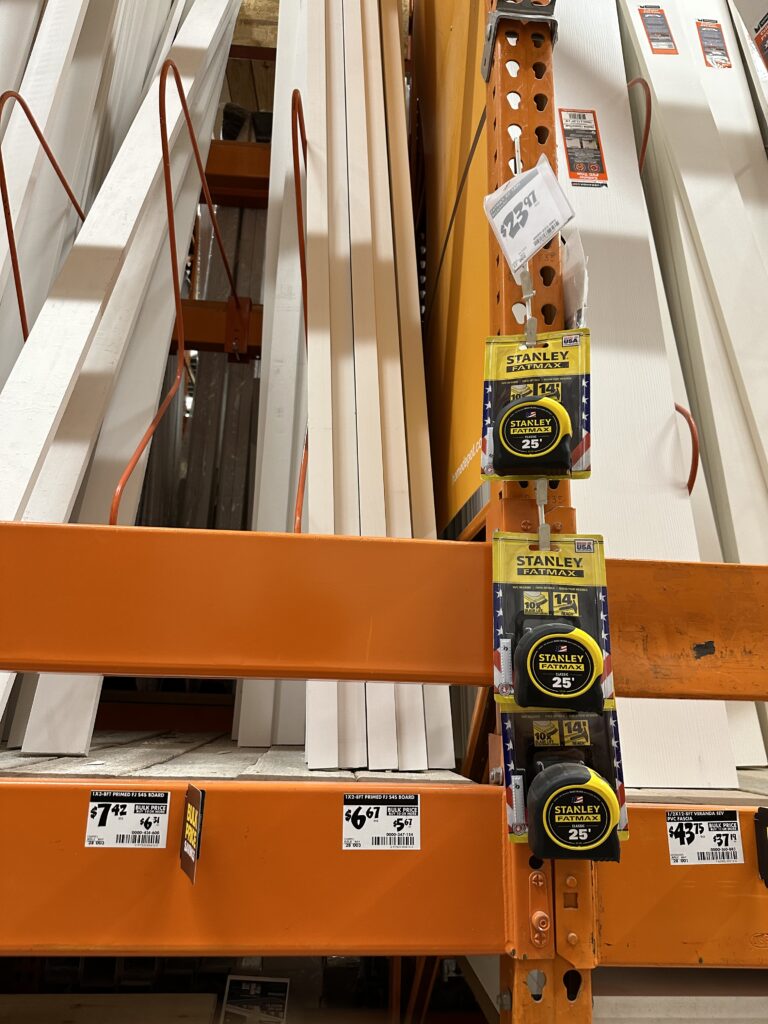
We’ll be using primed 1 x 2s for this project and while it’s more expensive to buy them primed than unprimed, it was totally worth the time it saved because of the number of boards we needed.
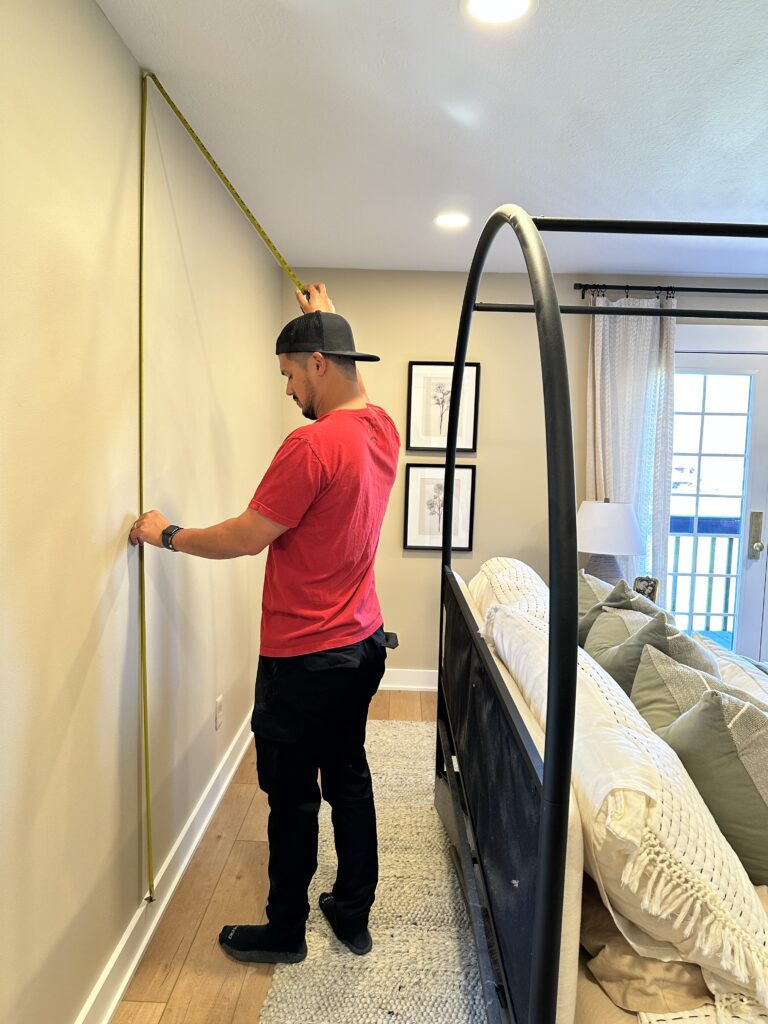
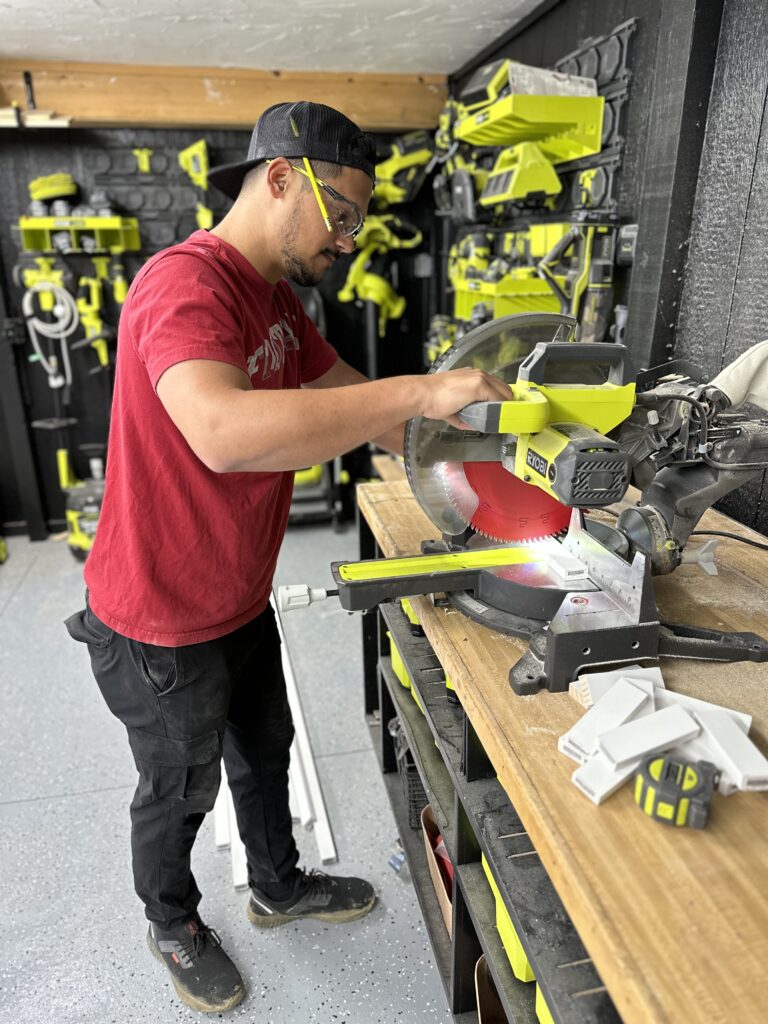
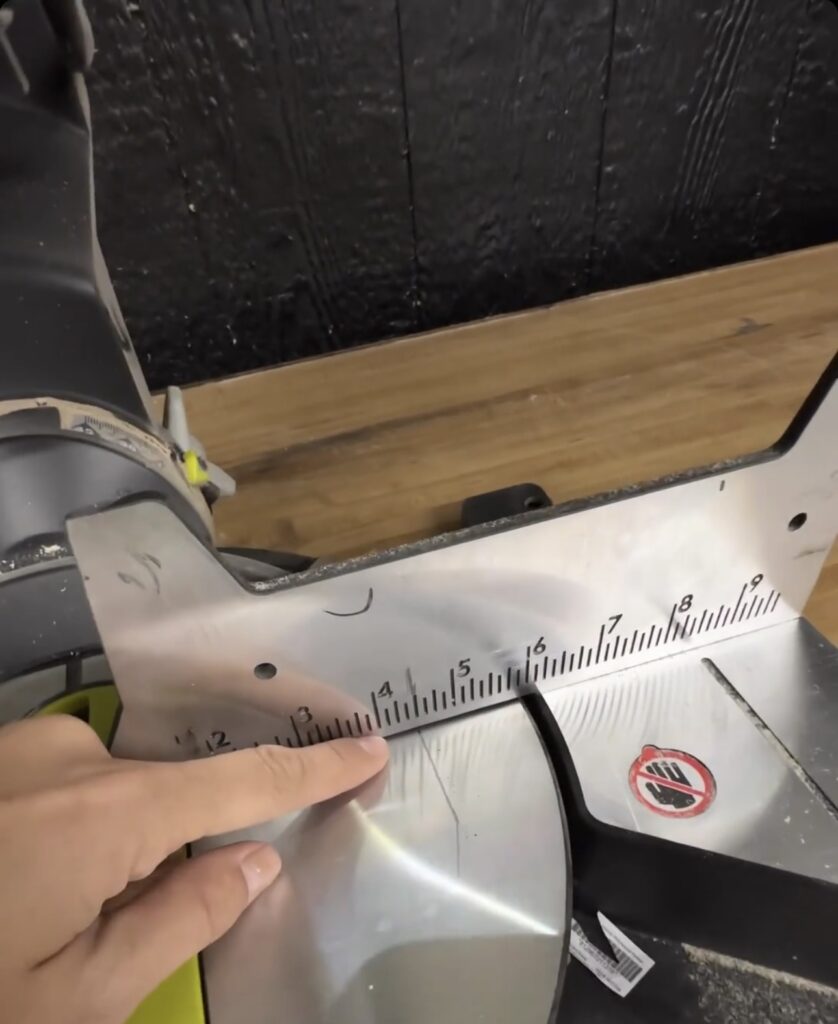
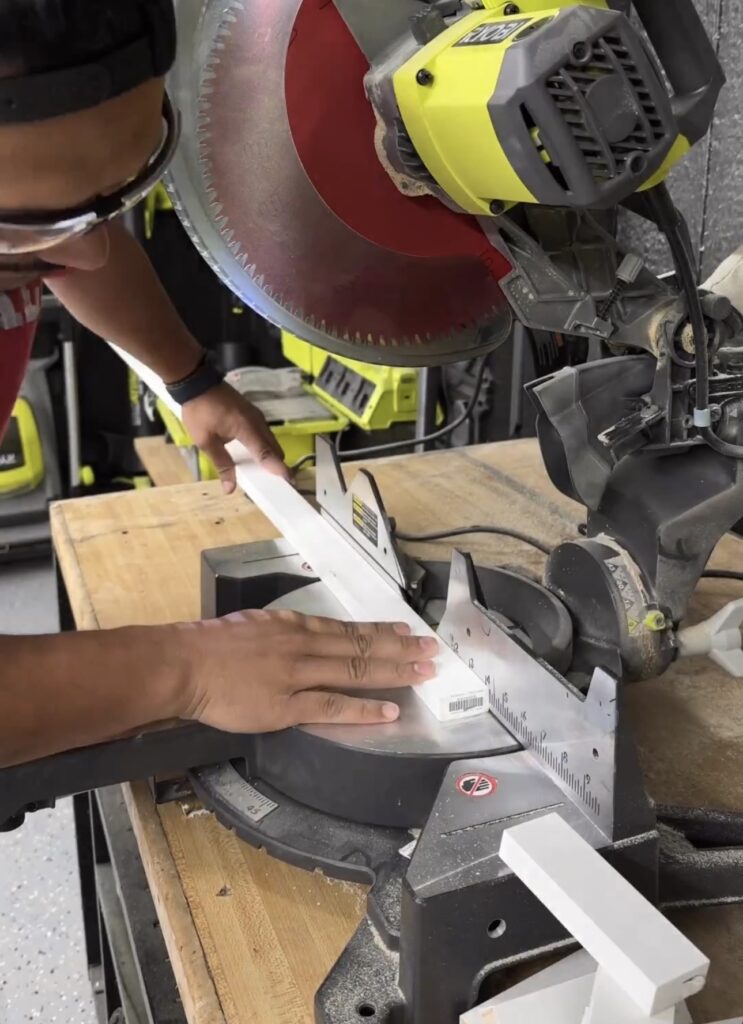
Once we had the boards, Ryan measured the height of the wall and used our table saw to cut each board to size.
We were able to save a lot of time by using a pencil to mark where the end of the board needed to be cut and lining all of the boards up with that marking instead of having to measure each board individually.

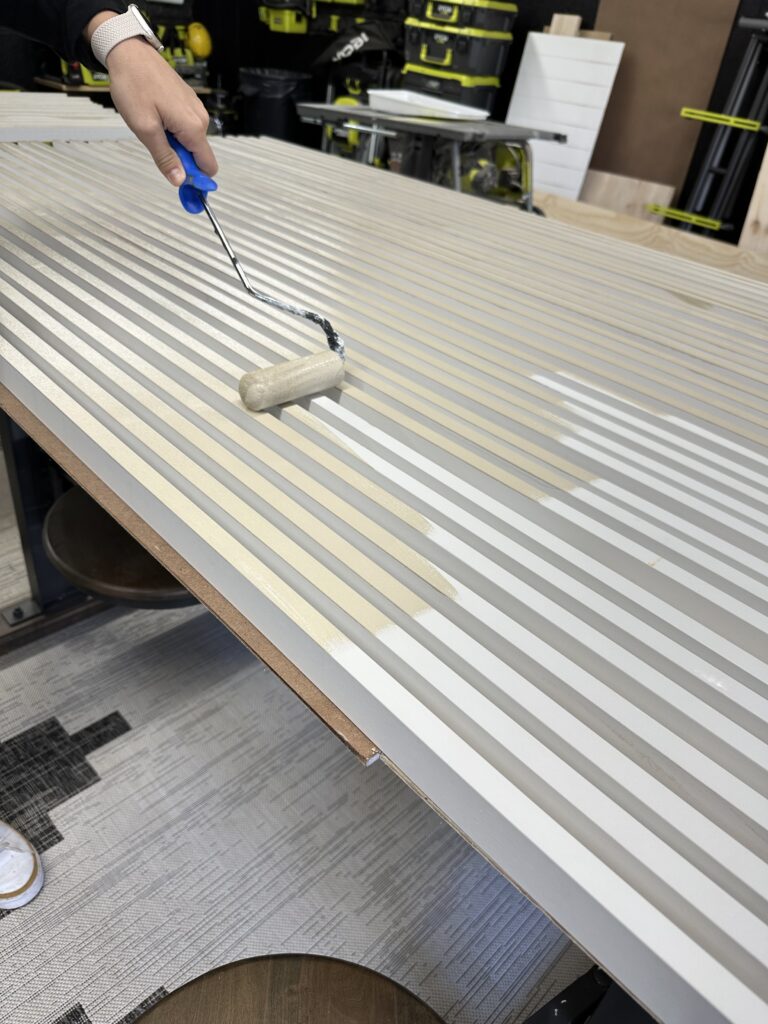
After the boards were cut, I painted the front and two sides Sherwin Williams Urban Putty to match the walls in the room. The 1×2’s are going to be super close together, so it was easier to paint the sides before putting them up. The front face didn’t technically need to be painted right now because it will need to be repainted and touched up after installing once nail holes are filled.
We could have chosen to use another color for the boards but we wanted to use the same color as the wall so that the accent wall added texture without being too overstated.
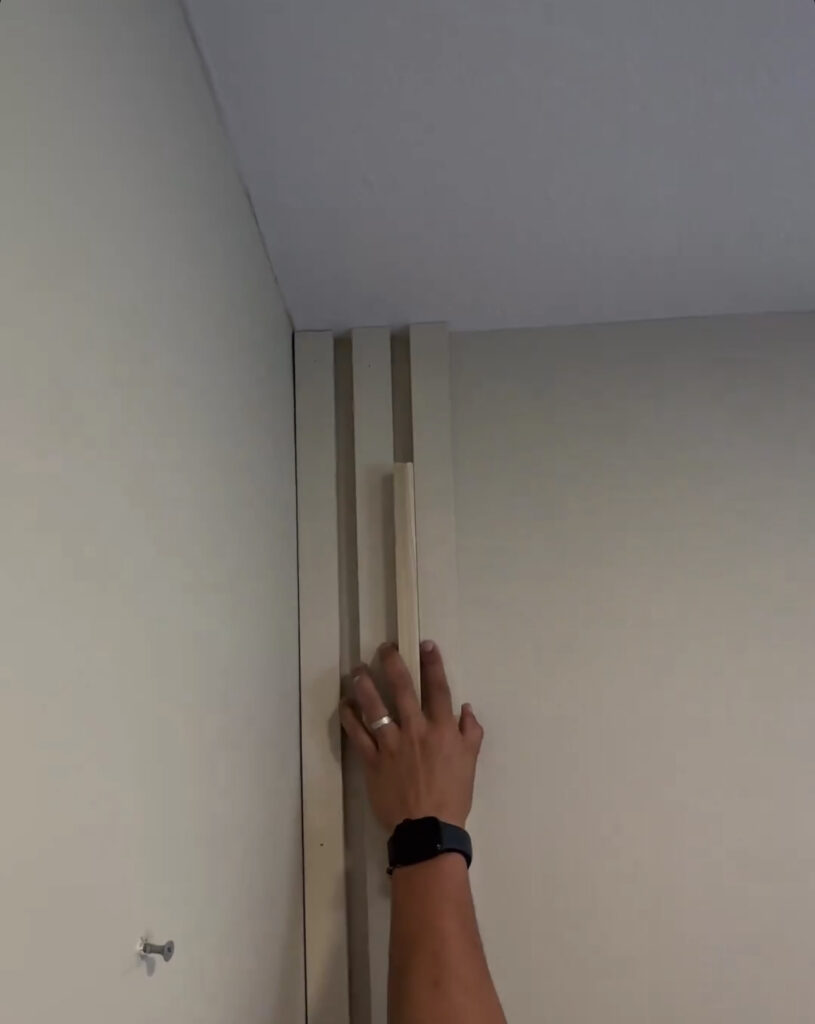
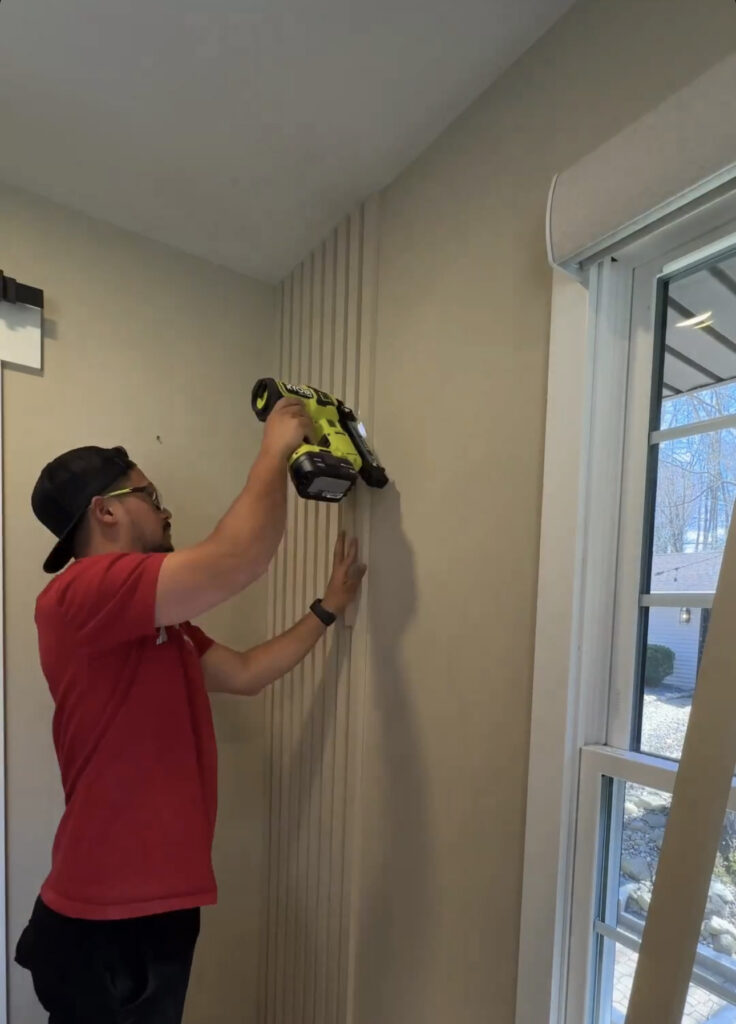
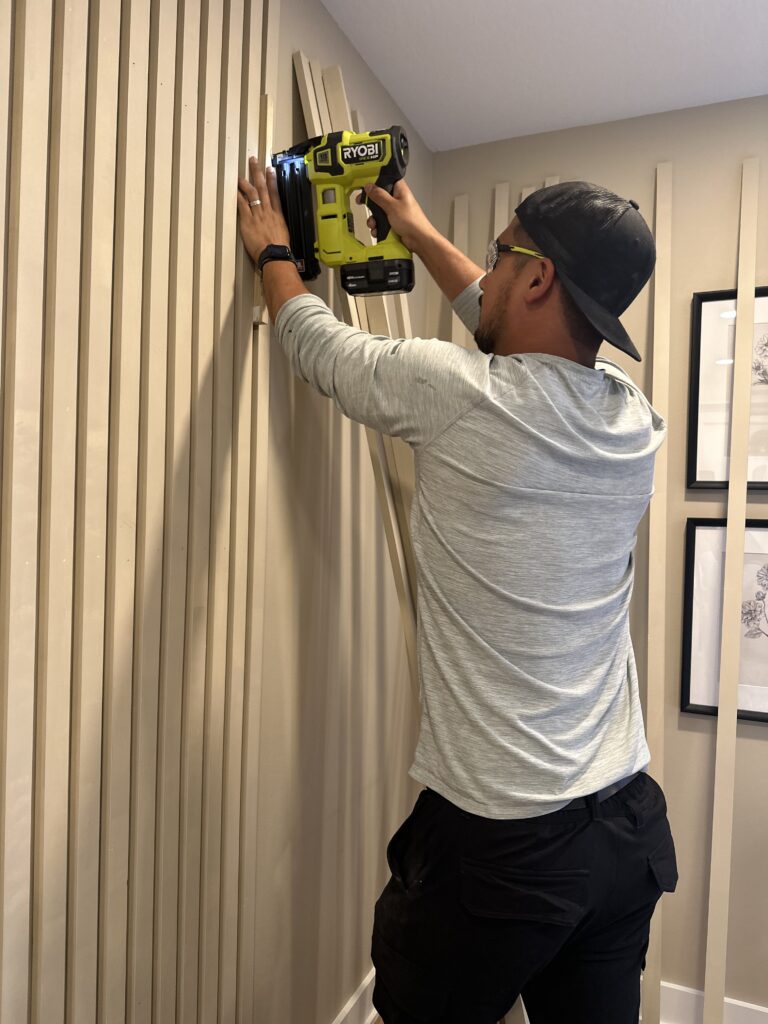
Once the boards were painted Ryan used the 18 gauge brad nailer to begin installing the boards. He started the first board flush against the corner of the wall and then used a scrap piece of 1×2 turned on its side as the spacer. He moved the spacer down the wall as he nailed to keep the same spacing along the entire height of the wall.
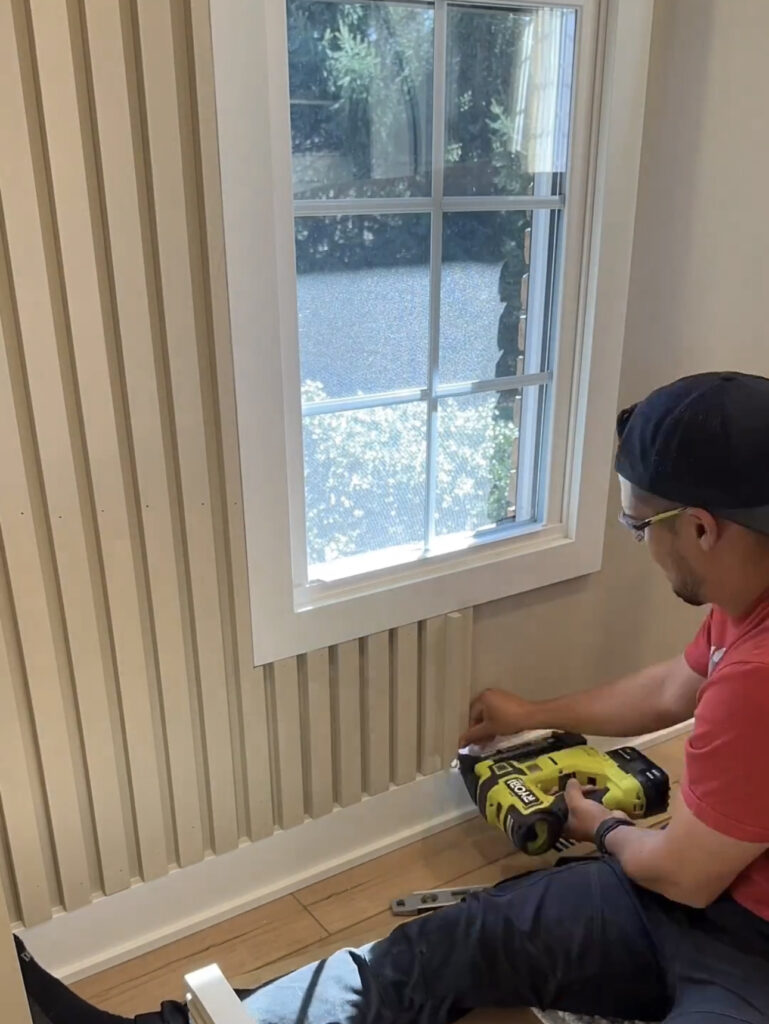
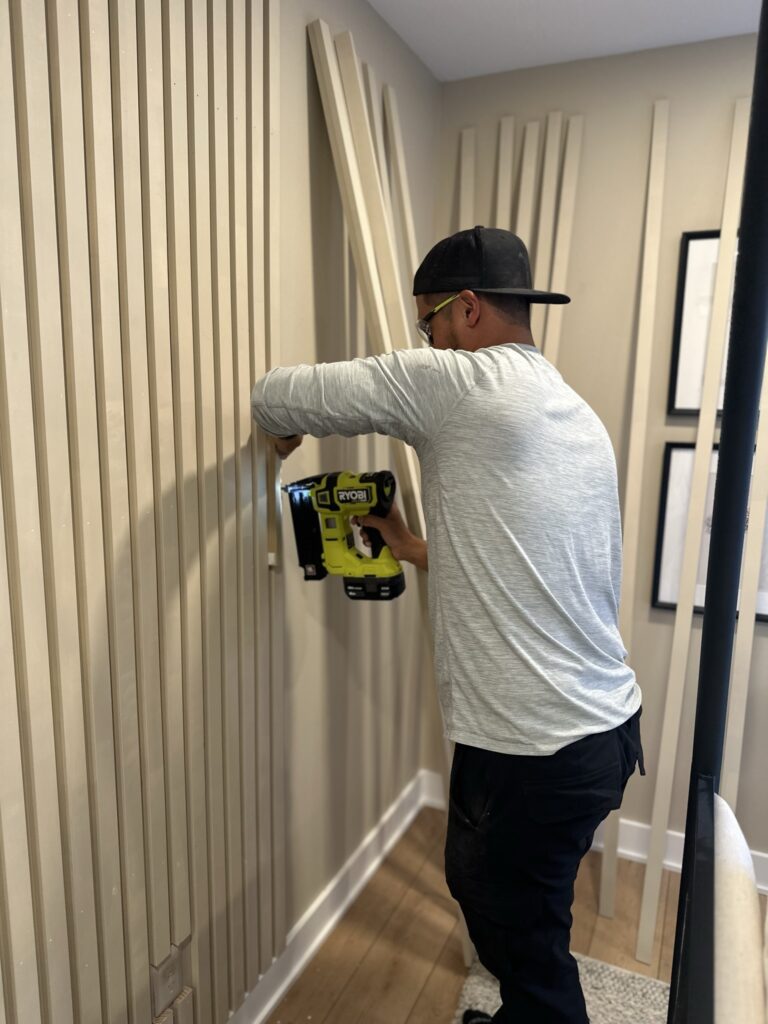
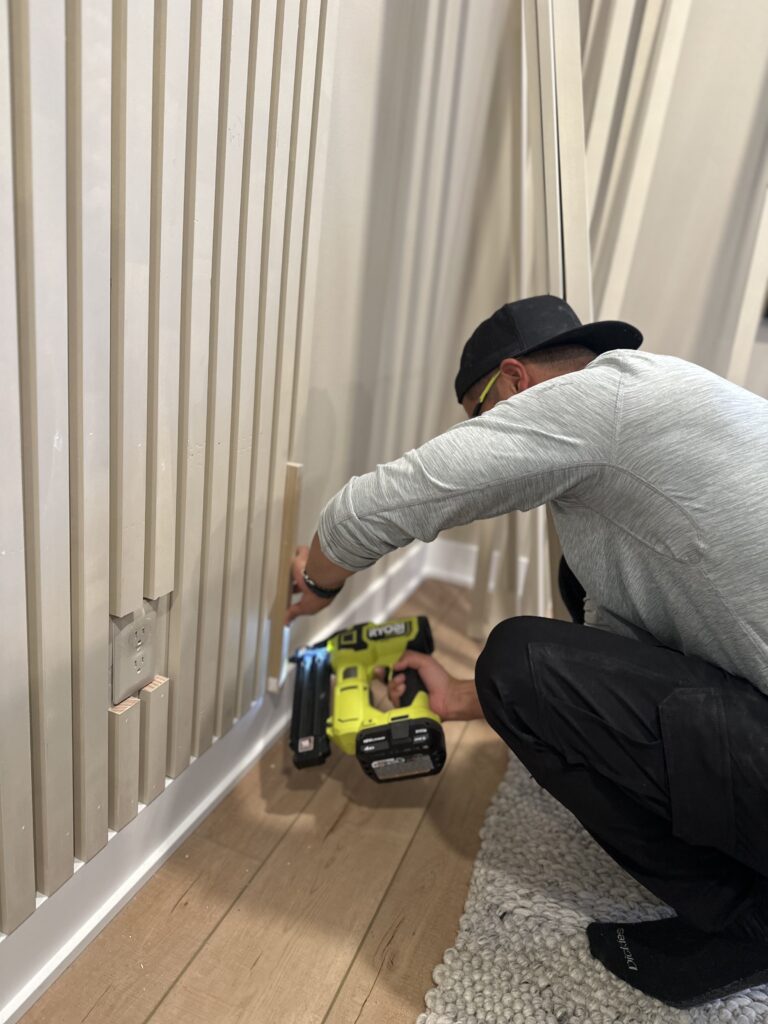
When we got to the window and outlet we did have to make some special cuts to the 1x2s so that they would fit properly and keep the same spacing with the other boards.
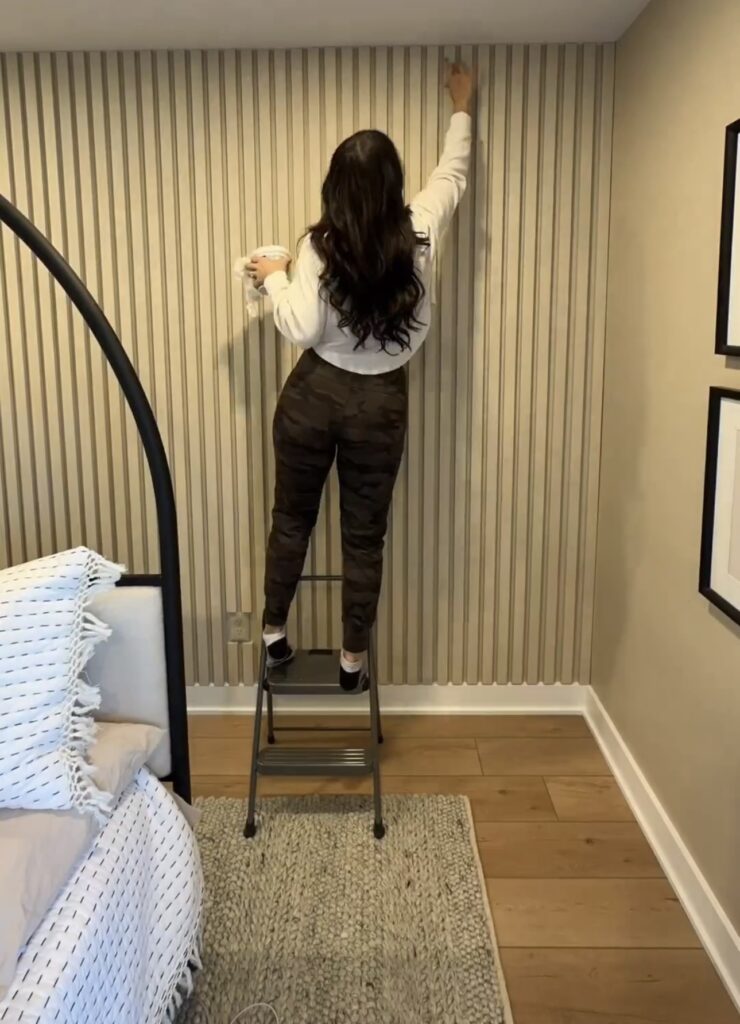
Once all of the board were installed, I filled the nail holes and caulked the corners of the two end boards. Then we finished up by adding another coat of paint to the front of the boards.
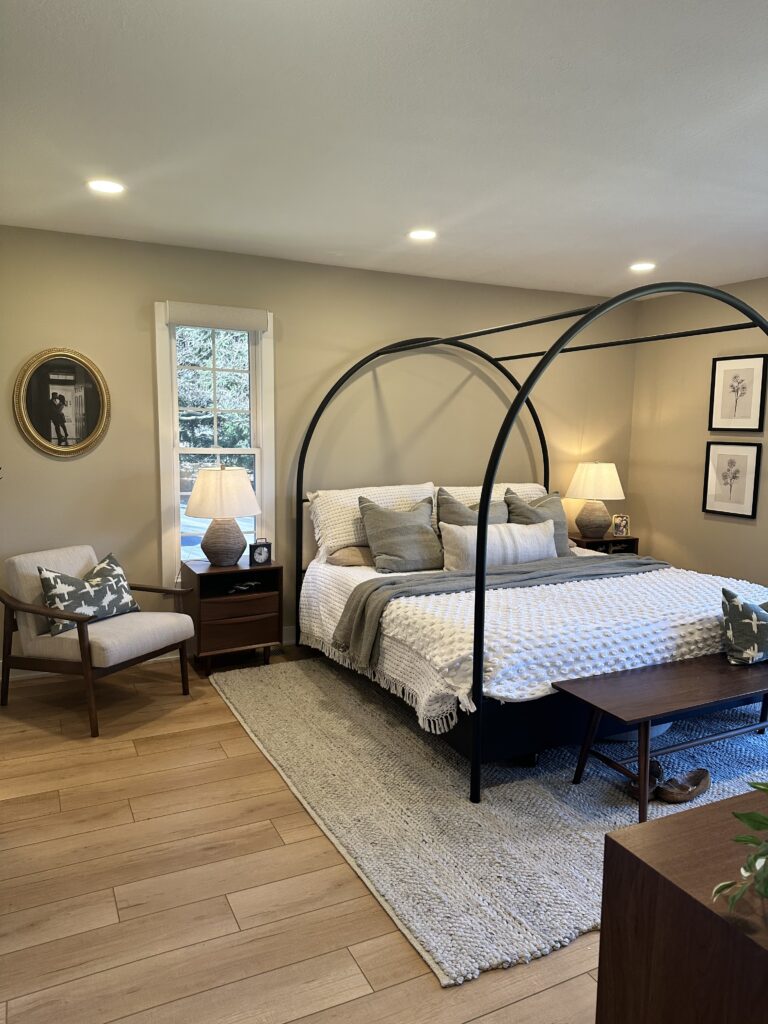

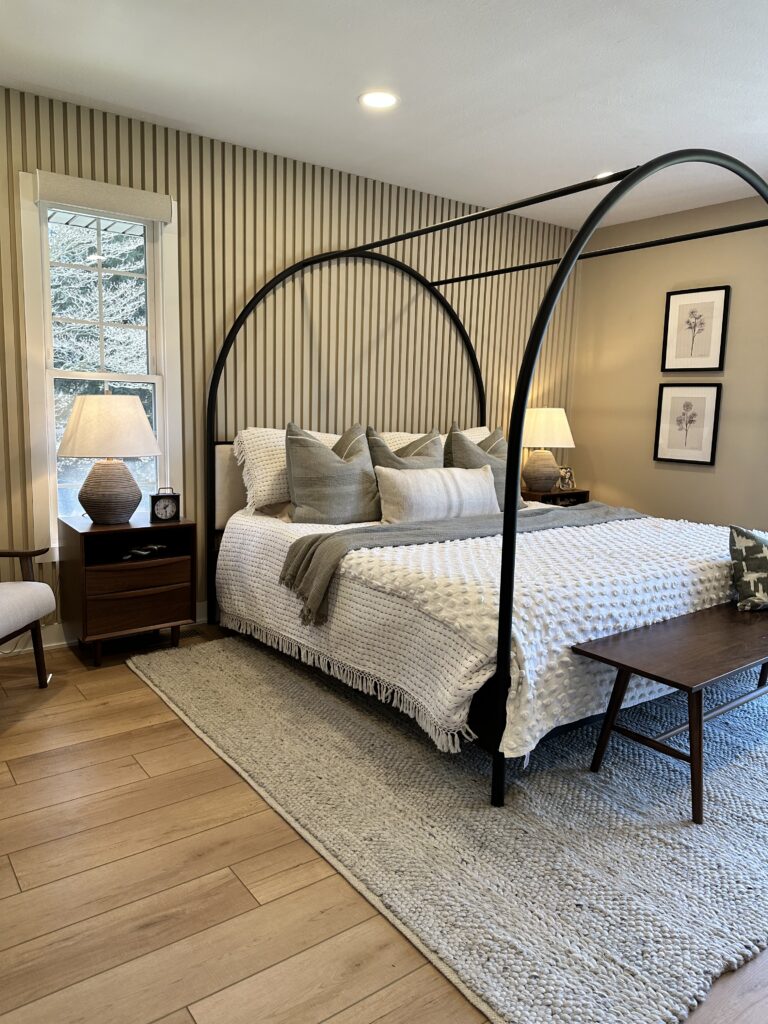
The end result looks so good with our bed and the rest of the clean lines in the room. It did w exactly what we wanted by adding some texture and design without taking away from the other main features in the room.
If you’re looking for a simple DIY project that doesn’t require a lot of tools or experience, this is a great option!
Leave a Reply
Grab our FREE download
Wanna know the 5 must have tools you need before you start?
Considering a DIY Project?


Be the first to comment