


DIY Pantry Makeover With IKEA Shelves
Our first home in Florida was a builder grade new build. The pantry was originally built with wire shelves, which worked just fine, but we wanted something more custom so we did it ourselves!
Using IKEA shelves, we were able to make a beautiful custom pantry on a budget!
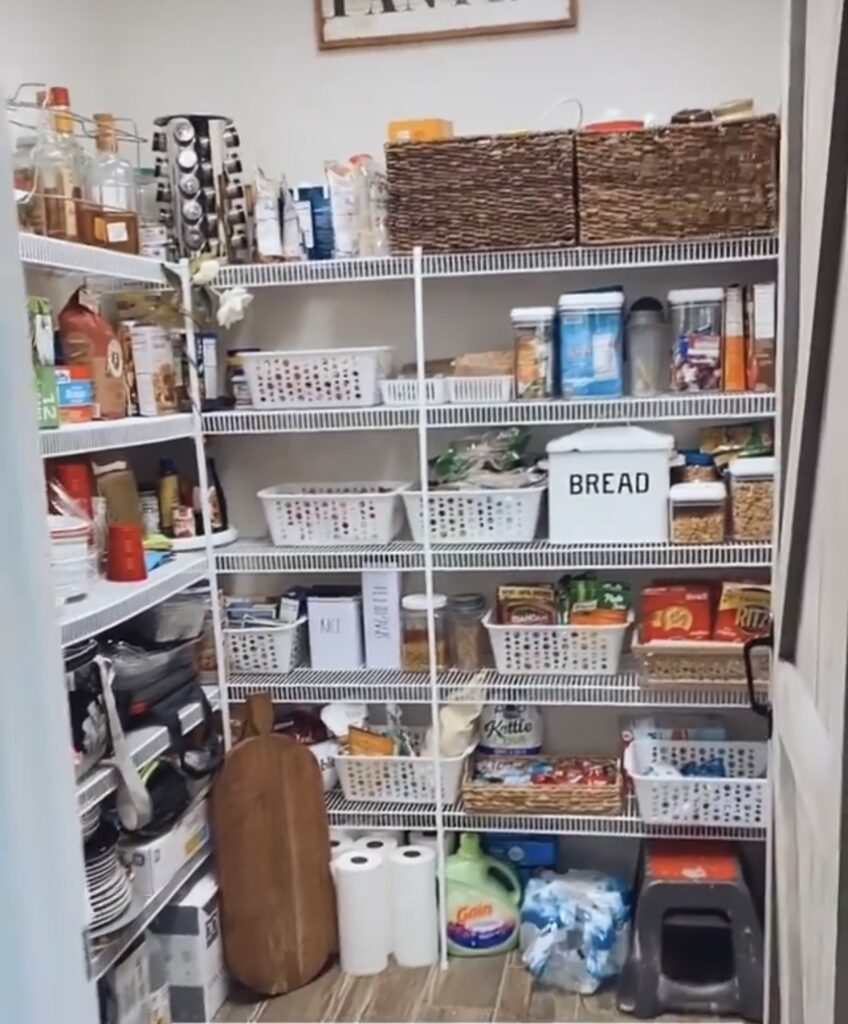
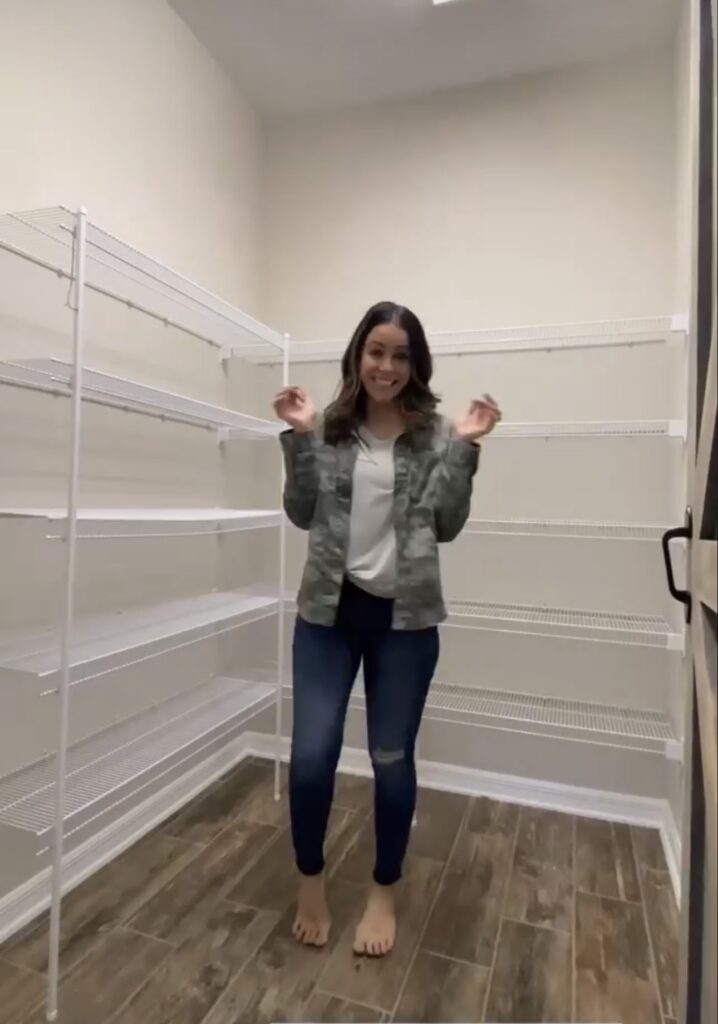
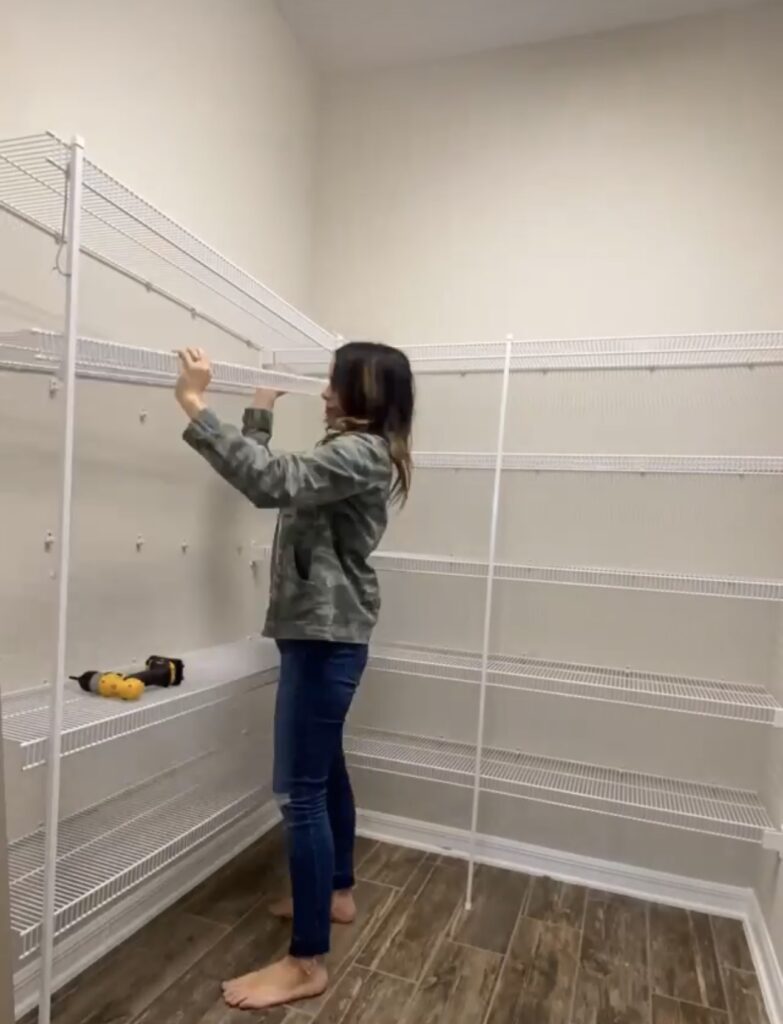
To get started, I cleared everything out of the pantry. Then I unscrewed and removed all of the existing wire shelving and brackets.
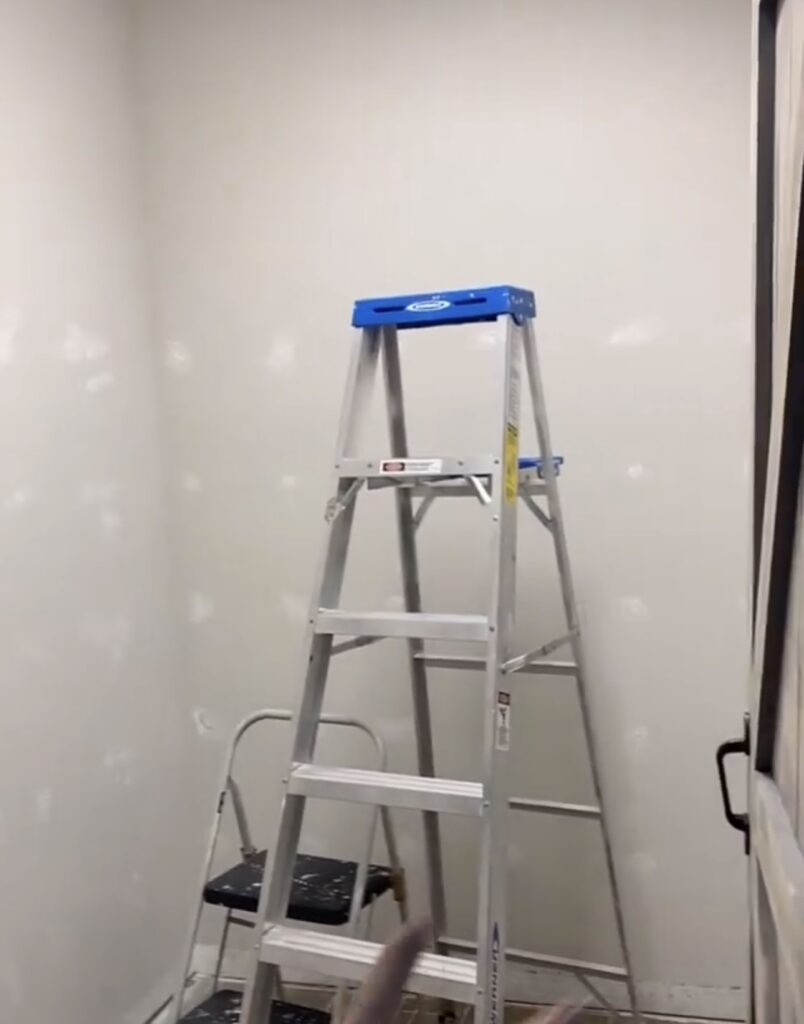
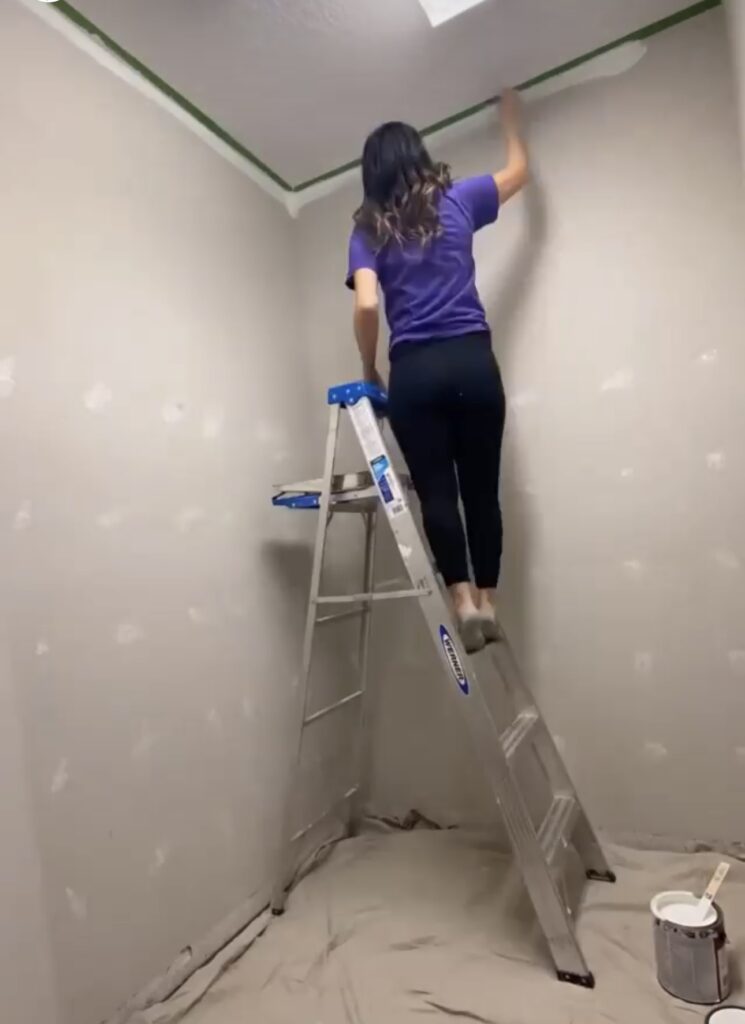
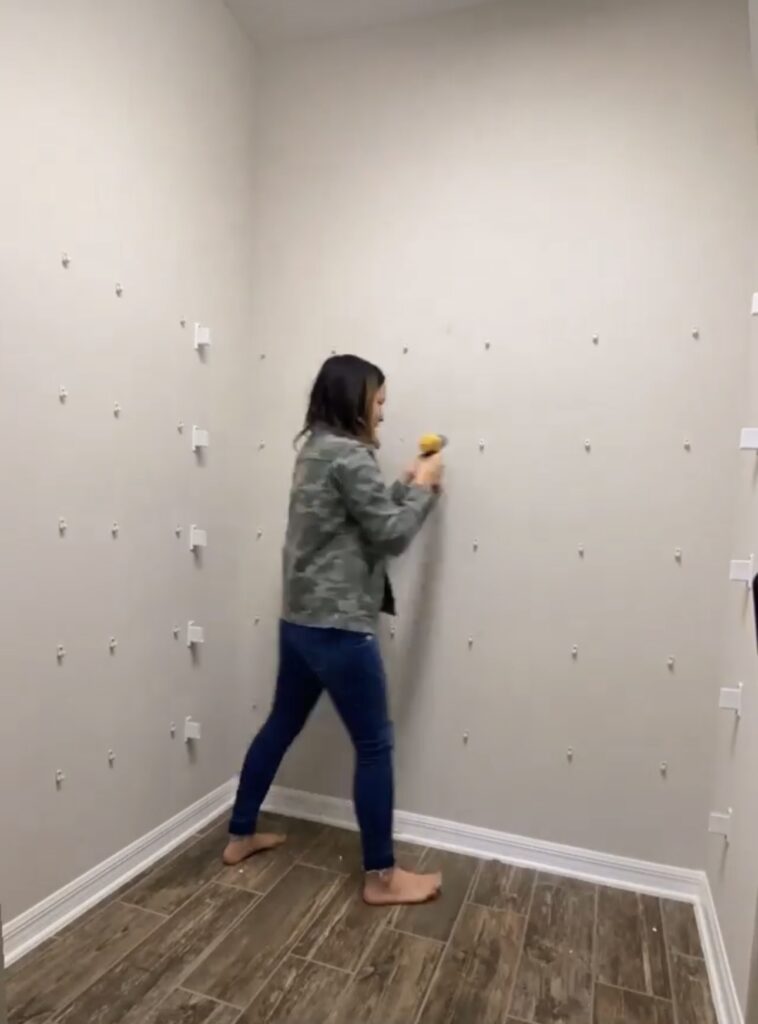
After the shelves were removed, I patched all of the holes and then we painted the walls and ceiling so we could start with a fresh slate.
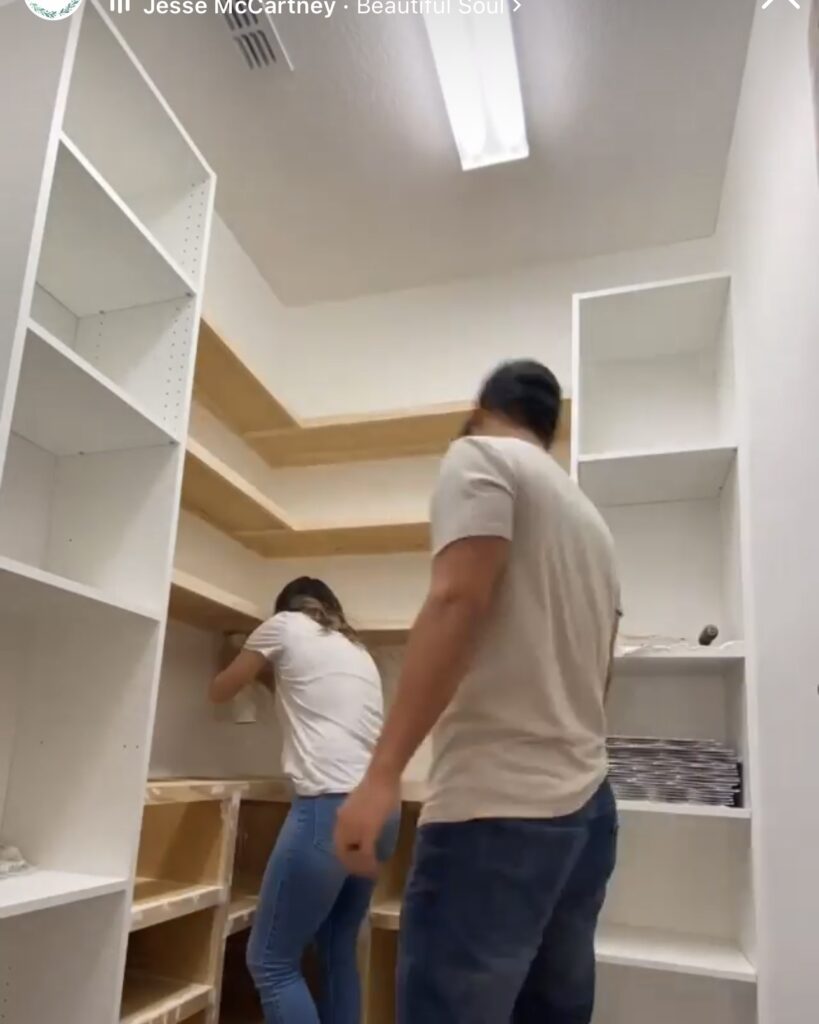
Once the paint dried, we put together the two cabinets and got them put into place. We used two 18 x 14 x 90 cabinets from IKEA and built off of them. The cabinets will be used to anchor the countertop and shelves in a “L” shape.
The cabinets have legs on the bottom to stable the piece. Our tile was uneven and each leg is able to be adjusted to the height you need them to make it level. We have a kick plate to cover the legs and bottom of all the cabinets.
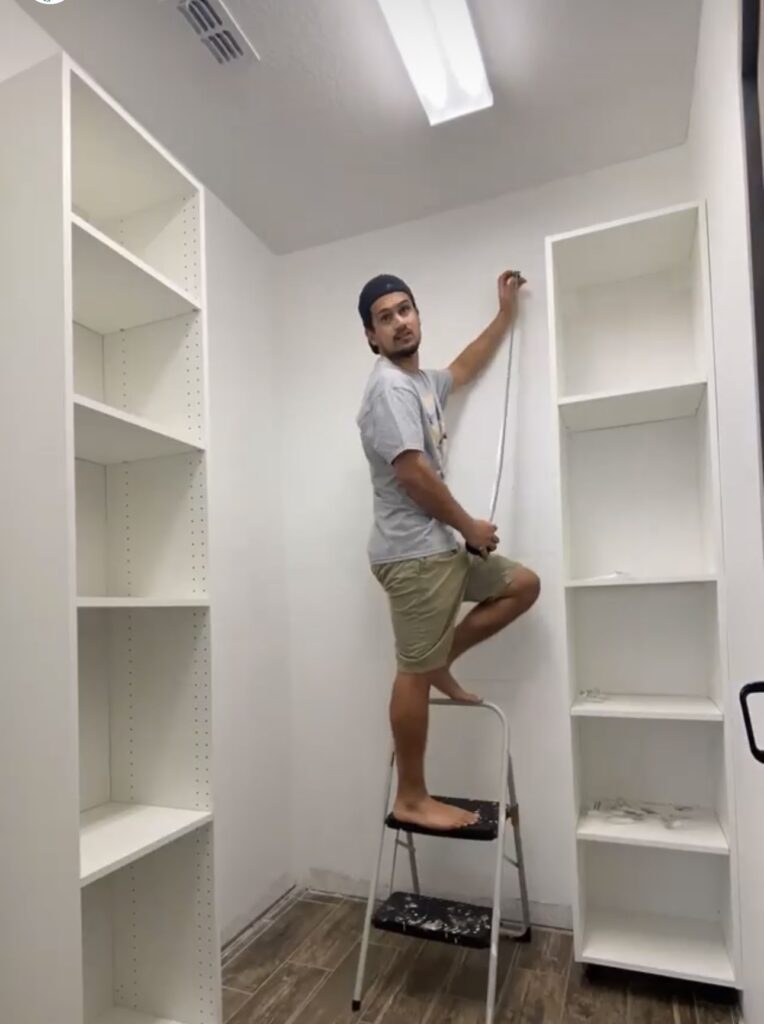
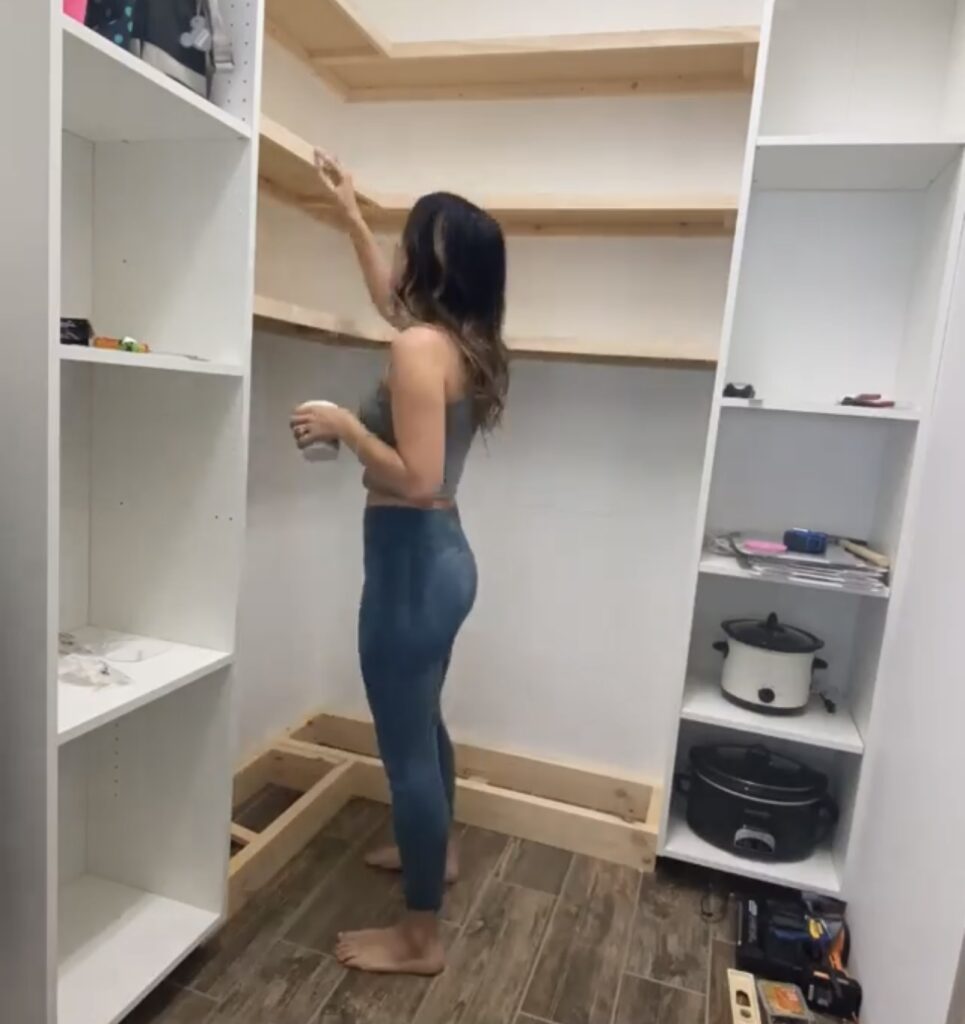
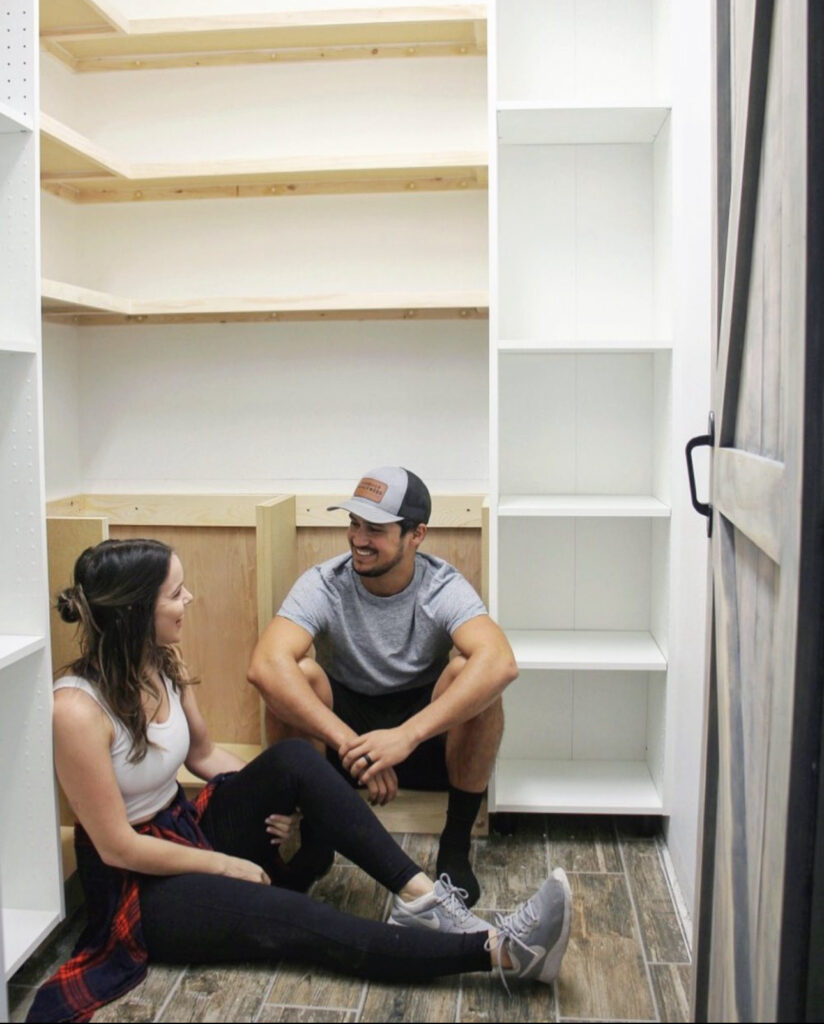
After the cabinets were screwed into place, we mapped out and measured where we wanted to place the shelves. We decided to go with 3 floating shelves above a countertop with shelves underneath.

Countertops typically are 36” from the ground so that is the height we decided to go with. The first shelf is 19″ from where the countertop will be, then the next two shelves are spaced 14″ from each other. Take into account the 1/2″ shelf that will go on top of the cleats.
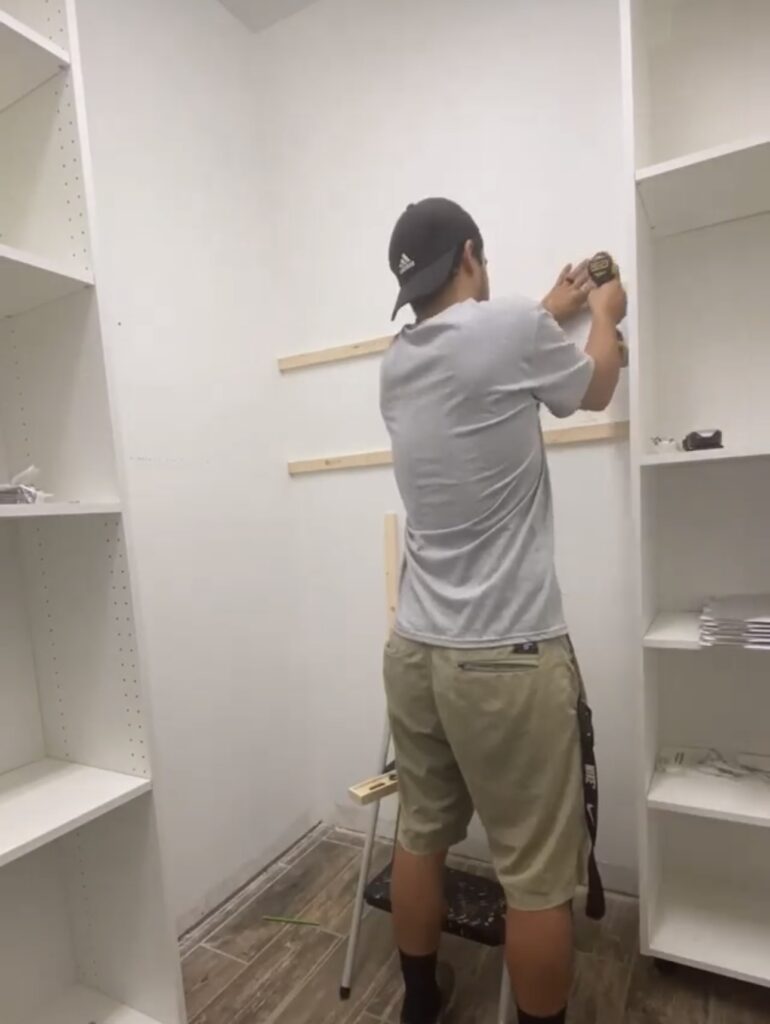
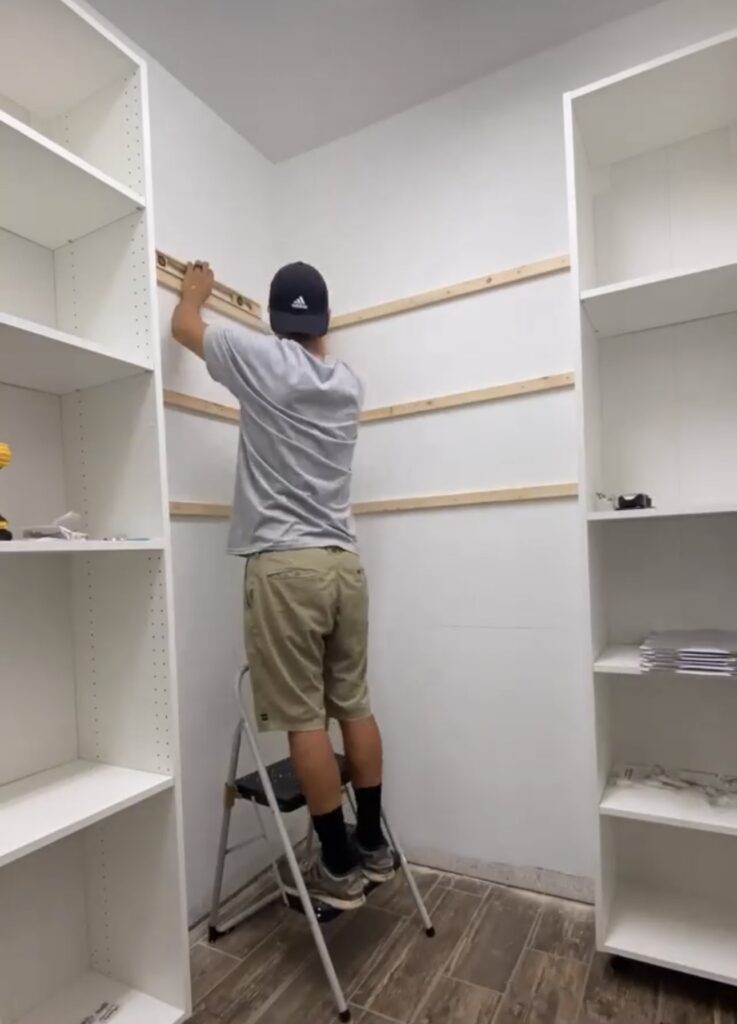
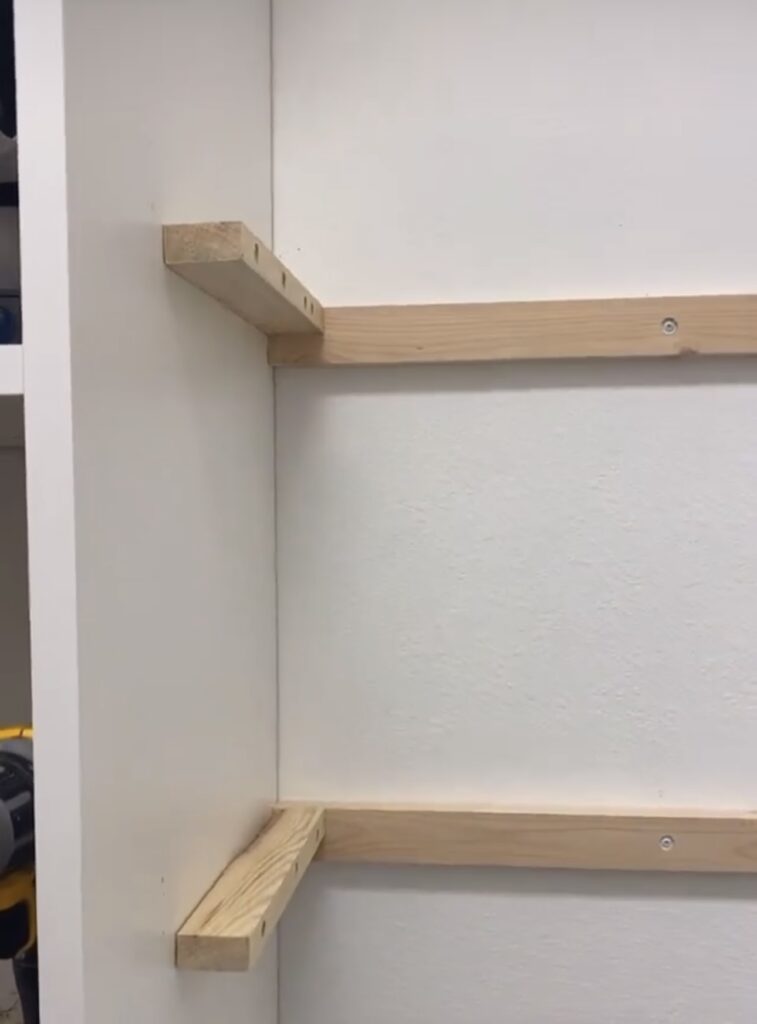
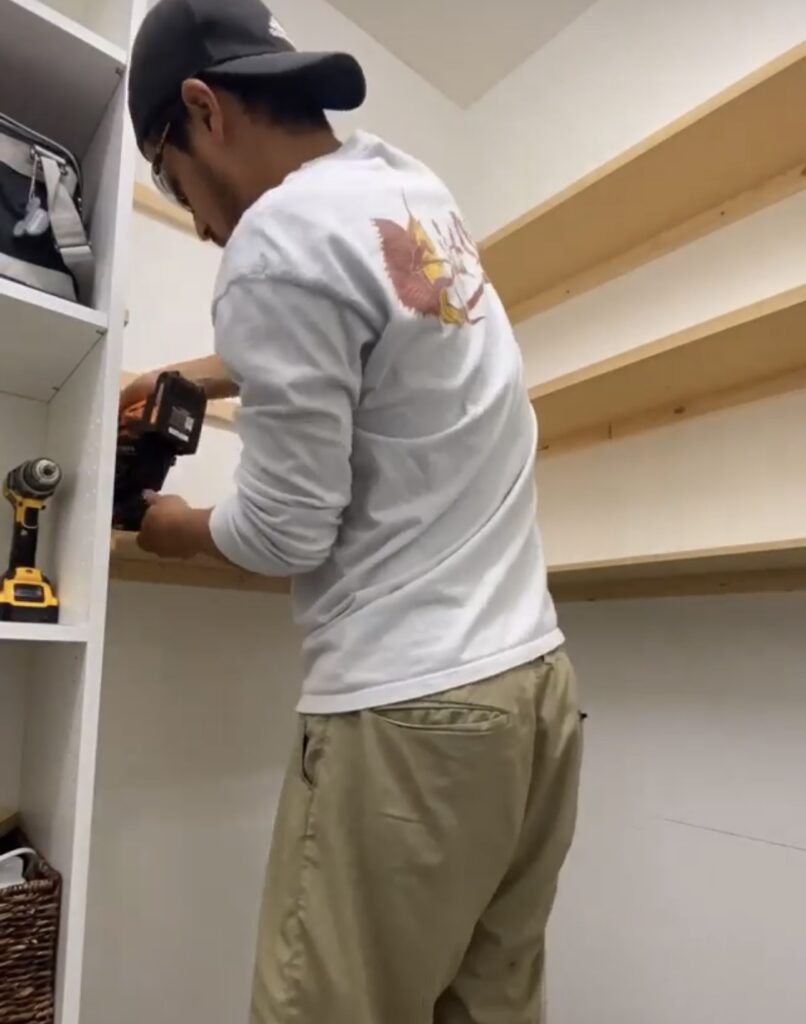
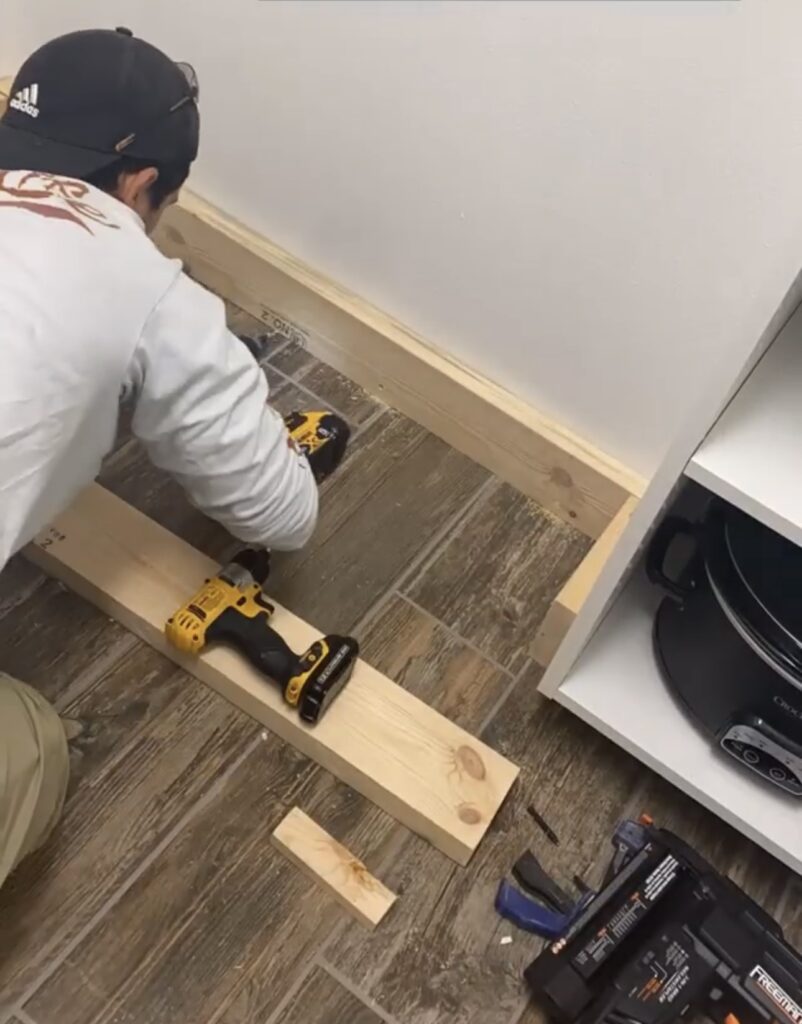
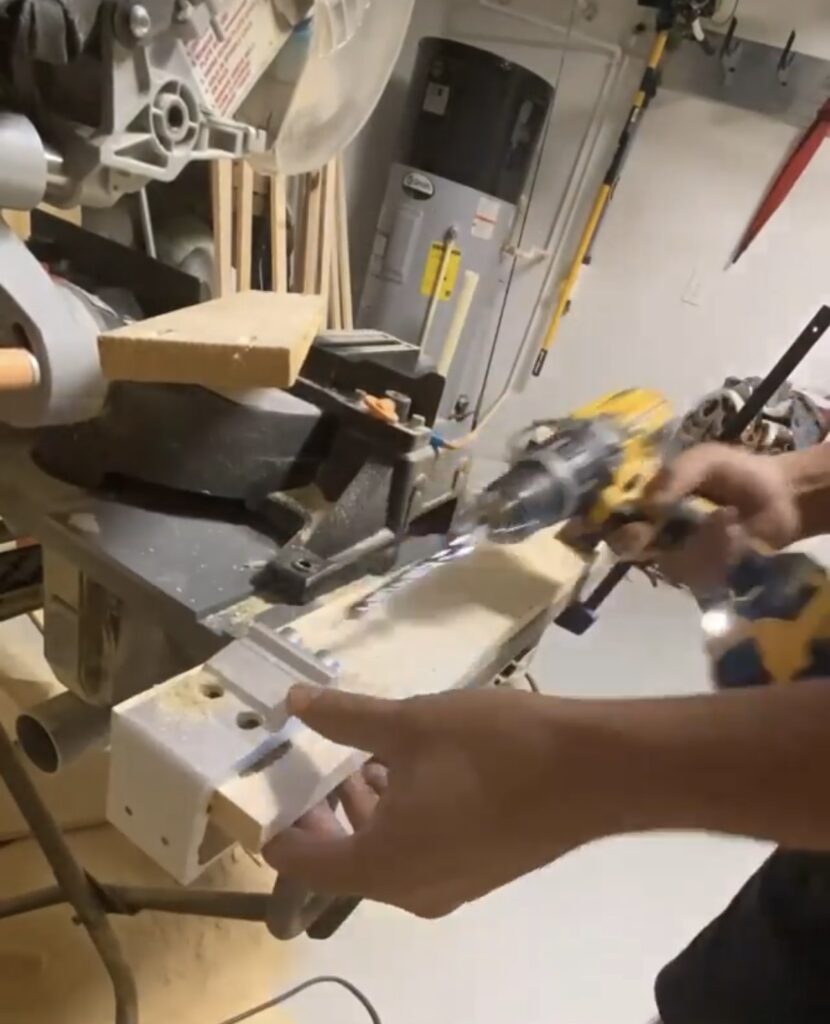
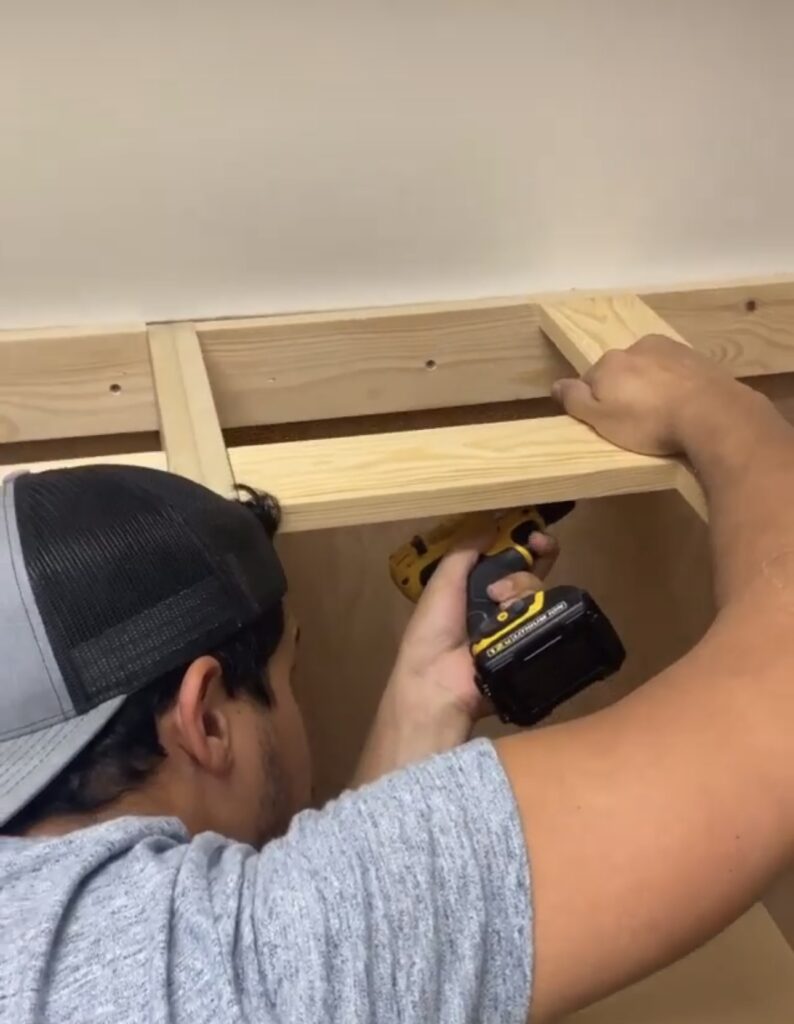
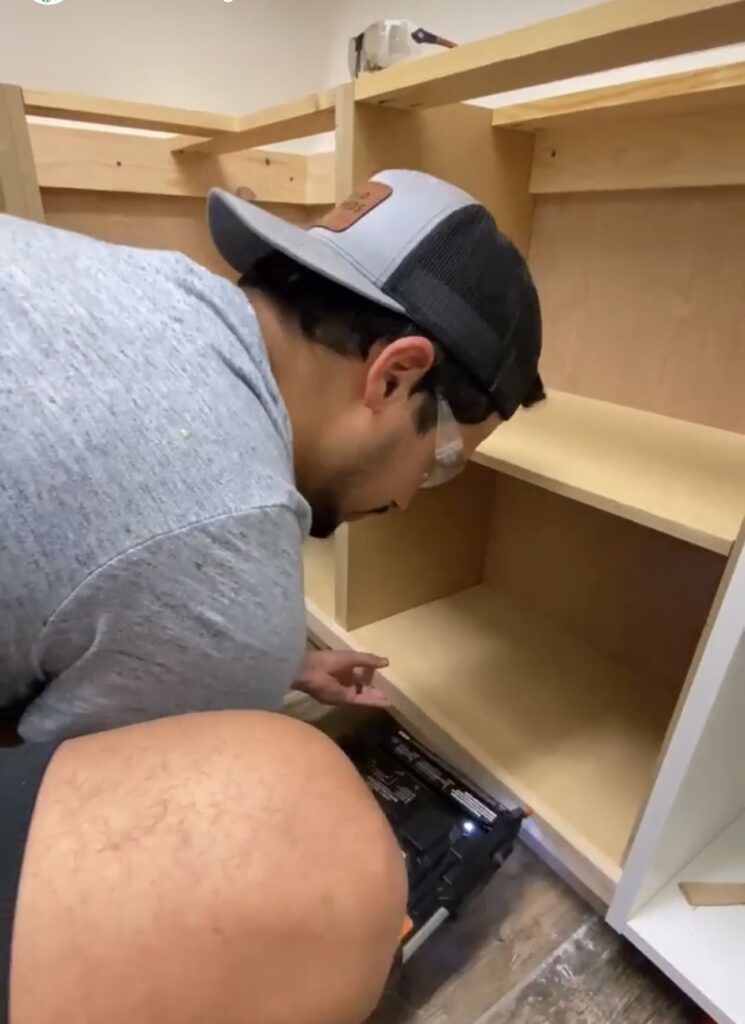
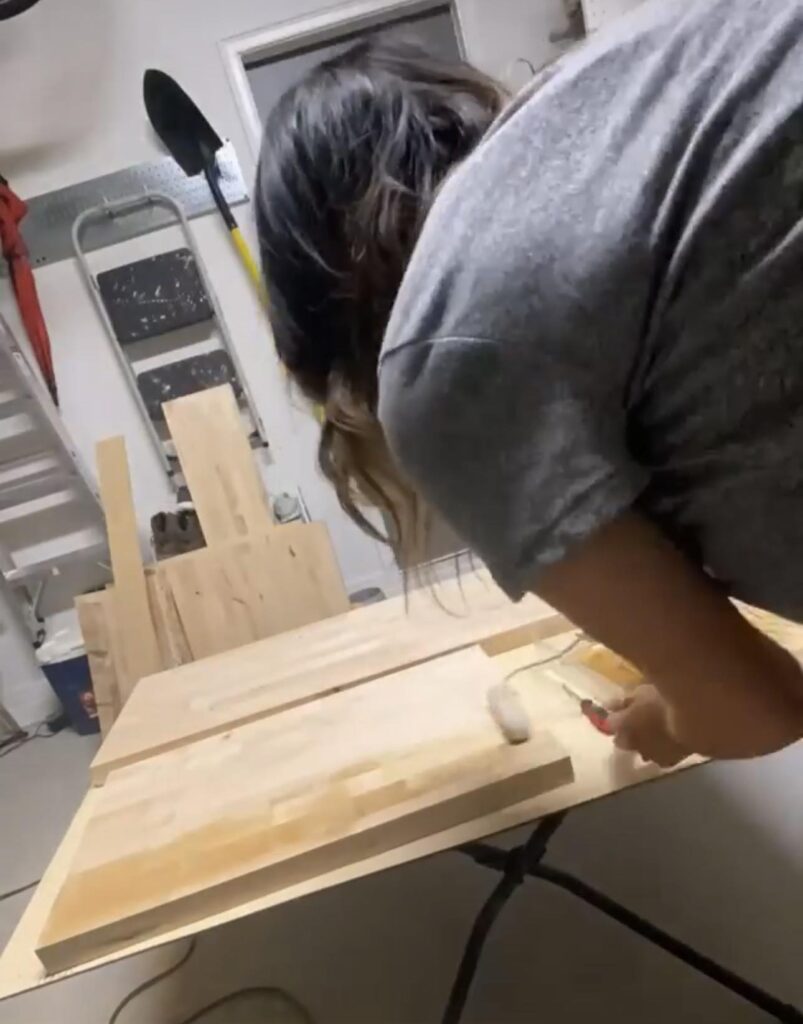
After we knew what our plans were for the pantry, Ryan measured and cut 1×2 pine for the shelf cleats while I filled the holes from the nails used to install the cabinet. He used 2.5″ cabinet screws to attach the 1×2’s to the wall, making sure to drill them into studs.
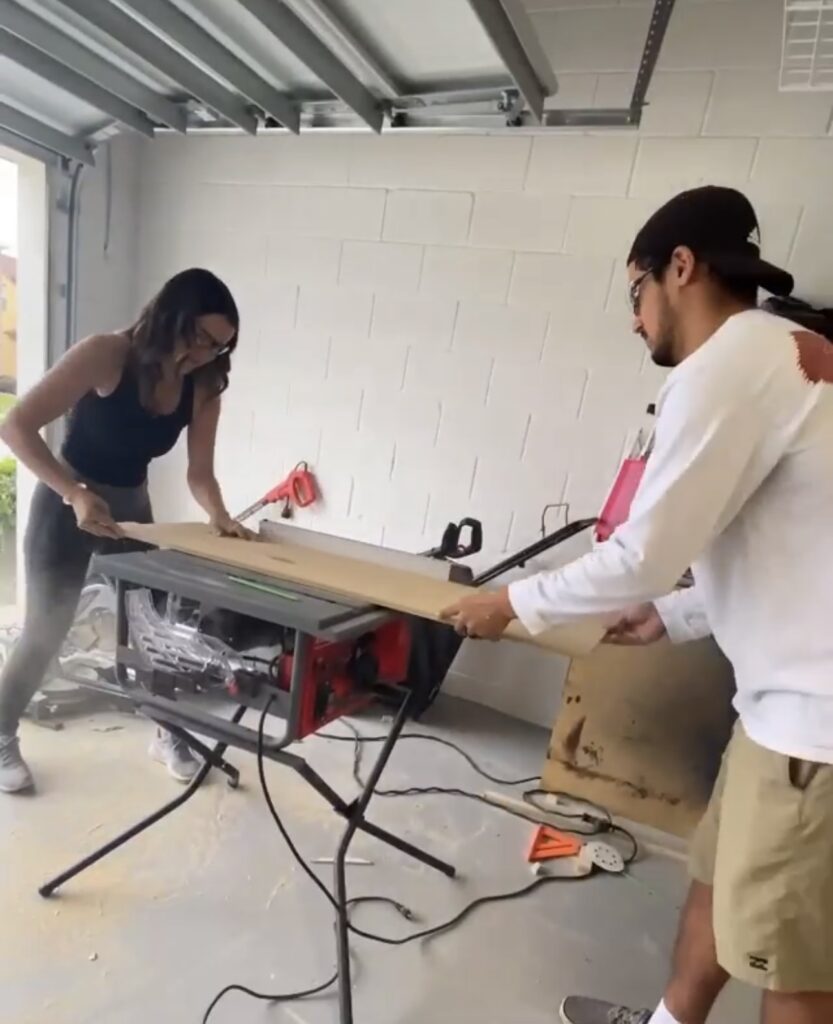


We used the table saw to rip the MDF boards for the shelf tops. Our shelves are going to be 10.5″ deep. So cutting this board 9 3/4″ because we accounted for the front trim we will be using to give each shelf a more professional looking finish. We used 1″ nails to secure the shelf tops to the cleats so they don’t go all the way through.
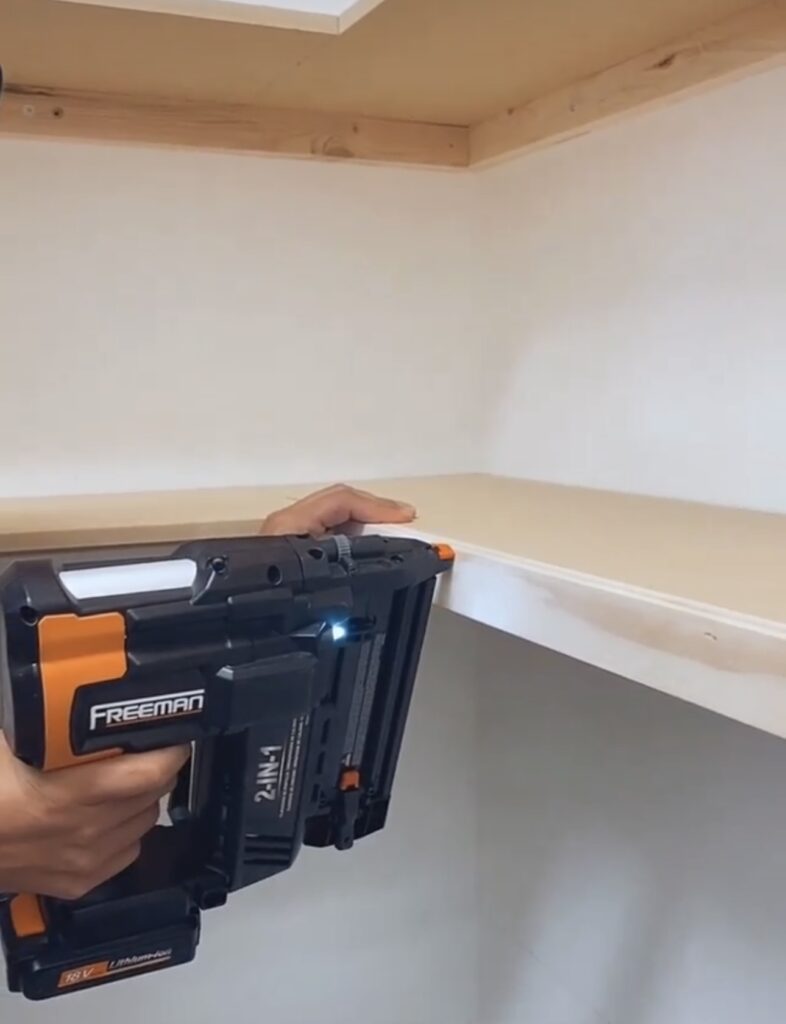
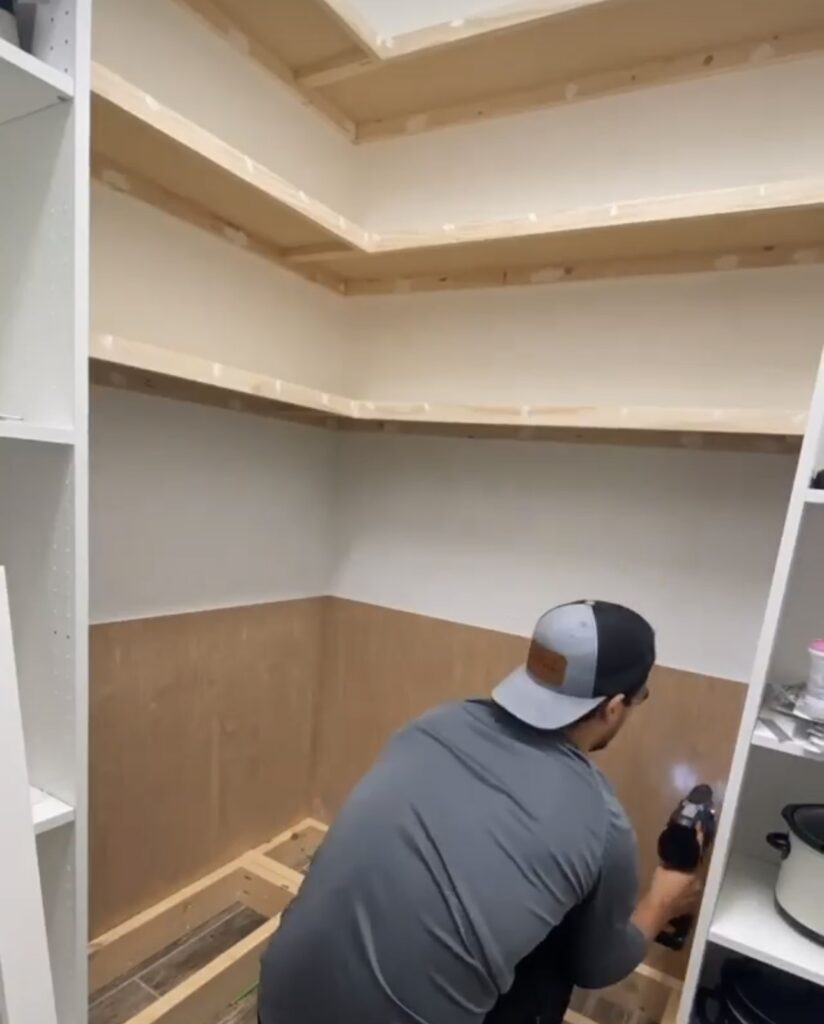
After the shelves were installed, we nailed 1×2 select pine to the fronts of the shelves for trim. We mitered the corners and sanded them before adding them to give them a more smooth finish.
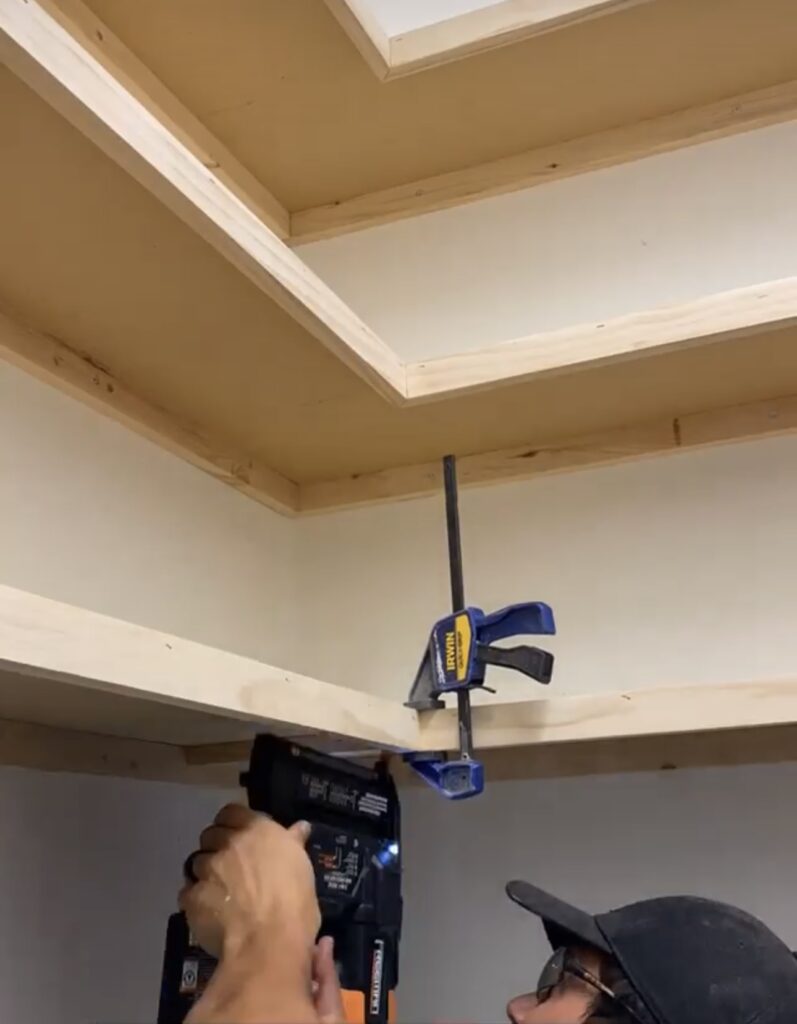
We had some pieces of the 1×2 leftover so we added it underneath for extra support to the corners of the shelves. This will help make the corners stronger by adding more bracing.
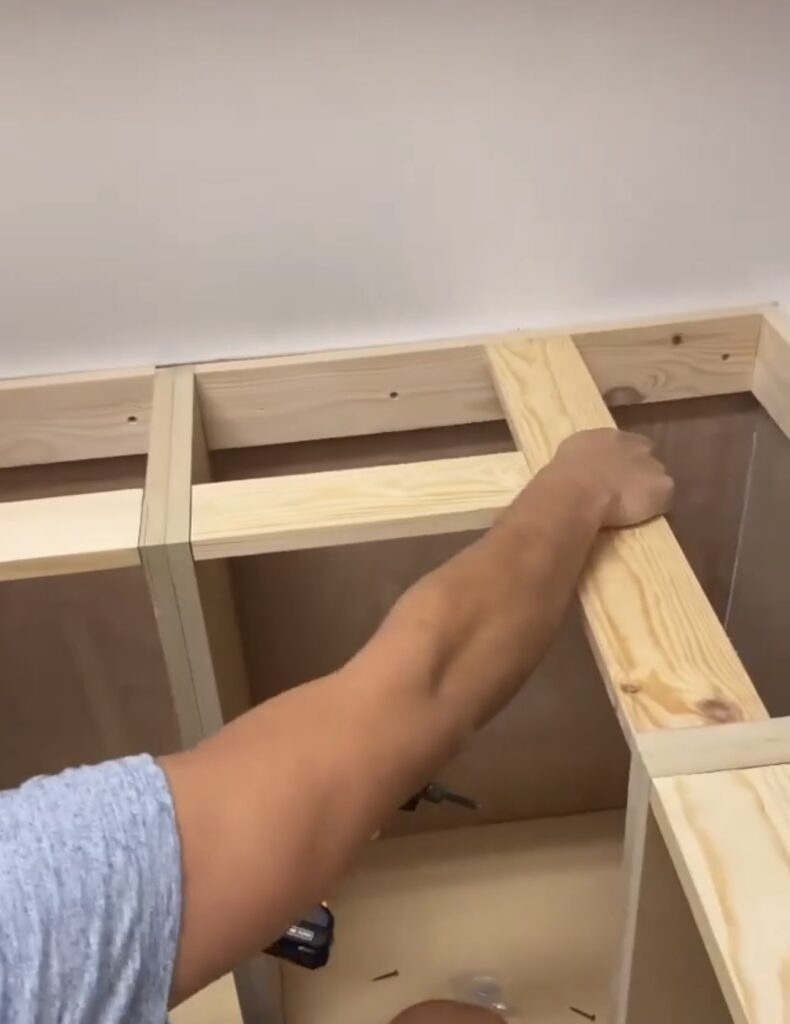
Once the shelves were finished, we started working on the base for the lower shelves and cabinet. We used 2×4’s with 2.5″ screws into the wall studs.
I filled all of the nail holes while Ryan added extra 5mm plywood that we had in the garage for the backs of the lower cabinets. This wasn’t necessary, but we sanded it down so this will give the cabinets a smooth back and help it to look more professional.
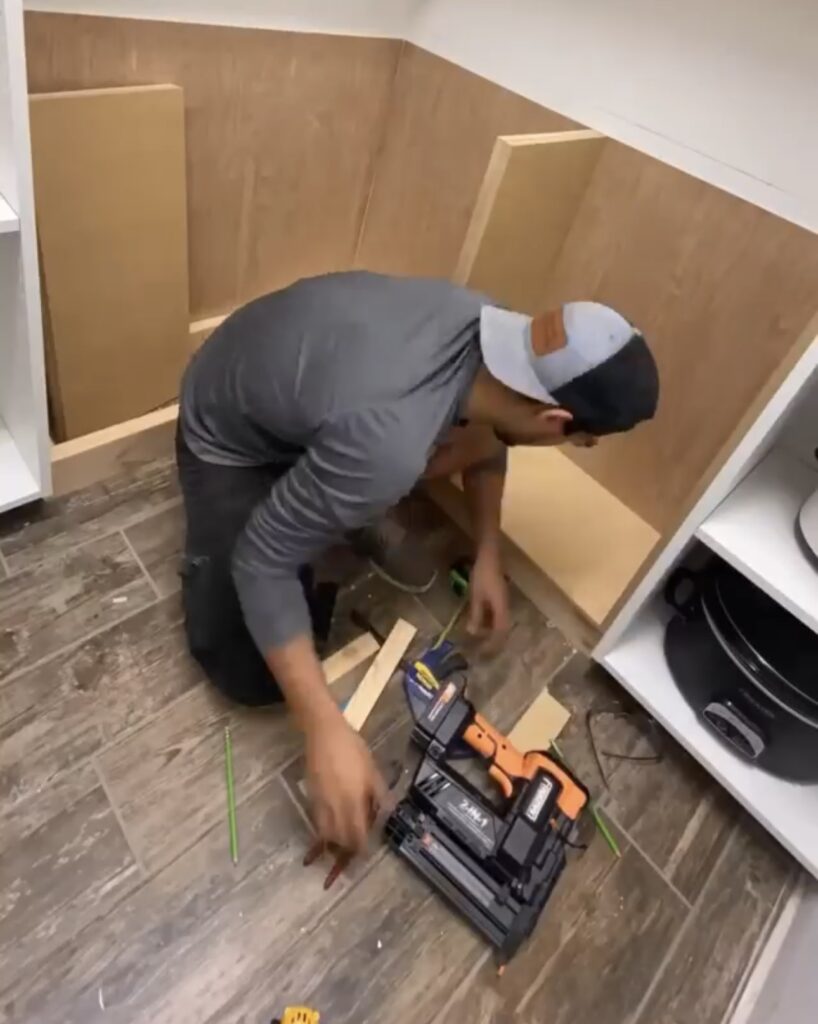
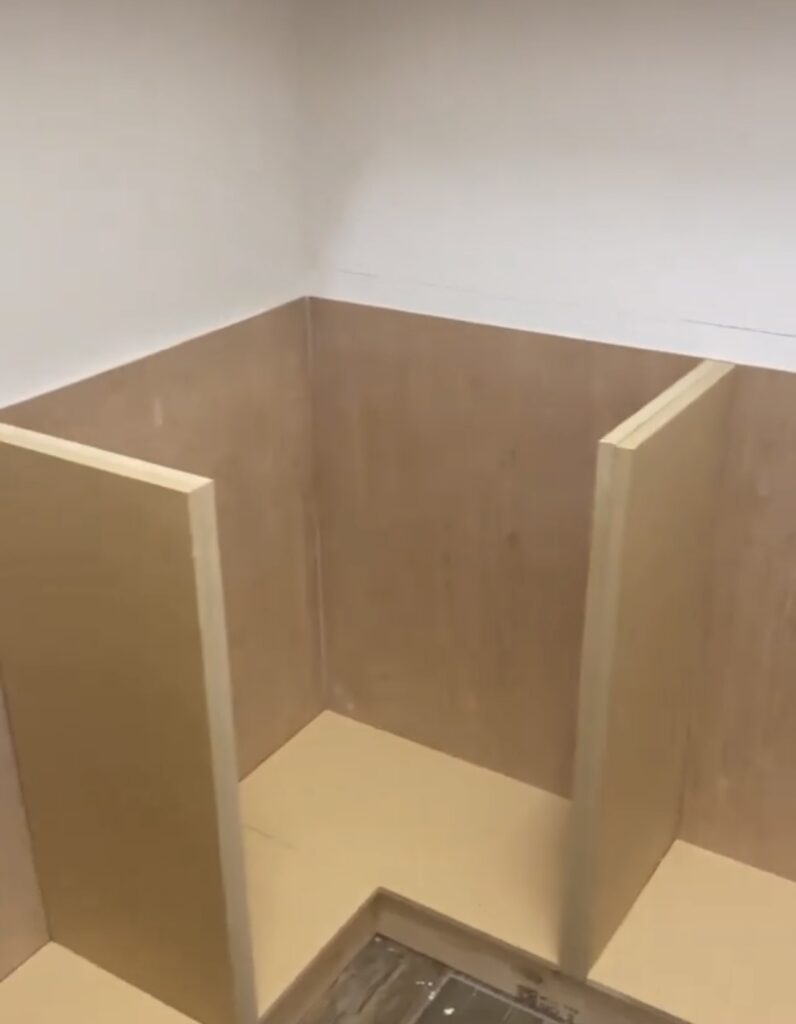

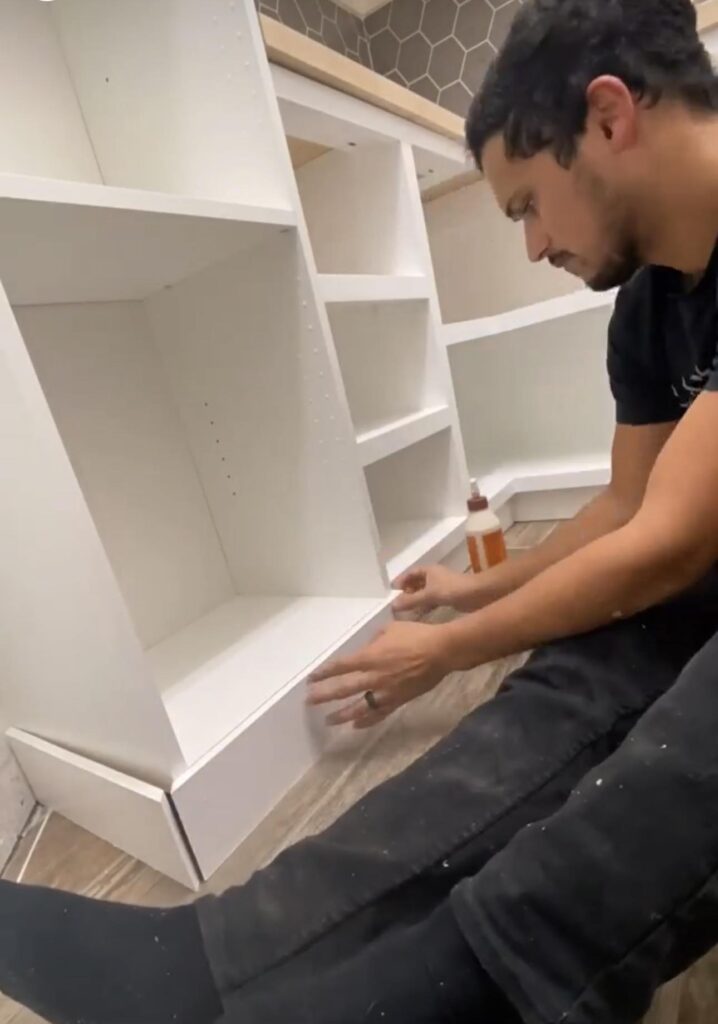
We then used 1/2” MDF as the base of the cabinet with 3/4 MDF for the two outside edges and two 3/4” MDF nailed together for the dividers.
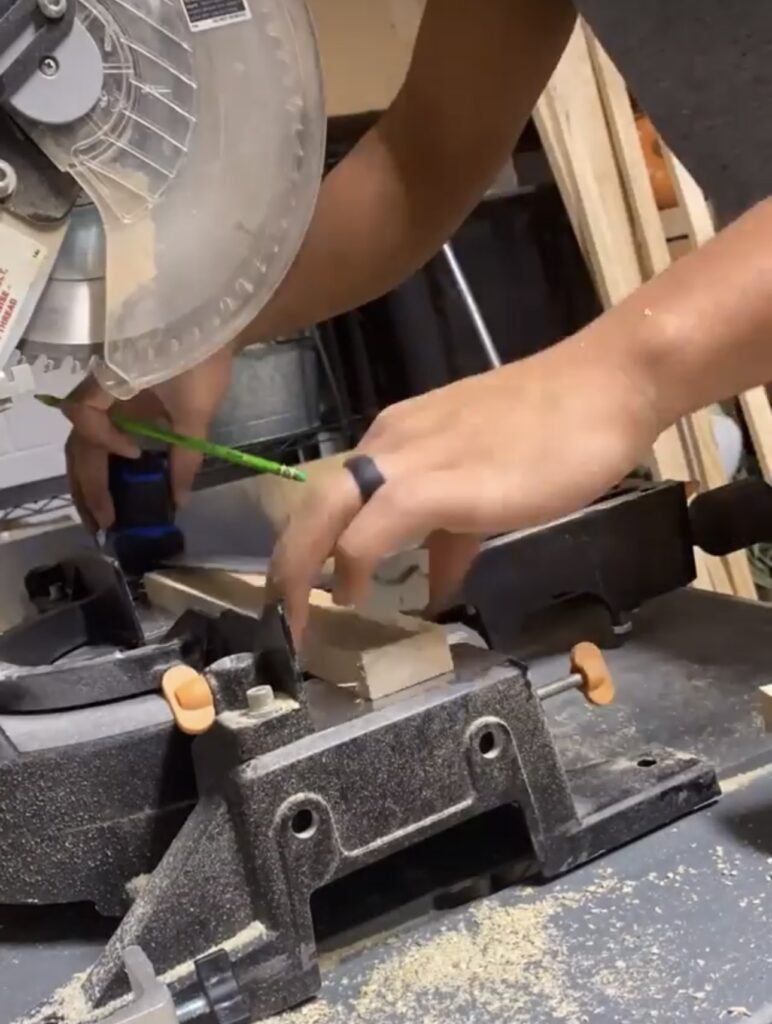
Ryan used the saw to cut all of the lower shelf support cleats and I sanded them. I sanded everything we’ve used, except for the MDF. It makes it smooth and paints easier.
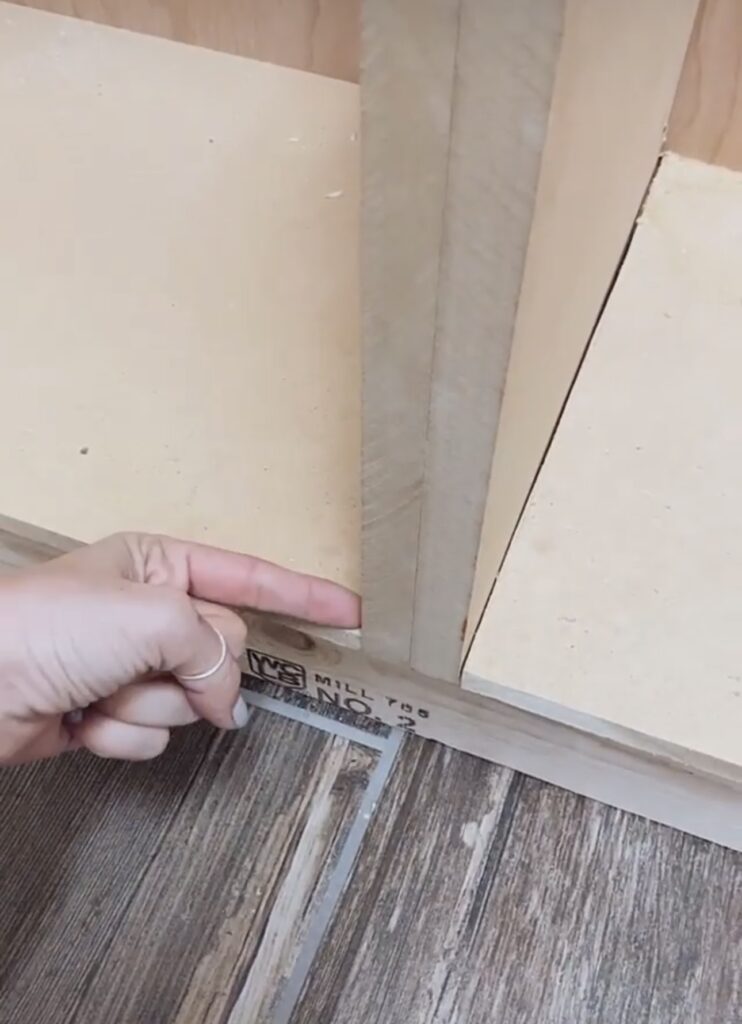
Once the cleats were cut, we used a pocket hole jig to make screw holes in 1x2s for the countertop support. By adding these supports it will help keep it super sturdy so it doesn’t budge.
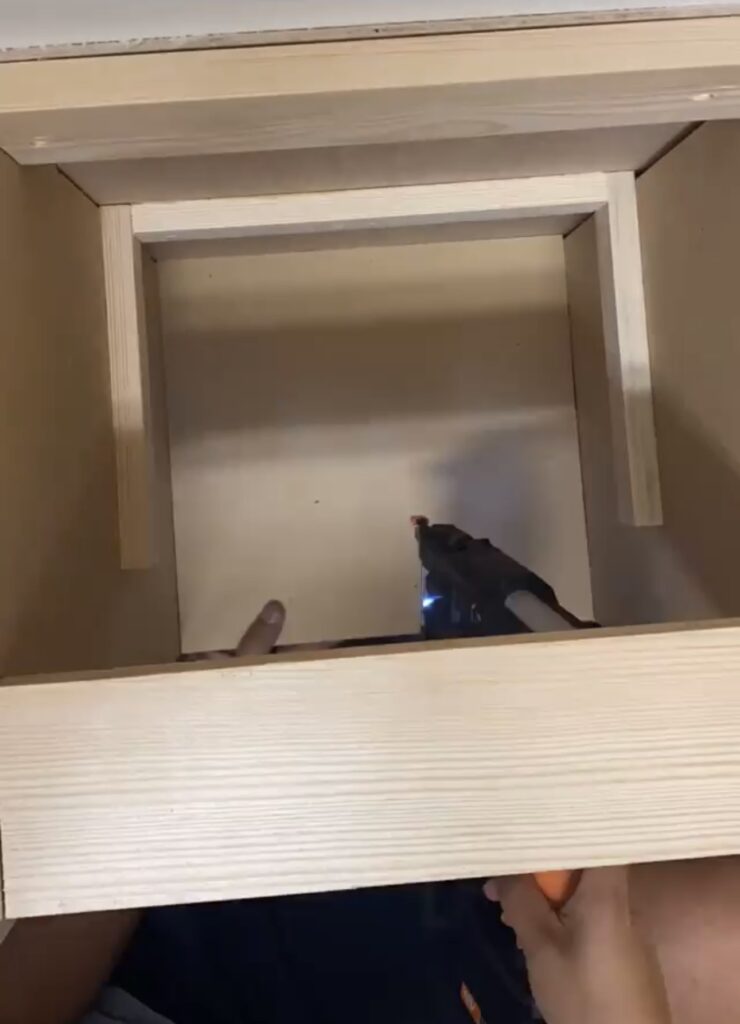
We nailed the 1x2s cleats into the sides and backs cabinets inside each of the dividers and then nailed in the MDF for the shelving. Then we added spare 1x2s where these two boards meet for more support like we did with upper cabinets, being sure to nail into each board. After that, we used 1×2 select pine as trim to the fronts.
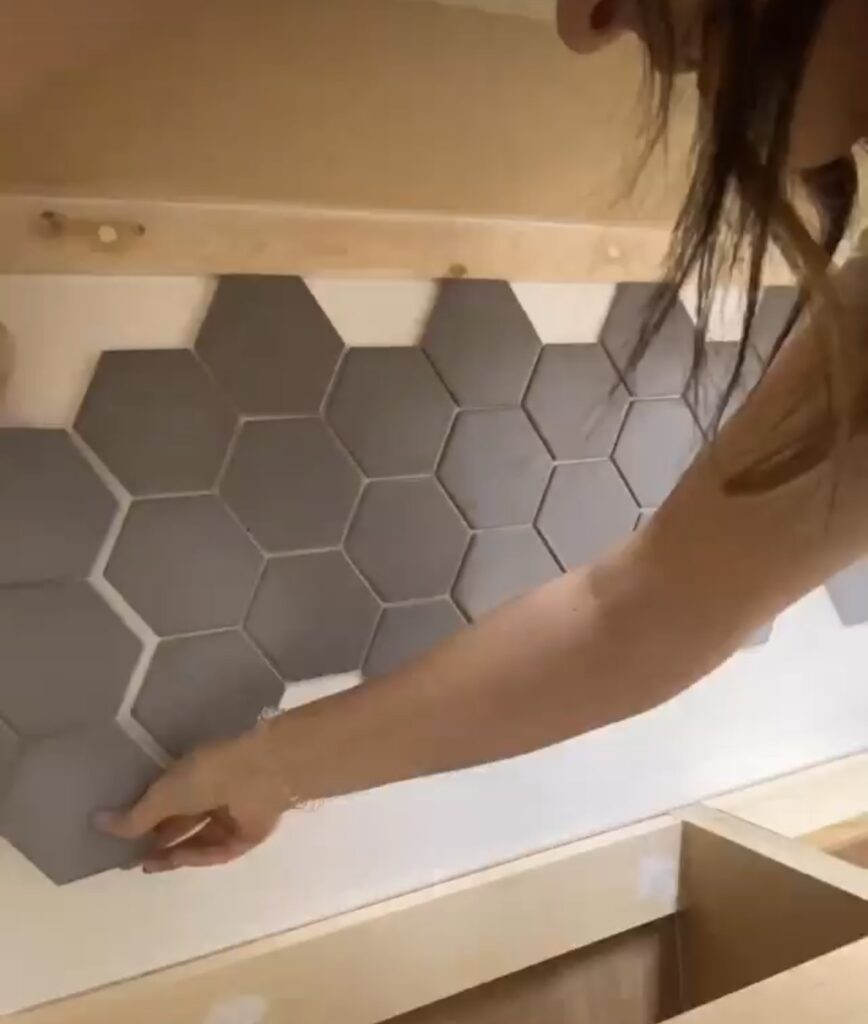
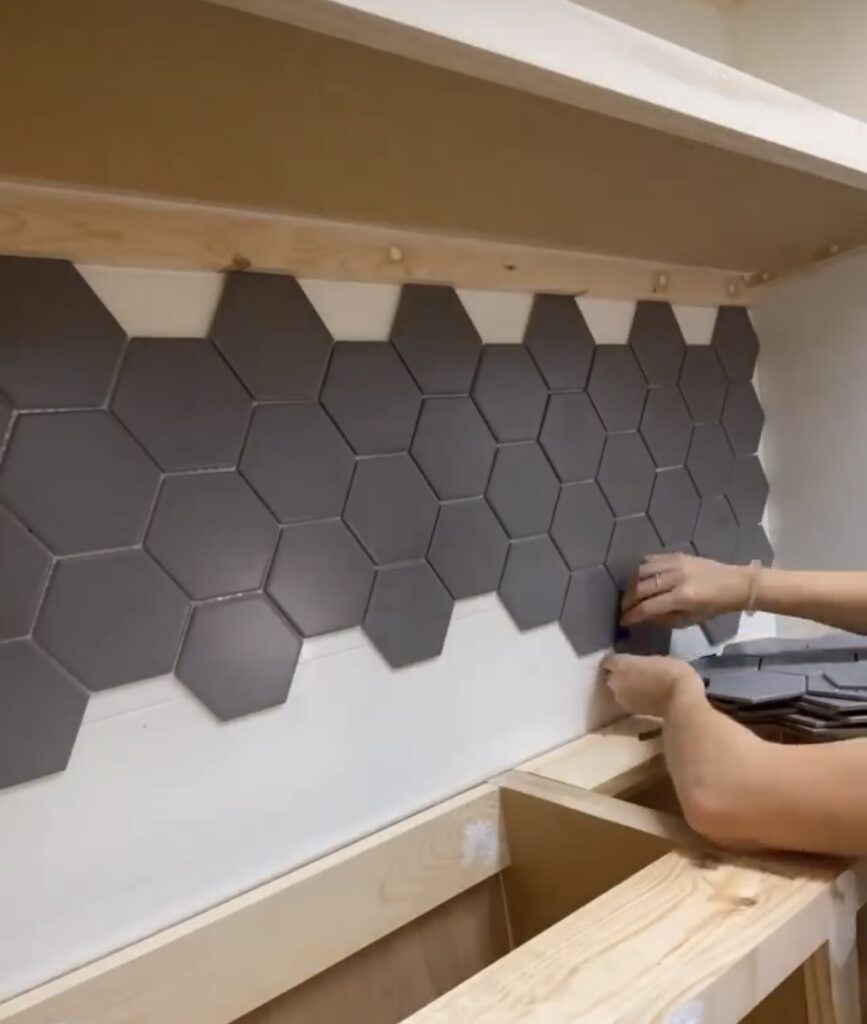
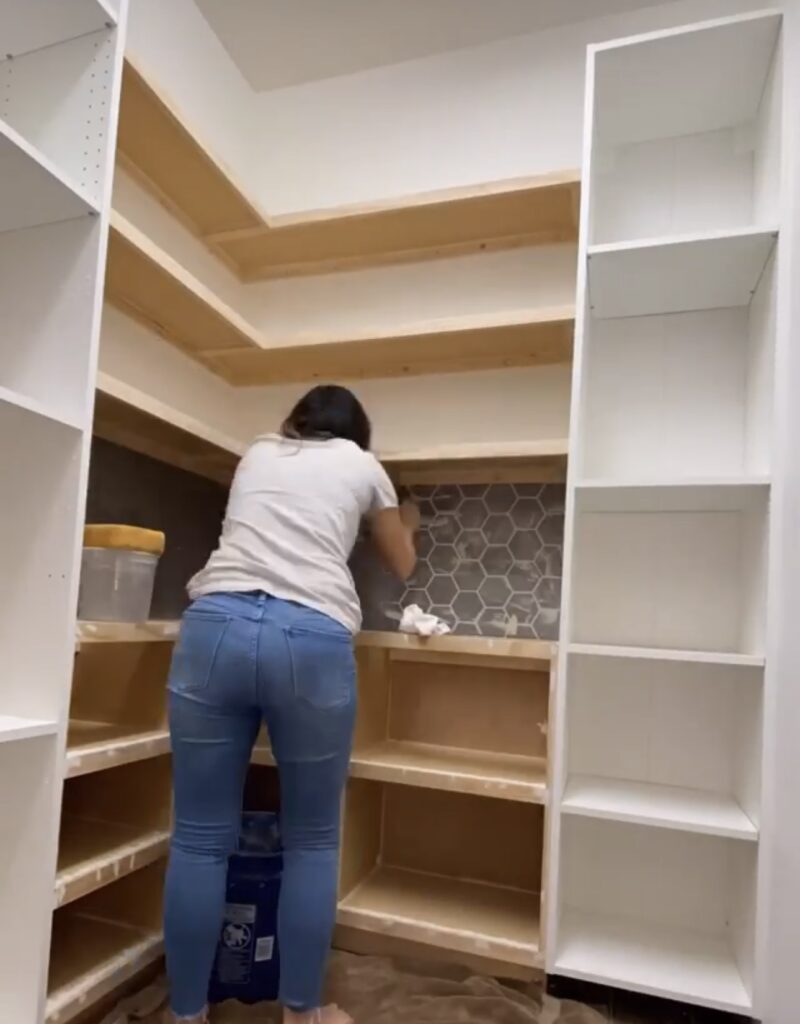
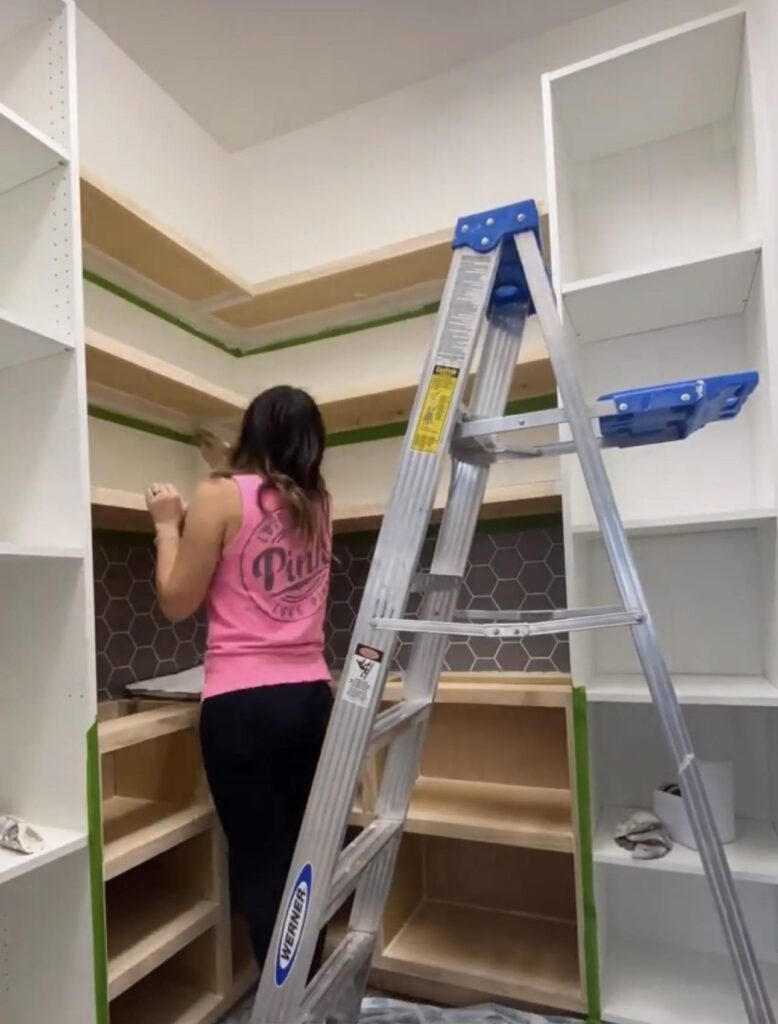
Once we got the upper and lower cabinets completed and the nail holes filled, we were able to move on to tiling above the countertop. We used MusselBound adhesive which is an easy alternative to using thinset to install tile. We rolled it onto the wall and got started! We chose mosiac tiles, which I love because you can cut the mesh to install individual tiles or smaller groups of tiles as needed. The MusselBound makes installing tile so easy! We needed to cut a few of the tiles that meet the upper and lower cabinets and against the side cabinets. After all of the tile was installed, I added white unsanded grout. I waited 20 minutes, then wiped away the excess grout with a damp sponge that I rang out completely.

After the tile was done, we moved on to the last few finishing touches. The next step was to sand, prime and paint all of the cabinets and then I sealed the butcher block countertop. We used two 4′ boards and used “L” brackets to attach the countertop to the bracing we installed underneath. Then we added the toe kicks around the bottom of the cabinets where the adjustable legs are with wood glue and a few nails for added support.

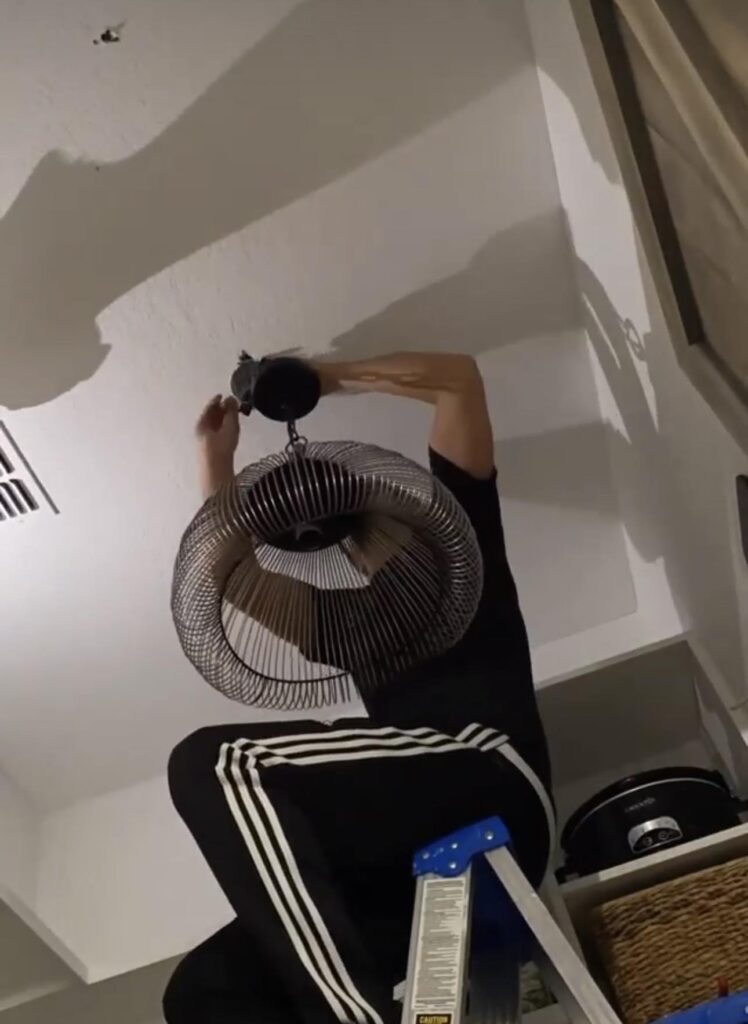
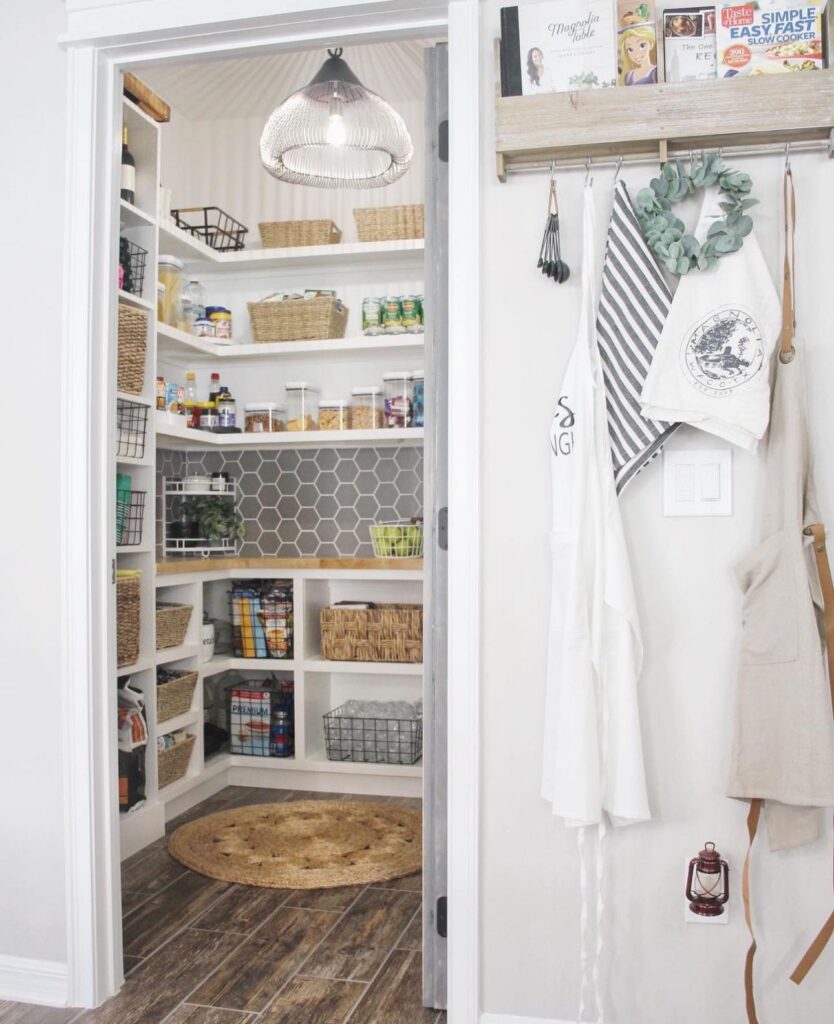
The final step was to take down the fluorescent, builder grade, light fixture and install a nice one.
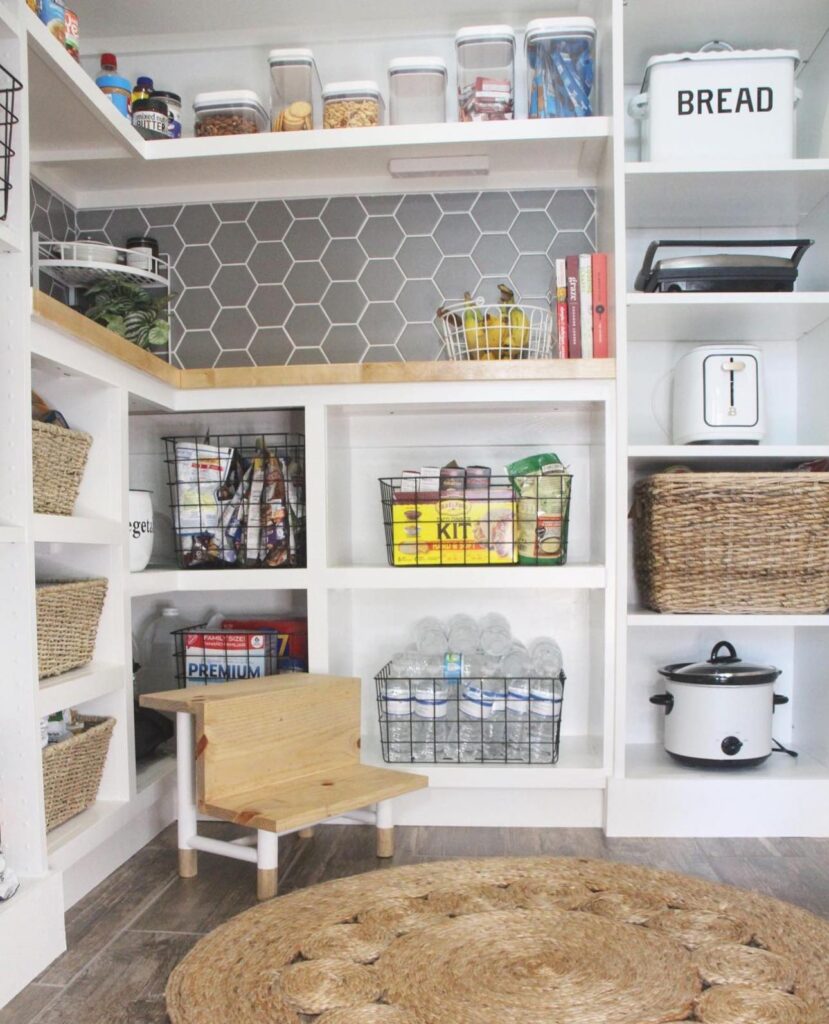
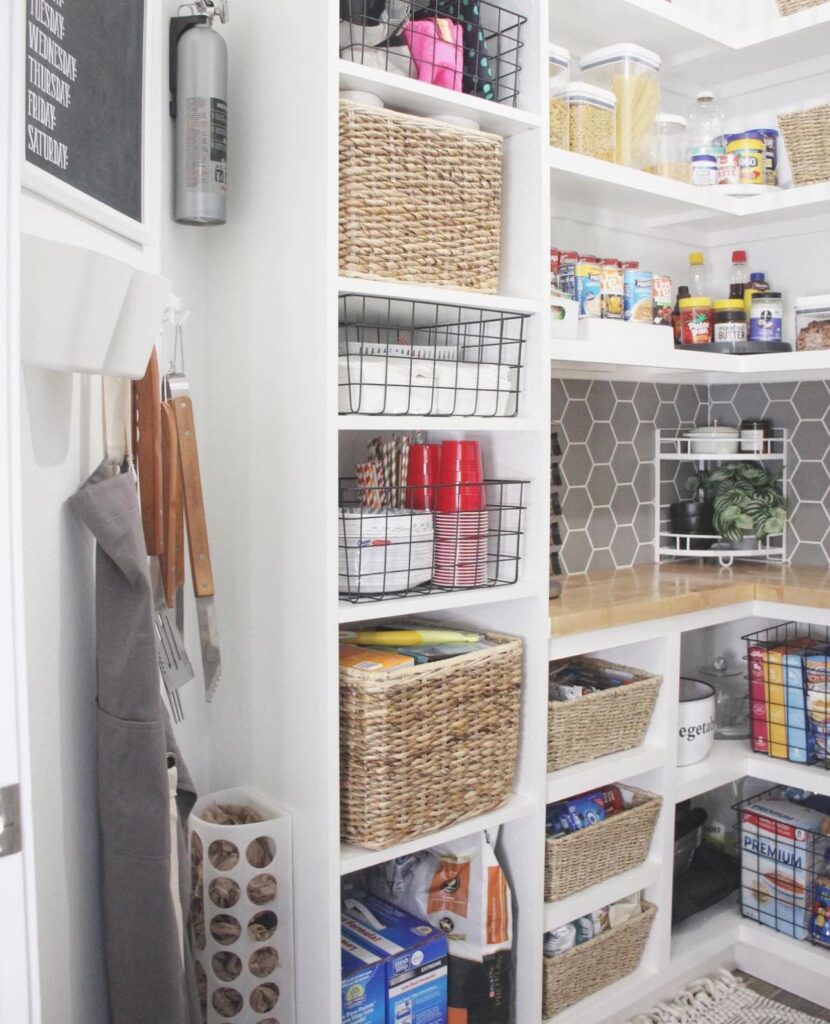
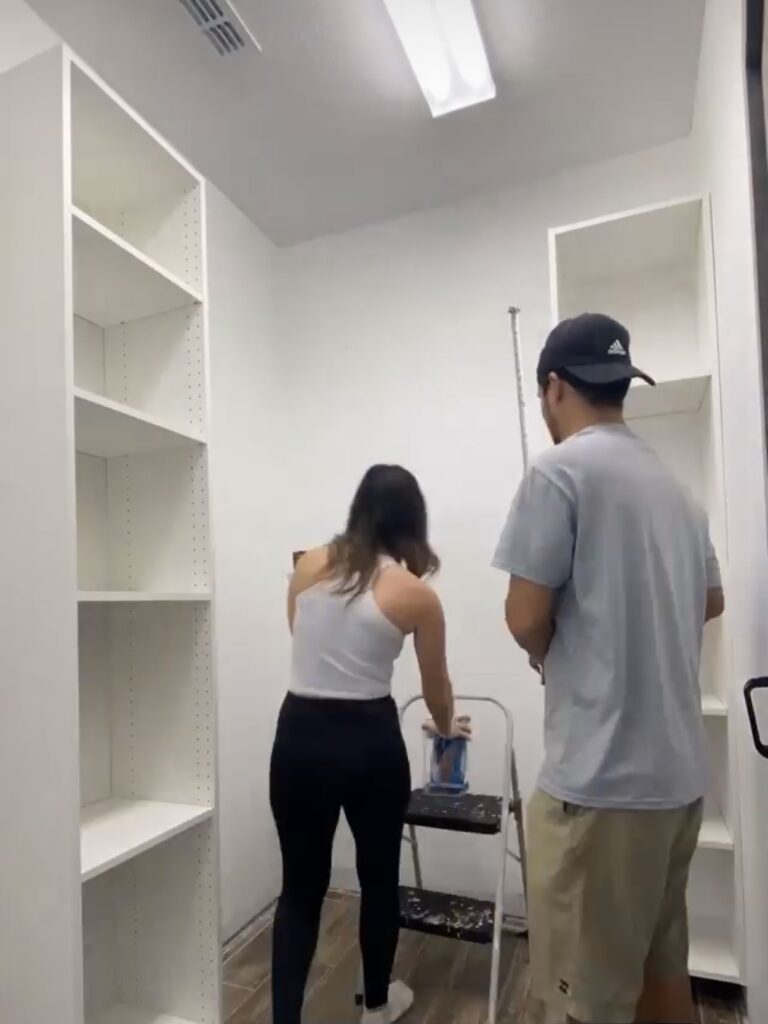
The final product is even better than what I imagined it would be. Doing this ourselves cost a fraction of what it would have cost to have this done when building or to hire someone. It’s not only much prettier to look at, but it is also so much more functional and helps keep everything so much more organized.
Leave a Reply
Grab our FREE download
Wanna know the 5 must have tools you need before you start?
Considering a DIY Project?


Wow it’s beautiful. I want my carpenter makes same pantry for me. Now My pantry has those type of shelves as your pantry had and I don’t like them