


Outdoor Railing
The demo phase at our reno house is mostly done and we’re excited to finally start to move on to other projects!

The exterior needed a major makeover from a new roof and siding to some more minor touches like paint and landscaping. The metal railing was one of things that needed some updating. It was wobbly, rusty and only attached on one side so we tore it out and will replace it with a nice wood one.
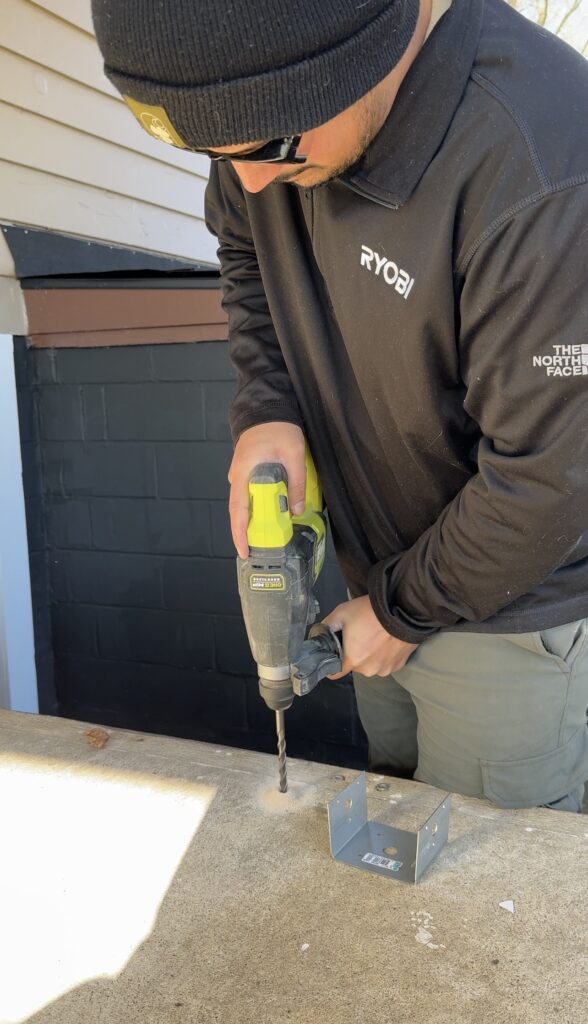
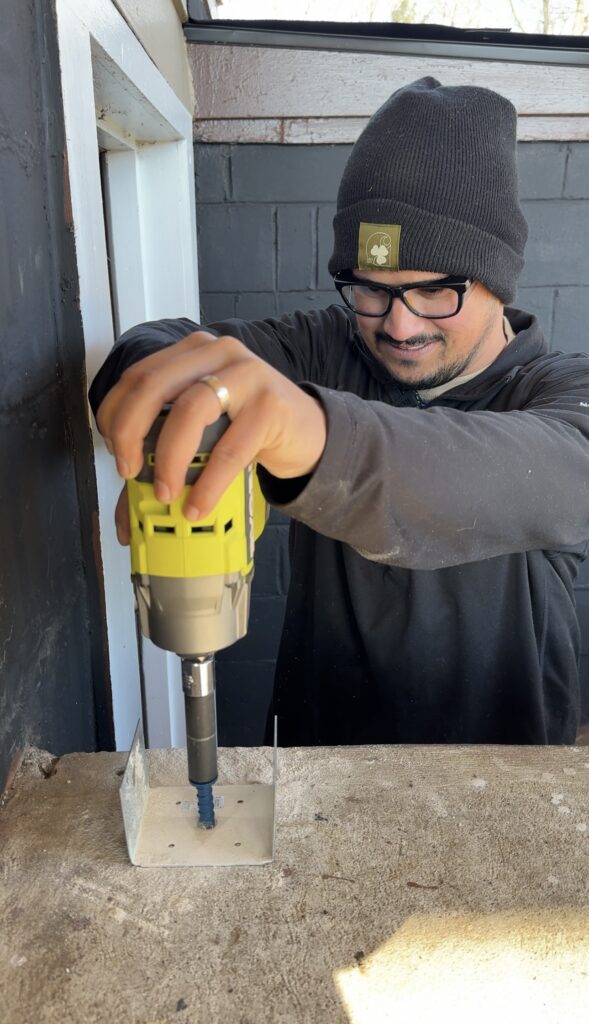
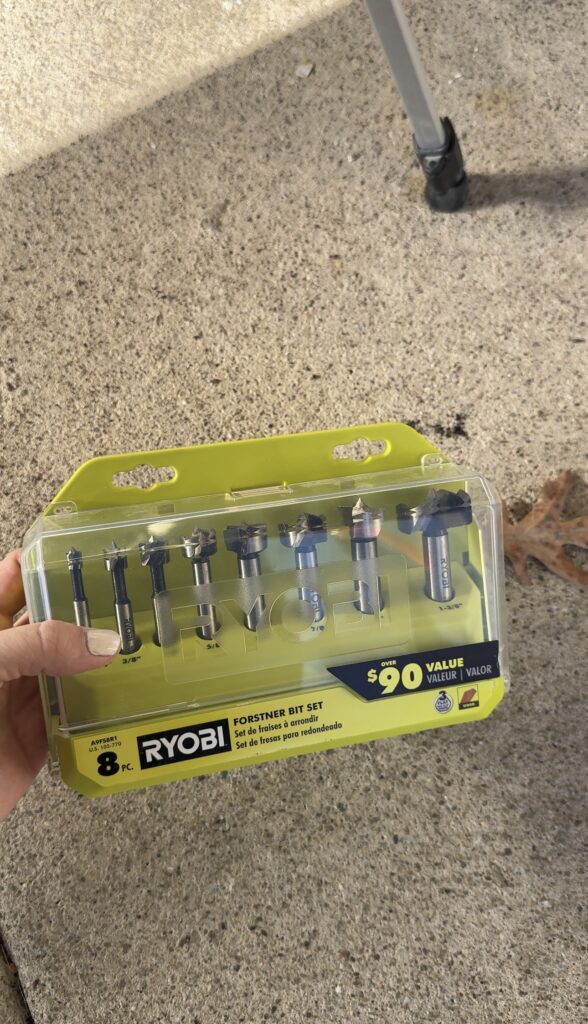
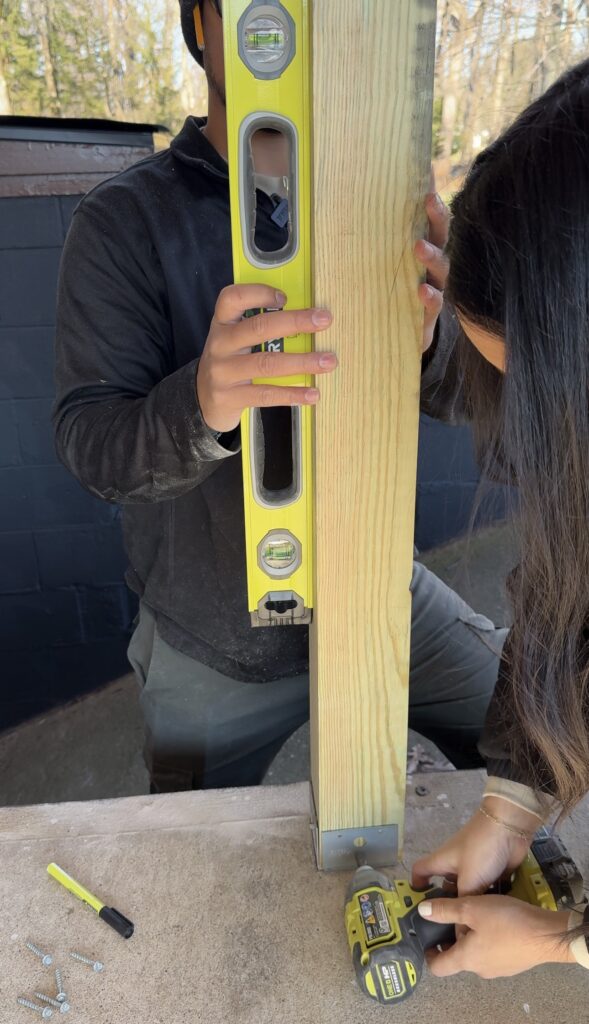
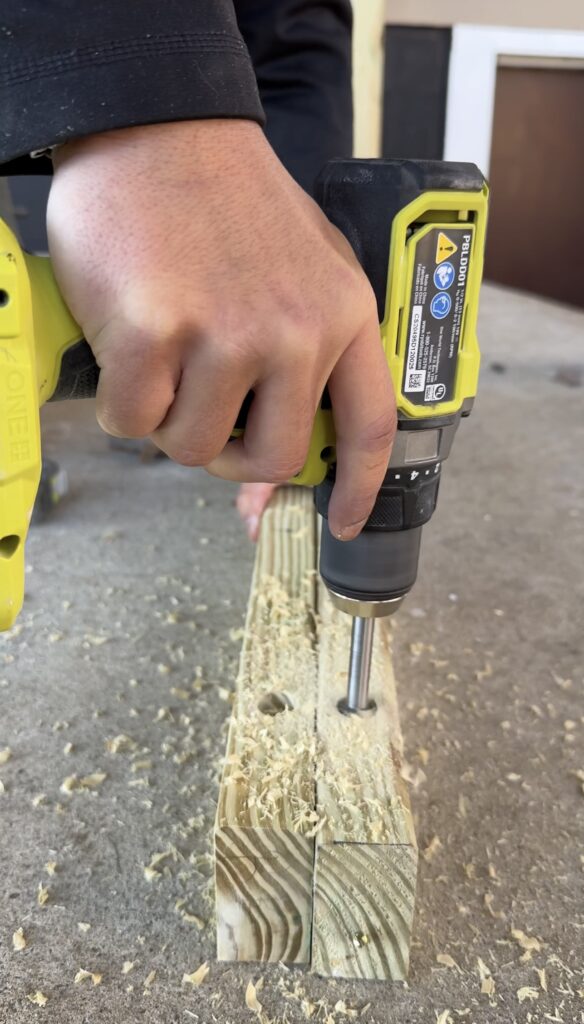
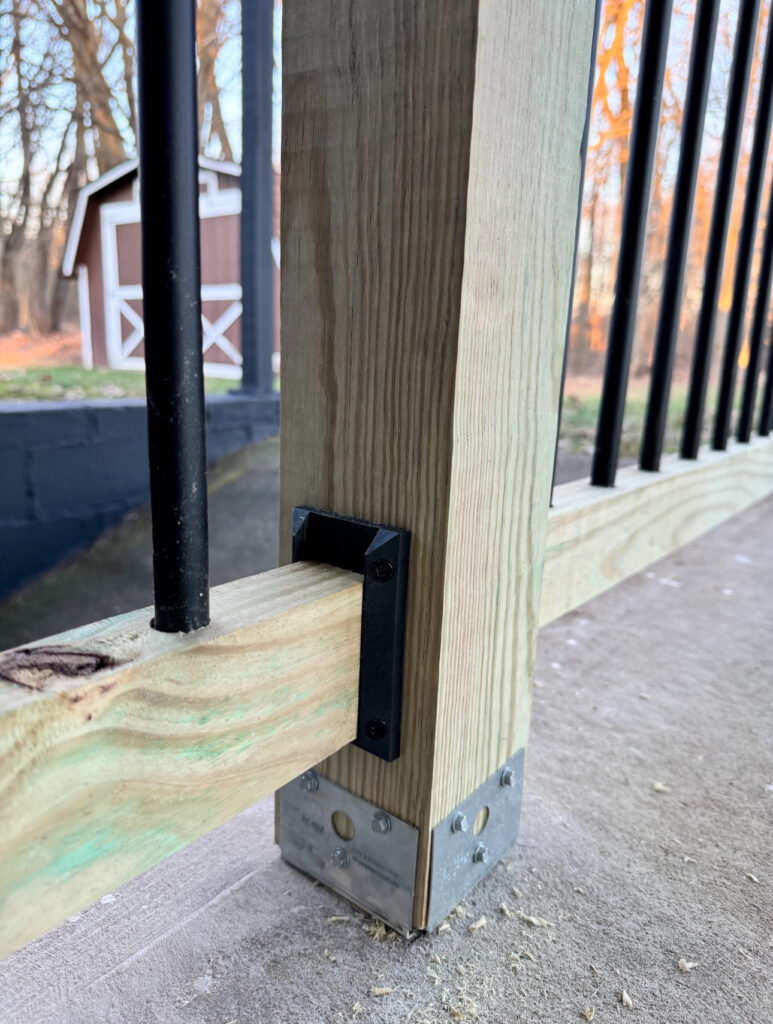
We started by measuring where the two posts would need to go, placing one in the center and one within 4″ away from the wall to stay within code. Ryan used a concrete drill bit to drill into the concrete for the posts and a forstner bit to drill a hole in the bottom of the post for the screw to sit inside.
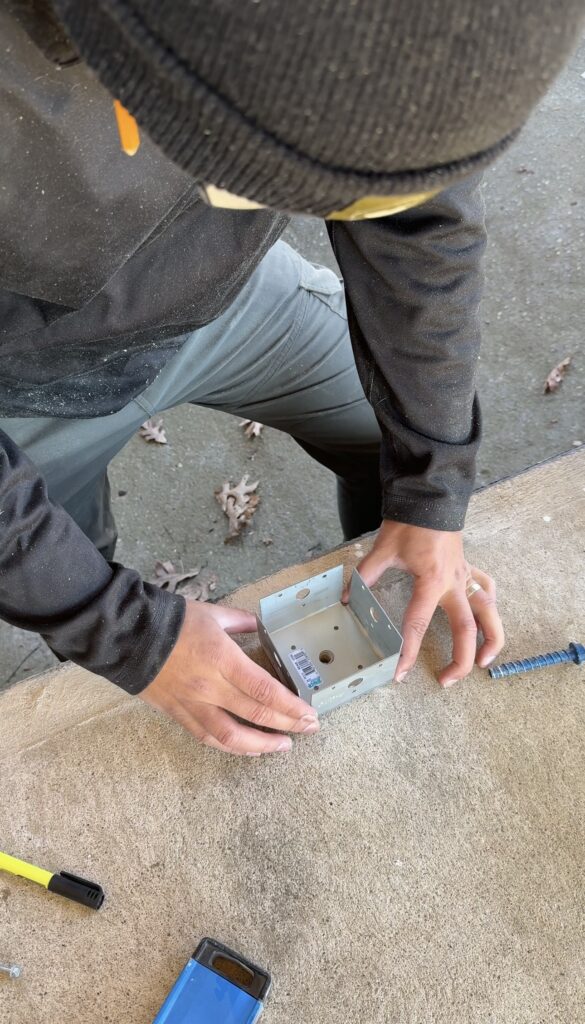
We used two brackets for each post for extra support and used tapcon screws to hold them into the concrete.
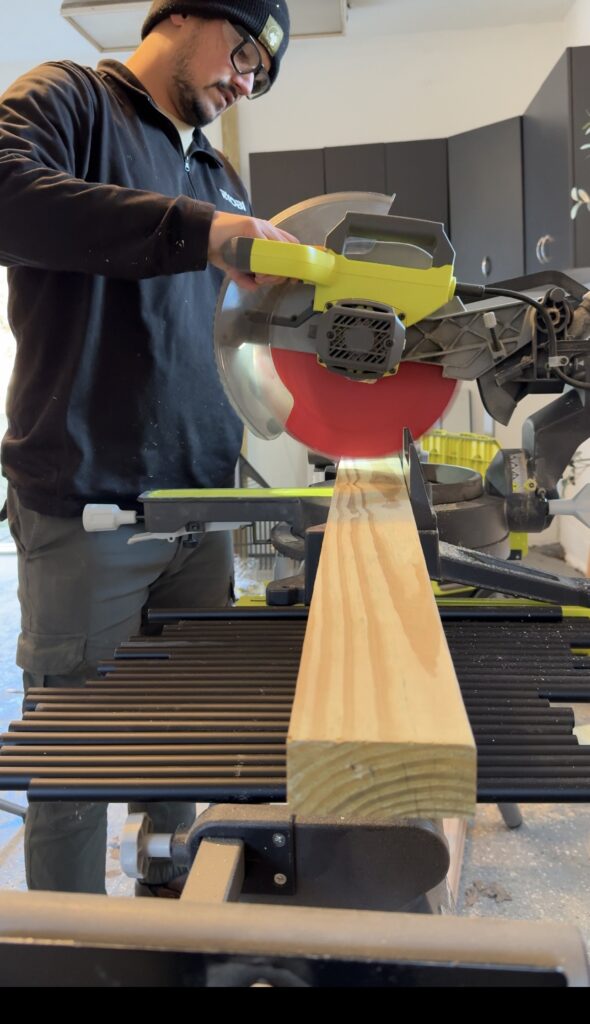
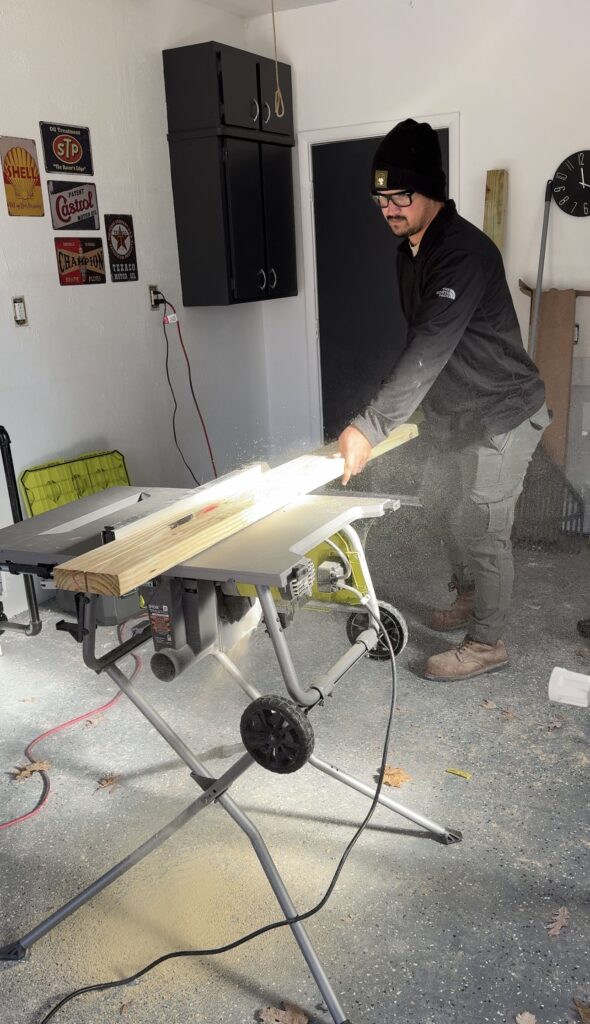

We used pressure treated wood for the rails so it will last for a long time since this is outdoors. We used a 2×4 for spacing for the bottom rail to keep it within 4″ of the ground so that it is up to code and attached the brackets to hold the rails to the posts. Then we ripped a 2×6 in half for the top and bottom rails which will hold the vertical balusters.
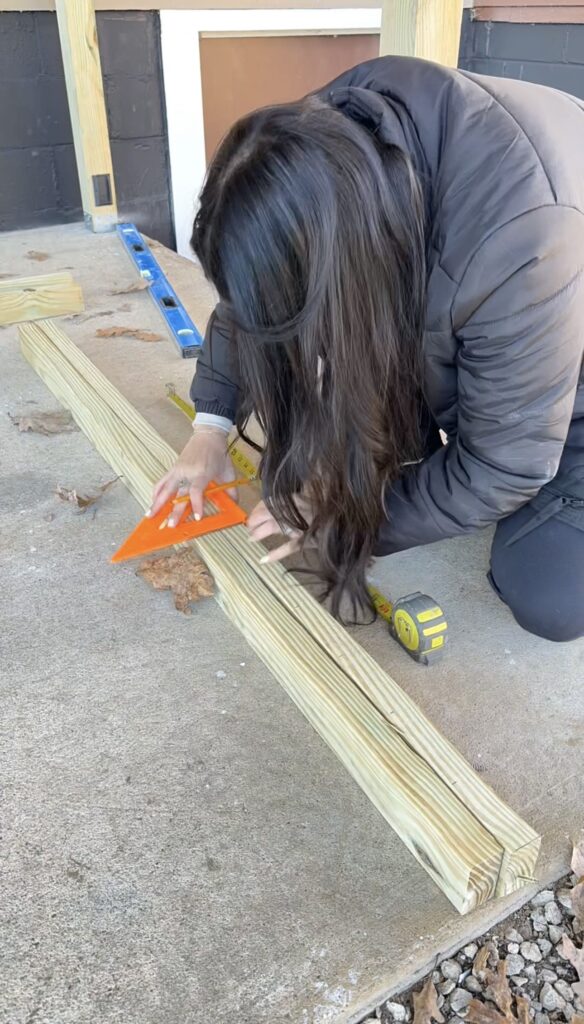

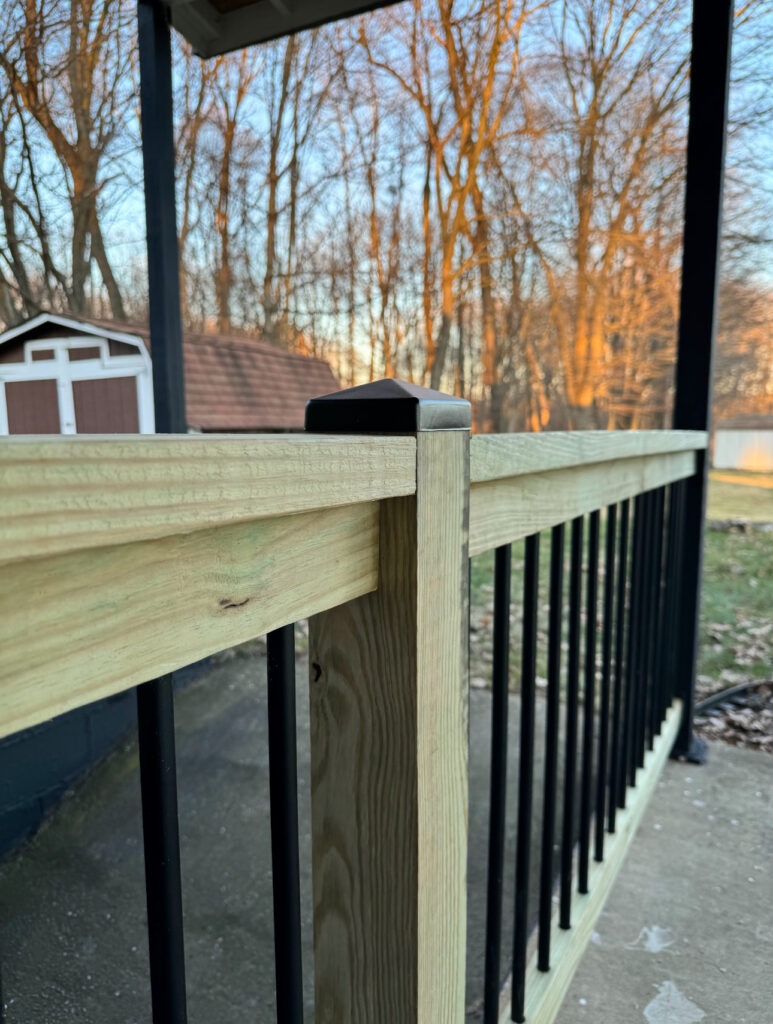
Once the top and bottom rails were cut, we measured every 4″ and drilled a 1/2″ deep hole with a forstner bit for the balusters. We measured the length we needed and cut each of the balusters to size. We went with 25″ balusters and our overall railing height is 36″.
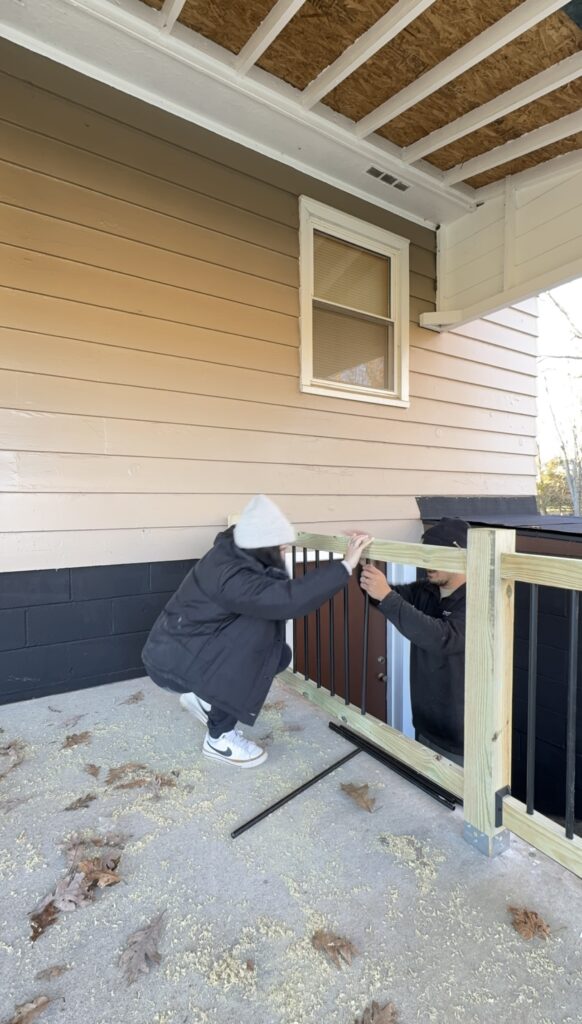

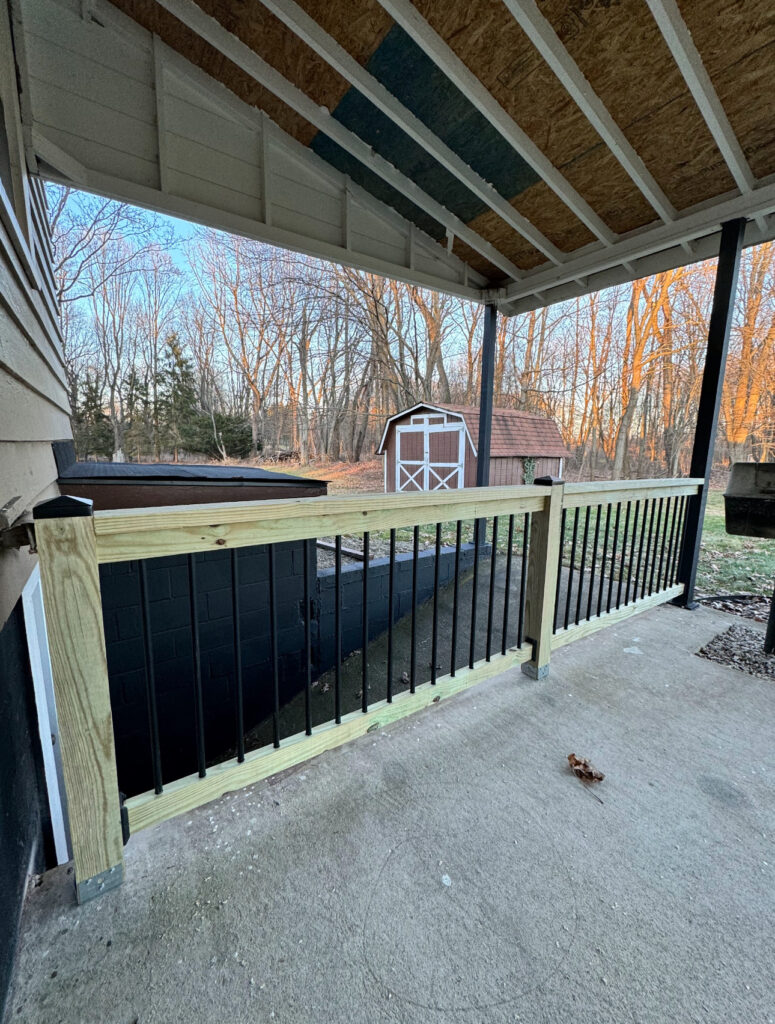
We used construction adhesive in all of the holes and then put the balusters in. It would have been just fine for us to stop there but we decided to add a 2×4 to the top rail to serve as a hand rail and make it look even better. Ryan cut a 2×4 down and secured it with wood screws and then we topped the posts off with black metal caps.
We could either paint or stain the wood but decided on staining to add more of a pop since the siding of the house will be white and the trim is black. With pressure treated wood, you have to make sure it’s completely dry before applying any paint or stain so that it can be absorbed properly. We got our wood a couple of weeks early so we could be sure to let it dry out and gave it a couple of extra days after installing before doing the stain. You’ll know the treated wood is ready to stain or paint when it absorbs water instead of repelling it. When you are applying the stain, if no moisture beads up on the surface, it’s still too damp.
I started with Weathered Oak and could tell right away it was too light and didn’t cover the green spots on the wood. I ended up using that stain as base coat and then went back over it with Aged Walnut and it gave the perfect not too dark, not too light look I was going for.
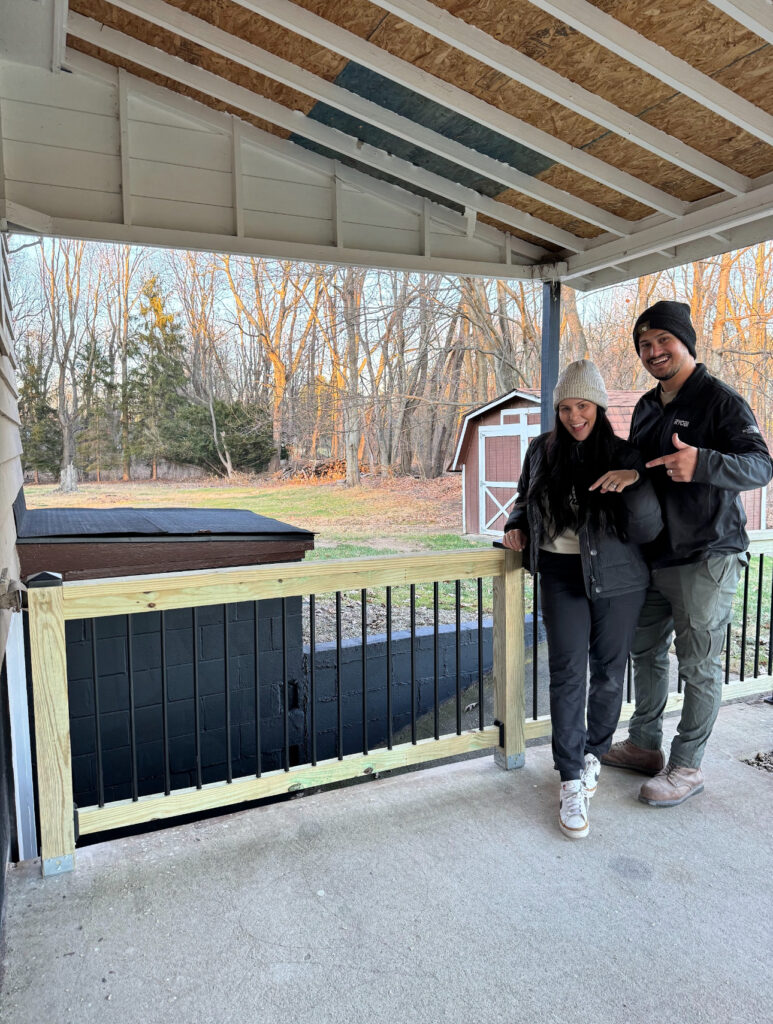
This turned out so good and I’m so excited for how it will look with the new siding and landscaping!
Stay tuned for more reno house updates we’ll get to tackle over the next few weeks!
Leave a Reply
Grab our FREE download
Wanna know the 5 must have tools you need before you start?
Considering a DIY Project?


Be the first to comment