


DIY Serena & Lily Teak Step Stool Dupe
After redoing our pantry in our old Florida house, we had high shelves that were hard to reach. I searched online for a stool but the one I liked cost $150. I looked at the measurements and knew we could make one similar for much less.
We went to Home Depot and grabbed one 7/8 dowel, one 5/8 dowel, one 1 1/4″ dowel and a 1×8 board. It was less than $25 for everything.
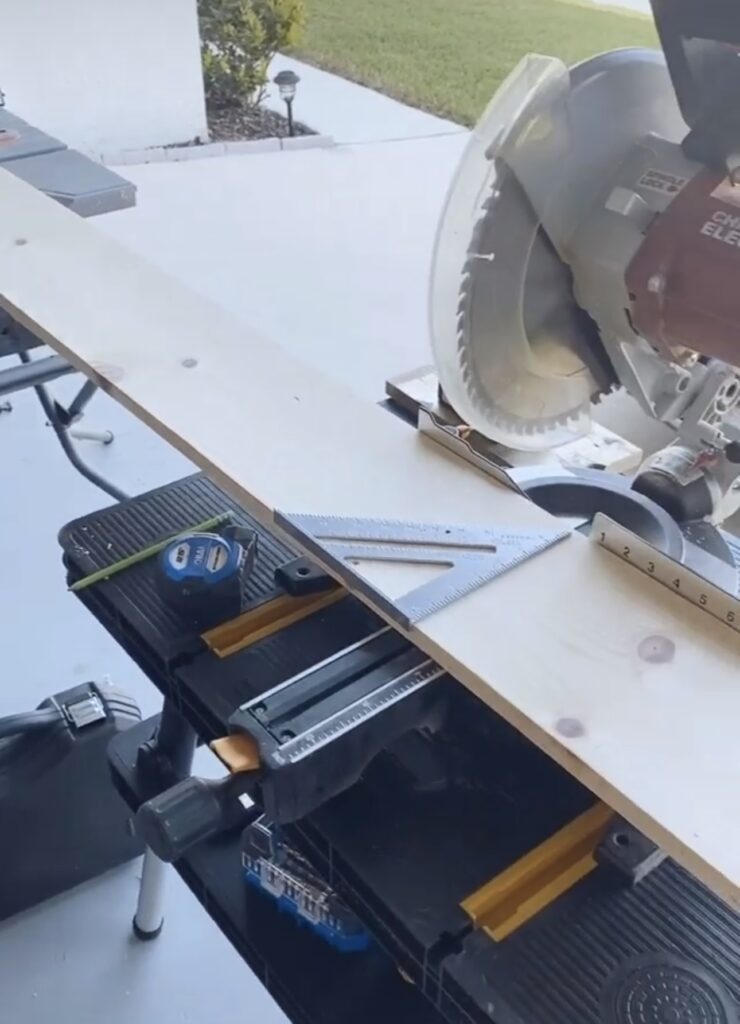

The dimensions of the stool we used for inspiration were 15″W x 14″D x 13″H, so we loosely followed those measurements. We started by using a miter saw to cut the steps and the riser all to 15″ from the 1×8 board.


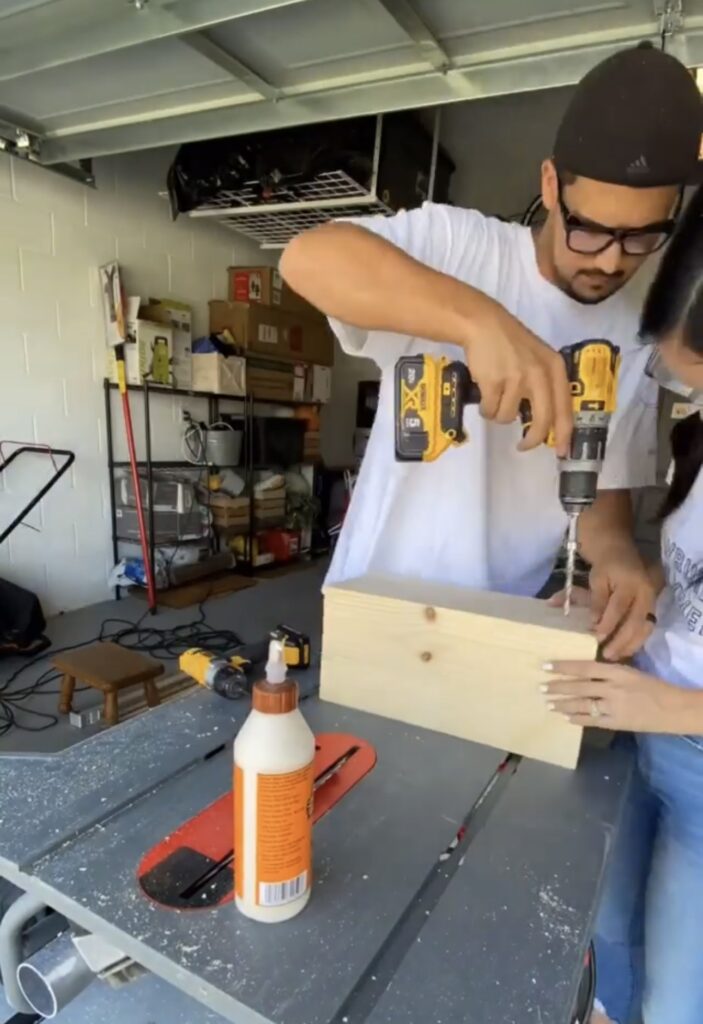

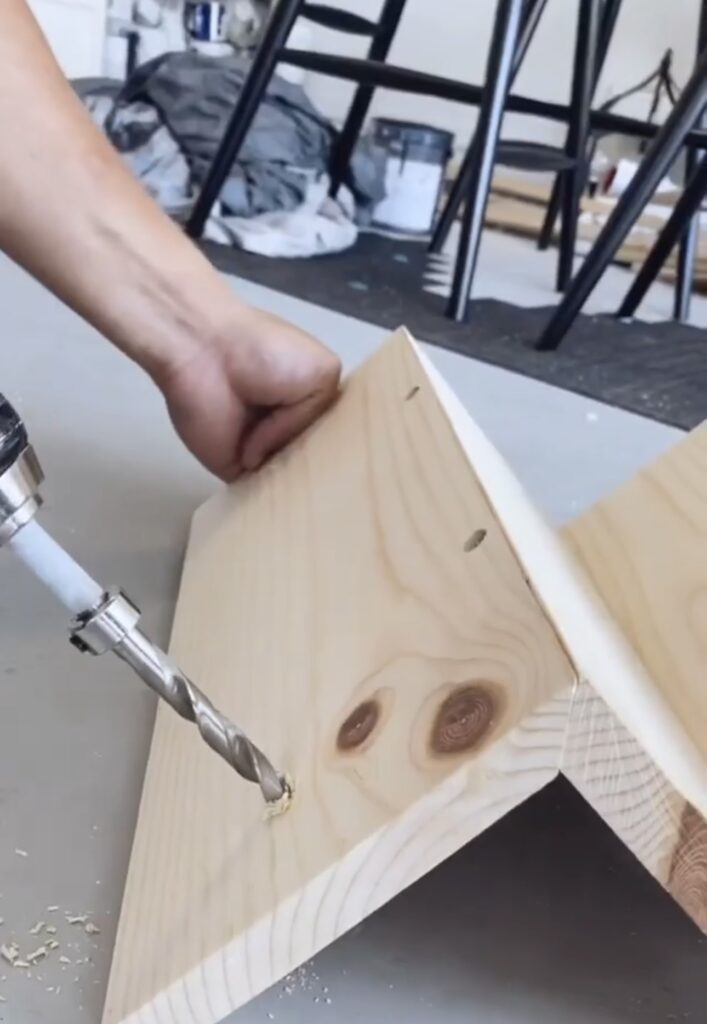
The stool will have two steps and each will be 6.5” wide. After cutting the two steps and riser, Ryan mitered one edge of both the steps and both edges of the riser. We used wood glue and counter sinking wood screws to attach all the boards together to make the steps.
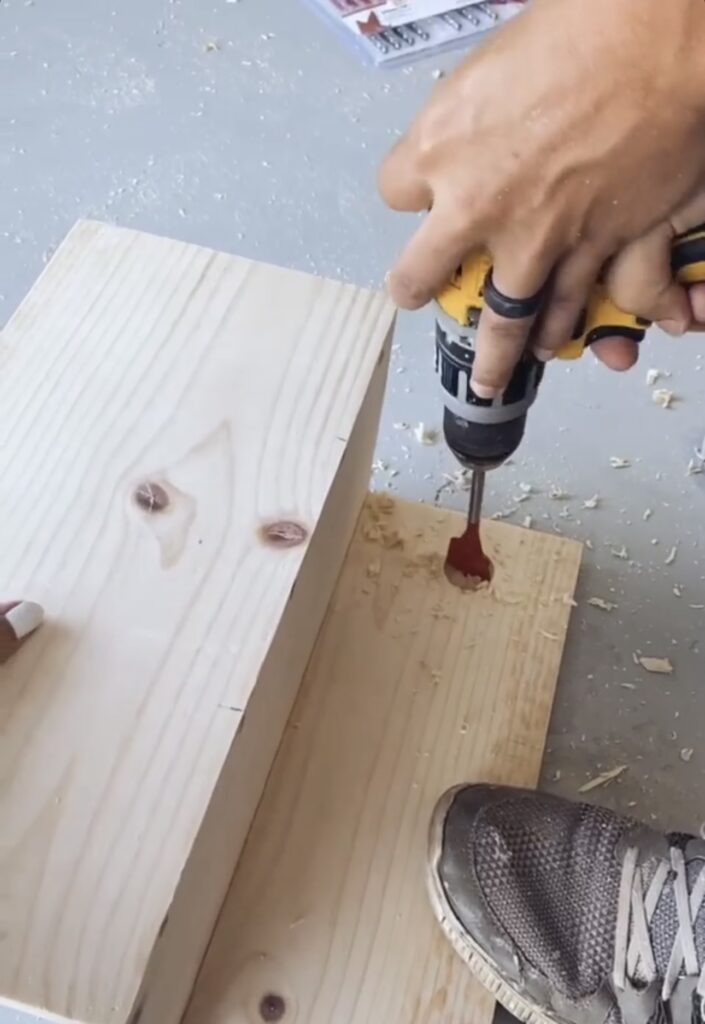
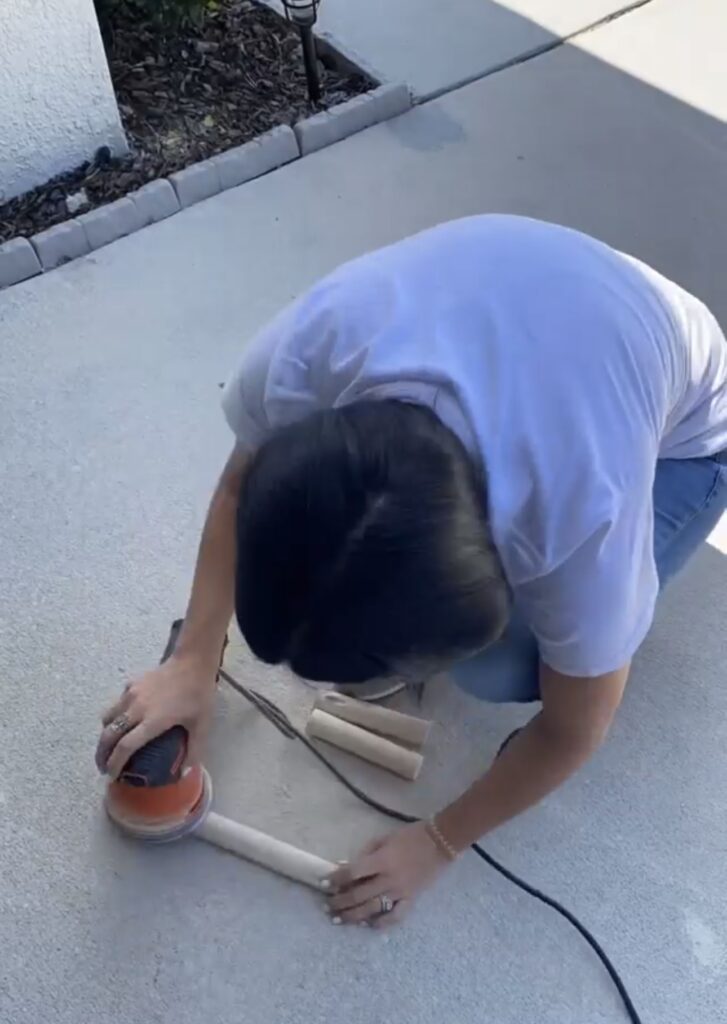

Once the base of the stool was done and the steps were put together, Ryan cut the 1 1/4” dowel for the legs. We made pocket holes using a spade bit for the legs to sit inside of the steps from underneath. I gave all of the dowels a good sanding before attaching them so everything will be nice and smooth when it’s time to stain and paint.
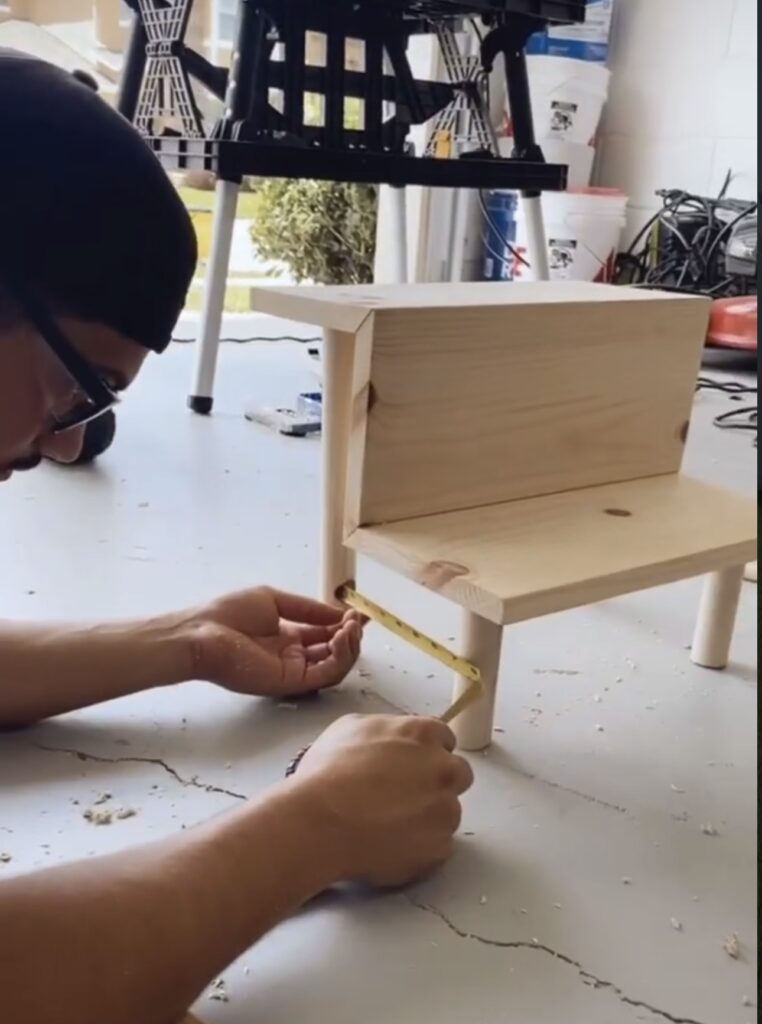
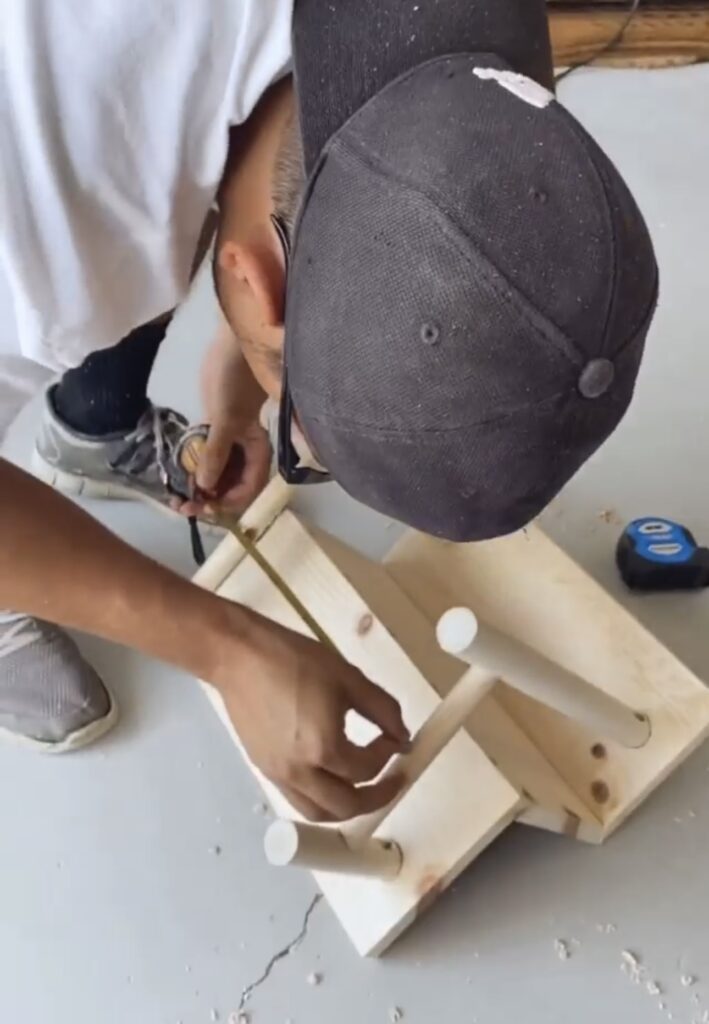


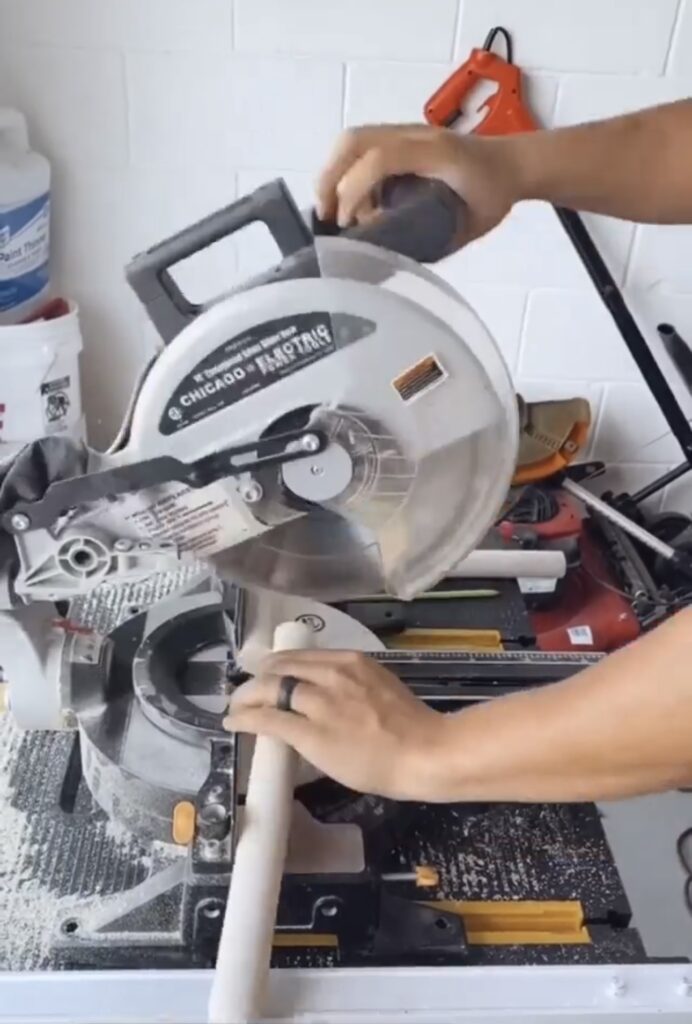
The other dowels connected the legs and added extra support. We used the spade bit to make holes on the legs for the 7/8” dowel to fit into. This dowel connected the front and back legs together. We also made holes in the middle of the two side support 7/8” dowels for the 5/8” dowel to fit into to add a bracing across the center.
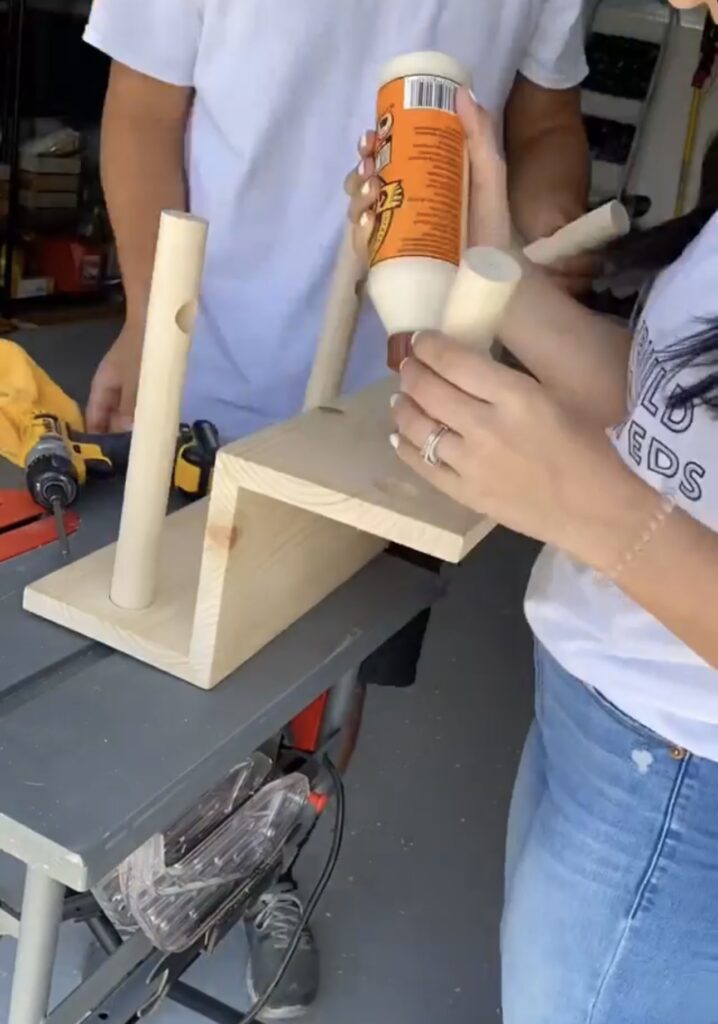
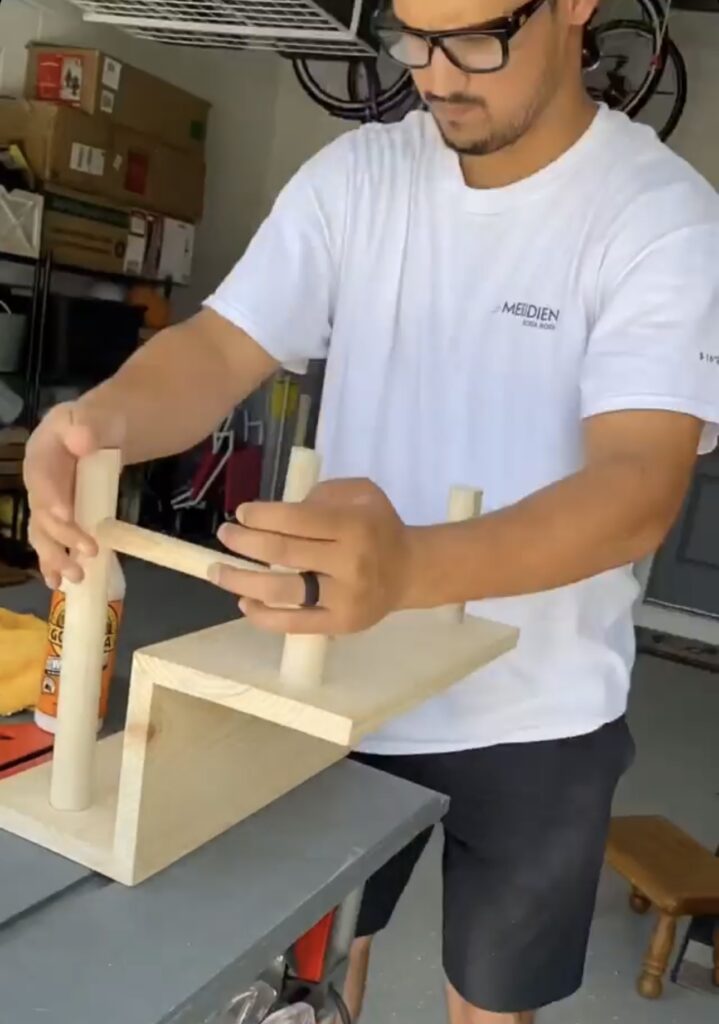
We used both wood glued and screws for the legs and then just wood glued all the support dowels into the holes made with the spade bits to connect them all together. After that, we filled what screw holes were showing from connecting the steps together with wood filler.
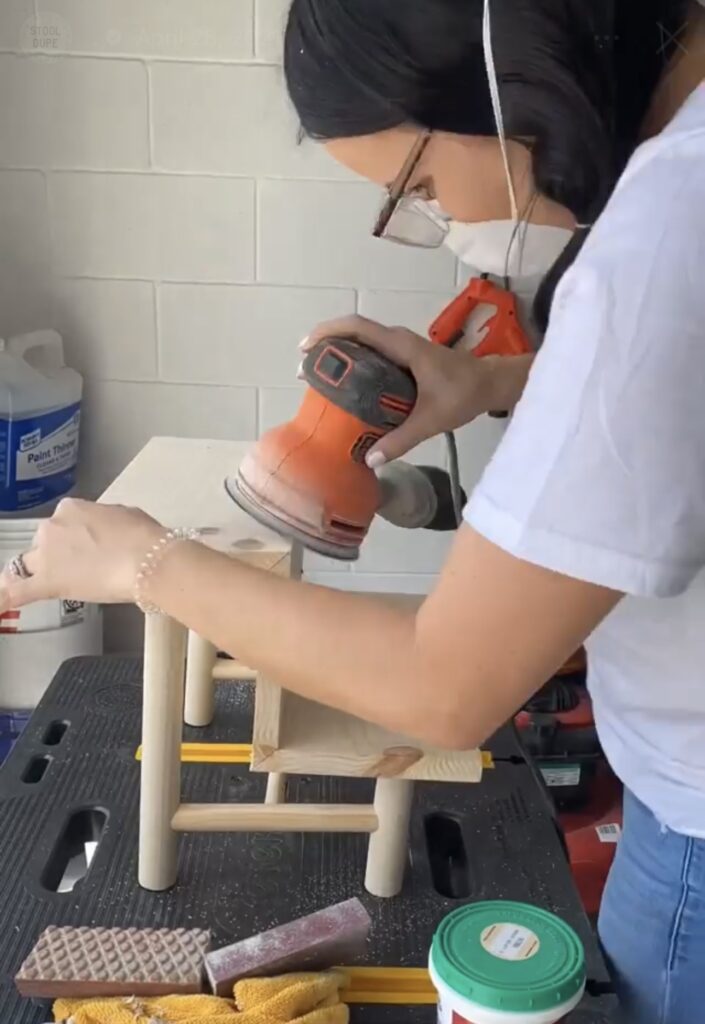

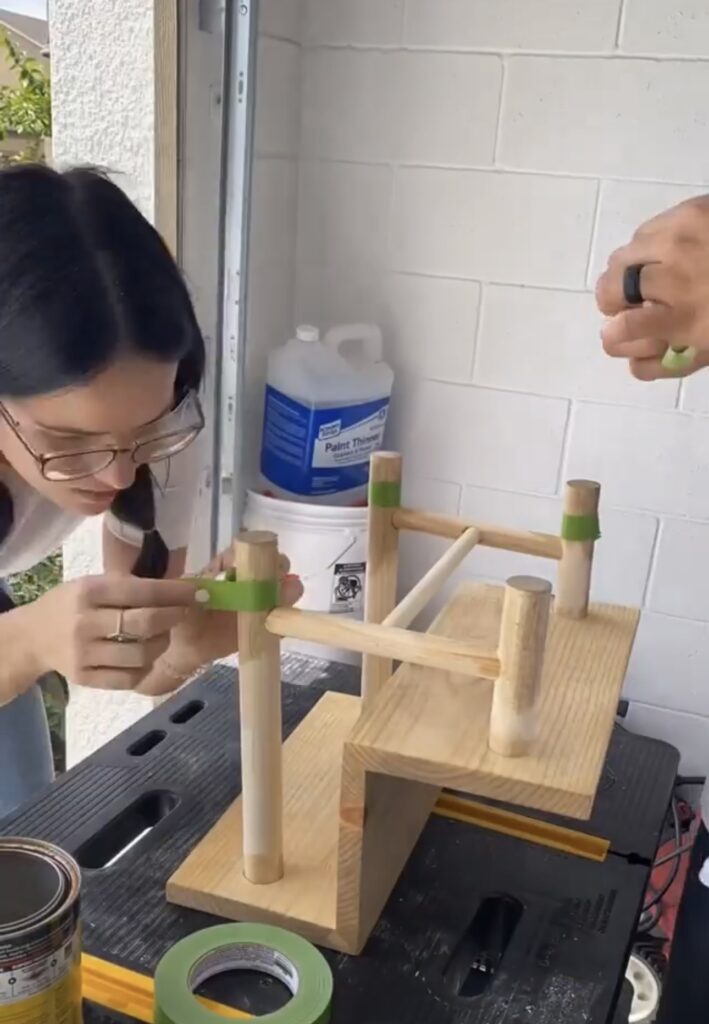
After the wood filler dried for 30 minutes, I sanded it all down, especially where the steps connected together. Then once the stool was finished, it was time to paint and stain. I started by doing a coat of Weathered Oak stain all over. Then I taped off the bottom of the legs to leave with only stain and used Chantilly Lace paint to paint the four legs and the bracing dowels going across.
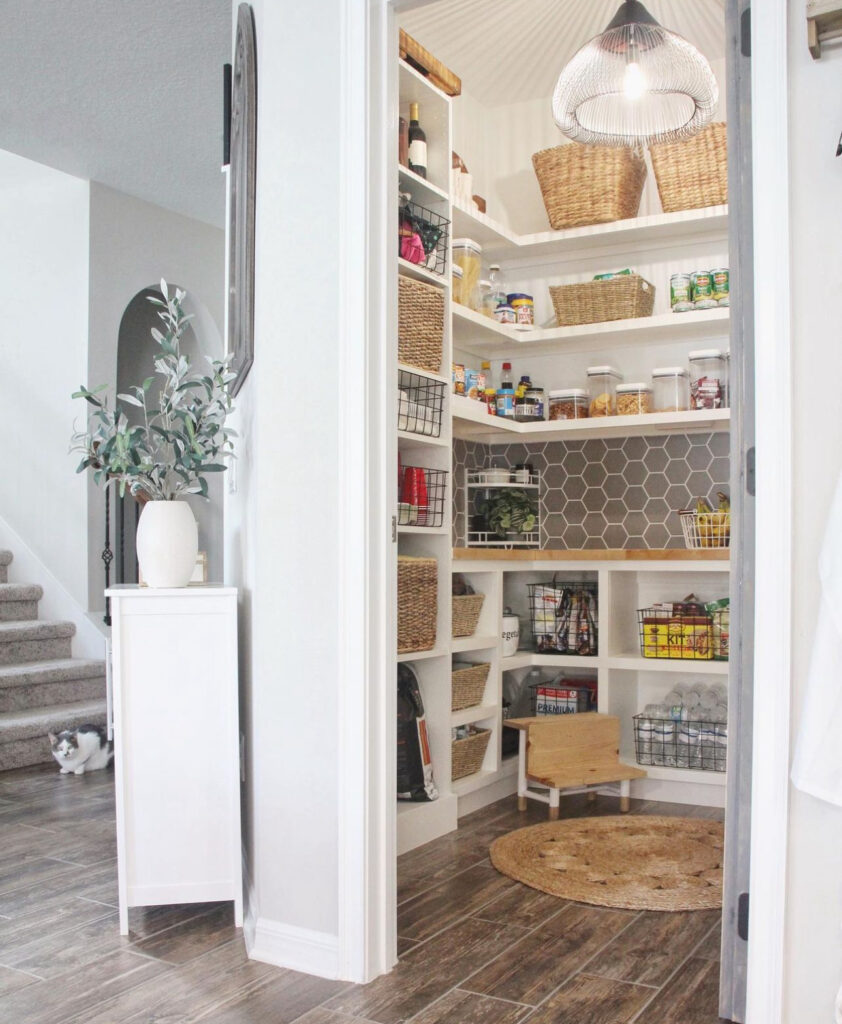
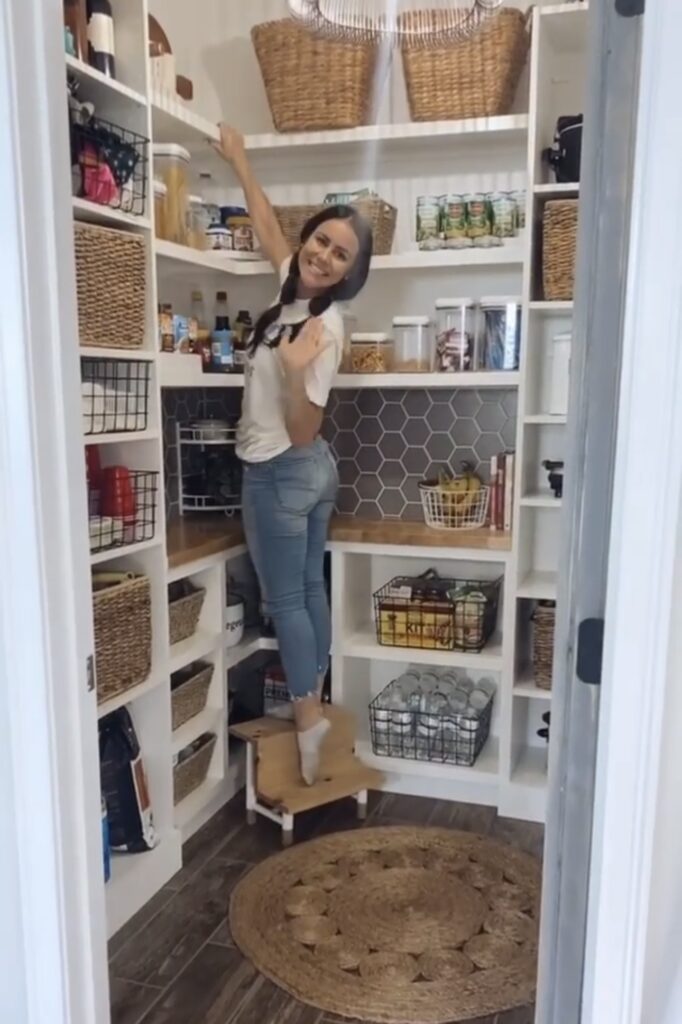
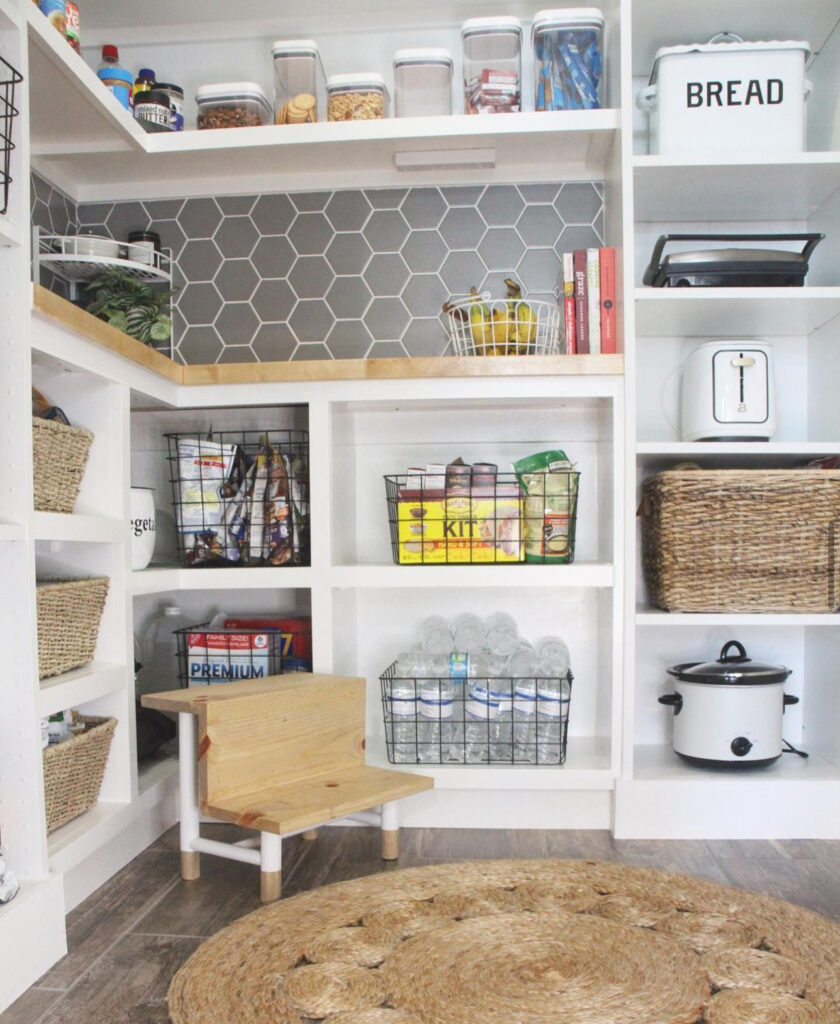
It turned out amazing and was a fraction of the cost of the one I found as my inspiration! It was super sturdy, looked great and was very functional for those top shelves in our pantry!

Leave a Reply
Grab our FREE download
Wanna know the 5 must have tools you need before you start?
Considering a DIY Project?


Be the first to comment