


Easy Tile Wall With MusselBound Adhesive
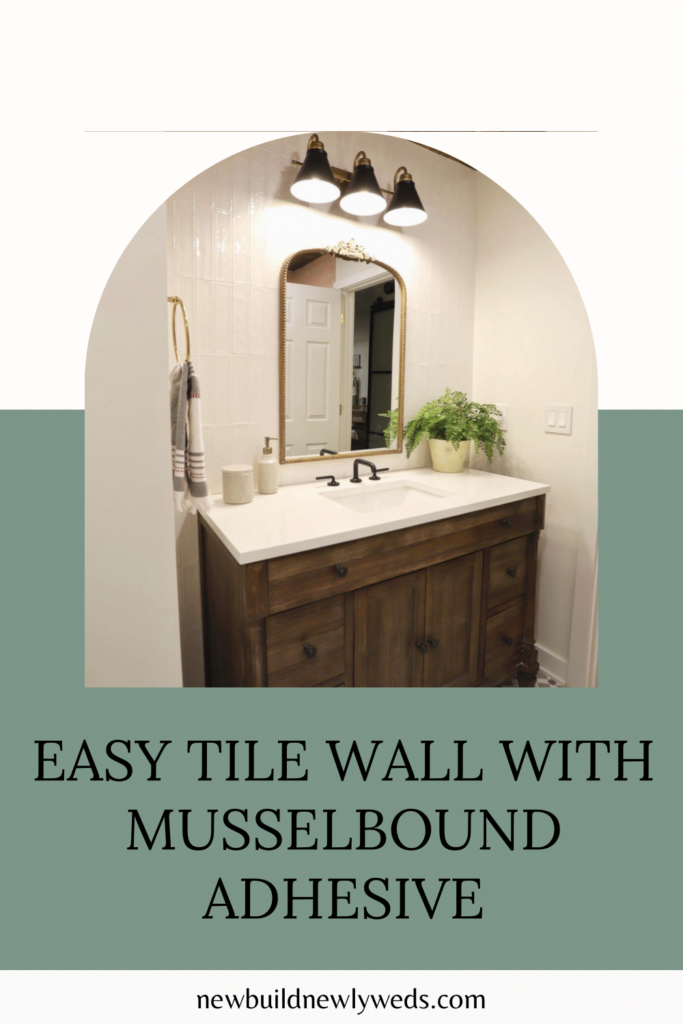
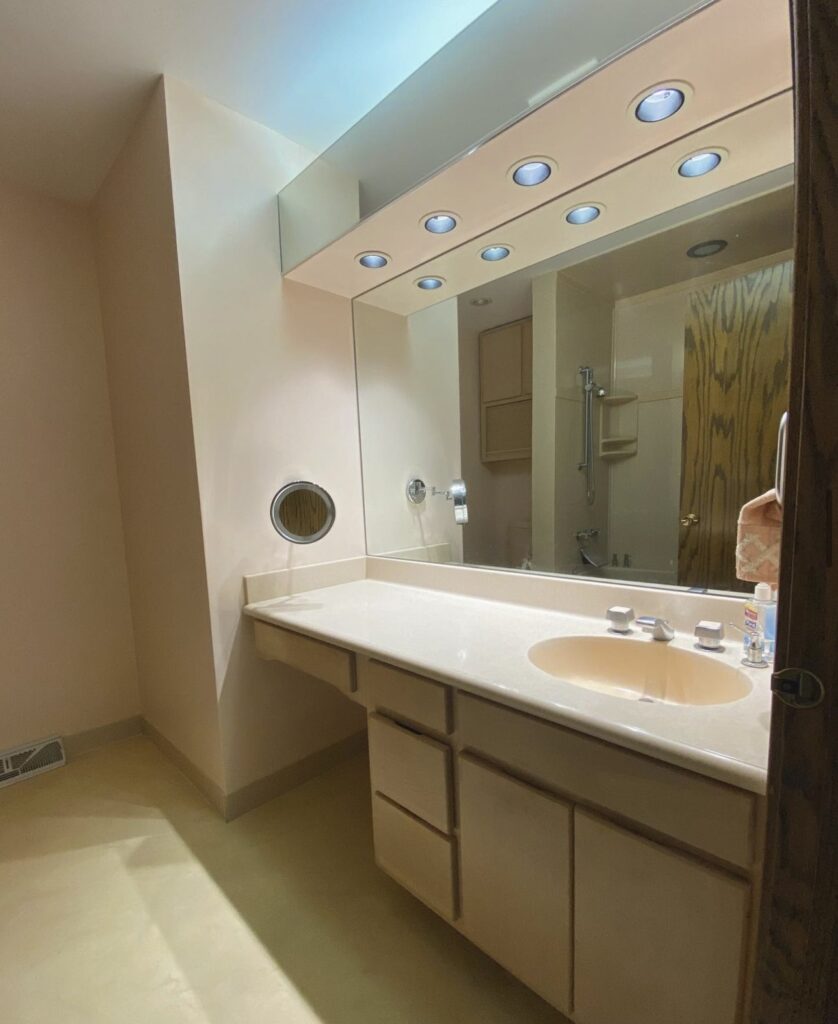
Our guest bathroom renovation has been one of the biggest transformations in our home. It needed to be completely gutted and we basically had to start from scratch in order to update the look and function of the room. We had already added a wood shiplap paneling to the ceiling and installed a beautiful patterned tile on the floor so we wanted to do something simple but still beautiful for the wall against the vanity. Wallpaper would be too much and take away from the floor and just using paint would be too bland. So we decided to use Jeffrey Court tile in a vertical rectangle pattern to add texture without being overstated.
What You’ll Need
- MusselBound Tile Adhesive
- Wall Tile (we used Jeffrey Court Ceramic Tile in Cotton Blossom)
- Laser Level
- Tile Saw
- Tile Cutter
- Power Cutter
- Grout and Grout Trowel
Let’s Get Started
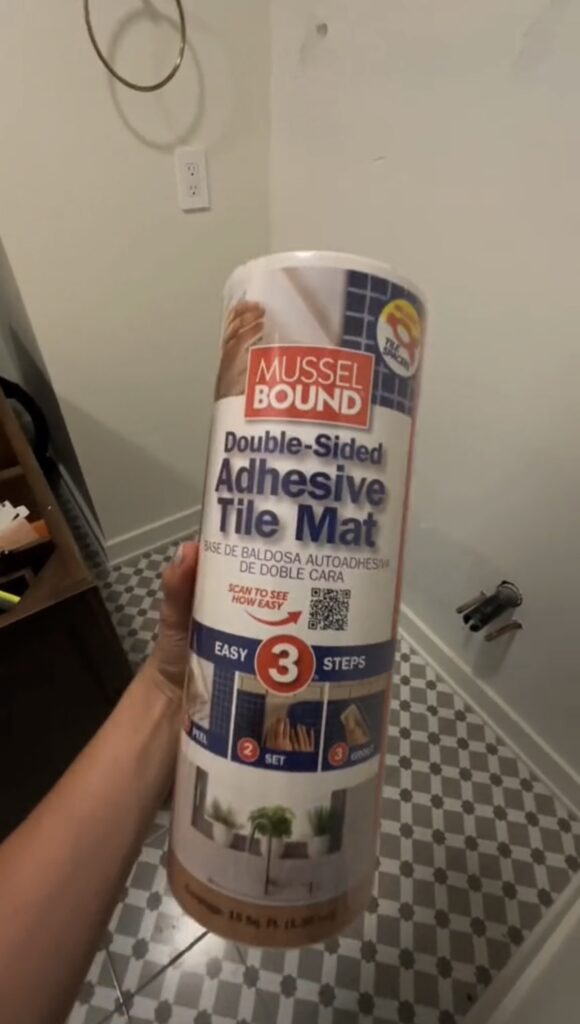
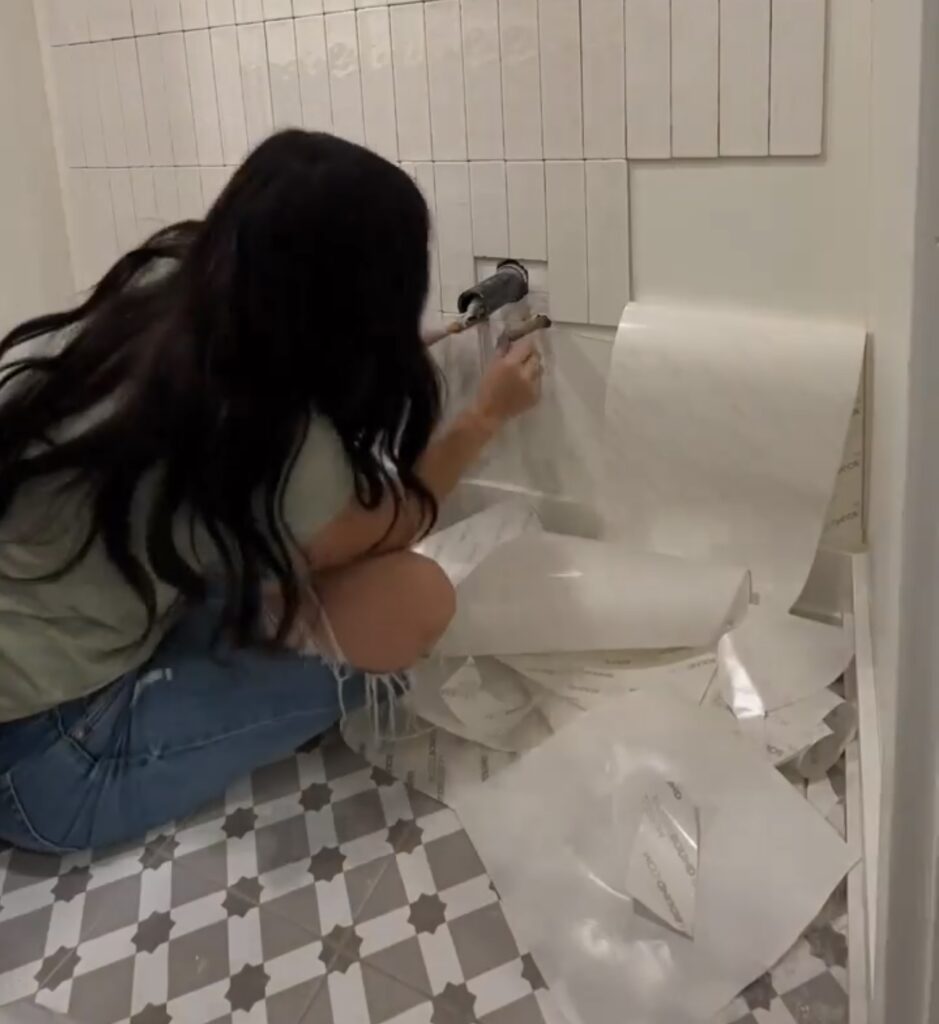
MusselBound Tile Adhesive is a double sided sticky tape that is created specifically for tiling walls. Since this wall will is not in the shower and won’t be getting wet, using MusselBound was the easiest and fastest option for tiling this wall.
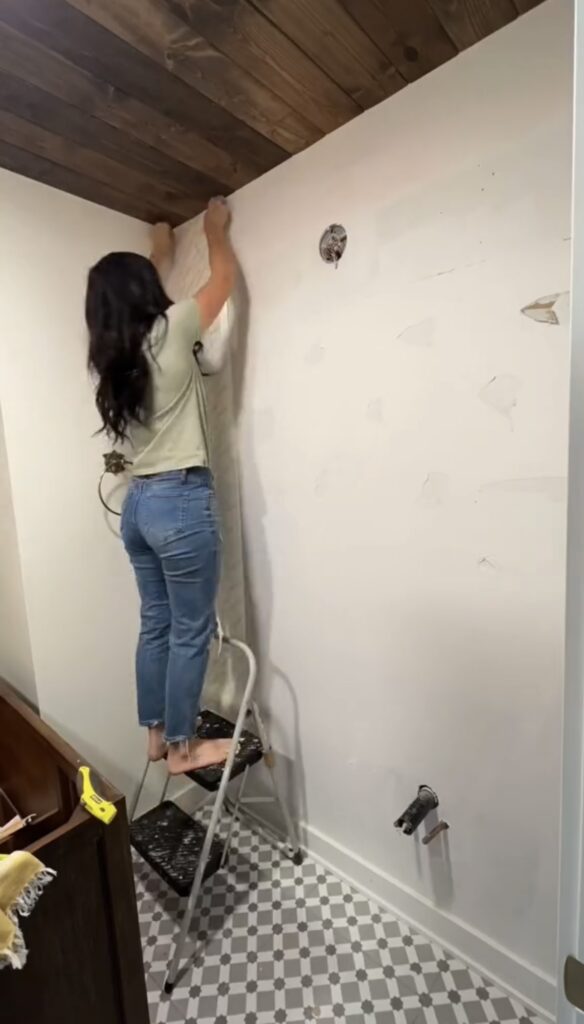
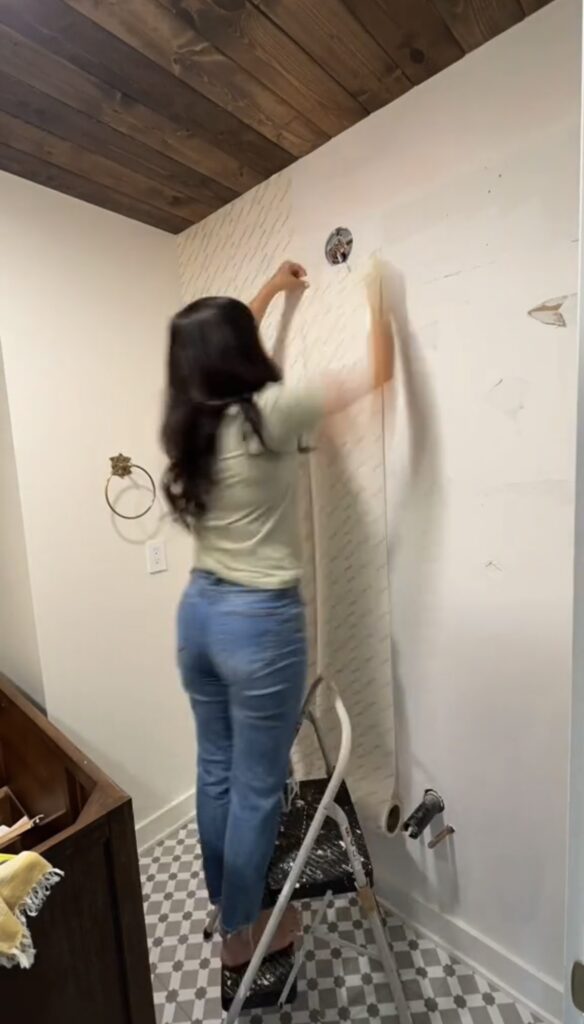
I started by removing the backing on the wall side of the adhesive and rolling it down the wall. I made sure the edge was lined up against the wall and pressed the back to the wall really well to make sure it was adhered. I used our Ryobi power cutter to cut along the bottom once I reached the baseboard. I continued along the wall, lining the edge of each roll up against the last roll. I cut around the holes where the electrical for the light fixtures and water pipes and had to cut some of the edge off on the last roll so that it fit properly.

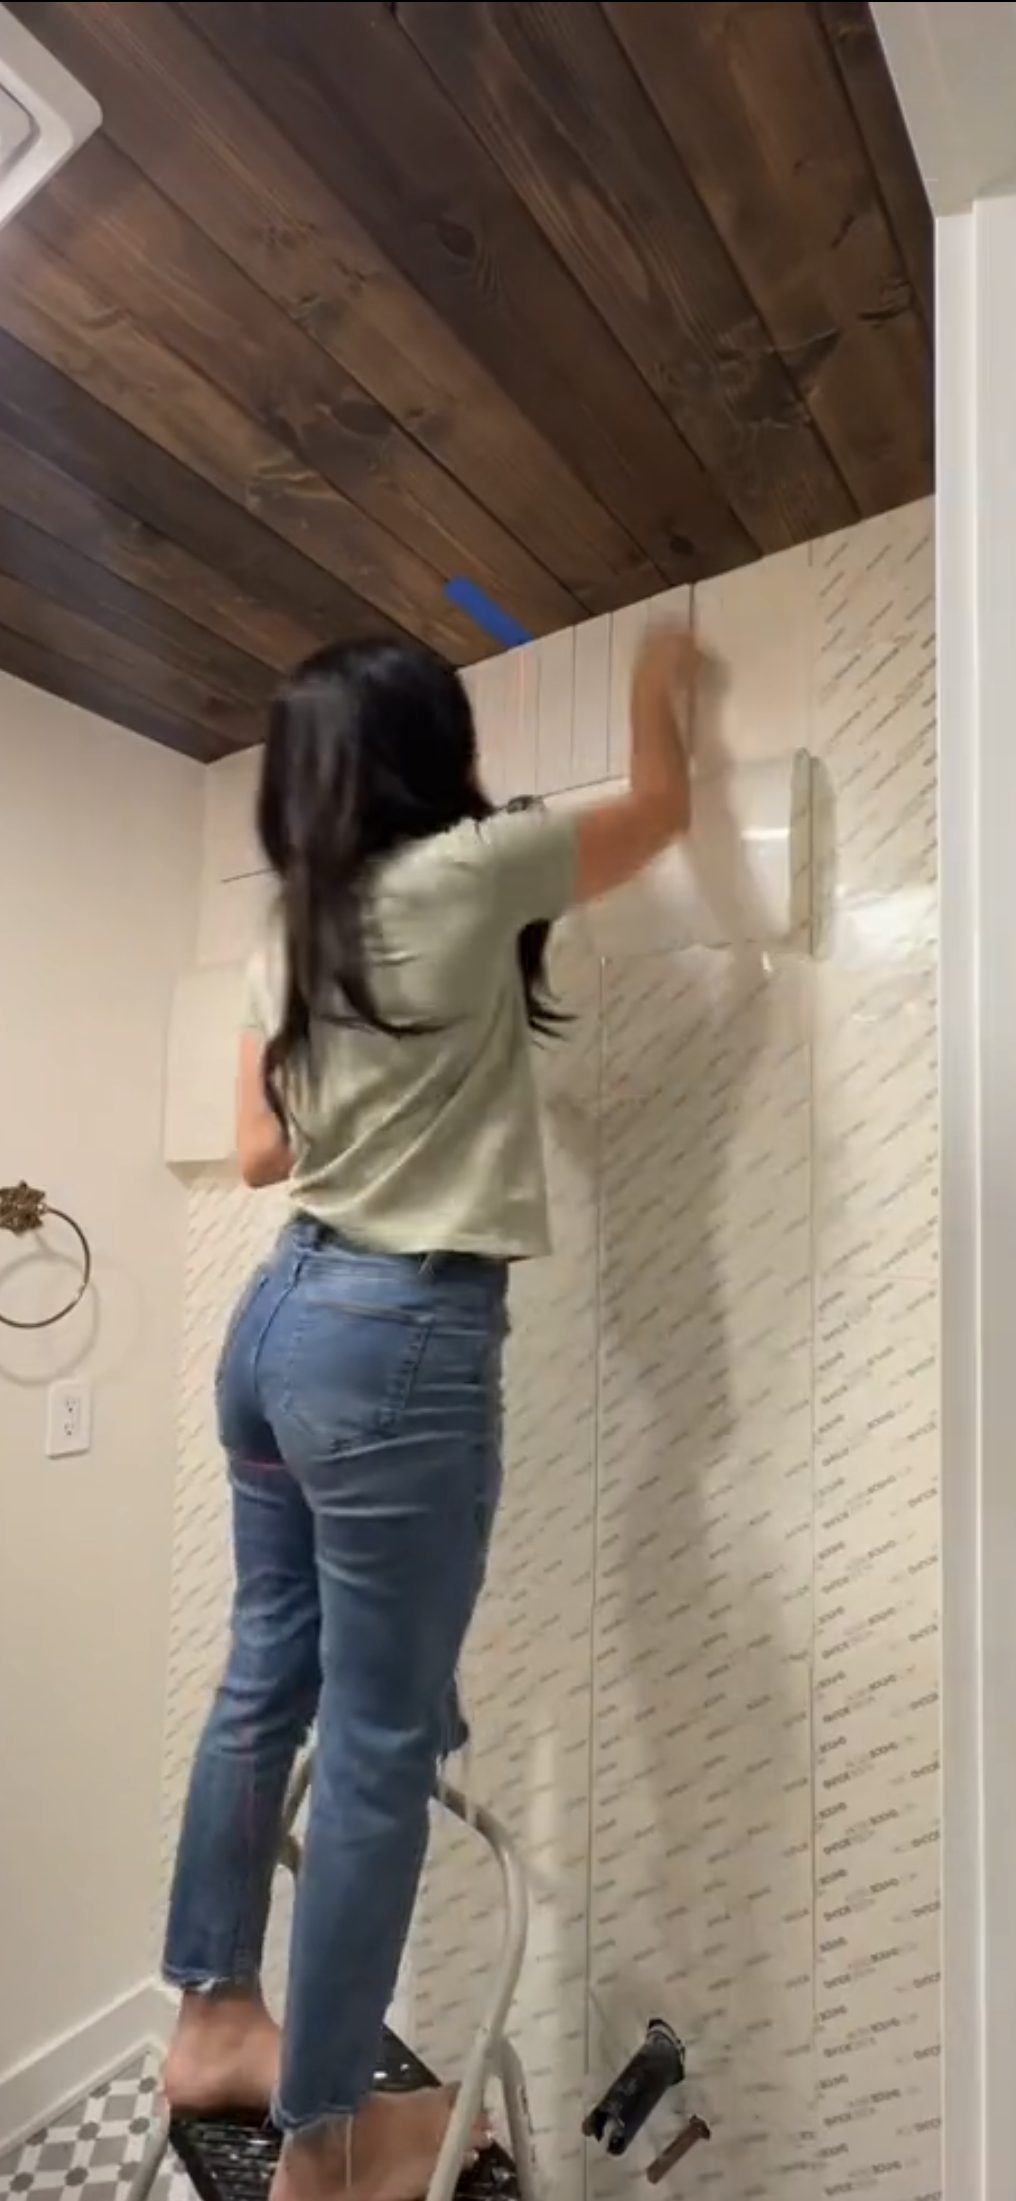

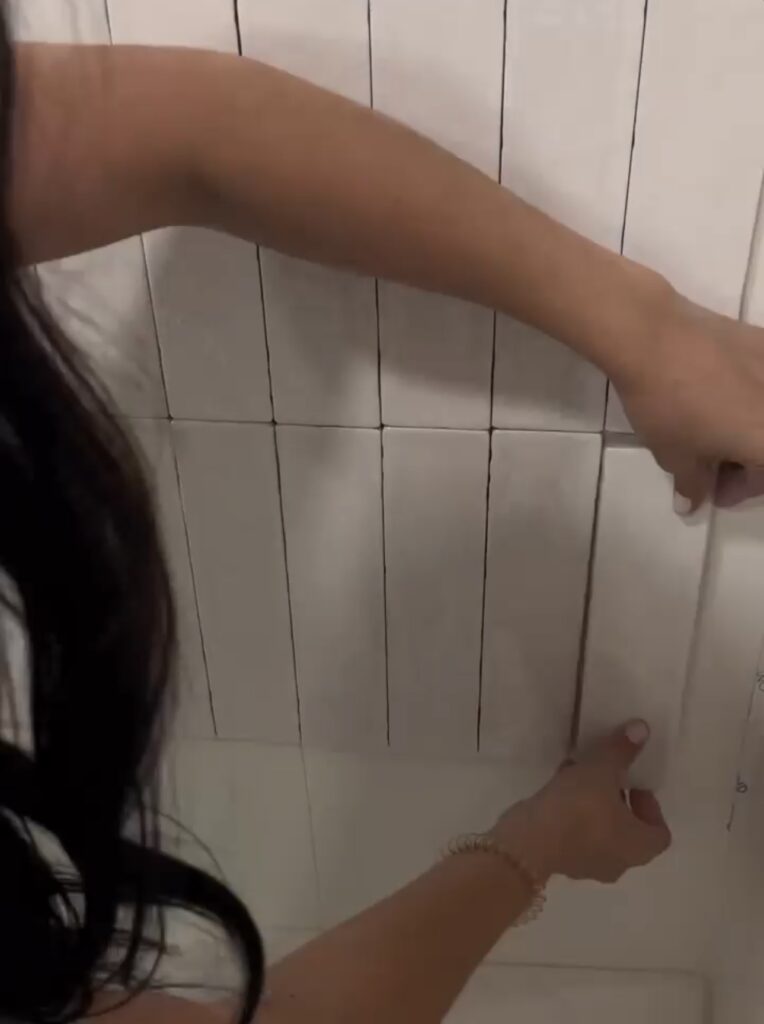
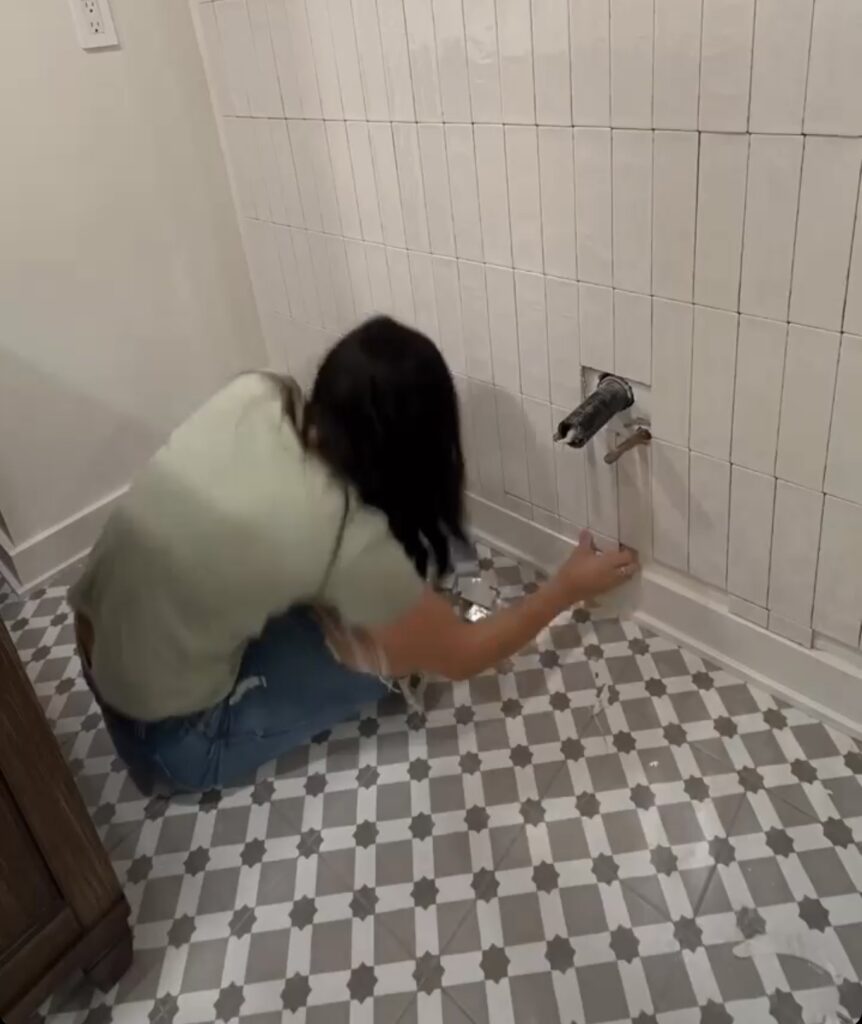
Once all of the wall was cover with the MusselBound, it was time to start tiling. I used a laser level so I could pinpoint the center of the wall. I rolled the backing of the MusselBound across the top of the wall down just enough to begin placing the first row of tiles. I placed the first tile directly in the center of the wall and continued by placing the rest of the tiles in that row side by side all the way across. This type of tile has a varying texture with every tile so I didn’t use spacers because there will be a natural grout joint along the edges.
The vanity will be going against this wall and covering the bottom of the wall so I preferred to start at the top of the wall instead of the center because any cuts needed to the bottom row of tiles would be covered anyways.
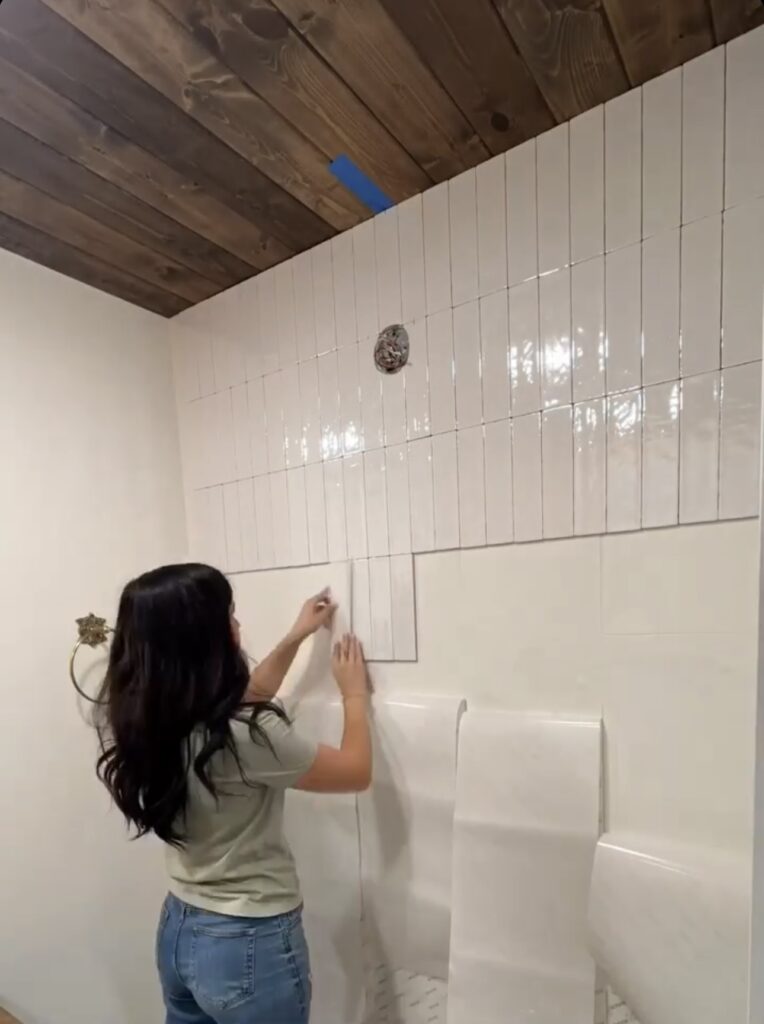
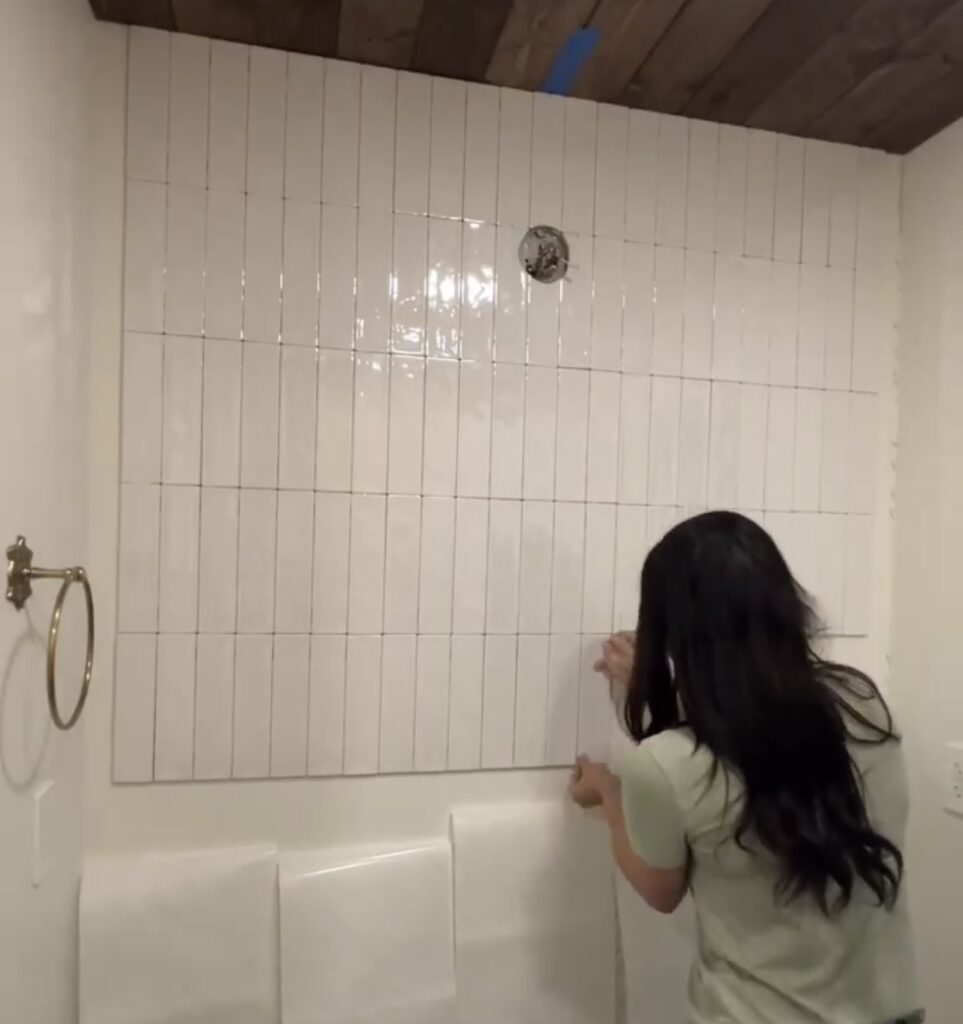
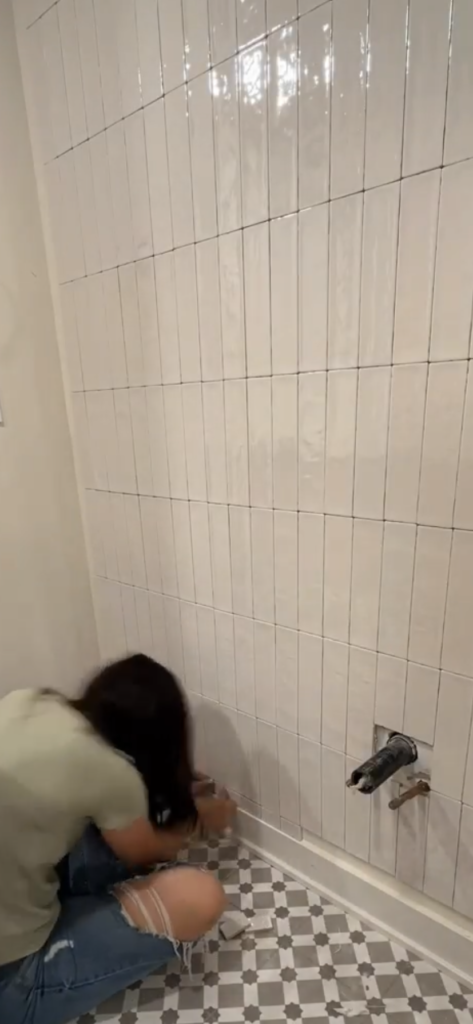
I continued down the wall using this same method and placing each row of tiles directly beneath the row above it. I skipped any of the places where the tile needed to be cut, like the ones on the edges of the walls and around the electrical and pipes.
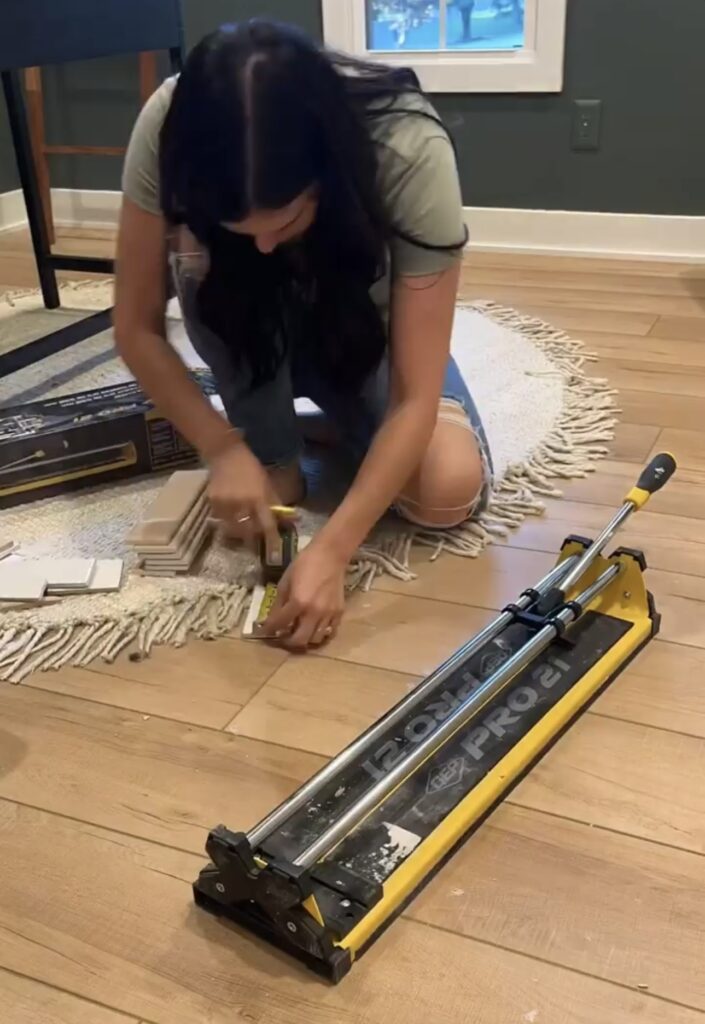
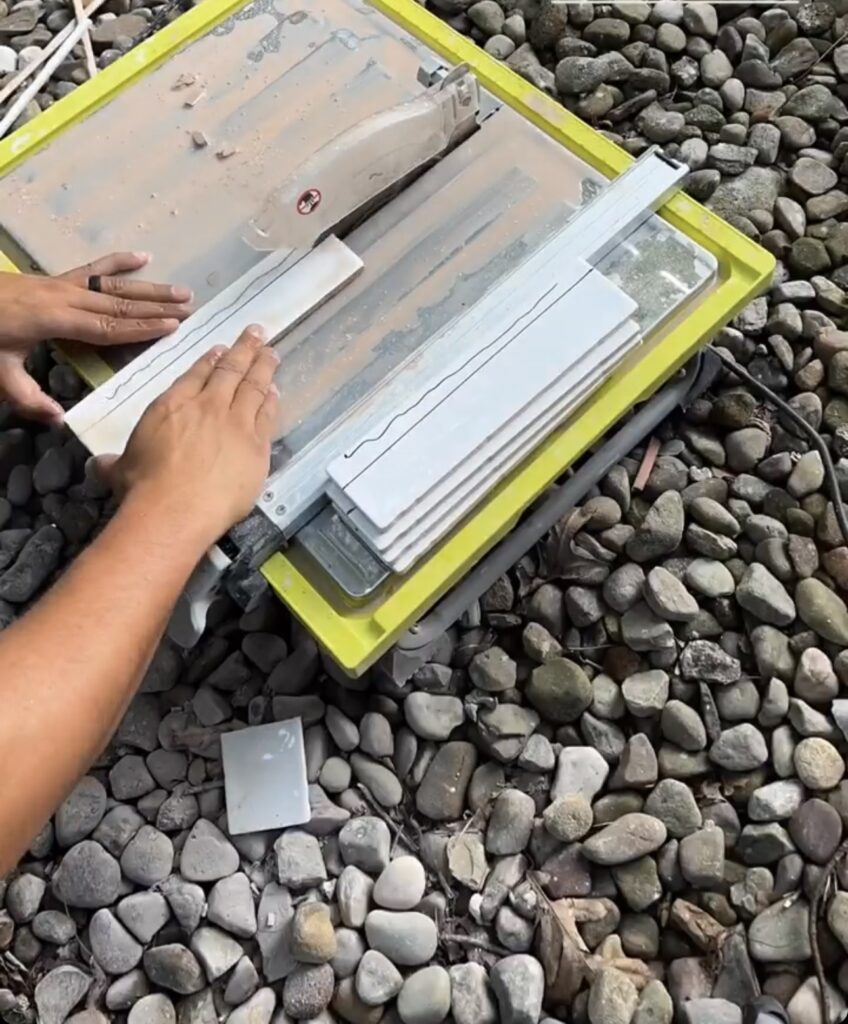
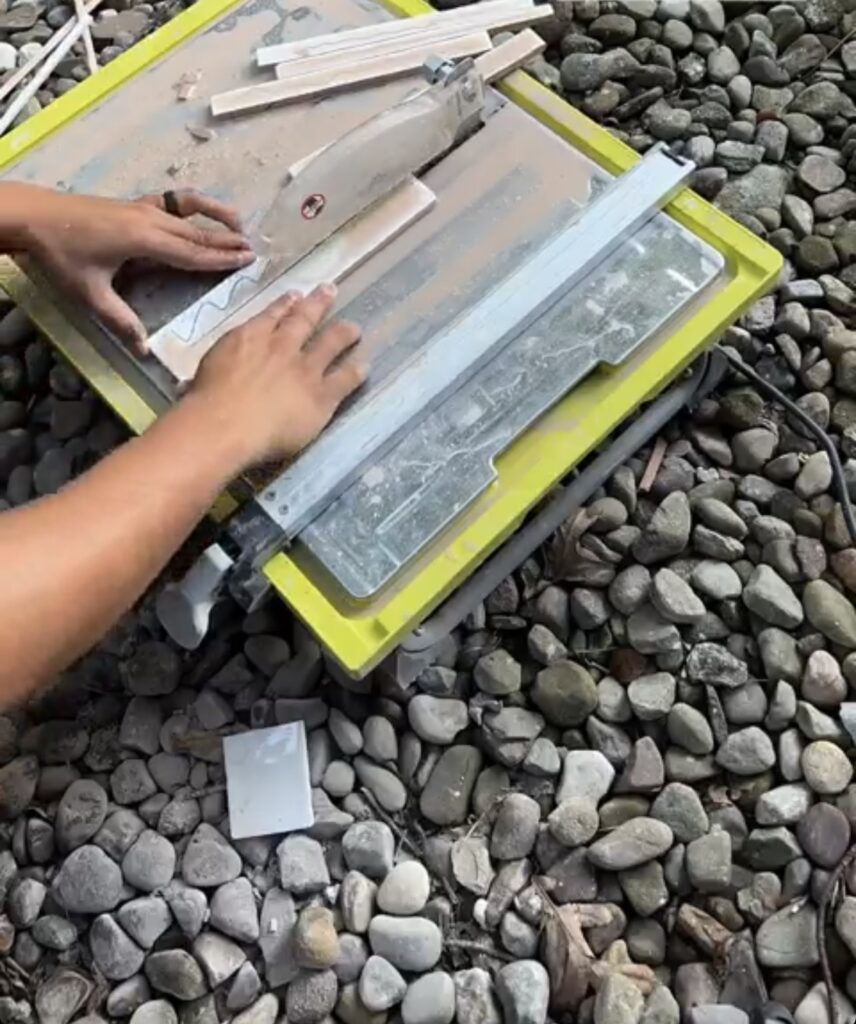
Once the wall was completely tiled, I used a dry tile cutter to measure and cut the tiles that needed larger cuts. Ryan used the wet tile saw to make the cuts for the bottom row of tiles and some of the tiles along the edges that needed smaller and thinner cuts. The wet blade helps to keep the tile from snapping when the cut is made and gives a clean edge when thinner cuts are needed.
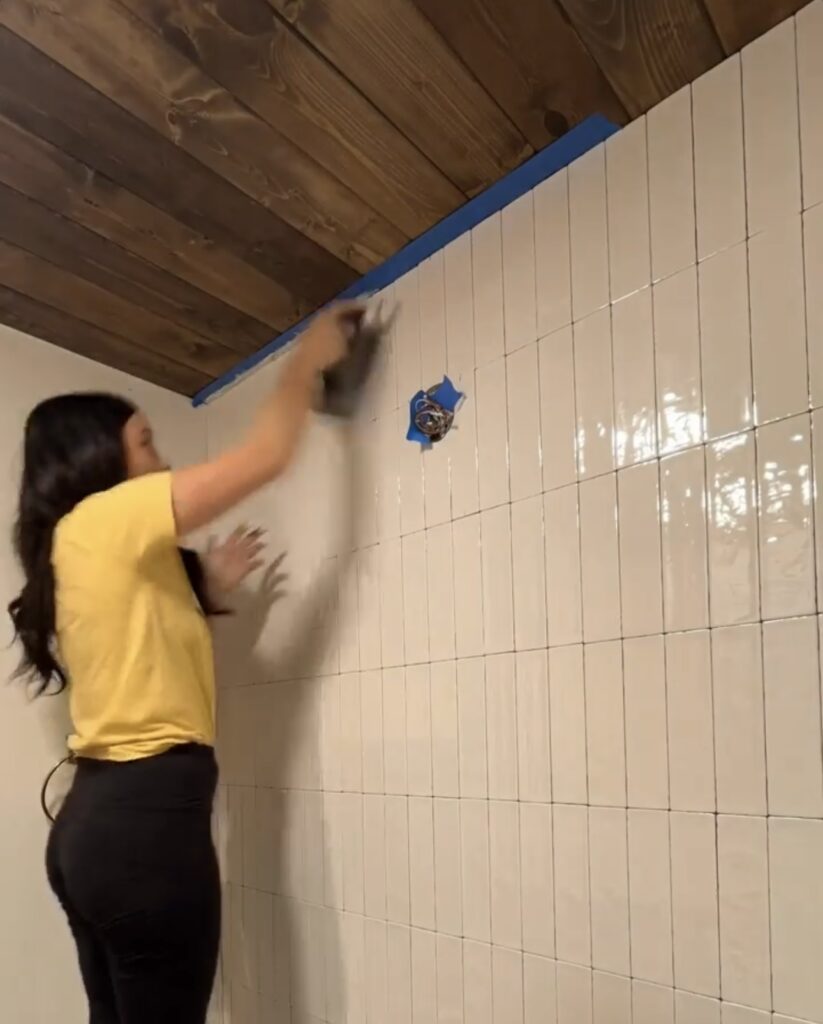

I finished placing all of the remaining tiles before moving on to grouting the wall. I used a premixed grout for this project since this is a wall that won’t be getting wet or have a of use. I chose a white grout so that the tiles and grout blend together. Since the floor in this bathroom is the star of the show, we wanted the wall to be more interesting that just a painted wall but nothing too much that would take away from the floor and this was perfect!
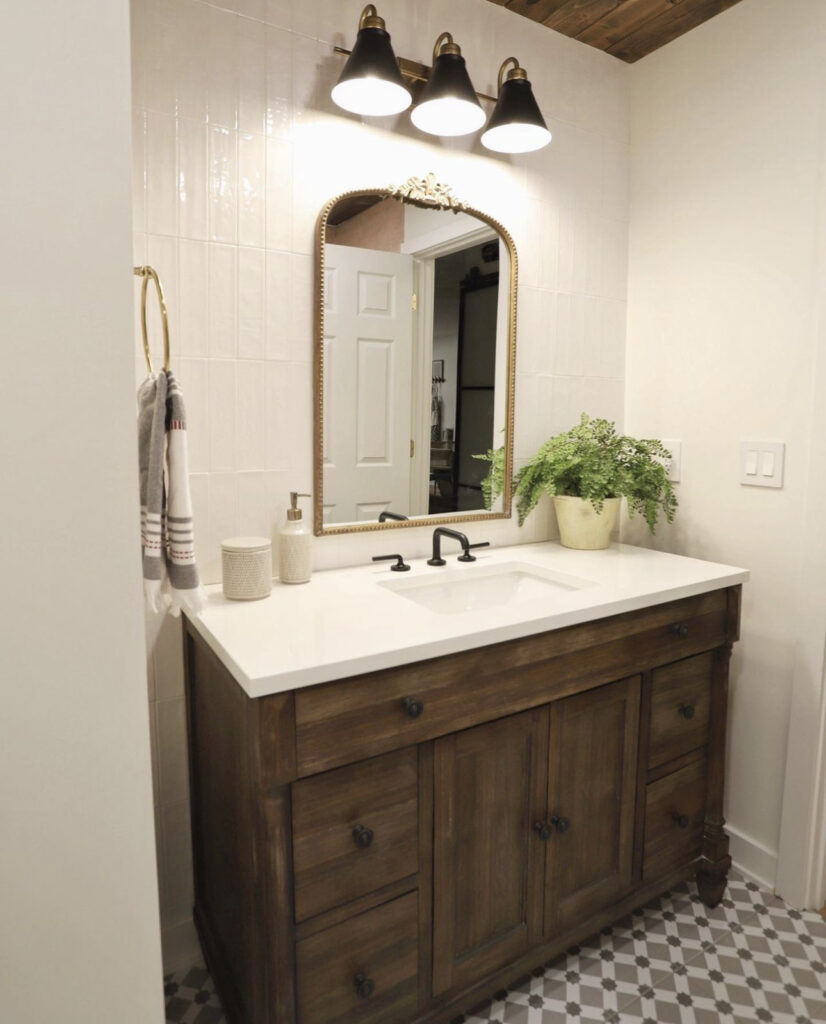
The transformation this bathroom has gone through truly blows me away! I am obsessed with how this wall turned out and when the light fixture, mirror and vanity were installed with it, it came together so perfectly.
Leave a Reply
Grab our FREE download
Wanna know the 5 must have tools you need before you start?
Considering a DIY Project?


Be the first to comment