


How to Tile a Bathroom Floor
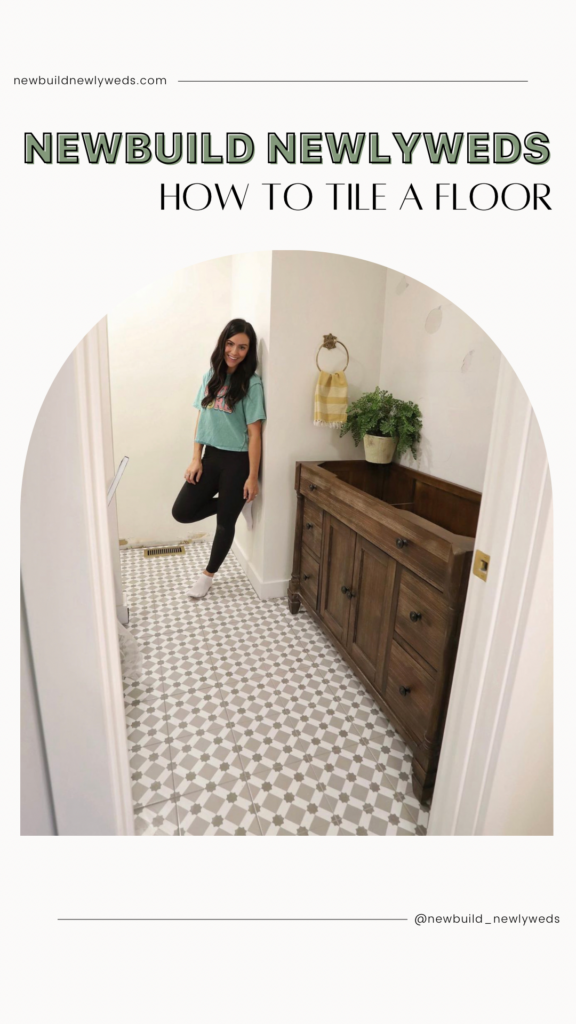
When we gutted our guest bathroom during our reno, one of the things I was certain about was having a beautiful patterned floor. Since the room is smaller, it wouldn’t be too overwhelming but would make a statement, which is exactly what I wanted. I found the perfect tile from Jeffery Court and it was perfect for the vision I had for the room.
What You’ll Need:
- Schluter Ditra
- Thinset
- Trowel
- Level & Measuring Tape
- Blade
- Tile (we used this Jeffery Court tile)
- Groat Float
- Tile Wet Saw
- Premixed Grout
- Bucket & Sponge
Let’s Get Started
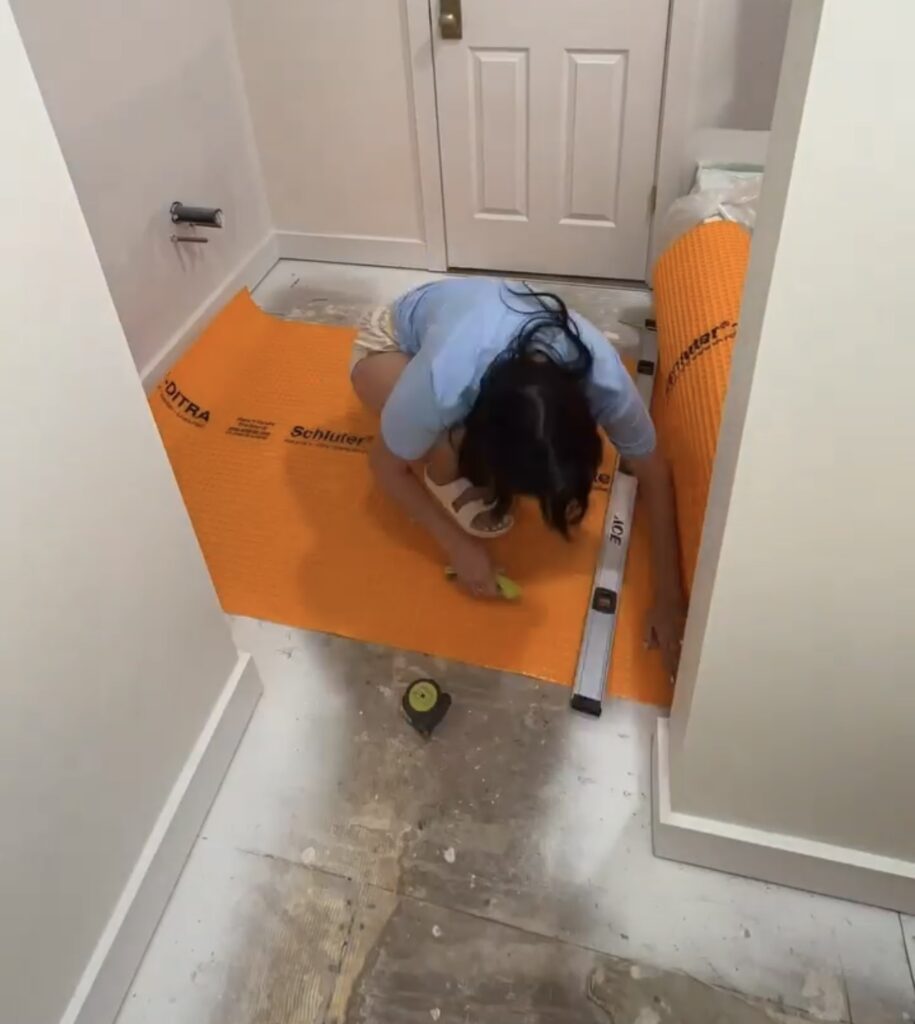
I started by dry fitting the Schluter Ditra to make the necessary cuts before installing it with thin set. I used a blade to cut around the corners, tub, and toilet.
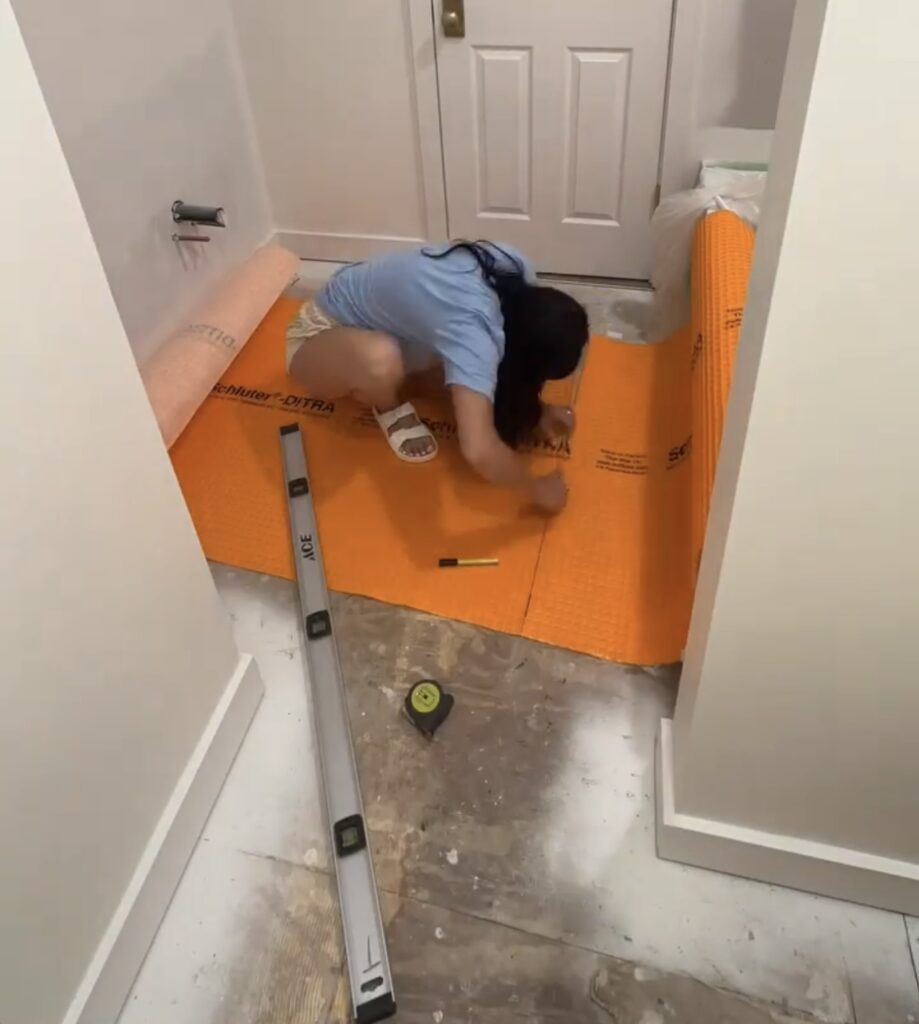

Ditra is an uncoupling membrane designed for ceramic and stone tile installations on floors. It provides uncoupling to prevent cracked tile and grout. It is made of polyethylene creating a waterproofing layer protecting the substrate. It is an alternative to cement board and a great option when DIYing tile installation.
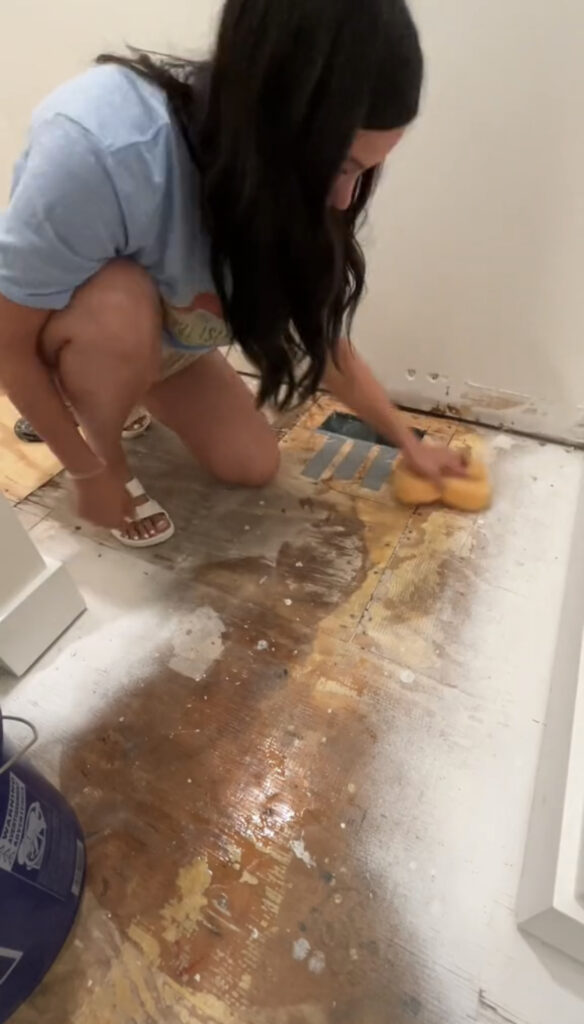
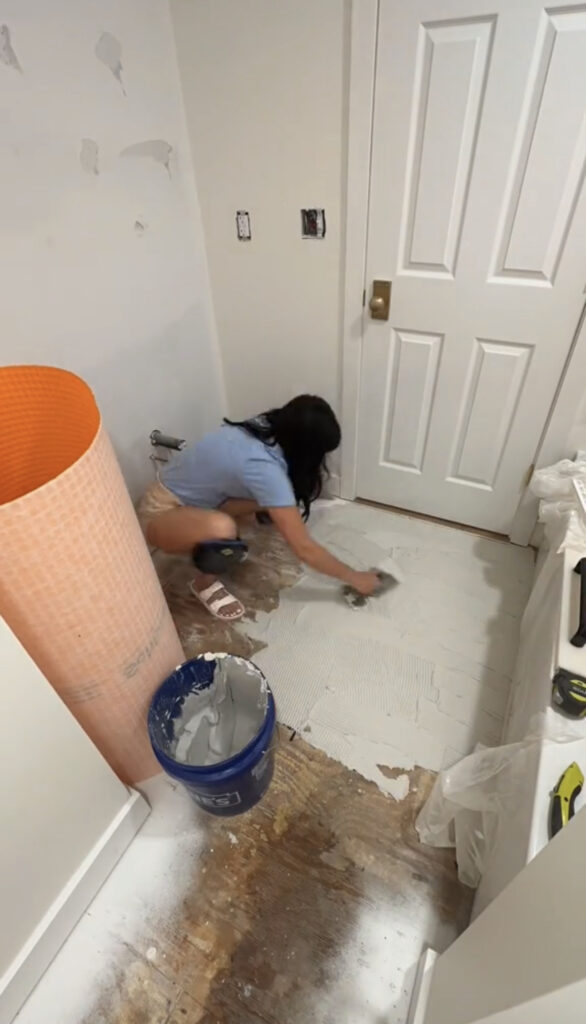
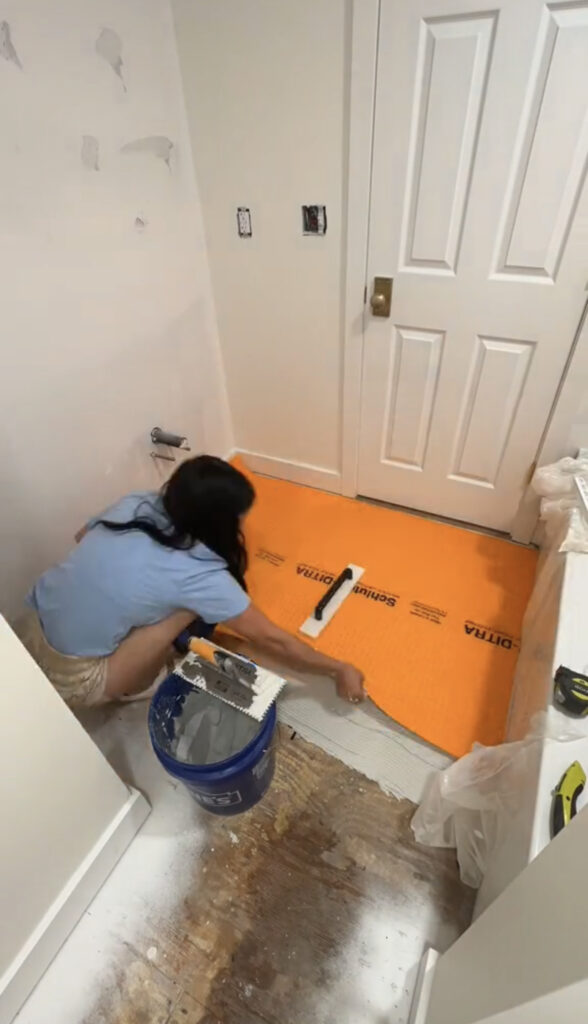
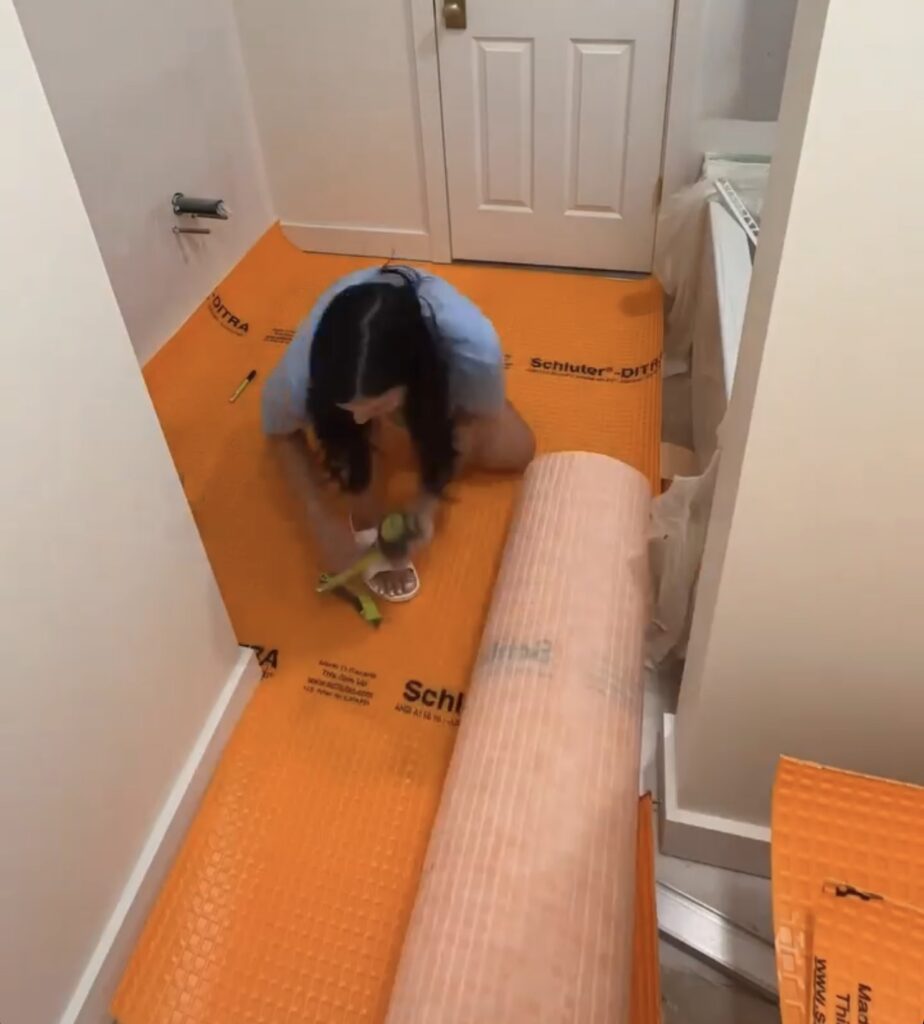
Once the dry fitting was done, I cleaned the entire surface of the floor with a little soap and water using a sponge. I then used a trowel to apply an even layer of thinset across the floor and then laid the pre-cut pieces of Ditra over the thinset. I did this process in sections based on the size of the pieces I cut during the dry fitting process. I used a clean trowel to smooth out the Ditra and push it into the floor for a secure seal.
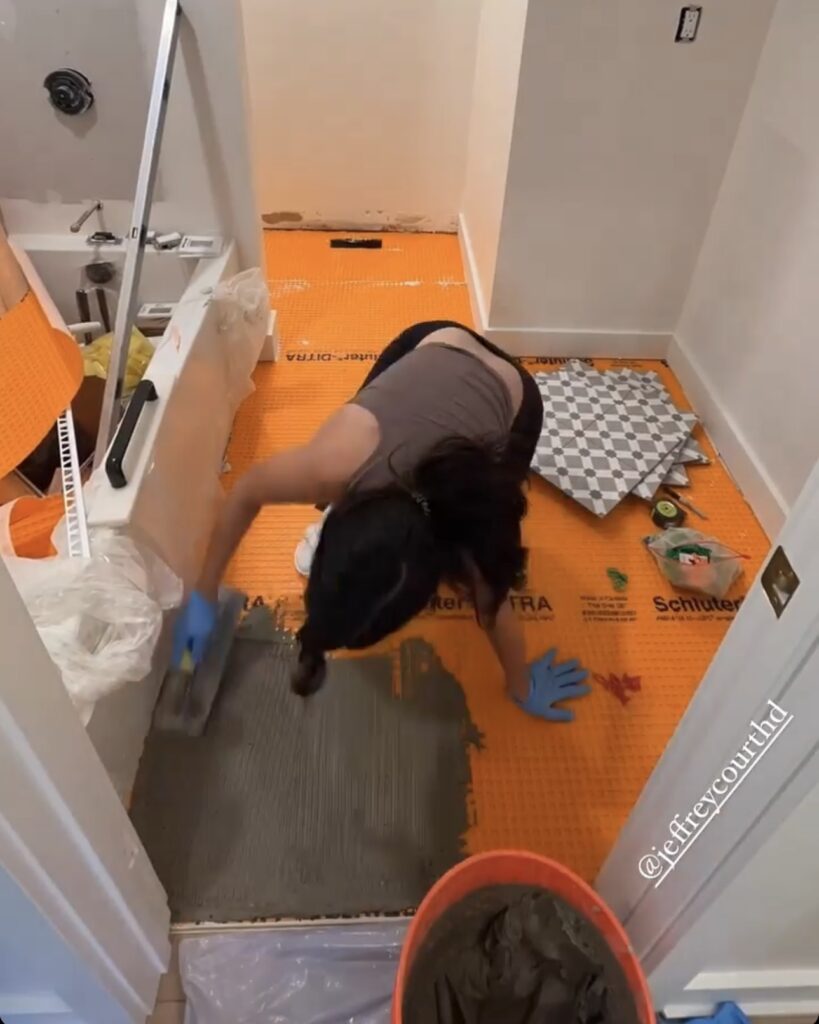
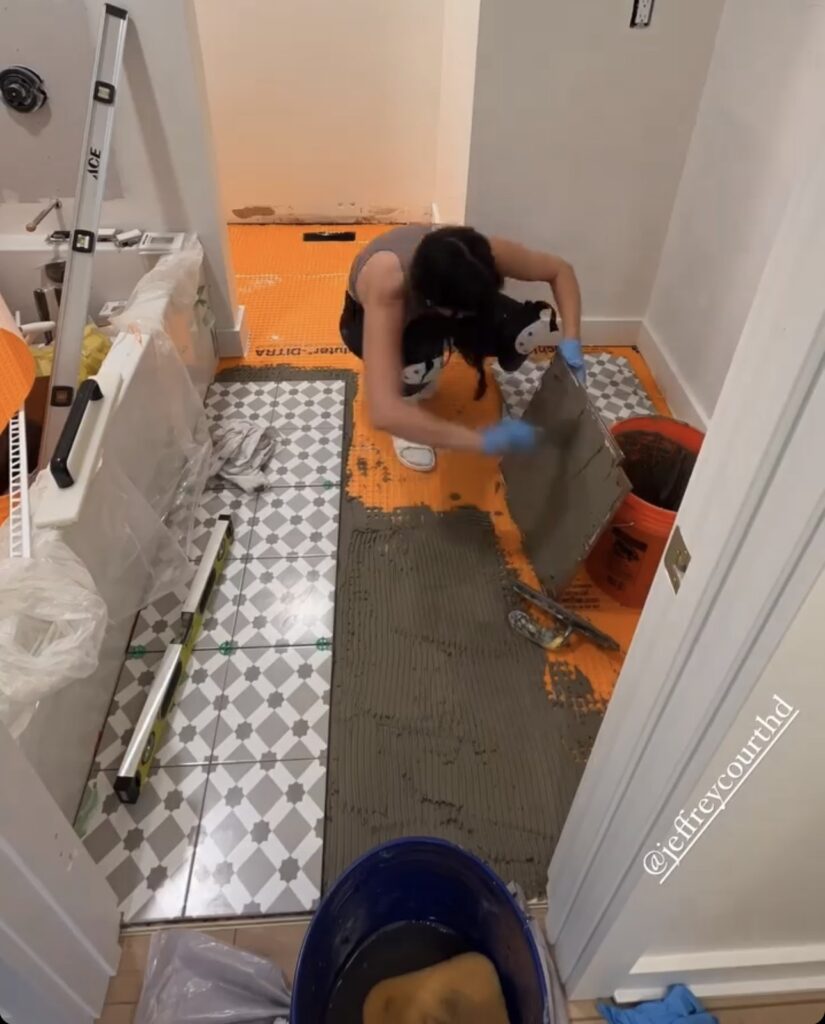

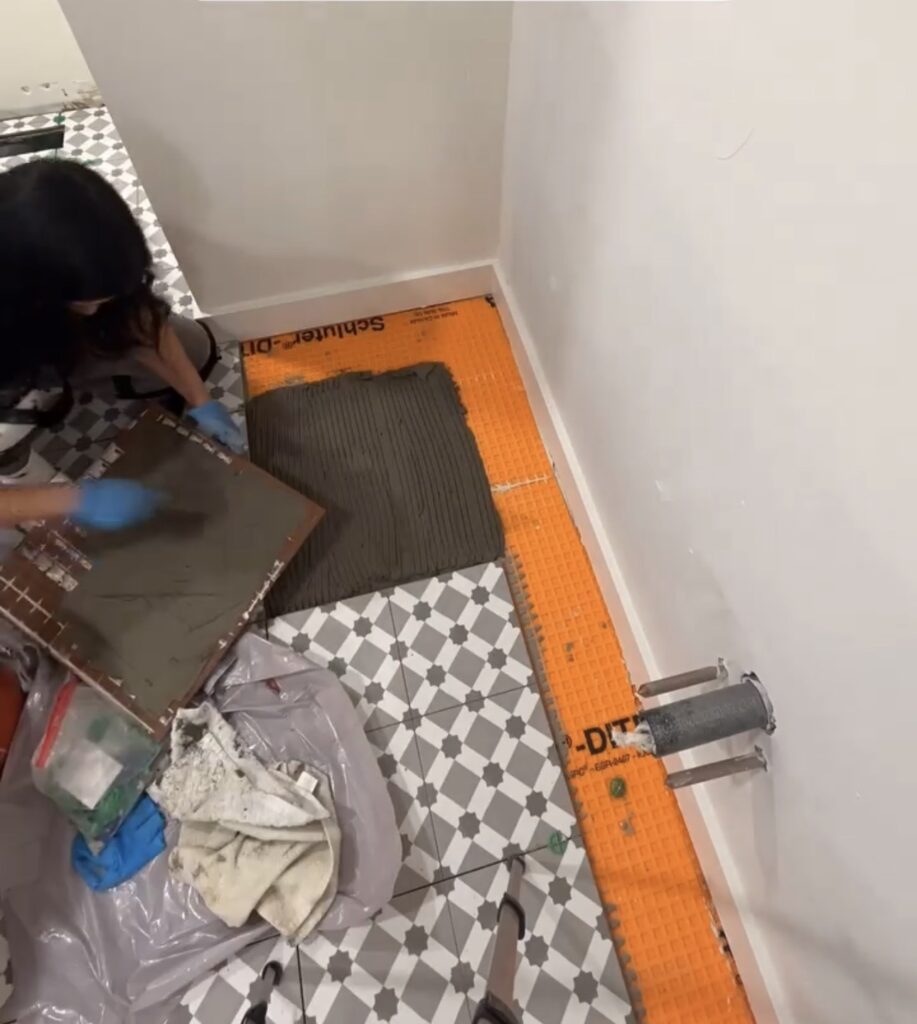
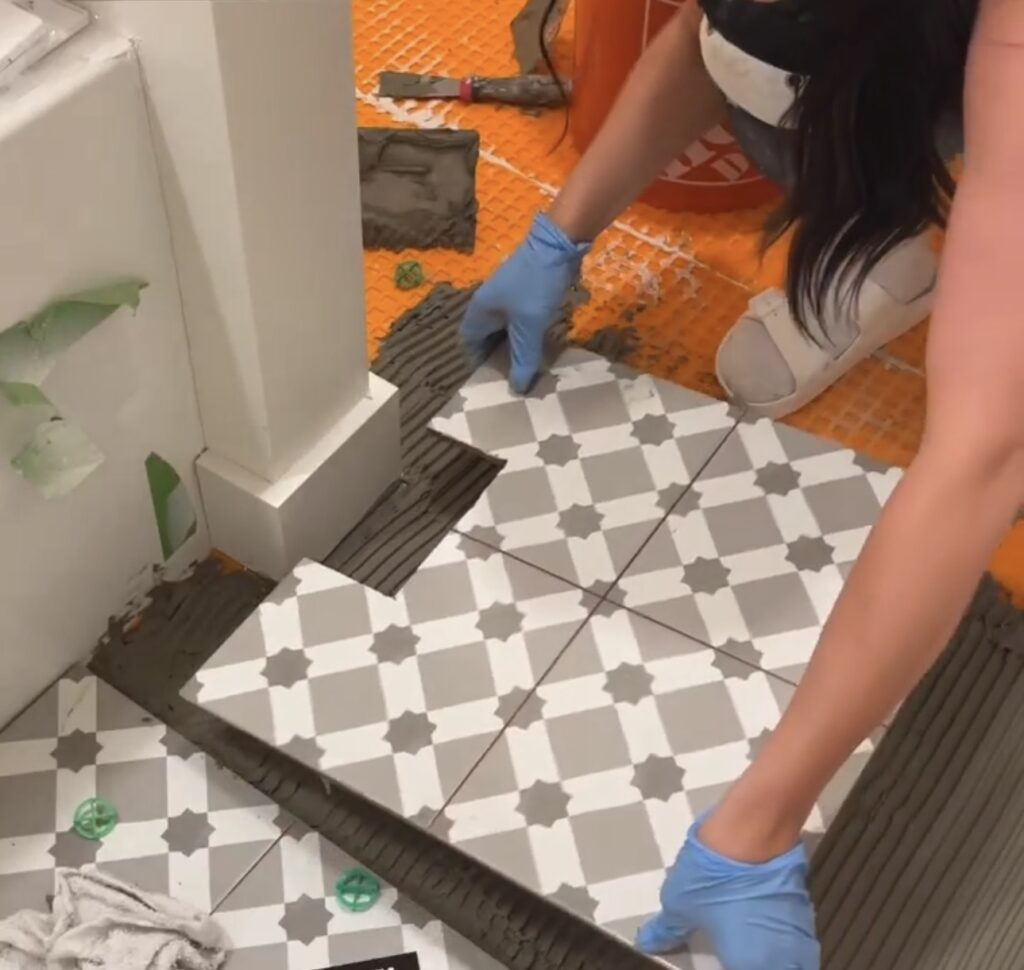
Once this entire floor had the Ditra installed it was time to start the tile installation! I combed the thinset in all the same direction and then back buttered all the tiles because they’re so large and we wanted 100% coverage. We used tile spacers between each tile to allow for space for the grout.
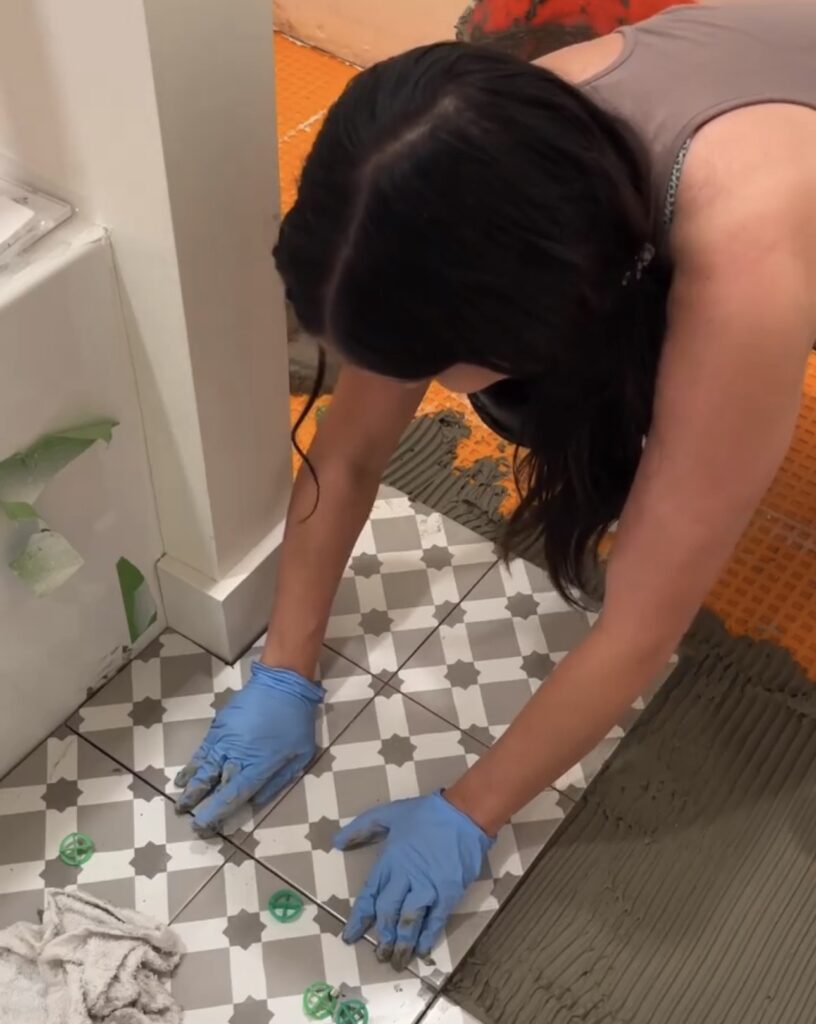
I wiped up any thinset that got on the tiles as I was installing them with a damp sponge and used a level to make sure all of the tiles stayed level and that there were no lips on corners.
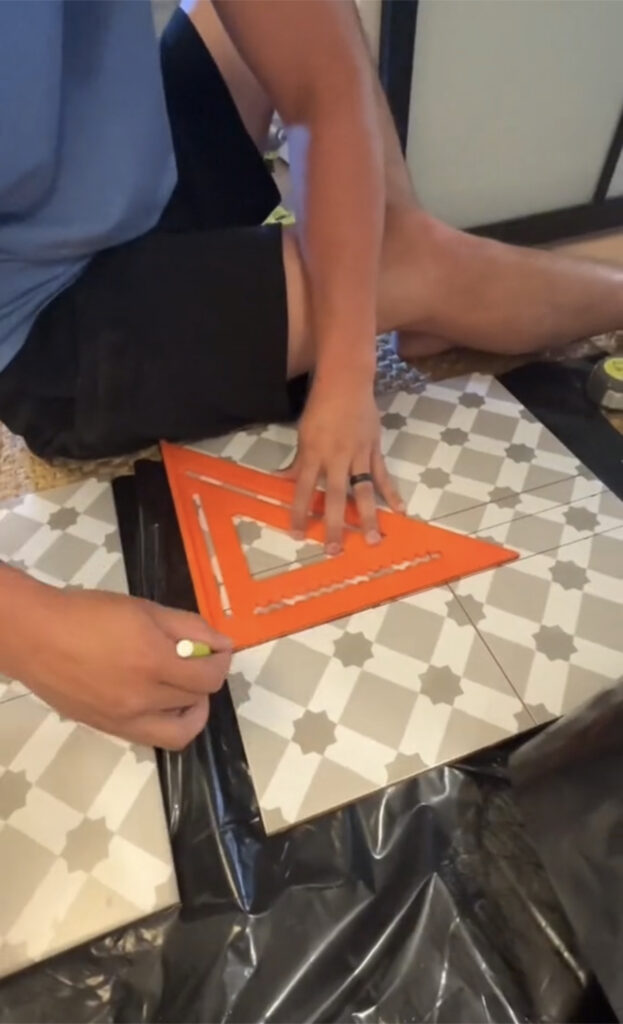
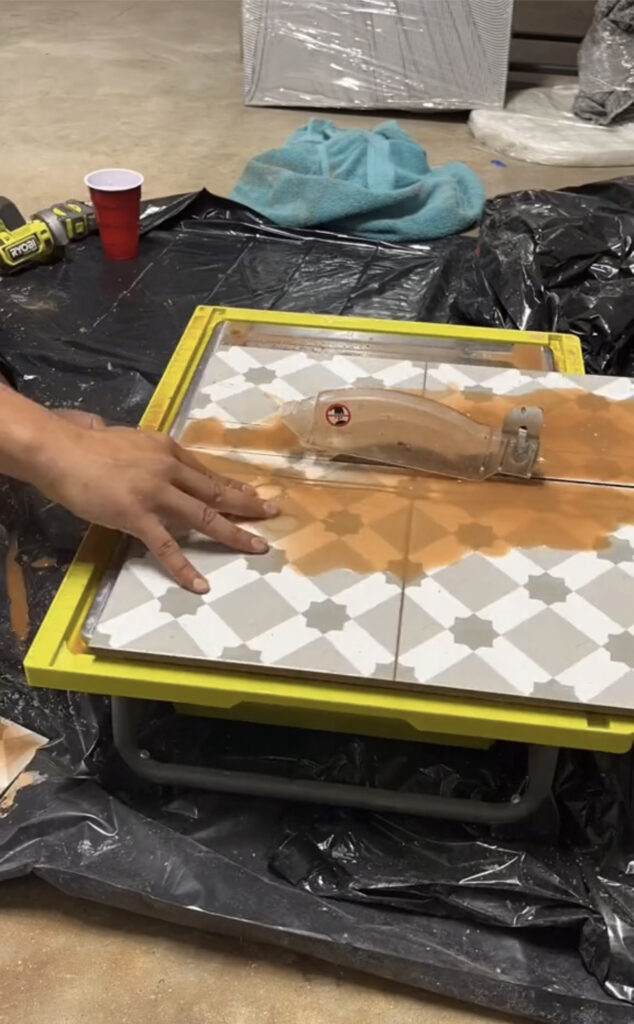
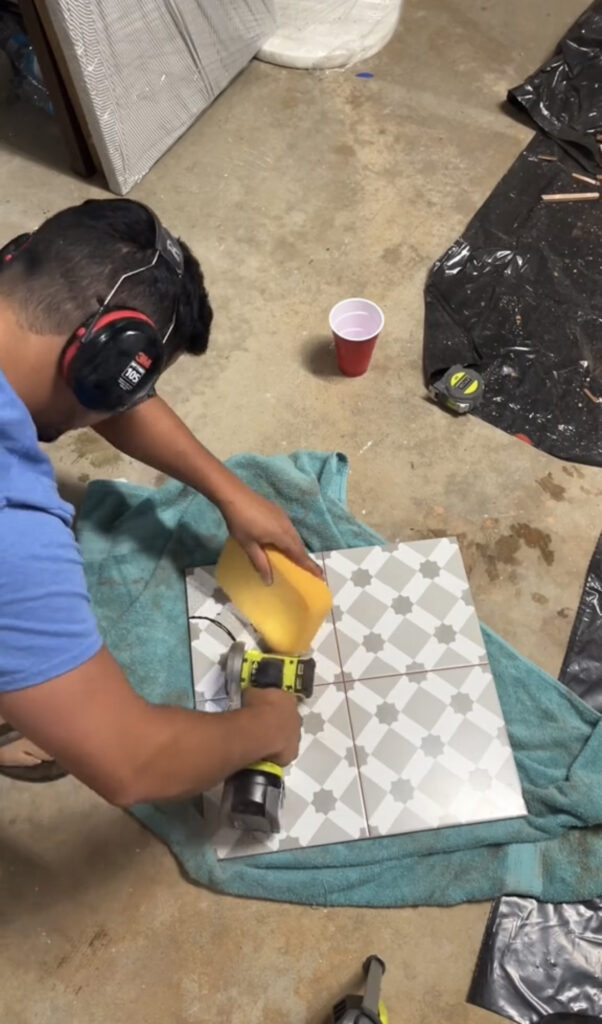
I got as many of the full tiles done as possible and took measurements for the tiles that would need cuts made. Ryan used our tile wet saw to cut those tiles and our compact cut out tool with a tile blade to make the circle cuts for the tiles that would go around the toilet.
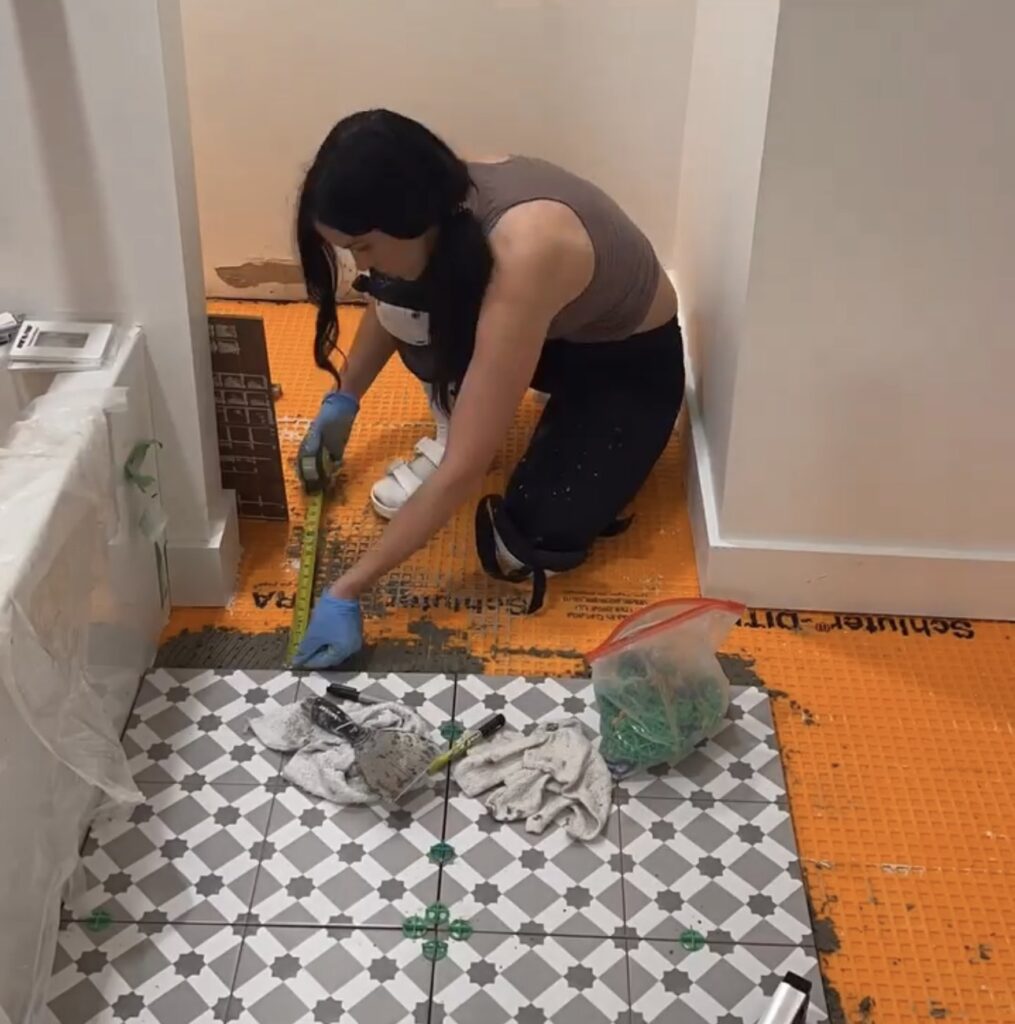

I got the rest of the tiles installed and went back over all of the floor with a damp rag and sponge to make sure it was all clean and ready for grout.
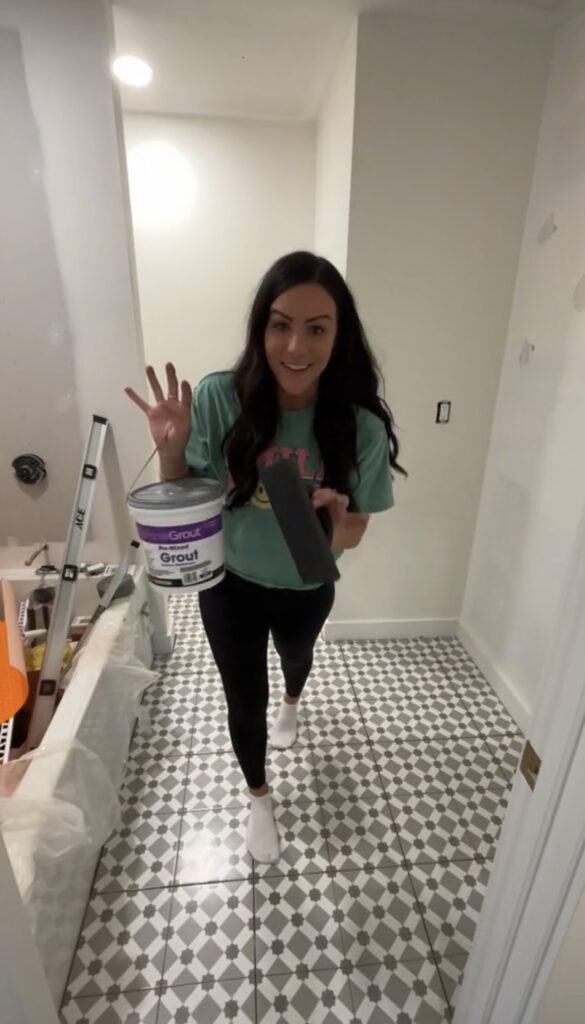

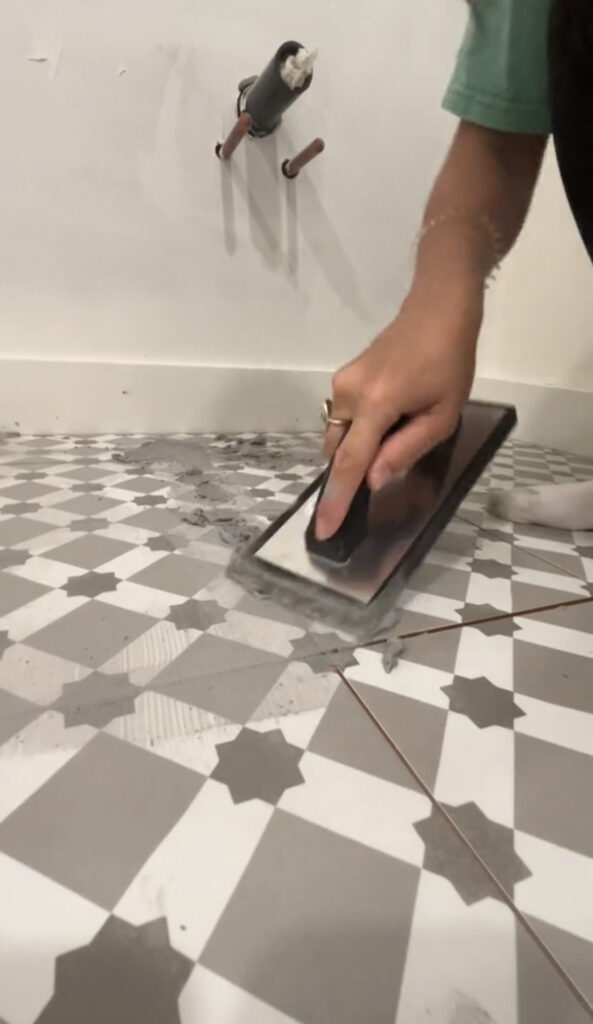
I used a premixed grout in the color Delorean Gray with a float to grout the tile. I focused on small sections at a time to make sure I got all of the gaps.
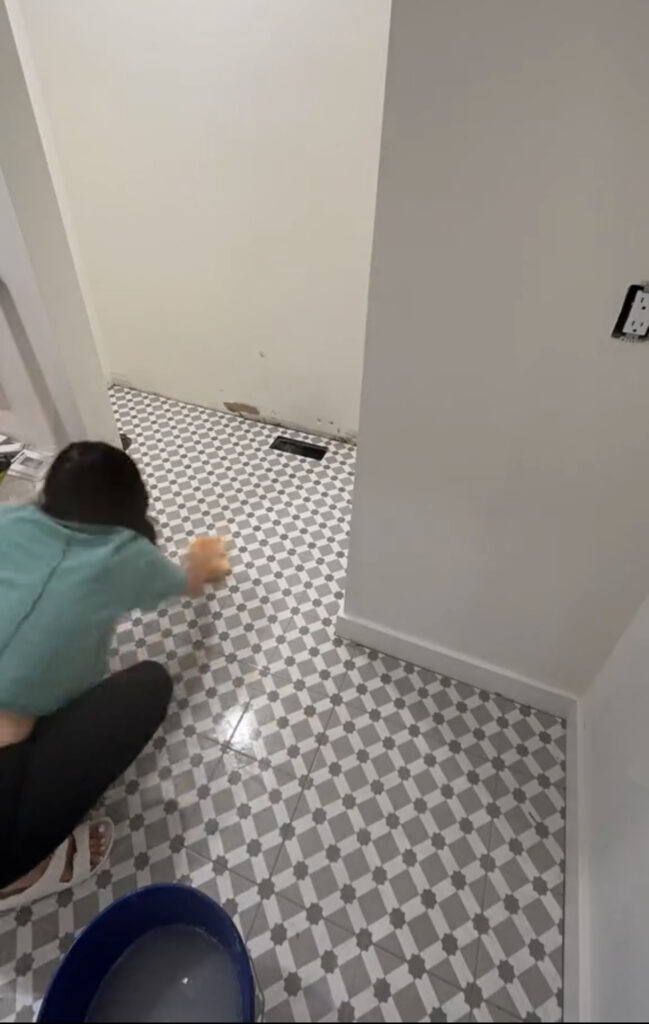
After about five minutes I wiped the excess grout with a damp sponge in circular motions. I made sure to rinse out the sponge often. There was a grout haze left over on the tile but it can be wiped off once the floor is finished.
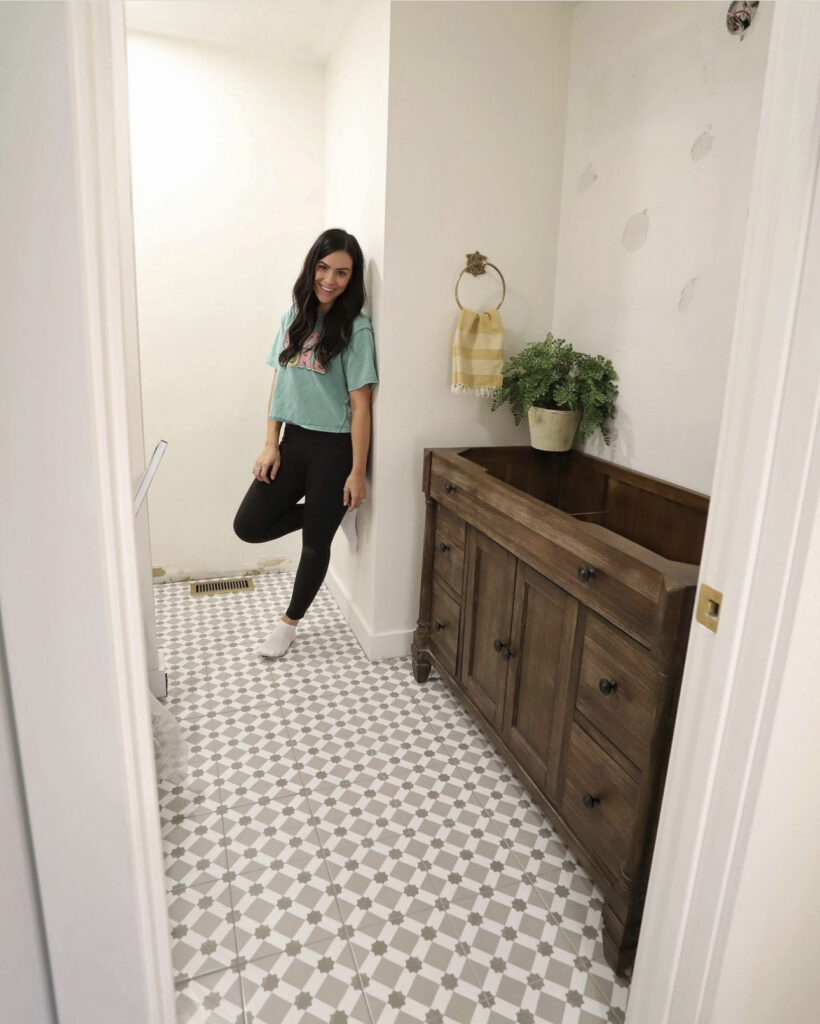
I am obsessed with the finished product!
If you’re considering going with a patterned tile for your bathroom floor, I highly recommend it! It looks so good and adds so much to the room without being overwhelming.
Be sure to check out our blog post on how we tiled the wall behind the vanity to really bring our guest bathroom to the next level!
Leave a Reply
Grab our FREE download
Wanna know the 5 must have tools you need before you start?
Considering a DIY Project?


Be the first to comment