


Garage Floor Epoxy

Materials:
- Rust-oleum Cleaner and Degreaser for Concrete
- Rust-oleum Concrete Patch and Repair
- Rust-oleum Epoxy Shield – Garage Floor Coating Kit
- Rust-oleum Decorative Color Chips
- Rust-oleum Epoxy Shield – Clear Garage Floor Coating
- Rust-oleum Anti-Skid Additive
Tools:
- Paint brush
- Paint roller (for adhesives and epoxy) with extended handle
- Paint trays
- Squeegee (with extended handle)
- Deck brushes
- Shop-vac
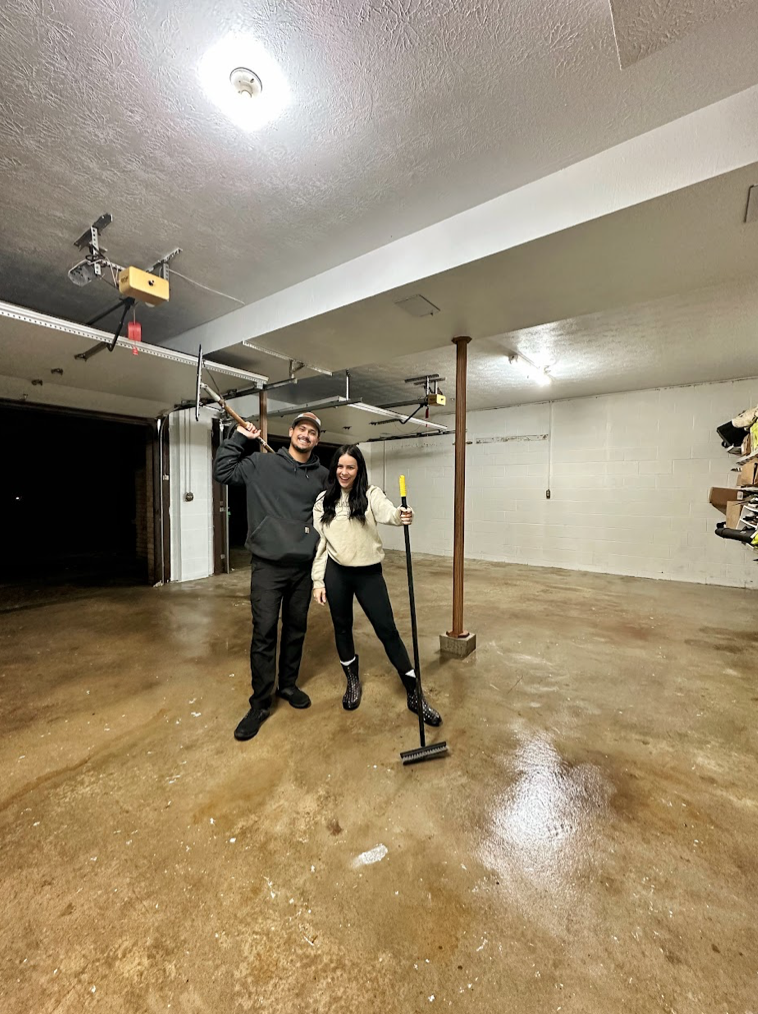
In order to transform our garage into the one of our dreams, we first had to give the floor a much needed makeover with epoxy. The process was fairly easy and we are in love with the results!
1. Cleaning the concrete
We began by scrubbing our concrete floors with Rust-oleum Cleaner and Degreaser and a few deck brushes to lift the stains and prepare the floor for the epoxy process. (I only partially diluted the cleaner since we had some pretty bad stains- while you can dilute it further, it wouldn’t be as effective.) After that we squeegeed the remaining water into the drain and waited for the floor to dry.
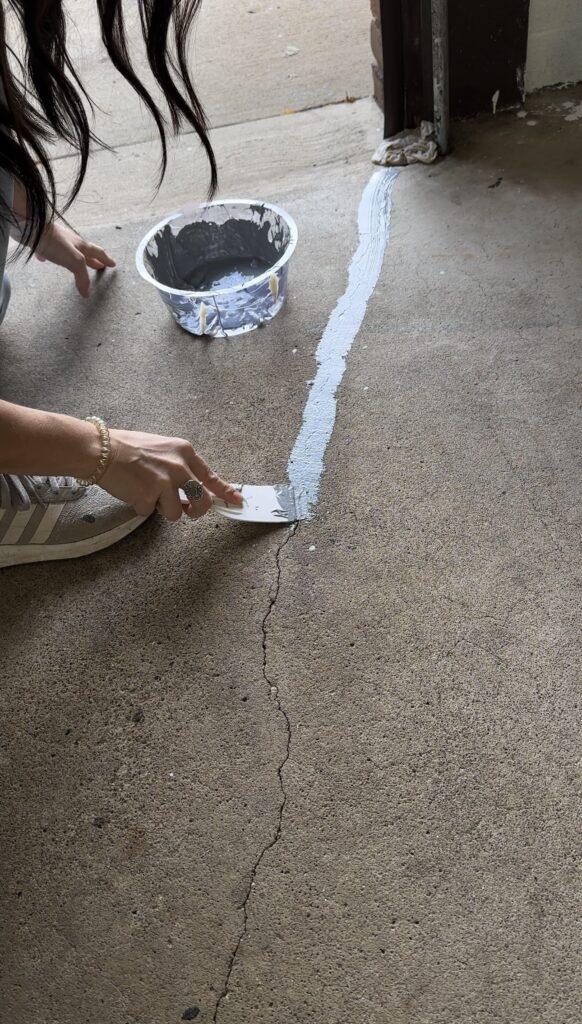
2. Repairing the floor
Next, we had to repair a few holes and cracks in the concrete to ensure a smooth and even finish once the epoxy was applied. For this we used Rust-oleum’s Concrete Patch and Repair- a two part epoxy that you apply similar to spackle to fill all the spaces the floor epoxy won’t. We let the floor dry overnight before moving onto the next steps.
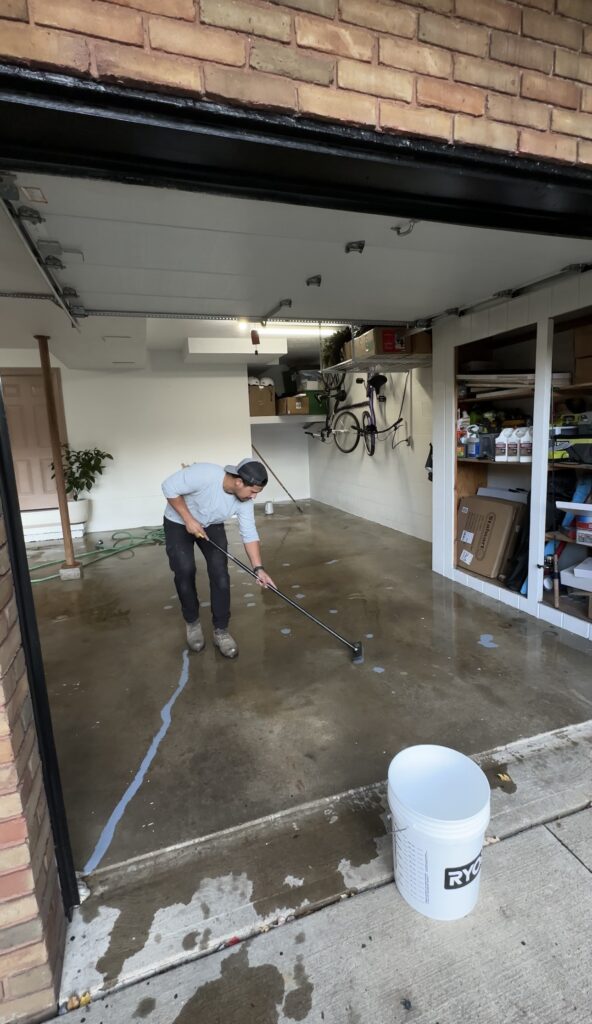
3. Etching the concrete
This step is CRUCIAL to the epoxy process! Without it, the epoxy will not properly adhere to the floor which will result in chipping, peeling, and an uneven finish. (The etching came included with the kit.) After wetting the entire floor, we evenly distributed the mixture onto a small section, scrubbed it in and rinsed immediately. Then repeated the process until the entire floor had been etched. After one last rinse, we let the floor dry COMPLETELY before applying the epoxy.
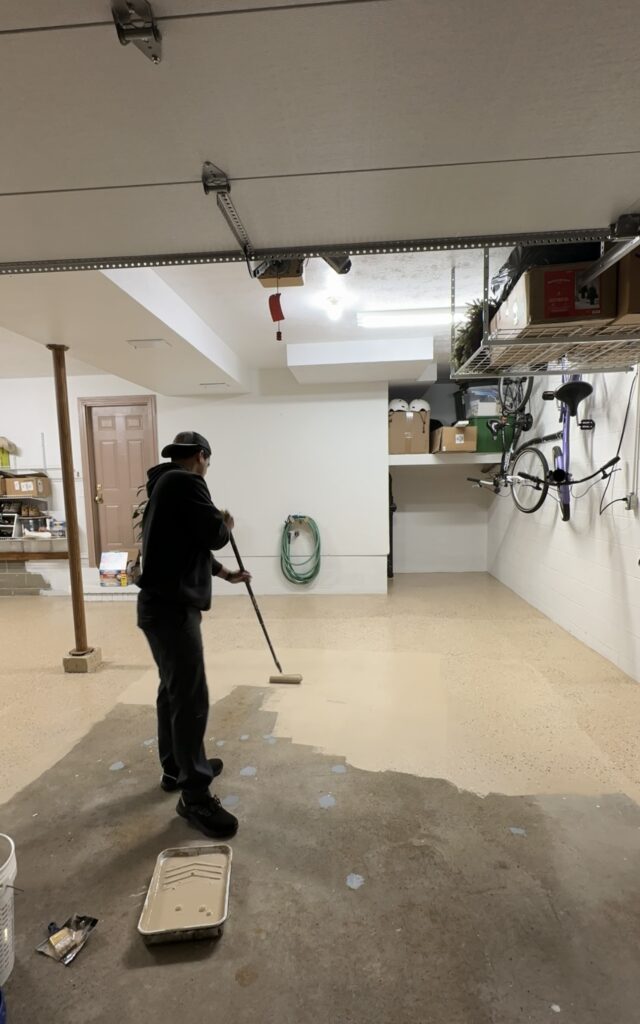
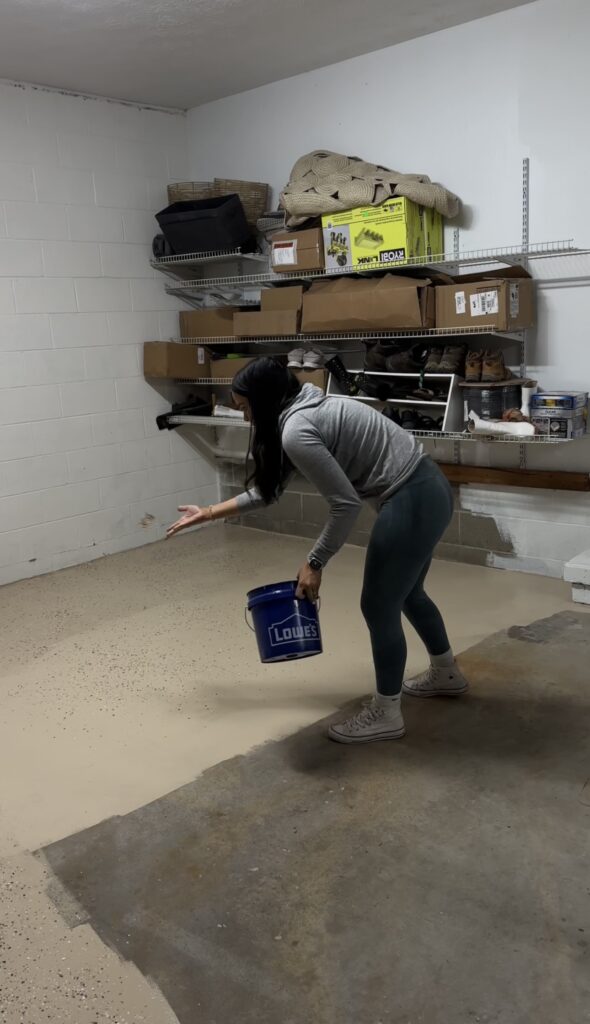
4. Applying the epoxy
First, we mixed the epoxy and let it cure for 30 minutes. Then, working in small sections, we cut in the edges with a paint brush and applied the epoxy to the rest of the floor with a large paint roller. While the epoxy was still wet, before moving onto another section, we tossed the decorative flakes that go with it on top to match our workshop floor.
5. Applying the top coat
Lastly, we used our shop-vac to get up all the decorative flakes that did not adhere to the floor. After that we mixed up (what ended up being two kits) of Rust-oleum Epoxy Shield- Clear Garage Floor Coating along with the anti-skid additive and applied it the same way as the epoxy- cutting in the edges with a paint brush and rolling on the rest.
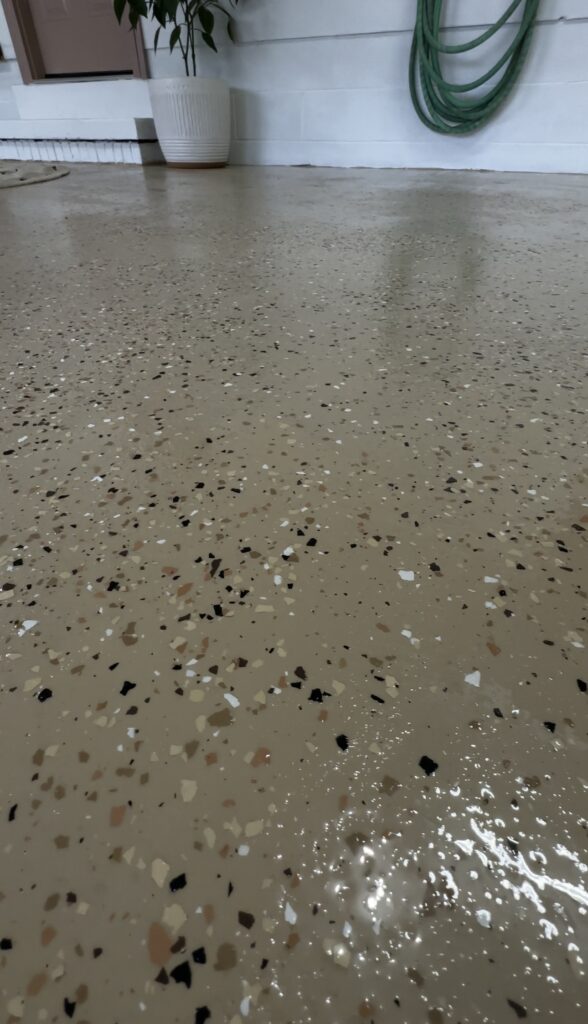
The result was a beautifully sealed concrete floor with a smooth and shiny (but not slippery) finish to it! The whole process only took a few days since we had to let the floor dry in between steps, and the epoxy should last a long time (the floor we epoxy-ed in our workshop last year is holding up great!) We couldn’t be happier with the way it turned out and can’t wait for you all to see what else we have in store for this garage!
Leave a Reply
Grab our FREE download
Wanna know the 5 must have tools you need before you start?
Considering a DIY Project?


Be the first to comment