


Landscape Update with Black Granite Rocks
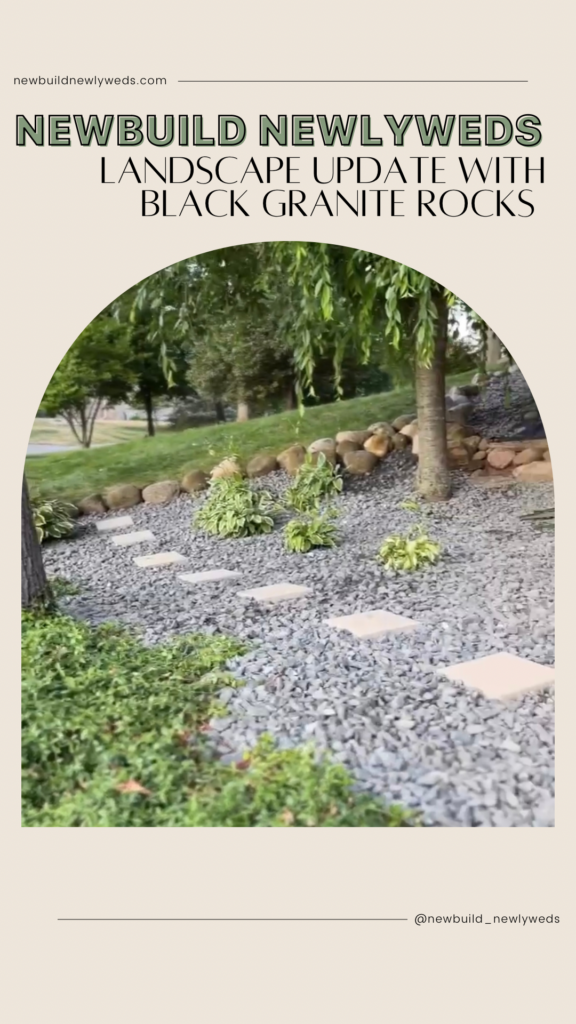
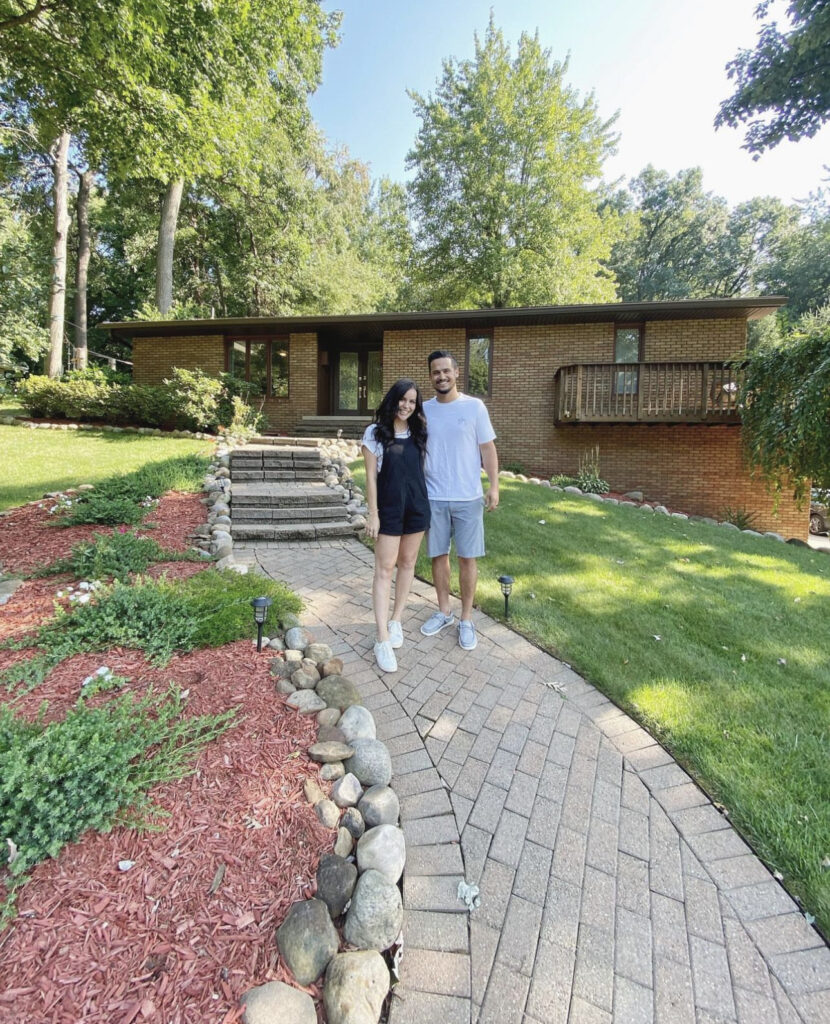
When we bought our 1970s fixer upper, all of the landscaping had red mulch and I hated it. The inside of the home was our biggest priority so we started there and then we needed to wait until the weather warmed up, but I couldn’t wait until once we were able to tackle this project.
While our choice for replacing the red mulch with black granite rocks isn’t the most common or cheap option, it was the right choice for us. Even though it’s quite expensive and requires a lot of work initially, these rocks won’t need to be replaced every couple of years like mulch and the upkeep is very minimal.
What You’ll Need:
- Black Granite Rocks
- Edging
- Fabric Clips
- Weed Barrier
- Shovel & Rake
- Gloves
- Wheel Barrow
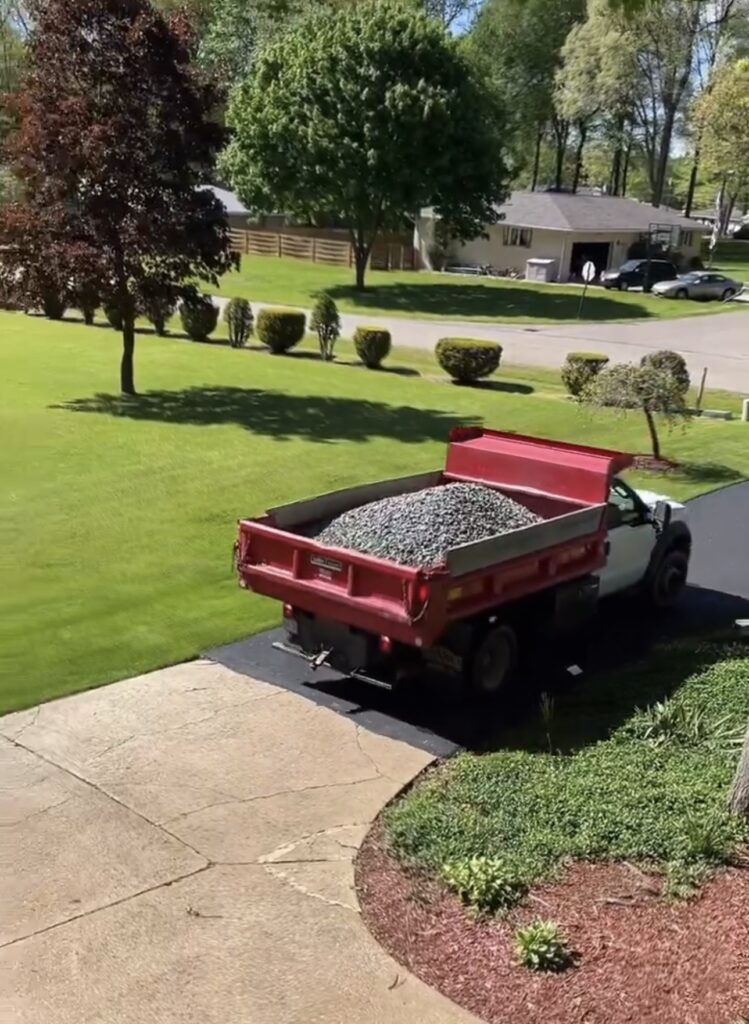
We definitely underestimated the amount of rocks we would need for this job but we wanted to be conservative with the amount of rocks we ordered because we’d rather have to go back for more than have too much left over.
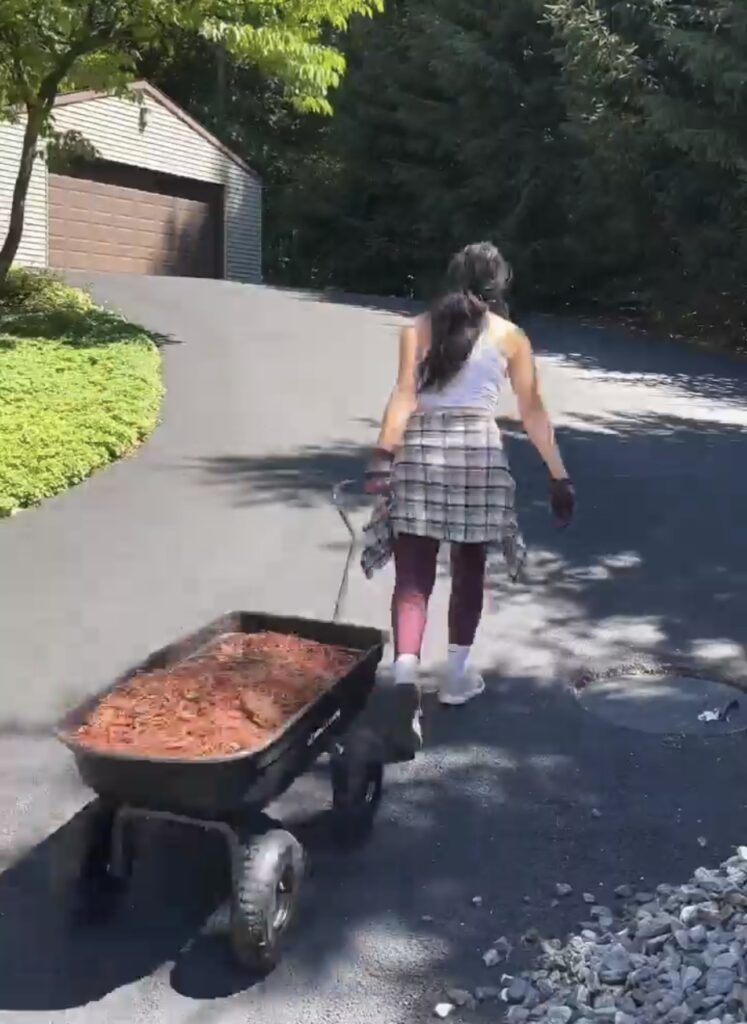
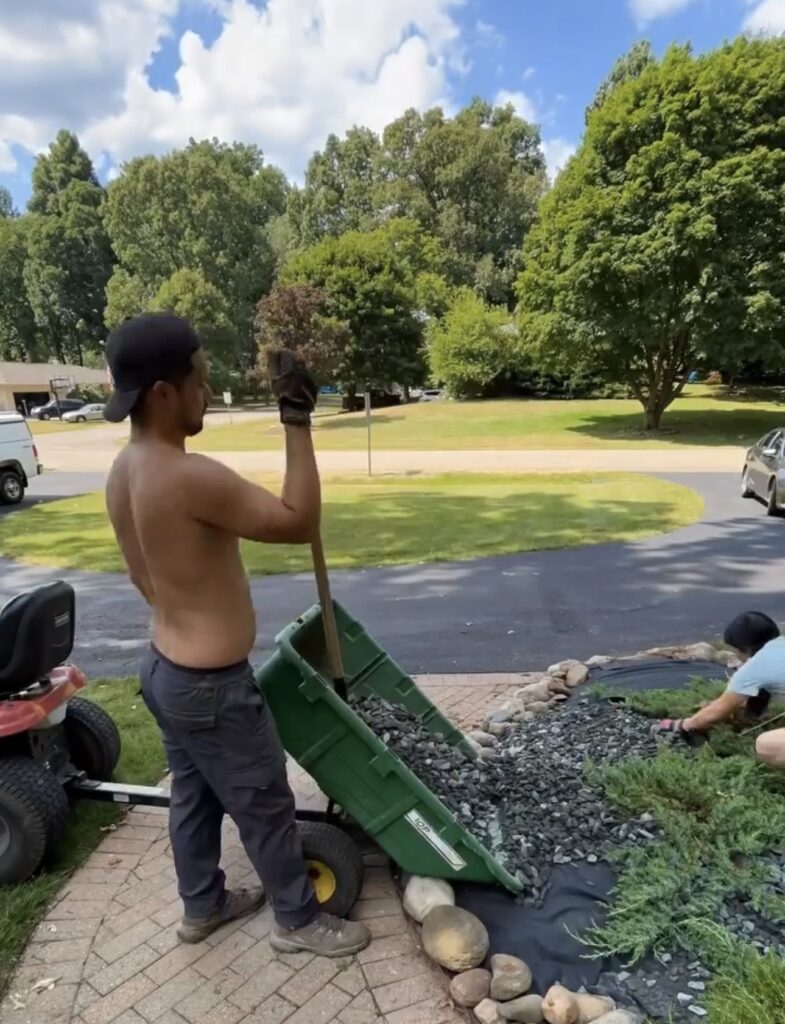
We ordered from a local mulch supply store in our area and used my brother’s dump truck to get it to our house. We dumped it on our driveway and will use a shovel and wheel barrow to move them around the yard to the areas they are needed.
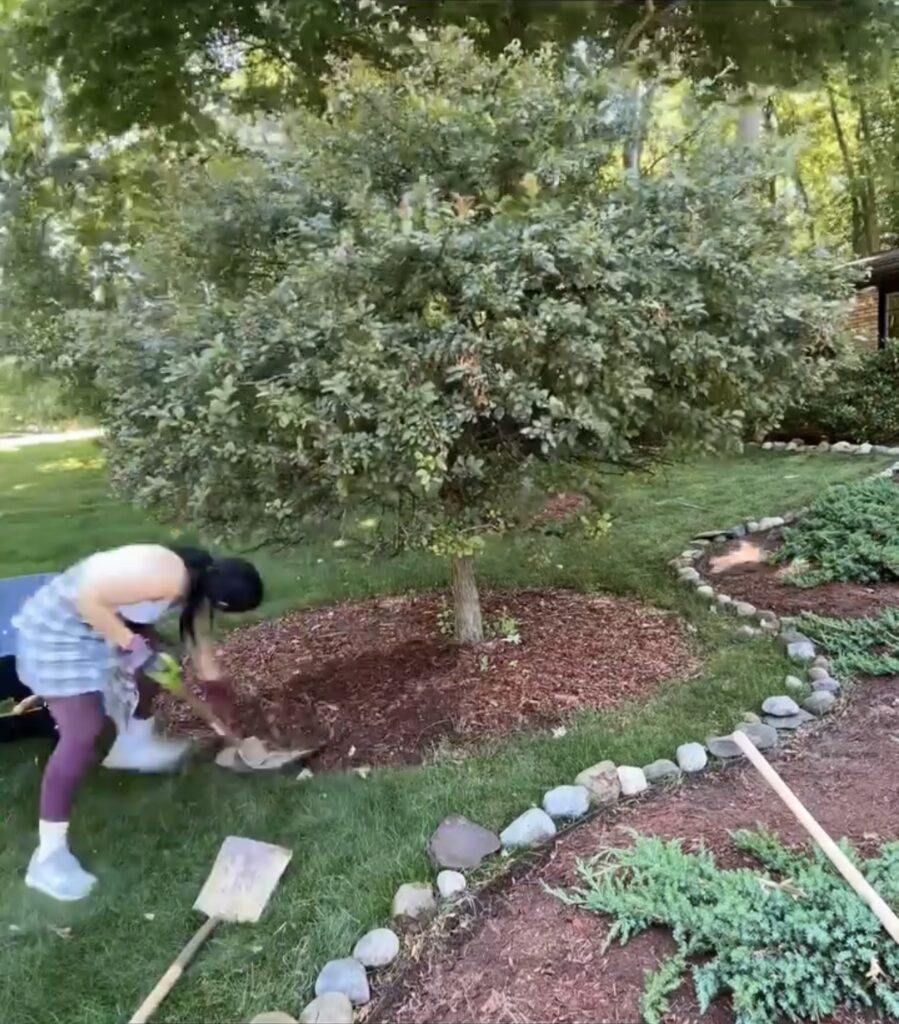
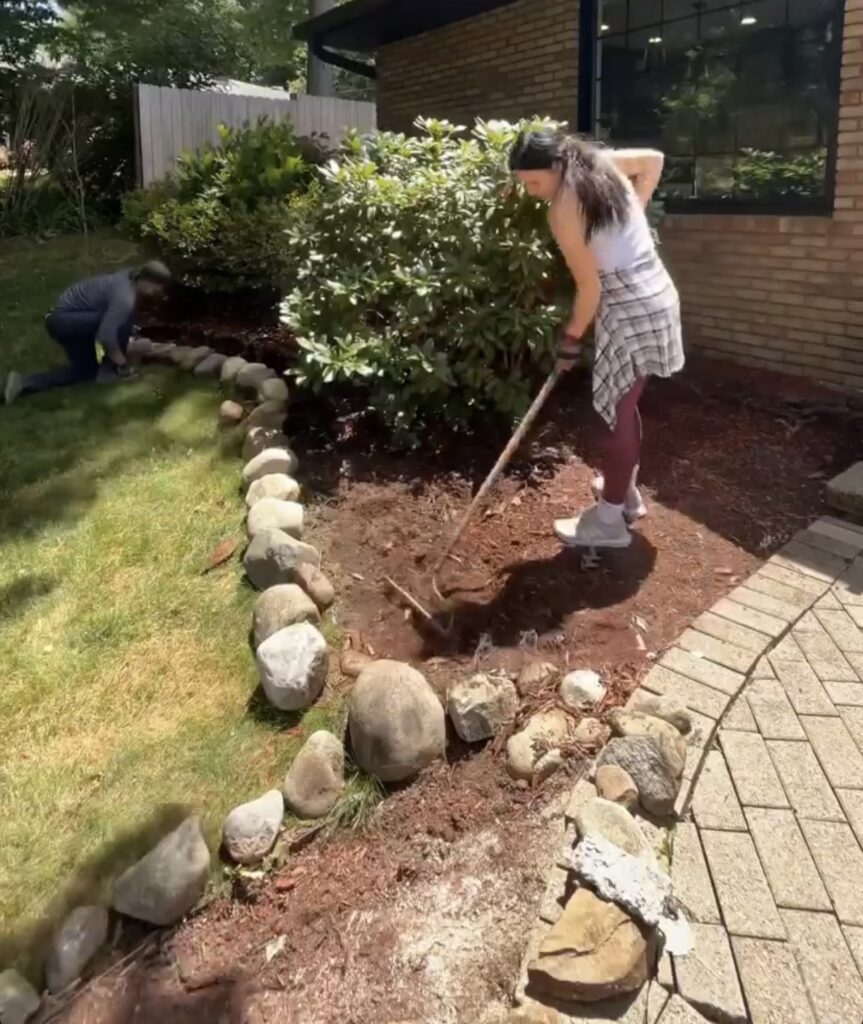
We started by shoveling up the first layer of the red mulch. We weren’t concerned with getting it all up because we’ll be covering it with a black weed barrier before laying the rocks so it won’t be visible, but we wanted to remove enough to have an even surface for the rocks.
We have an empty area behind our house so after shoveling up the mulch and putting it into the wheel barrow and dumping it there.
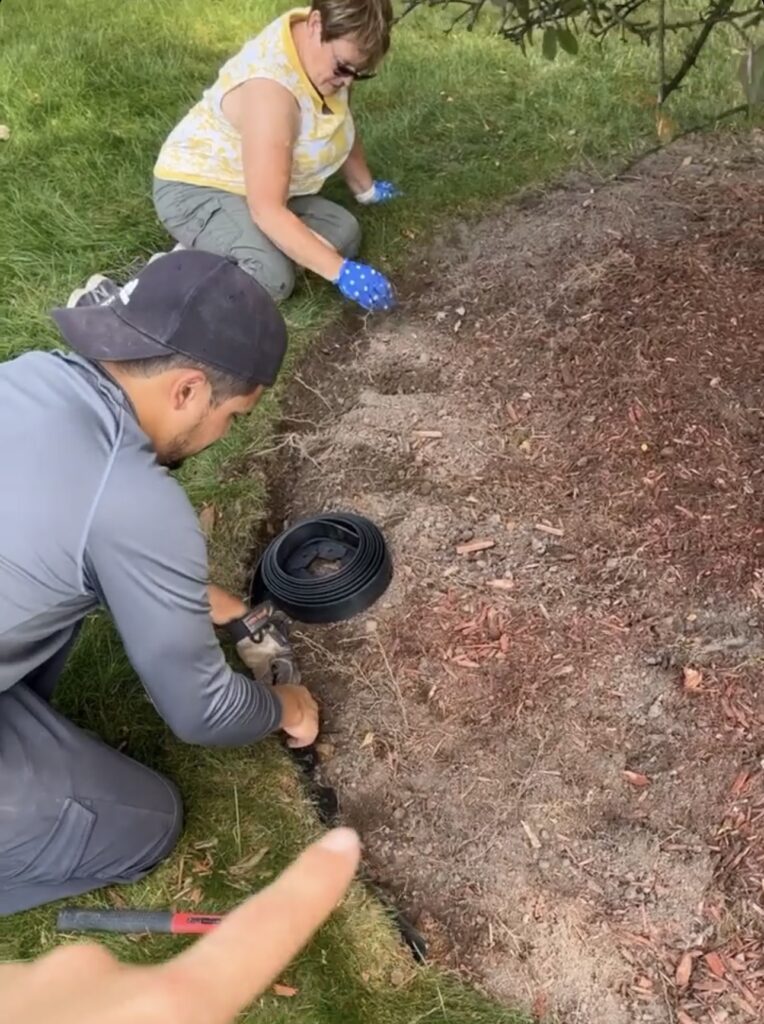
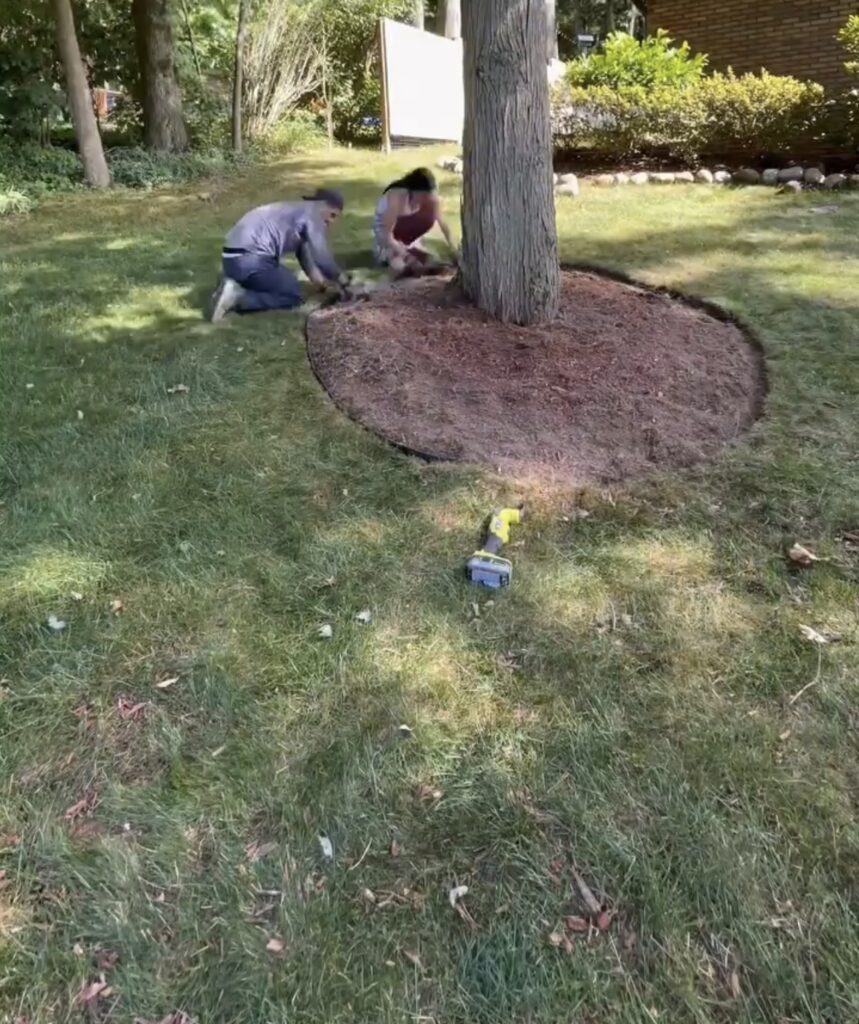
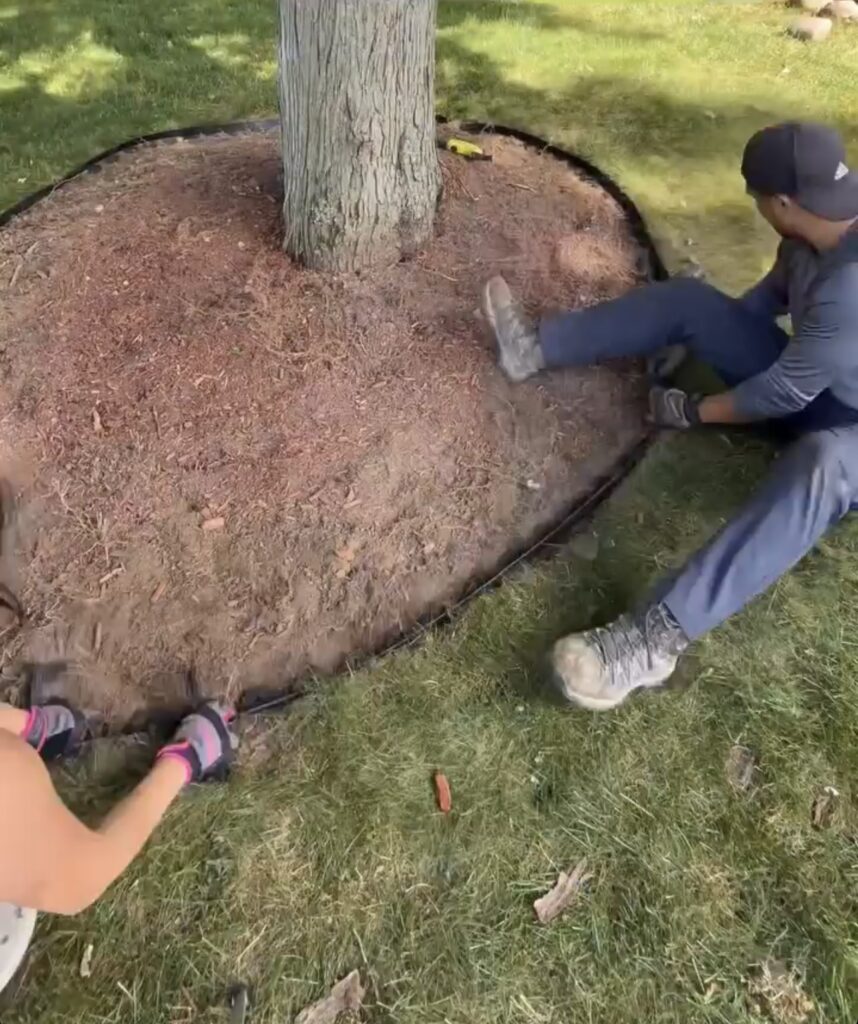
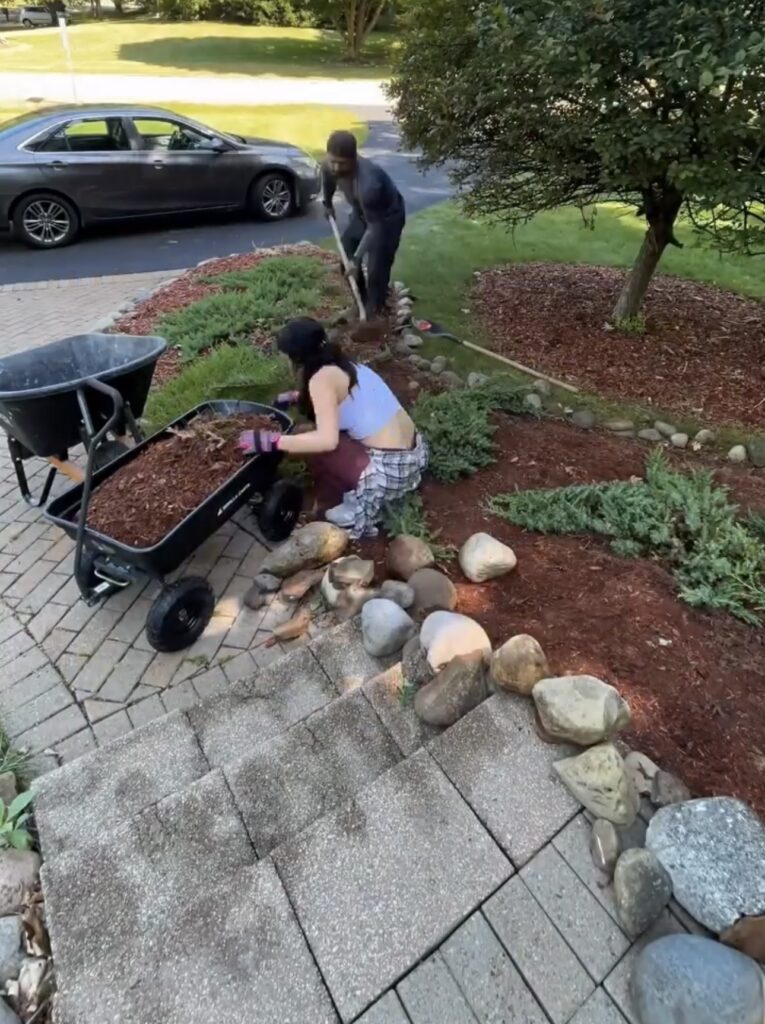
Before laying the rocks down, we used landscaping edging around the borders of the three tree beds that don’t have bigger rocks to keep the black granite rocks contained.
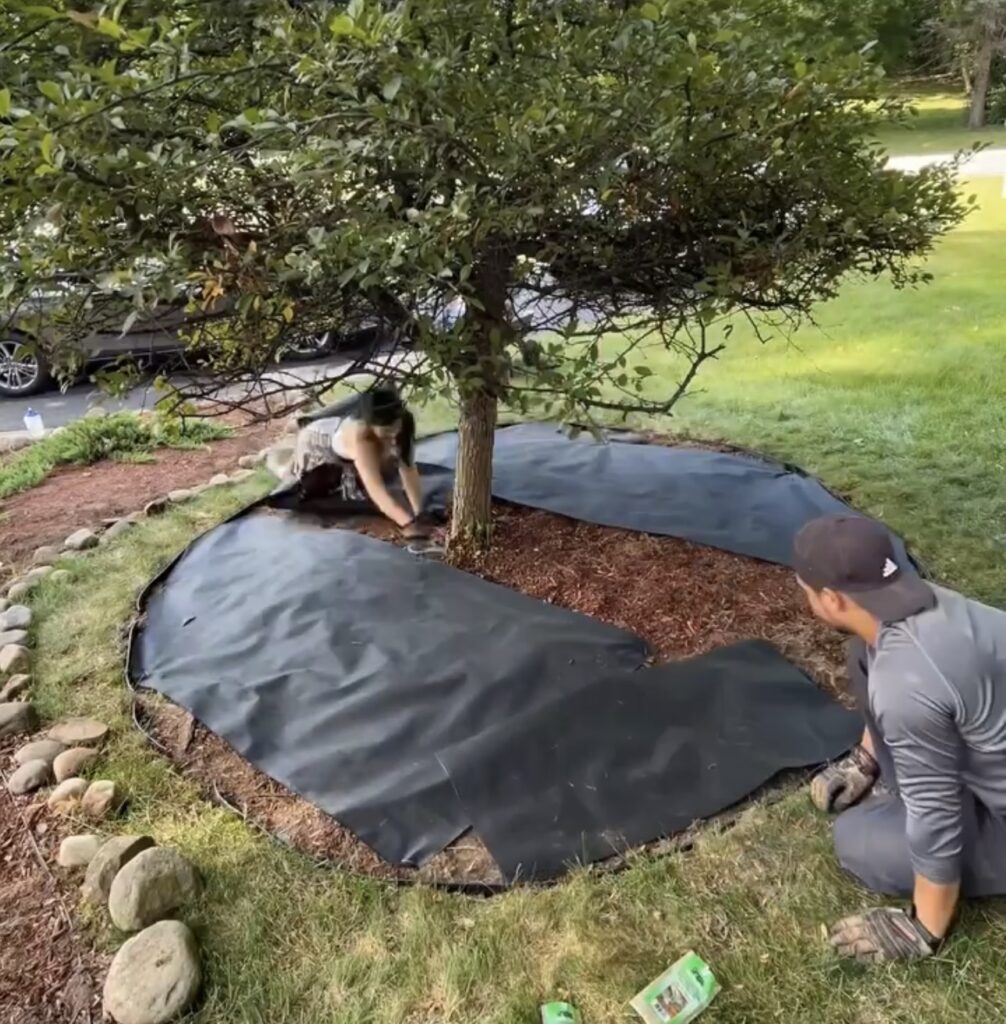
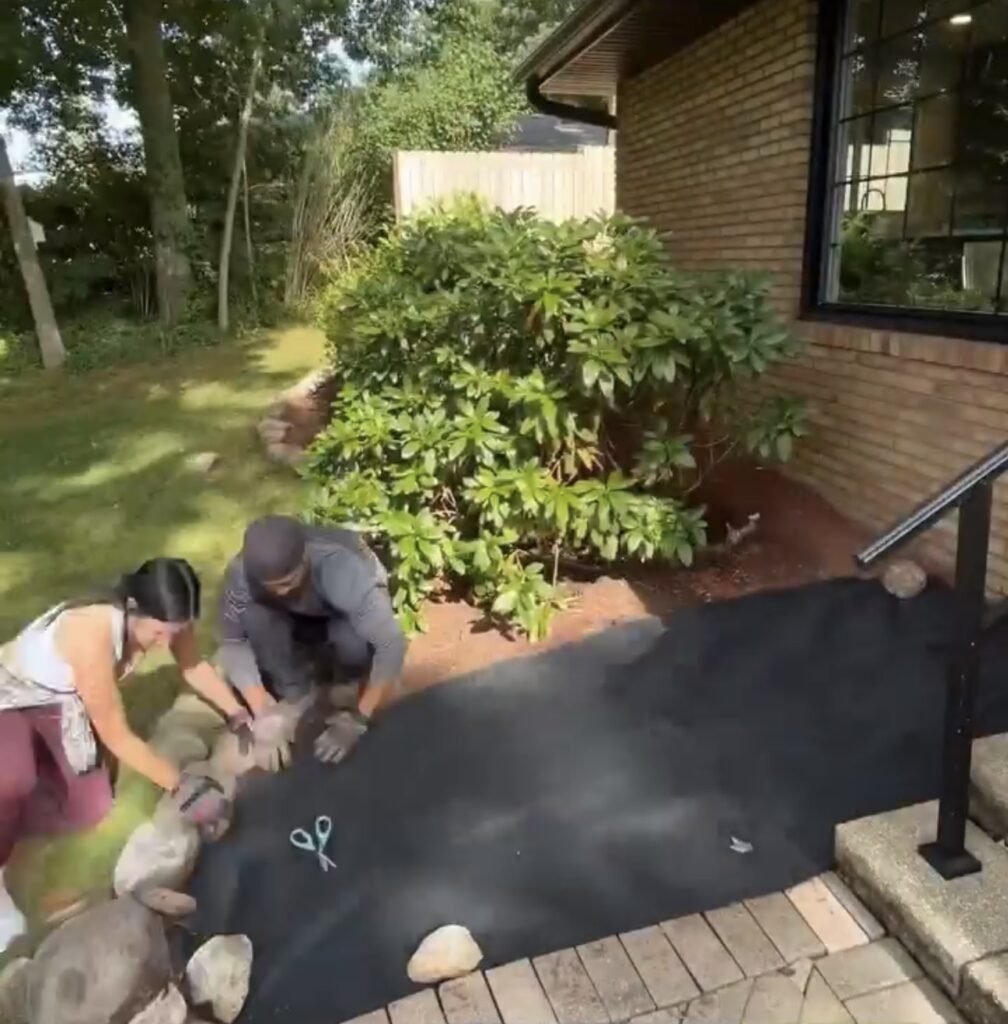

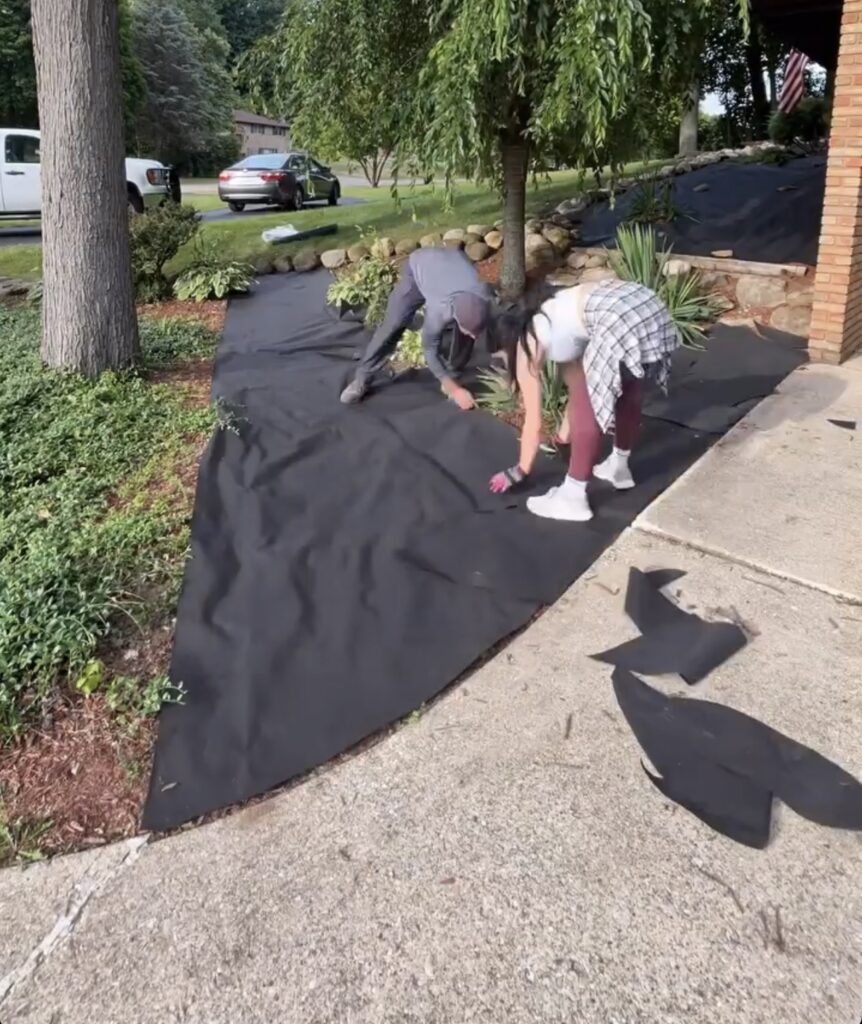
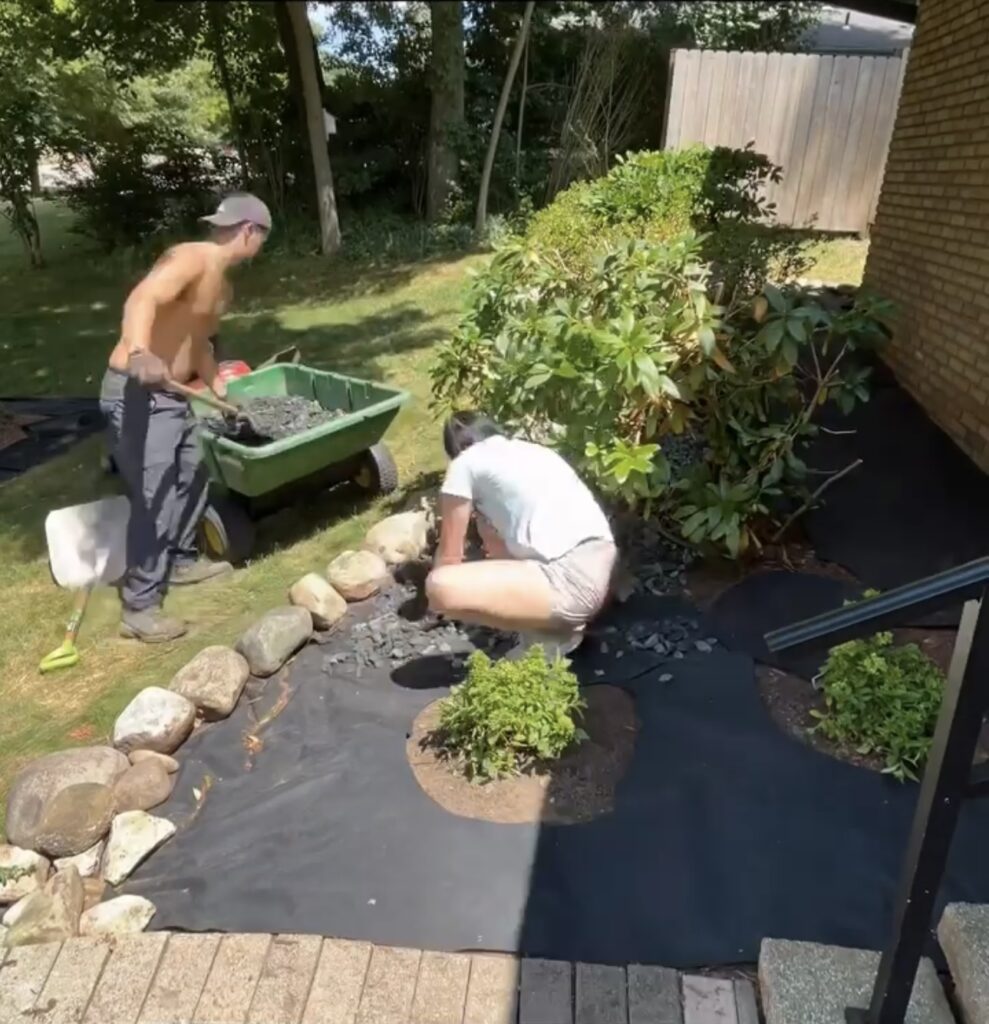
Once we got the layer of red mulch up from all of the beds and edging around the tree beds, we could lay the weed barrier down. This serves multiple purposes: it will keep weeds from coming up through the rocks and it gives a black surface for the rocks to be laid on so any spaces or holes won’t be as noticeable.
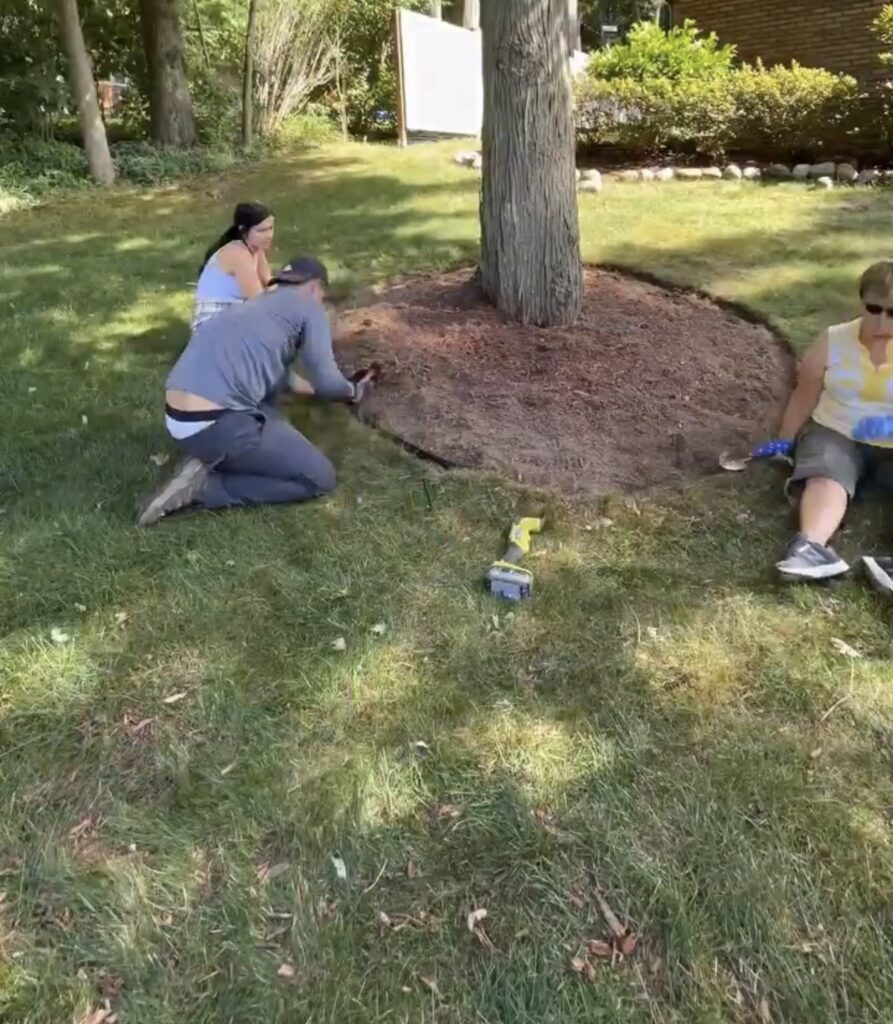
We used the big rocks to hold down the fabric and in the areas where there weren’t rocks, we used fabric clips inserted into the ground. We used scissors to cut the fabric to fit around the curves of the landscaping and to cut around any trees or plants. We left a 6-12 inch space away from the roots of all of the plants.
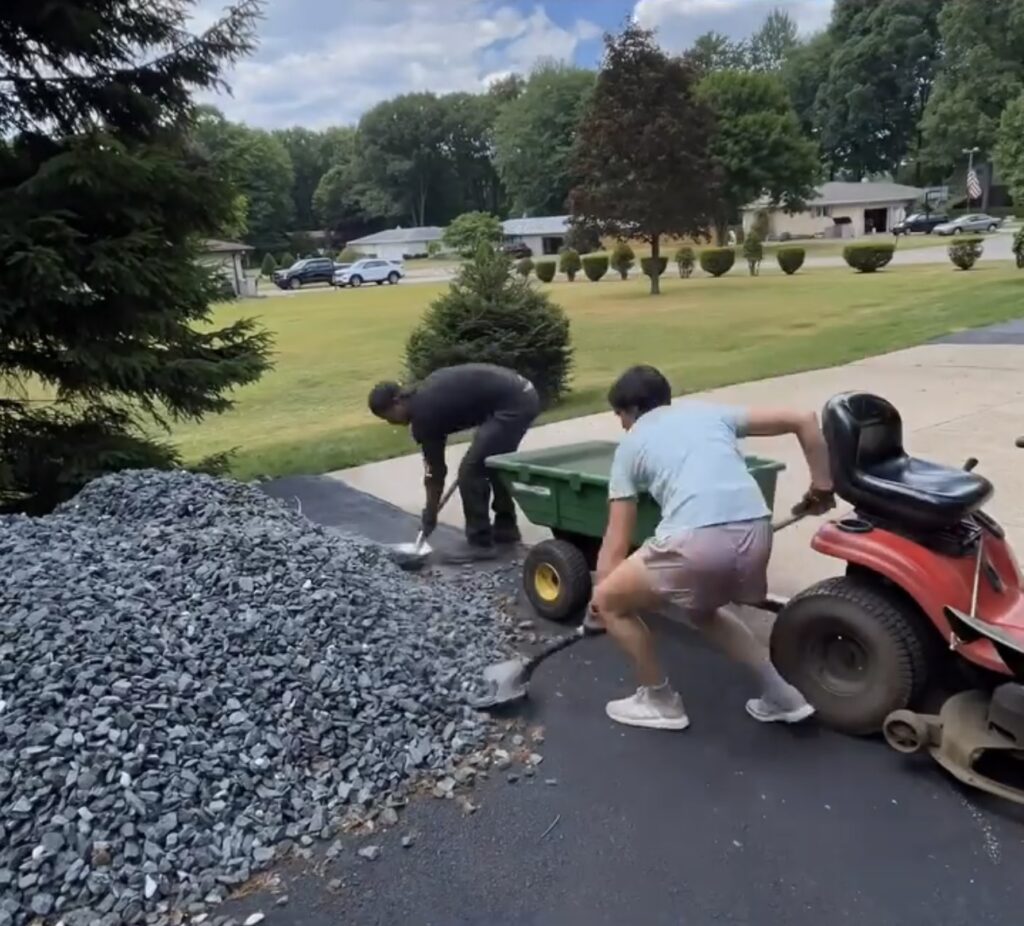
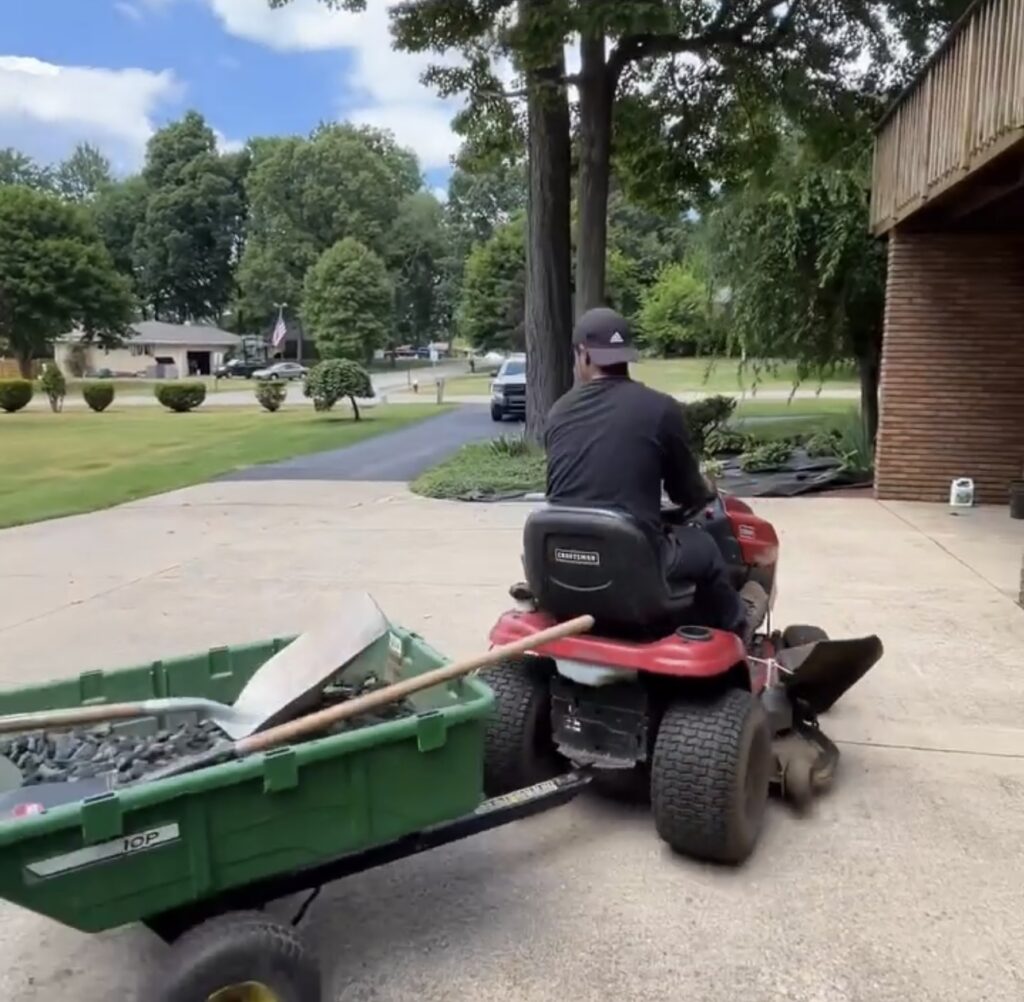
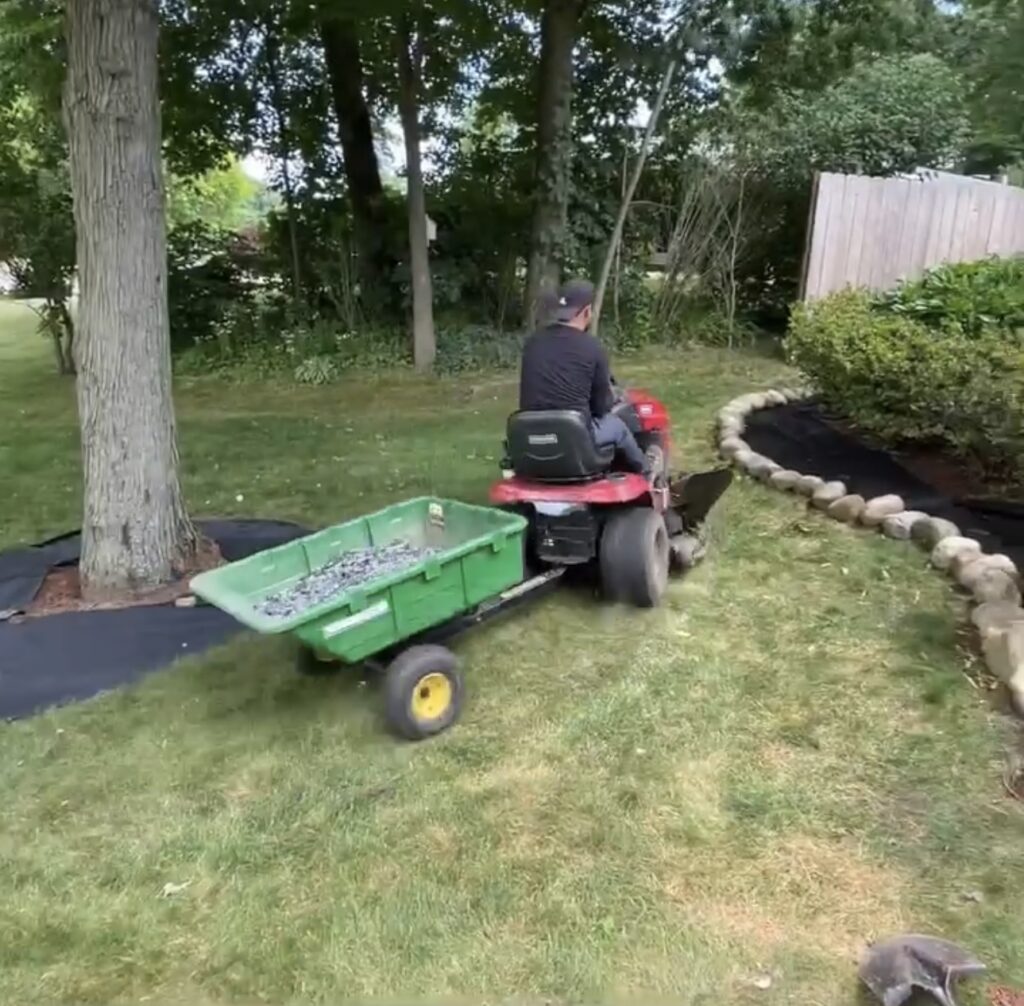
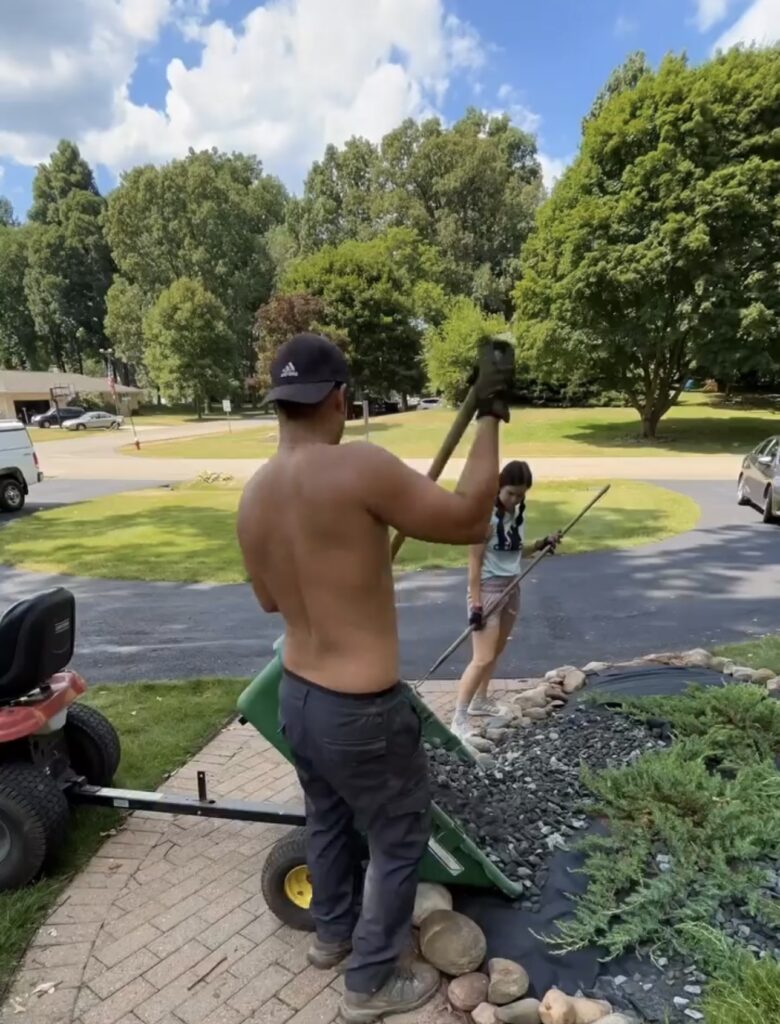
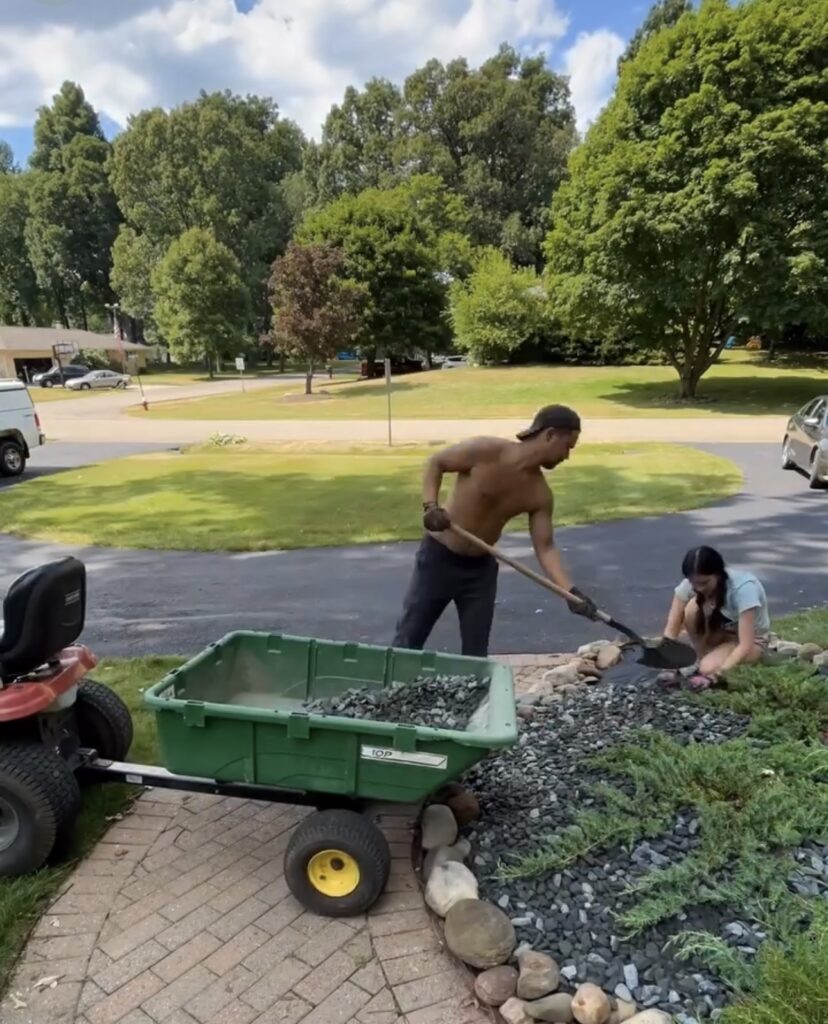
As I’m sure you can imagine, carrying a wheel barrow full of rocks up a hill is really heavy. So thankfully, we have a neighbor that let us borrow his riding lawnmower with a trailer attachment to get the first few loads of rocks up to the landscaping at the top of the house.
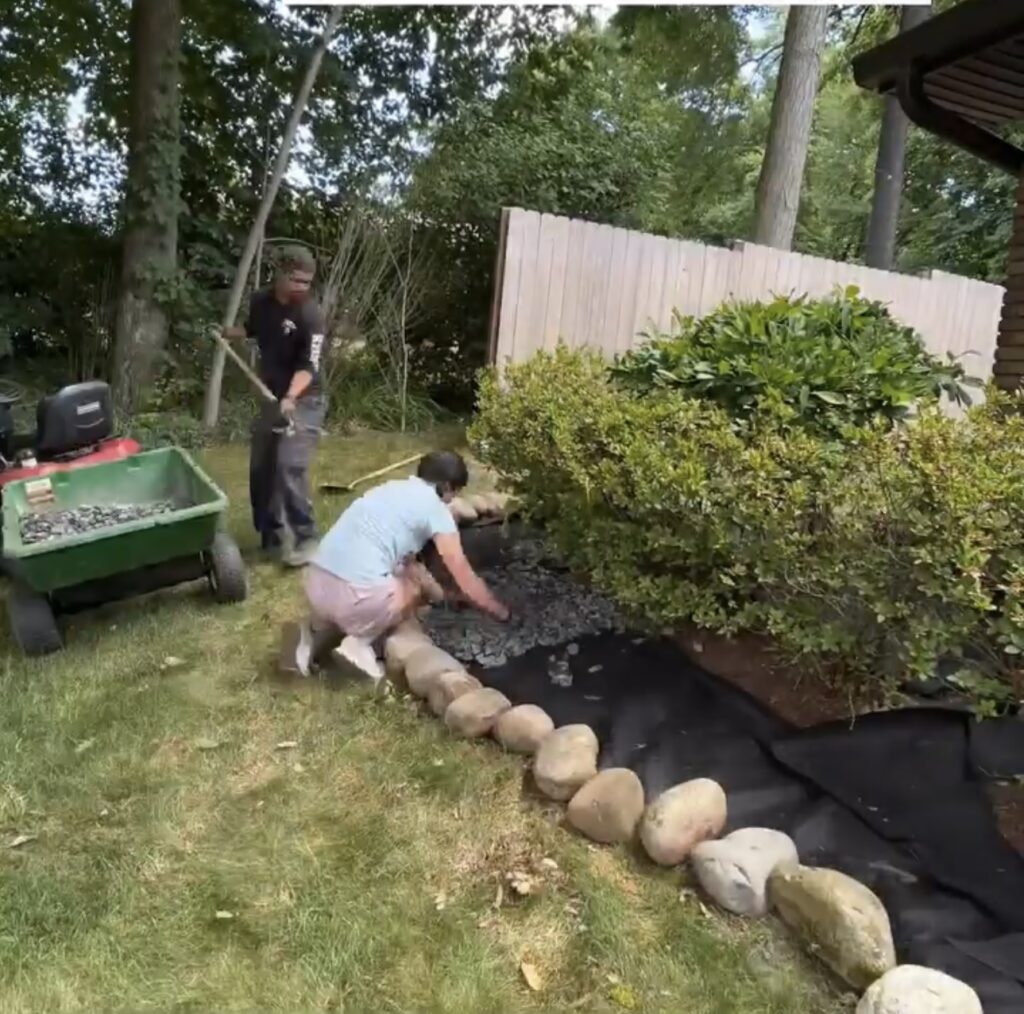
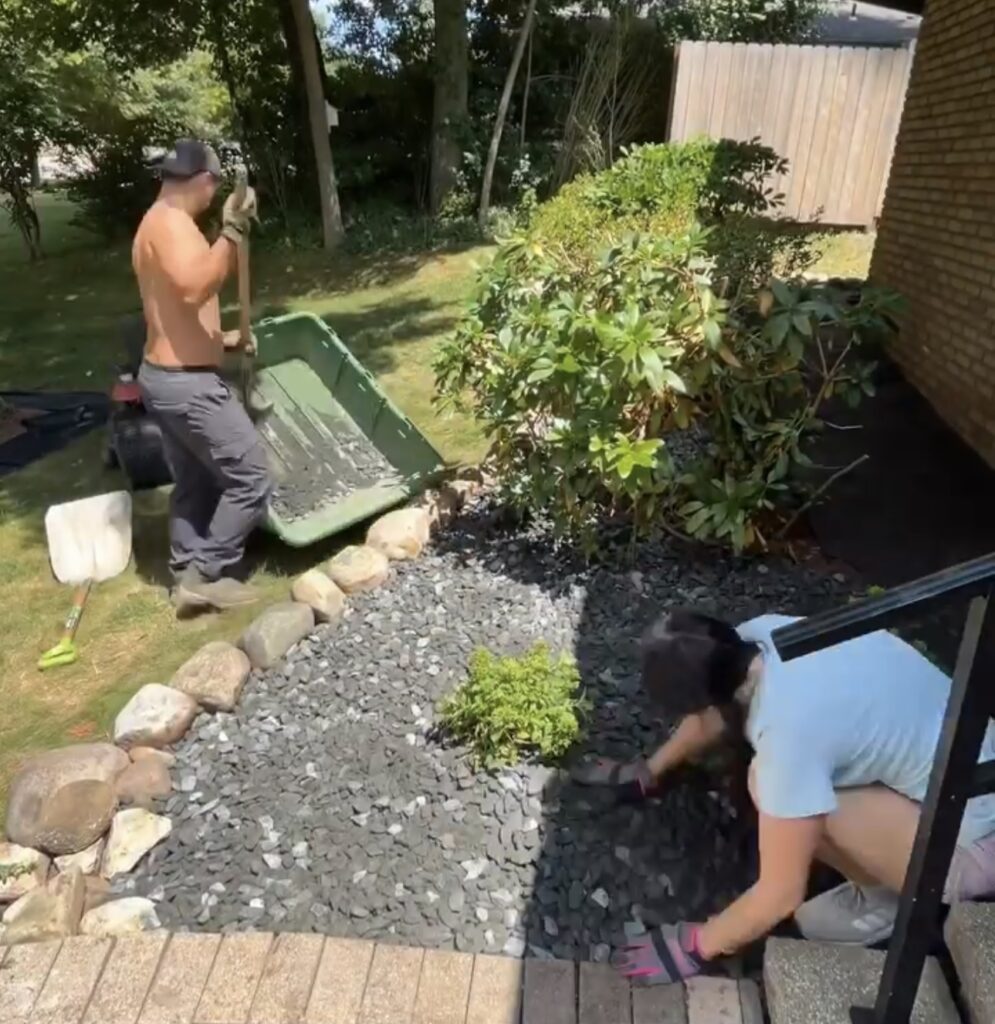
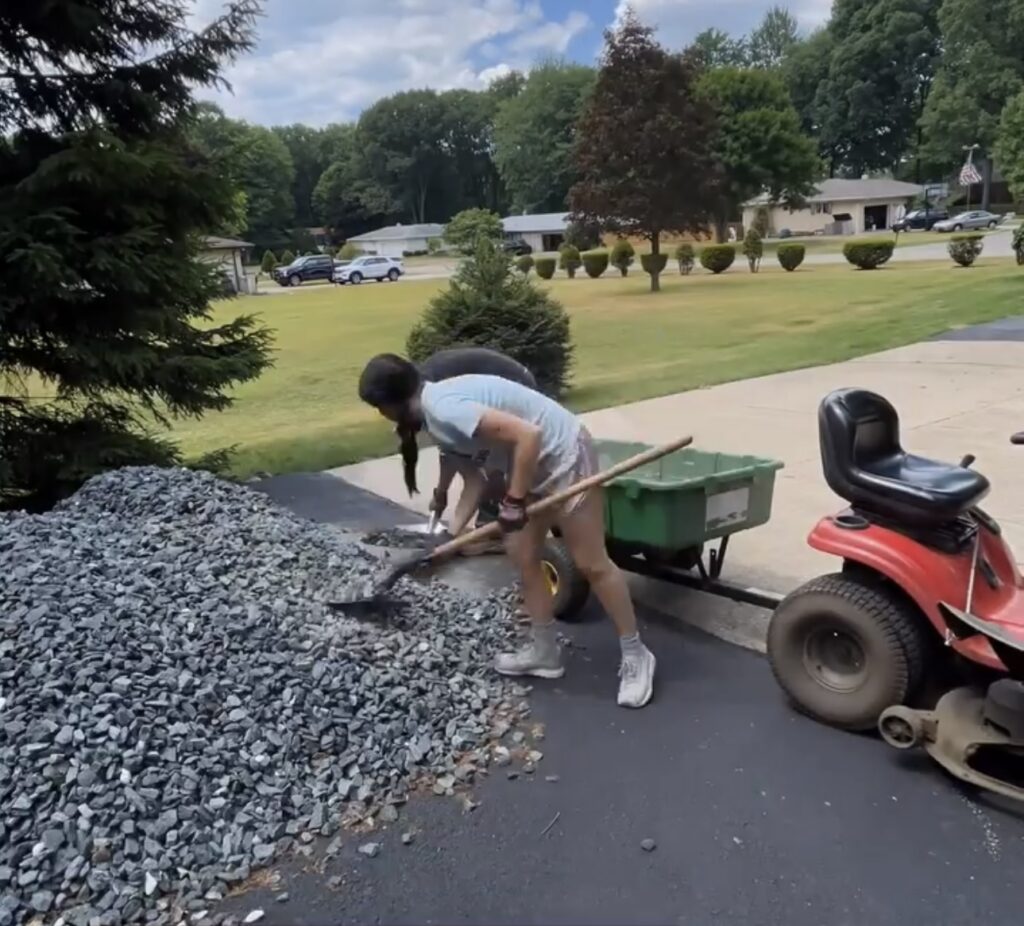
Ryan would shovel the rocks out onto the weed barrier and I used a rake to spread the rocks out and then would smooth them out with my hands to make sure everything is flat and level and that there aren’t any gaps. If you decide to use your hands, just be sure to wear gloves for an added layer of protection.
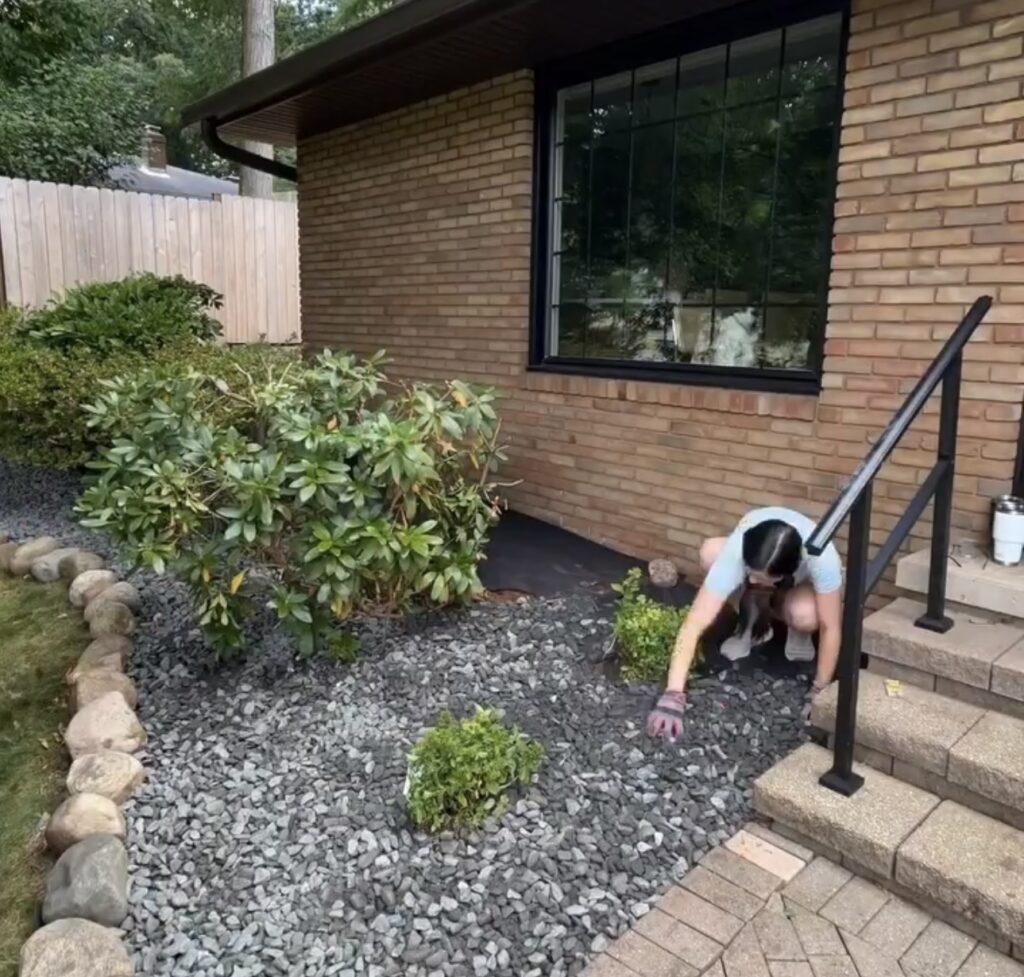
Right now, the rocks look gray but that’s just the dust. Once they’ve been wet and rained on a few times to wash the dust away, they’ll look more black.
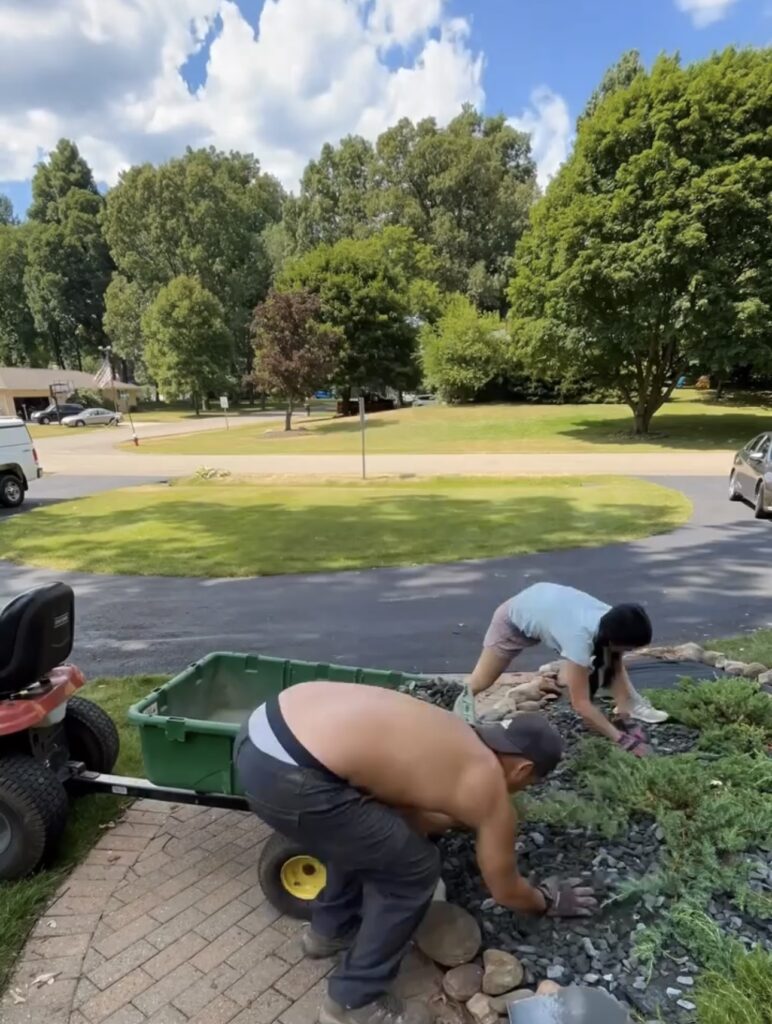
We ended up switching to using the wheel barrow once we got further down the lawn and continued to repeat this process with all of the landscaping.
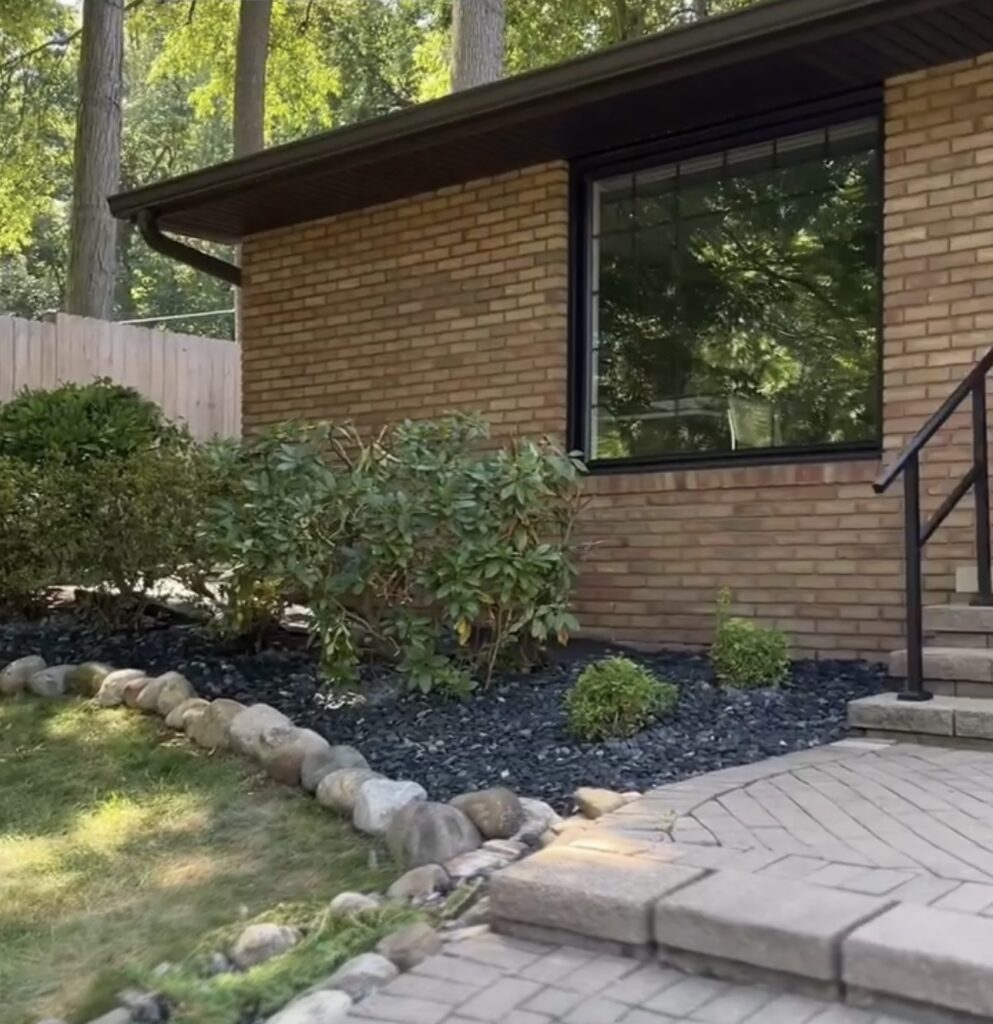
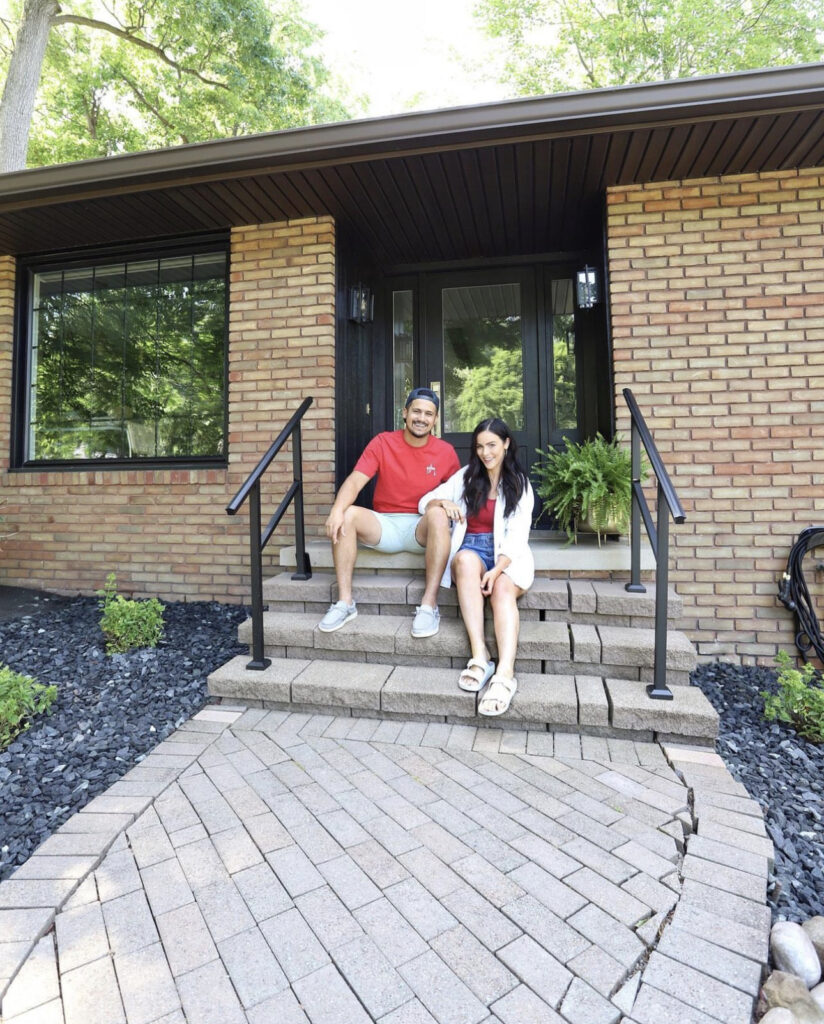
We are obsessed with the finished product! It totally updated the look of the outside of our home and will make maintaining all of the landscaping so much easier in the long run.
Get a full look at this project on our Instagram highlights: @newbuild_newlyweds
Leave a Reply
Grab our FREE download
Wanna know the 5 must have tools you need before you start?
Considering a DIY Project?


Be the first to comment