


All Star Challenge: All About the Demo
Its beginning to look a lot like….a mess?
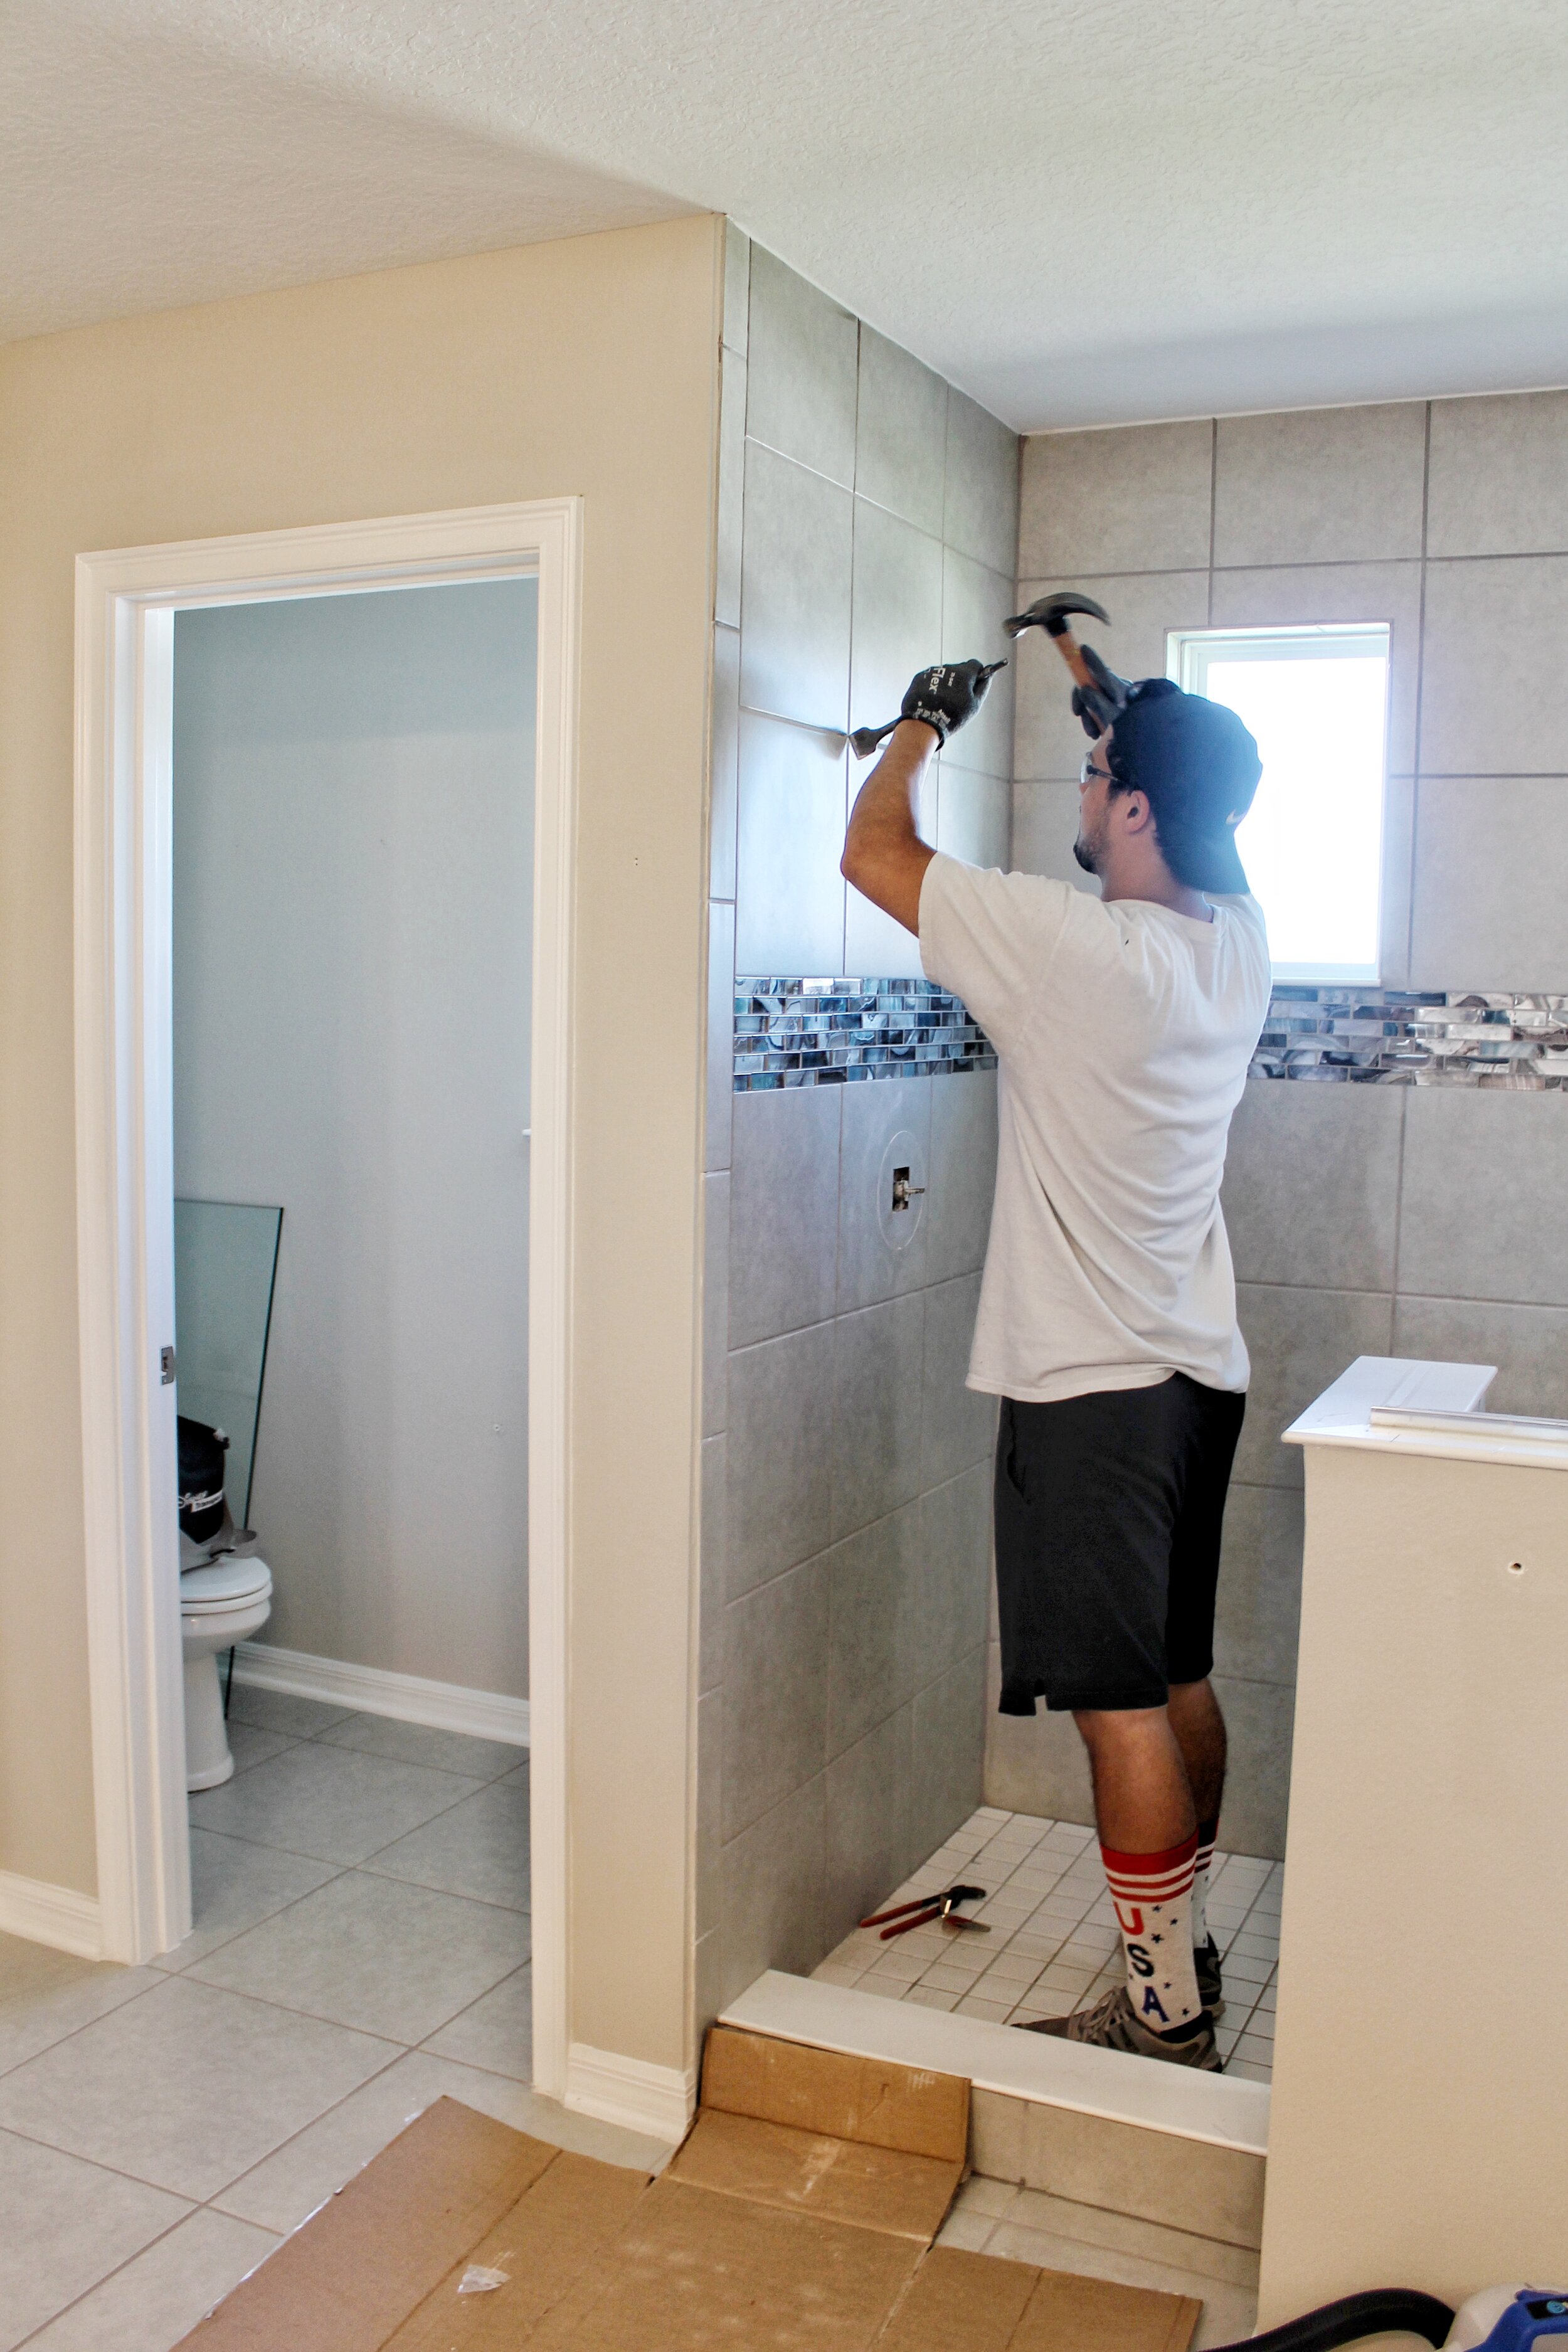
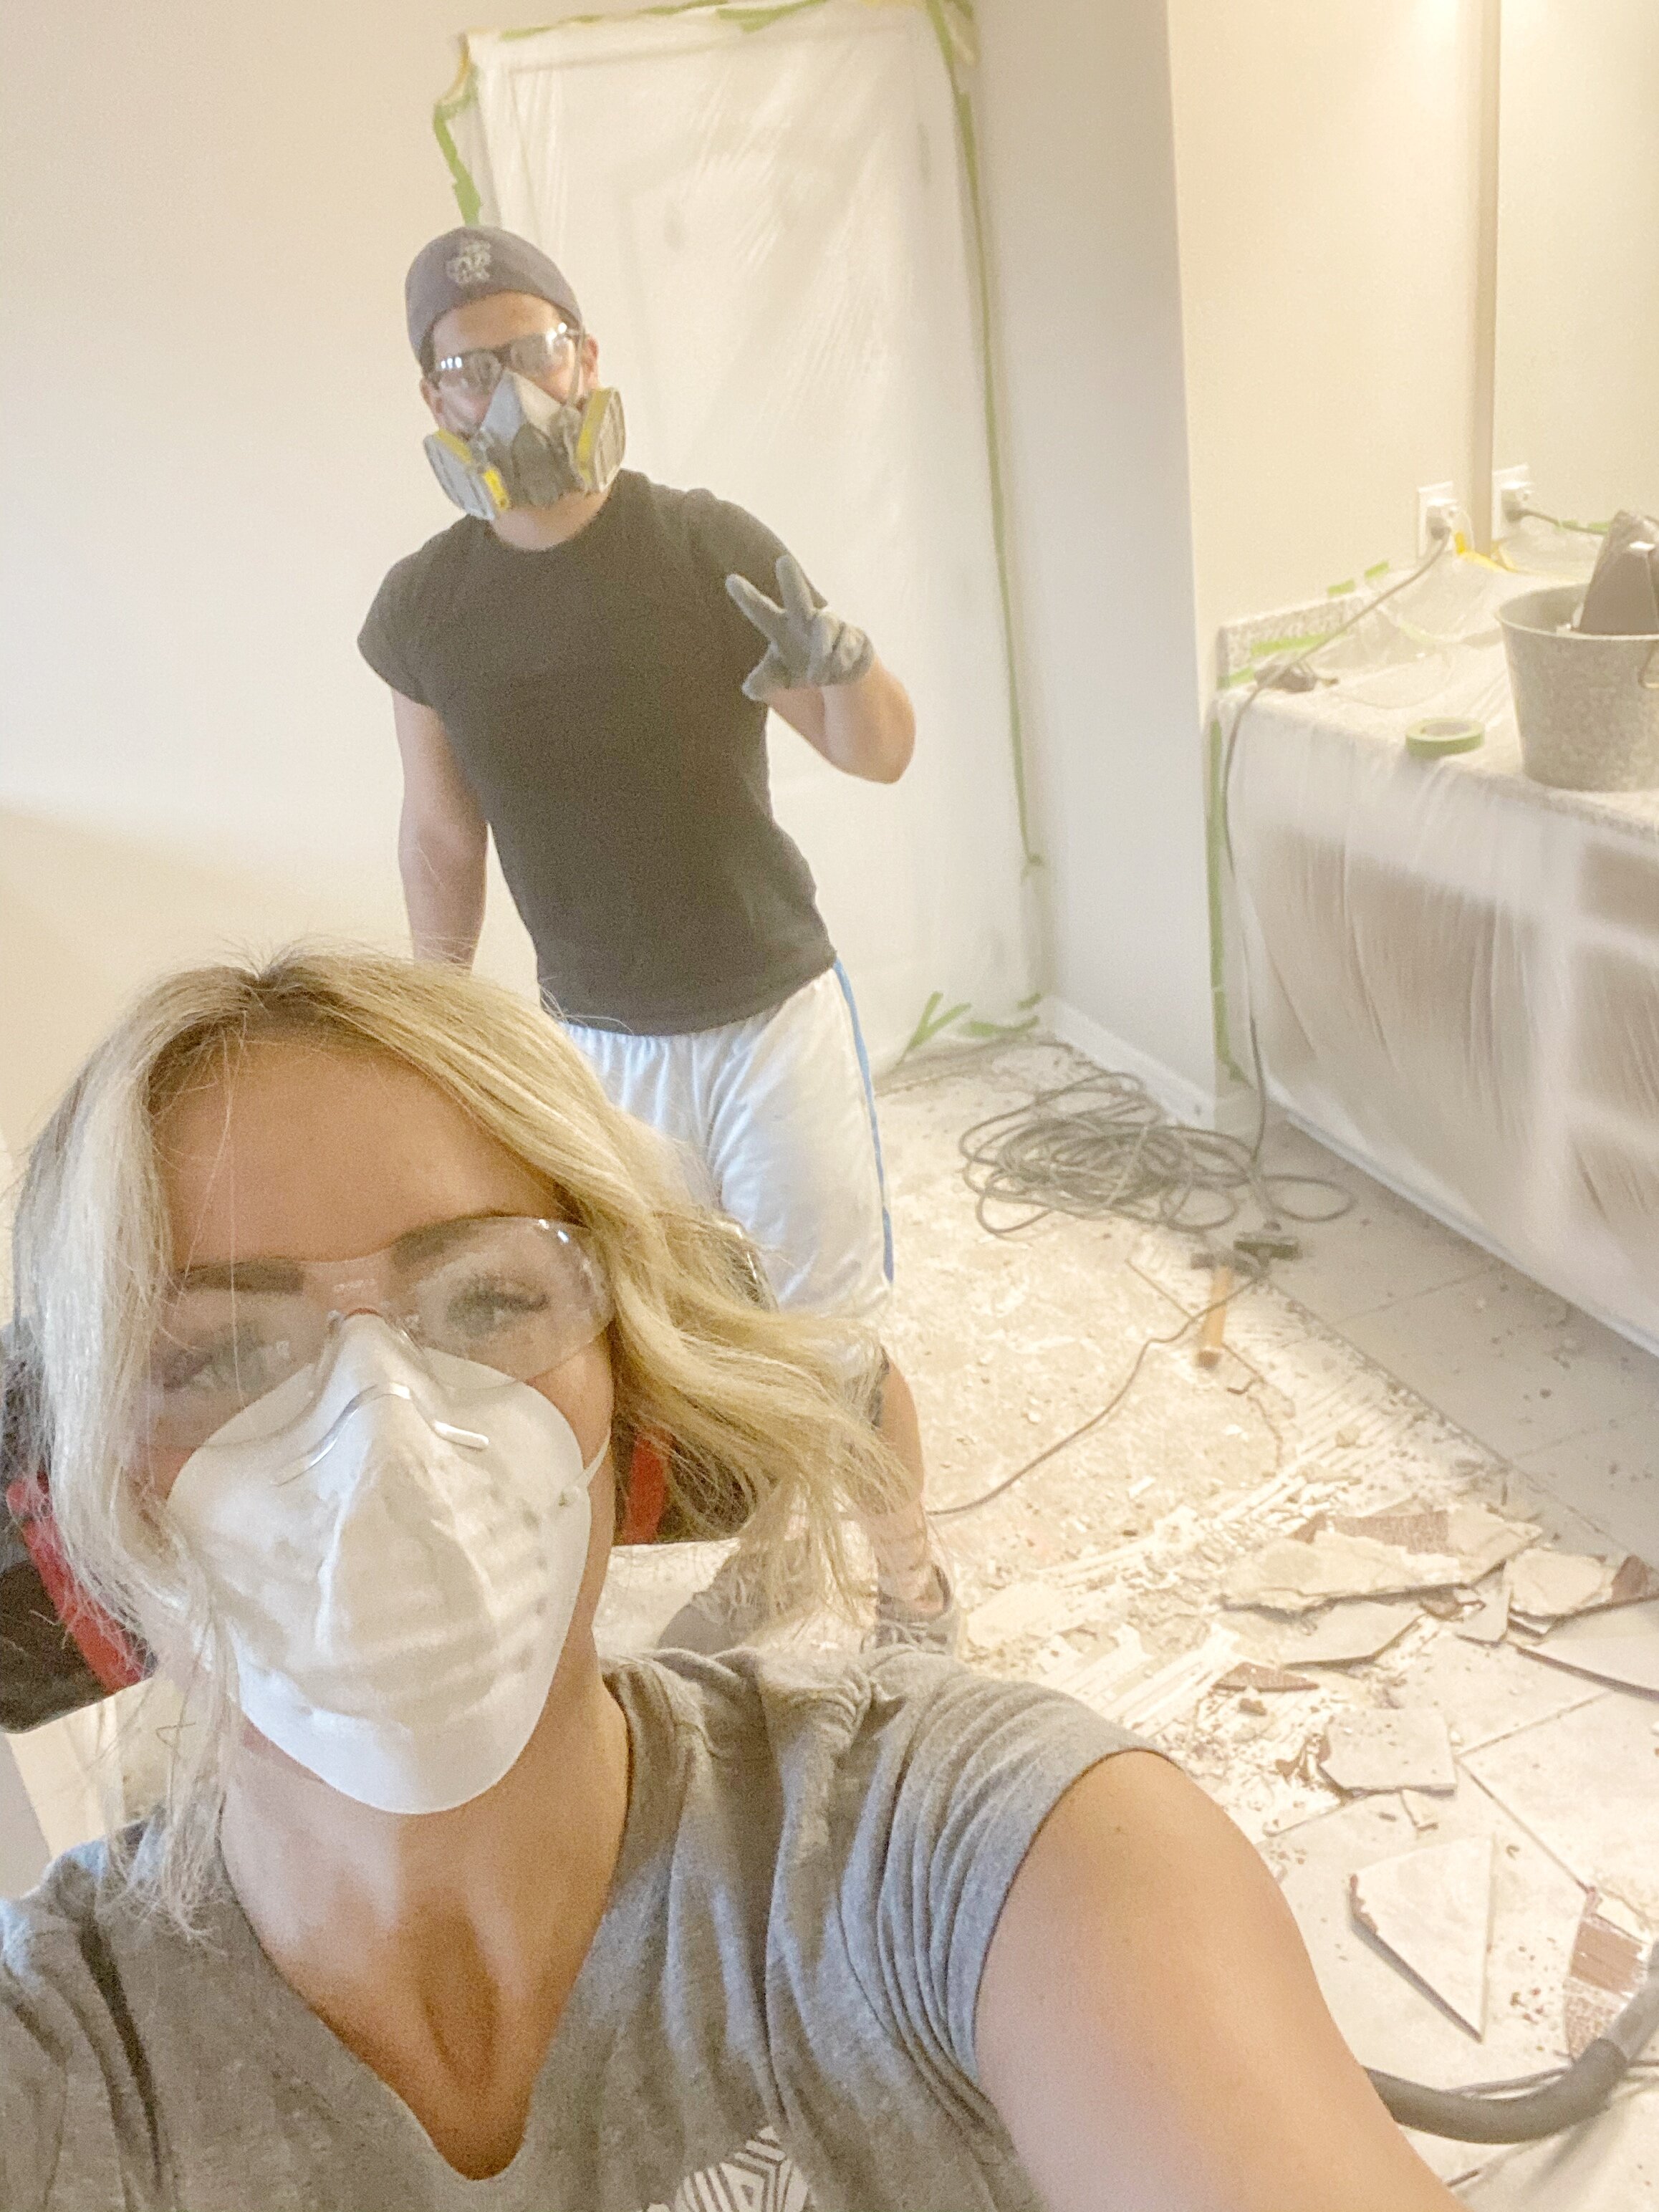
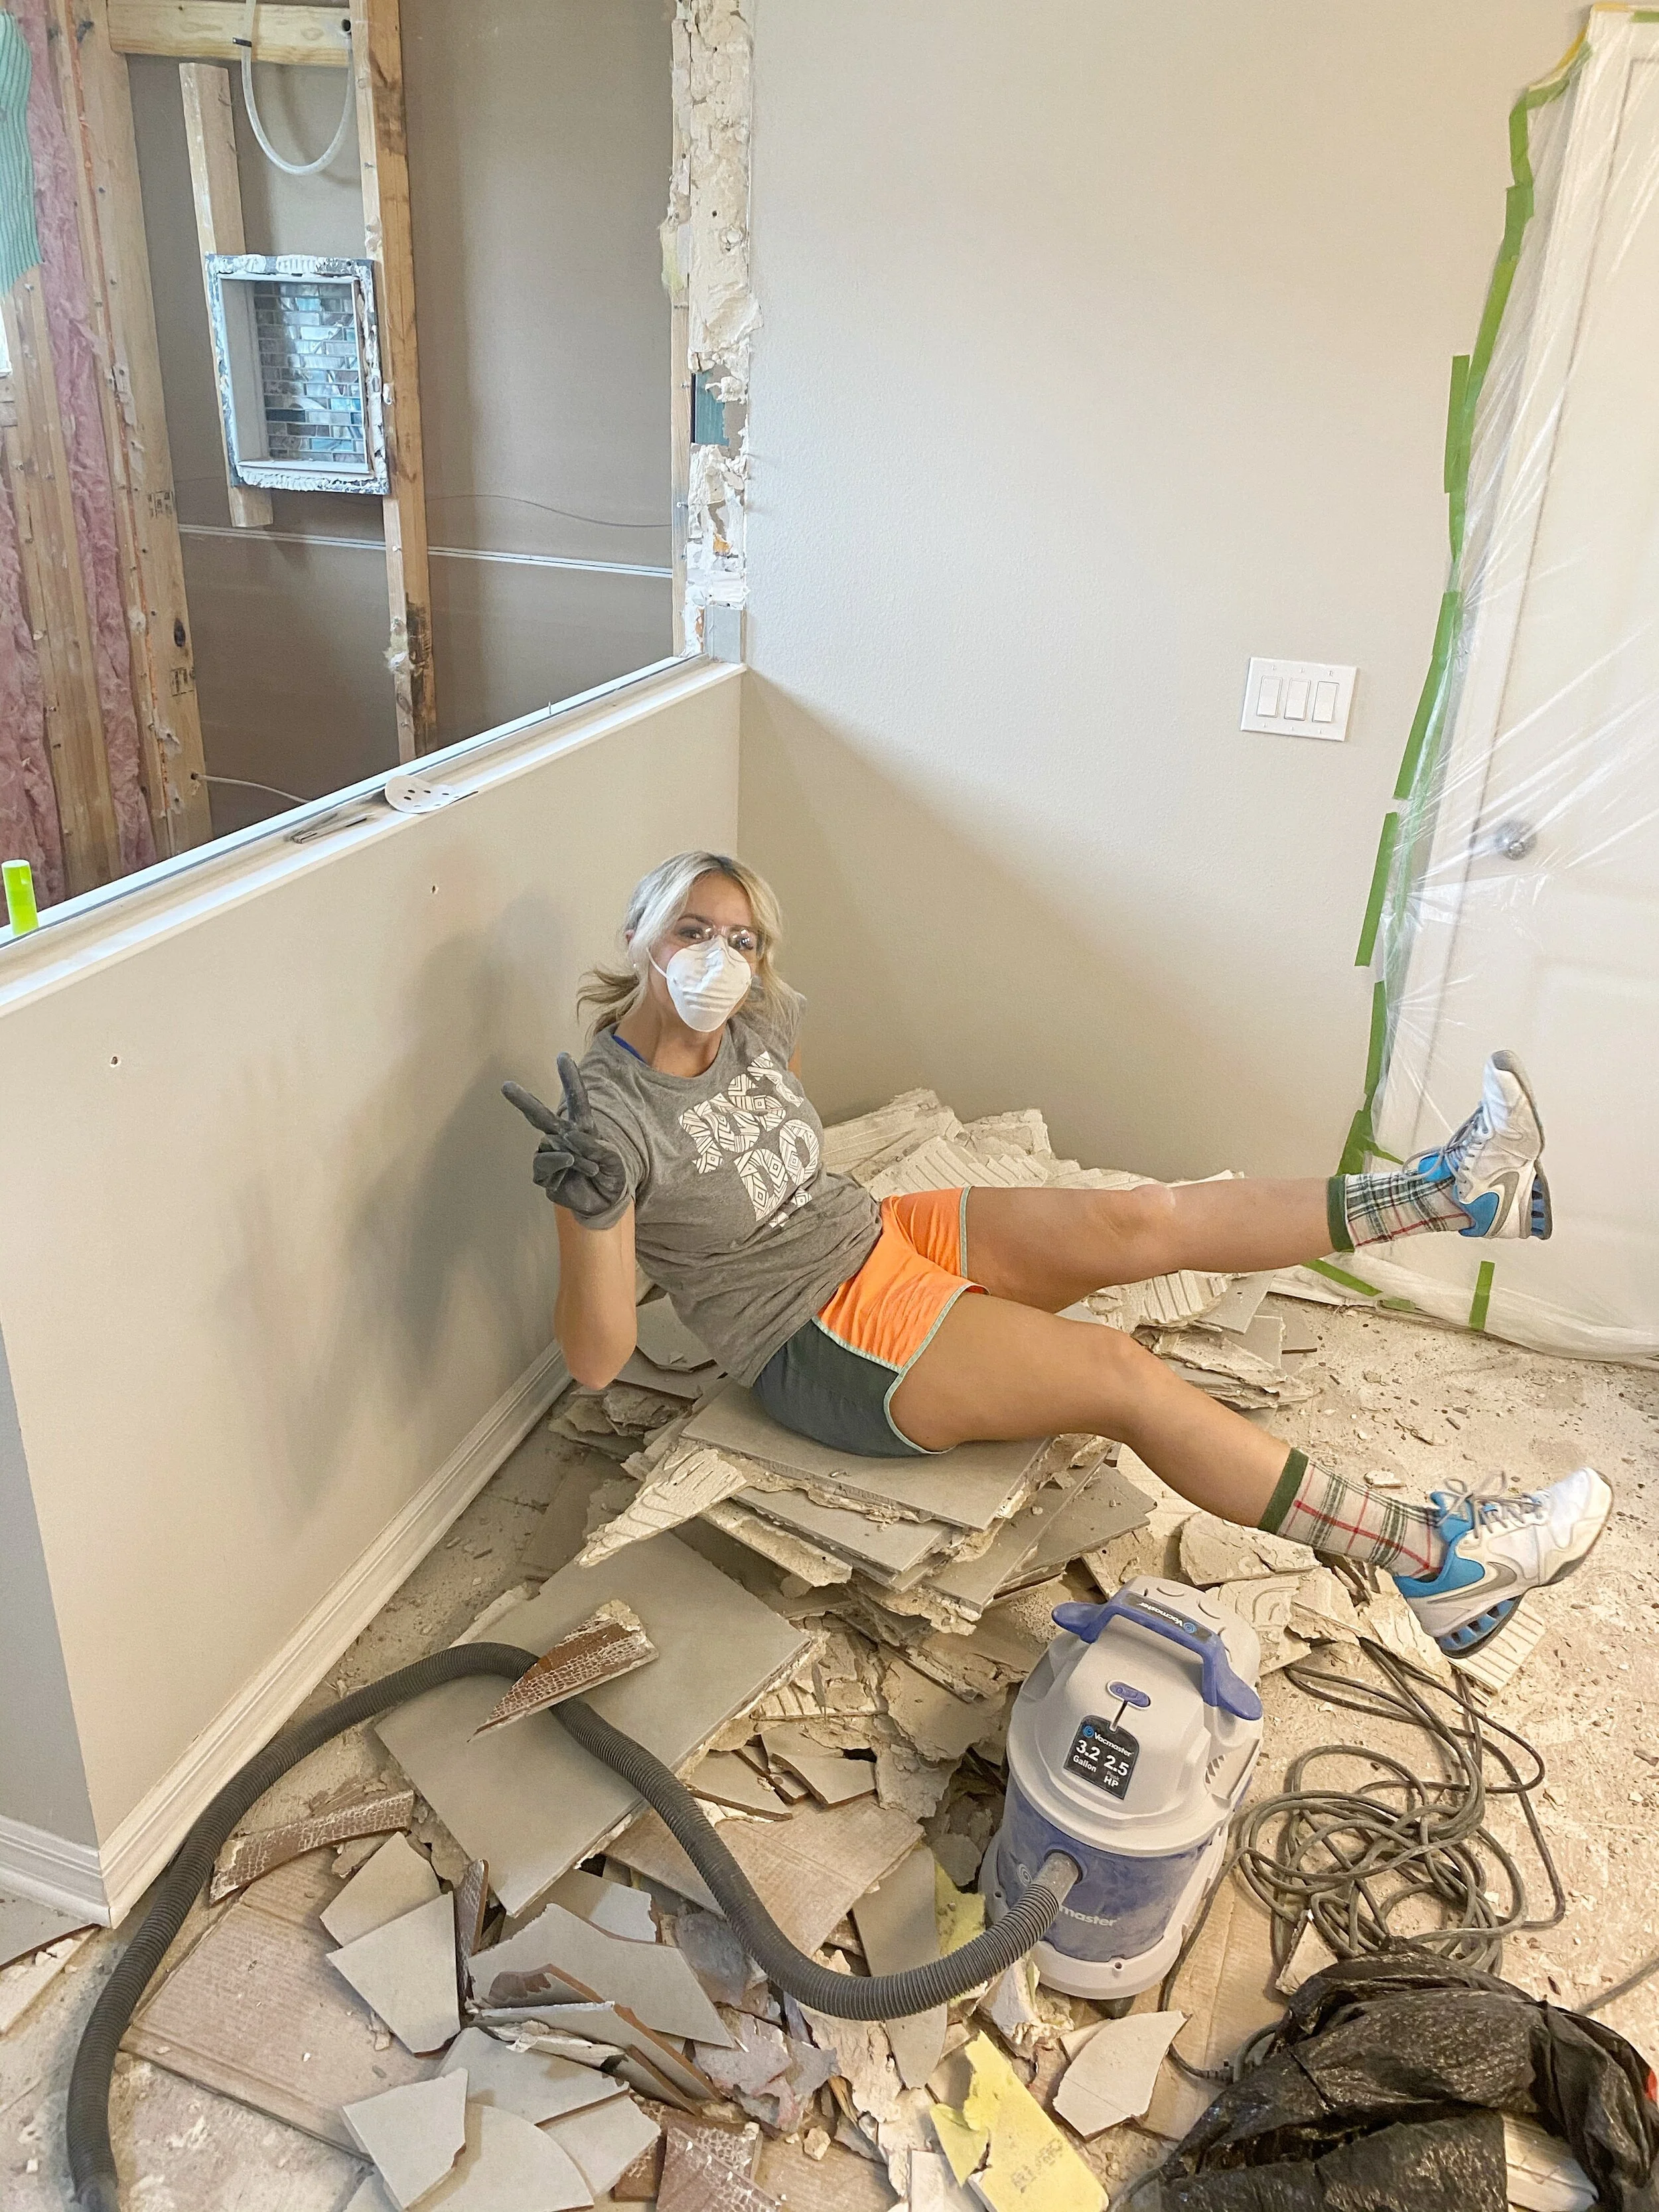
We start off Week 1 and Week 2 of the Jeffrey Court All Star Renovation Challenge, sponsored by BEHR and FrogTape, strong and get right into a complete demo of all of the shower tile and floor tile in our master bathroom. We put on our first pair of crazy socks and get to work, and I grabbed my lucky ones-literally, check out the picture below.

The first thing we needed to do was prep the space for demo. This meant taking out all of the decor, removing the towel bars and hooks, taking out the toilet, and removing that HEAVY shower glass. And when I say that shower glass was heavy, I mean it. I swear I saw my life flash before my eyes at least three times while we were carrying it. We also took off the old shower head and faucet as we’re going to be replacing those too. We also took off the cabinet doors and drawers so they didn’t get dusty, and then we covered all the doorways and countertops with plastic sheeting- Dexter style. It will get messy, so we definitely suggest this step any time you are removing tile. We also grabbed our safety gear which included our dust masks, safety glasses and cut resistant gloves-the tile gets sharp!
Lets get down to business
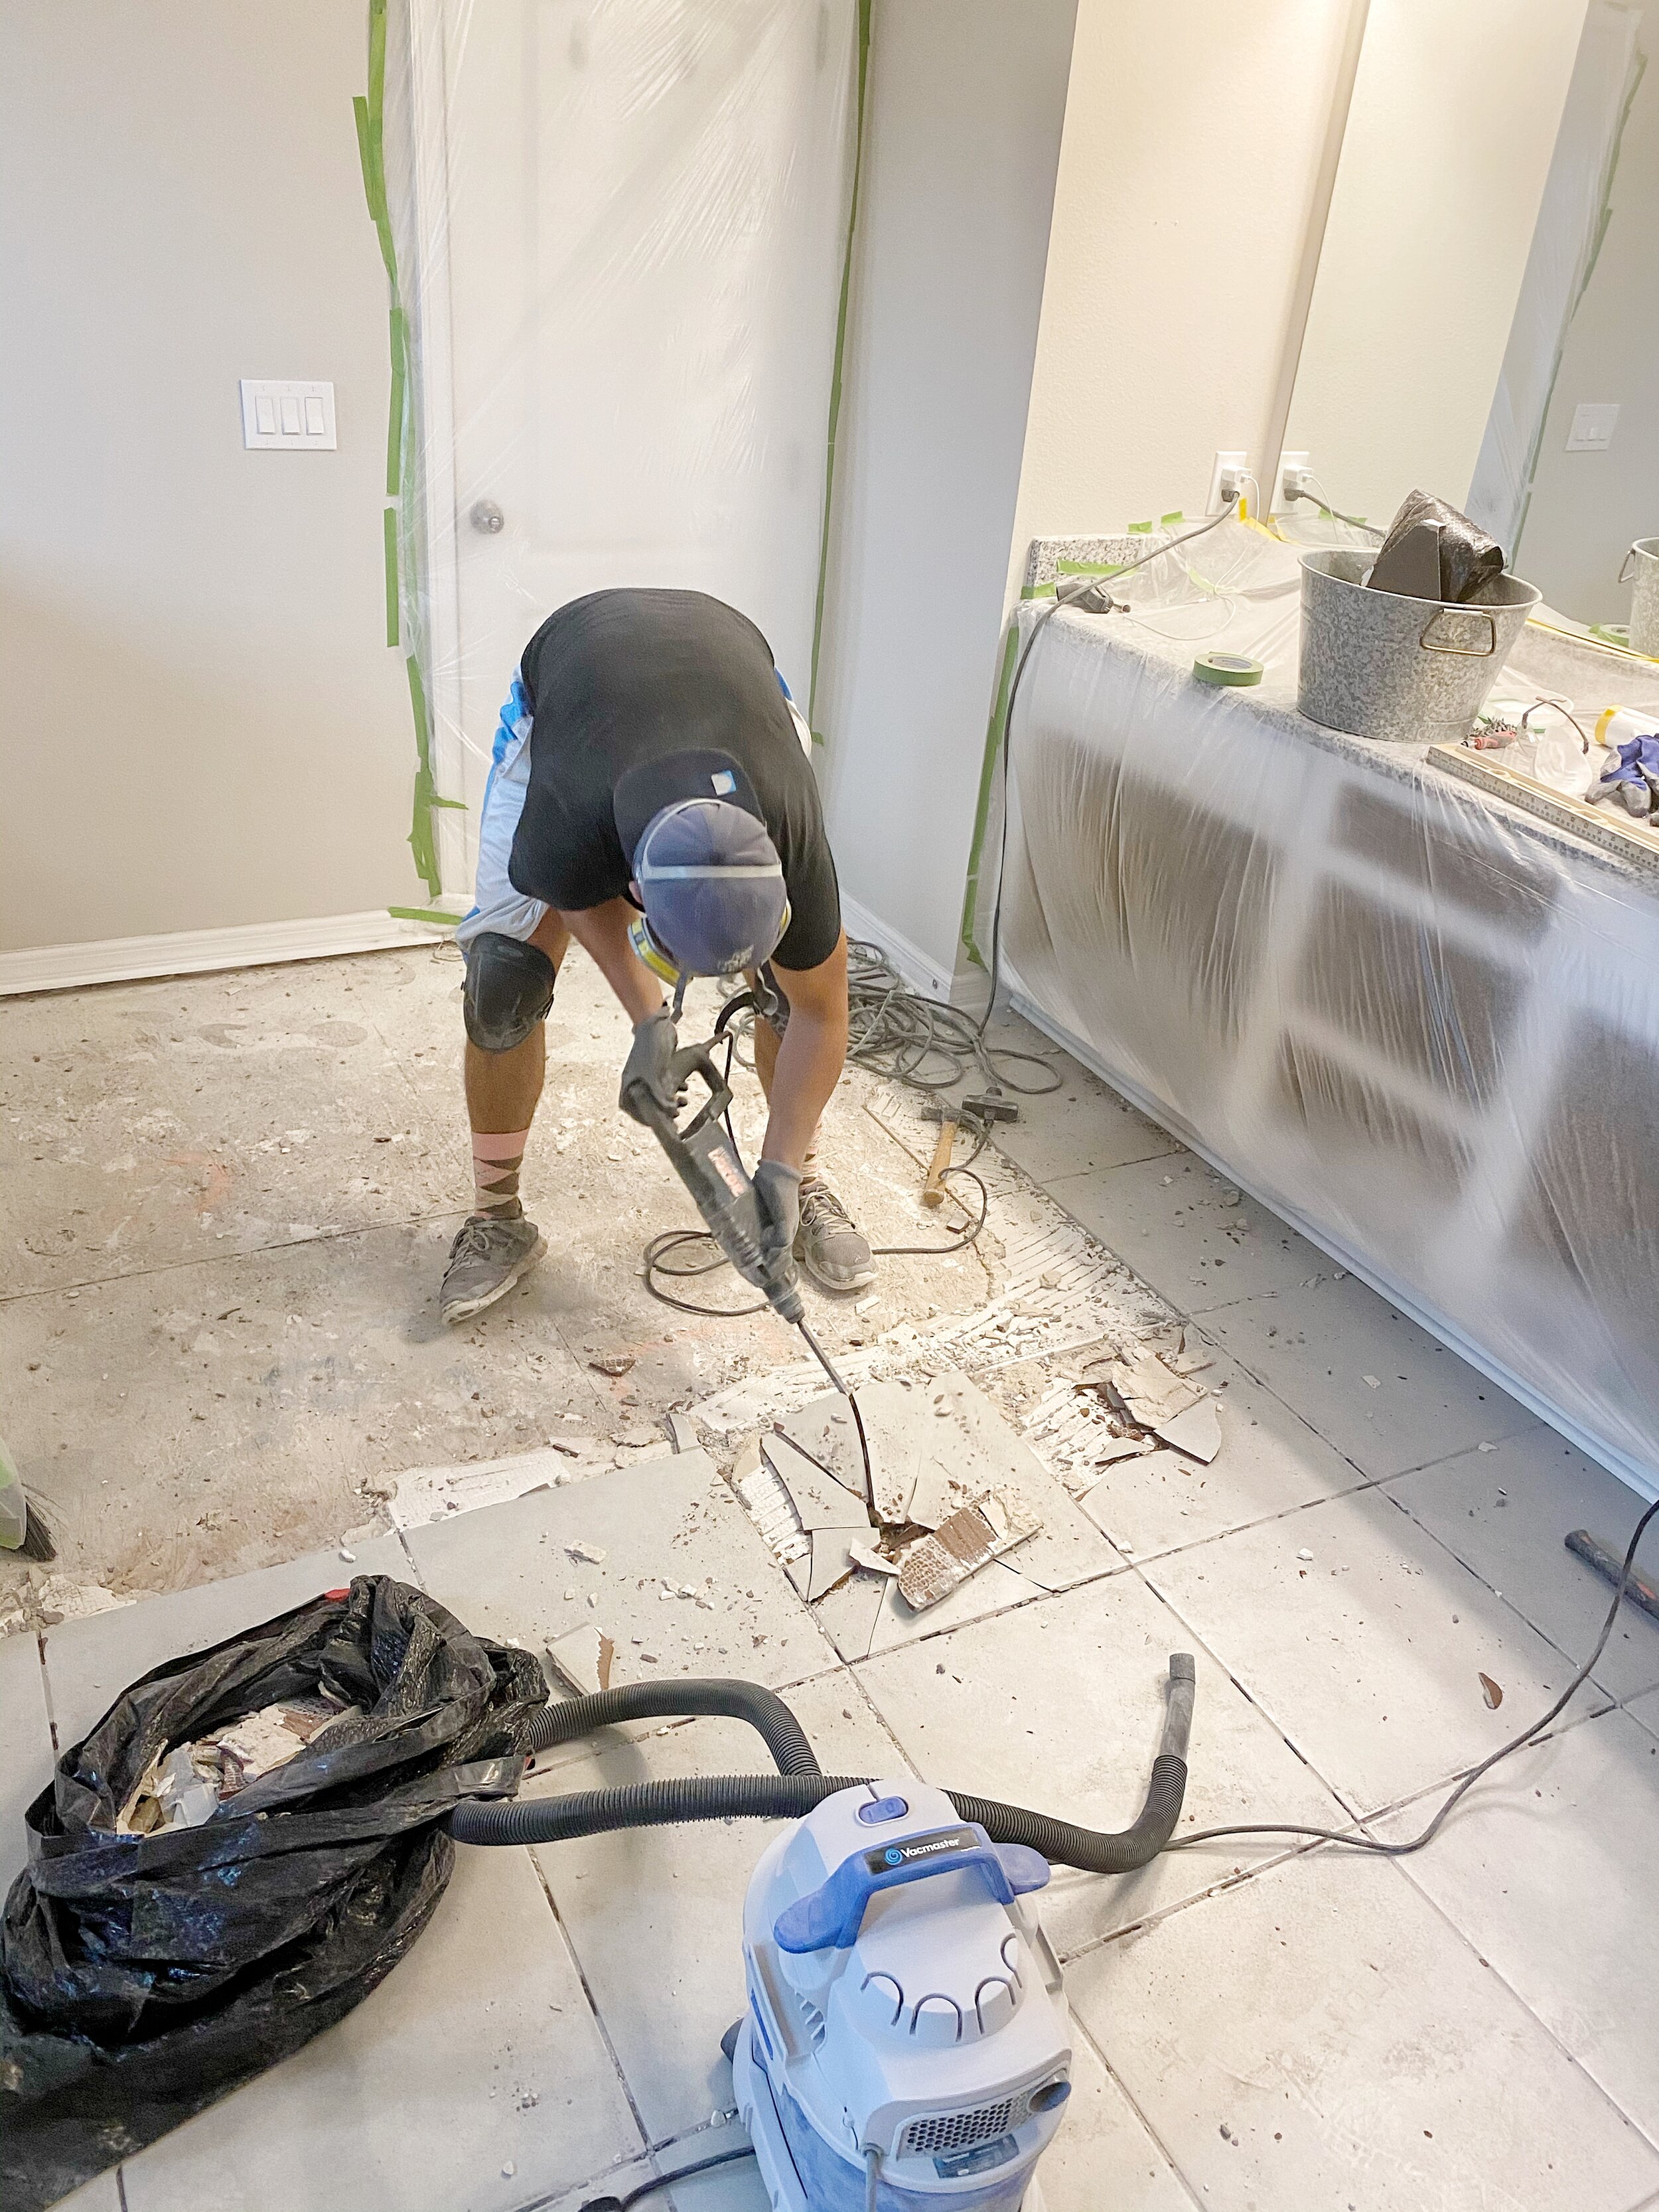
We start off with our Bosch hammer drill and our chisel attachment and start cutting into the shower wall tile first. This thing is heavy duty and really does the trick. We also have a pry bar and hammer handy too just incase. We start with one of the middle tiles on the wall, so once we get that one out, we have access to all the surrounding tiles, so starting off drilling in the middle is a good starting point and makes it easier, at least for us. Some of the time the cement board will come up with the tiles, it just depends how well the tiles were glued/installed. The cement board coming up with the tile is best case scenario for us, it means less work, haha.
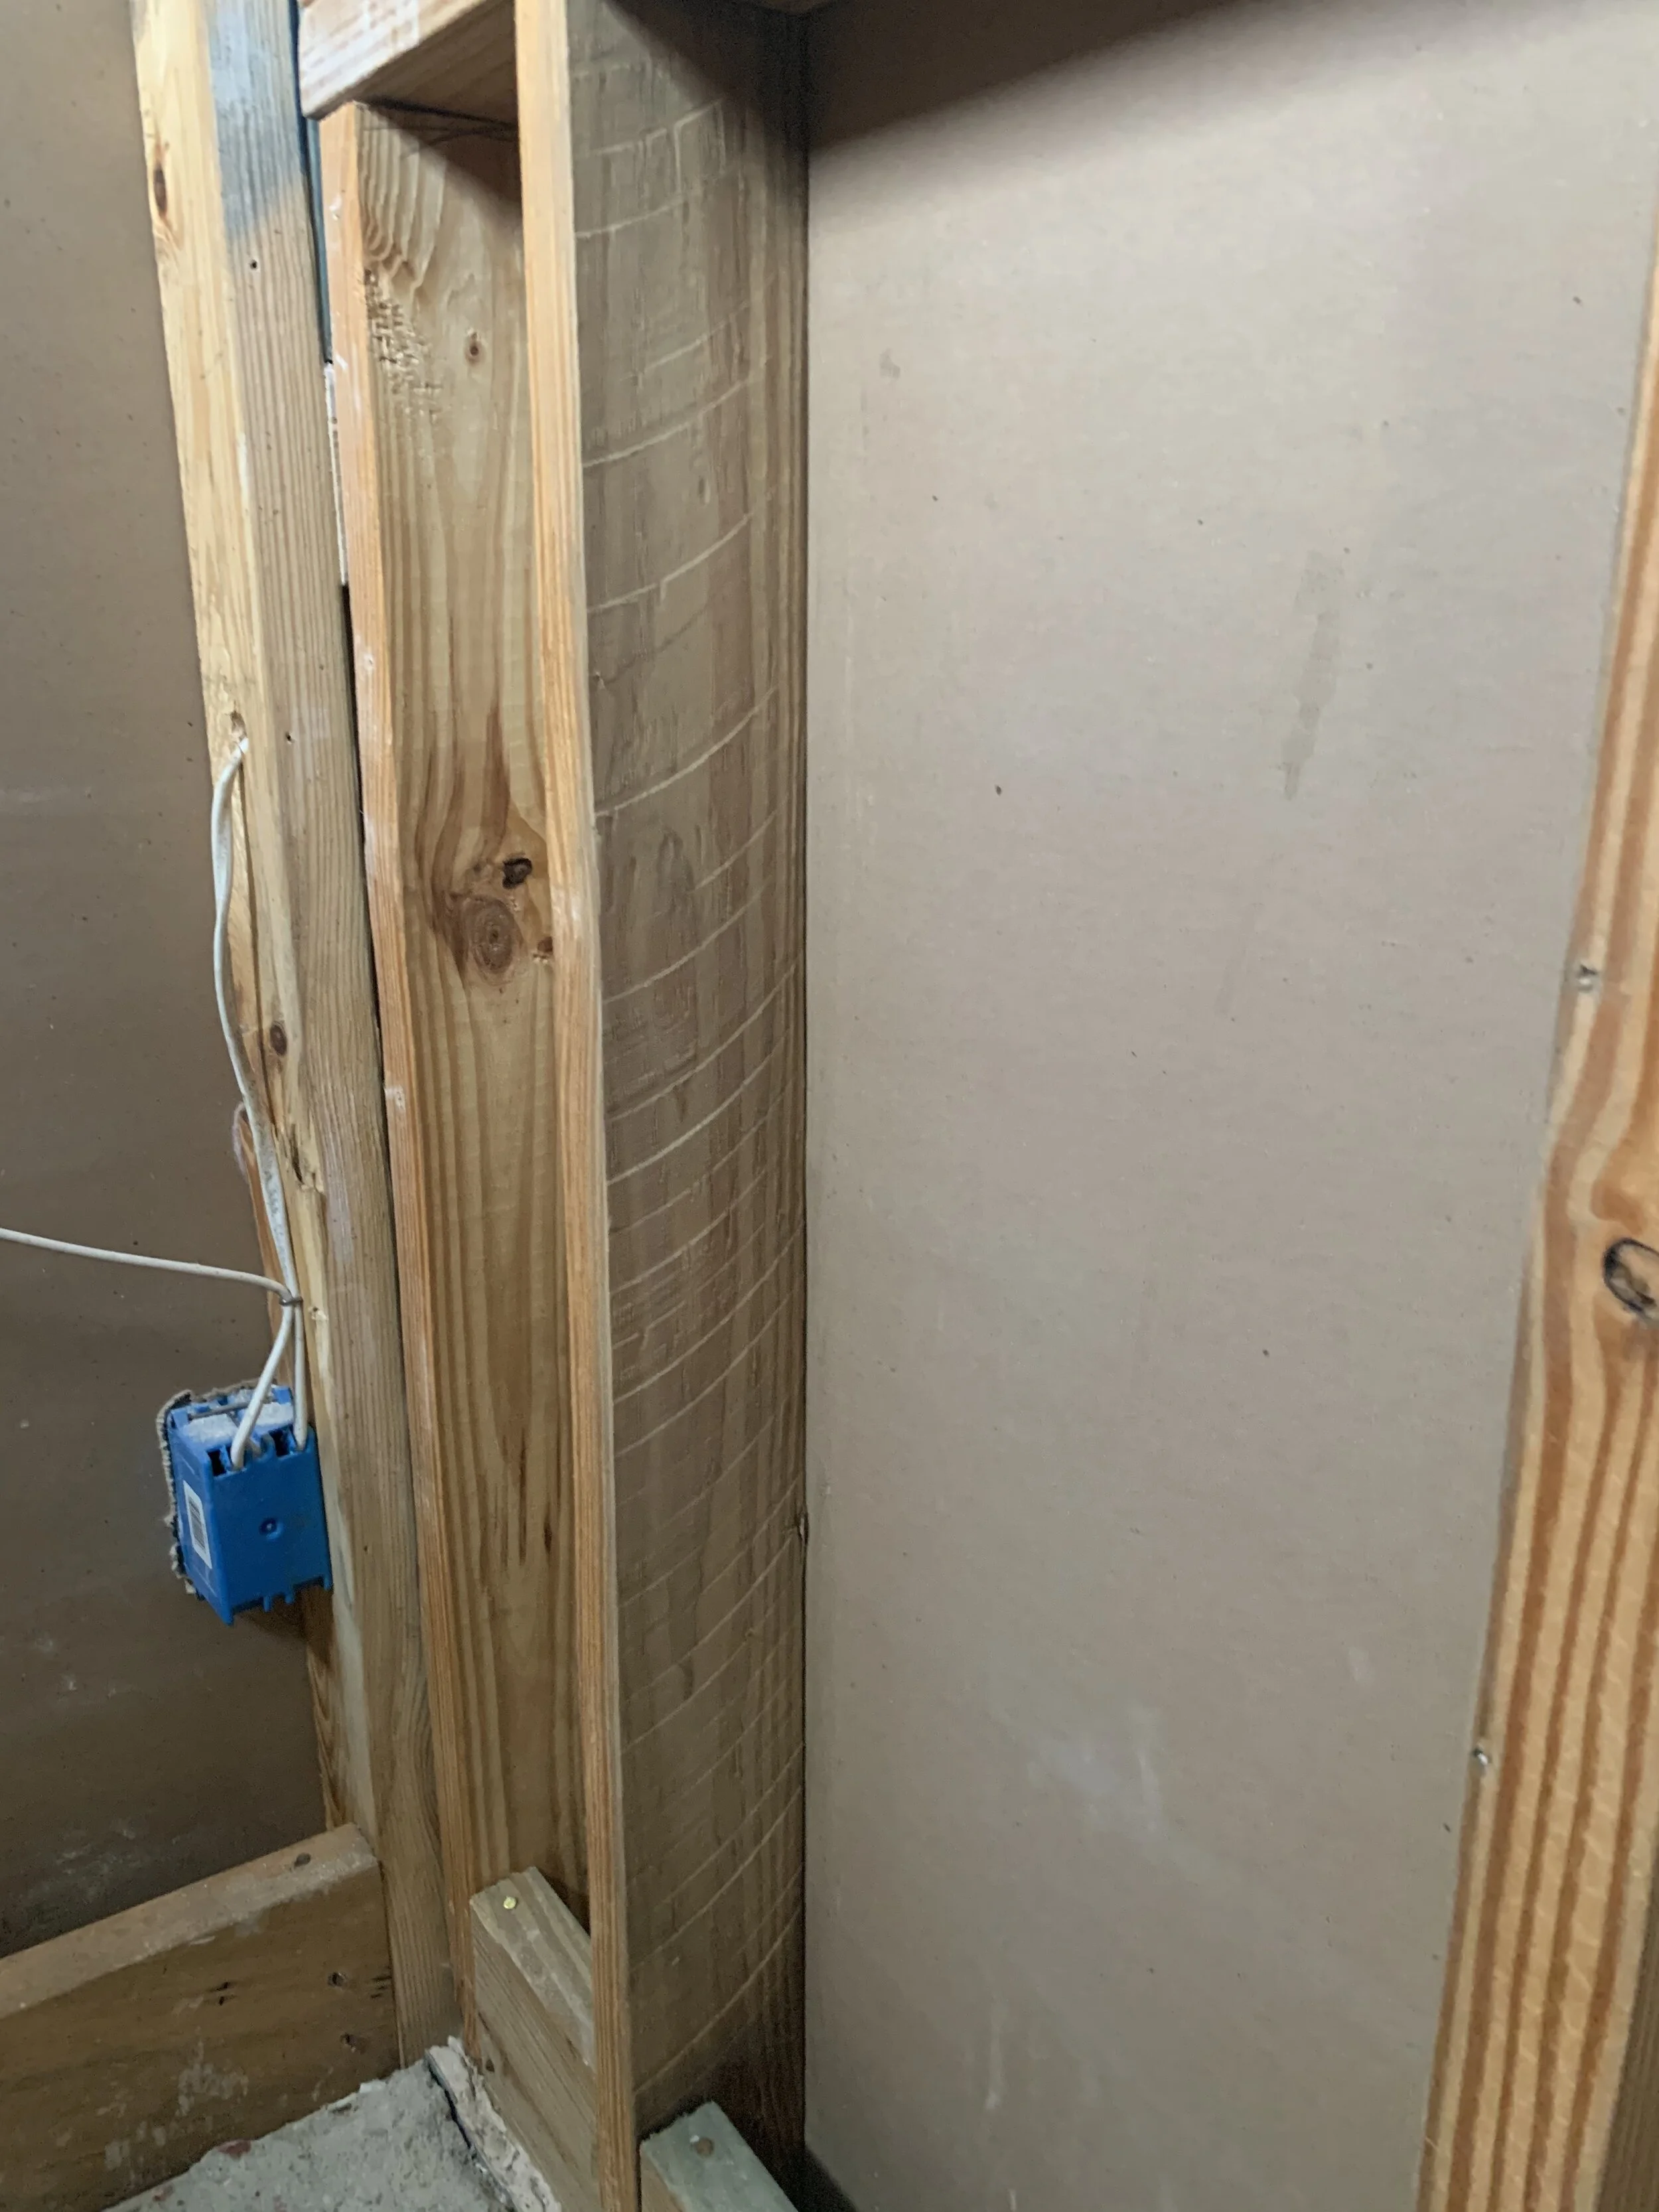
It was a little scary after we got the first few tiles and cement board up, not gonna lie. I could see the studs and it really hit me, like “Oh crap..we’re really doing this”. I know we ripped up our guest bathroom last year for the Jeffrey Court Renovation Challenge, but this feels different. This bathroom is about four times as big, and we are touching the shower this time, it feels more intimidating and above our skill level, but we love pushing ourselves and learning what we can really do.
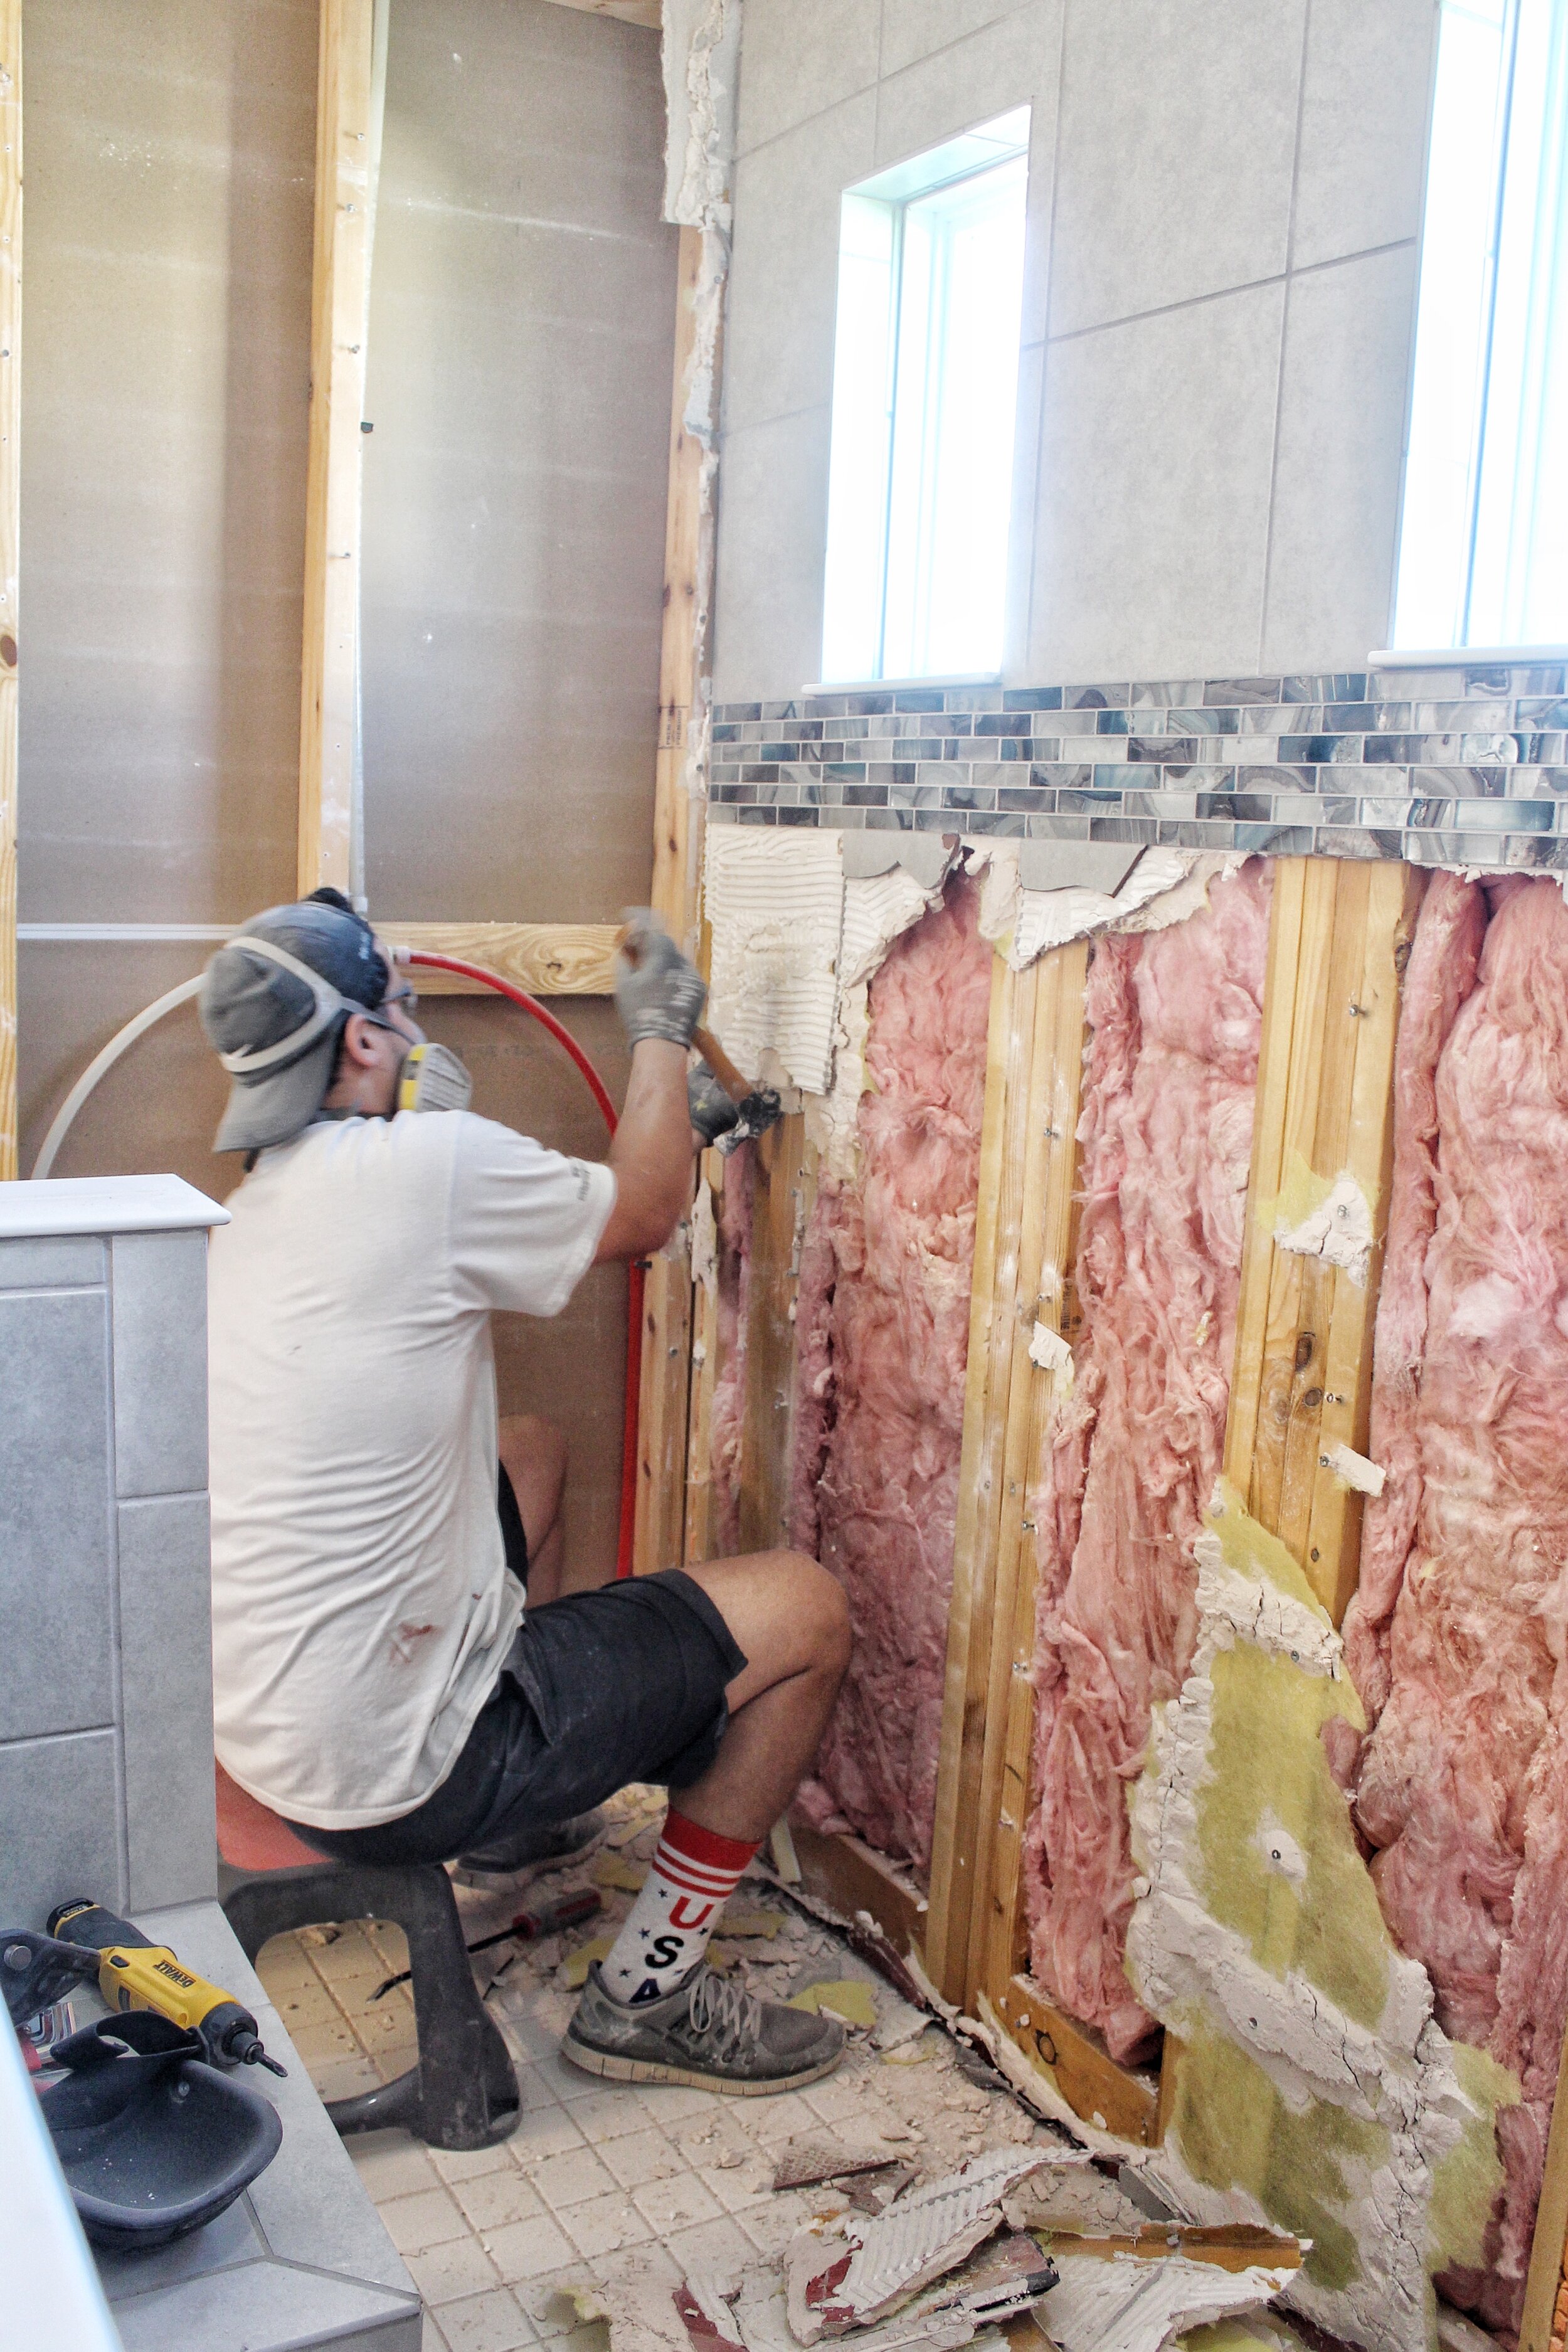

After the end of the first day we only had the small side wall of the shower removed. It took us a little long to prep the space and get the hang of removing the wall tile, remember- this is the first time we’ve done that. So day 2 of demo is where we really kicked our butts into gear and got stuff done, except I wasn’t feeling the best, so I left Ryan to do day 2 on his own-and he did not disappoint. Ryan got the entire back wall of tile removed, the other side wall, the small half wall in the front AND the shower floor tile out. He also busted open our shower seat, and thats where we ran into our first problem. Dun, dun, dunnnn. See the pictures below of what our shower seat looked like.
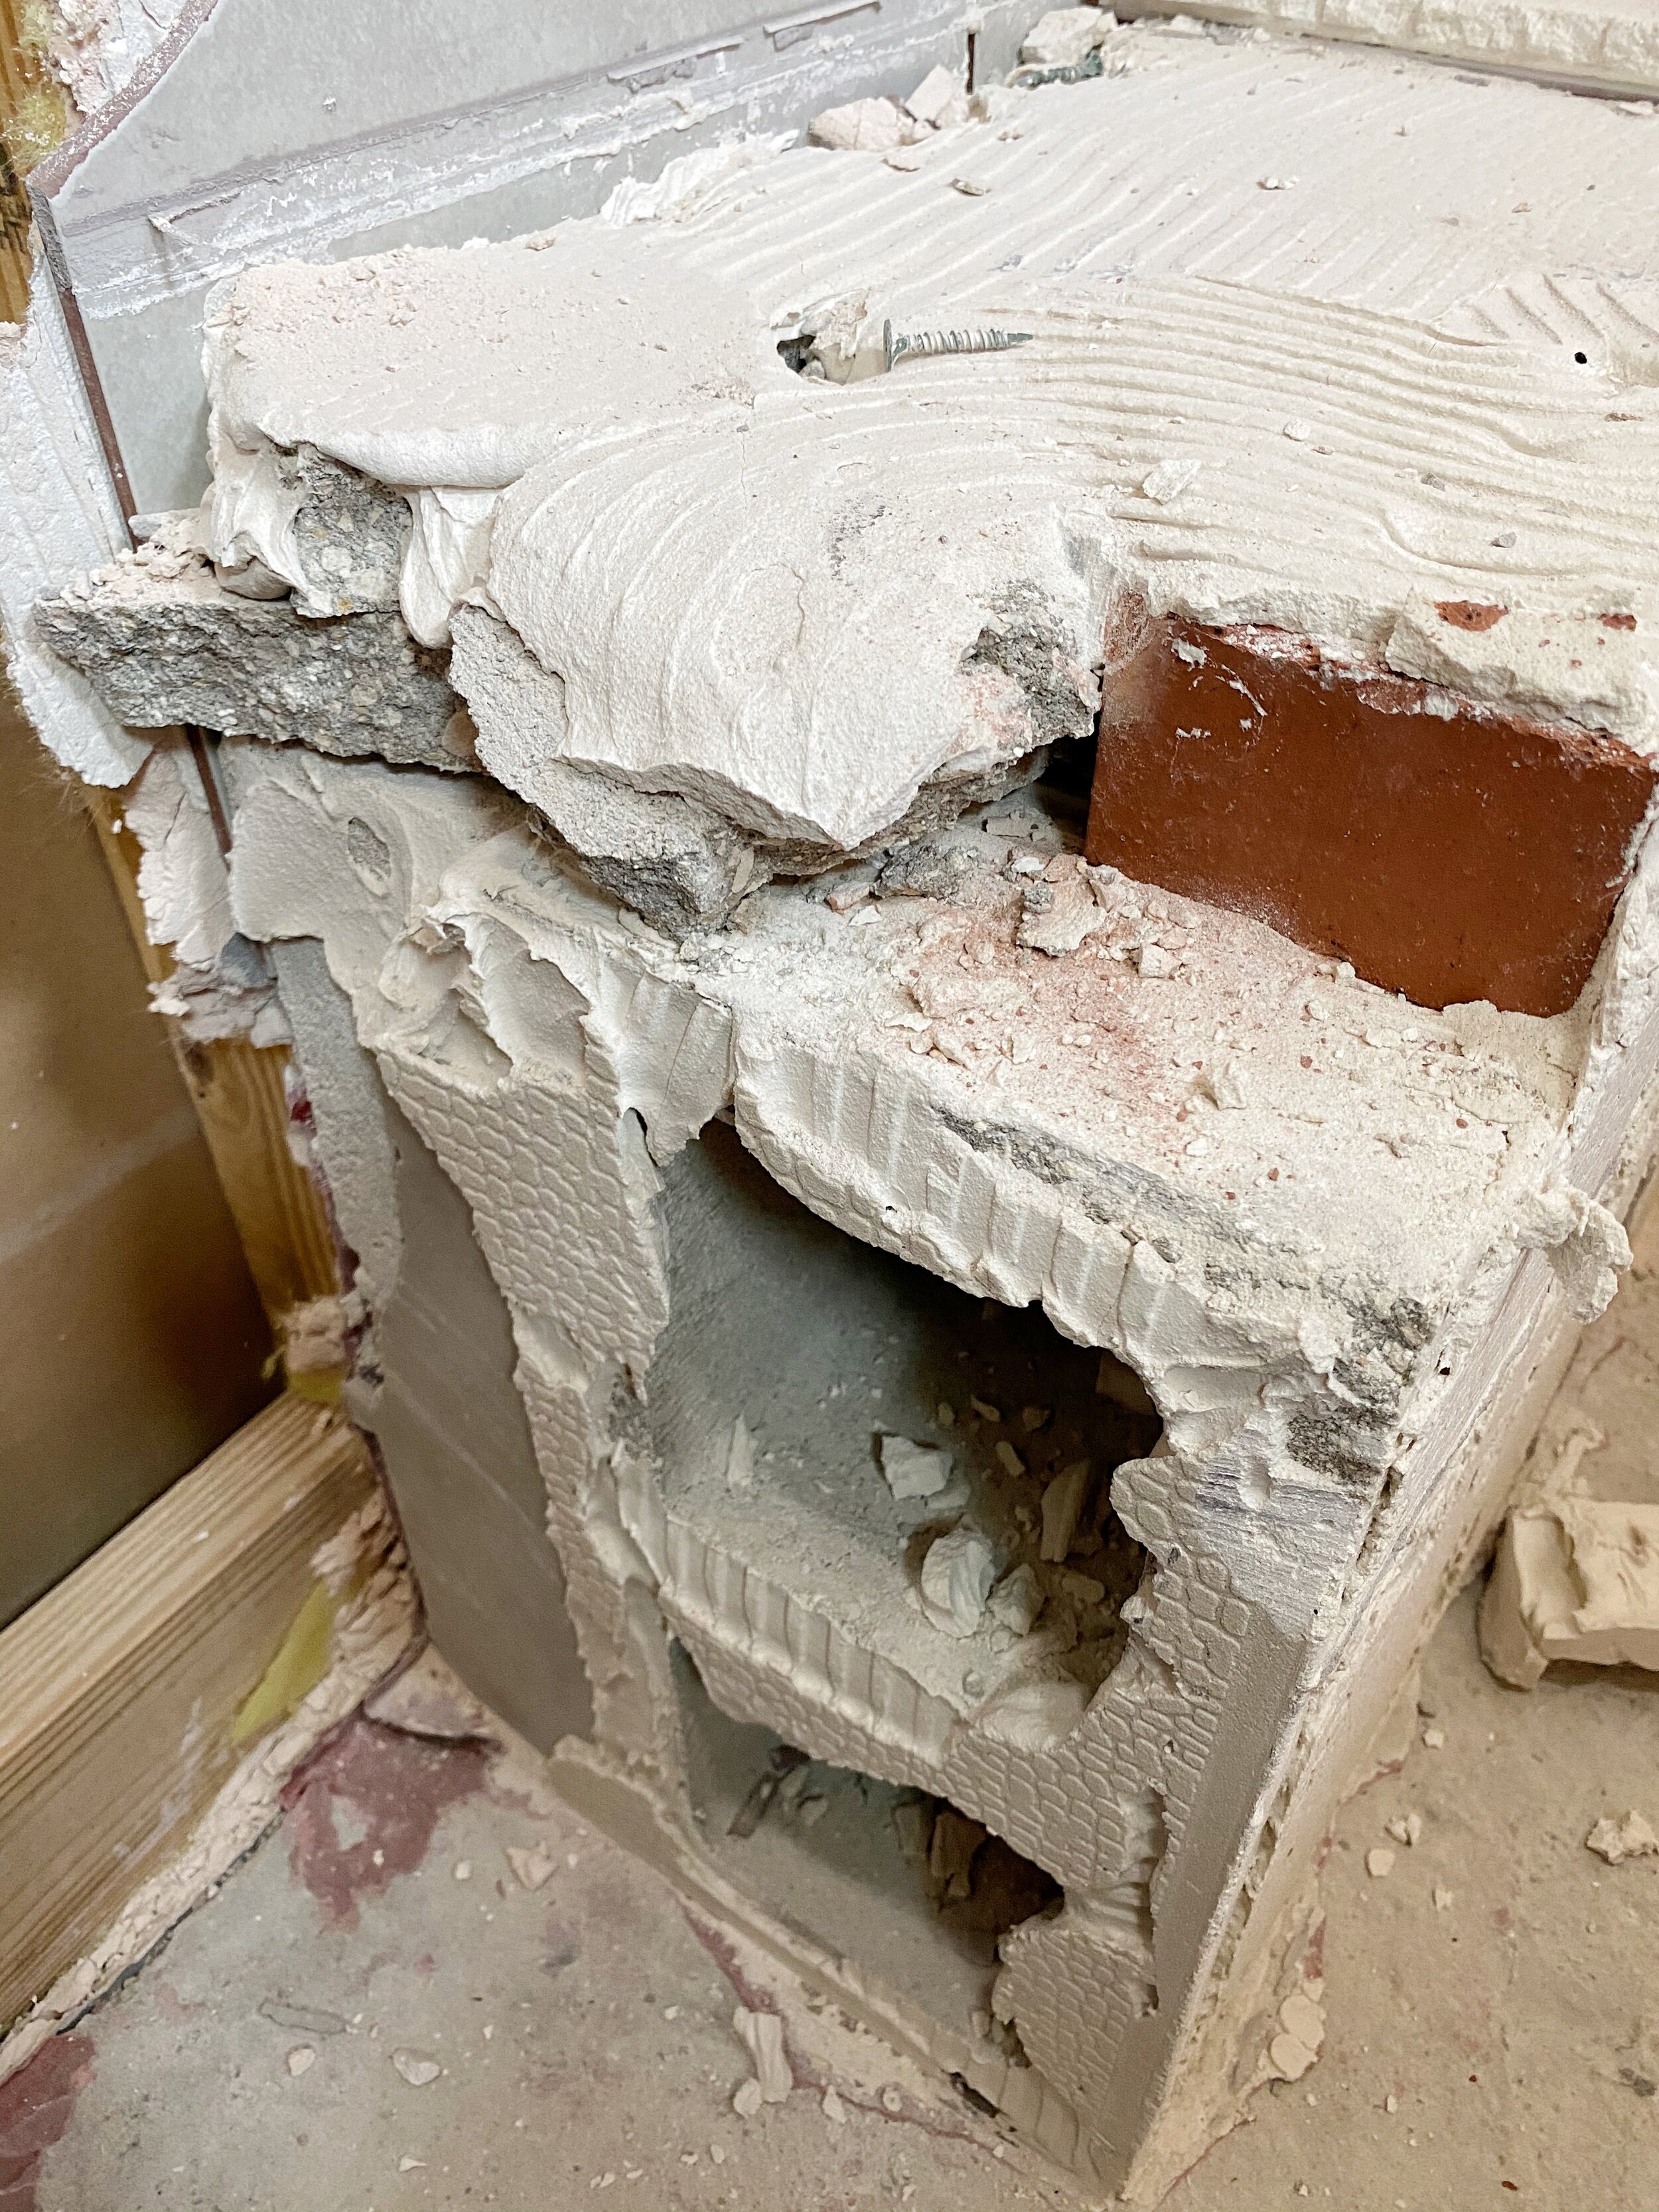
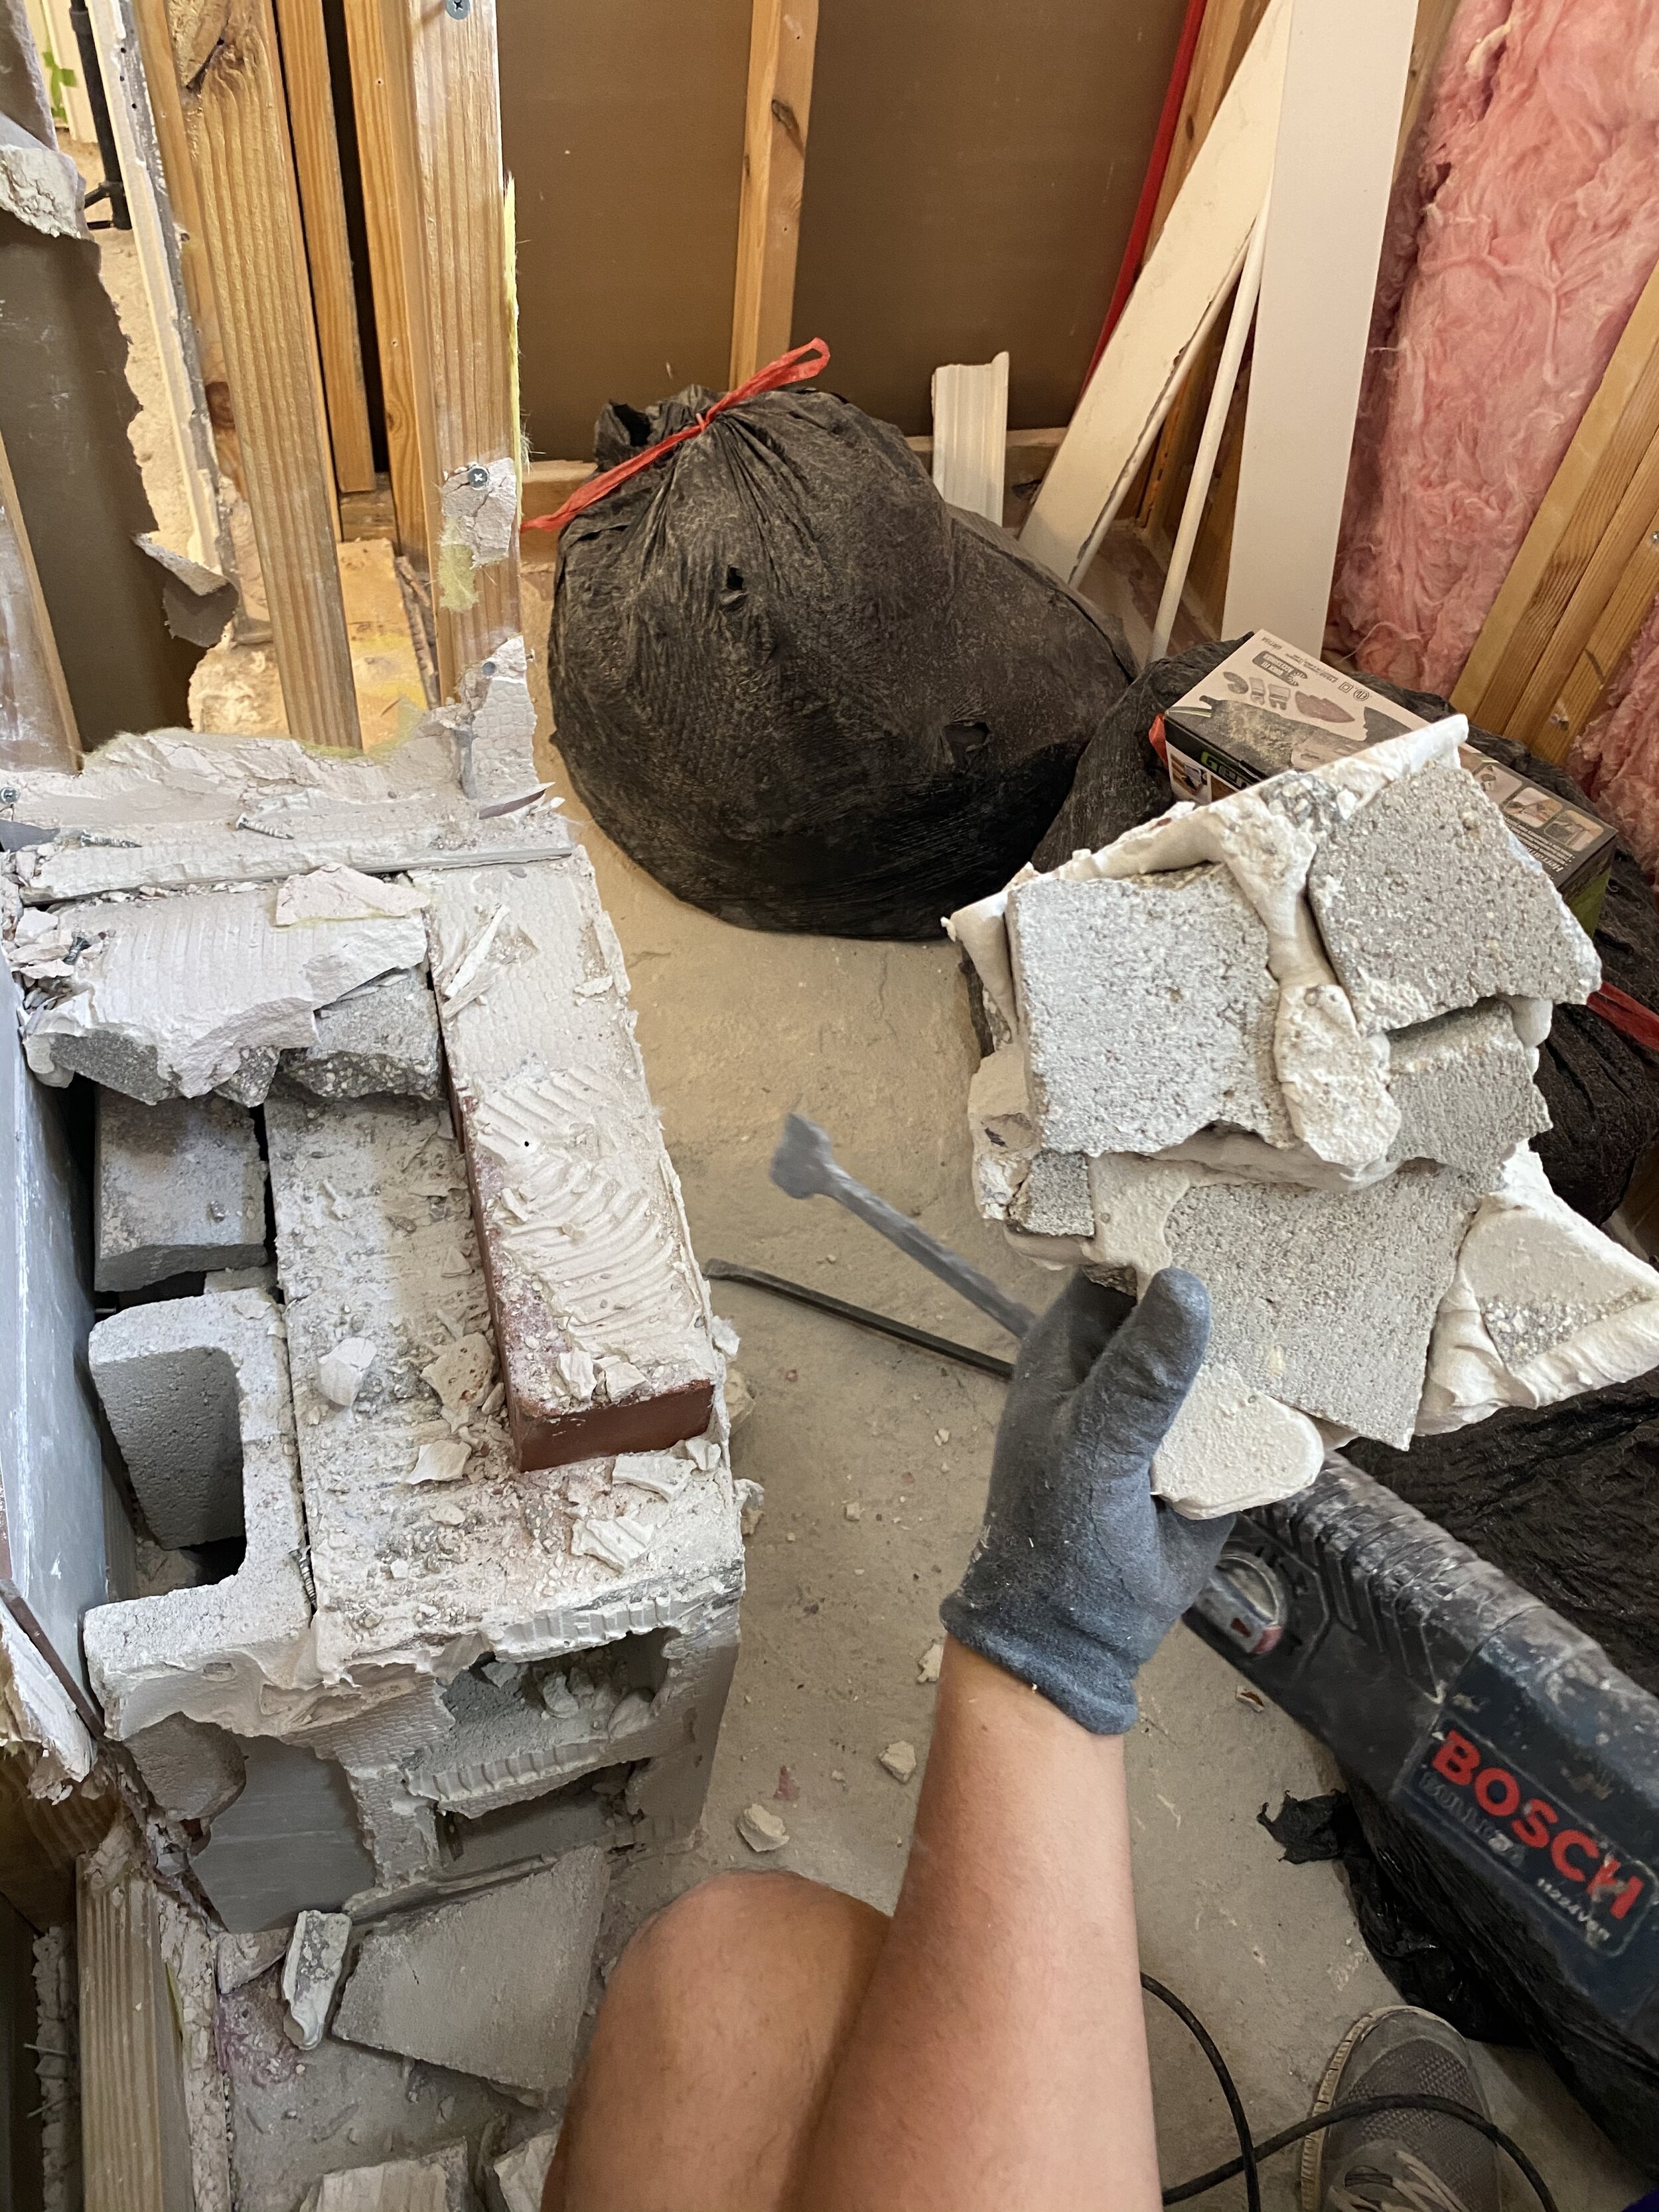
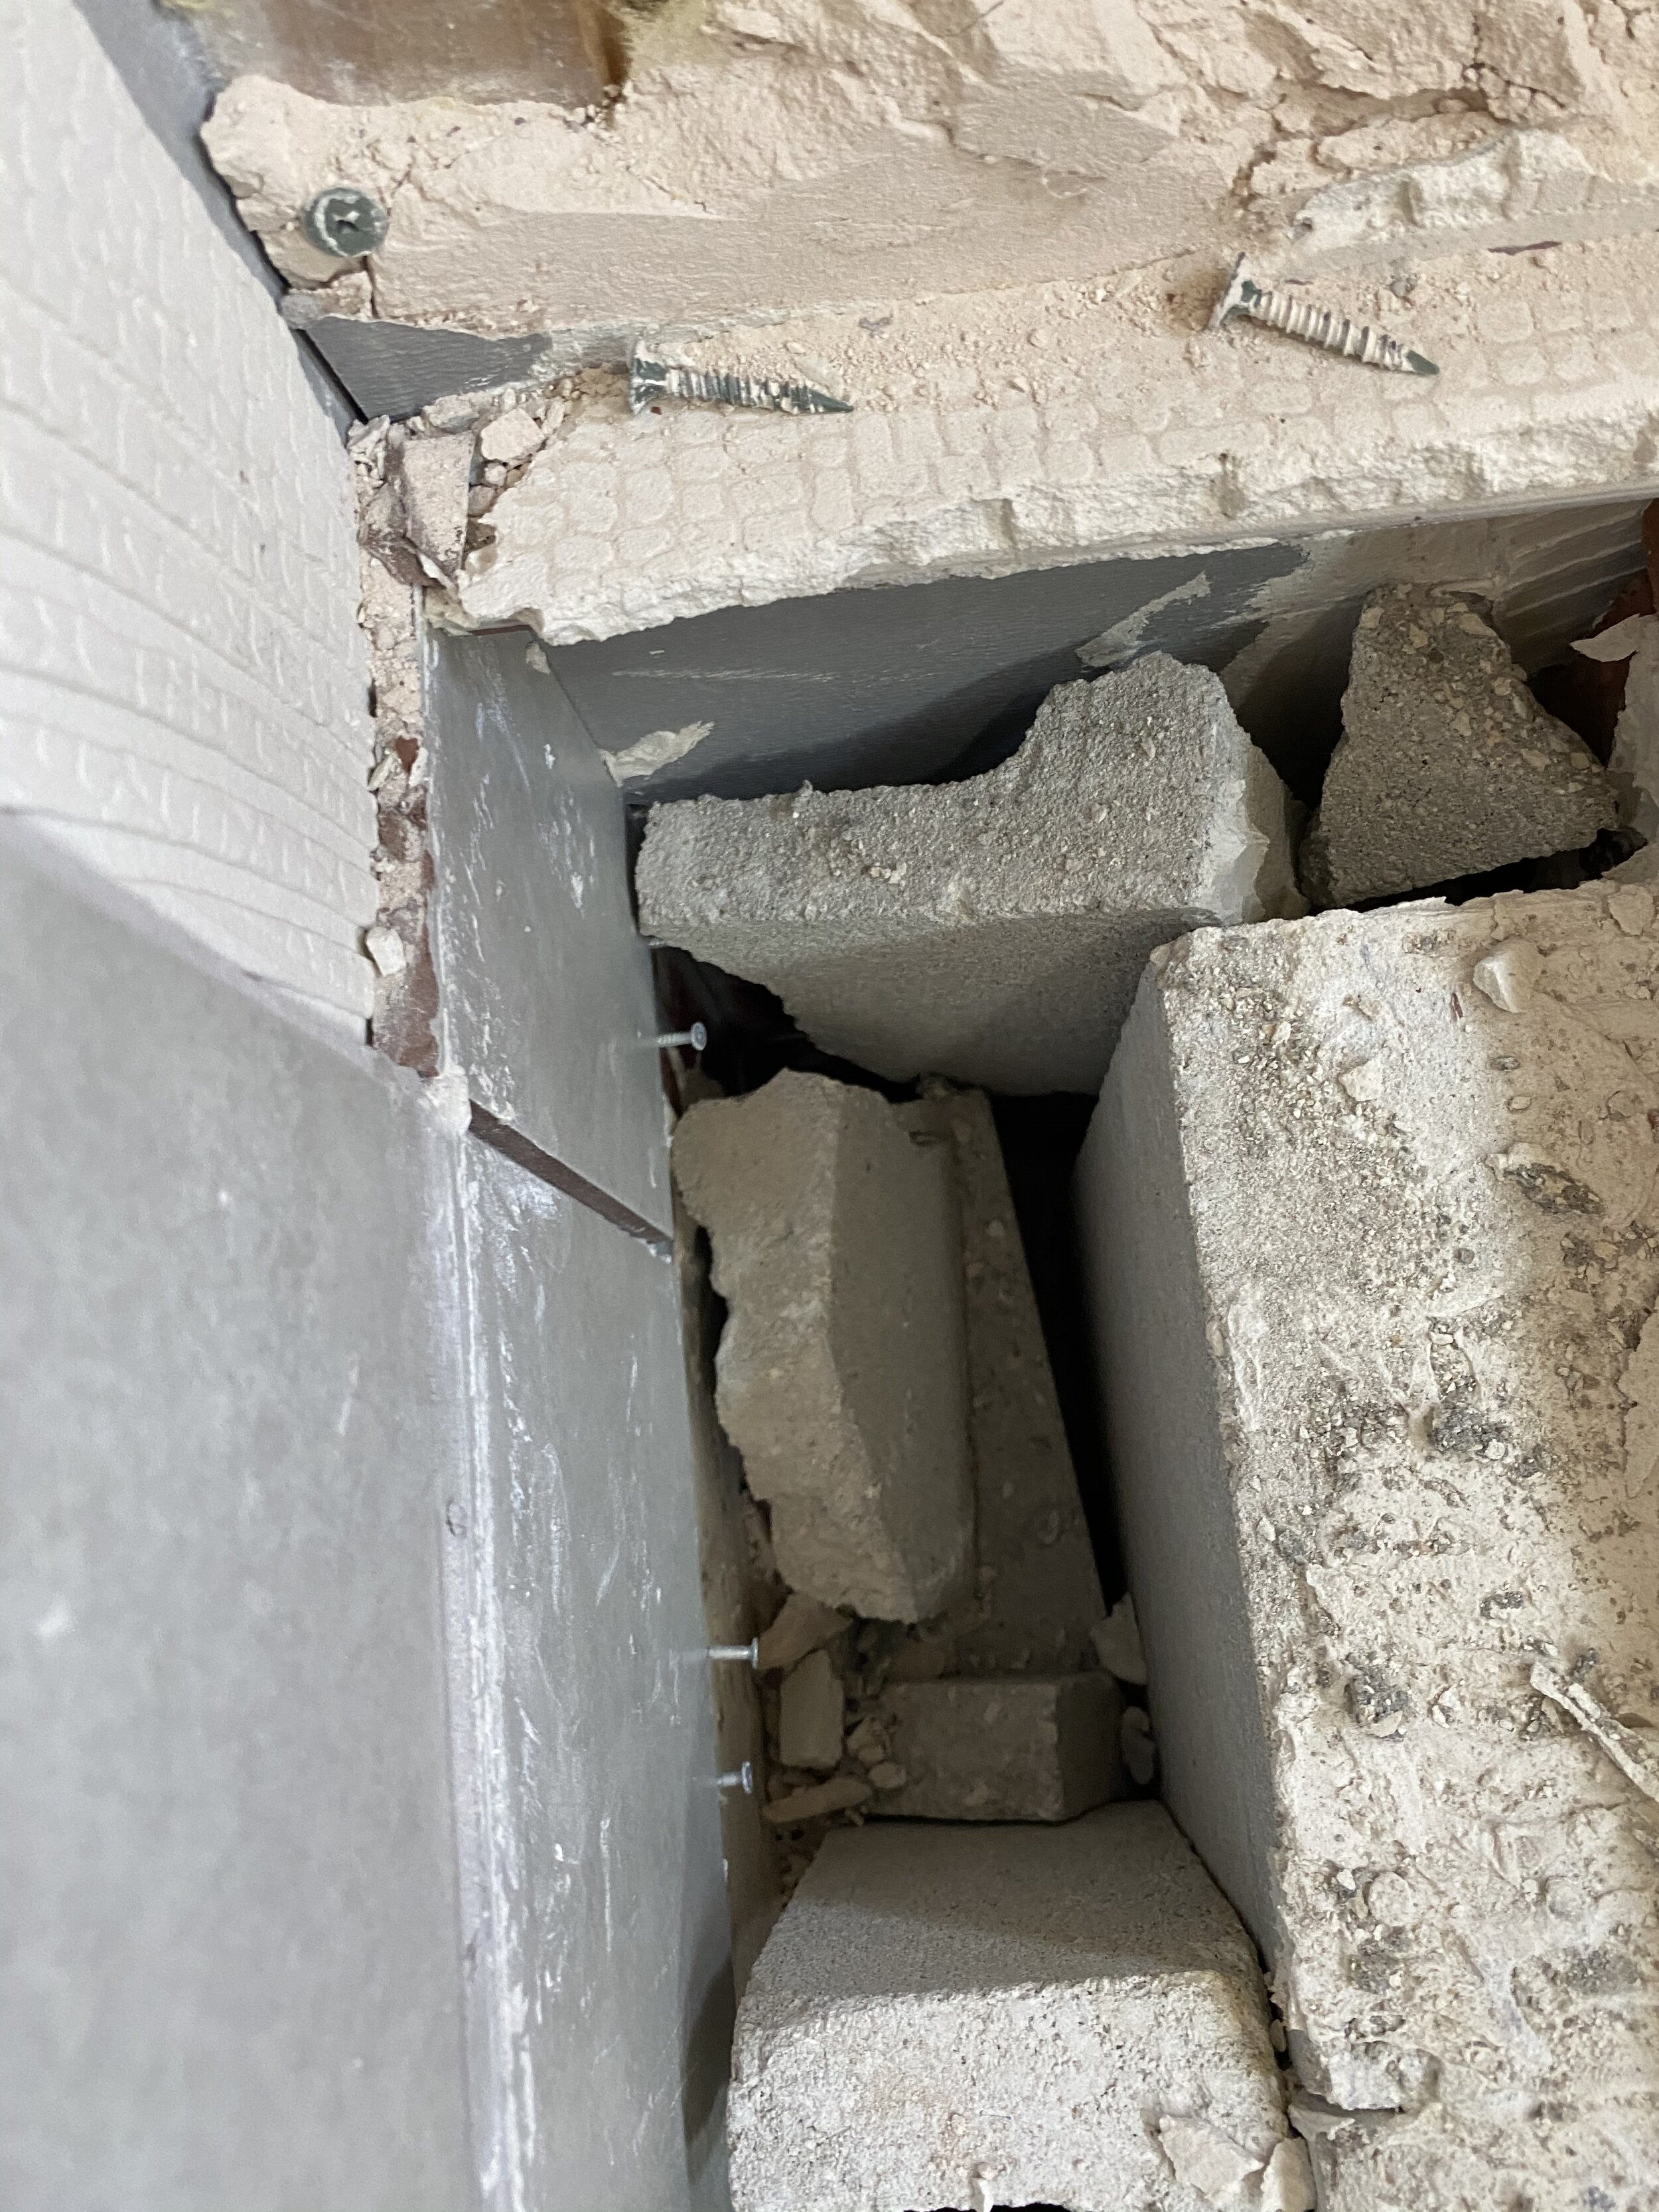
What on earth did these guys do to build this shower seat you ask? Well let me tell you. Instead of building it out of 2×4’s like normal humans, they used two cinderblocks, 5 red bricks, a three inch layer of concrete, an inch layer of thin set, TWO layers of tiles, and a bunch of random loose pieces of cement they threw in the empty space in the back between the wall and the blocks. This was crazy, and something neither of us, or my brother who owns a custom home building company in Ohio, has ever seen before. We aren’t sure how this passed inspection, but it did. And we were stuck with the mess. We decided to leave it for now and we would figure out what to do with it another day.
You know what else Ryan didn’t disappoint on for day 2? His socks. You’ll have to head to our Instagram to see what I’m talking about… I may be biased, but they are pretty AWESOME 😉
Not much to say for day 3 of demo, it went pretty smooth. I was back in action and we kicked this demo’s metaphorical butt. We completely removed all of the floor tile in the main room, the linen closet and the toilet room. We were tired and sore, but it felt so good to have all of the tile up finally. And wow, was that a lot of tile. We had to take about a million trips up and down the stairs to load the tile into the dumpster, this was the workout we definitely didn’t ask for, but what we needed! Today we both wore plaid socks, Ryan wore his wedding socks-how cute!
More problems? SERIOUSLY?
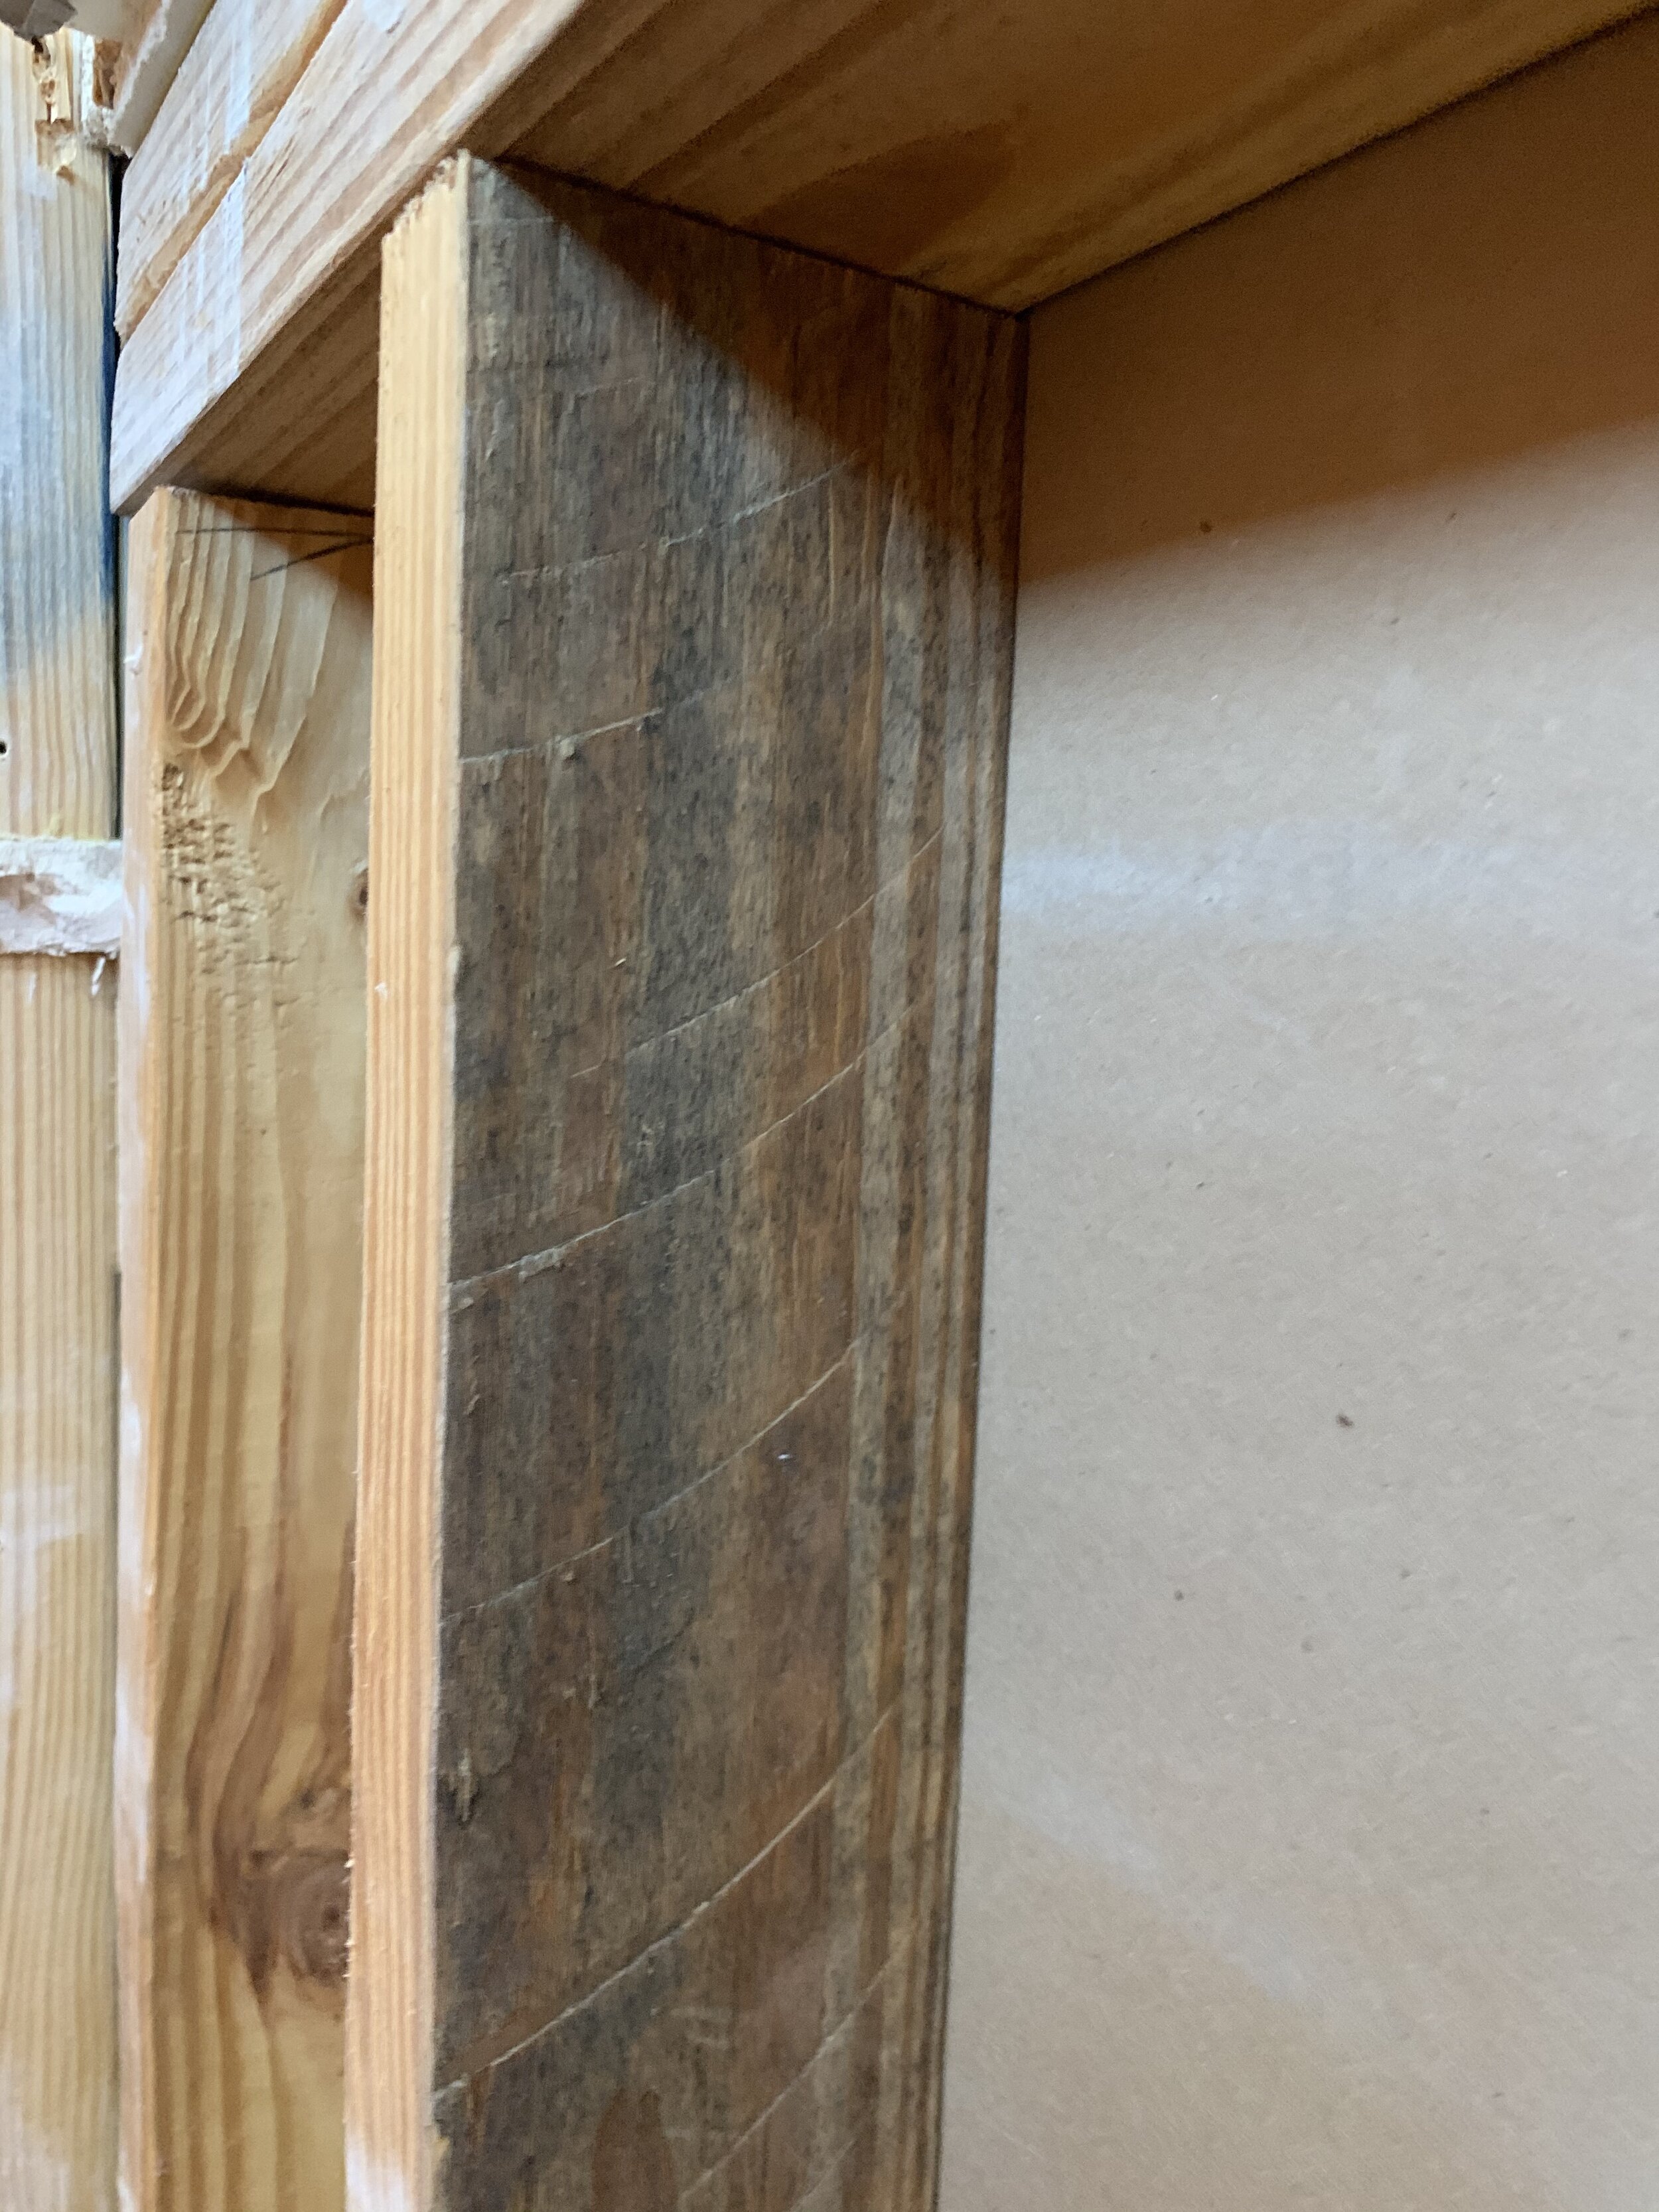
Day 4 of demo brought more problems when we addressed the shower seat again. We decided we didn’t want to tile over this mess they created, as it wasn’t built correctly, so we completely removed it. Once we removed it is where we uncovered more issues. Something you never want to find, especially in a bathroom not even two years old… Mold. On all of the 2×4’s behind the shower seat. We assume this was because of the quality job they did. I’ll insert pictures below of the mold, but honestly it wasn’t that bad, and we plan on cleaning it off and it should be good to go. We’re still unsure if we’re going to rebuild the shower seat at all, just because we hardly used it, but it might be a nice accent piece to have in the shower and isn’t something that will be too difficult. Today we also removed all of the cement board screws and nails from the floors and walls, cleaned everything up and are 100% ready for the next step of putting everything together. The dumpster is gone, no tile remains, and WOW-it feels good! Our socks had some purple power going on today, why do we have so many pairs of crazy socks?

On the plus side
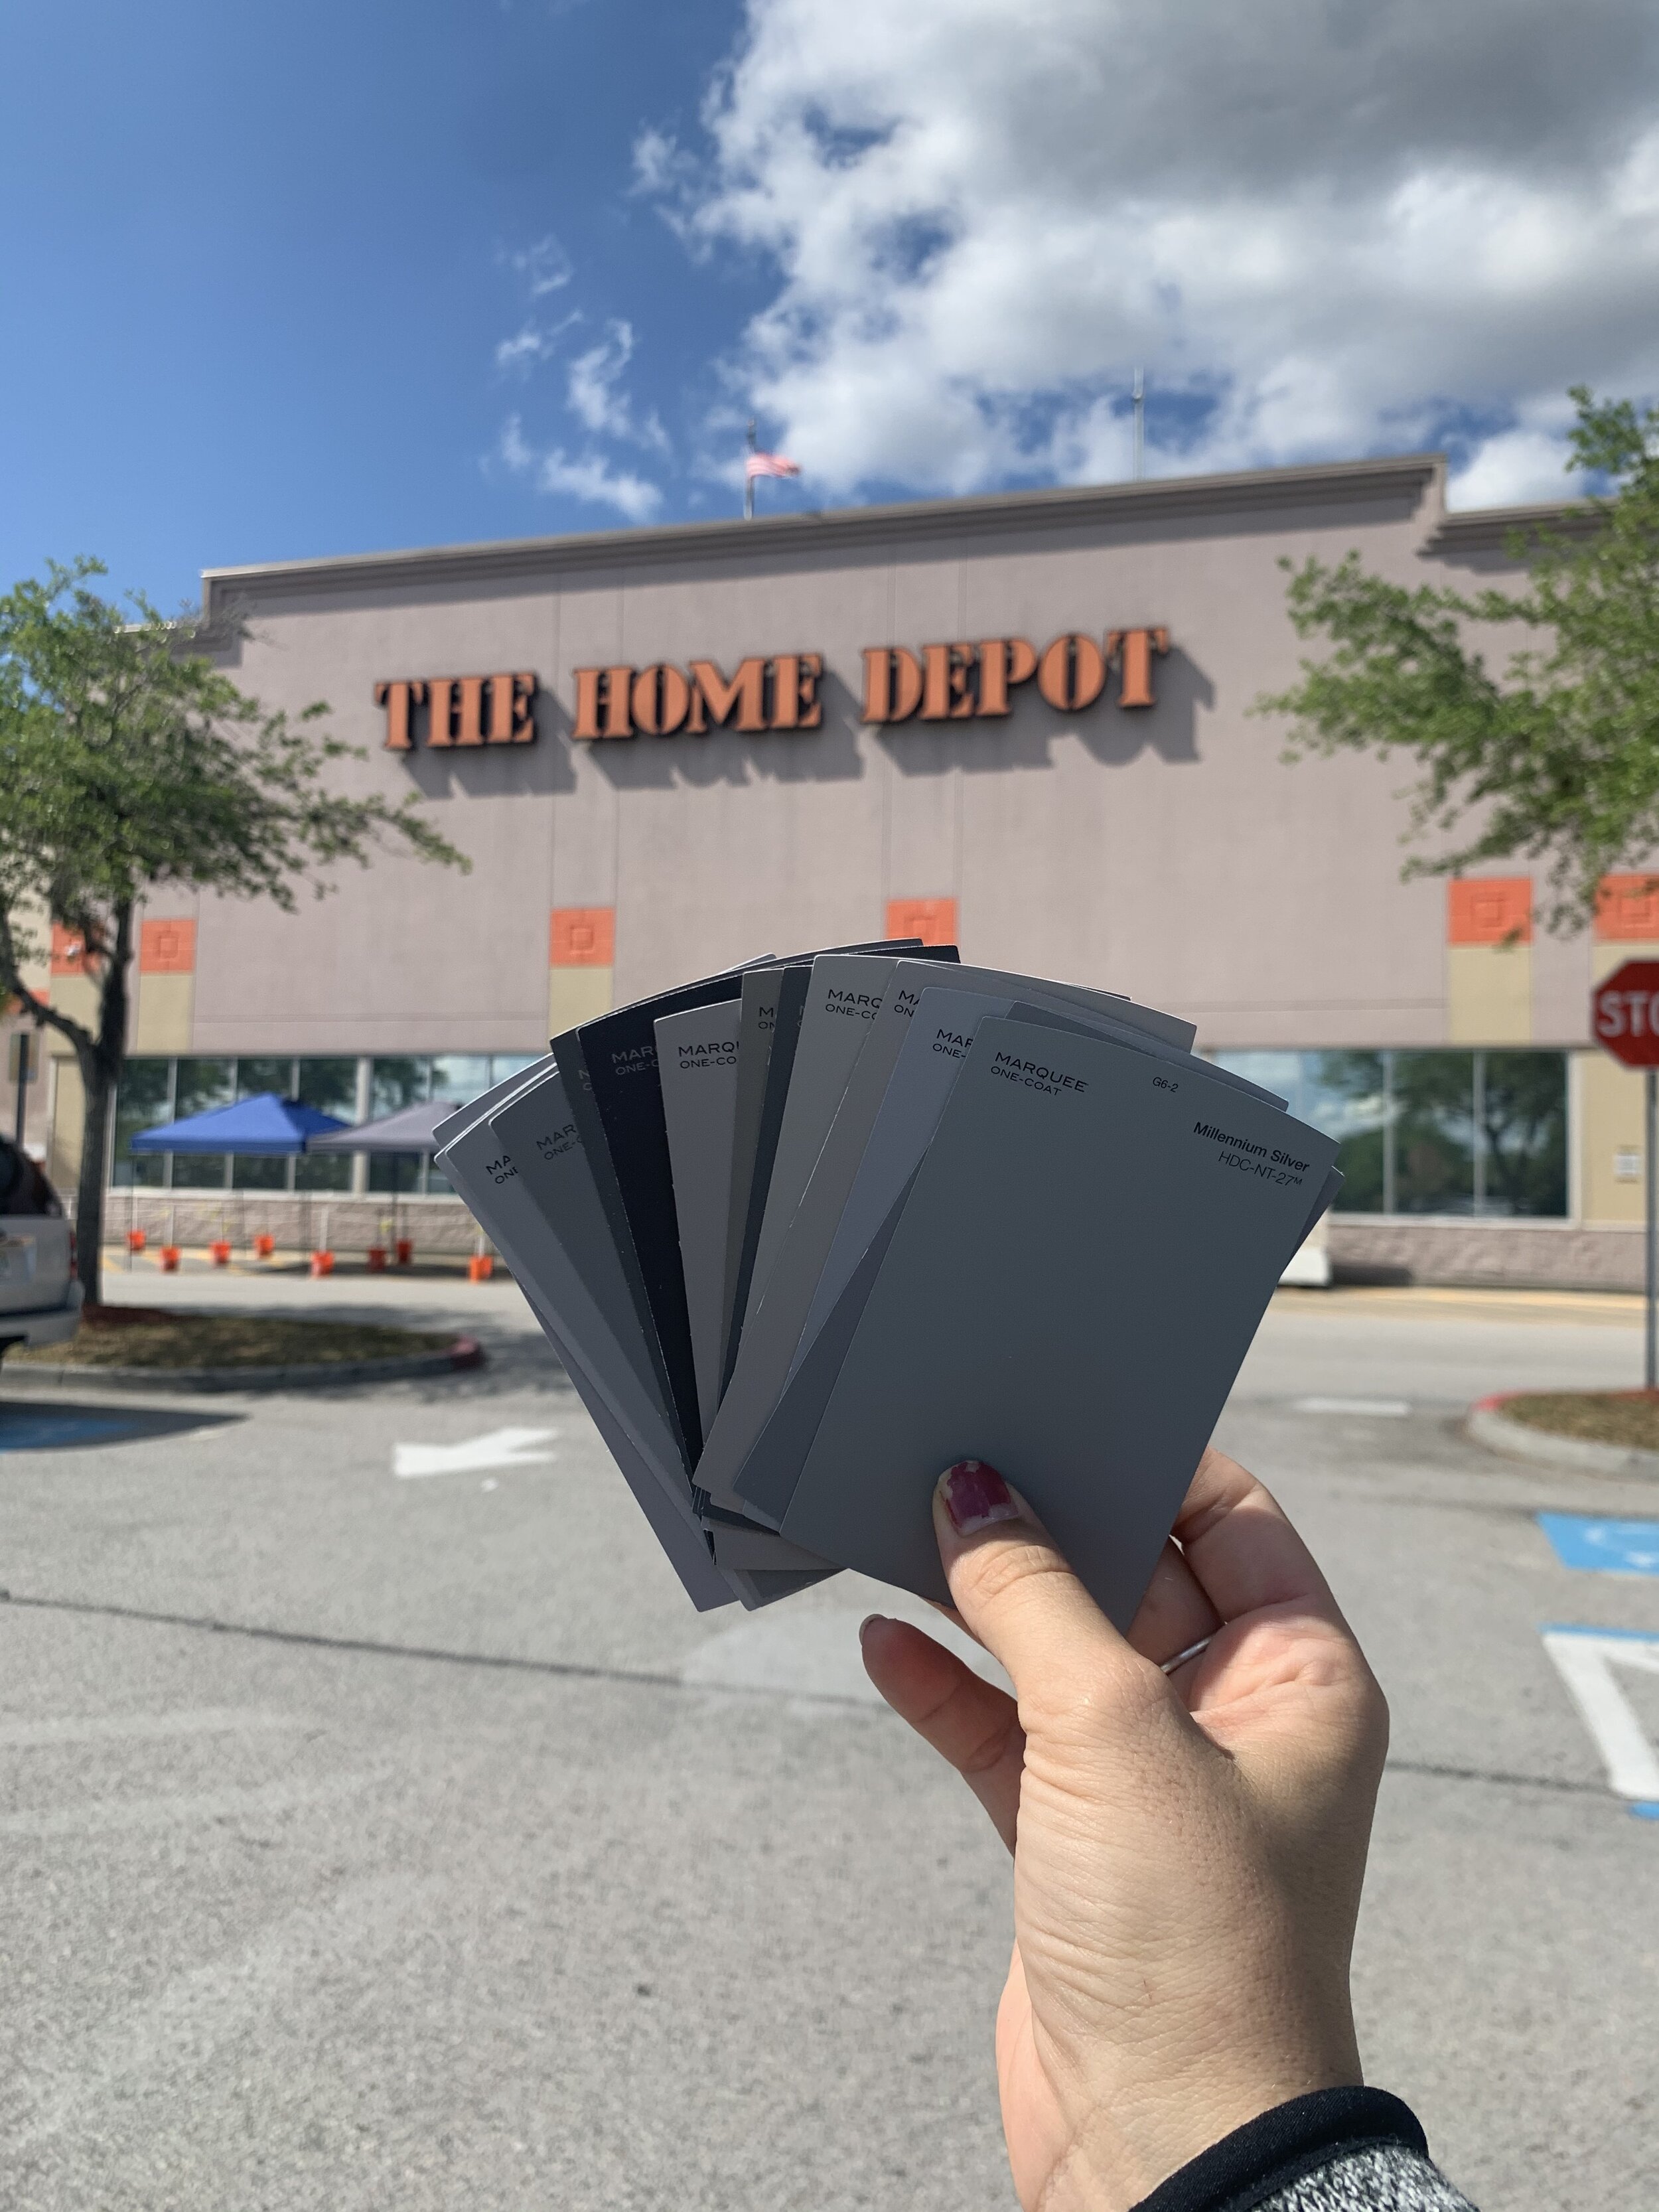
The end of week one did end on a good note though, our tile got delivered! We got a 1,500 pound freight shipment. We cannot wait to share our tile selections and other design choices. We LOVE our tile choices, and we know you guys will too. We also made quick trip to Home Depot to pick up some BEHR paint samples-more on that later on though, they are awesome sponsors!
Week 2
We continued some demo into week 2 and that included removing the rest of the leftover tile and cement board, cleaning up all the debris, scrubbing down the mold and removing the large mirror and granite backsplash from behind the sink.
Lets start with the fun stuff- the mold (insert sarcasm here). In all honesty, it wasn’t that much mold, we definitely caught it early on and we are lucky we decided to participate in this challenge or else we would not have even known there was mold growing! I started cleaning it with Moldex, a mold stain remover, and it was working really well in some spots, but not in others. I was definitely getting a workout in with all of the intense scrubbing I was doing. Then, I decided to try a vinegar/water mixture and that worked a little better and it supposed to actually kill the mold. I do feel confident that we killed the mold, and got enough of it off of the wood so it won’t be an issue anymore- I’ll insert a picture of the results below! After I was done cleaning and the wood was dry, I sprayed Mold Armor Mold Blocker spray on it, which is supposed to stop the growth of mold from happening, just to be safe. Both products had good reviews on Amazon so I feel like that pesky mold is not coming back anytime soon!

After we got the leftover debris out of the way and the floor all swept, It was time to remove that huge builder grade mirror and the granite backsplash around the countertop. Just like in our guest bathroom renovation (if you missed that, click here) we are going to be tiling up the wall behind the sinks, so we wanted to remove the backsplash for a more seamless look. We are basically professionals at this at this point (kidding), so it was easy for us to remove. We took a utility knife and scoured the caulk lines, then used a paint scraper, hammer and pry bar to loosen the glue and backsplash from wall. There was minimal damage to the side walls, which we’ll just patch later on.
Removing that mirror was no joke though. Despite what it may look like (kidding), I don’t have very much arm strength, so it was a struggle for us to lift that mirror off the clips and off the counter. Luckily for us though the mirror wasn’t glued on, just held on by the four clips. This mirror was also larger than the one in our last bathroom so it took everything in me to lift it, poor Ryan- he did most of the work! Its always crazy how much smaller the room looks when you take down those huge mirrors though.
Lets get this bathroom put back together!
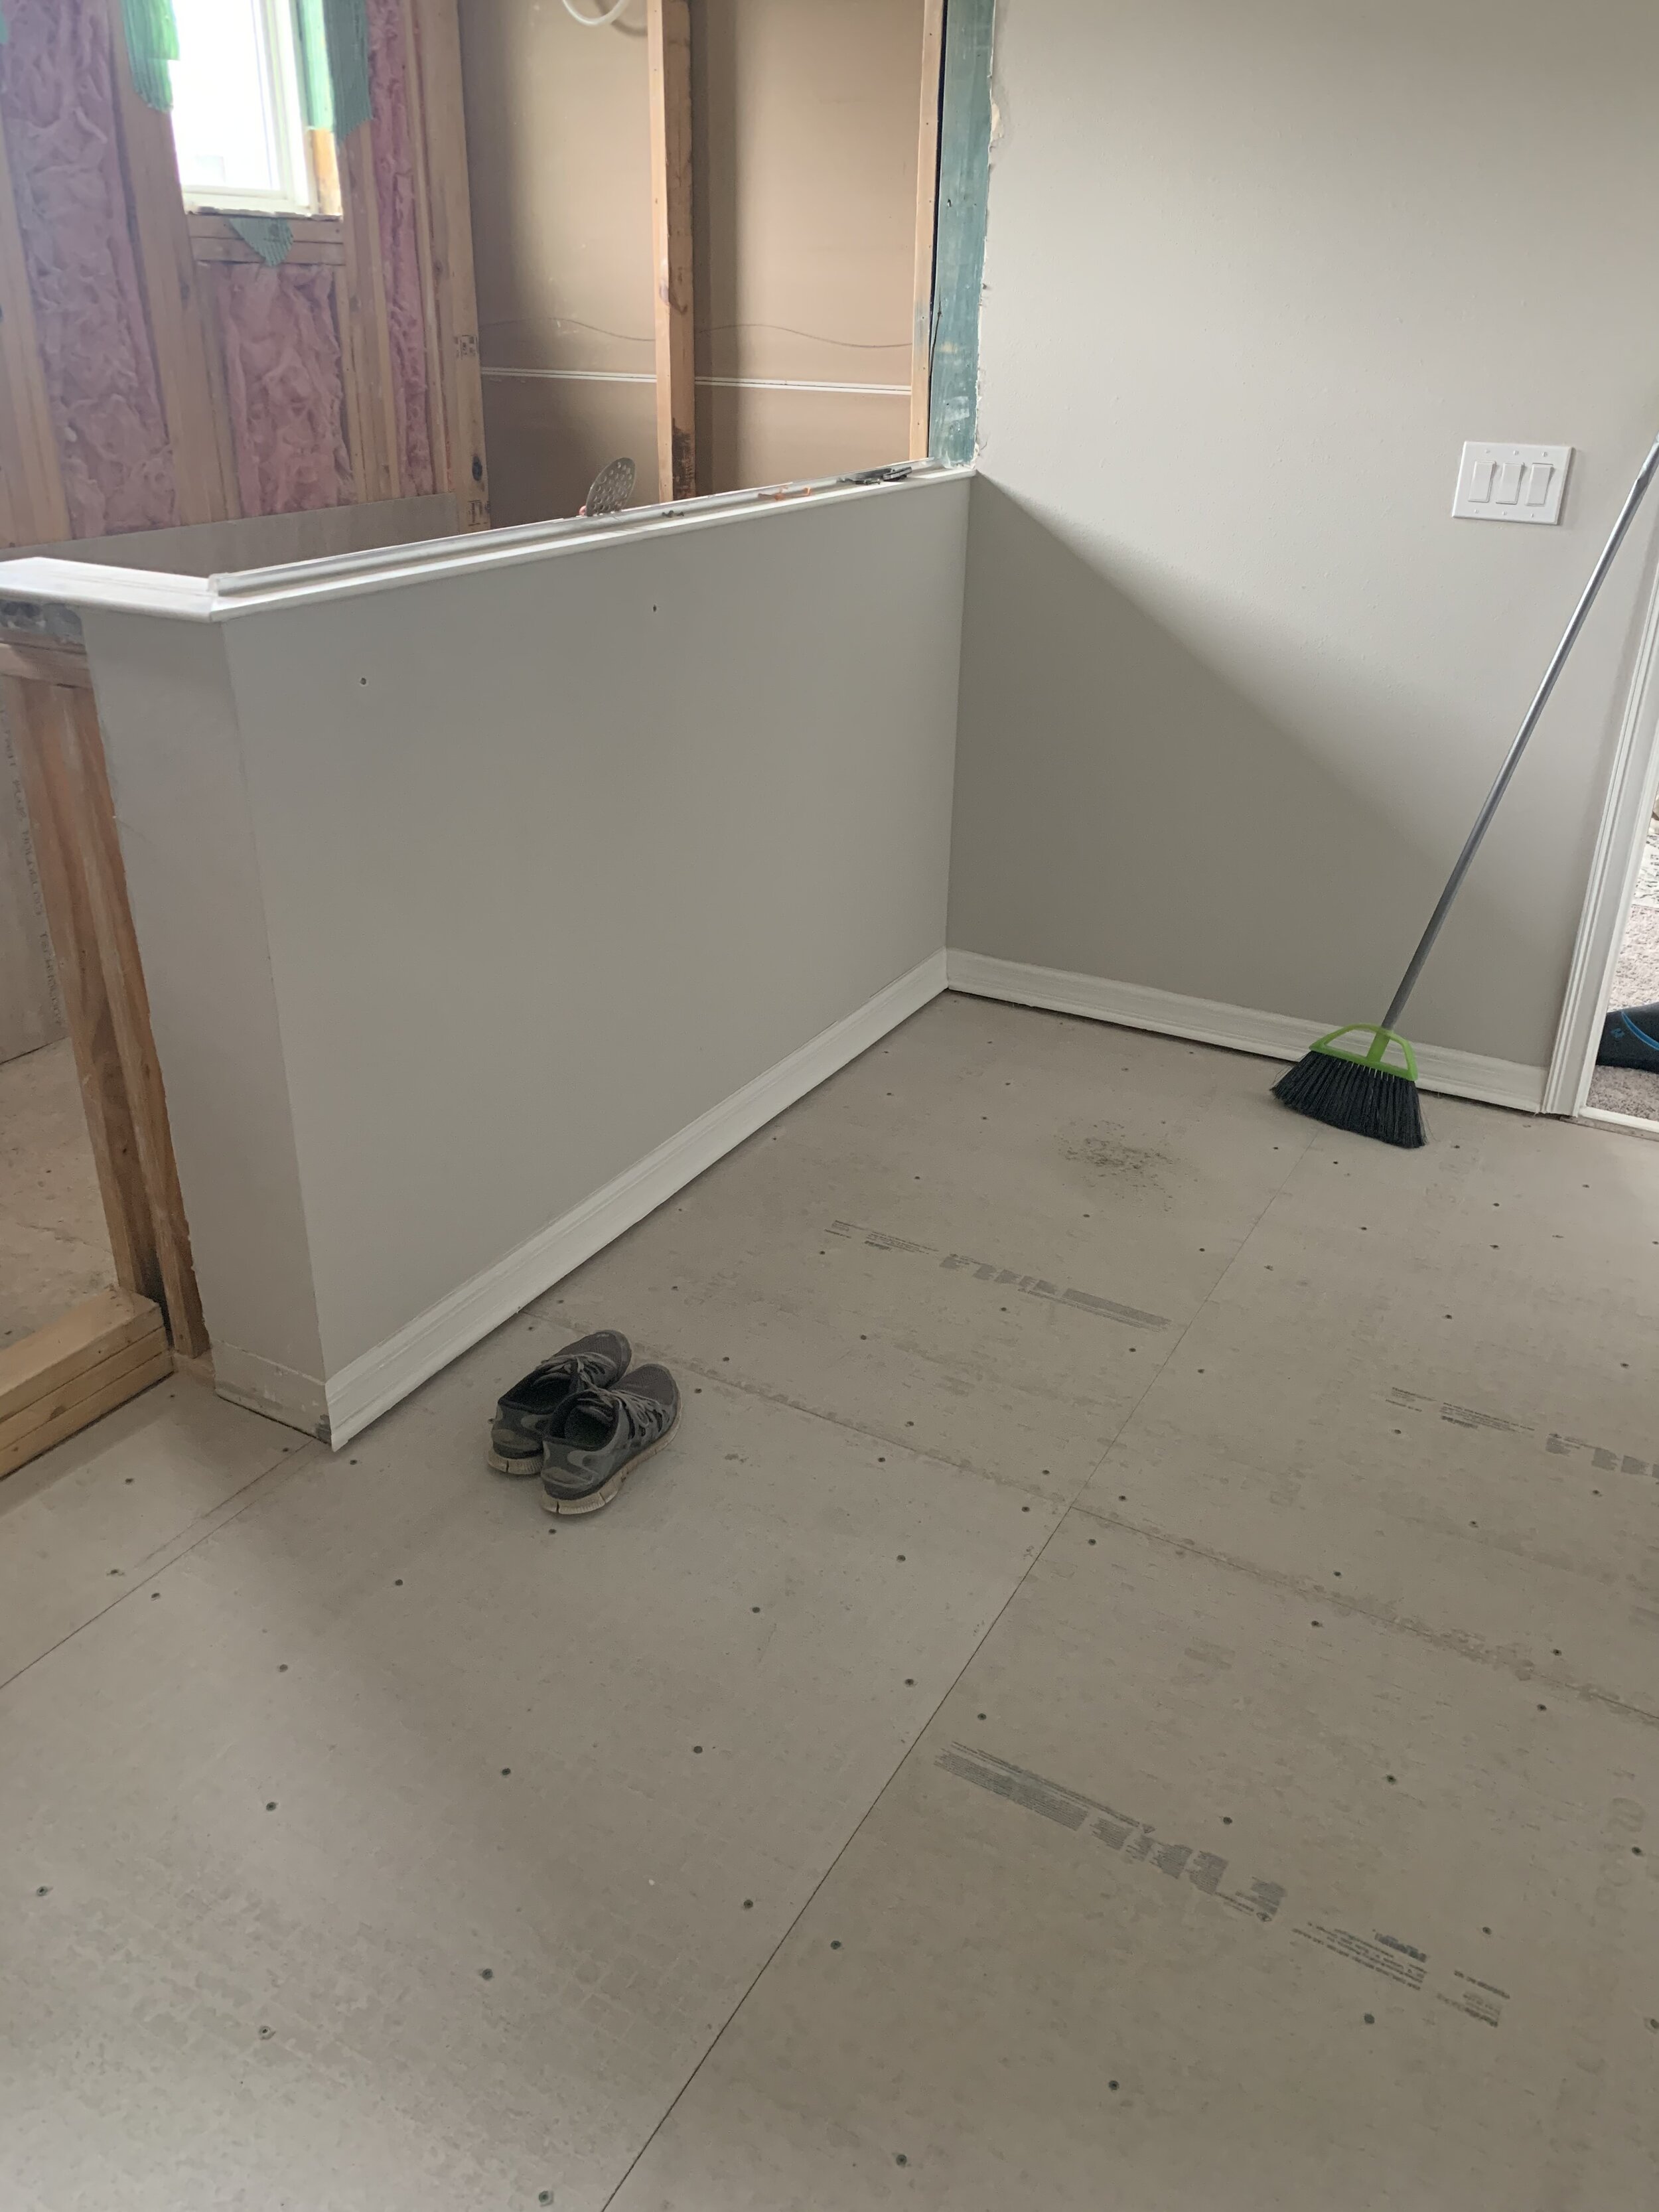
We were feeling crazy this week, so we thought why not start putting the room back together already?! We headed to Home Depot and picked up TEN pieces of Hardiebacker 1/4 inch cement board for the floors. There are a few different kinds of cement board that you can use, Hardiebacker is definitely the best and only a couple dollars more per board. We carried all ten pieces upstairs (really regretting a second story house at this point in life) and began dry fitting them to the floor. Ryan was able to cut them to size with the “scour and snap” method by using his utility knife. We measured, scoured a line in the cement board a few times, and was able to snap it off with minimal effort. We finally got them all in place, we probably could have used 9 pieces of cement board if we really tried to save material, but we didn’t want to cut the pieces too small, so we used that tenth board.
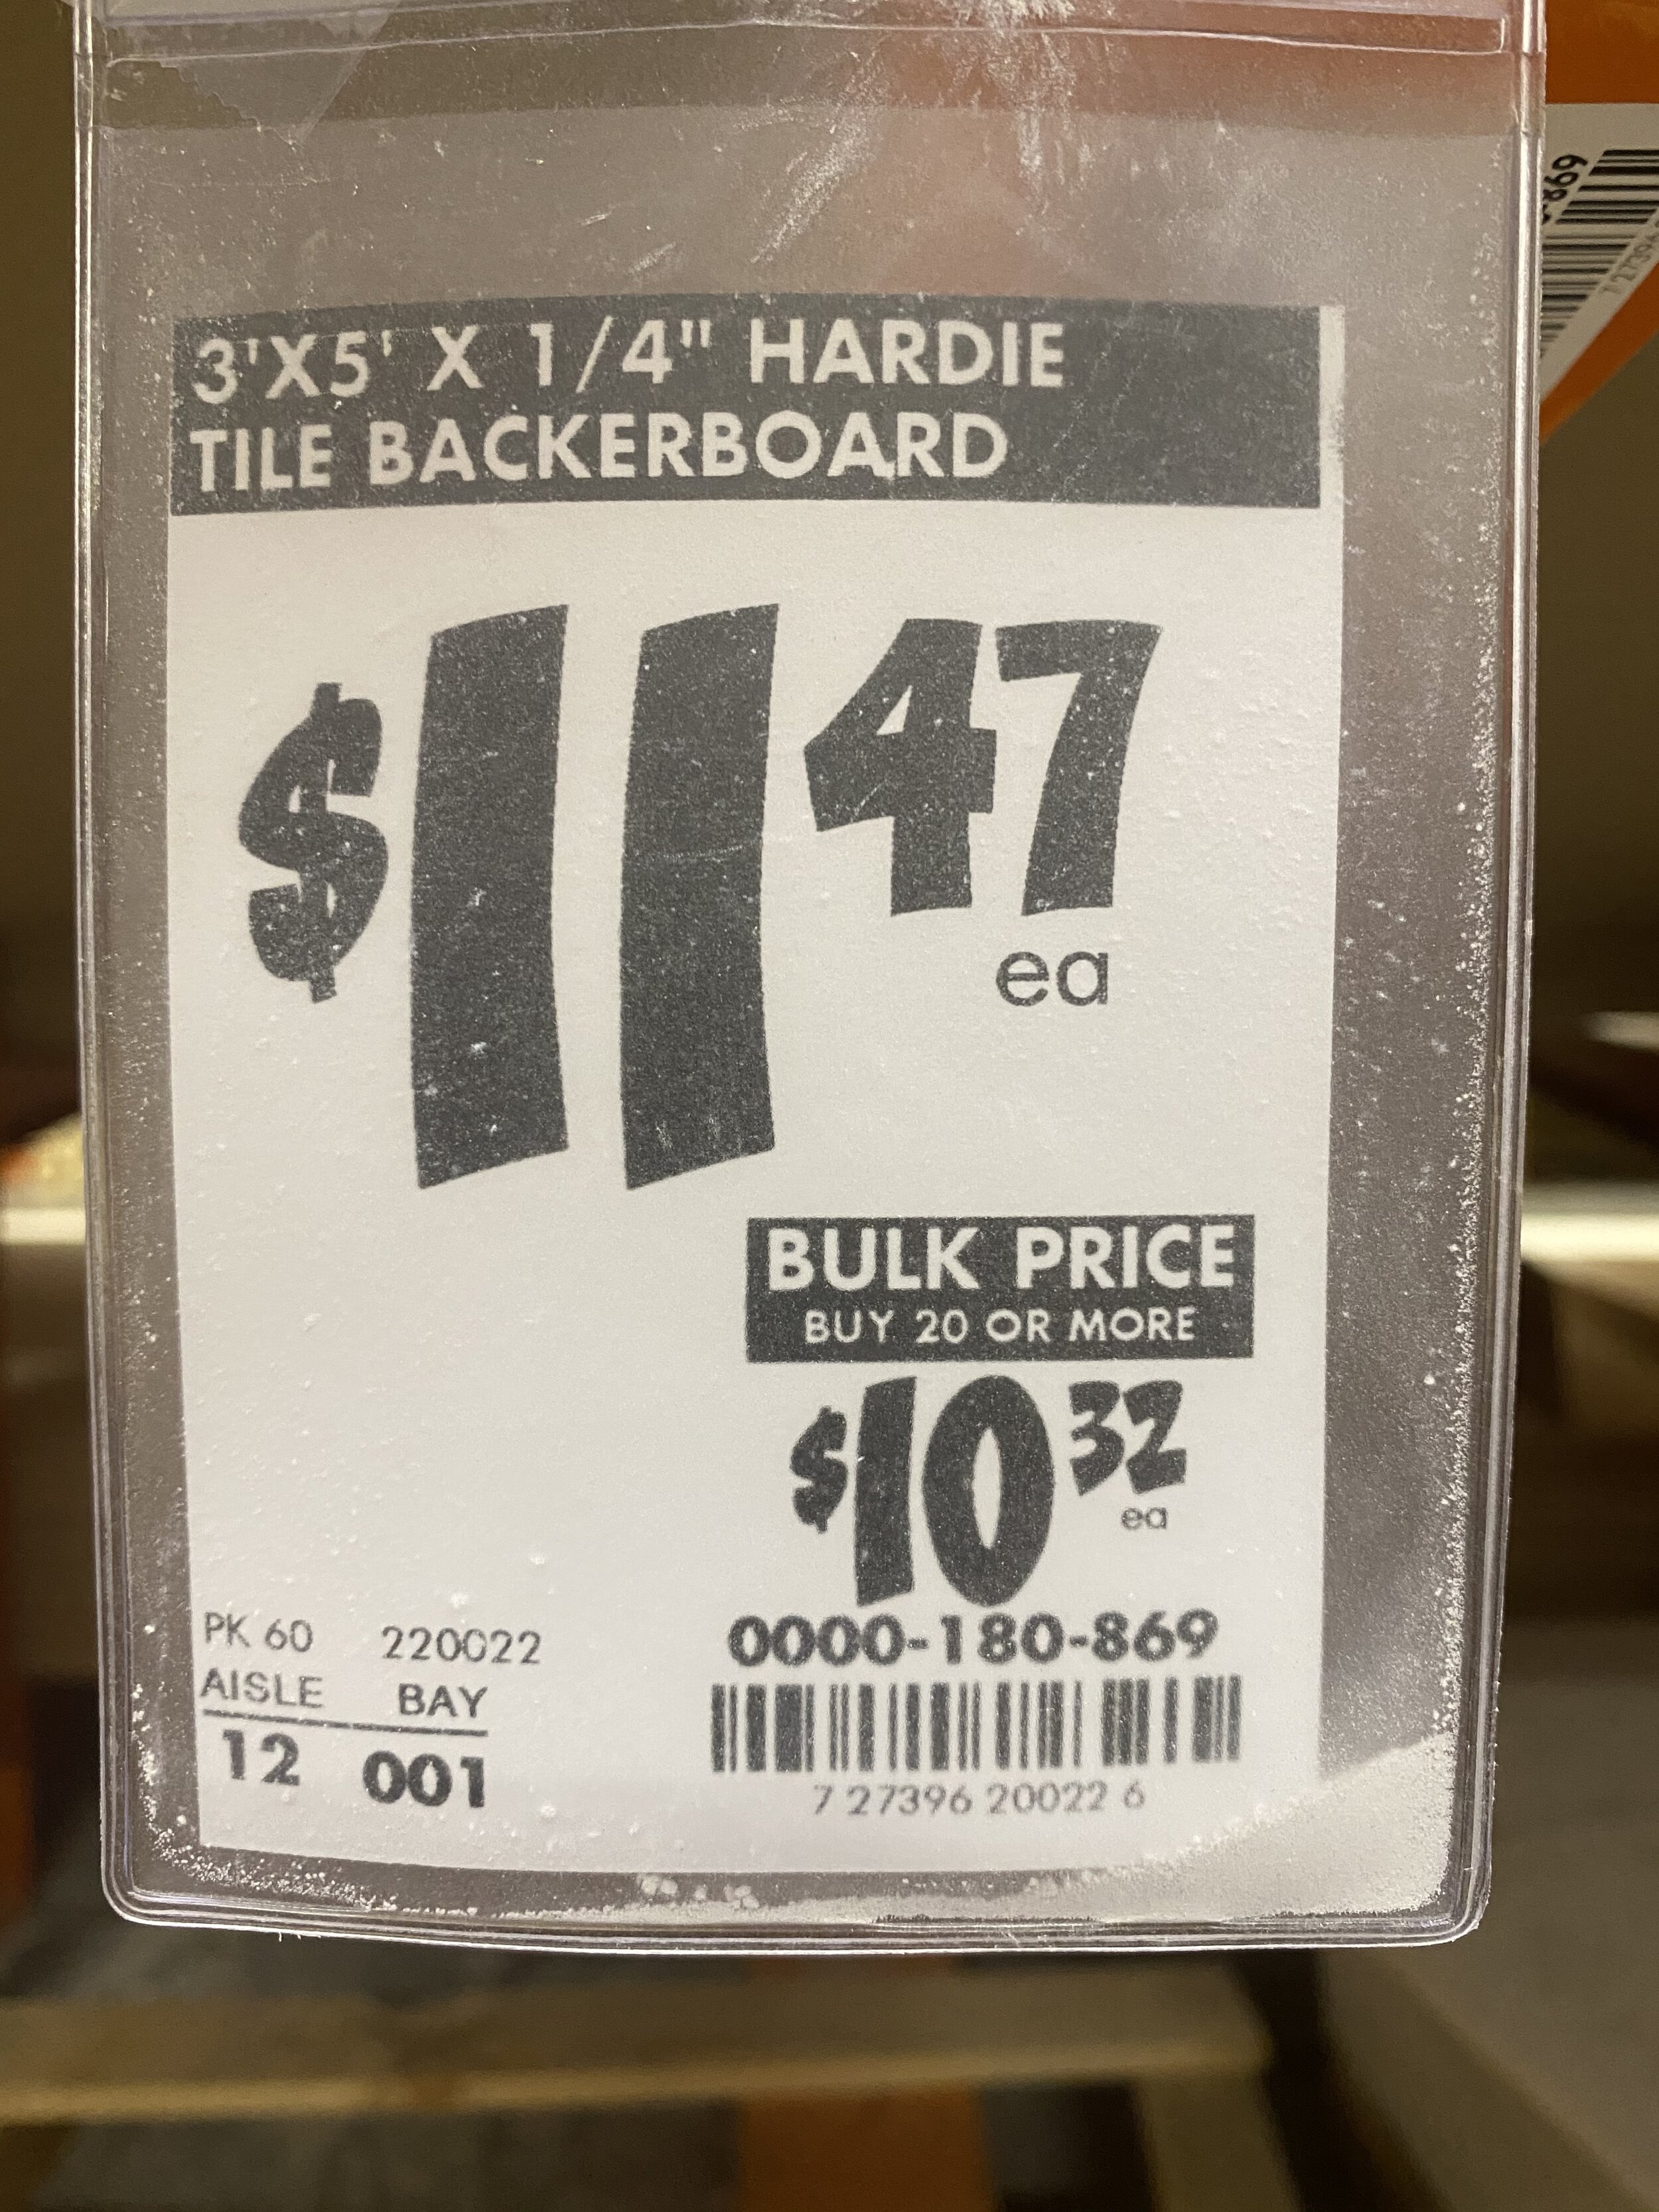
We had to get 10 of these babies.
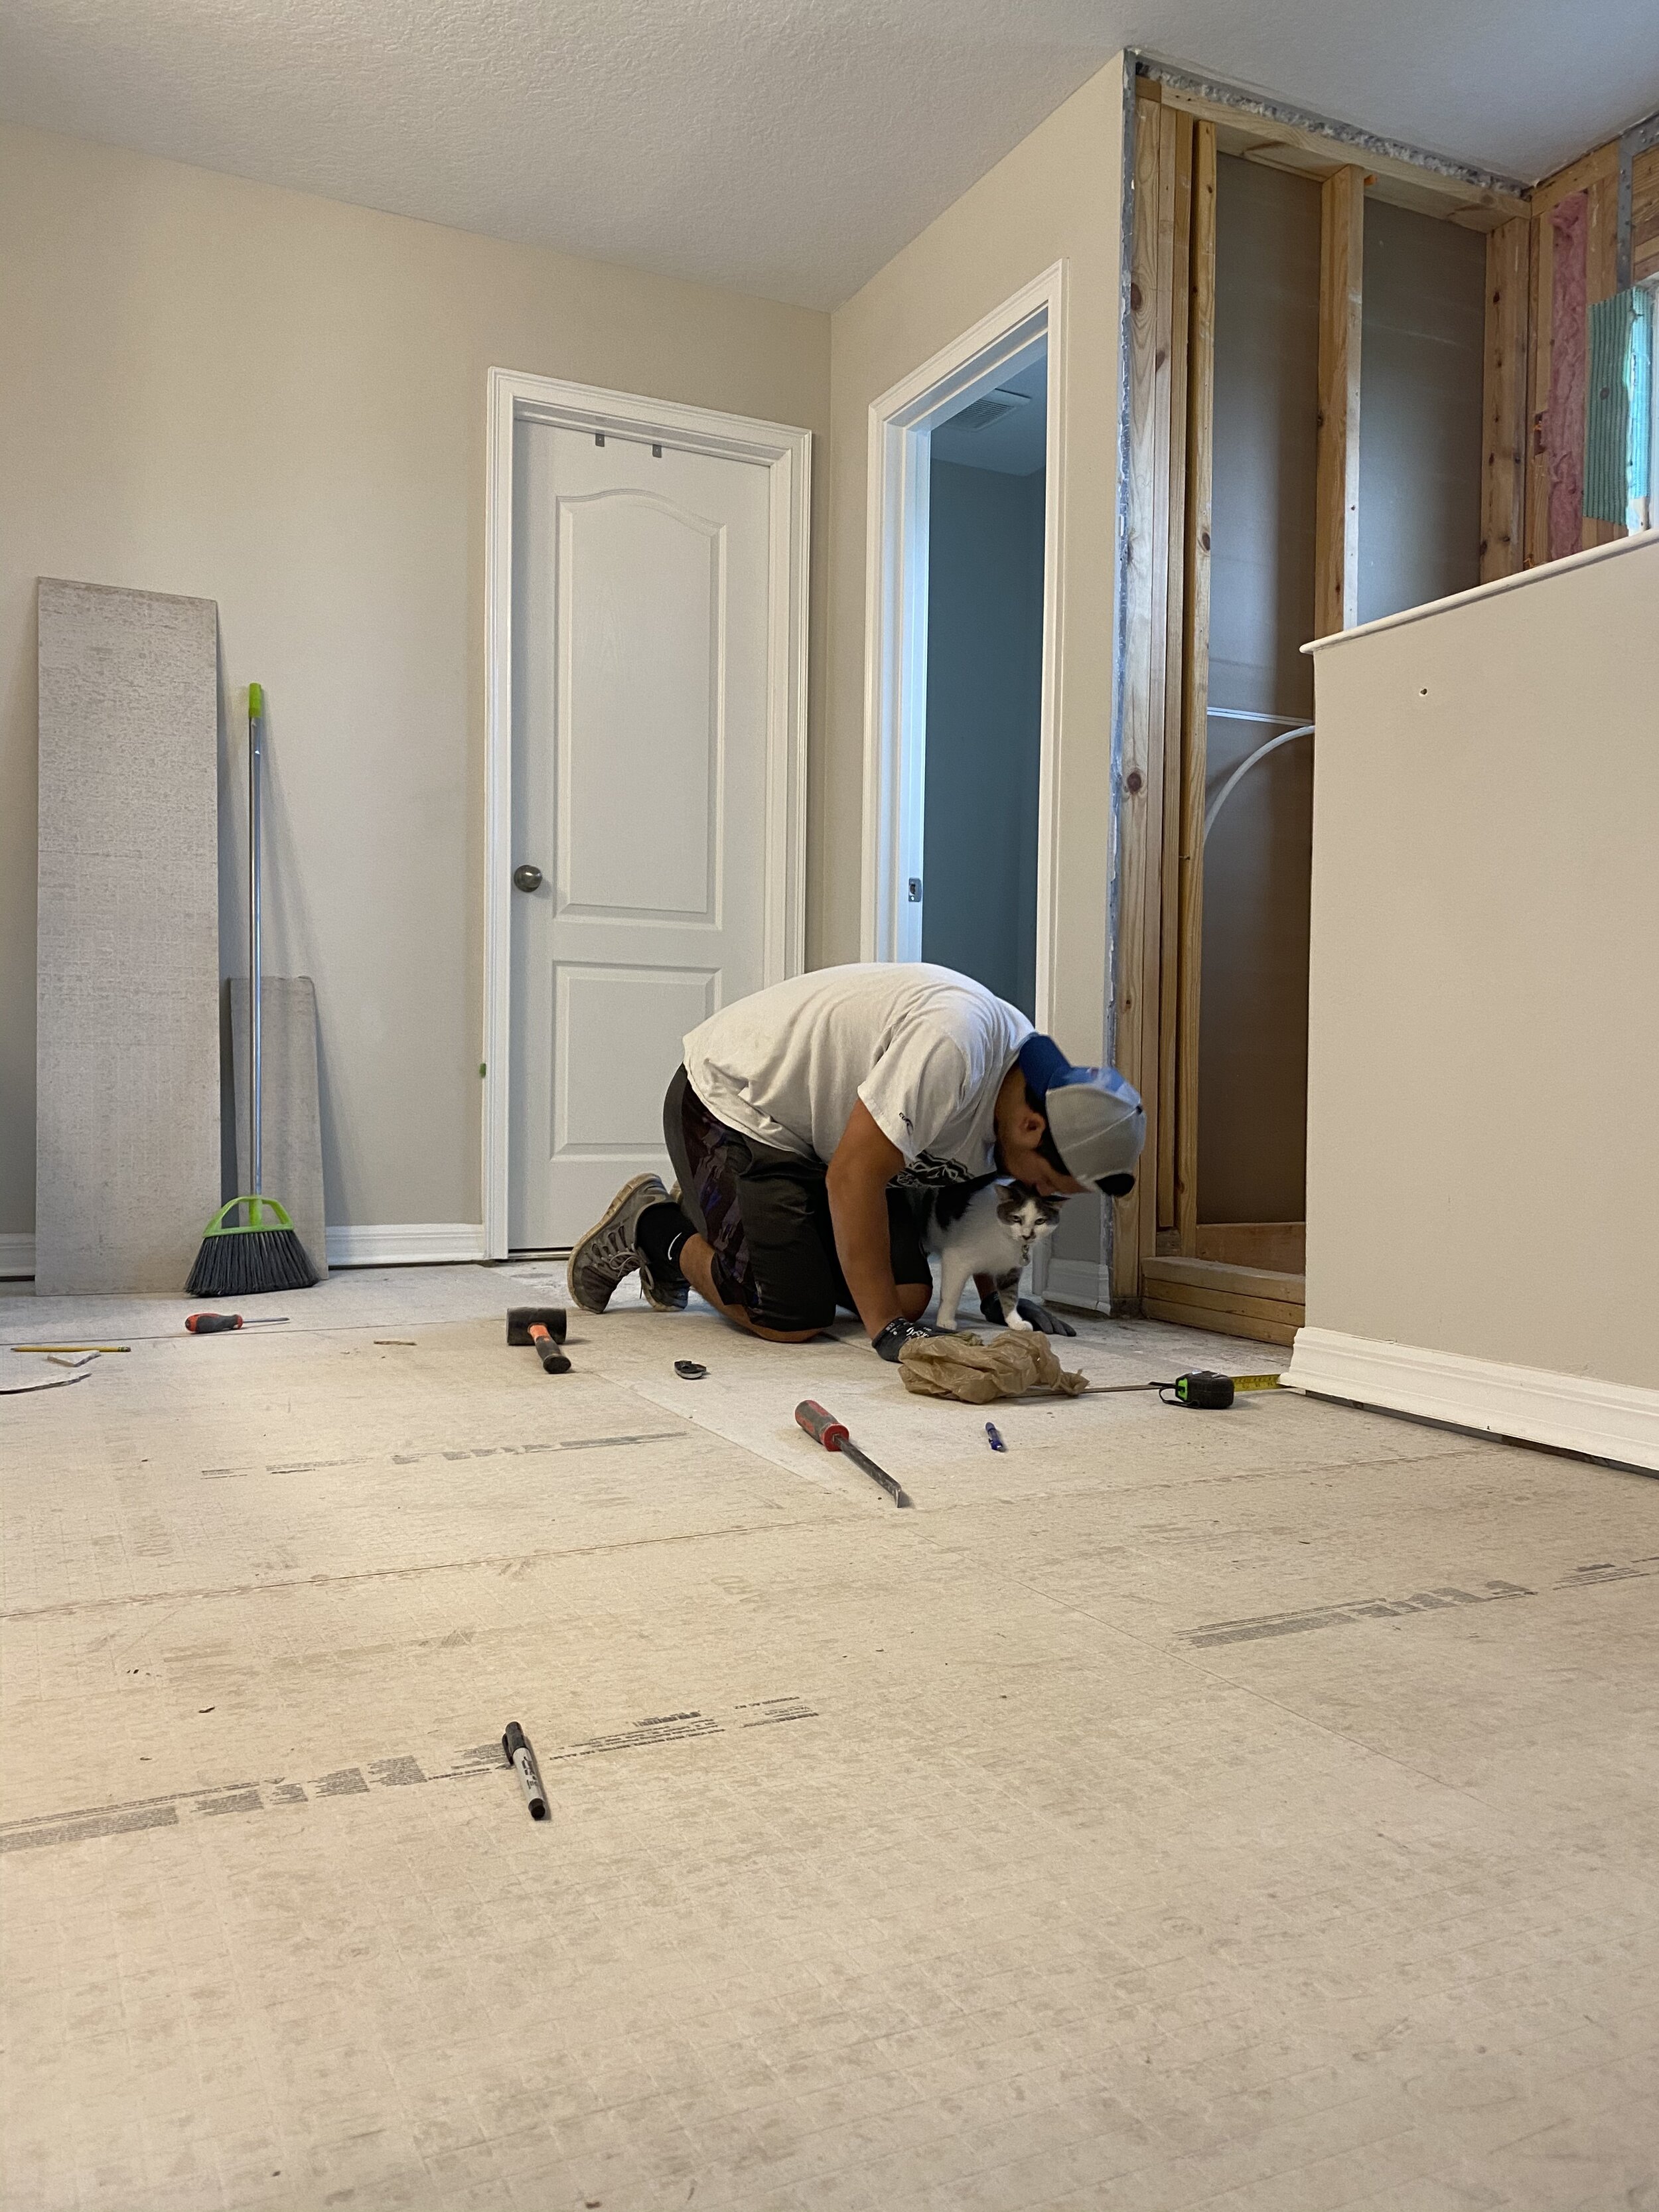
Look who decided to be nosey …
We also picked up some Hardiebacker cement board screws (even though our builders used roofing nails to secure the board to the subfloor, we don’t suggest that). We went around and about every 10-12 inches we screwed in a screw, and added even more after the fact where it looked like it could use some extra. Be generous with these screws, more the merrier- all that good stuff. You don’t want the cement board to ever shift or bow underneath your tile, or else your tile and grout will eventually crack! So we put extra because we would rather be safe than sorry. So now the floor is all ready for tile, which is so exciting! We’ll get started on that next week most likely because we’re still waiting for some waterproofing products for the shower to come in.

We went back to Home Depot and picked up the cement board for the shower walls, but we won’t install those until the start of week 3. We also went with Hardiebacker cement board for this, but for walls you want to use the 1/2 inch thick boards instead of the 1/4 inch.
I really feel like this bathroom is already starting to come back together, no longer seeing the subfloor is lifting a wait off my shoulders, and I can’t wait to no longer see the studs and insulation on the shower walls- then i’ll be less stressed when I walk into the room (new house getting demolished probs).
Thanks for joining us for the first two weeks of the Jeffrey Court All Star Renovation Challenge, sponsored by BEHR and FrogTape, Week 3 is going to bring some exciting stuff, and fan voting starts next week- so stay tuned! And as always, head to our Instagram to watch this all unfold!
Click here to learn more about the Jeffrey Court All Star Renovation Challenge!
-xoxo
New build Newlyweds
Grab our FREE download
Wanna know the 5 must have tools you need before you start?
Considering a DIY Project?


Be the first to comment