


Jeffrey Court Renovation Challenge: Week 2 Inspiration
Week 2: Inspiration
Incase you missed last weeks blog post, we demolished our guest bathroom tile and are completely renovating the space, click here to read that blog post! It’s week two of the challenge, and this week is all about our inspiration for our bathroom renovation, and let me tell you… WE ARE FEELING INSPIRED. We have never had a “blank slate” from a demo, so this is so exciting, we can do whatever we want! Yes, we built our home a year and a half ago, and could choose all the design elements, but we had a budget and a lot of the choices in the design center weren’t our style. With so many BEAUTIFUL bathrooms on Pinterest and Instagram, we had a ton of inspiration to take into consideration, so let me share some with you!
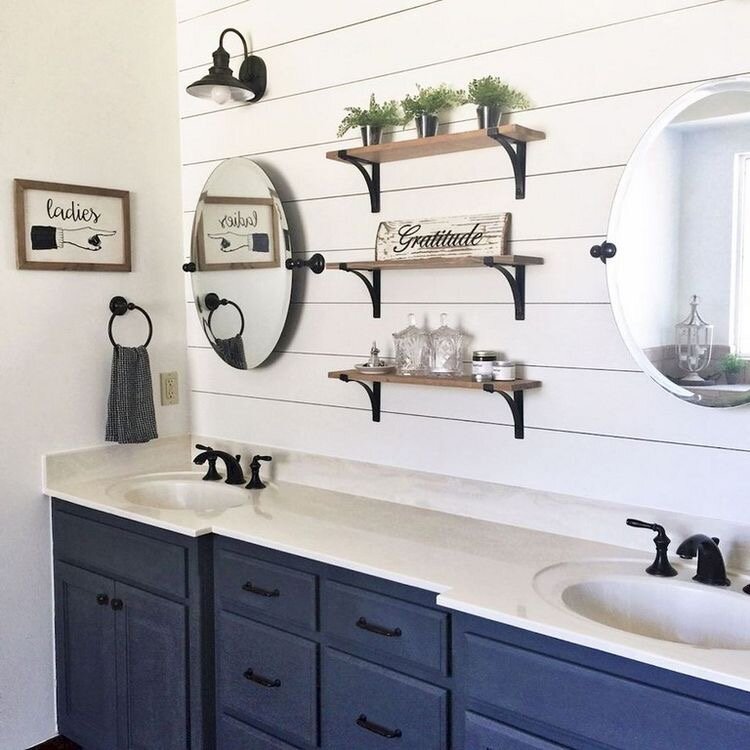
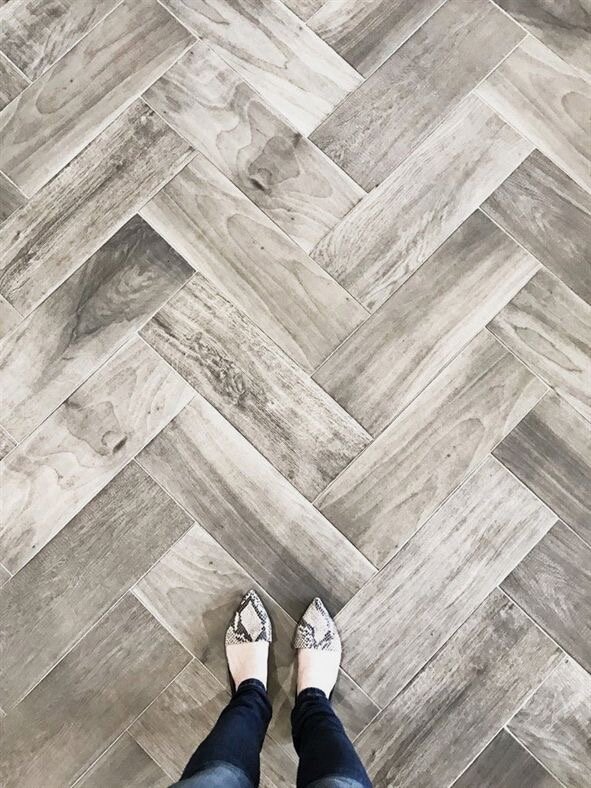
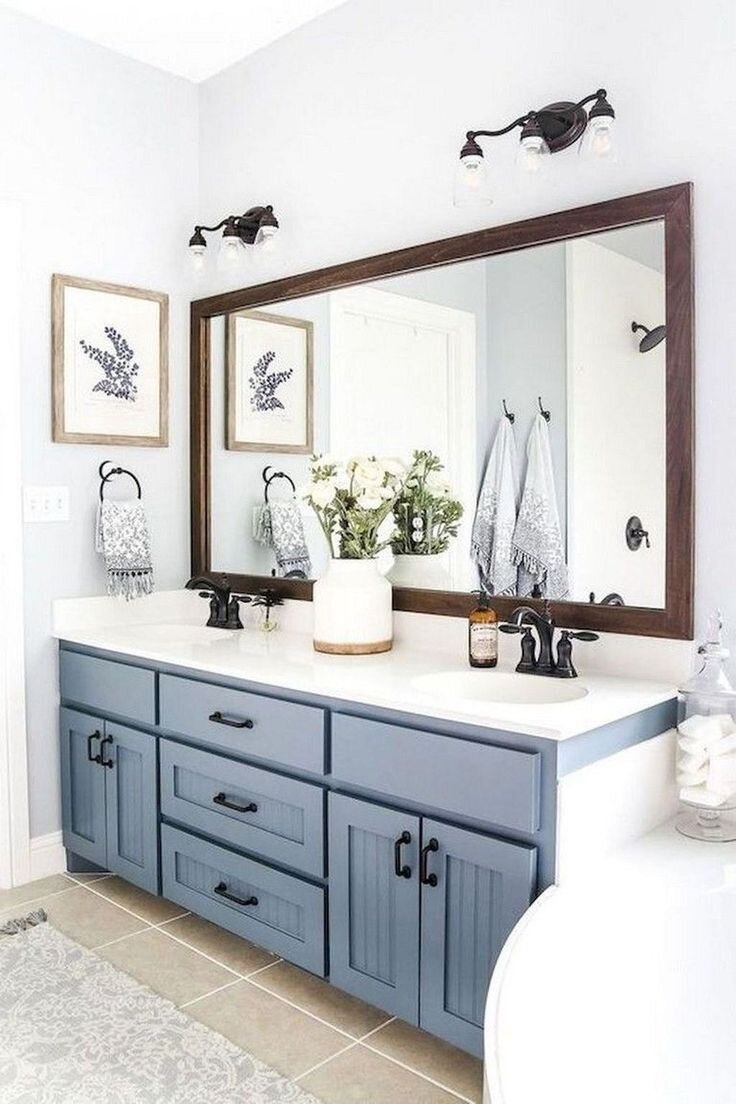
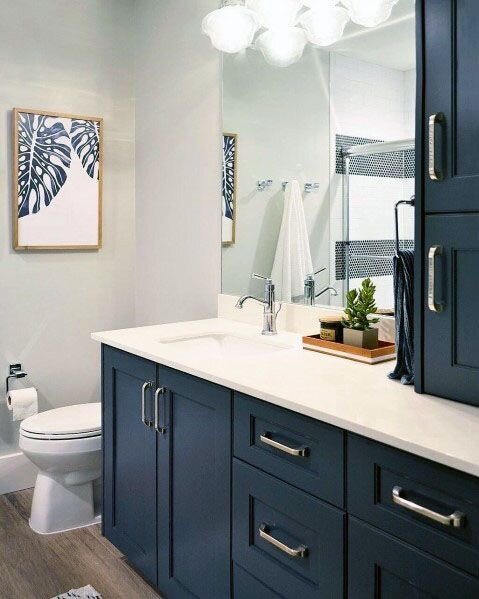
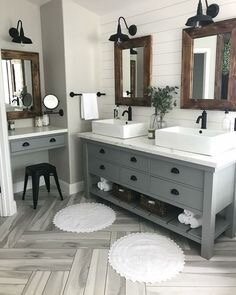
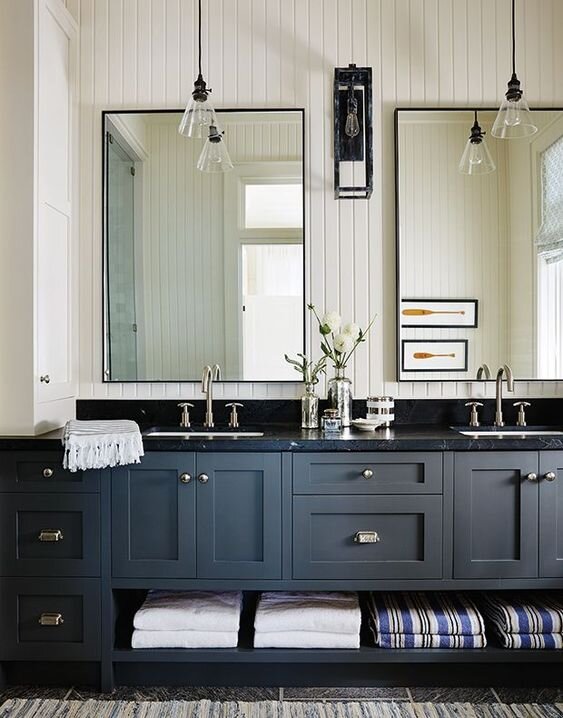
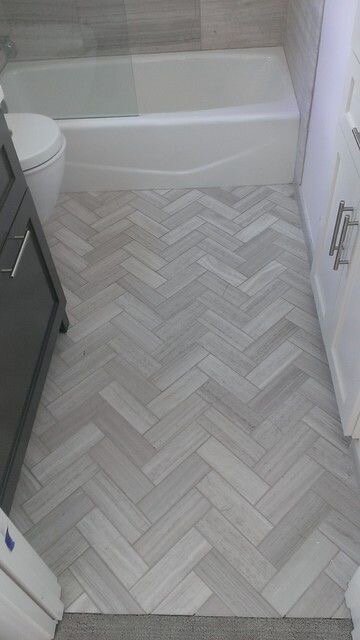
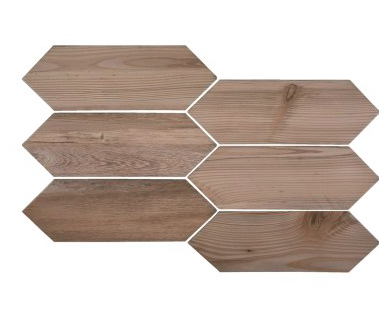
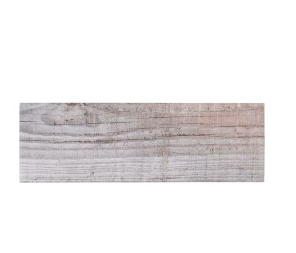
We really want to add some color to this bathroom, but still want it be cohesive with the rest of our home, so we are going to paint the cabinets Sherwin Williams “Blue Endeavor” to give it that pop of color! The tile in our entire downstairs of our home is a wood look tile, so we want to try and keep that same style on the floor in this bathroom, and we LOVE the gray wood tile we have been seeing! Maybe a pattern in the floor tile will be fun?
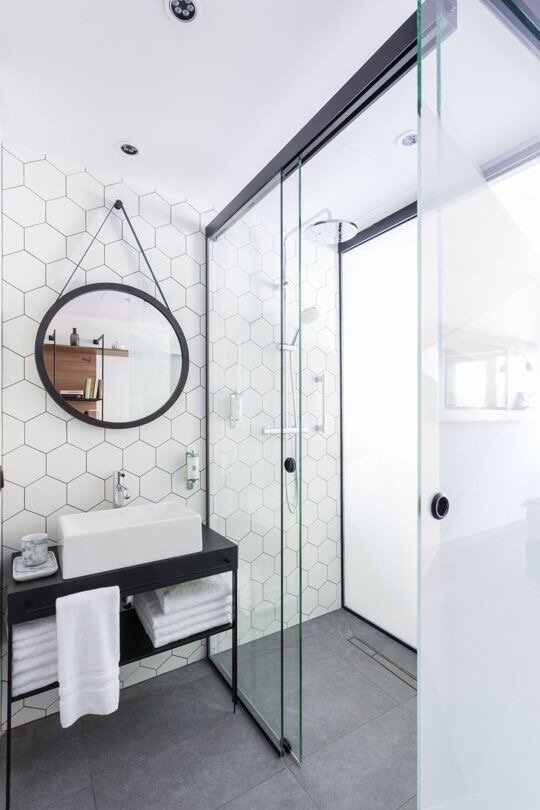
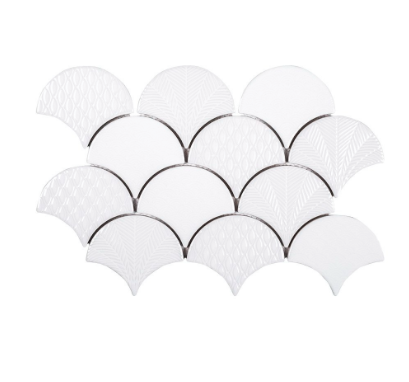
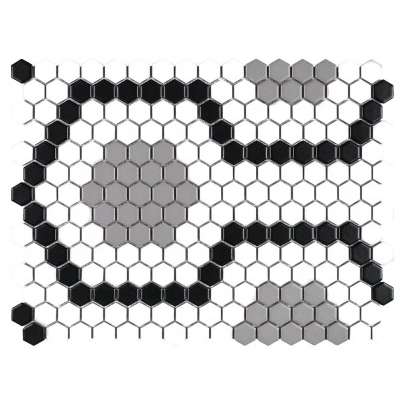
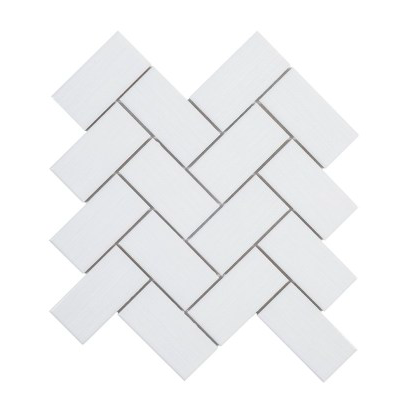
Since we took down that HUGE builder grade wall mirror, we are left with a lot of empty wall space, so we are thinking of putting up some sort of mosaic tile on the wall behind the new mirrors. We are LOVING the hexagon wall tile in the photo above, but we are keeping our options open and are looking for some other great patterned wall tile! I’m going to share some of our favorite Jeffrey Court tile below, comment and let us know what your favorites are!


Now for some progress!
As you saw last week, we took down the granite backsplash that was around the countertop, and it left a little bit of damage, so we need to repair that before we can repaint the wall. We purchased some 3M patch plus primer spackle off of Amazon (link here) and WOW! This stuff kicks butt and was so inexpensive. Like I said, when we took off the backsplash, it ripped off quite a bit of drywall, and I’m not going to lie- we were pretty nervous about how we were going to fix it. Then we stumbled upon this stuff and its a GAME.CHANGER. I don’t know how we ever used anything else. It applied like butter and we basically only needed to do one layer to fill the MASSIVE holes. Go check out our Instagram story to see it in action!
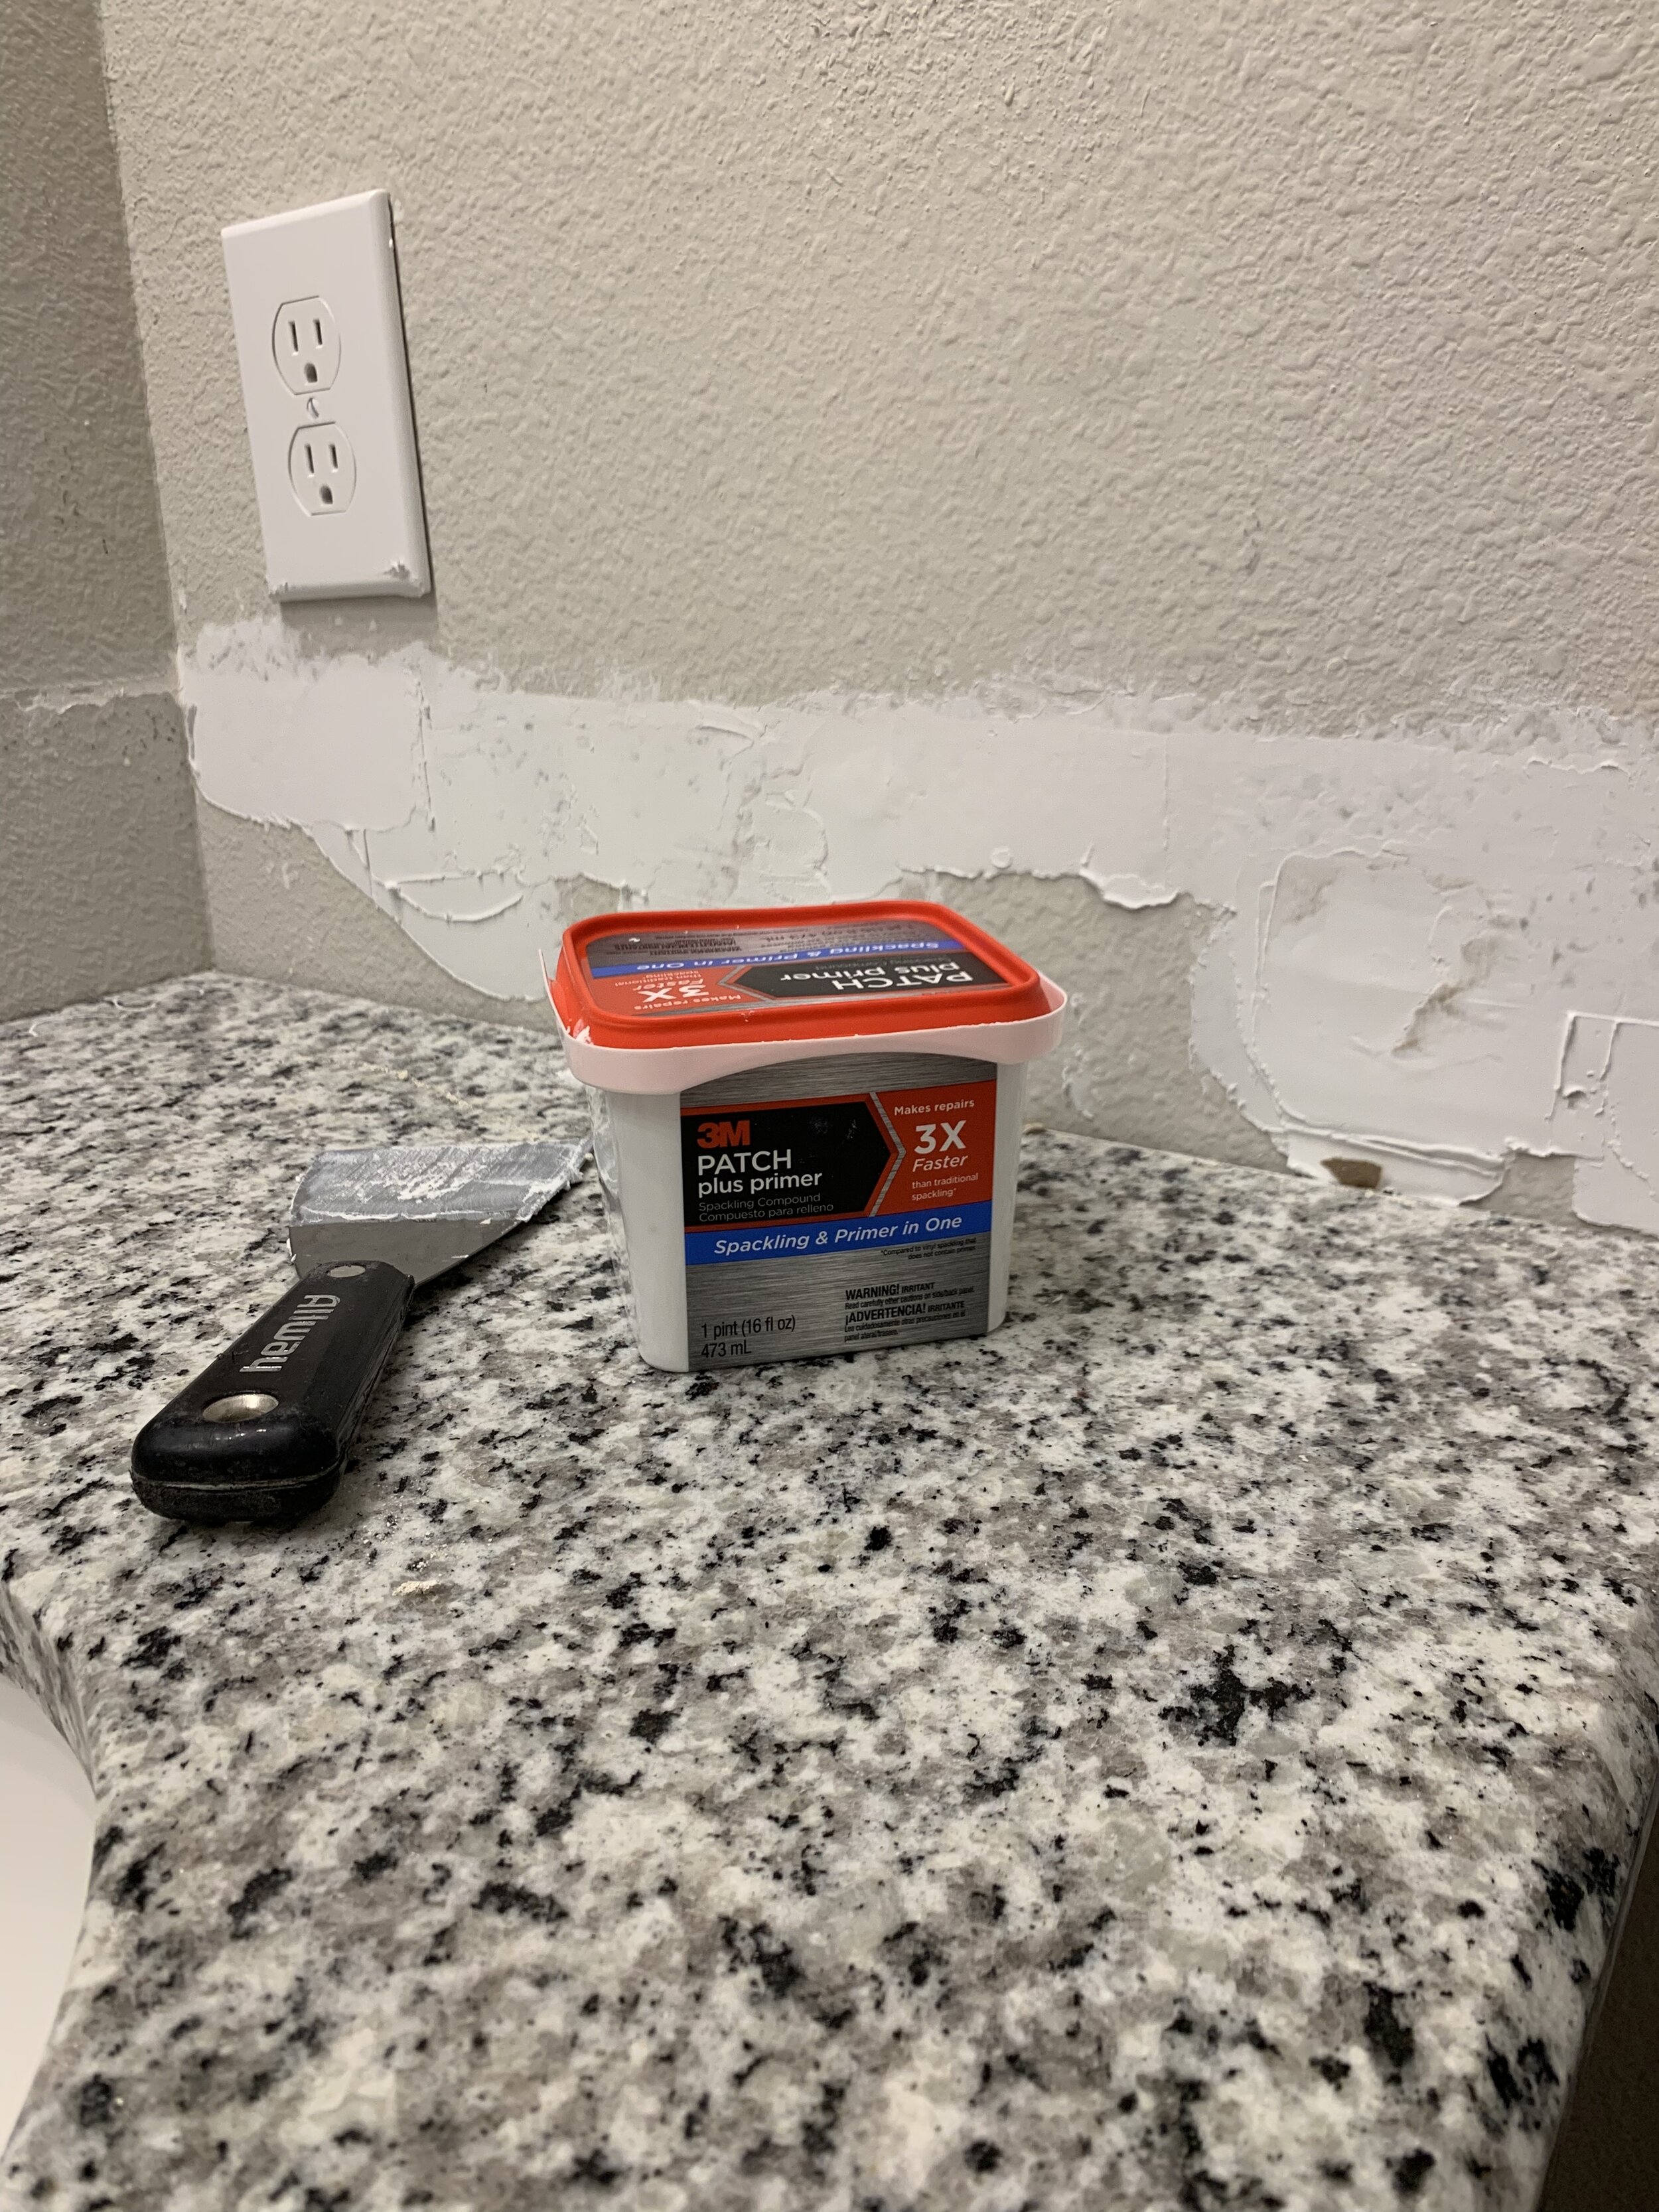
10/10 reccoment this patch and primer spackle
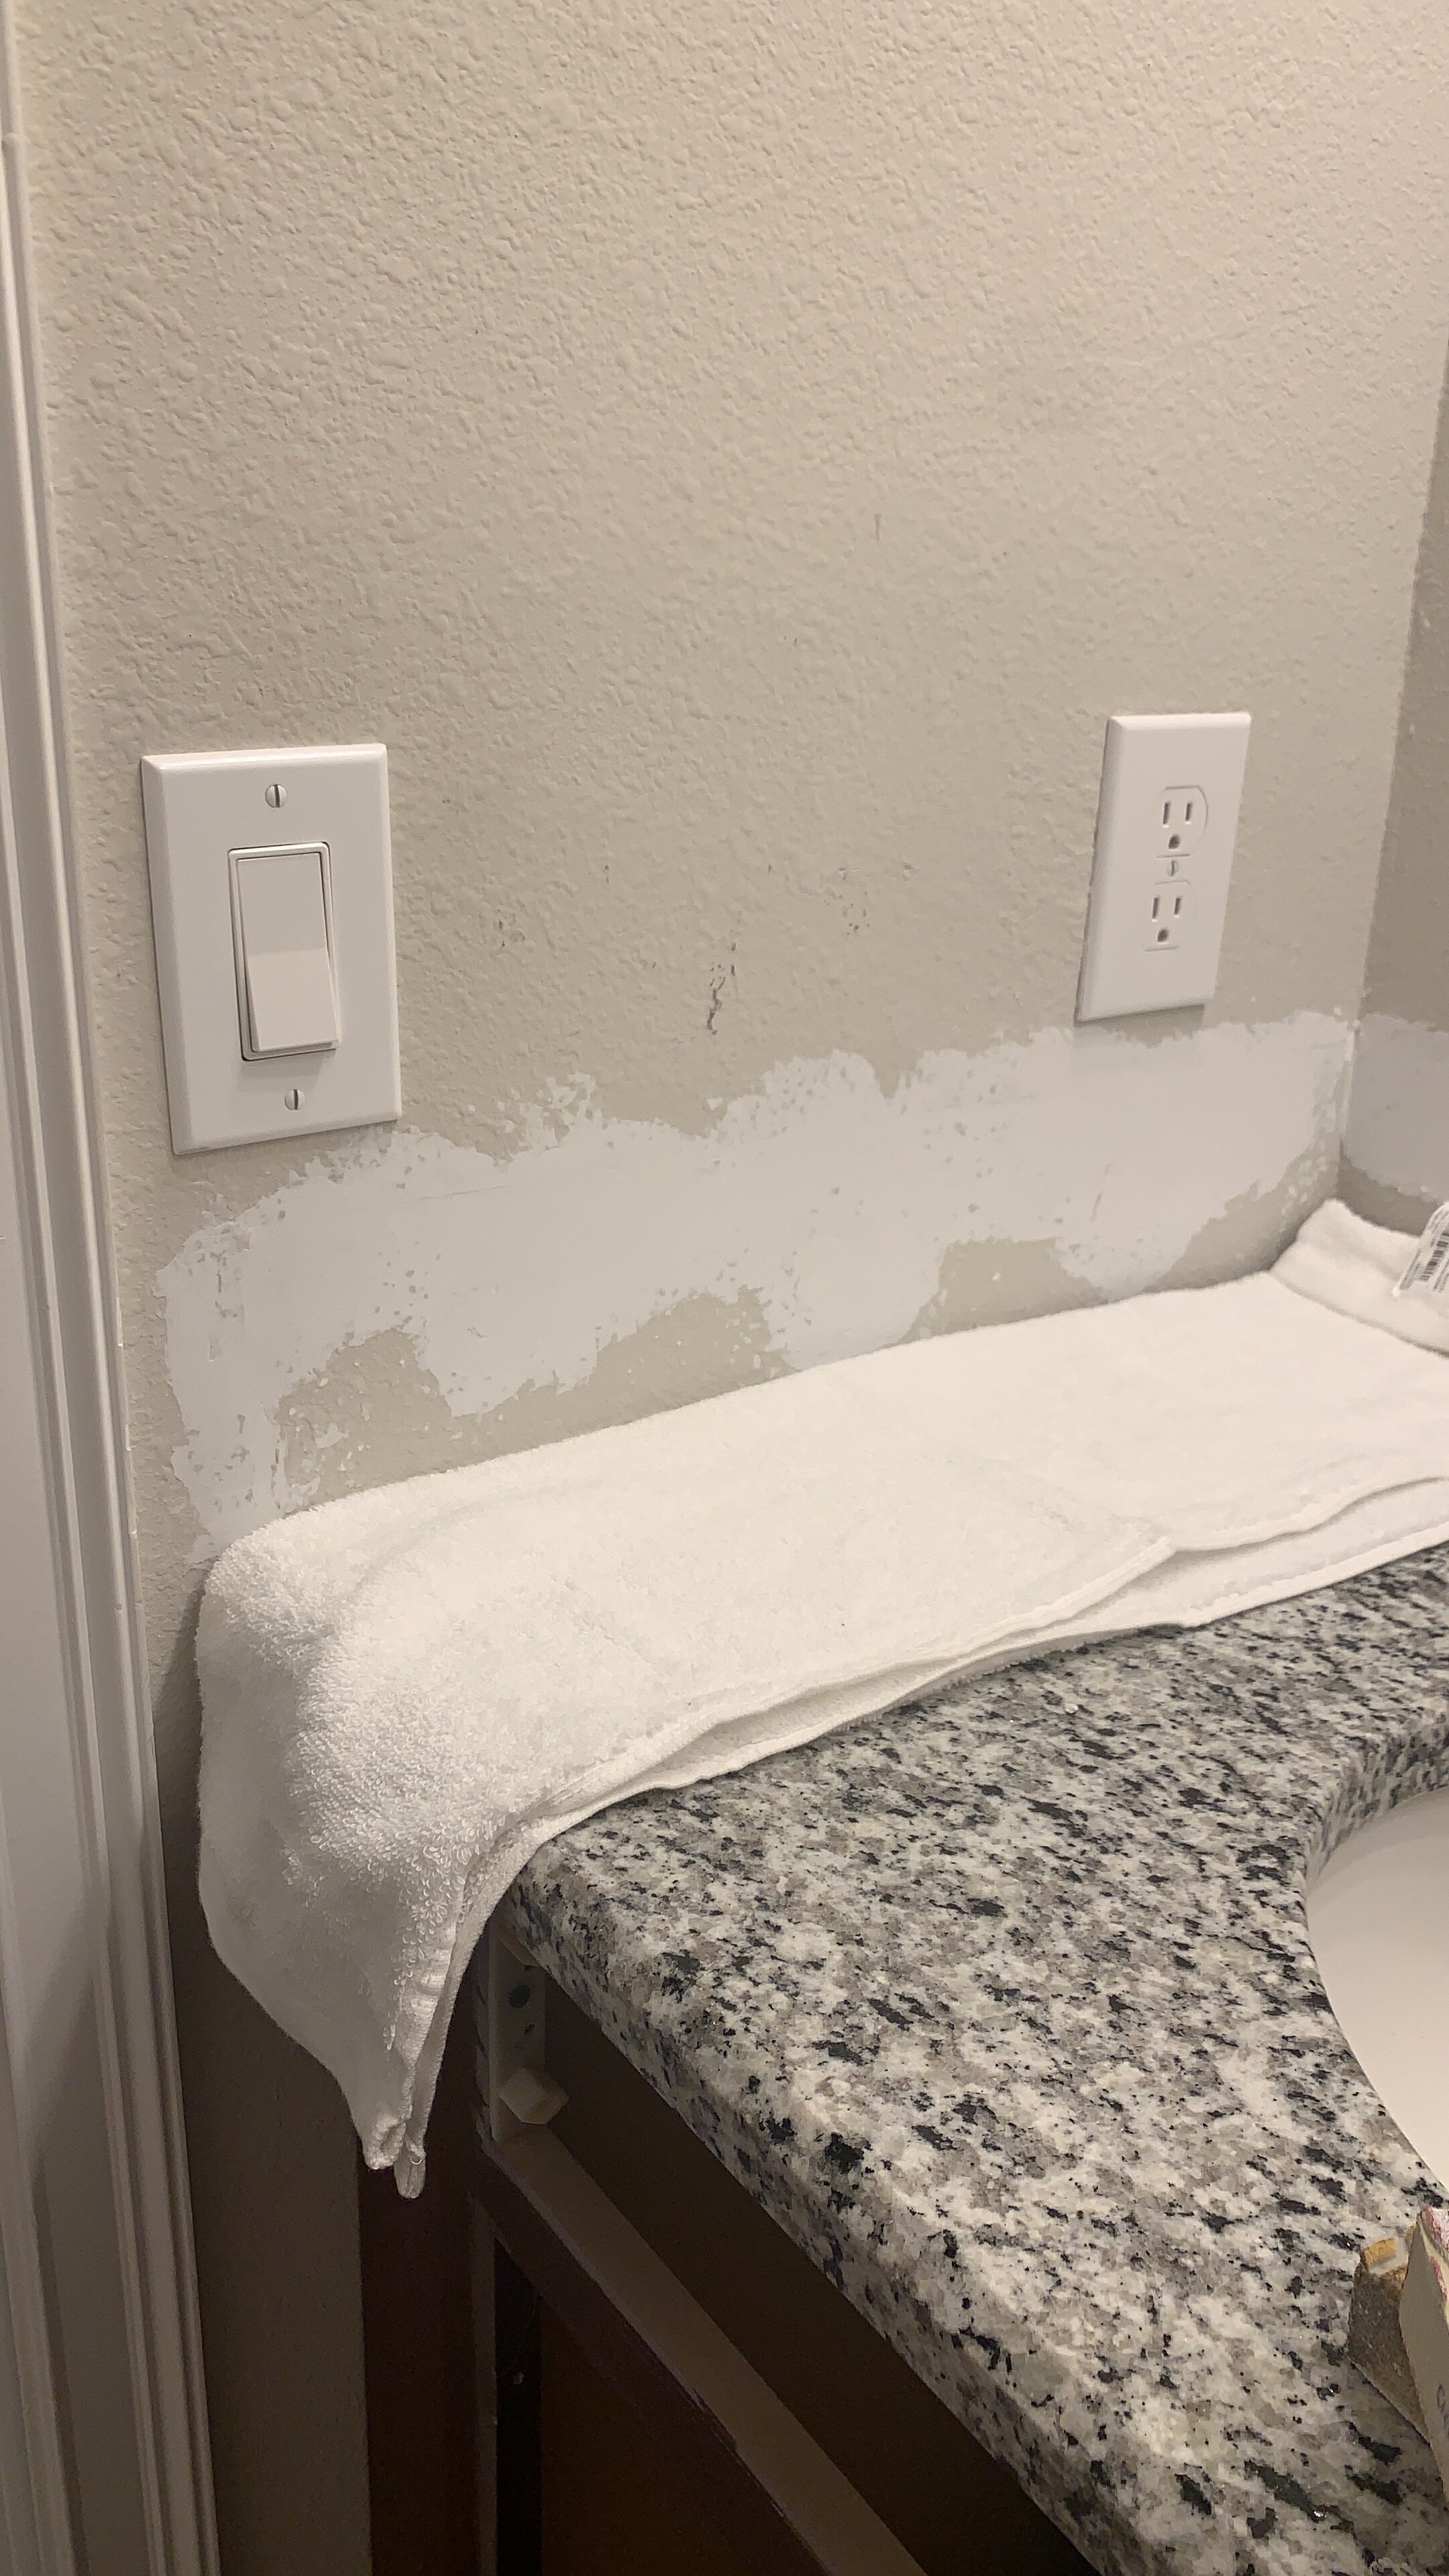
This is what it looks like dried and sanded down
For some reason, in Florida our walls have orange peel texture on them-this isn’t something any of my homes in Ohio had growing up, but its what we got! So in order for our newly patched spots to match the rest of the wall, we need to add some texture back to those spots. And how do we do that you ask? Amazon. Has. EVERYTHING. Seriously, who knew they sold orange peel texture spray?! It was inexpensive and matches the rest of our wall texture perfectly (link here) Theres three different levels of texture that can be sprayed, and we did the “fine” texture because thats what the rest of our walls look like they have. So, we have patched all of the holes, retextured the walls and they are ready to be painted next week!

The texture spray goes on blue, and dries white.
Something else we can check off the list this week is painting our cabinets! Like I said earlier, we decided on a color- Blue Endeavor by Sherwin Williams! Its a perfect dark blue/gray color. We didn’t want it to be “too blue” but still add some much needed color to the space. We weren’t sure what kind of paint to get to paint the cabinets, as this was the first time we have painted cabinets, so we asked the worker in the paint department as Lowe’s! He suggested Valspar cabinet enamel, so we went with a quart of that!

The top paint color is “Blue Endeavor” by Sherwin Williams, it looks a lot darker here.
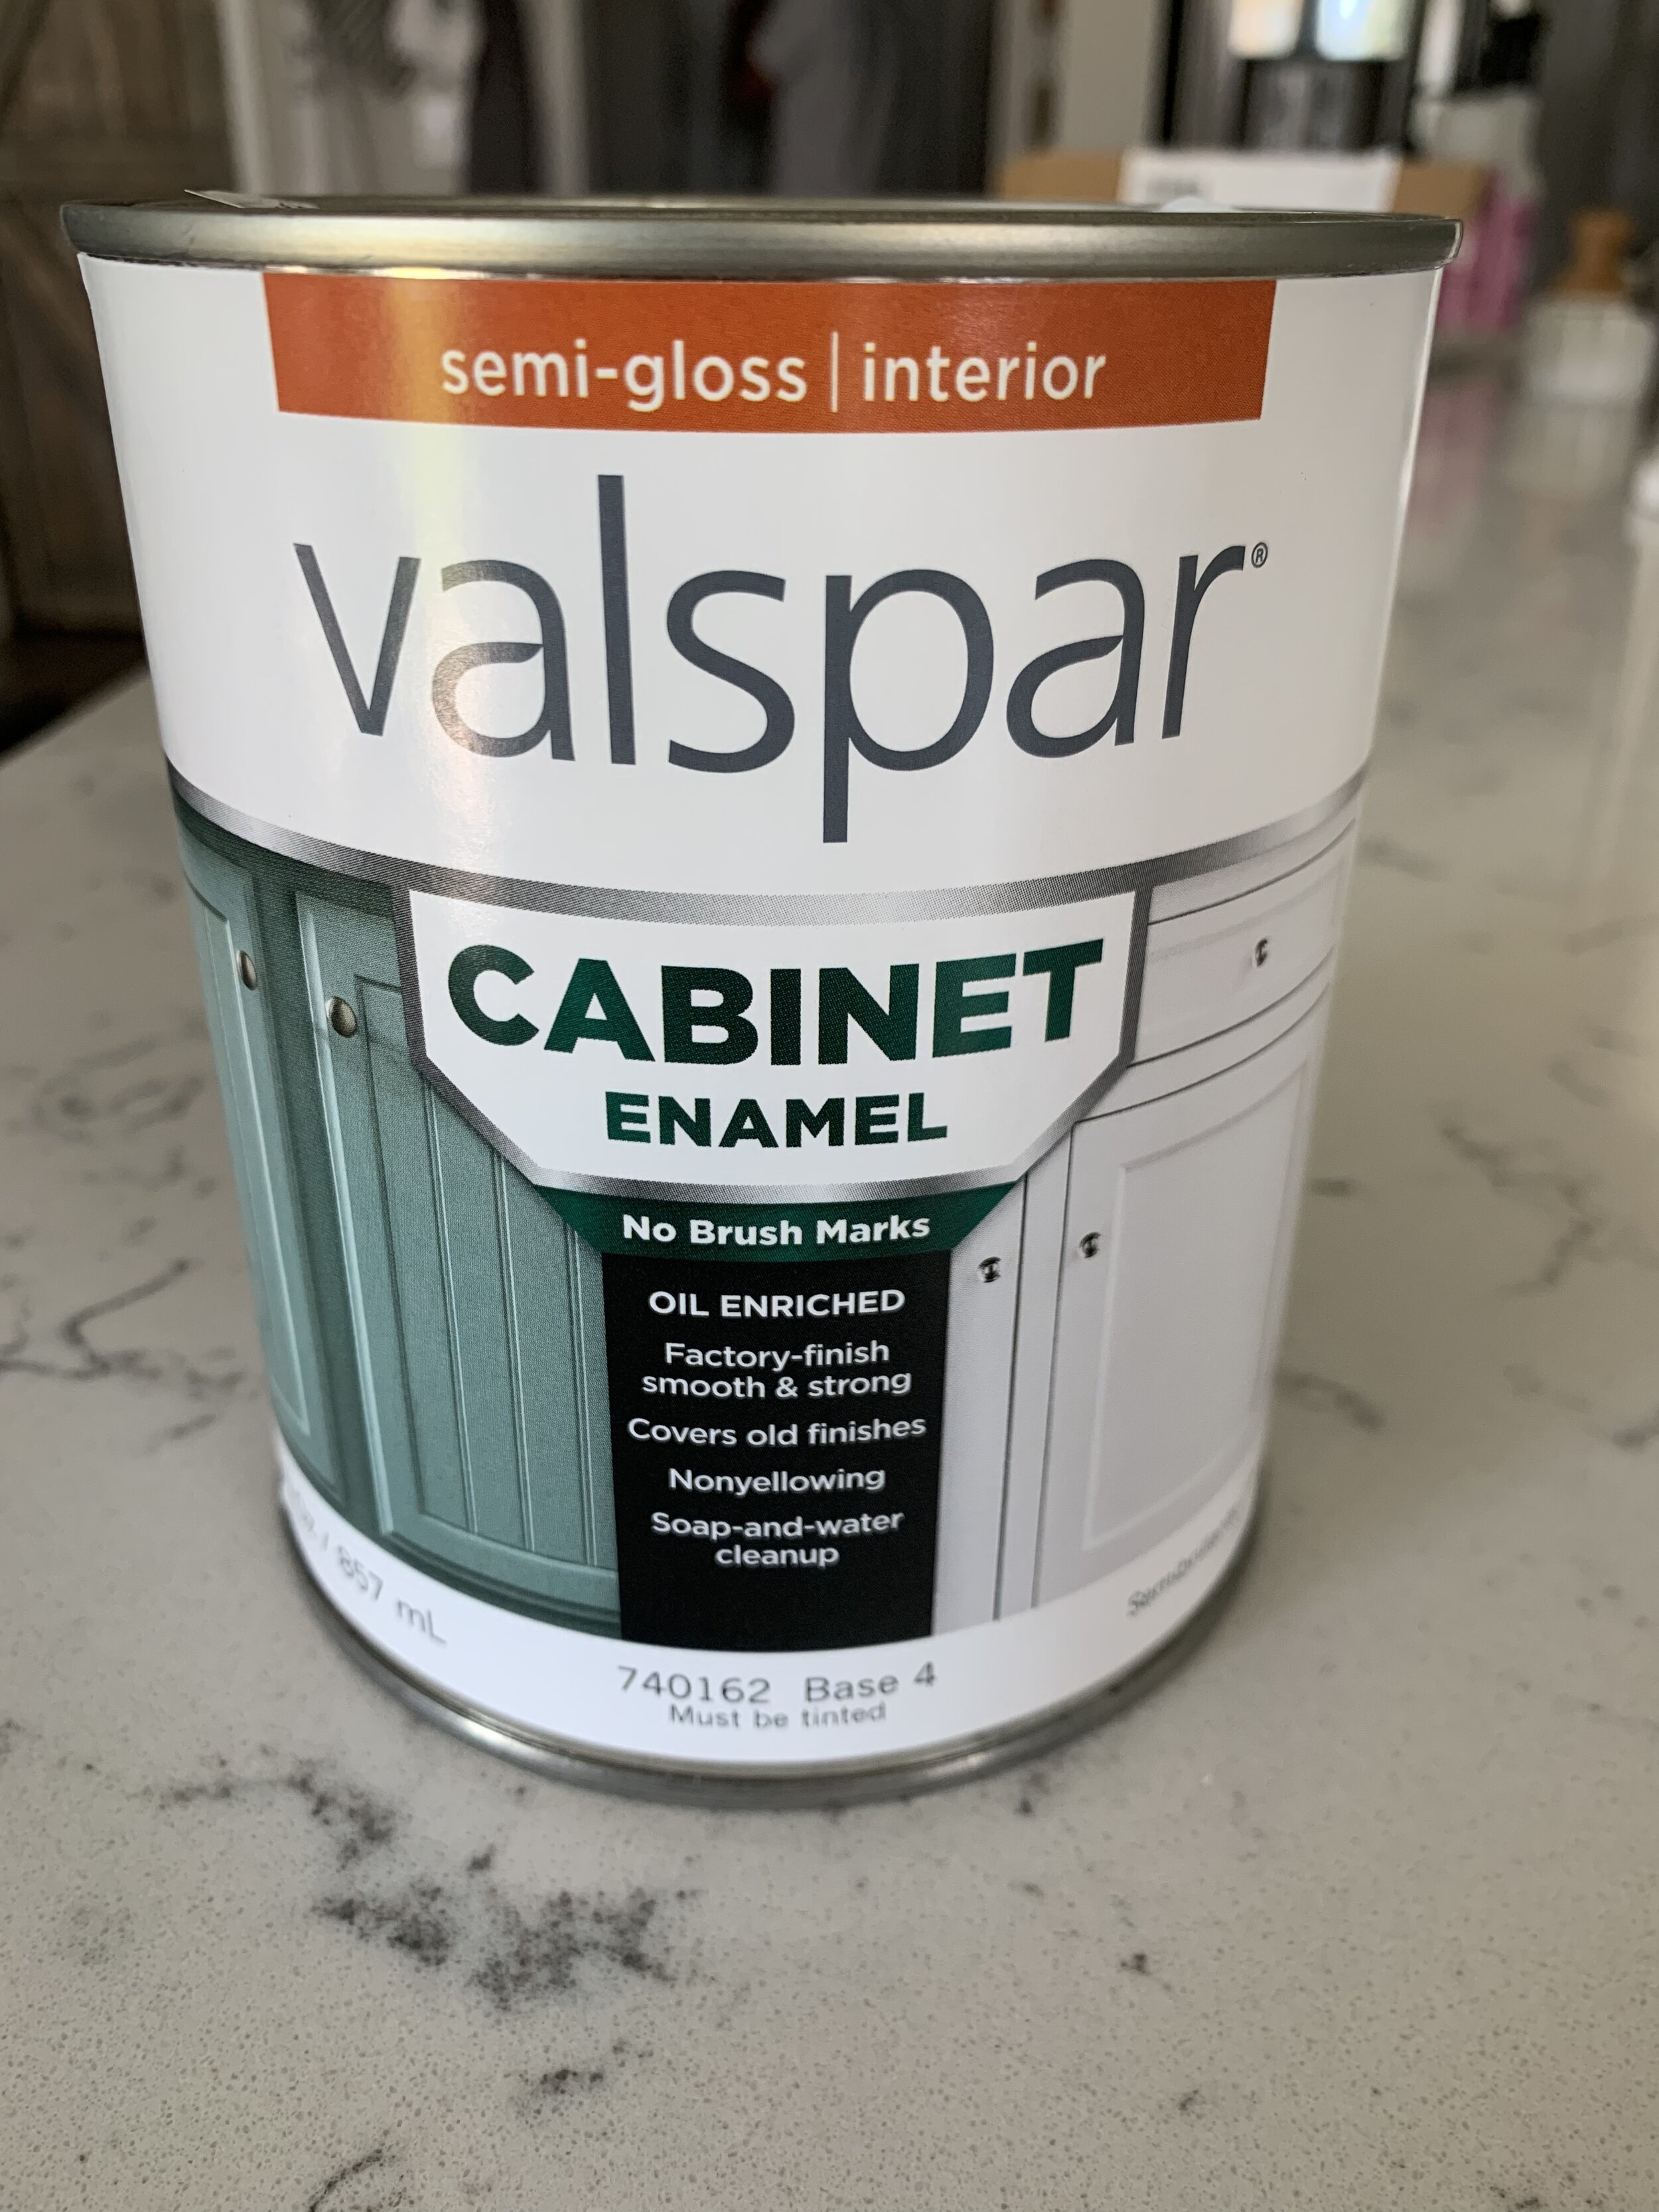
This stuff is awesome, and we definitely recommend it. It wasn’t inexpensive though, it was about $25 for a quart.
We wanted to use a paint sprayer to paint the cabinet doors and fake drawer panels so they would be as smooth as possible, and I have always seen DIYer’s use paint sprayers for cabinets-so thats what we did! Kind of like that “Mean Girls” quote about army pants and flip flips (please tell me someone knows what I’m talking about haha). We got our paint sprayer off of Amazon (linked here) and we actually really like it! It includes two paint bucket attachments which I thought was awesome so you don’t need to wash it out if you are using two different colors. You will most likely need to thin your paint before using it in the sprayer so it doesn’t clog. It includes a viscosity cup and guide, so it was super easy to figure out. The sprayer was also easy to use, you just do a sweeping motion back and fourth, like using a fire extinguisher- but probably a lot slower and with less panic haha.
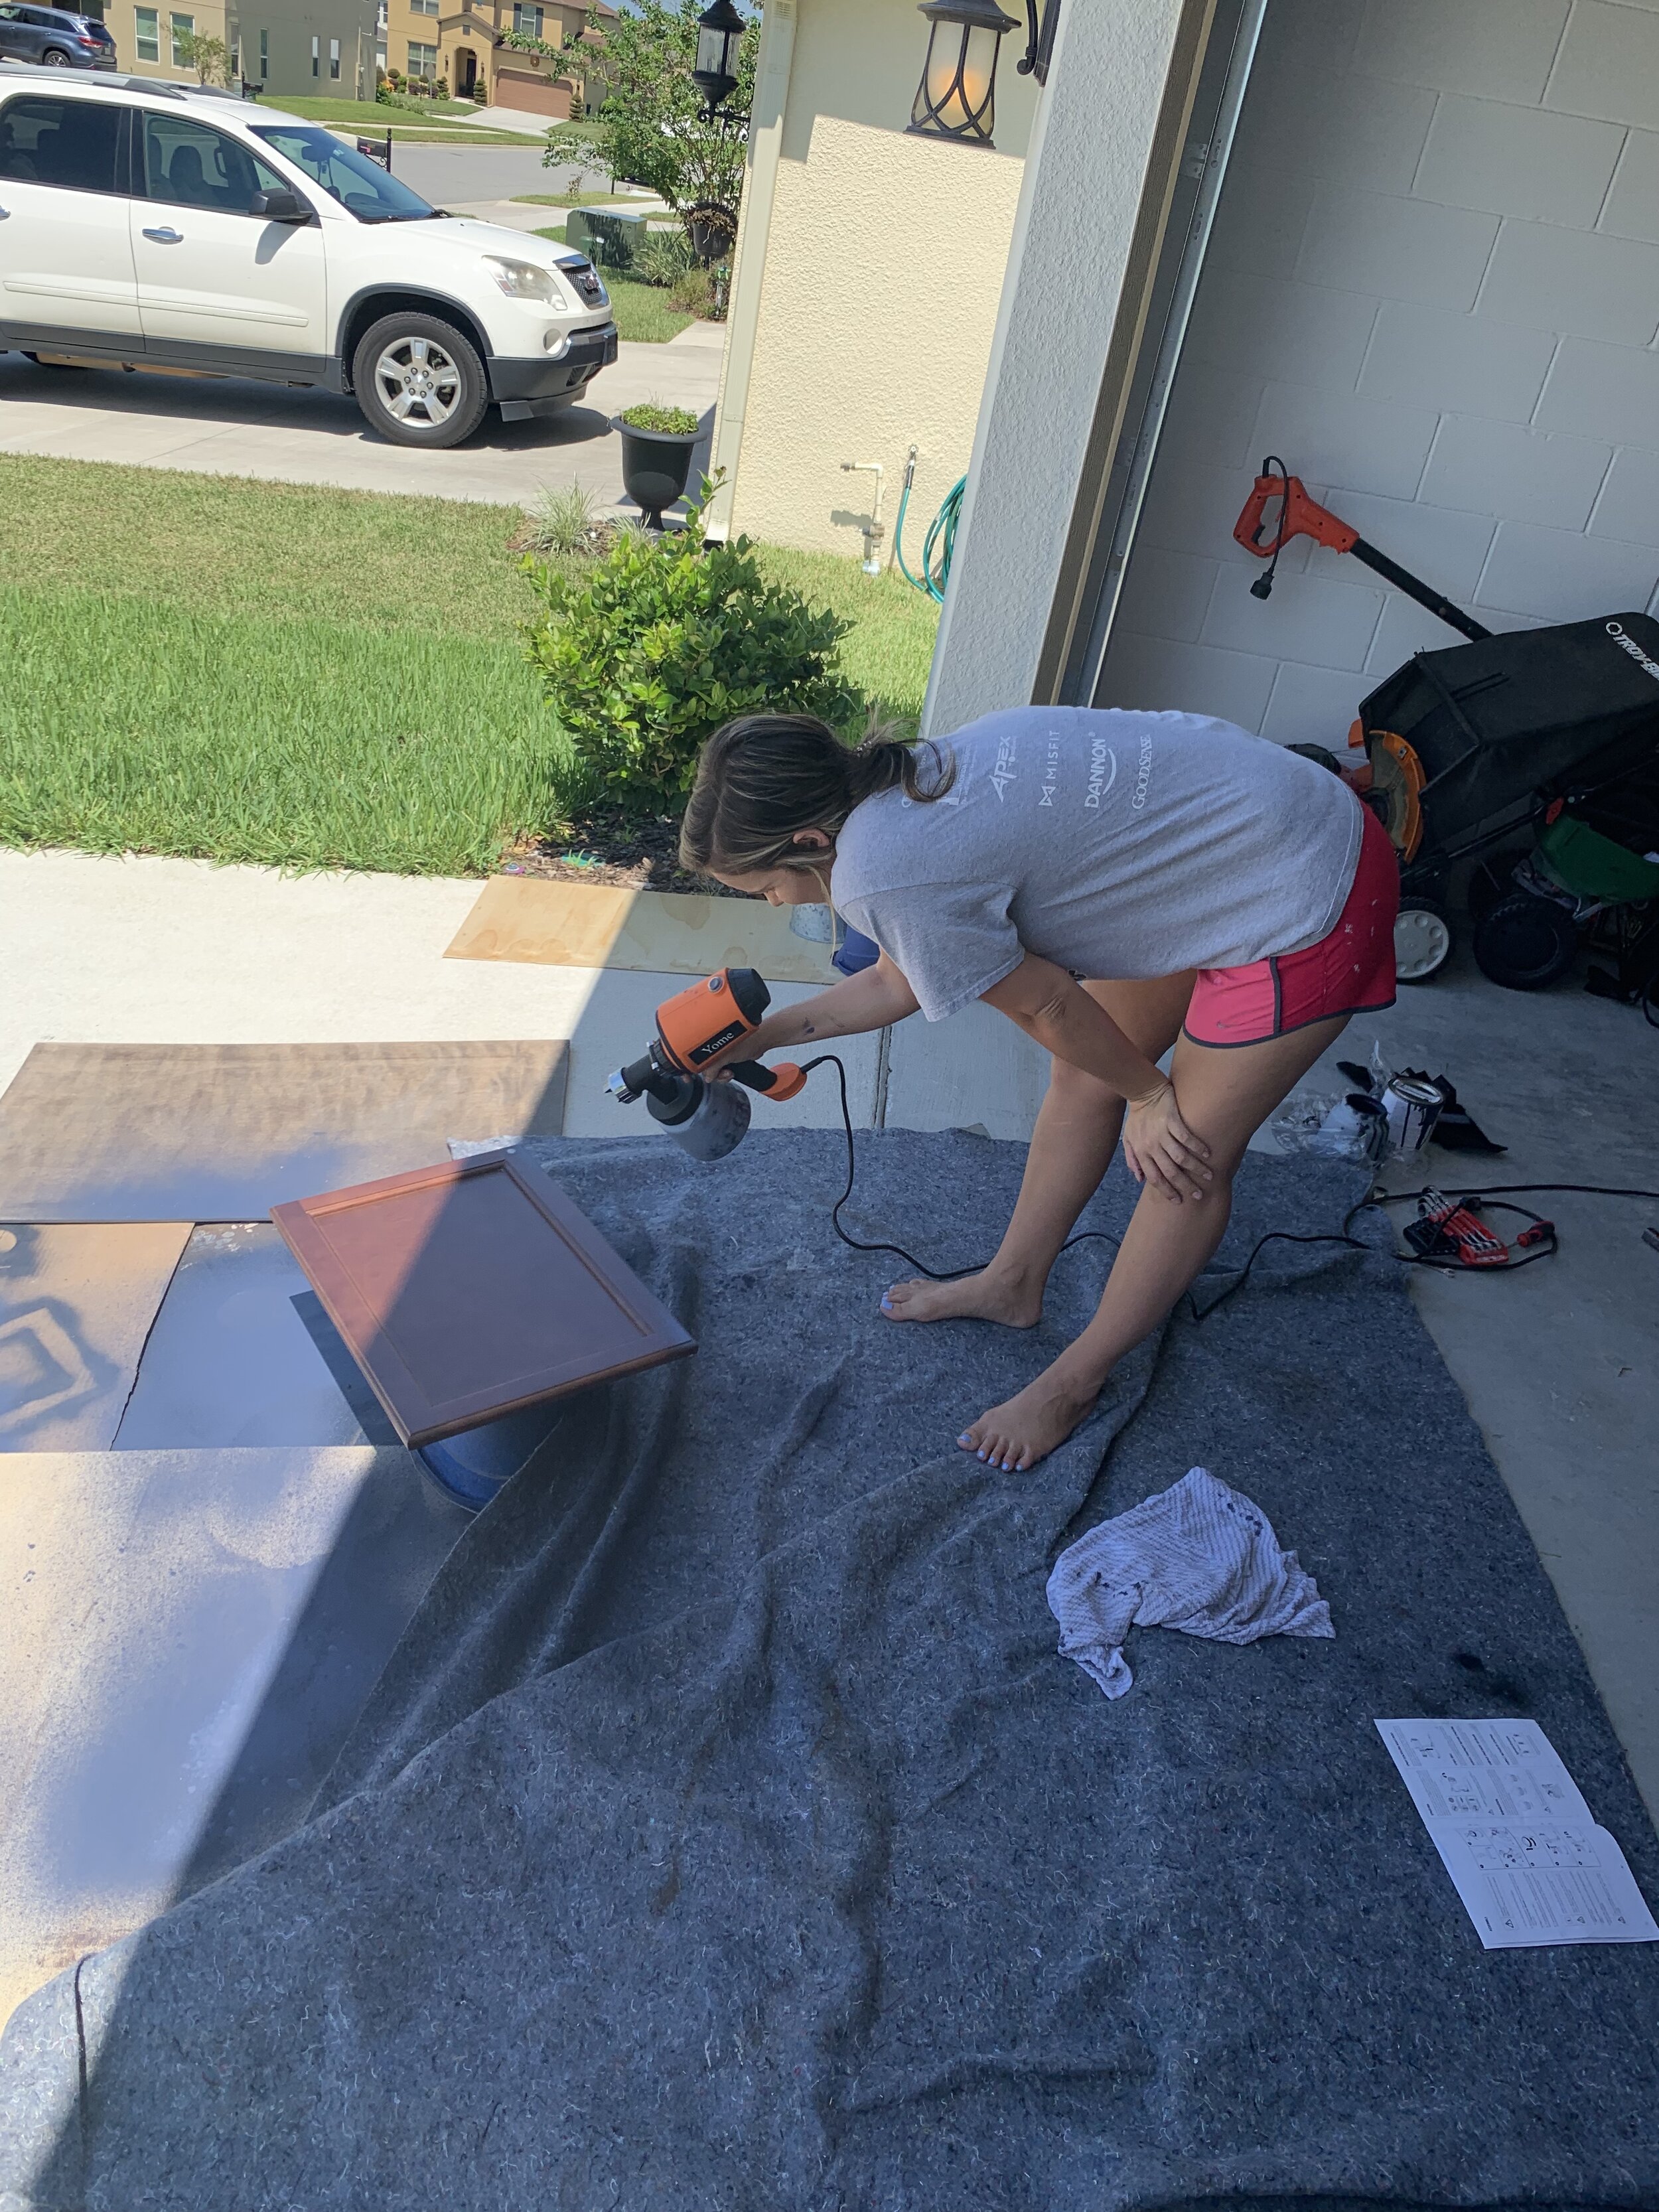
We did this in the driveway because it can get messy and we didn’t want it to get on anything!

We used a Whizz cabinet roller for the trim of the cabinets.
To paint the trim of the cabinets, we used a Whizz cabinet and door roller, and the enamel really applied beautifully. We almost didn’t need a second coat, but we decided to go ahead and do one anyways, and it looks awesome and smooth. We will need to do two coats on the doors, to help cover the holes we patched where the old handles were, and we still need to paint the inside of the doors, so we won’t finish those this week, so we’ll save that for next week along with repainting the walls where we patched!
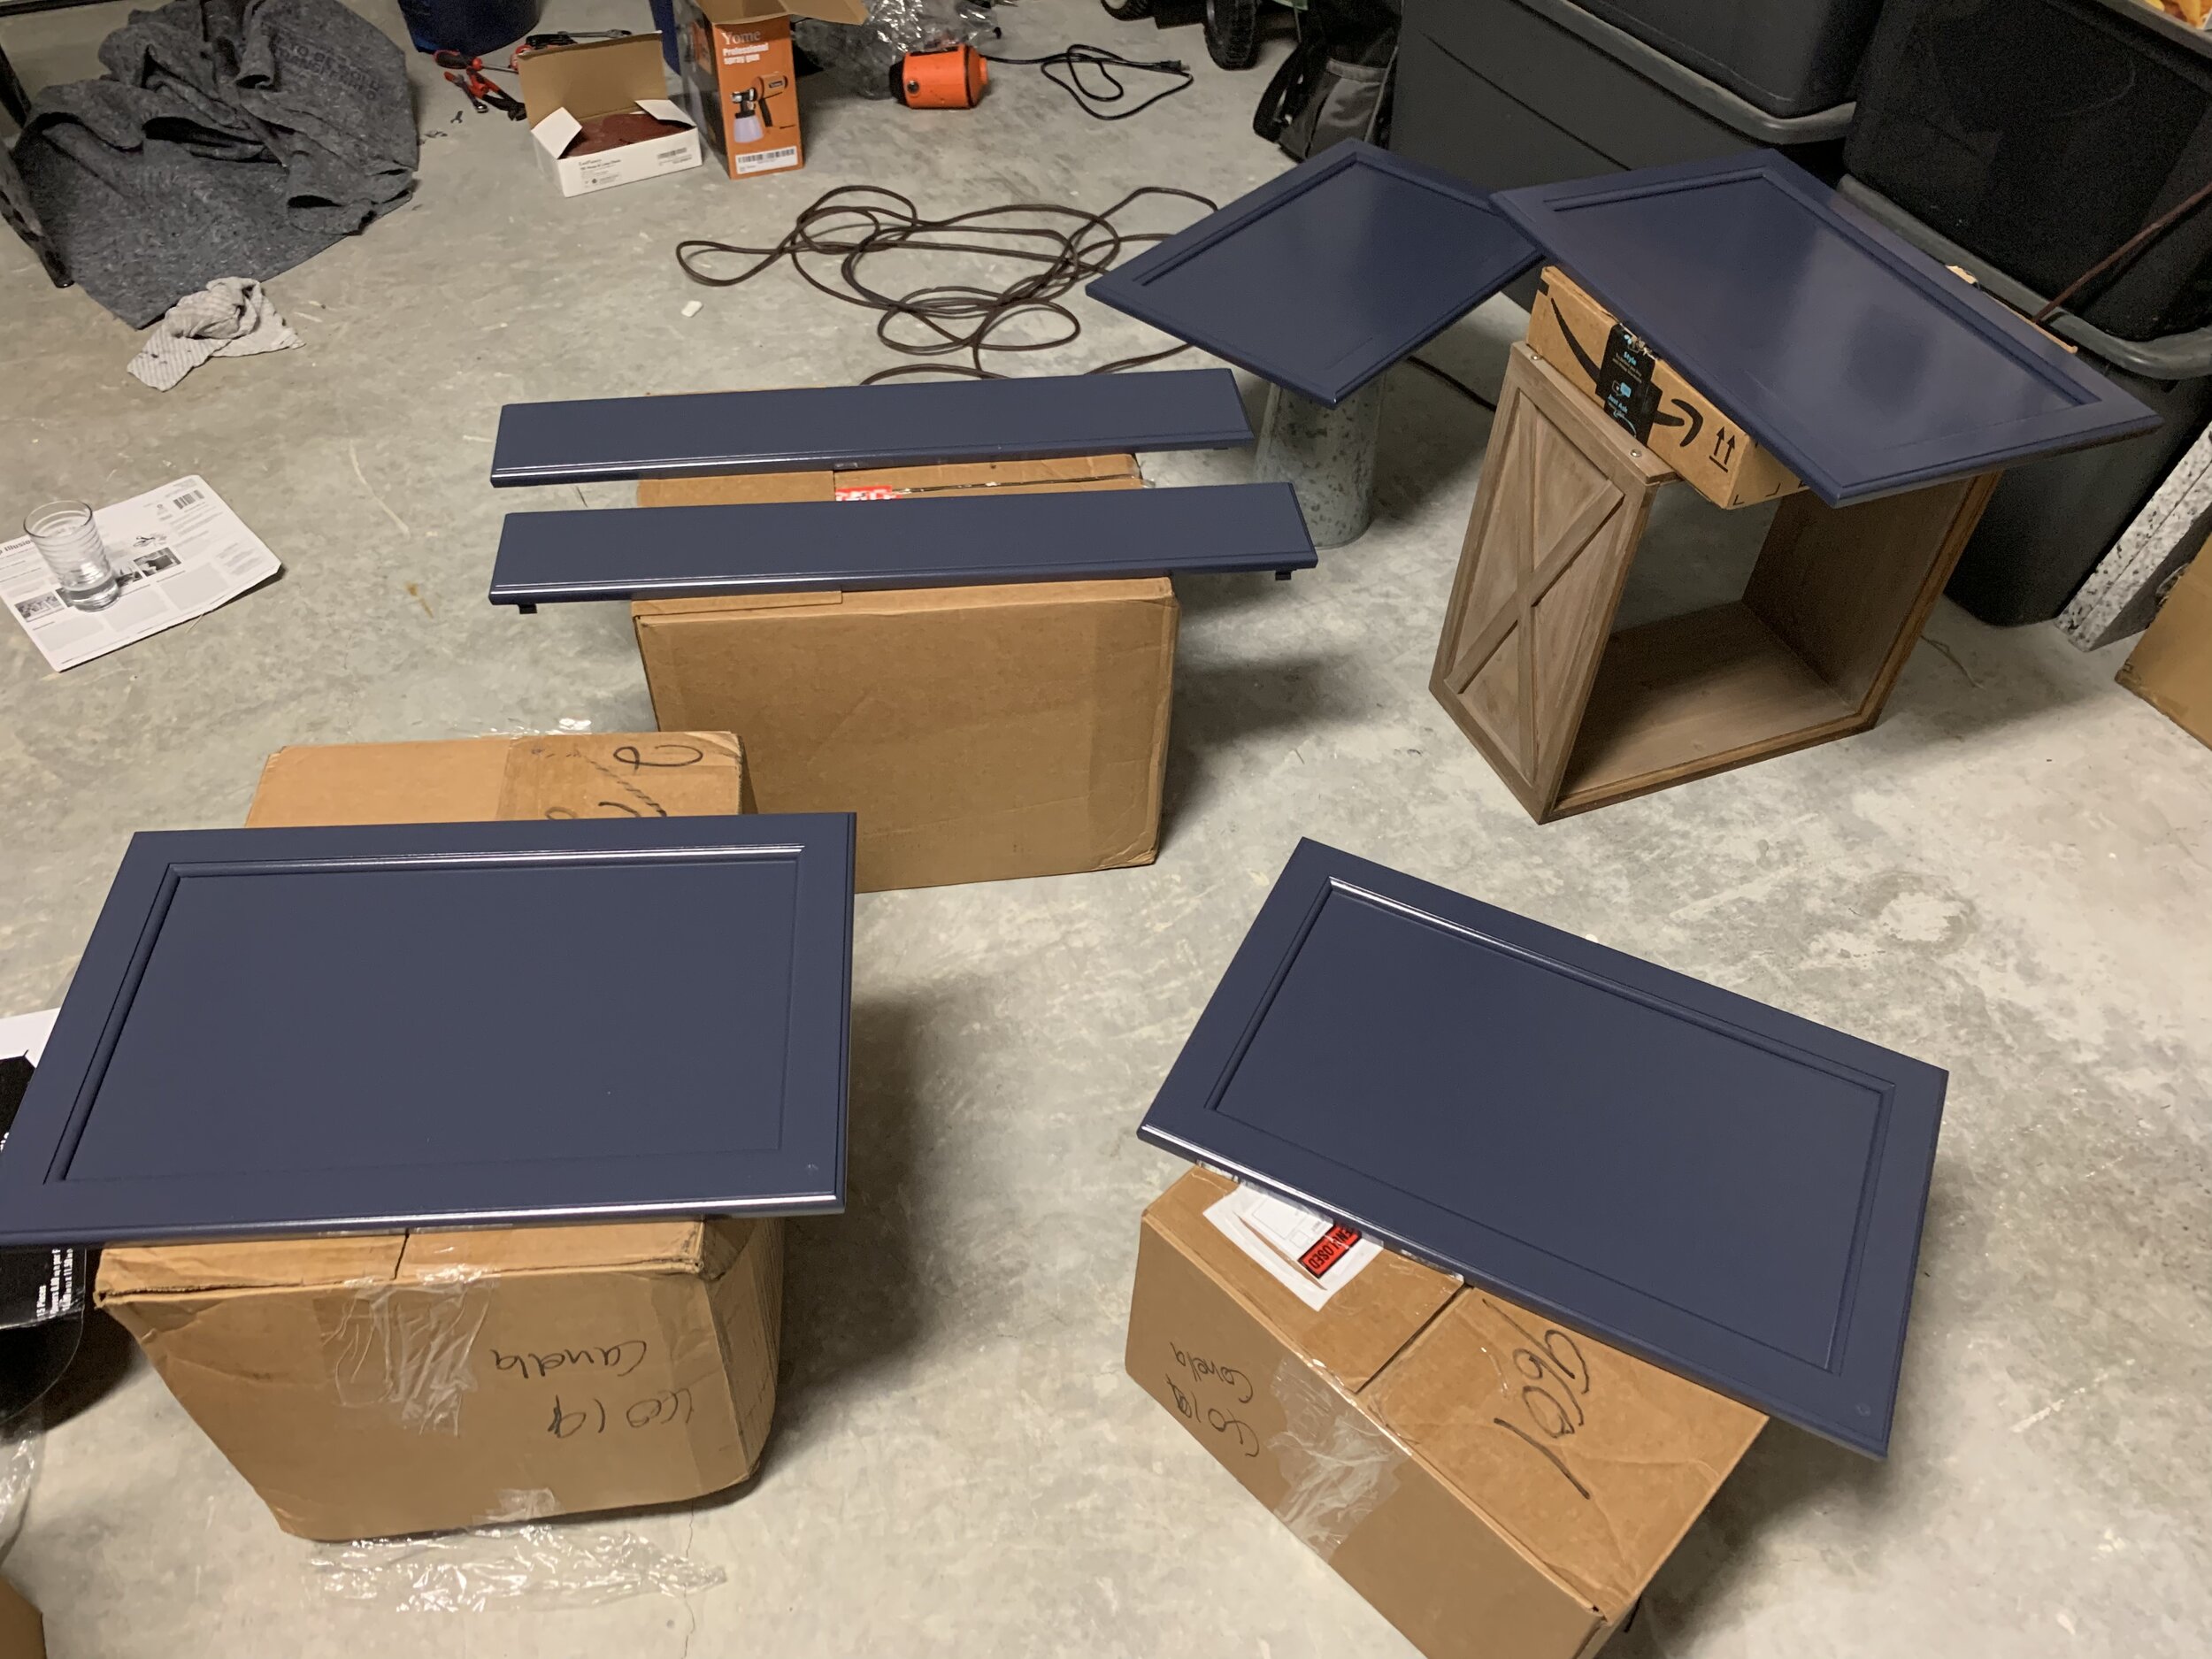
We are loving the paint color so far, and the cabinets will dry for a few days before we apply the second coat.
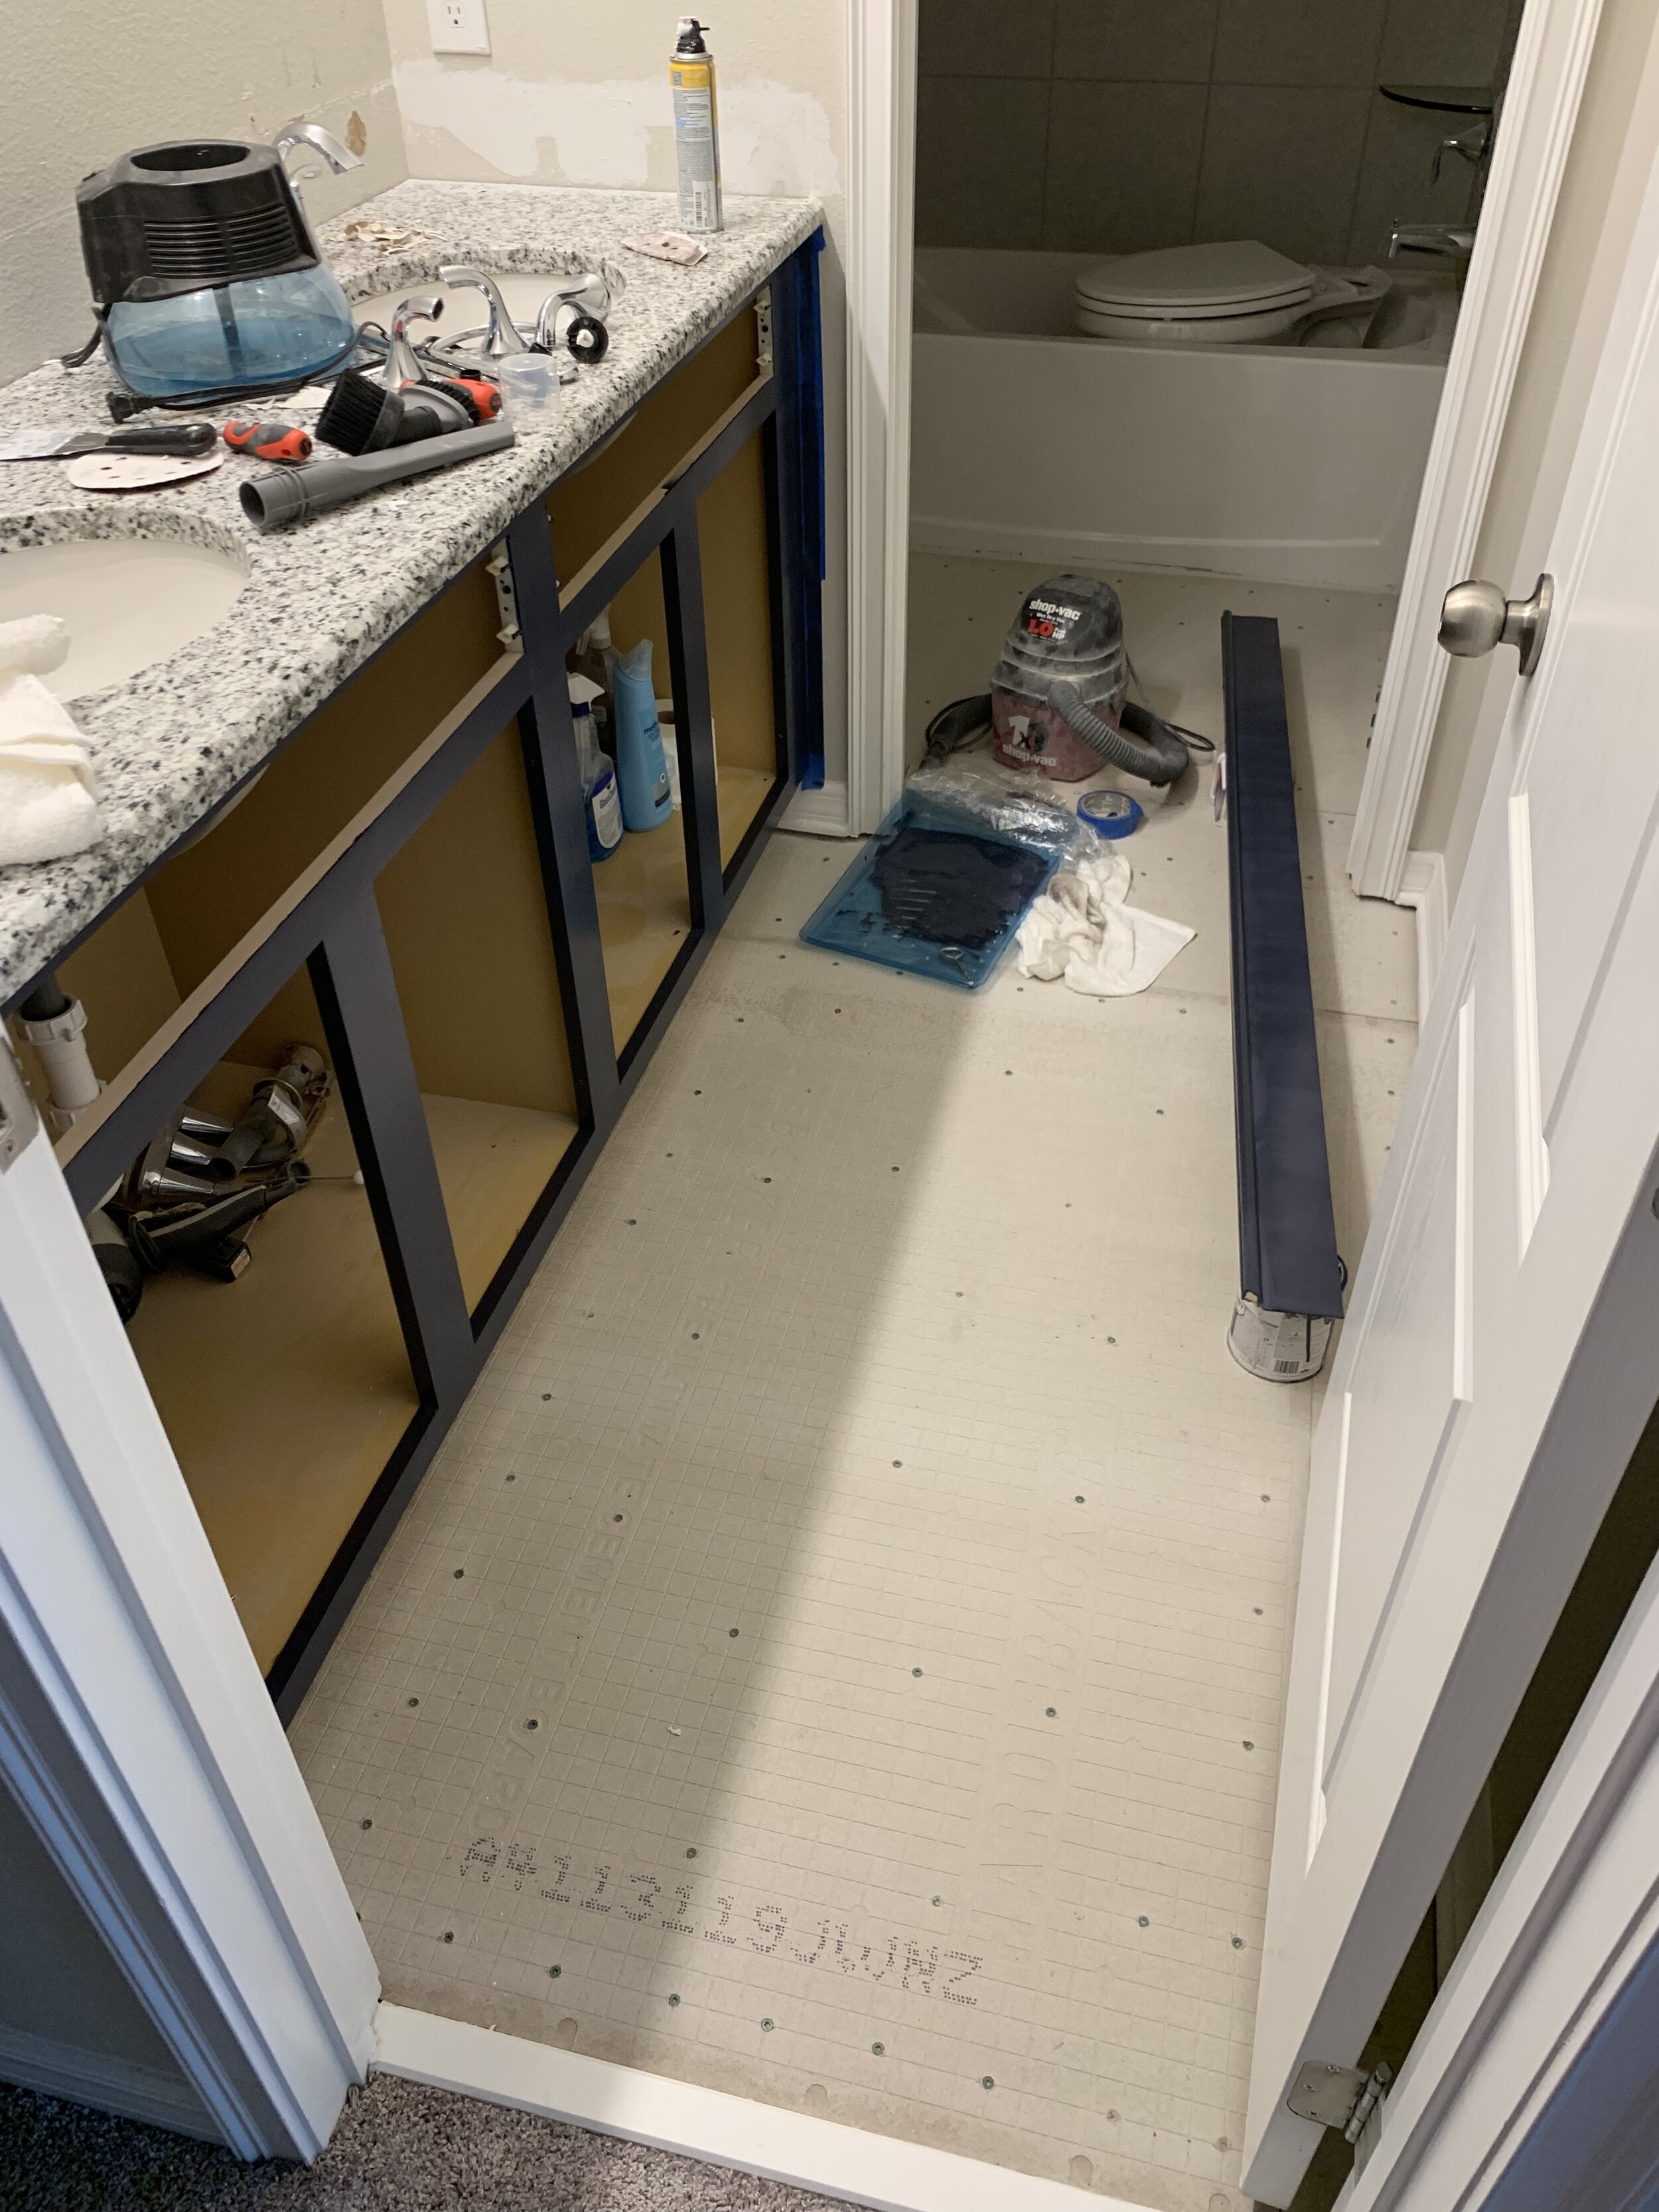
Cabinet trim and kick plate painted, and wall patched and retextured!
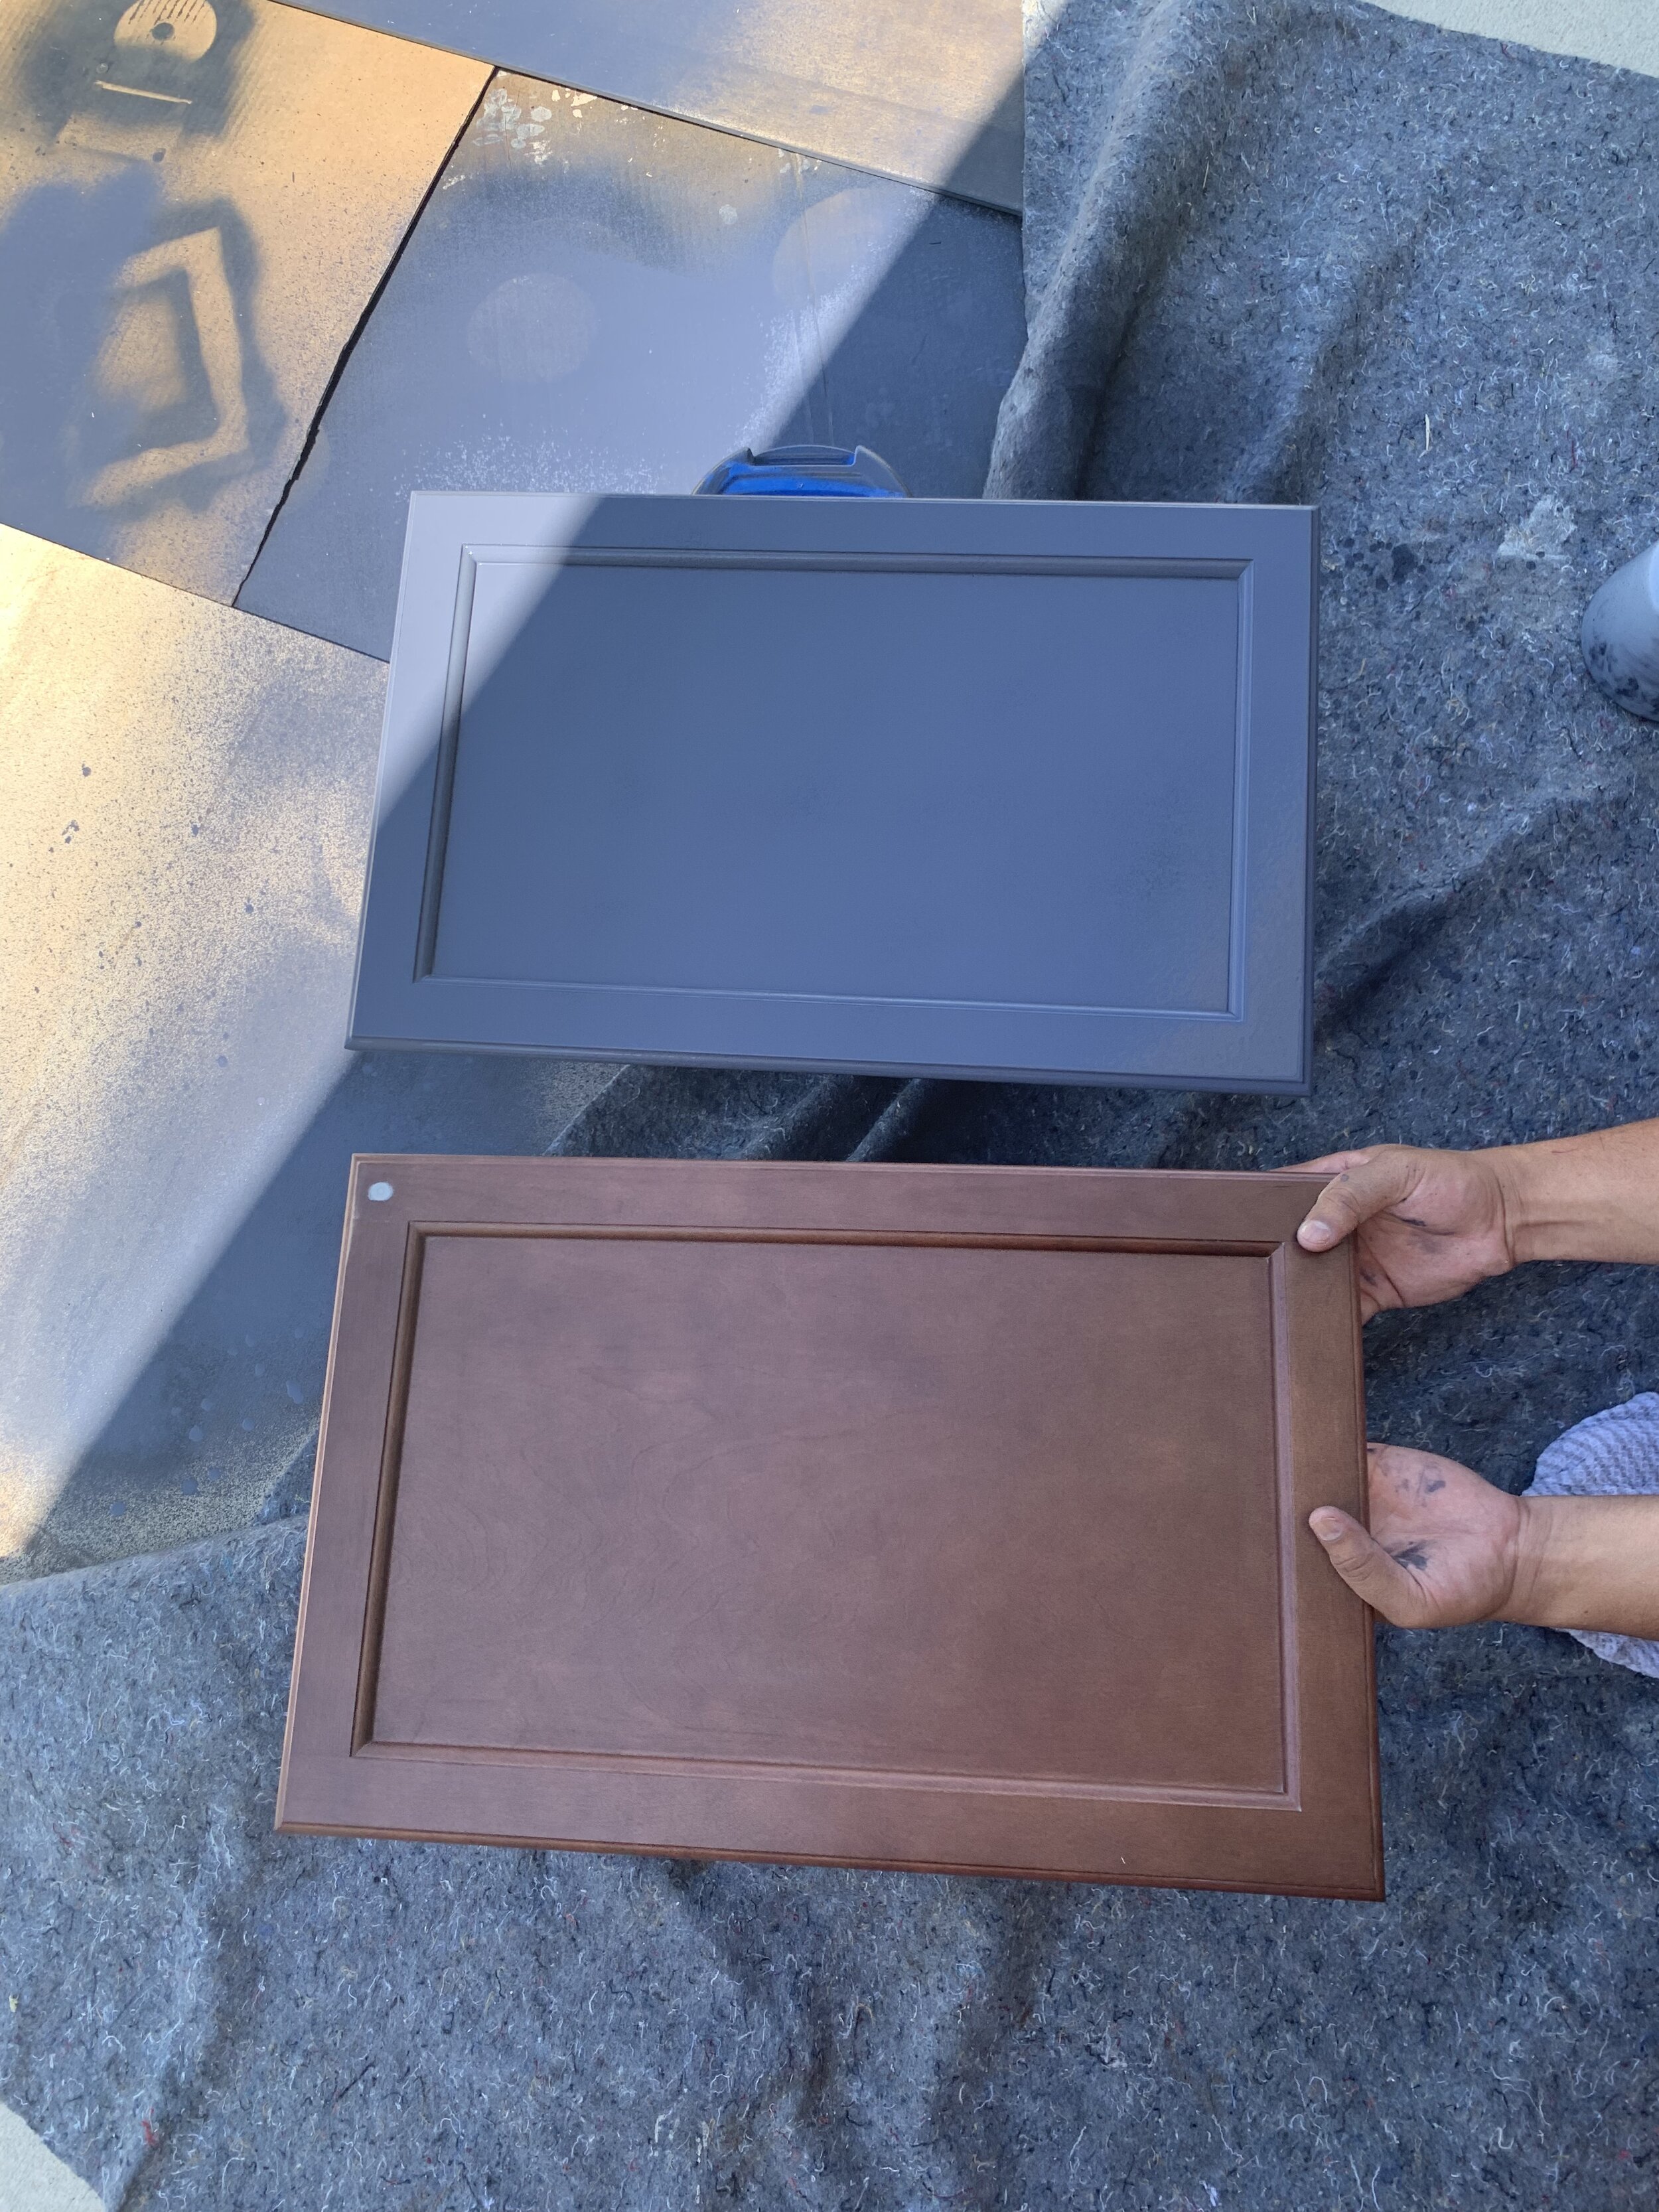
Before and after of the cabinet colors.
Thats it for this week, stay tuned for Week 3 when we share our design selections and share some more progress. Fan voting starts next week, so get ready to vote for your favorite designers!
Click here to check out more on the Jeffrey Court Renovation Challenge and meet the other designers!
Leave a Reply
Grab our FREE download
Wanna know the 5 must have tools you need before you start?
Considering a DIY Project?


Be the first to comment